One of my all time favorite accomplishments for the Logan house was adding a half bath. When we bought the house, it had only one bathroom and four bedrooms. Which is just not acceptable, and the other problem was that the inhabitants of the upstairs rooms would have to come all the way downstairs to use the restroom. not practical, especially at night.
And lets not forget cause I am sure we have all been there a second bathroom is necessary for that moment when you get home, burst through the door, run full force to the bathroom and tackle your sweetheart for the right to use the potty first. Like, I said, one bathroom is just not enough!
Two bathrooms is a blessing and from now on in our house, a necessity.
At first we wanted another bathroom but weren’t sure how it could be done. Then, it was like the stars aligned. We found that hidden closet which made plumbing a breeze, got a free door from our friends that was incredibly narrow and fit perfectly for the space, and let the plan sort of take shape in our subconscious before jumping into it. That made it one of our fastest projects in the end, because we had a solid plan ready to go and the know how to accomplish it.
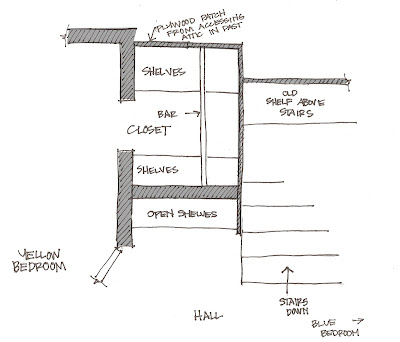
You have seen the space that became the half bath twice now. In the Yellow Room, retro remodel and the Hall part 1 retro remodel. We literally carved the room for a bath from both of these spaces. This is another one of those spaces where you need a quick floor plan sketch:
Before:
After:
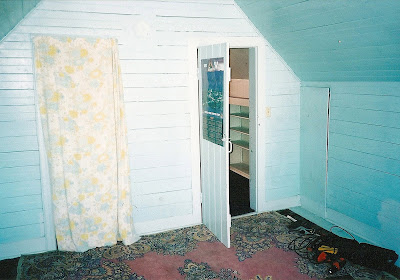
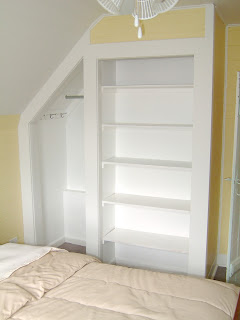
So, lets get started with the REALLY ugly pictures. Here is a view of the closet from the yellow bedroom. It is the space behind the terrycloth curtain.
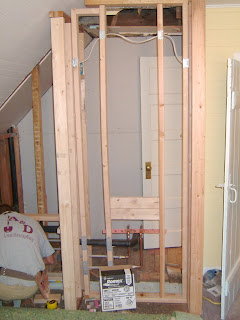
We forgot to take actual pictures of the closet. But when we started demolishing the hall we got some of the interior of the old closet. they are mighty scary! Don’t cha think?
The wall next to the stairs was nothing but bead board. Which was a thick solid wood, but still, not really attached to anything, which made it sorta flimsy… not a quality you look for in your average wall.
So, we removed it one piece at a time and then
trimmed the shelf above the stairs so our noggins’ didn’t keep getting bumped! Once we cleaned out all the old junk and had the drywall on the ceiling up above the stairs we reinstalled the original bead board, and drywalled the interior wall.
<
br />
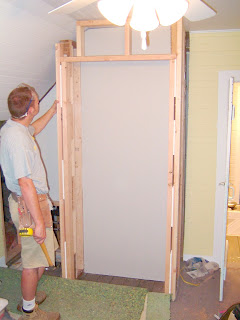
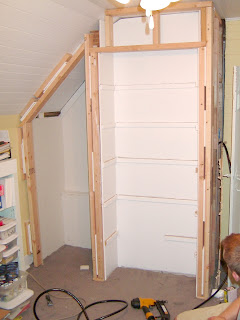
Once the wall was installed we put the door in place asap. That way little miss furry curiosity couldn’t get into the attic. Also, this was where the half bath project stopped for quite some time. We finished the hall in the mean time and later we figured out how we could fit the bath in there. Next step, we carefully began removing the wall in the yellow bedroom. Then we framed in the wall, and reused the old bead board to frame it back in.
We decided that a plumber was mandatory for installation, and let me tell you, that 600.00 to install all the plumbing in less than 5 hours was more worth it than anything else we spent. We had him tie in the waste line, and bring up the water lines, all we had to do was up the sink toilet and faucet in place, which Justin has no problems with. Then we finished up the closet in the craft room.
On to the actual bath room progress. At this point the project was really quite simple just the wall and floor finishes followed by the fixtures. This stuff is the fun stuff with the quick return and makes the projects worth it!
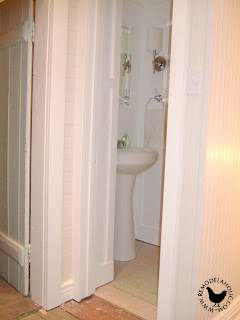
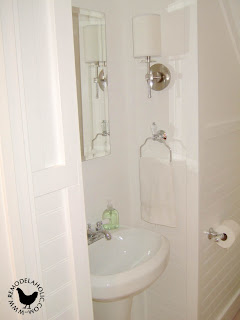
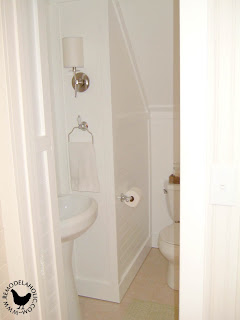
Because we had the original bead board walls in the hall and upstairs bedrooms, we wanted to also have that in our bathroom. (you can see a sliver of the walls just outside the door in the picture below) The bedrooms were a larger scale bead board installed horizontally. Luckily we found a larger scale fake type of bead board in our price range. We installed it sideways to match the bedrooms. The sink area was wrapped completely to the ceiling. The other rest of the walls just had a wainscoting, which was as tall as the back wall (behind the toilet) and stopped at the slanting of the ceiling. Then pretty much every corner was wrapped with moldings.
Don’t love this picture of myself… what can I say, when remodeling makeup is just not on my mind. We used peel and stick tiles again in this bathroom. We laid them in a brick pattern which I really love for tile, I seem to do it all the time.
Justin installed the lights, sink and toilet after the floor was in place. I was a little frustrated by the lights I choose, they looked beautiful but gave off no light… oh well, live and learn and look at wattage better. The point is we still sold the house.
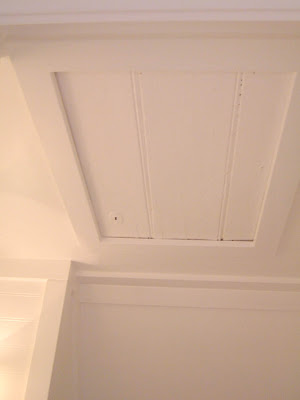
One little detail that I wanted to show you was this board (under the ladder). We found it in the hidden closet in our master bedroom, that later became the linen closet. We decided to leave an access panel to th
e upper attic space in the bathroom ceiling. So, we cleaned up this old piece of a door, cut it to size and used it as the access door. This was one of my favorite details in the whole house. See the little key hole? fun, fun!

It was a very difficult space to photograph and I was too lazy to straighten towels obviously but it was such a jewel of a space all shiny and white. Very nice.
Since the space was tiny!! We used a medicine cabinet mirror for some storage and installed a small glass shelf over the sink. All told, it would be a perfect little bath for kids to get ready for their day/ or night in.
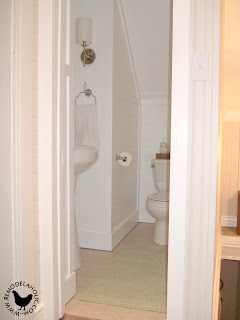

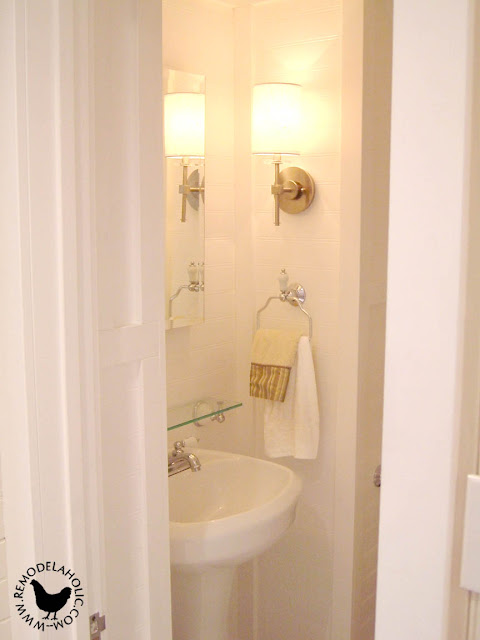
Forgive the dirty hand towel… totally is bugging me like crazy!
What do you think?
Do you like the way the space was used?
Think it needs more storage? (probably!)
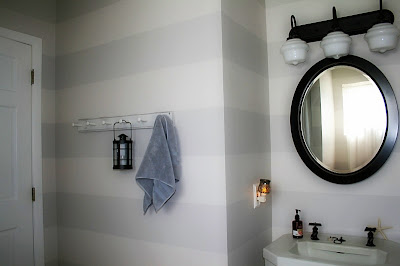
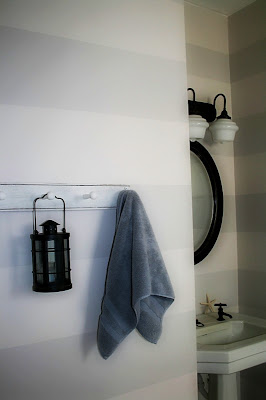
 for hanging towels and/or accessories in one of the bathrooms. But, then I remembered something that previous owners had hanging on the wall for keys/coats that we removed and threw in the basement. You can’t see it, but it had white paint from where they painted the walls around it and the screw holes didn’t line up. (I couldn’t find it right away. I hate when that happens but it forced me to start ‘spring cleaning’ and now the basement is organized too! I didn’t find it until I was completely done!)
 So, I did a little dry brush technique with left over paint and some sanding:


