Remember when I shared we shopped for tile for the rental bathroom makeover at looking at the Daltile Atmospheres Collection at the Home Depot?
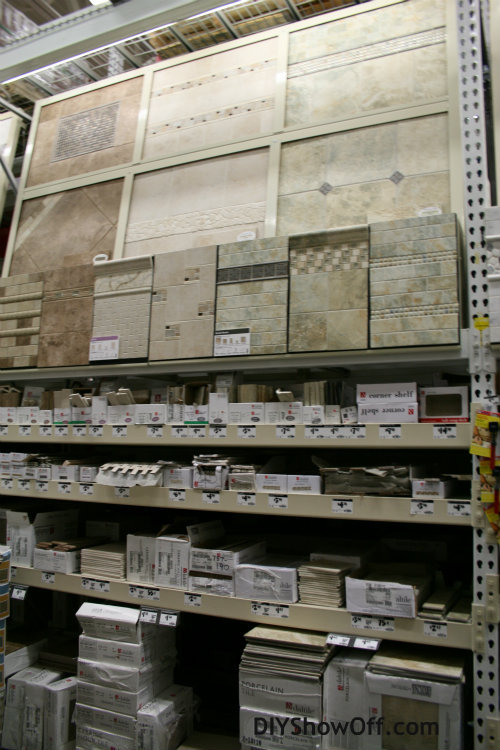
The Atmospheres tile collection by Daltile offers a variety of style, colors and size options to create your own unique designs with tile. So many possibilities! {shopping for tile}
We finally chose a tile, placed and order online and it was delivered to my door. Hurray! But wait…I learned something that changed our order.
Uh oh! {read on}
After receiving samples of the Daltile Cararra 12x12s {I loved the pattern, flow, marble look and finish!}, we ordered Daltile Cararra in the 10×14 size for our bathroom floor. Beautiful tile.
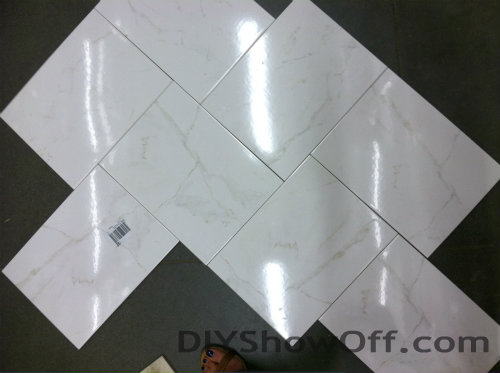
What I learned from the Home Depot tile specialist…
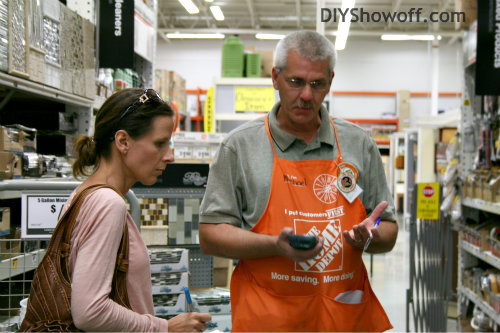
With tiling experts at every store, the Home Depot is empowering customers to take on both large and small scale tiling projects. Even when you think you might know everything, it’s a good idea to sketch out a plan so I met with Mike, the tile specialist at the Home Depot. Mike is a tiling expert and was super friendly and well, an expert at tiling. He answered my questions patiently and had so much information. We’ve tiled before but I did learn a some helpful tips. Everyone say “hi Mike!”

{Mike, the Home Depot tile specialist with me}
Mike went through each step in the tiling process and shared some super helpful tiling tips:
- Demo of existing floor (for us it’s tongue and groove engineered planks). Our subfloor is solid and level so we’re good to go. If this isn’t the case, that would need to be addressed.
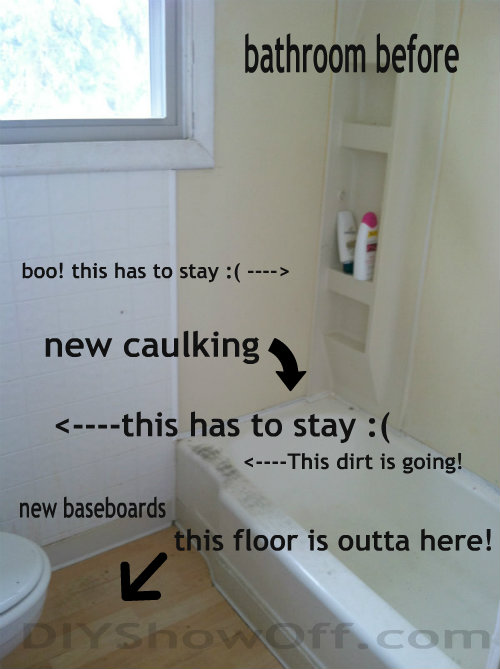
- Installing cement board or hardi-backer. Either choice works. We’re choosing hardi-backer because cutting causes less dust and Mr. DIY prefers to work with hardi-backer. This gets screwed down over top of subfloors. Sized (depths) vary and depend on meeting up with the adjoining floor outside of the bathroom (so no one’s stubbing toes). We’re going with 1/4 inch.
- Tile cutting and layout. Mike suggested working from the center of the floor in front of the doorway and working the pattern out towards the border of the room. That’s the area that will be seen most often. In our case, as you can see, a vanity partially blocks the door.
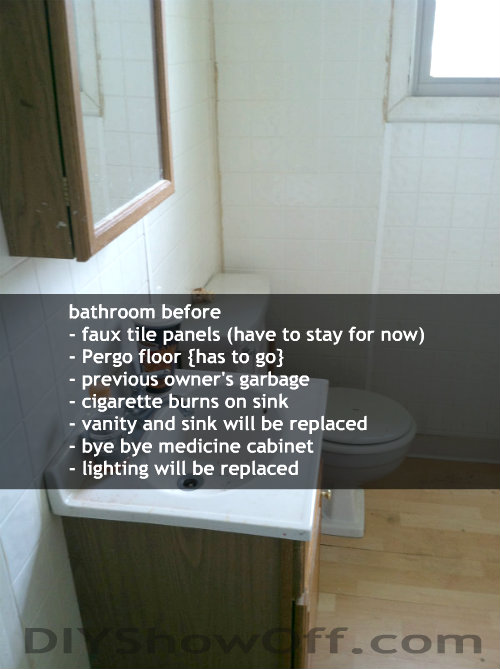 So we’re going to work from the center of the “open” floor space or start in front of the tub and work our way back to where the new vanity and toilet will be replaced since that tile will not be seen. We do have a wet saw, which is the tool needed for cutting tile. And the glazed porcelain tiles we chose won’t be an issue with cutting (as the marble backsplash tiles were – see our tip on cutting/installing marble subway backsplash tile). It’s helpful to mark the back of tiles or stack them back up in order of layout so that you can work quickly with setting them in place permanently. We will cut, layout and space the entire space before moving onto the next step.

- Types of mortar. Learning something new everyday! Mortar comes in light and dark colors. Mike recommends Versabond for our project. Mortar can be absorbed into natural stone tile and grout. We are using a glazed porcelain so there isn’t an issue with absorption, however will will be using a lighter grout and will go with the lighter mortar as well. Mortar gets spread using a notched trowel. Mortar must not dry before setting tiles in place.
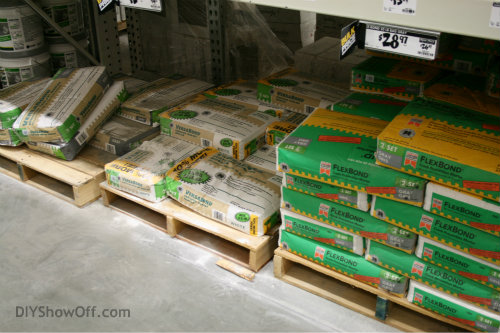
- Tile placement and spacing. Spread the mortar in sections, working as you go (not working yourself into a corner, but work starting from the further part from your exit – you’ll want to end at the door so that you can leave). Allow to dry 24 hours. We’ll be using the 3/16 spacers since we like a thin grout joint (place and remove as we continue working).

- Grouting. Mike suggests using a sanded grout on floors for wear and tear. Materials needed: grout (mix if not using a pre-mixed), bucket of water, float and sponge.

- Sealing. Natural stone needs to be sealed as well as grout. However, since we’re going with glazed porcelain, our tile doesn’t need to be sealed. Mike pointed out that ‘Grout Shield’ can be mixed with grout to eliminate an extra step of sealing.

Another very important thing that I learned from Mike, the Home Depot tile specialist? Floor tiles and wall tiles are different. Wall tiles are not recommended for floors (it’s okay the other way around – you can use floor tiles on a wall).
Tip: Look at the back of the tile!
Light backside = wall tile
Darker backside = floor tile
Floor tiles have been fired longer and are stronger for floors. Using a wall tile on a floor can mean cracking or breaking since it’s not as strong. And know what? Those 10×14 Daltile Cararra tiles we ordered were light on the back, meaning they were wall tiles. Not going to work for our floor. {exception: accent tiles can be used on a floor}
I’m so thankful that I met with Mike {thank you, Mike!}. He saved us some potential headaches down the road. So even when you’ve tiled before and are pretty sure you know what you’re doing, it’s always good to review the plan with an expert! I returned my wall tiles and chose Daltile Cararra 12x12s and our tutorial, befores and afters are coming soon!
The Home Depot partnered with bloggers (like me!) to participate in its Daltile program. As a part of the program, I received compensation in the form of a Home Depot gift card to participate in promoting the new Atmospheres Tile Collection by Daltile. Opinion and experiences are my own words. The Home Depot’s policies align with WOMMA Ethics Code, FTC guidelines and social medial engagement recommendations. I am a DIY blogger and I approved this message. 🙂
Thanks to Bri for tagging along and taking the photos.


 Did you know if you subscribe by email that you can get the email without a truncated feed? Follow me on Hometalk too! (See left side bar for info.) Can you believe summer is coming to an end? Getting ready for fall? Look what’s coming up starting this week (Wed. but going up Tues. night!). Get ready!
  More to come this week:




 So we’re going to work from the center of the “open” floor space or start in front of the tub and work our way back to where the new vanity and toilet will be replaced since that tile will not be seen. We do have a wet saw, which is the tool needed for cutting tile. And the glazed porcelain tiles we chose won’t be an issue with cutting (as the marble backsplash tiles were – see our tip on


