Valentine’s Day Decorating {Vinyl Decal Glass Top Table Runner}

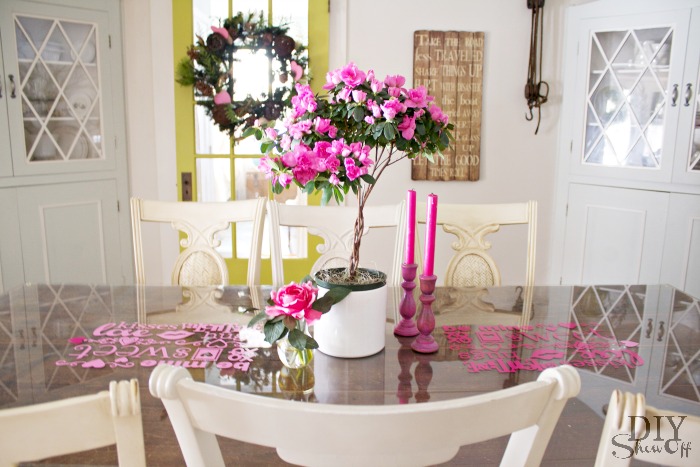
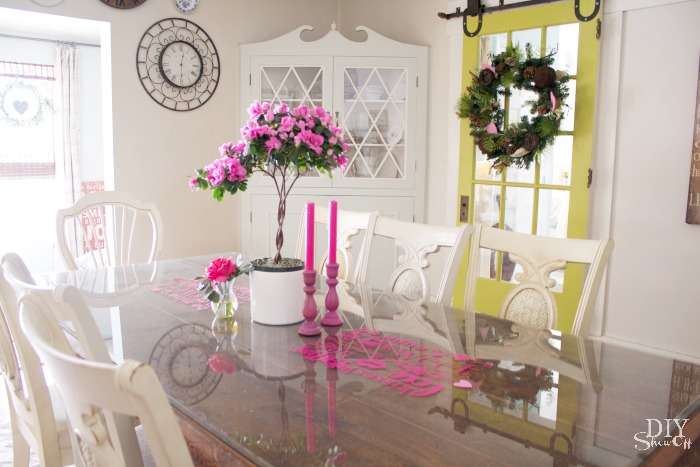
I’m not quite late in terms of sharing my Valentine decorating, am I? I don’t do much…just a little here and there, mostly in the dining room. 

Valentine dining room decor

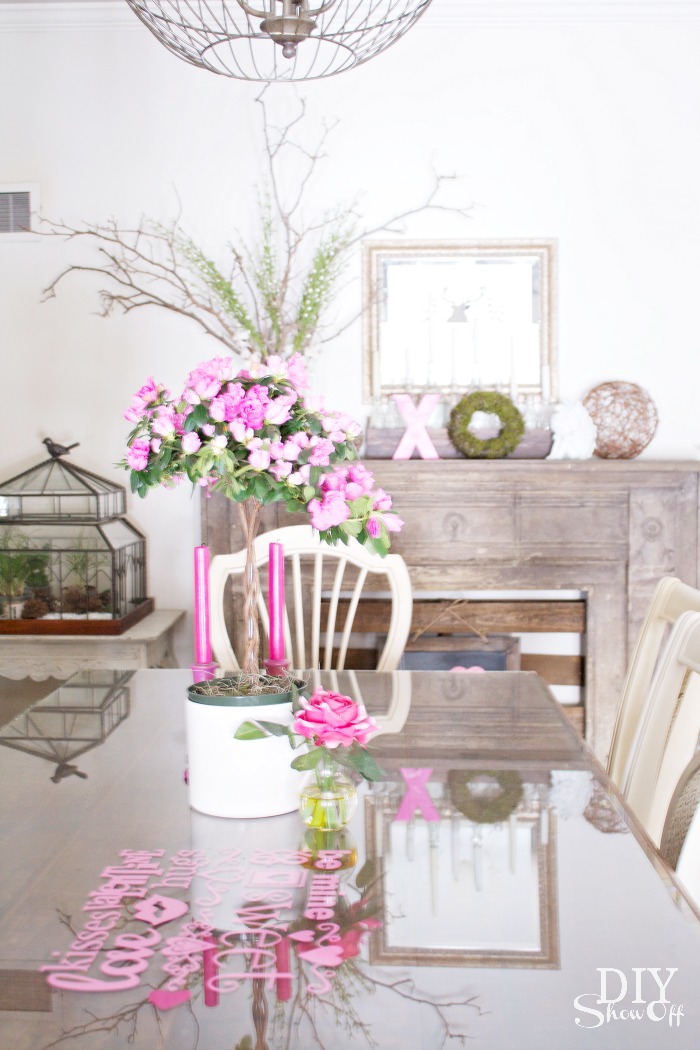
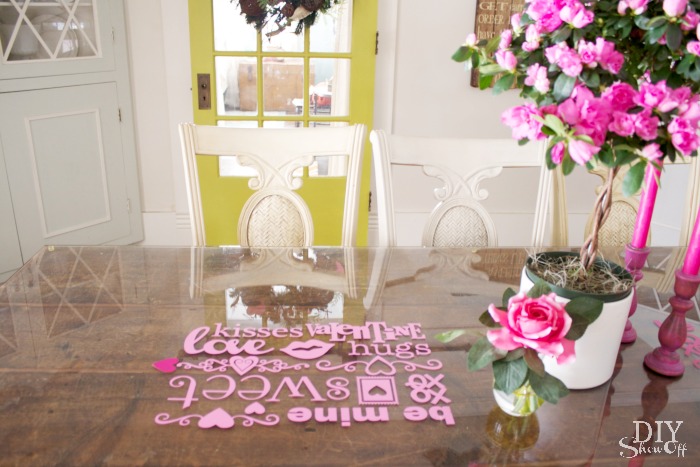
More pictures after a little vinyl tutorial: Having a vinyl cutting machine is GREAT for last minute decorating! Our reclaimed barn wood dining table is protected by a beveled glass top. And a glass top table is the perfect spot for an adhesive vinyl table runner just in time for Valentine’s day!

Valentine glass top table vinyl decals

You’ll need:

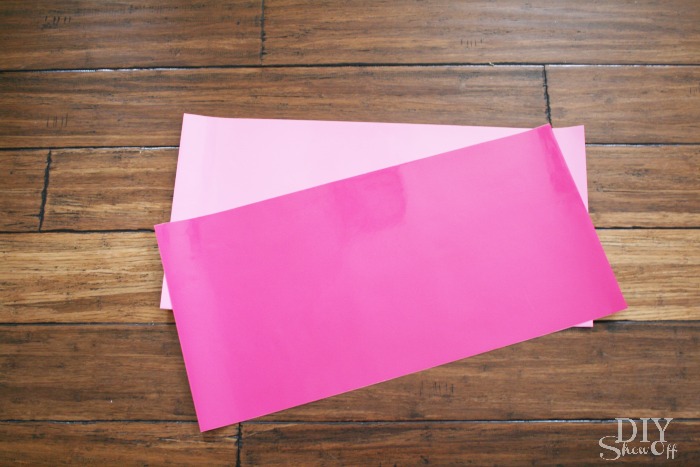
  • Adhesive vinyl from Happy Crafters in pink and soft pink
  • Transfer paper

Tools I used:

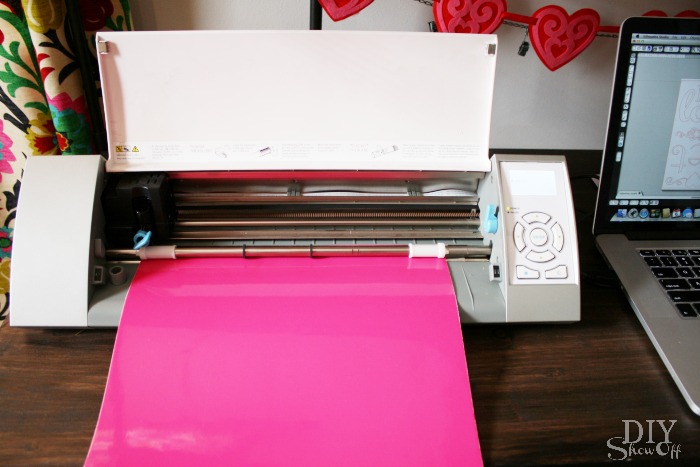
  • Silhouette Cameo
  • Silhouette Design Studio software
  • scissors
  • credit card/gift card

Happy Crafters Adhesive Vinyl

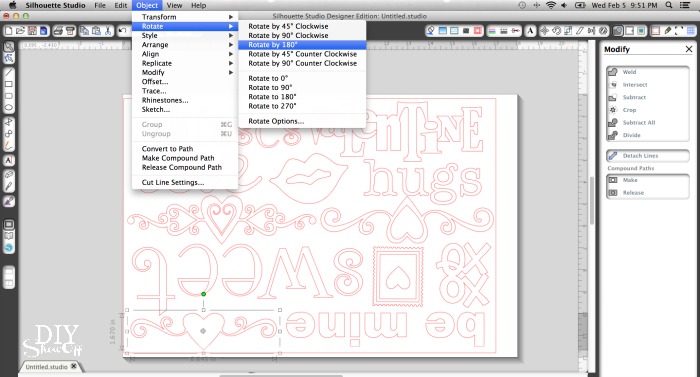
Using the Silhouette Design Studio software, I used different fonts to create Valentine text along with a few shapes from the online store.  Because I wanted to have the text reading different directions, I used the rotate tool to flip some of the text and shapes. 

Silhouette Design Studio software

Before sending the design to cut, I uploaded the vinyl into my machine color side up then changed my setting to cut adhesive vinyl. 

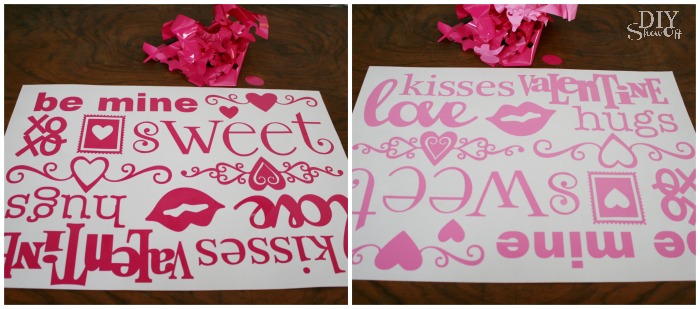
When cutting was complete, I removed and trimmed my vinyl design. Then inserted another sheet of vinyl and cut the design again. I used two sets of vinyl decals to create my table runner. cutting adhesive vinyl
Next up is removing all of the negative part of the vinyl design. Simply remove all vinyl that’s not a letter or shape. 

weeding vinyl decals

Now it’s like a sheet of vinyl stickers. Not something you want to place letter by letter so apply a piece of transfer paper over top of the vinyl decals. 

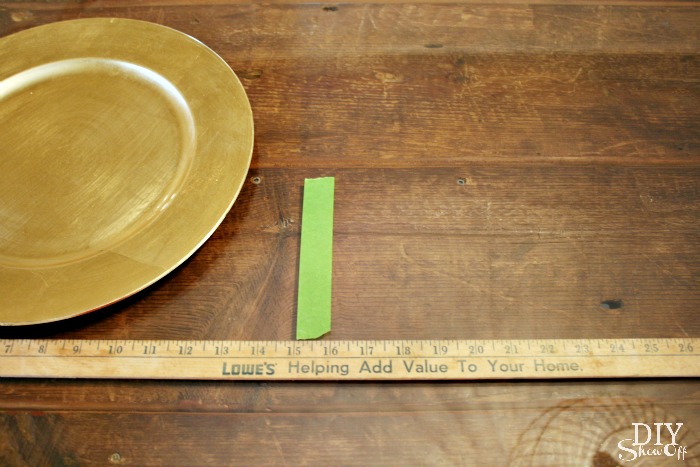
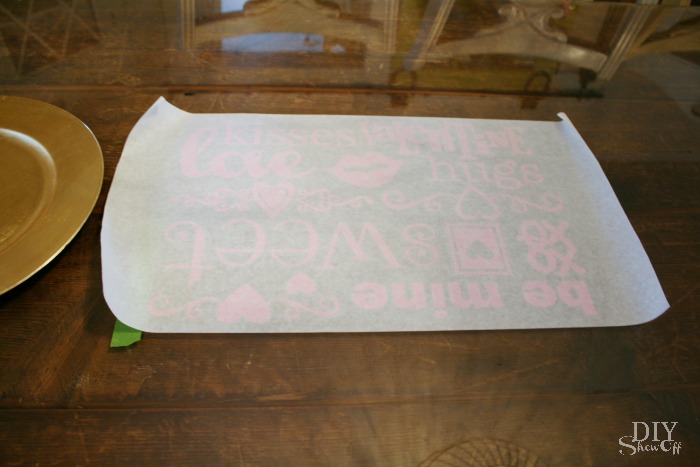
Measure placement and alignment of where the vinyl decal table runner will go onto your glass top table. 

vinyl decal placement

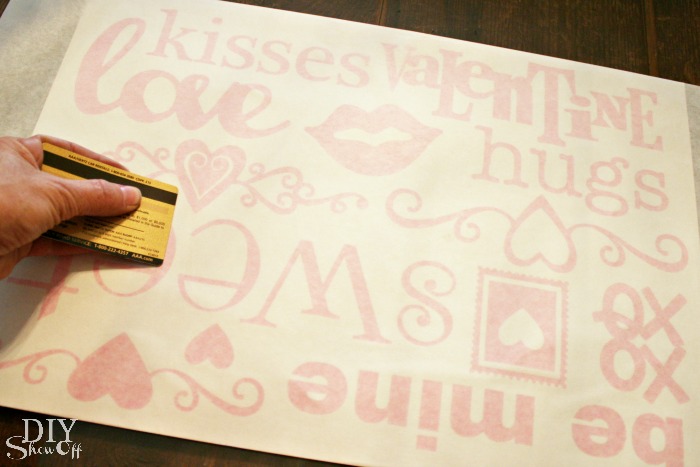
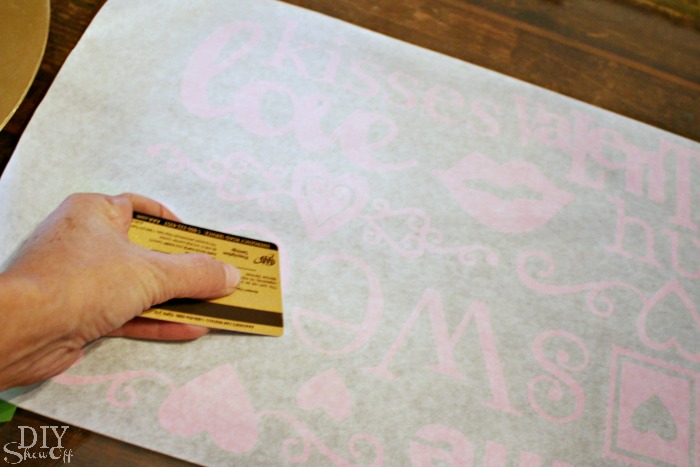
Rub the vinyl decals with a gift card so that the adhesive vinyl transfer from the wax paper backing to the transfer paper. 

transfer paper

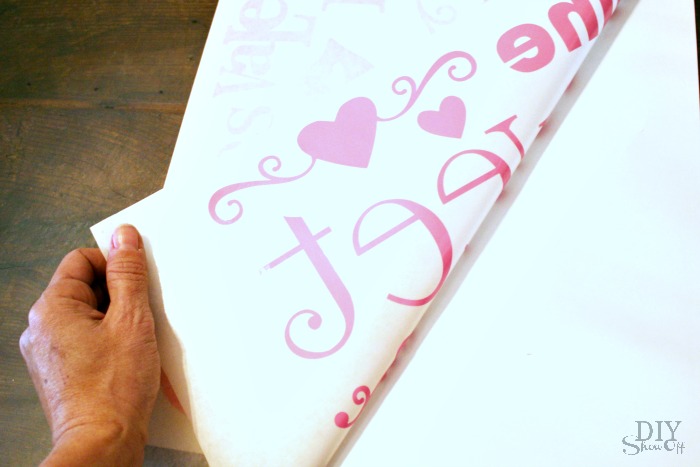
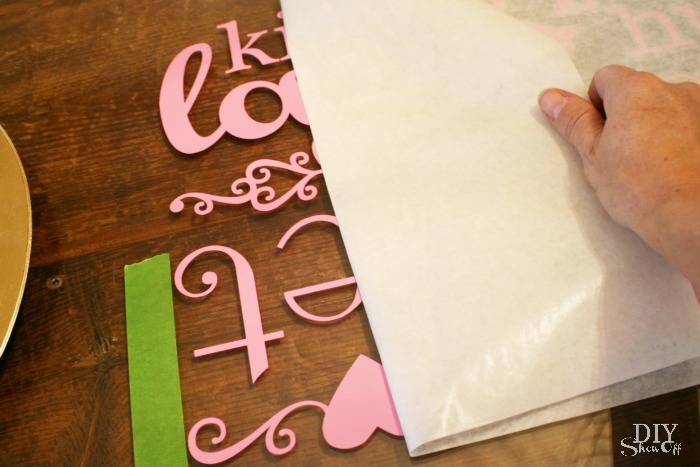
Remove wax paper backing. Sometimes I have to use my fingernail or thumbnail to help along the transfer. 

adhesive vinyl decal tutorial

Carefully align and place the vinyl decal with transfer paper onto the glass. 

glass top table vinyl decal

Rub with a gift card so that the vinyl transfers from the paper to the glass. 

transferring vinyl decal

Remove transfer paper. 

transfer paper vinyl decal

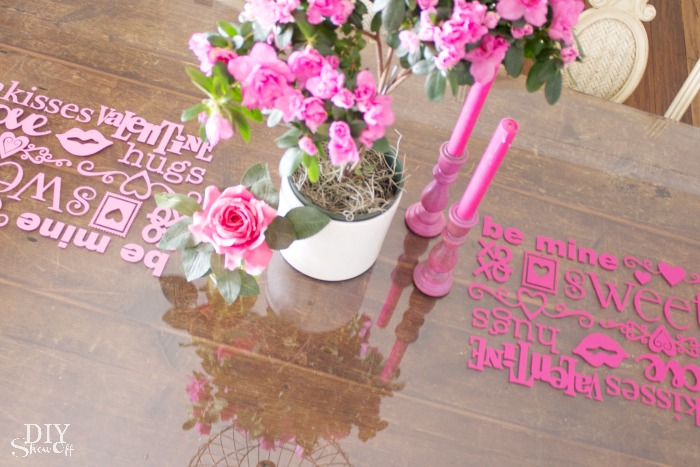
That’s it! Now the glass table top sports a sweet Valentine’s message!

adhesive vinyl Valentine centerpiece

Simply peel away the vinyl for easy removal.

Valentine table decor

More decorating around the DIYShowOff house: 

Valentine centerpiece


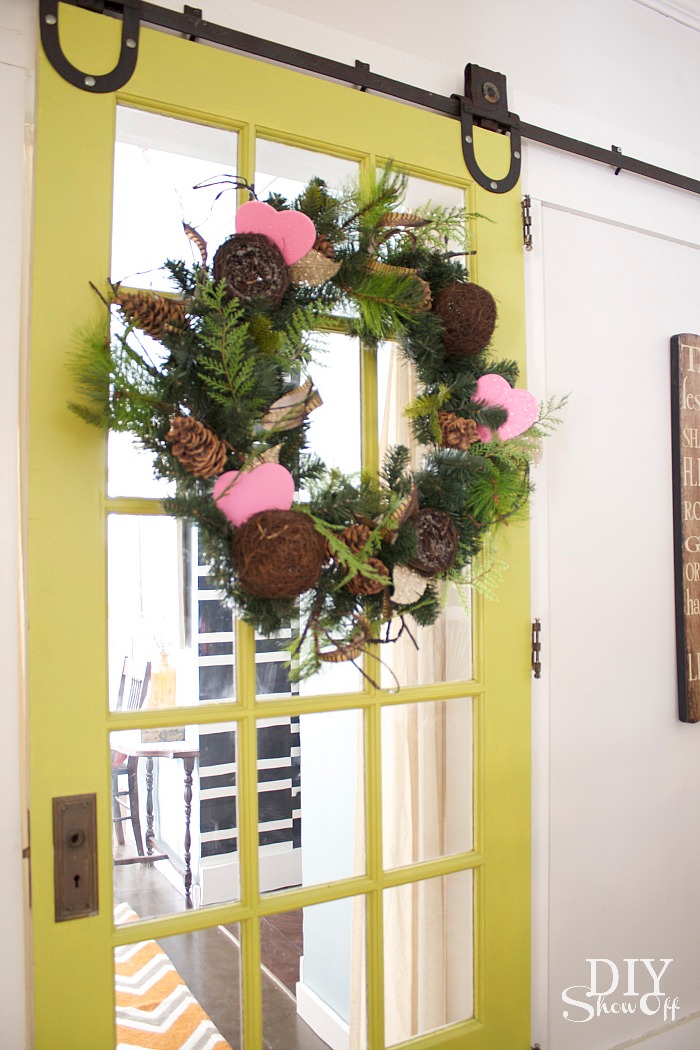
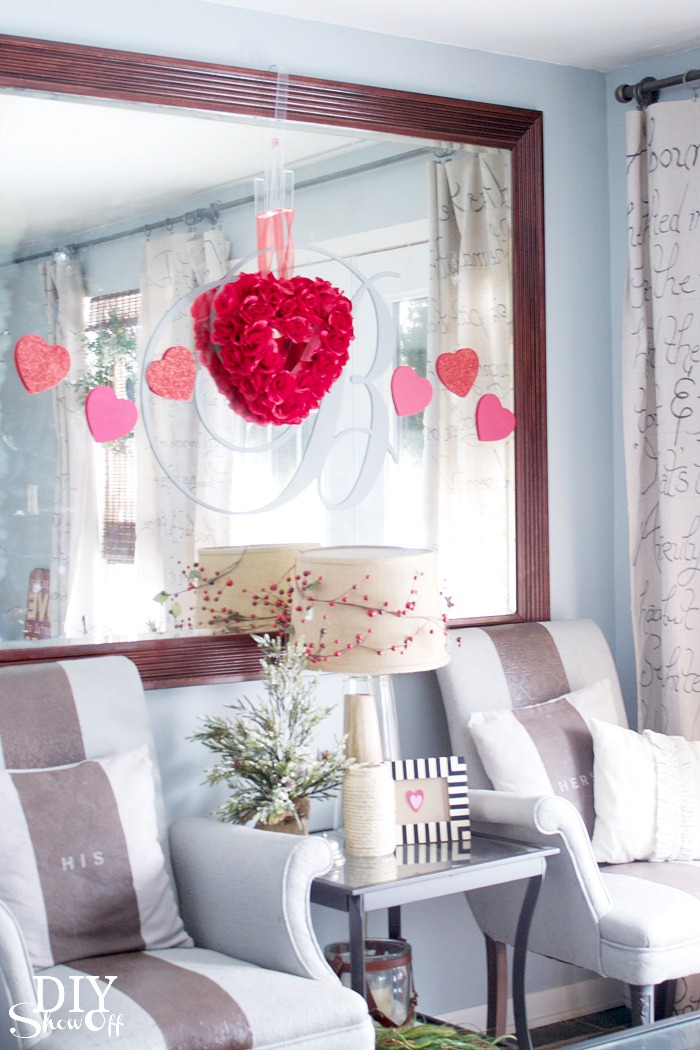
Valentine wreath

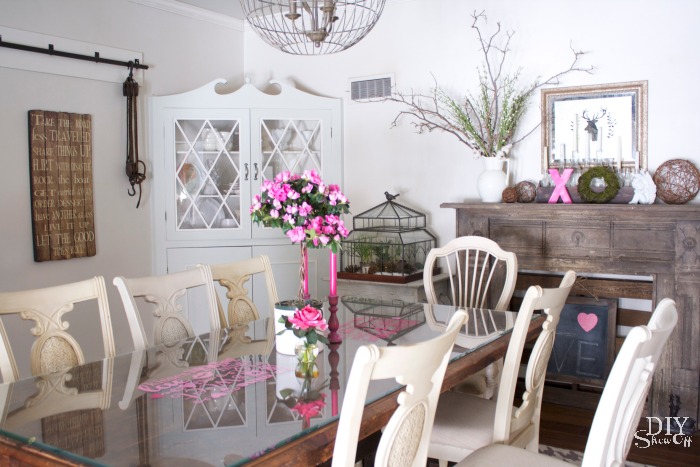
Valentine's day dining room decorating

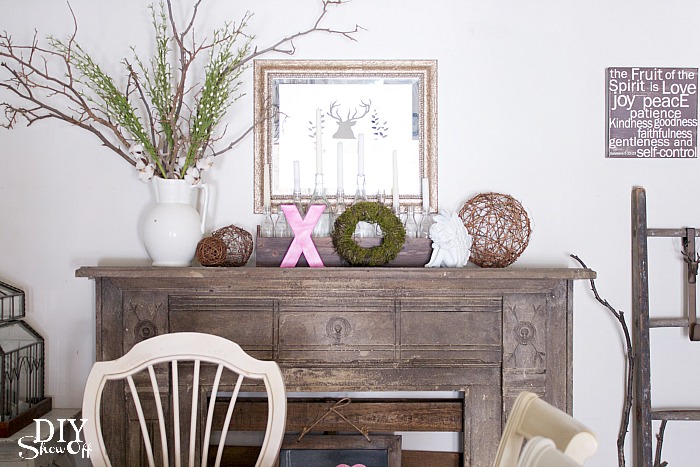
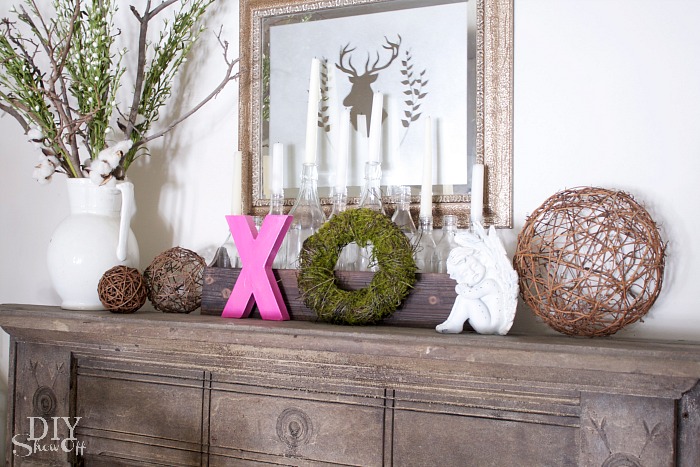
Valentine Mantel


DIYShowOff Valentine Mantel


Valentine dining room decor


Valentine dining room decor


Valentine decor


See more Valentine’s crafts in the DIYShowOff project gallery


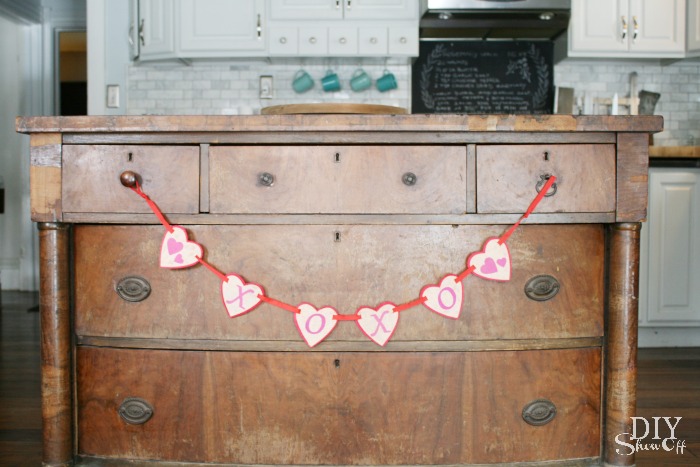
Valentine kitchen


Valentine decorating

*This post is sponsored by Happy Crafters. Tutorial, experience and opinion is my own.  I really love working with this vinyl. Check out all the supplies at Happy Crafters for inspiration for your next project. 

HClogopngsmall

Share the Love: Free Printable Valentine Gift Tags

One month until Valentine’s day! Time to start thinking about cute Valentine’s craft ideas! Today I’m sharing some cute Valentine gift tag printables as a part of the Share the Love Blog Hop hosted by Jamie at C.R.A.F.T. (Creating Really Awesome Free Things). Visiting from sweet Lucy at Craftberry Bush? Welcome friends! I’m so glad you’re here! 

Share the Love Hop

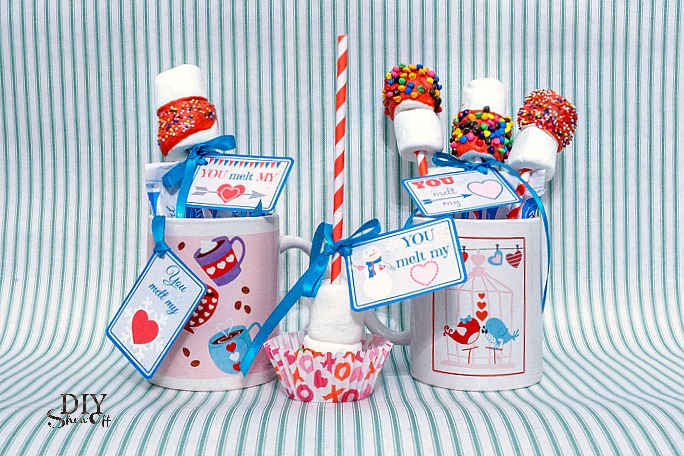
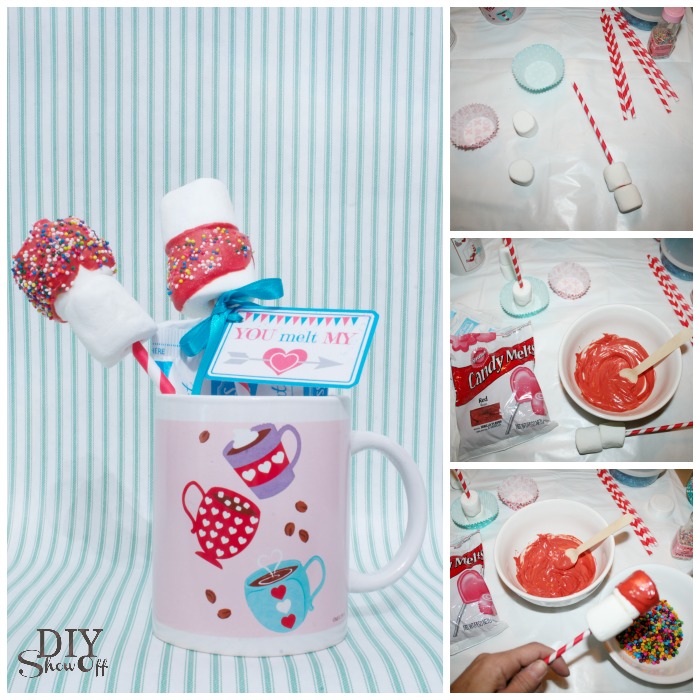
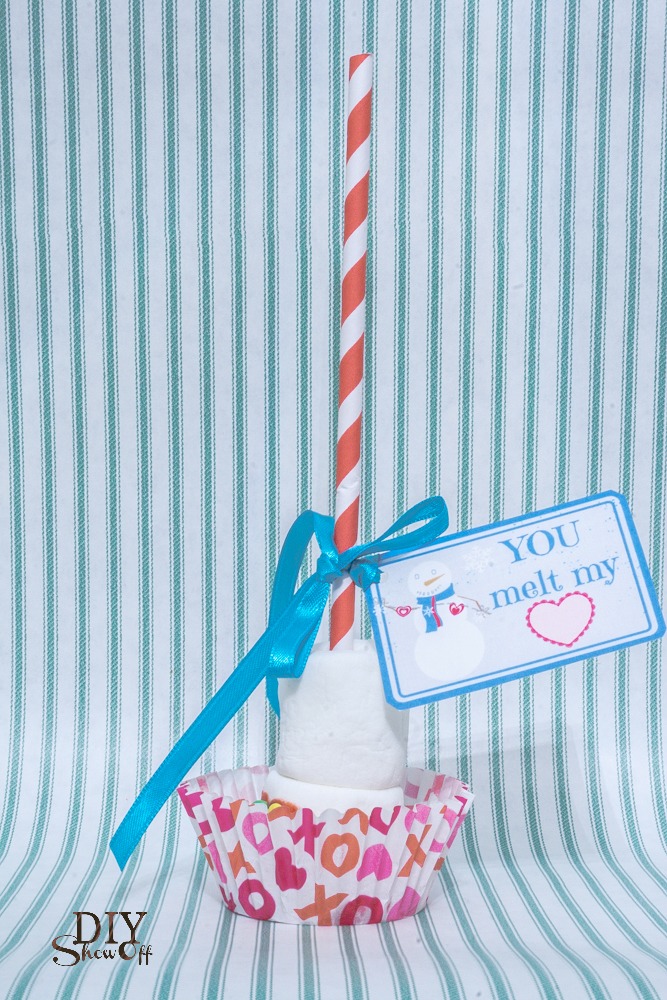
Baby, it’s cold outside in my geographical location in February so how about adding a package of hot cocoa to a dollar store mug, toss in some DIY decorated marshmallow stirs and attaching a cute “You melt my Heart” tag. 

free valentine printable

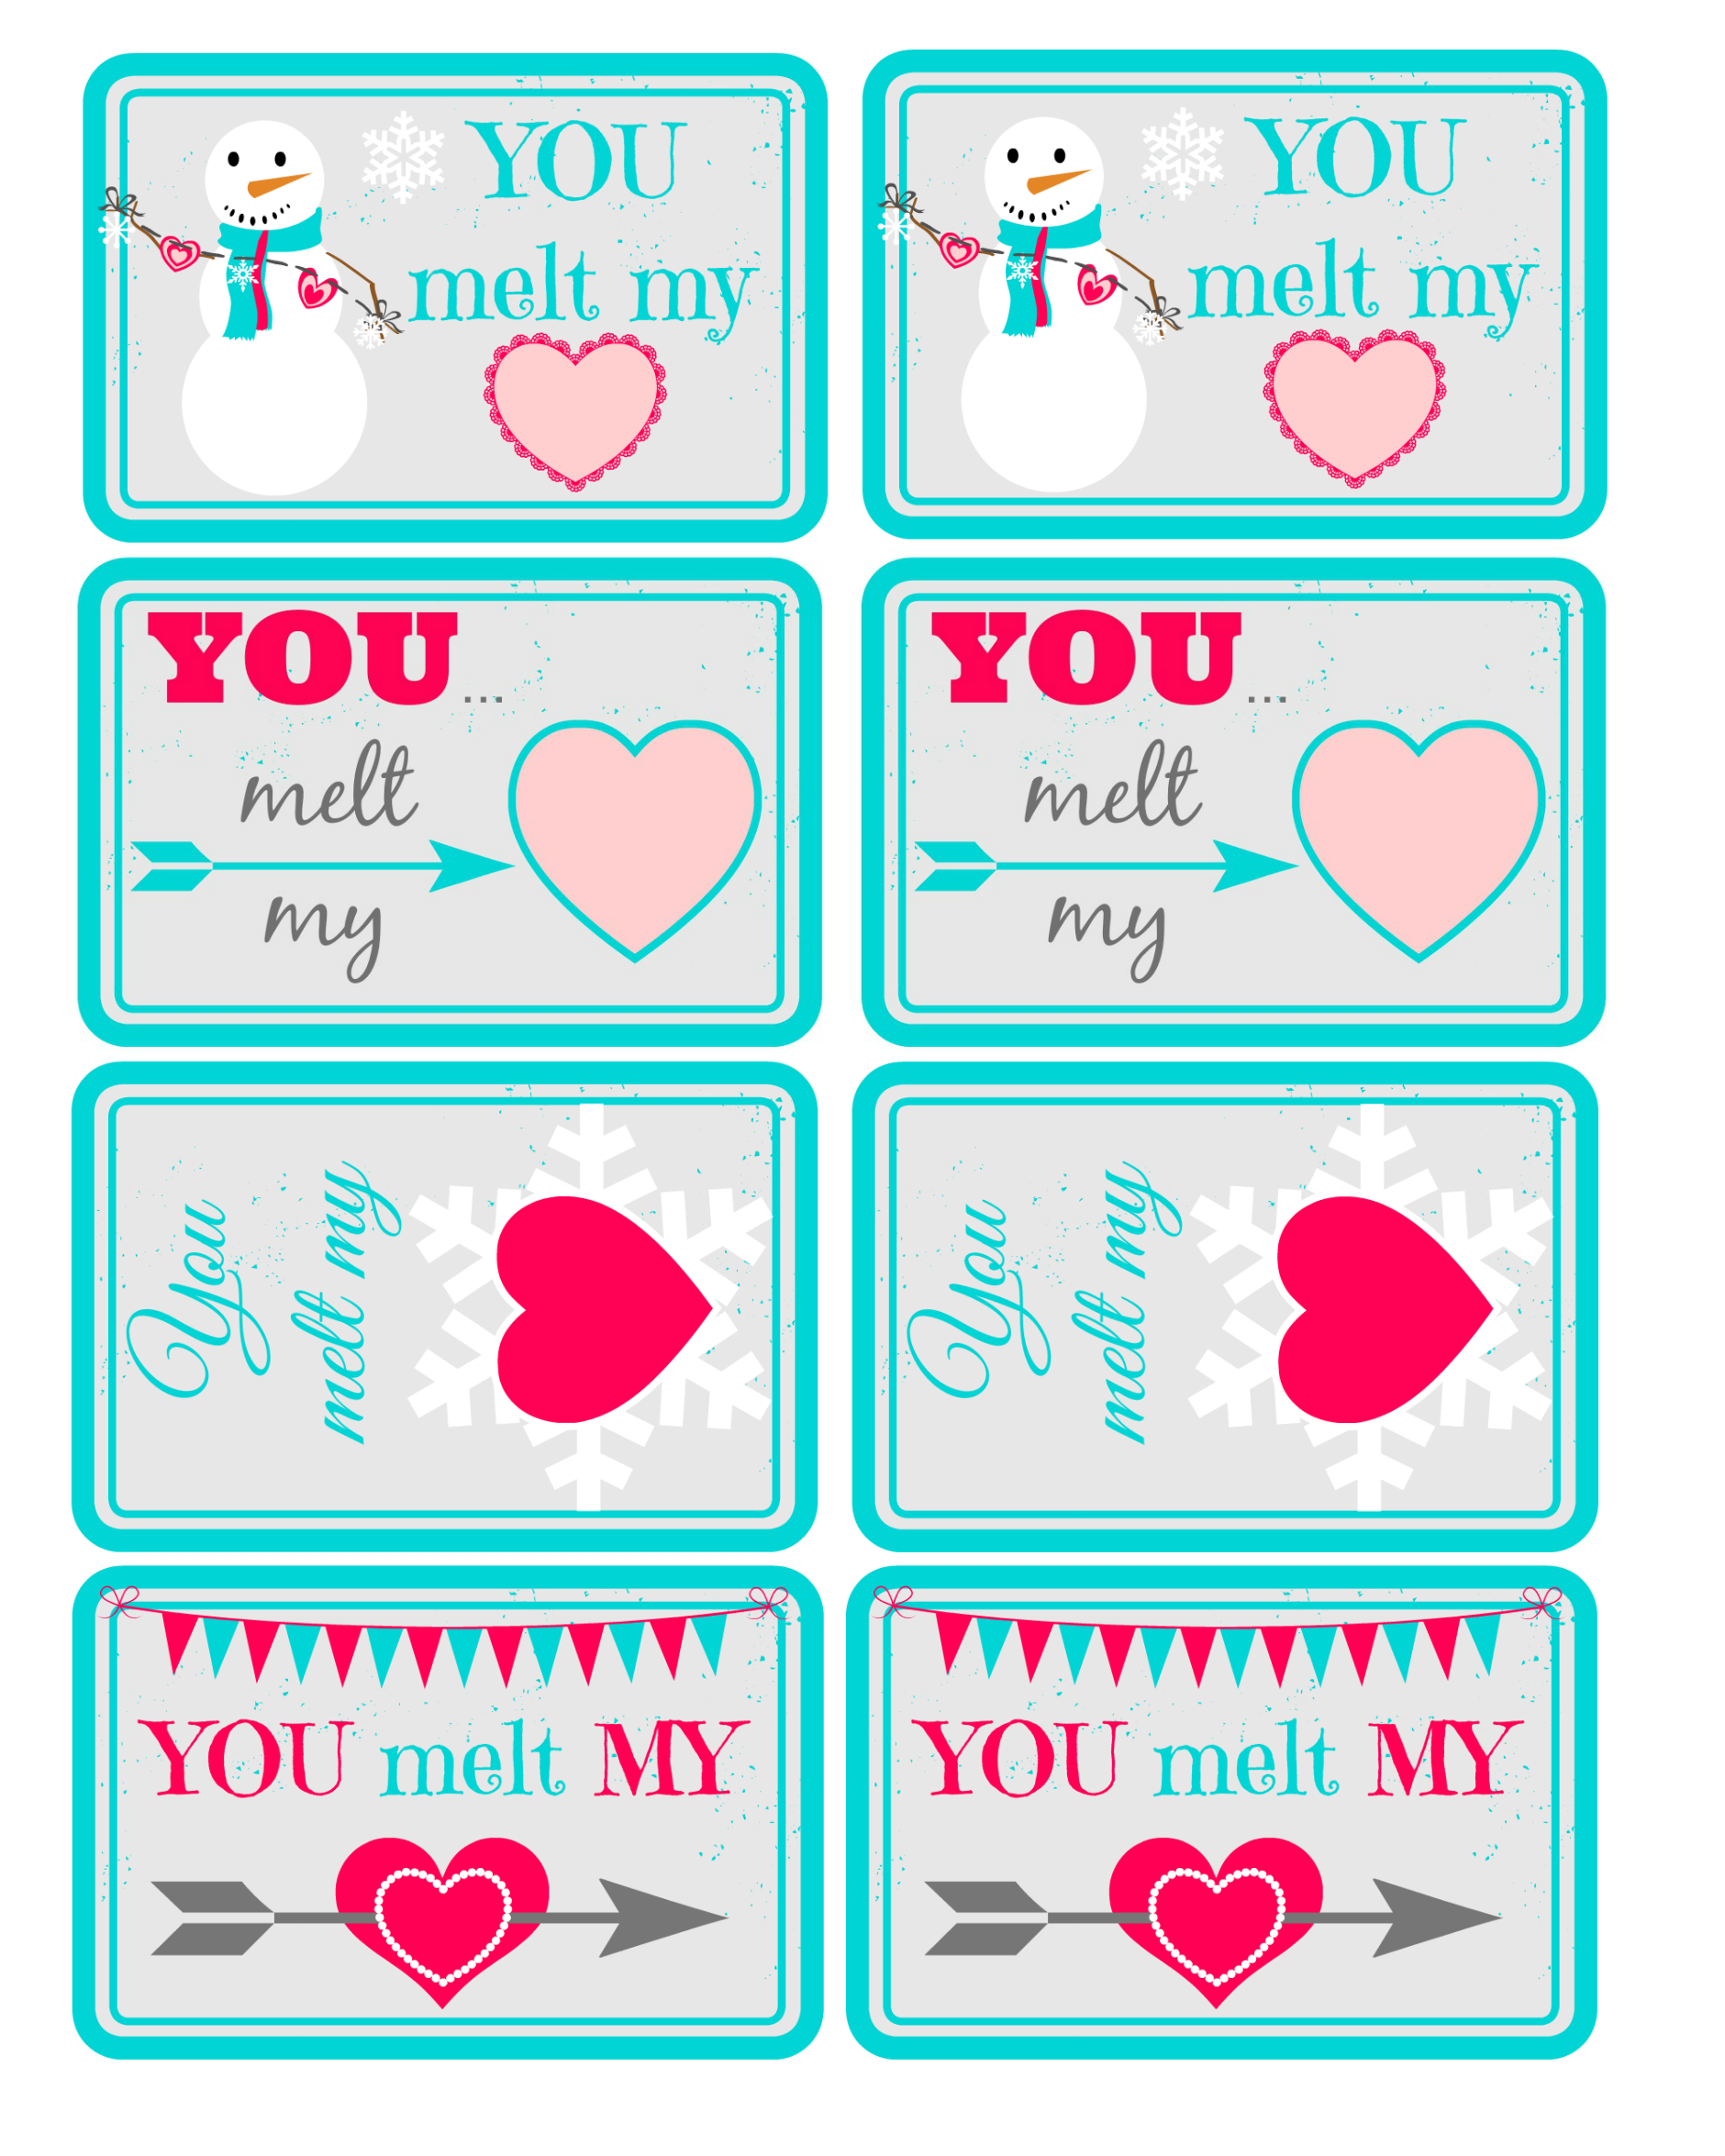
Awe. Heart warming! Heart melting! They’re printable. They’re free! And they’re cute! 

You Melt My Heart Valentine Prinatable

Click here to open and print. 

Marshmallow Stick Treats

Great for accessorizing these gifts too:

  • chocolate
  • bath melts
  • candles
  • melted snowman cookies
  • snowman ornament

free valentine printable gift tag

Next up on the Share the Love Blog Hop is Vanessa at Tried and True with a super cute project & printable!

Share the Love Hop

Visit all 16 blog friends for even MORE free Valentine Printables! 

1. Jamie: “You mean the world to me!”

2. Lucy: “I love everything you dew!”

3. Roeshel: “You melt my heart!”

4. Vanessa: ” Thumb-body Loves You!”

5. Lindsay:  “You blow me away!”

6. Jamie: “You’re o-fish-ally an awesome friend!”

7. Kelly: “No matter how you slice it, we make a great combination!”

8. Lindi: “You rock!”

9. Andrea: “You’re the write one for me!”

10. Abbey: Valentines Day scavenger hunt

11. Jenna: “We’re 2 of a kind!”

12. Emily: “I like you a latte!”

13. Bethany: “You’re just my type!”

14. Caitlin: “You’re sweet!”

15. Colleen: “You’re a deer to me!”

16. Julia: “You are the bomb!”

Valentine Mantel {and thrifty treasure DIY}

Yes! I’m decorating the mantel for Valentine’s Day after all but it’s still not too late…

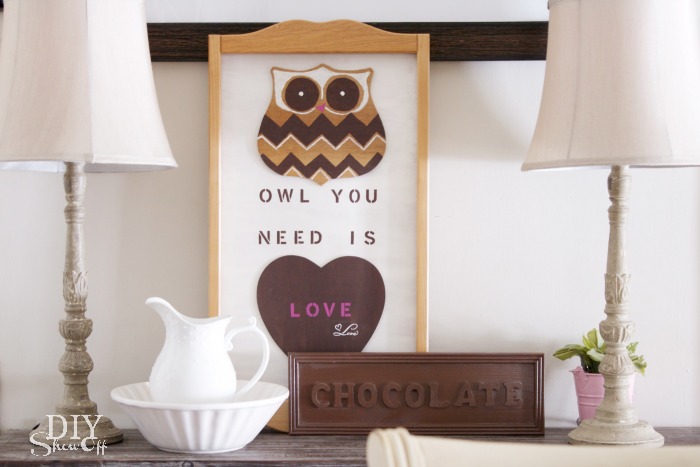
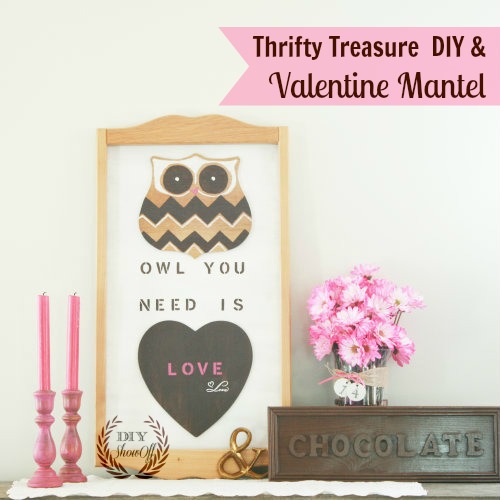
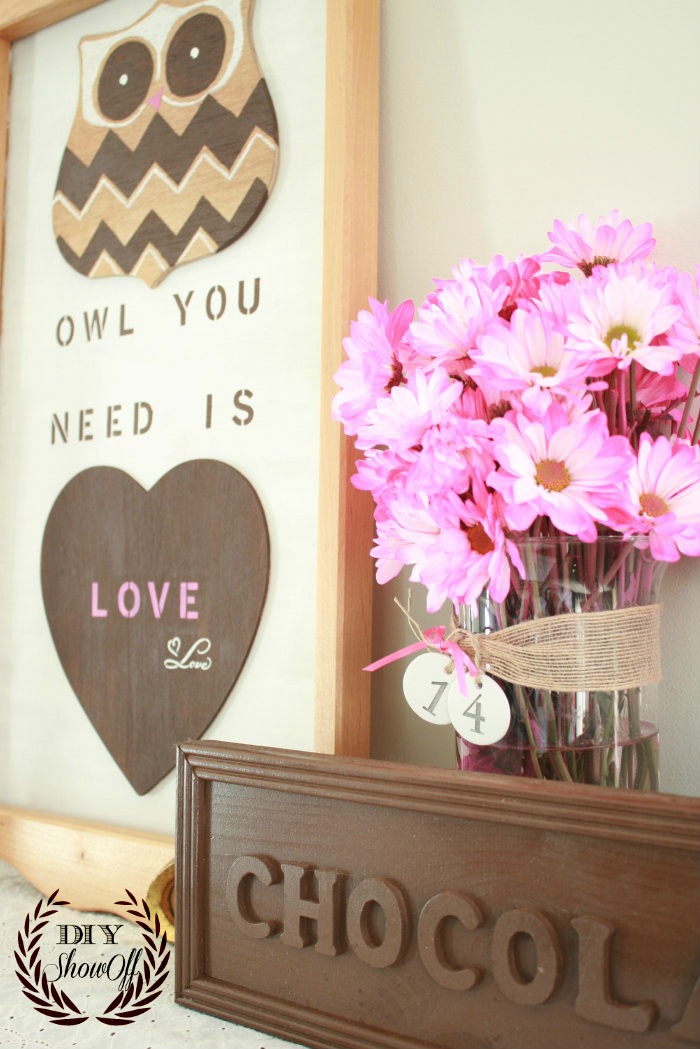
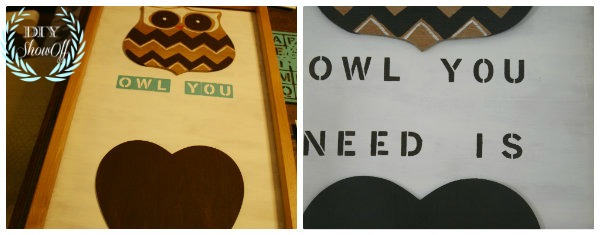
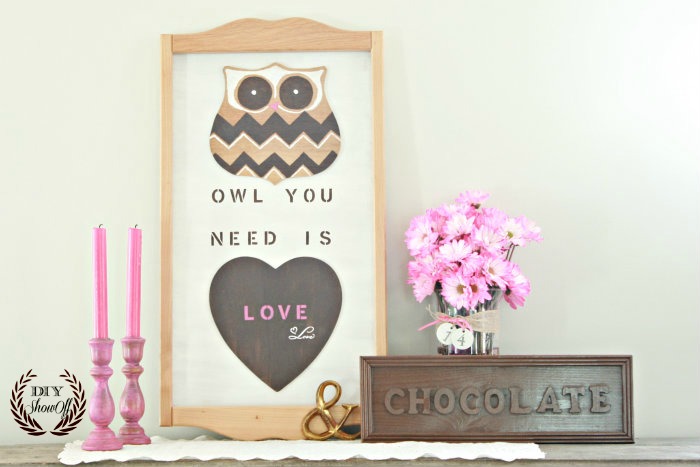
“Owl You Need is Love & Chocolate”

Valentine mantel

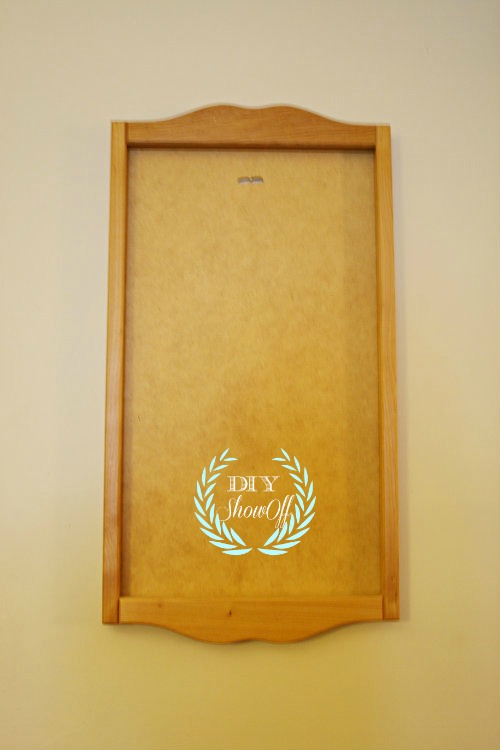
Owl-you-need-is-love-and-chocolate-valentine-mantel Back when I glanced at the thrift store junk stash, I saw two of these calendar displays. I can’t pass them up – wood, great DIY material. Ya know?

wooden-calendar-frame

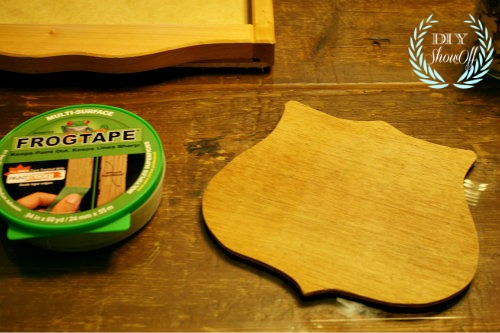
Bri had scored these fun wood cut out shapes. I snagged the ‘badge/crest’ looking one thinking it was a great owl-shape. {pardon the lighting in the dining room turned work station for the tutorial}

wooden-owl-shape

And a Valentine DIY craft and decorating idea was born.

owl-you-need-is-love-and-chocolate

Materials:

  • FrogTape
  • wooden calendar frame
  • badge-shaped wooden cut out
  • wooden heart shape
  • craft paints
  • wood glue

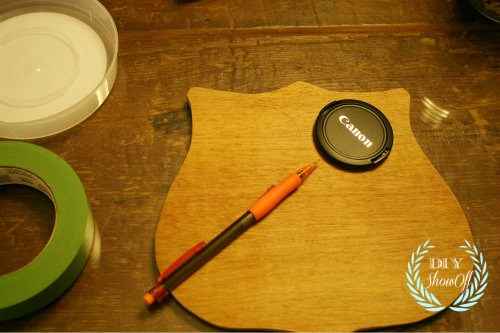
I started with tracing my camera lens cap for the owl’s eyes.drawing-owl

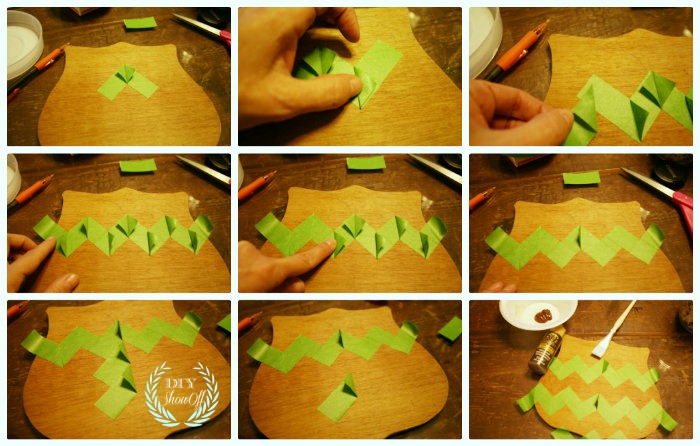
I drew a pencil line vertically down the center. Using 2 ” pieces of FrogTape, I created a chevron pattern on the owl’s body working from the center out…FrogTape-chevron-pattern

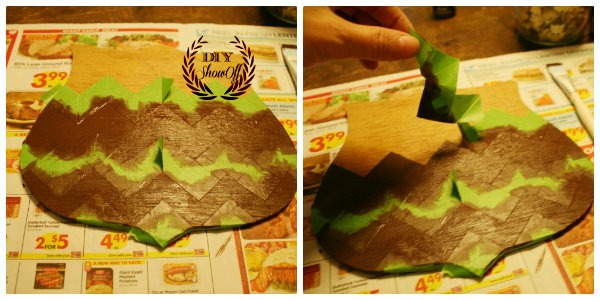
Once the tape was burnished (rub the edges of the tape with a credit card to activate the FrogTape’s paintblock), I painted my pattern. Then immediate removed the FrogTape…painting-with-frogtape

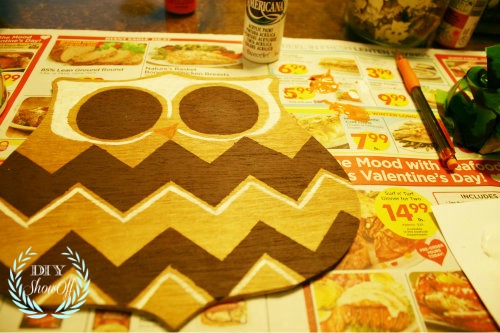
Once that was dry, I continued painting my badge to look like an owl.painting-owl

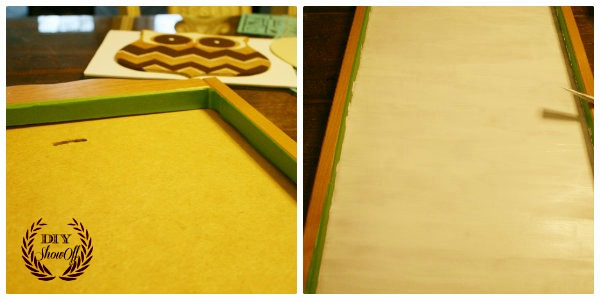
I used FrogTape to protect the frame and painted the background white and let it dry…painting-calendar-frame

My wooden heart was painted brown {FolkArt’s burnt umber}. Once everything was dry, I laid out the placement of the owl, heart and used adhesive stencils for my lettering…stenciling-sign

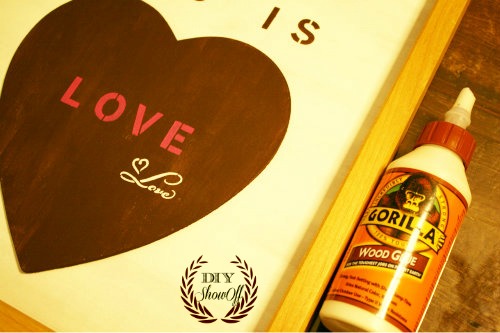
The owl and heart were attached using Gorilla wood glue. I let the glue dry for about an hour. gorilla-wood-glue

Then gathered some decorative accents…

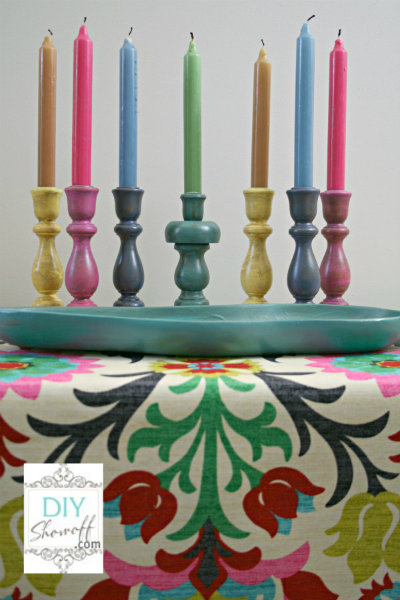
painted candlesticksEaster, decor, do it yourself, faux chocolate bar sign, wood sign, centerpiece

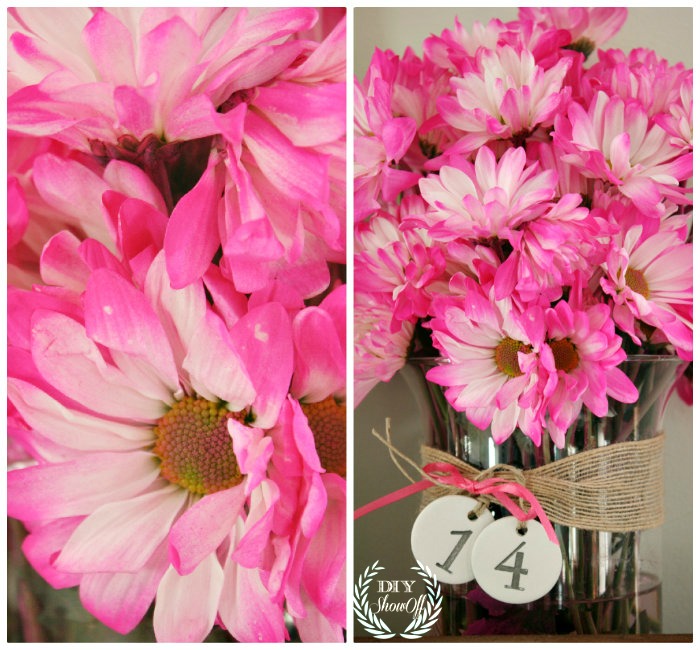
…and styled my mantel using thrift store candle sticks, an ampersand and a fun faux chocolate bar DIY from last Easter. valentine-mantel Of course I was still in my pajamas and I asked Mr. DIY to pick me up a bouquet of pink flowers for my photo shoot and boy, did he ever…they.are.VERY.pink…. pink-flowers They’re perfect. My vase is embellished with clay tags and ribbon.
Did I mention that just regular days are like Valentine’s Day around here? Not only did he pick out pretty flowers for my Valentine’s Day mantel decorating, but he came home with these…

cupcake

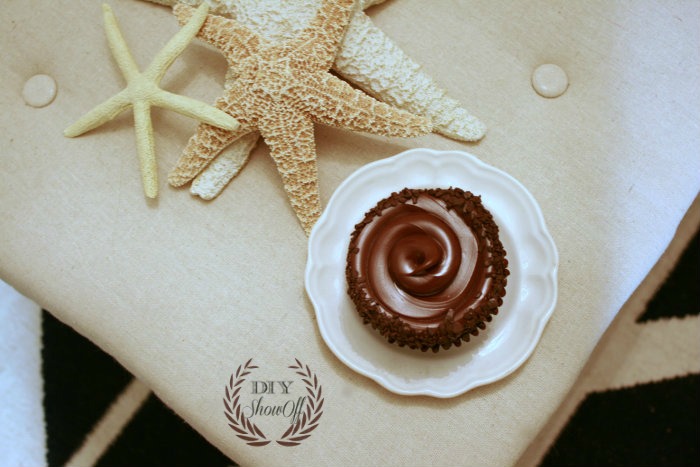
decadent chocolate cupcakes

He hadn’t even seen my “Owl You Need is Love & Chocolate” theme yet but he reads my mind. most of the time. 

I’m not so into lots of Valentine’s Day decorating but hey, I am a fan of “Owl you need is love & chocolate”! diy-owl-valentine-mantel Affiliate links for similar materials:

*This is a sponsored post brought to you by FrogTape. The opinions are completely my own based on my experience. Results may vary.  FrogTape Blog Squad