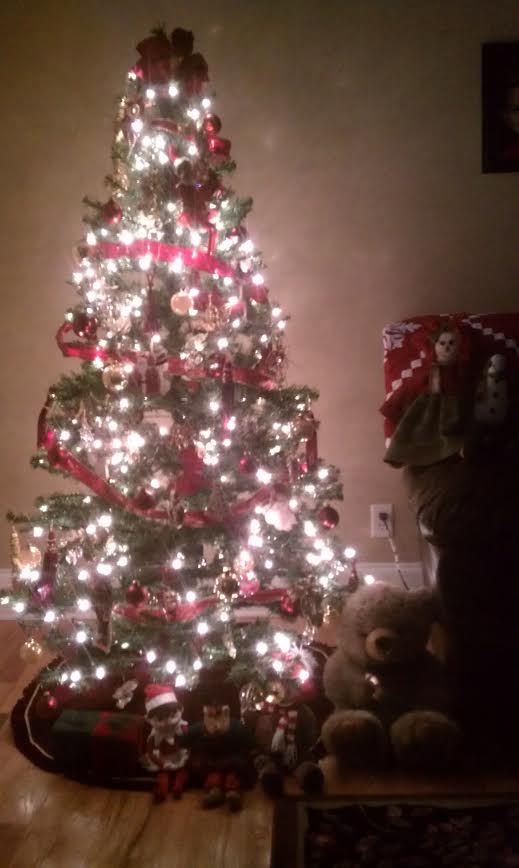
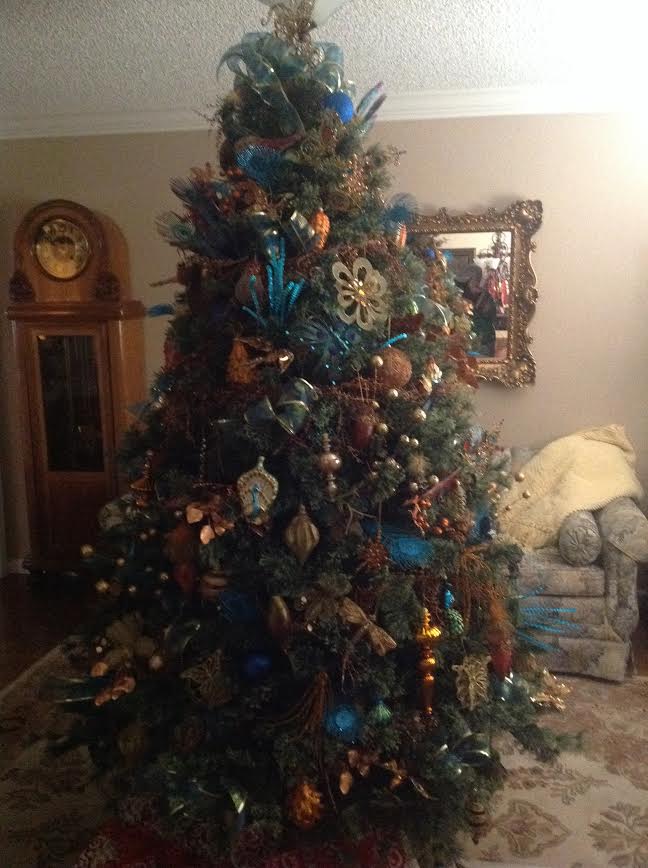
Now I know you may have been hoping for something a little more glamorous like how to get all of those Christmas decor totes to magically appear from being buried or how to cook a delicious Christmas meal complete with fruit cake or how to complete holiday shopping without spending a dime – all in a minute. That’d be awesome and magical! But those are more likely fairy tales because I tried snapping my fingers and wiggling my nose. And I got nothing except a sideways look from the dog. It didn’t work. So I came up with this tree trimming goody instead. ::cheers all around!::

This is just something simple and quick. Sometimes attention to detail – no matter how small – means so much to your artificial tree, especially this time of year. It is the season for giving. You weren’t about to forget bestowing love and affection on the focal point of your Christmas decorating, were you? How embarrassing!
Speaking of embarrassing…Nothing screams FAKE! like a Christmas tree with a hunter green metal pole, a little faux garland twisted around it and a patent label on display peeking out of the pretty tree skirt, below a beautifully decorated tree. And who wants screams at Christmas? Not me! You either? I thought not.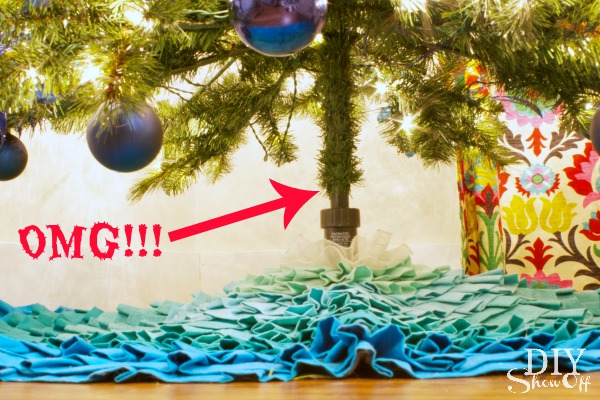
My artificial tree whispered that it was similar to displaying a big ole’ hairy leg while wearing a festive gown of lights and glitter topped with a tiara star. That won’t do! {Sorry for the visual!} Well, we’re all in luck! Because here’s a quick, cheap and easy fix. 
Materials:
- cardboard paper towel tube
- brown craft paint(s) or hey, make yours candy-cane striped or rainbow bright!
- foam paint brush & scissors
Tutorial (just in case you’re “stumped” – hahahahahahahahaha!)…
- Stop laughing because using scissors is serious business.
- Cut a straight line up one side of the cardboard tube.
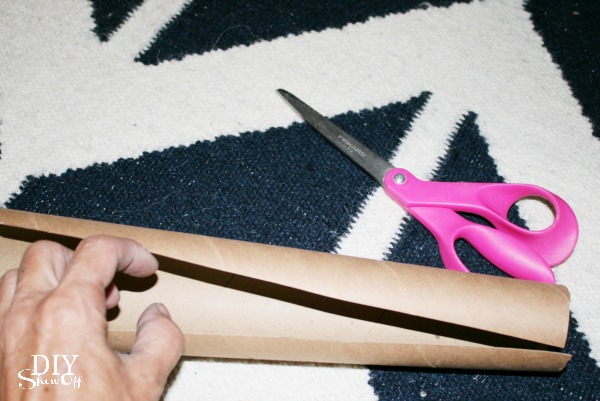
- Paint it brown. I dipped my brush into a couple of different brown paints.
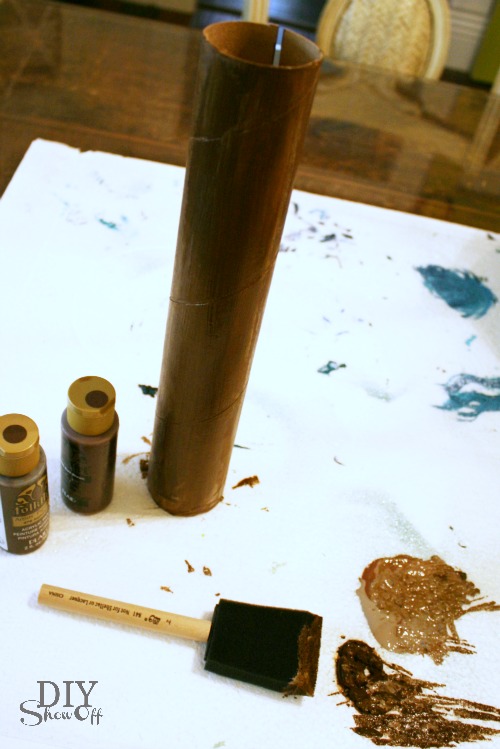
- Let dry. I think mine took about 10 minutes. If you glopped on too much paint and it’s taking forever to dry, then wipe it down with a paper towel. Oh…you’re out since you have an empty paper towel tube? Try blowing on it. Just kidding. Clean up and put away your supplies. It should be dry in a few minutes and look like this:
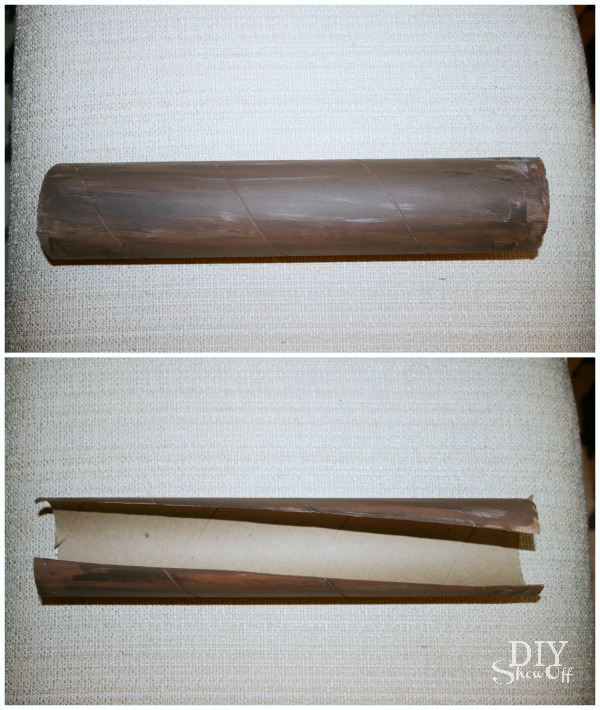
- Optional: Get fancy and create the look of bark using a black Sharpie but just having a multi-brown tree trunk works for me.
- Trim height of the cardboard tree trunk if need be (mine didn’t need it).
- Slip tube around the artificial tree trunk (cut side around back).
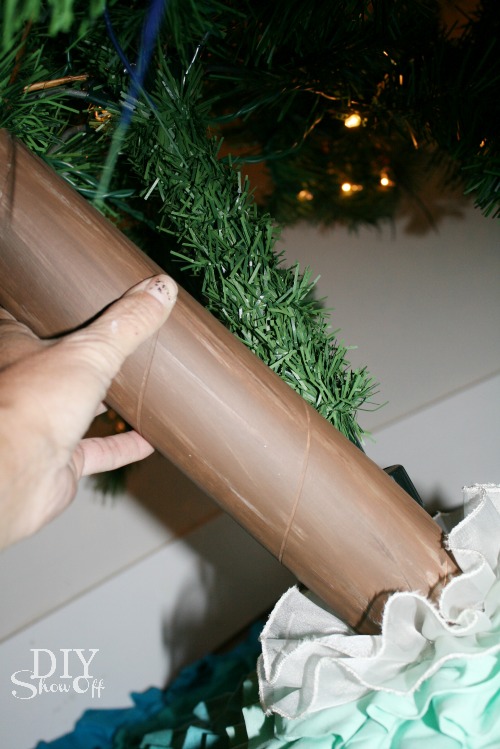
YOU DID IT! You just saved Christmas! Okay, that’s an exaggeration but your artificial tree might disagree. However – you did just recycle. Hurray for that!
I know it’s only seen from across the room or right up under the tree (until the presents arrive) but with this quick little DIY, my tree feels ‘complete’. Now, my tree looks a little more polished, a little more dressed.

Now, go light a pine scented candle, crank the Christmas tunes, pour a glass of eggnog and rock around the Christmas tree.

For the record: skip the painting step and technically, it really is a minute project! So let’s start a trend and get those poles “SPRUCEd” up! hahahahaha! I couldn’t resist.
Also shown above:

It’s your lucky day! MORE Christmas in a Minute from these awesome blog friends {and more creative exciting ones at that!}.
Danielle’s beautiful Christmas tree for the Christmas Tree Contest & Link Party.
