DIY Show & Tell!

Snowed in? How about some DIY project inspiration?

Recycle some bottles. These are beautiful vases! Details at
The City Cradle
!

Have you seen the door-mat stencil wall art floating around the blogosphere? I love how it looks so pretty and unique every time!


HERE is a gorgeous tutorial from The Little Brown House:

And here is the awesome tutorial from
A Little of This. A Little of That:

Find treasure from the thrift shop and create magic like Shari at
Spearmint Decor:
BEFORE:

AFTER:

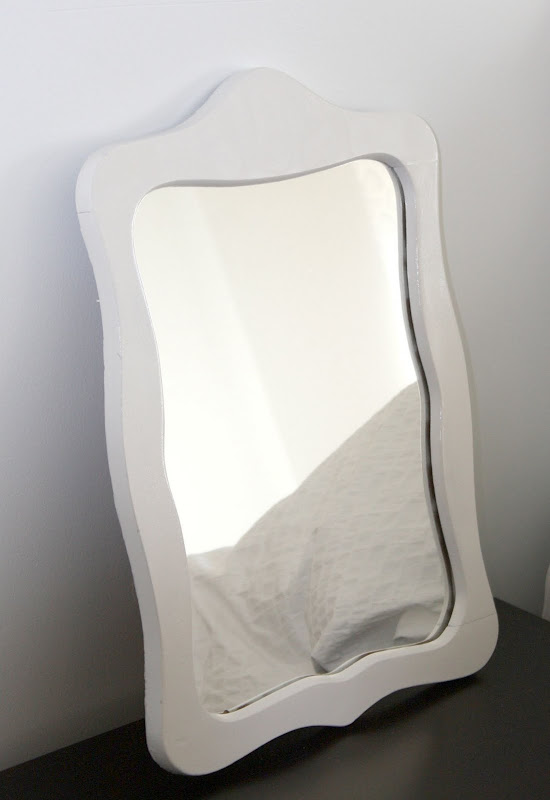
the other mirror: (i turned it into this frame and put my “keep calm and carry on print in it. )

the bud vases (these were a quarter each and one of my favorite finds!!)

the large vase

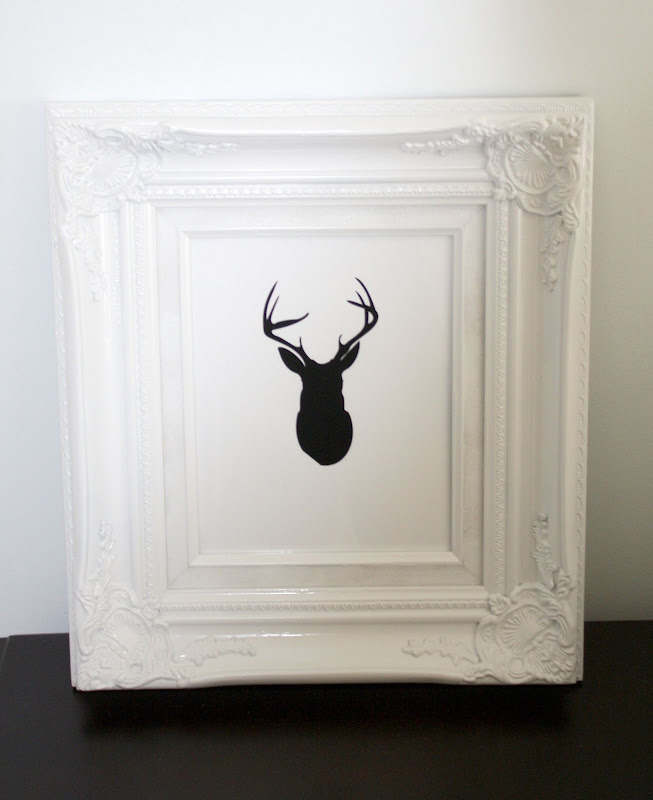
another frame i spray painted (this will go in my son’s nursery)

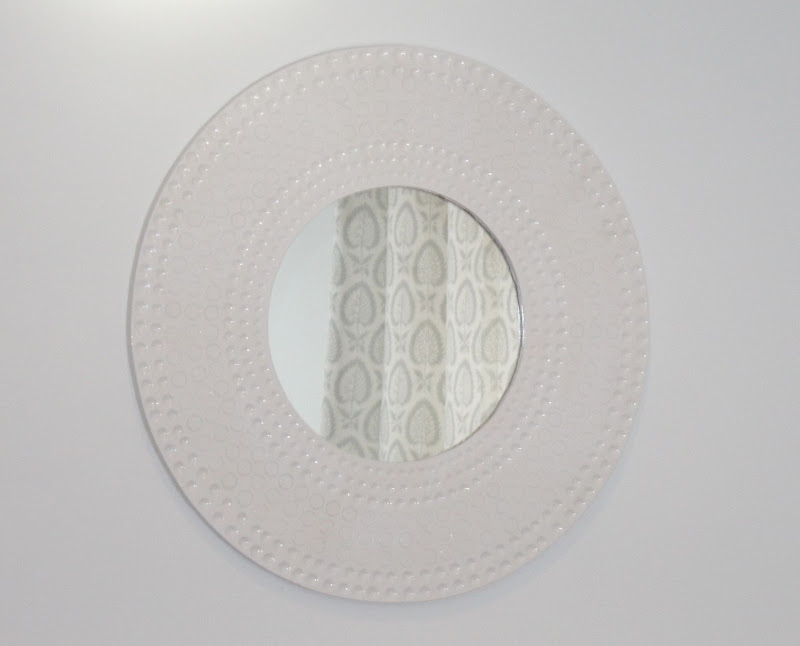
another mirror
And Sarah from
A Little This. A Little That.
found this pretty frame at her local thrift shop:
BEFORE:

AFTER:

Find something unique to furnish your home just like Dallas from
Dilly Dally Home!
Isn’t this church pew awesome?

Or get creative with something you have like
Welcome to the Turner Farm
BEFORE (cast iron cook stove base):


AFTER:

Have some left over burlap? Check out the burlap tissue holder cover tutorial at This Blessed Life!


How about a super hero cape? Learn how at
The Fabric Floozie!

capetute

Or this awesome any-paper holder (tutorial) from The Fabric Floozie!

paperholder

Let’s see what you’re up to…

~*~*~*~

If you’d like to link YOUR DIY project post to the party:
  1. You must use the button above and link to this post to share the linky love.
  2. Add your permalink (not your blog url, but your Show & Tell post url). Feel free to link a Past Post, just invite your readers in a current post with a quick note.
  3. Or email your link to thediyshowoff@gmail.com and I will add it for you.
  4. If you notice your link has disappeared please add the link back to The DIY Show Off to your post today with a quick note to your readers about the party and try again! I love when everyone participates and readers check out everyone’s links, but I think the return favor of linking back is the nice thing to do so everyone plays fair and enjoys all of the projects and links. Also – this Show & Tell is for DIY projects only. Links not related to DIY will be deleted.

Drab to Fab….pull up a CHAIR

I really enjoyed looking through the projects on this blog:

Grab our Button!

Don’t you just love a cinderella furniture story?

Keep reading!
It’s so pretty! AND it coordinates with the Drab to Fab blog design. It’s like an invitation to have a seat and be inspired.


Can You believe it, Just $4.00! I love it when they don’t over price!
So, I started by unscrewing the seat from the chair frame!
This is where a little elbow grease is needed!
I washed, and scraped off things that I couldn’t describe, nor do I want to. ( Then I washed and scrubbed myself for about 10 minutes, GROSS!)
After the frame was clean, the seat was in need of some TLC. Lucky for me they just tacked this part, which made it a cinch to take off. SCORE!
Then I took it outside for a few coats of black spray paint.
I also spray painted the chair frame a deep plum. That’s right, SPRAY PAINTED!!! I get away with it as much as possible! It was $3.34 at Walmart.
Next, to accessorize? Oh, So Many Choices!
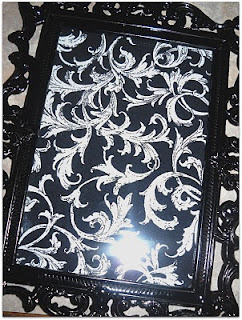
I Chose this BEAUT! ( frame also found at the DI for fiddy Cent! SAWEET!)
Take the glass out, and spray the frame black!
( I had to spray about three layers to cover that silver. For some reason It didn’t want to stick!)
When the seat is dry, cut your fabric about an 1 1/2 inches longer than all sides, fold them up, and tack them down.
( Fabric from Walmart, on sale for $2.22 a yard!)
Isn’t she sweet?
Did you forget about the eye candy? I used the same fabric inside the frame. Just cut it down to size!)
Attach frame with Gorilla Glue, tilt back, and let dry.
Total Drama, RIGHT?
I Just love the way it turned out! What do you think?
I have a few more chairs in my basement just begging to be revamped, and now I can’t wait!
All for only $10.06!!!

Thanks for sharing Hanna!

~*~*~*~

Thanks to Apartment Therapy for featuring my painted floor!
What a sweet surprise!

****

Head over to
High Heeled Foot in the Door
for details on how you can enter to win this mirror:

DIY Drawer Desk

Shannon from Shannon Makes Stuff sent over this cute drawer desk tutorial. I love it! Shannon has a great blog full of DIY tutorials. You might want to pay a visit and grab an idea or two. 🙂

Drawer Desk

Follow the tutorial above. And read below for more detailed instructions.

1. Take the dresser drawer and on each corner screw a table leg. Place two screws in each leg to avoid them from turning. The screw tops will show in the inside corners of the desk.

2. Take a board that is 1.5 inches wider and 2 inches longer than the drawer and place it on the top of the drawer. Make the long side of the board even with the front of the drawer. Screw to hinges onto either side of the them.

3. Stain all the wood pieces, or paint to your liking!

To make the chair.

Cut a 12X12 board and a 12X15 inch board. Screw the long board on to the edge of the square board. I used four screws along the edge. Then drill four holes in each corner of the under side of the chair. Attach coffee table legs that come with a center screw already attached. Simply screw into the holes you drilled. Then stain.

It’s as simple as that!!! A desk just like I used growing up at elementary school!!!

Thanks for sharing your cute desk tutorial and the other awesome tutorials in your fun blog Shannon!