DIY Shutter Shelf

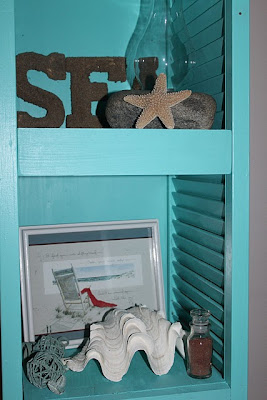
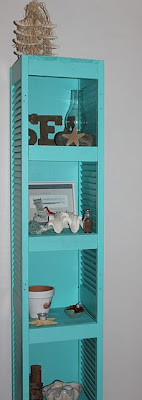
Deborah from With All My Heart and her husband built this beauty..

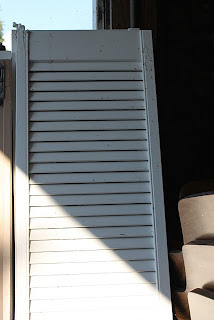
from these old shutters…

Beautiful!

Inspired?  Me too!  I’ve never been lucky enough to find treasure marked ‘free’ along side of the road but keeping my eyes peeled.  How about you?

Clever idea, beautiful job Deborah!  Thank you for sharing your creative DIY project. Love it!

DIY Project Parade Fab Furniture Features

I‘ve been on the hunt for something to paint and not because I specifically need something but I’ll know it when I see it, right? And looking is half the fun.  Some furniture inspiration is all I need. Here are some awesome furniture makeovers from this week’s DIY Project Parade.  Please click the links to see the full transformation in original post.  If you have something to share, email me a link and I’ll include it in an upcoming spotlight.  🙂  Now, check out these talented ladies’ transformations…

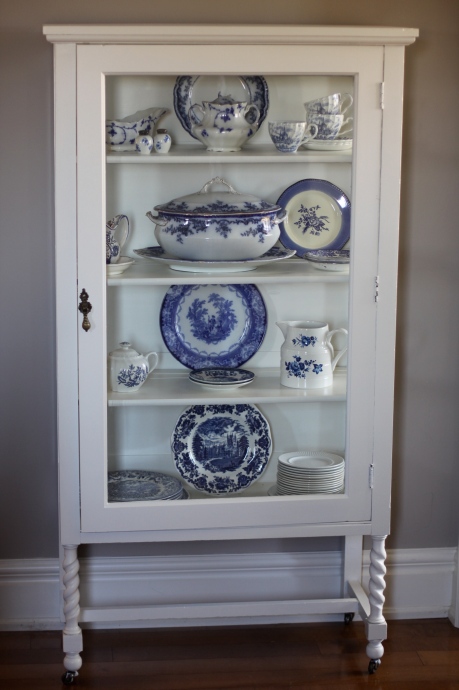
Going Green China Cabinet at the Inspired Nest….

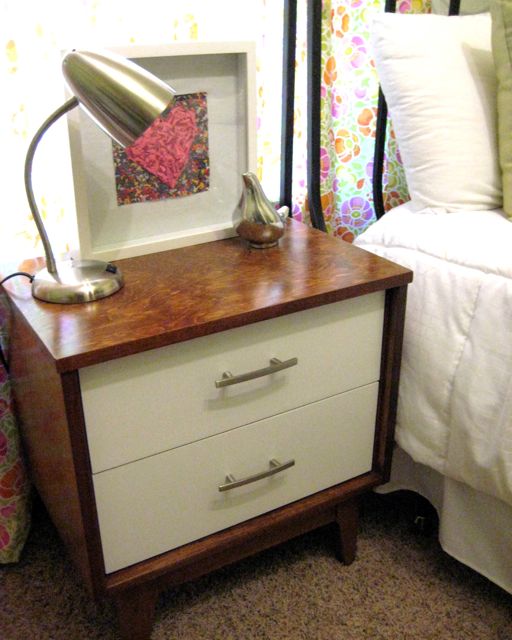
File Cabinet to Nightstand at Homemaking on a Dime

Photobucket

Gorgeous New Look by Welcome to Heardmont…

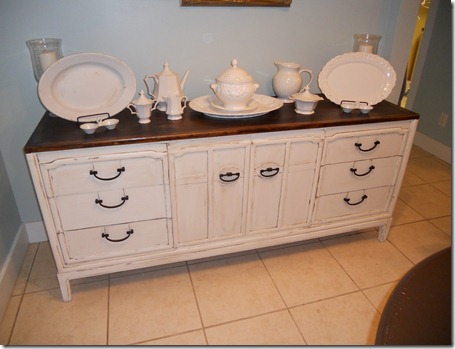
Beautiful Buffet Makeover at LouLou

DSCN0871

Happy Hello Yellow dresser makeover at Chrissie’s Collections…

Lovely Hutch Makeover at Two Carolina Nesters…

Pretty Shabby Armchair Makeover at Biljana Shabby…

Great furniture makeover & tutorial at Mrs. Adventure…

Frugal Mom x 3 – Beautiful Dining Room Chair Redo…

Lovely Vintage Toile Sewing Cabinet at On Ruby Lane…

DSCF3516

Cutest Rocker Revamp at Glitz & Grits!


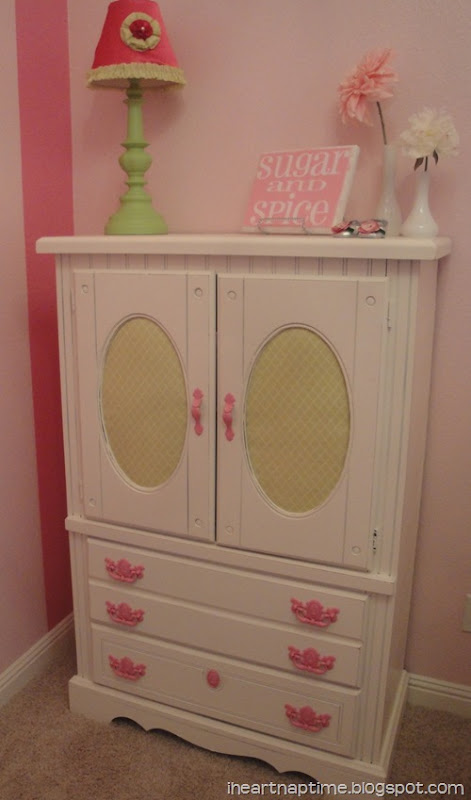
Wow – unbelievable armoire makeover at I Heart Naptime…

painted armoire for nursery


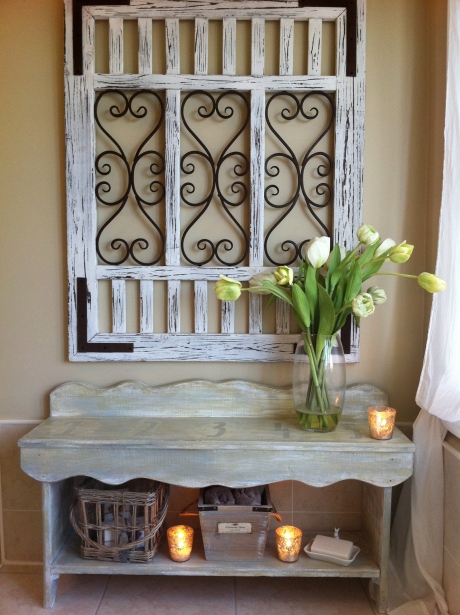
Beautiful Numbered Bench at Maple & Magnolia…

Do you feel like applauding as much as I do? Great job, ladies! You’re each an inspiration!

Refinish it All: Re-upholstering a Bench

One thing on my DIY list is to re-upholster a chair and I’ve been watching Craig’s List for a piece I’d feel confident at giving it a shot.  Check out how Eliana from Refinish it All did it.  It’s her first time.
For $20 she found this upholstered bench.  It took her a while to work up the courage but tackled it with an electric staple gun, staples, fabric, screwdrivers and needle nose pliers. 

Before (flipped upside down with legs removed)
She removed all of the staples.
Advice from Eliana:
After taking the whole thing apart, dont wait 3 weeks to put it back together. You will forget the order things need to go back on. 
Next, she painted the legs with Rust-oleum Lacquer paint in Black. Using the previous fabric as a pattern, she cut the new pieces a little bigger using a thicker fabric.  Starting with the arms, she placed one of the old pieces on to better understand how the folds went.
The buttons for the arms presented a challenge. The fabric was too thick to fit inside the button, so she got creative and sewed and hot glued the fabric on.
Without a sewing machine, the piping on the front and back also created a challenge. She created the piping with some hot glue and a little love to the attach piece of fabric. She used hem tape and stapled the piece of fabric to the bottom. 
Her first completed project:
After

Great job Eliana!  It looks awesome!  Thanks so much for sharing your experience!  I love how it turned out!