Stacy from
Not Just a Housewife loves building and refinishing furniture. She taught herself how to fix hand-me-downs and personalize them to suit her style. Here is how she refinished an old desk collecting dust in her mom’s barn for years.
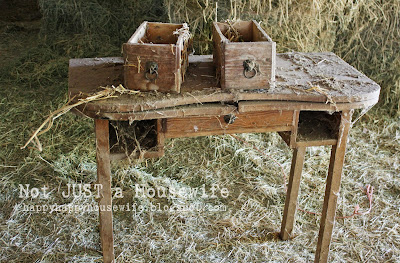
The first picture is the before before.
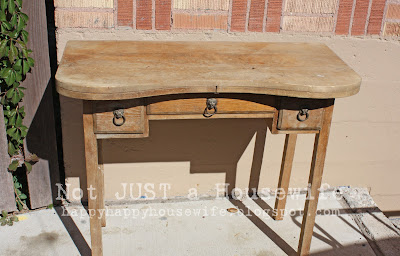
And here it is all cleaned up. The before picture…
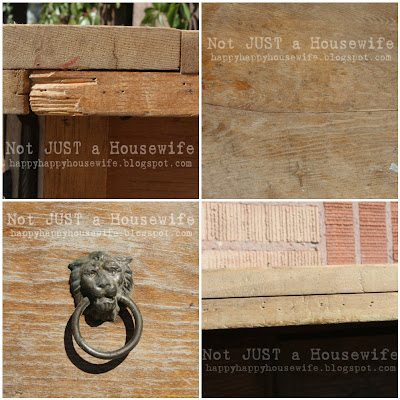
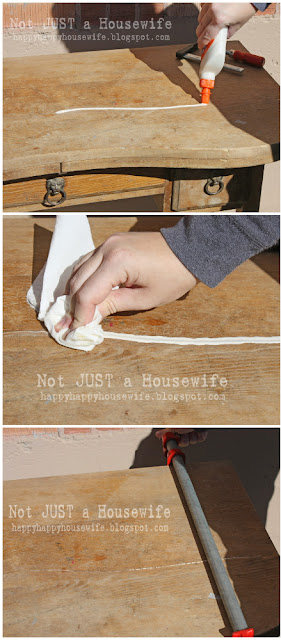
It needed a lot of TLC. It had a minor crack on the top, thumb tack holes along the front, chunks missing and a broken leg. First, she addressed the repairs using Elmers stainable, paintable and sandable wood glue. She put glue along the crack, let it sink in and wiped it off with a damp paper towel.
A large clamp caused some of the glue to squeeze out so she wiped it again then glued and clamped the broken leg too using small C clamp.
She re-enforced the drawers and other spots with a brad nail gun.

Let the glue dry for a day before taking off the clamps. Then sand it using a hand sander and by hand if needed, removing the old finish. It would be best to practice on something else first to get the hang of it. (For an example, see Stacy’s bathroom
HERE).
Stacy used putty to fill in any small cracks or nail holes. Putty, let dry, and then sand. She used Elmers
stainable, paintable, sandable wood putty.

In a situation like this, I use oil based stains. For wood was old and dried out, Stacy recommends using oil based stains. The oil in the stain helps the wood. Plus it dries slower than waterbased stains and gives you more time to work at getting an even finish. Waterbased stains sink in fast, especially with dry or porous (soft) wood. You can also use a wood conditioner before applying the stain. It is sold in cans just like the stain and is milky white. She always use foam brushes too. There aren’t any brush marks and it makes for easy clean up. Just toss them in the garbage!
Let the stain dry for a day and a half. It needs to be completely dry and not sticky at all.
Then you can add the polyurethane. Use in a well ventilated area. It brings the wood to life and protects it. Stacy uses Minwax’s Fast Drying Clear Satin finish.
Stacy just scrubbed existing hardware.
Ready to see it now? Take a look…
Beautiful ! Wow. I love the finish. I love barn treasures! 😉
Gorgeous job, Stacy! Thank you so much for sharing! Great tutorial!
For more beautiful DIY projects, stop by Stacy’s blog!


