Wooden Candy Corn Accents

We’re making progress on the grape arbor/gazebo, recycled brick path and patio AND a laundry room makeover and in between those bigger DIY projects, I’m having fun with some stress-free easy DIY. I just saw the cutest little candy corn bean bags somewhere which inspired this project…a scrap wood version. 

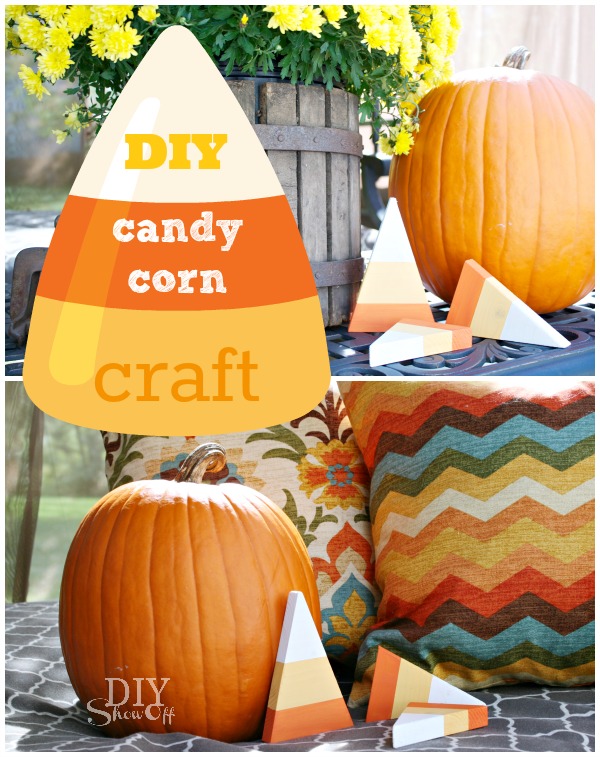
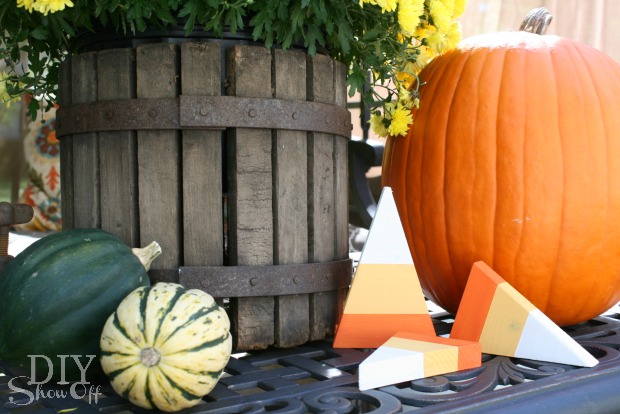
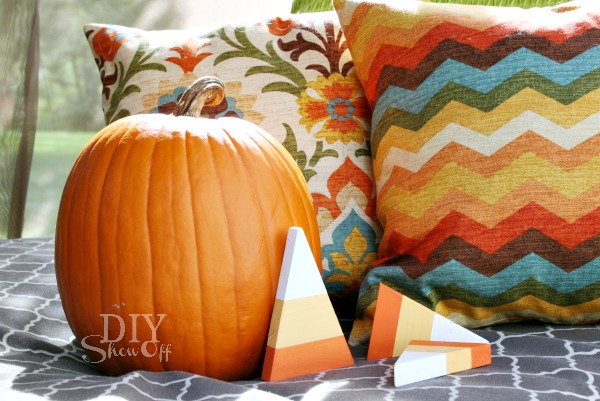
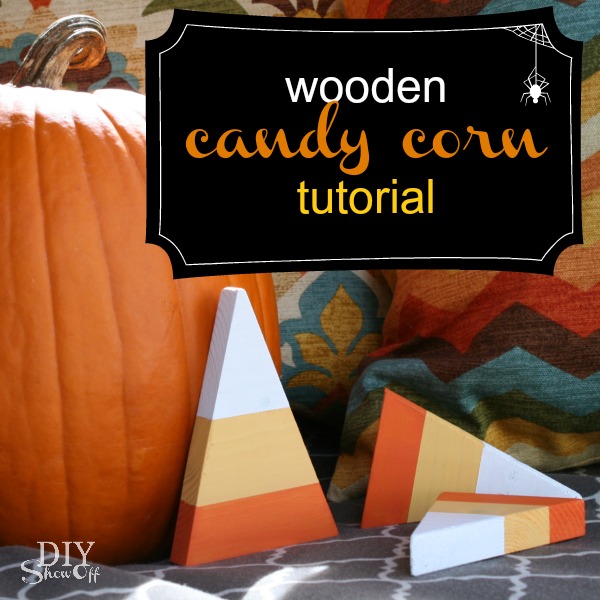
DIY Halloween/Fall craft: decorative wooden candy corn pieces 

Materials:

  • Scrap 1 x 6 wood
  • FrogTape®
  • Sandpaper
  • Craft paint

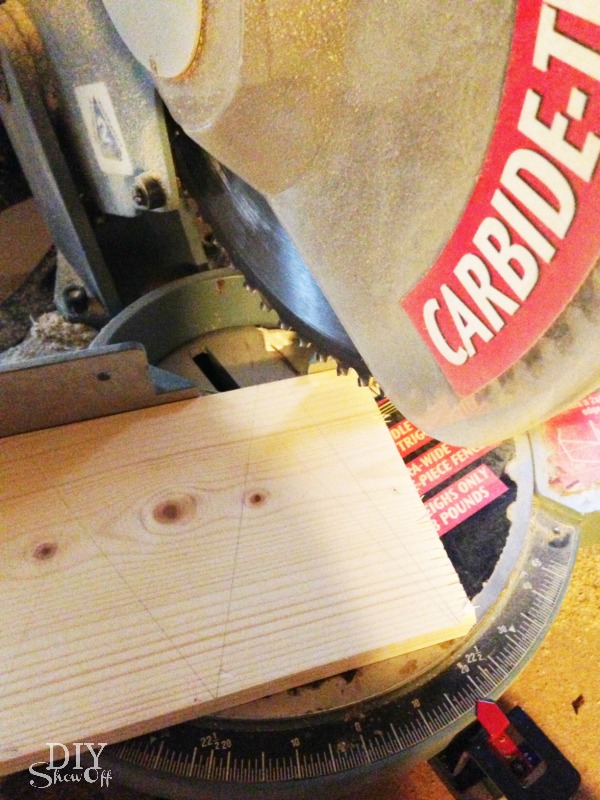
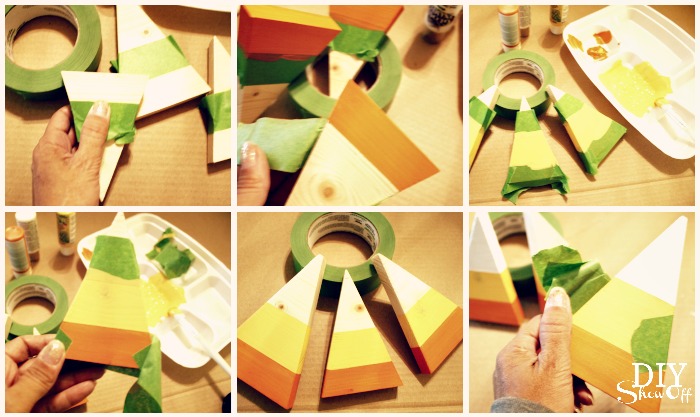
I used the miter saw to cut three triangle shapes from my scrap wood, then sanded the edges.

DIY Halloween craft

Candy Corn Fact: My DIY version goes from orange to yellow to white but the official candy corn striping starts with yellow on the bottom, orange in the middle and white on top. 

I taped off each section using FrogTape®, rubbing my thumbnail along the edge of the tape. I started at the bottom with orange craft paint. After I applied a second coat, I removed the FrogTape®. Let dry and move on to the middle yellow section following the same steps, finishing with white craft paint on the pointy part of the triangle.  Allow drying time between each color. 

DIY Halloween/Fall craft: decorative wooden candy corn pieces

DIY Halloween/Fall craft: decorative wooden candy corn pieces

Optional: seal with a protective clear coat. 

DIY Halloween/Fall craft: decorative wooden candy corn pieces

Aren’t they cute?

DIY Halloween/Fall craft: decorative wooden candy corn pieces

I think these would make a great fall hostess gift tied up with ribbon.

DIY Halloween/Fall craft: decorative wooden candy corn pieces 

Sharing at the Lettered Cottage and Centsational Girl.

FrogTape Blog Squad

*I’m a member of the FrogTape® Blog Squad. This post is sponsored by FrogTape®. As always, the opinions are completely my own based on my own experience. 

DIY Outdoor Giant Dice Game (LCR)

As a member of the Lowe’s Creative Ideas team, I have the option to participate in monthly challenges. One of the themes to choose from for June is DIY Outdoor Games. Our family spends a lot of time together in the summer months at mom’s pool and at our home for cook-outs and bon-fires. Having a few games on hand makes get-togethers fun. 

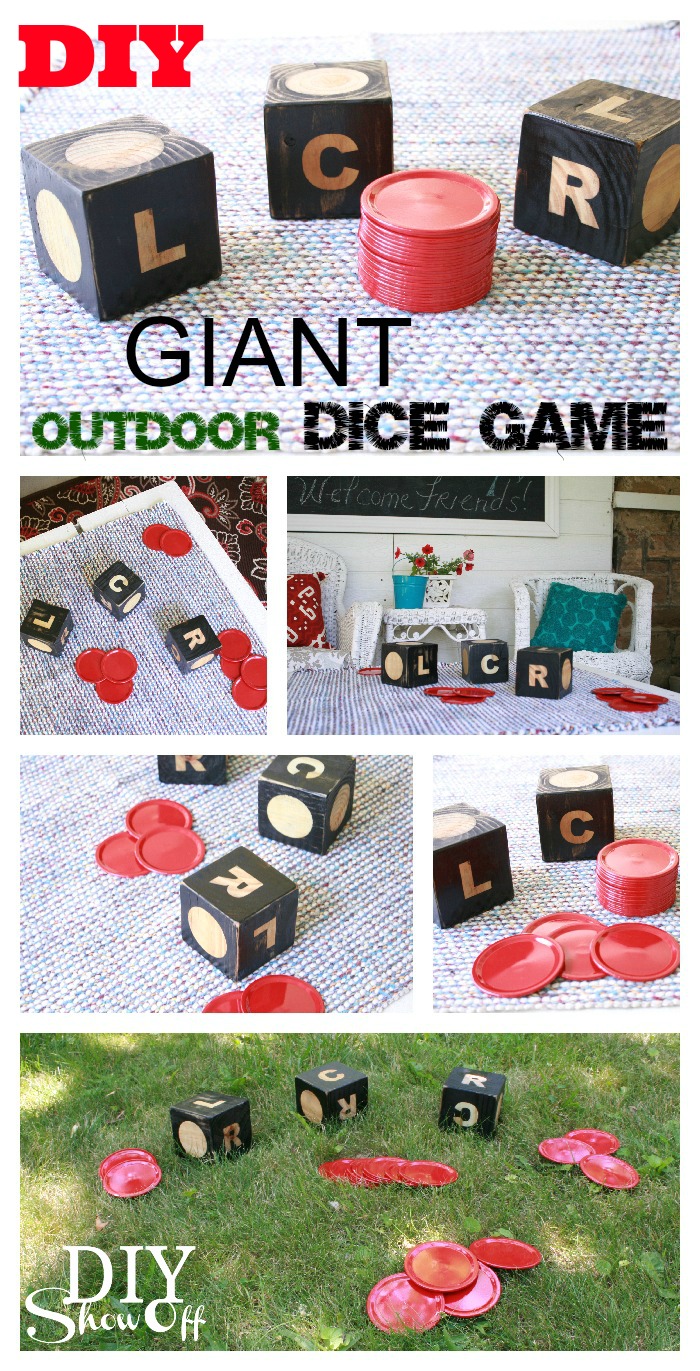
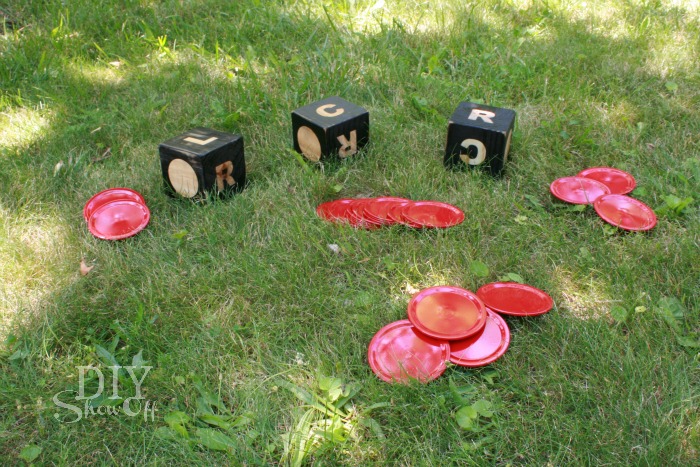
DIY giant outdoor LCR dice game tutorial

I decided to make a giant version of a new-to-me dice game called LCR. Lowe’s supplied a gift card to complete this project. I think this would be a great summer DIY hostess gift too! 

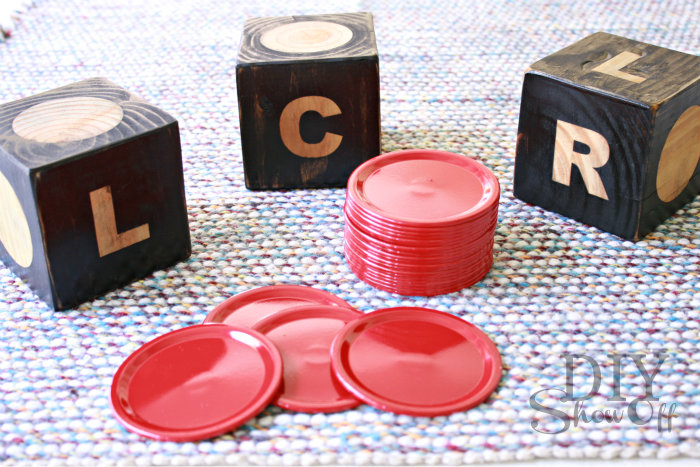
DIY giant LCR dice game

Materials I used (can be altered using some leftover supplies too):  

  • Scrap 4″ x 4″ 
  • Sandpaper/sanding block
  • Stencils (3 “L”s, 3 “C”s, 3 “R”s and 9 circles). I created my own but Lowe’s also sells vinyl letters or you could draw/paint them free-hand. 
  • Rust-Oleum’s High Performance Enamel (gloss black)
  • Rust-Oleum’s Ultimate Polyurethane spray
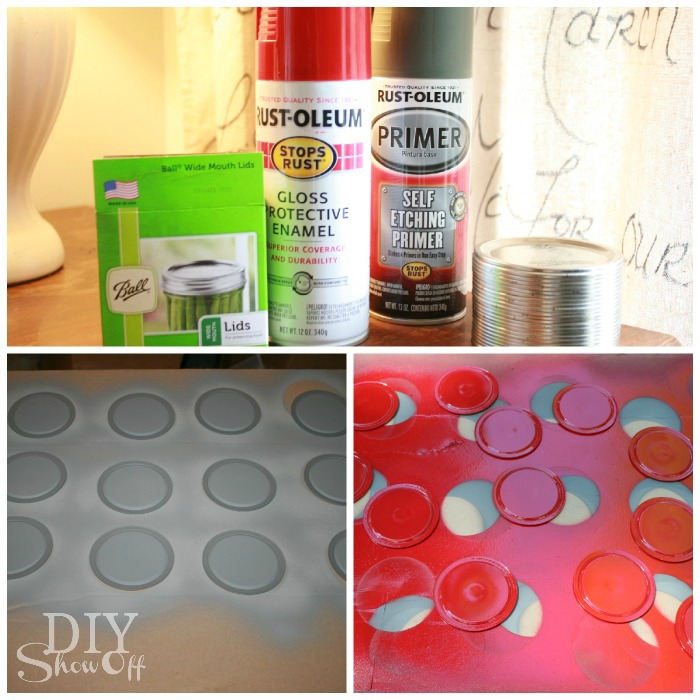
  • 2 boxes of large canning jar lids (total 24 lids)
  • Rustoleum’s Self Etching Primer
  • Rustoleum’s Spray Gloss Protective Enamel (red)

TUTORIAL

Dice: 

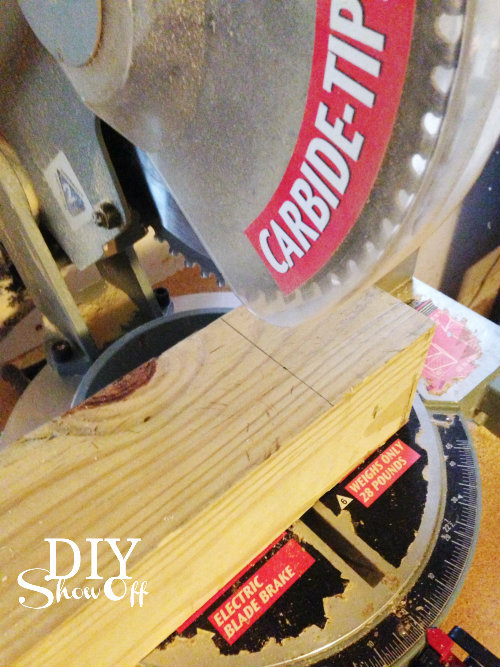
1. Measure and cut cubes from the 4″ x 4″. Note: A 4 x 4 will more likely measure 3.5 inches, not 4 inches. My cubes are 3.5″ x 3.5″. I used scrap wood since 4″ x 4″ beams come in 10 foot pieces…although that’s great option for making these as hostess gifts this summer! 

cutting 4x4 DIY dice game

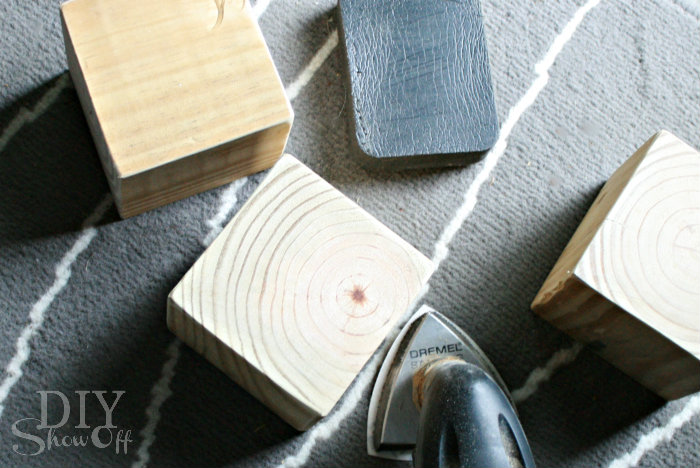
2. Sand edges and surfaces of each cube. 

sand wood cubes DIY giant dice game

Note: You can paint dice any way you choose: All one color with a different color lettering, color the lettering and leave the dice wood-toned, staining the wood and painting the lettering, etc. I will probably try something different with my next set so they’re each unique. 

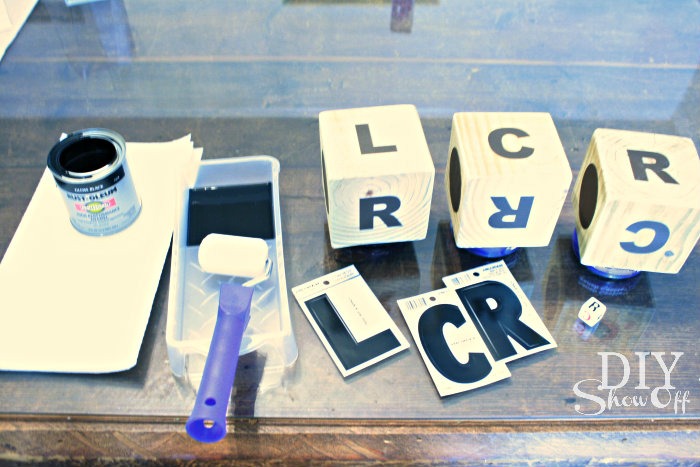
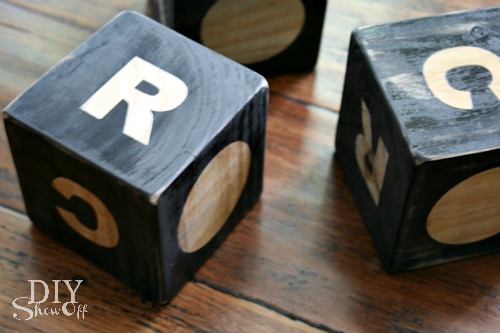
3. Apply vinyl lettering/circles: one L, one R, one C to each die (the real game set shows them all beside each other on 3 face sides), then apply 3 circles to each die. Make sure to press them down securely. 

DIY LCR dice game tutorial

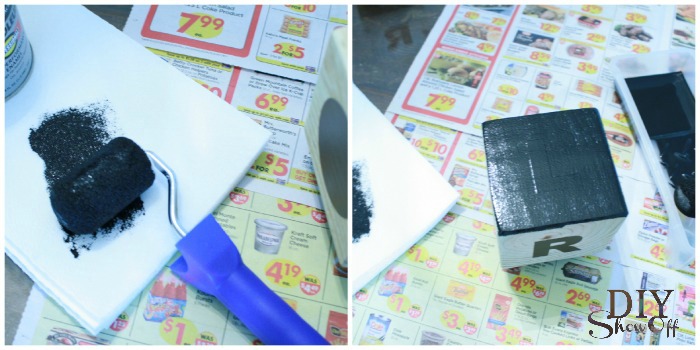
4. I elevated my dice and used a roller to apply my paint. Once dry, I flipped each die and painted the bottom side. 

giant LCR dice

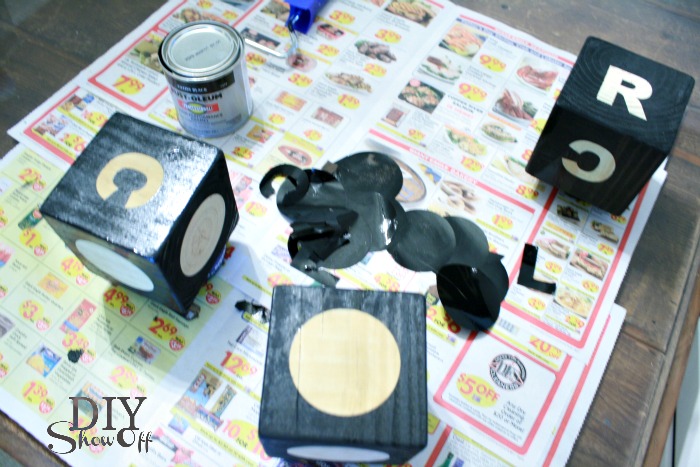
5. Peel away vinyl stencils.

outdoor dice game tutorial

6. Once dry, I sanded each die for a distressed look then wiped them clean with a damp cloth. 

giant LCR dice game

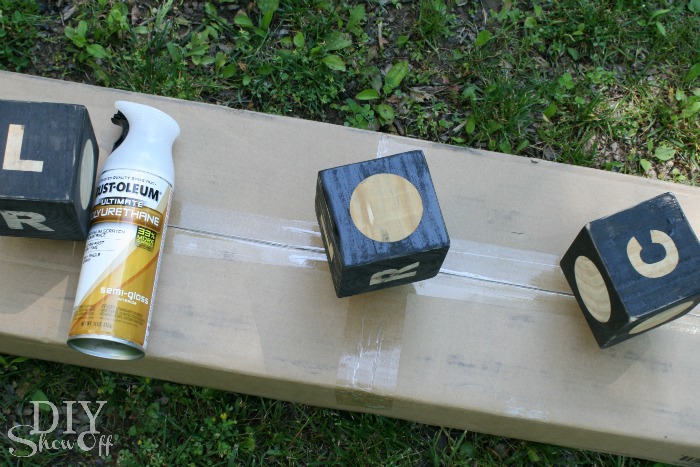
7. Spray each die with a lacquer/clear coat sealant and let dry. 

sealing DIY dice

Chips:

Spray each side of each canning jar lid with self etching primer (allowing to fully dry on one side before flipping and spraying other side). Repeat with spray gloss protective enamel. Each coat takes a long time to dry, especially around the rubber seal of the canning jar lid. I found working outside helped speed up the drying process. 

DIY giant game chips tutorial

Time to Play!

DIY Outdoor LCR Dice Game Tutorial

Game Rules:

  1. Each player starts with 3 chips. 
  2. First player rolls the dice. 
  3. L = give a chip to the player to on your left. C = give a chip to the center pot. Roll an R = give a chip to the player to on your right.  Roll a dot = keep chip.
  4. Pass the dice to the player on the left for their turn. 
  5. You roll as many dice as chips you have (if 4 or more, roll all 3 dice).
  6. Losing all of your chips doesn’t mean you are out of the game…the game changes quickly! There is a chance another player will roll an L or an R and pass more chips to you. 
  7. Last person possessing one chip wins the center pot. 

DIY giant outdoor LCR dice game tutorial

Sharing at 

See more fun DIY ideas at Lowe’s Creative Ideas, follow Lowe’s on InstagramPinterest and sign up for the Creative Ideas magazine and app!

Spring 13 Blogger Badge Subscribe Banner Version

*Disclaimer: As a member of the Lowe’s Creative Ideas Creators and Influencers network, I received a Lowe’s gift card to complete this project. The tutorial images, instructions and opinions are my own. DIY results may vary.

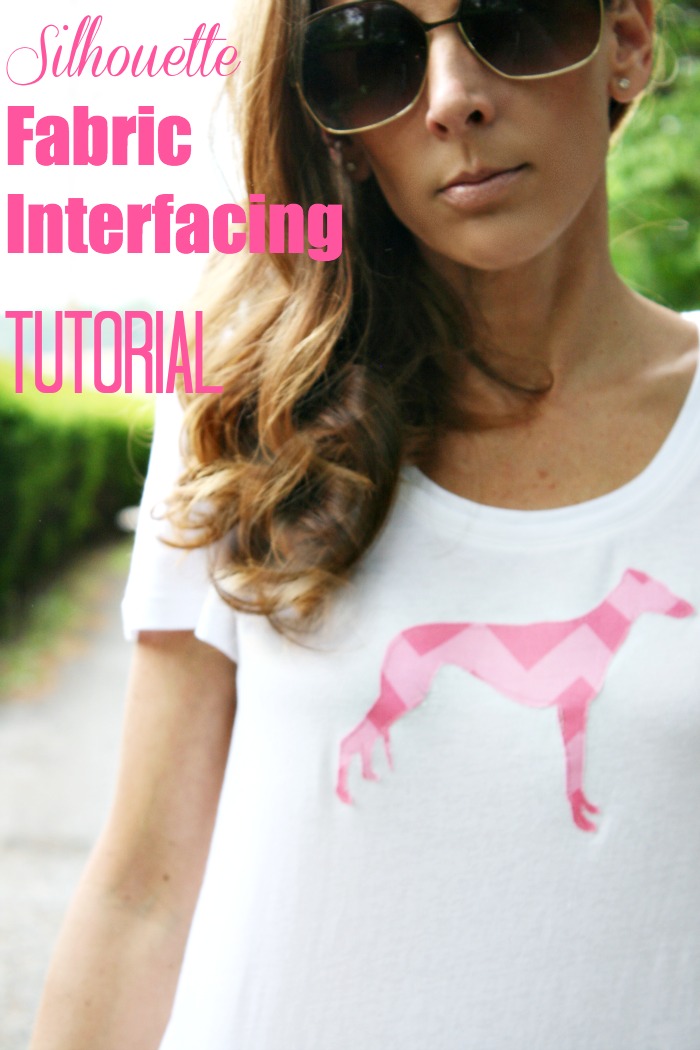
Silhouette Portrait Fabric Interfacing Tutorial

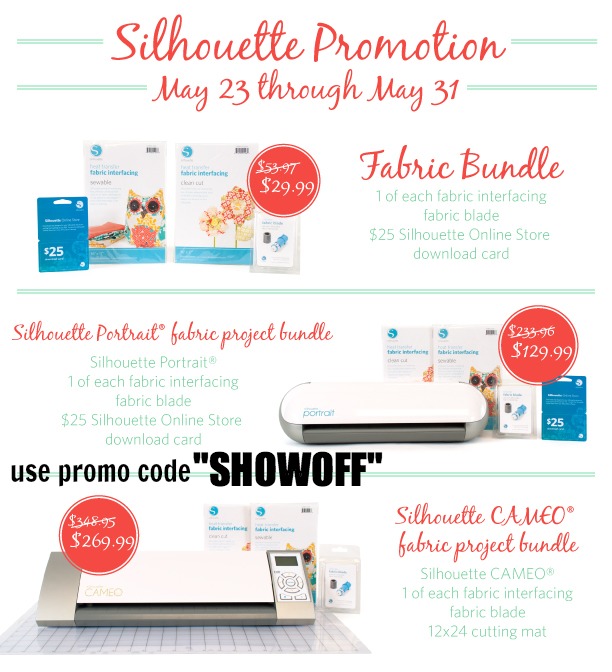
As a Silhouette America affiliate, I have the opportunity to try new products and earn a small commission on sales while passing along  special promotions. Here’s the current deal with awesome savings. Just use code “SHOWOFF” at checkout.blogger-promo-may-23
Did you know that Silhouette America has fun products like sewable fabric interfacing (thinner for sewing into place and washable) and clean cut fabric interfacing (thicker for no sew/no wash projects) for creating fabric appliqués?
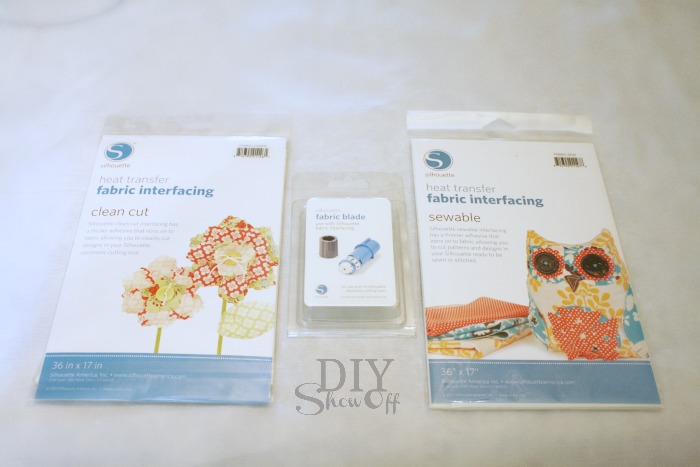
Silhouette fabric interfacing

Here’s a tutorial on how it works: I chose the sewable fabric interfacing.
fabric interfacing tutorial

1. Pre-wash/shrink fabric and t-shirt.

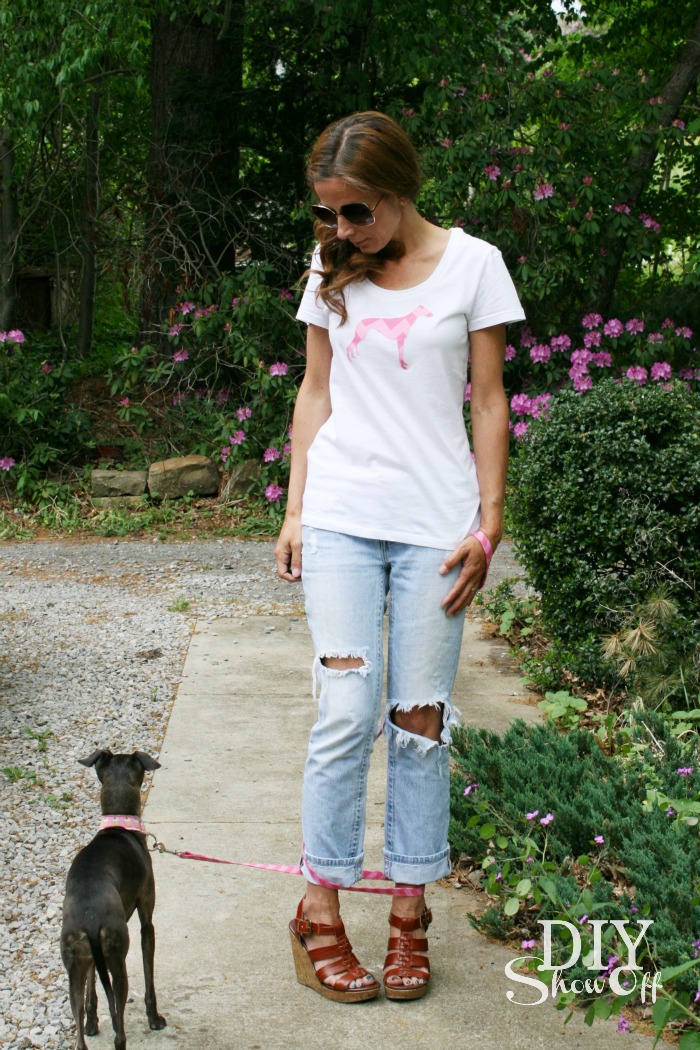
2. Open the Silhouette Studio software and create a shape, monogram, even lettering for words. I easily purchased a ‘greyhound shape’ from the Silhouette online shop for 99 cents for labeling the pet food jars a while back that I can use over and over again. The little girl in me decided to create a pink chevron appliqué for a plain white t-shirt. For me. To match my dog. I’m a dork like that. 😉

3. It’s easy to size in the software. I place my shape in the top left hand corner of the “cutting mat” in the open studio software.
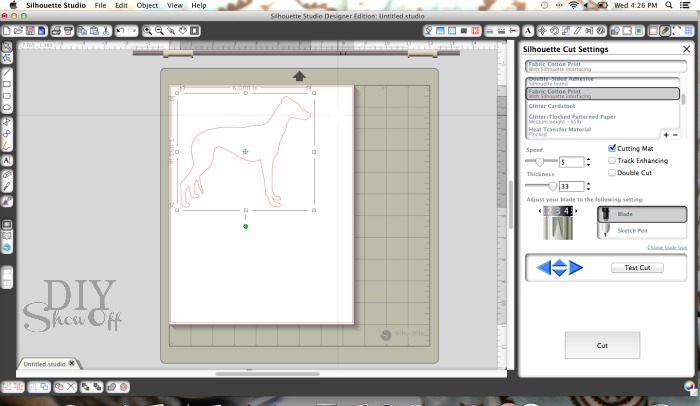
silhouette studio

4. Cut the appropriate sized piece of fabric and interfacing.
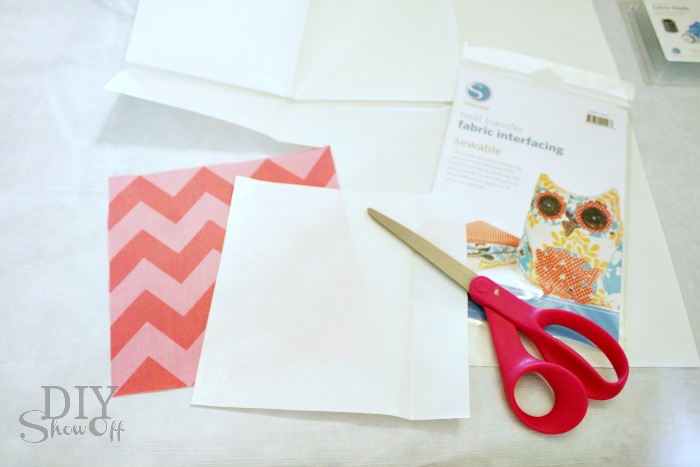
Silhouette interfacing

5. Next, iron together a piece the sewable fabric interfacing (rough side) to a piece of scrap fabric (cut to size) on the back/wrong side using the appropriate settings for the fabric.
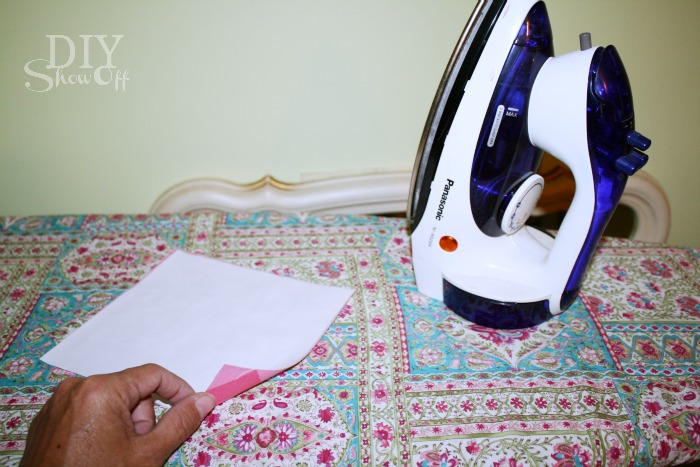
ironing interfacing

{Wow! I guess I did get some sun in Mexico in Feb! I tan super easy/quick even with sunblock.}

6. Peel away the paper…you’ll see the ‘interfacing/glue’ has transferred to the fabric.
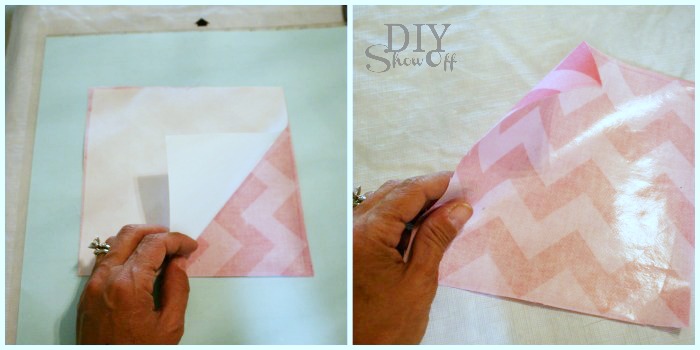
heat transferrable fabric interfacing

7. Then place the fabric onto the cutting mat (into the same location as shown in the Silhouette Studio software) and insert into the machine.
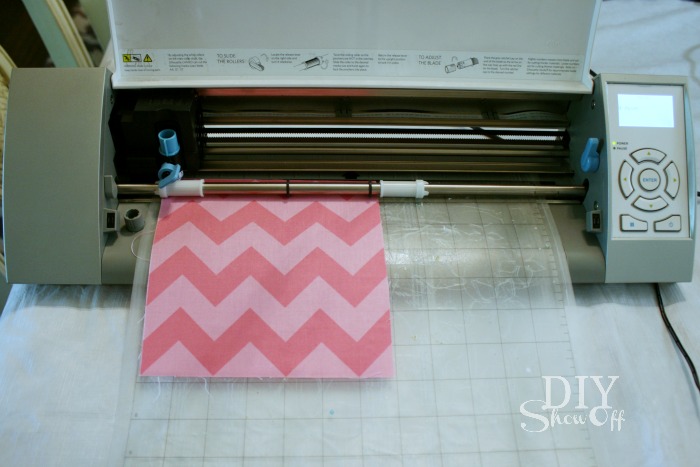
Silhouette cutting fabric

8. Hit “send to Silhouette”, change the blade and cut settings.
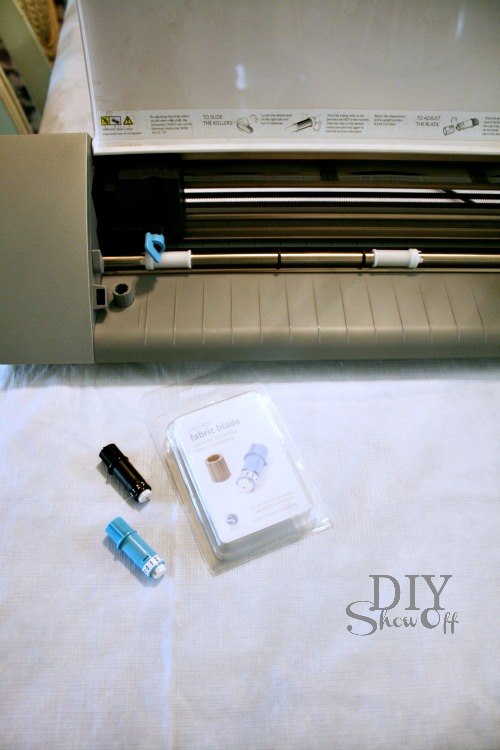
silhouette fabric blade

9. Click “cut”.

10. Once it’s finished cutting, remove the fabric from the cutting mat, toss the scraps and you’re left with an iron-on fabric appliqué.
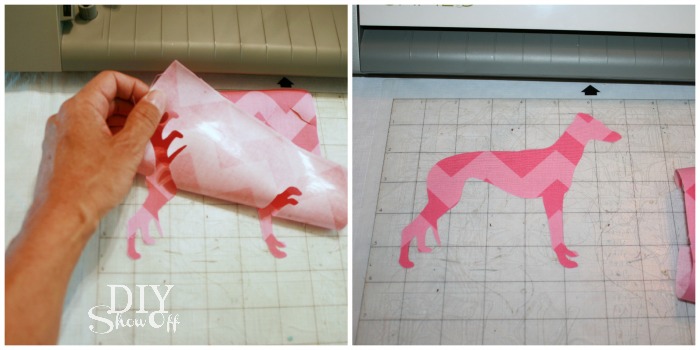
SIlhouette applique

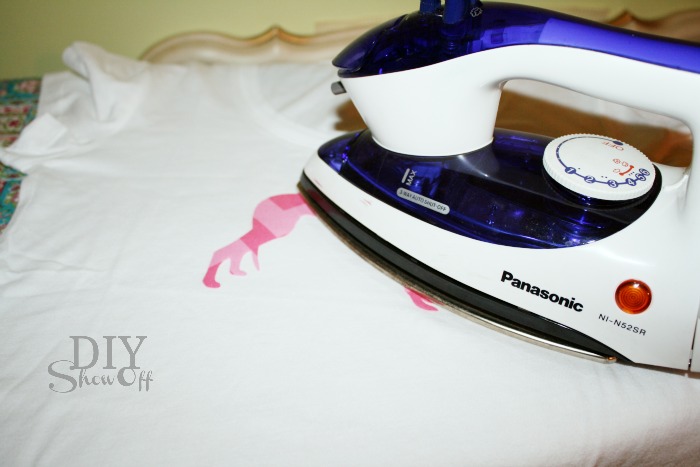
11. Next I positioned the appliqué onto my t-shirt and ironed it on (using the heat setting for cotton). This holds it into place.
ironing appliqueironing applique

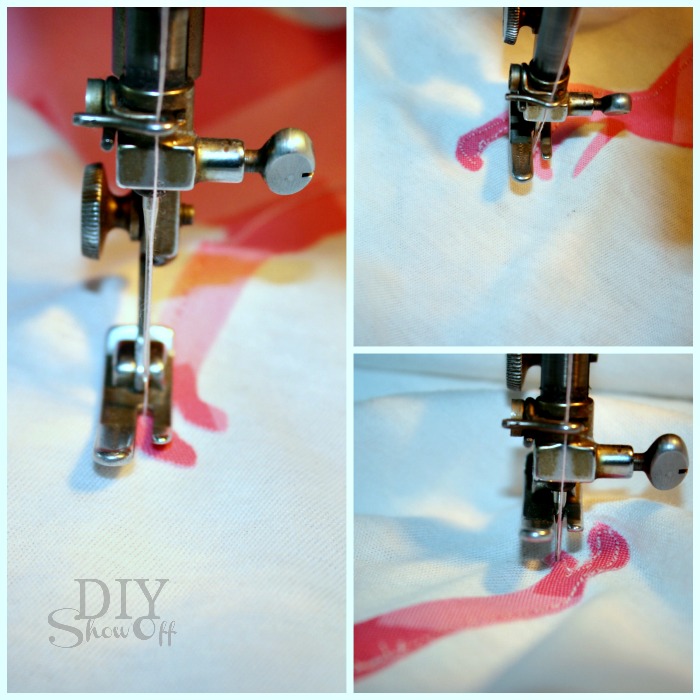
12. Then added stitching as close to the border as I could get with the sewing machine to make it more secure and durable for washing. Tip to help maneuver curves in a design: with the needle down (piercing the fabric appliqué), lift the foot then slide around the t-shirt, put the foot back down and resume sewing. Also, make sure NOT to sew the front of a shirt to the back while sewing!
sewing applique

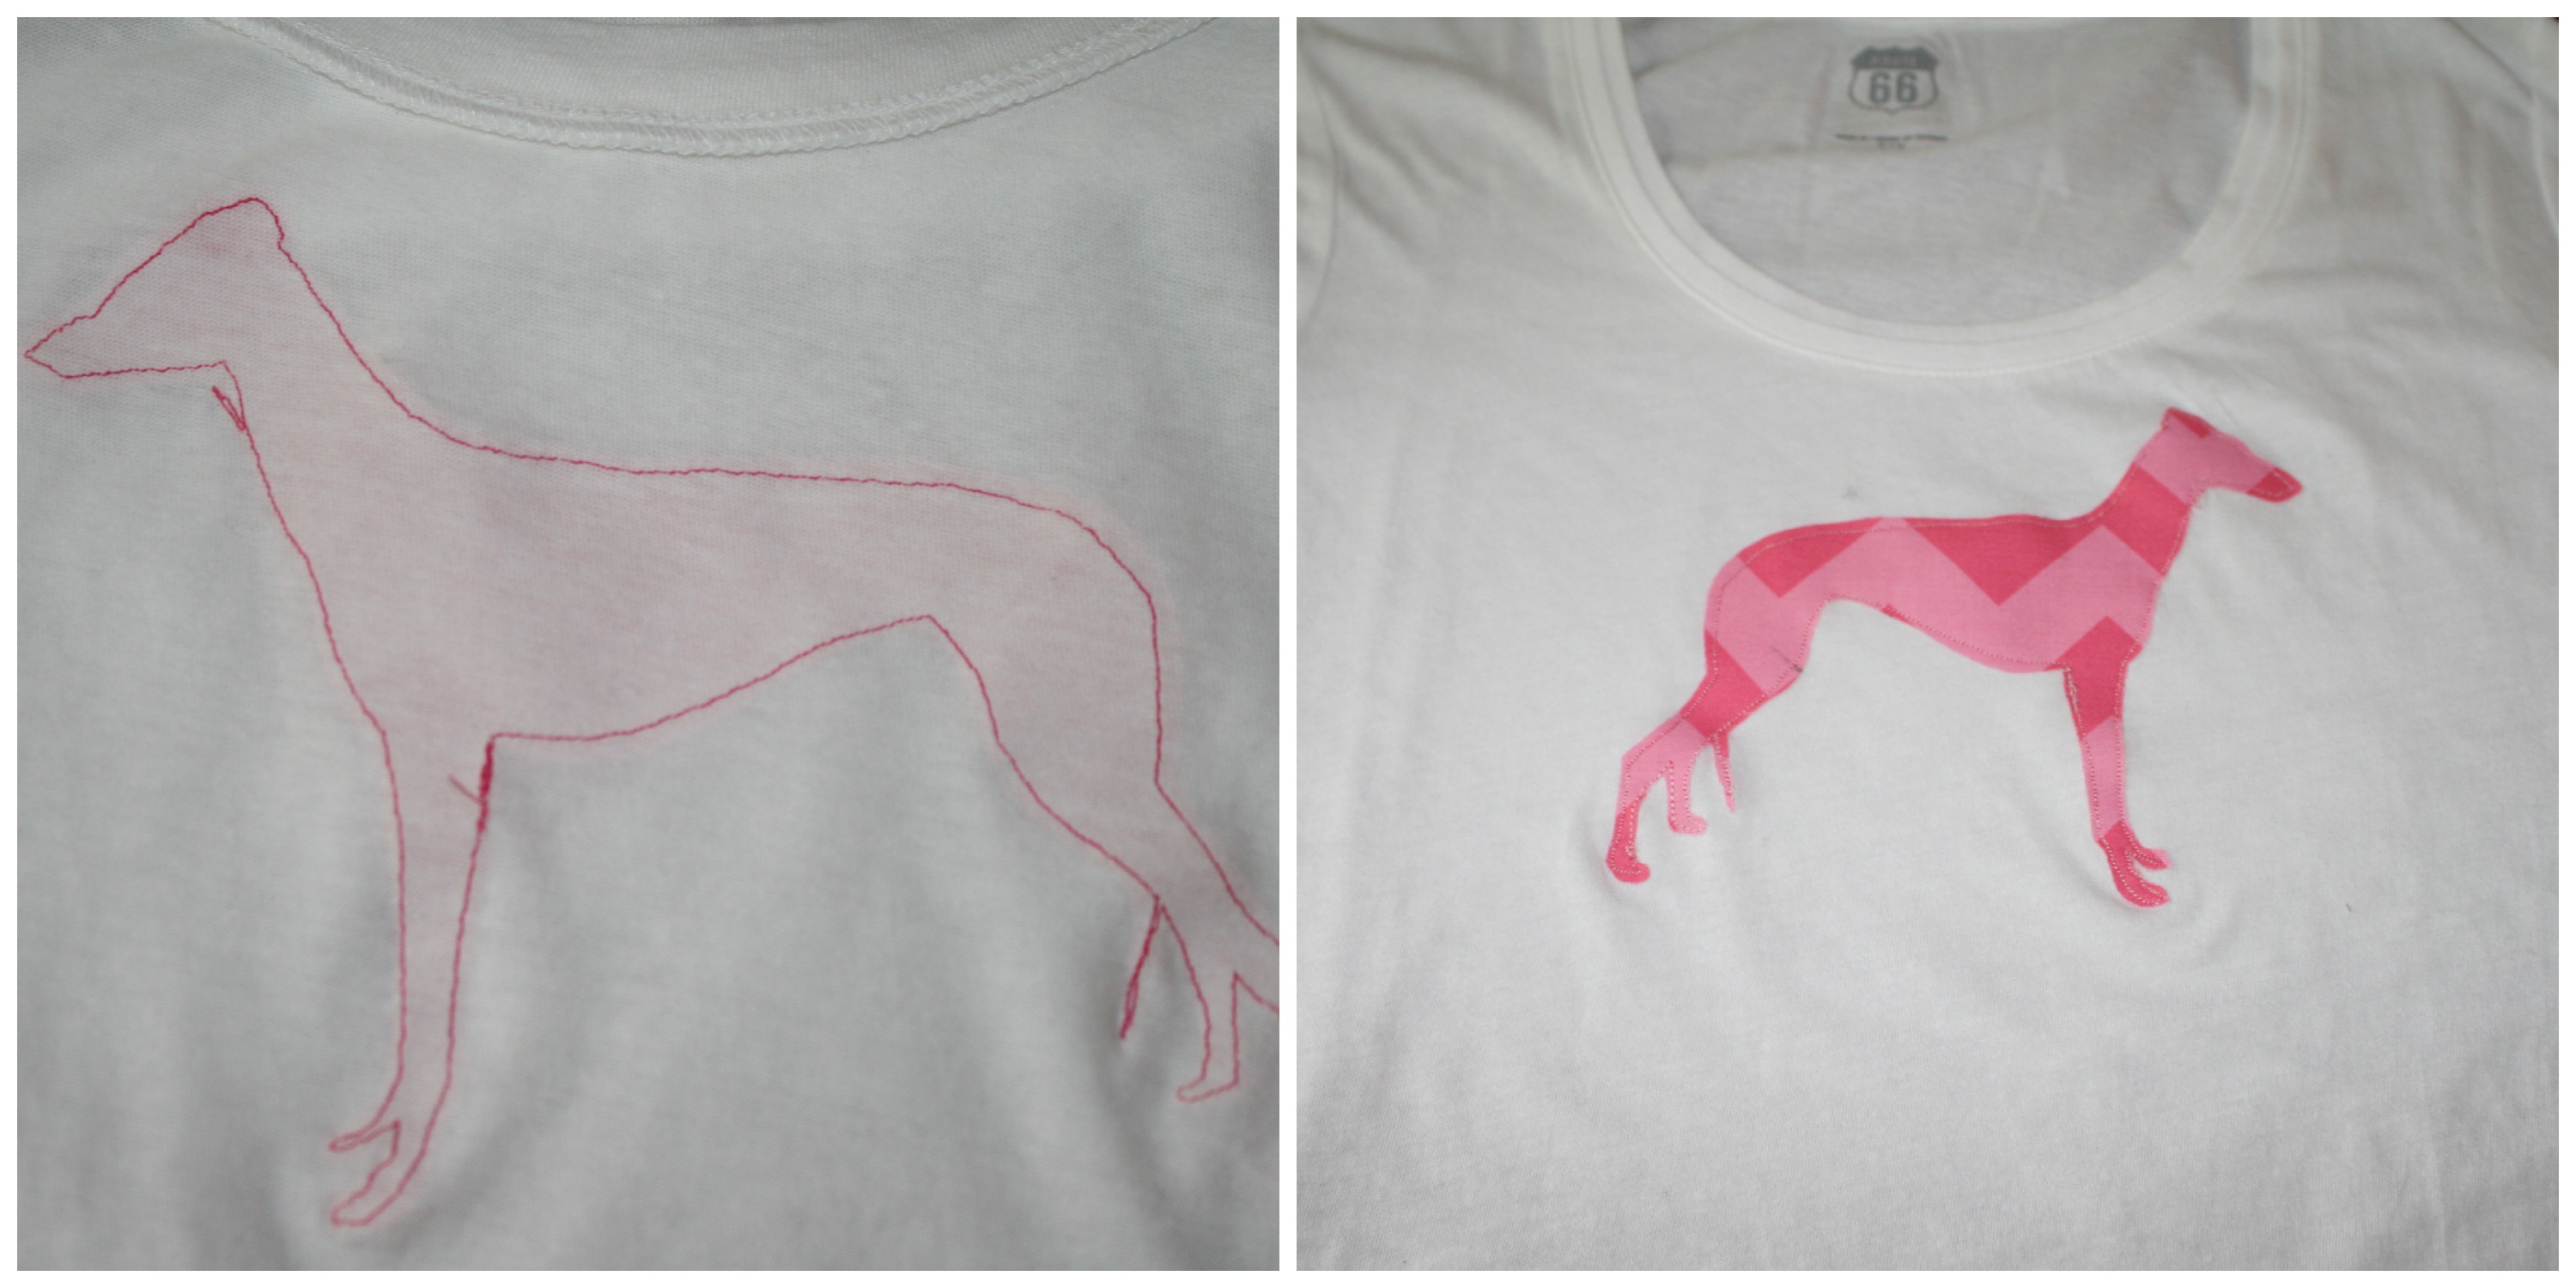
All done! Here is what it looks like inside out and all complete…
Silhouette applique inside outside

Cute! I love it. 🙂

Silhouette-greyhound-applique

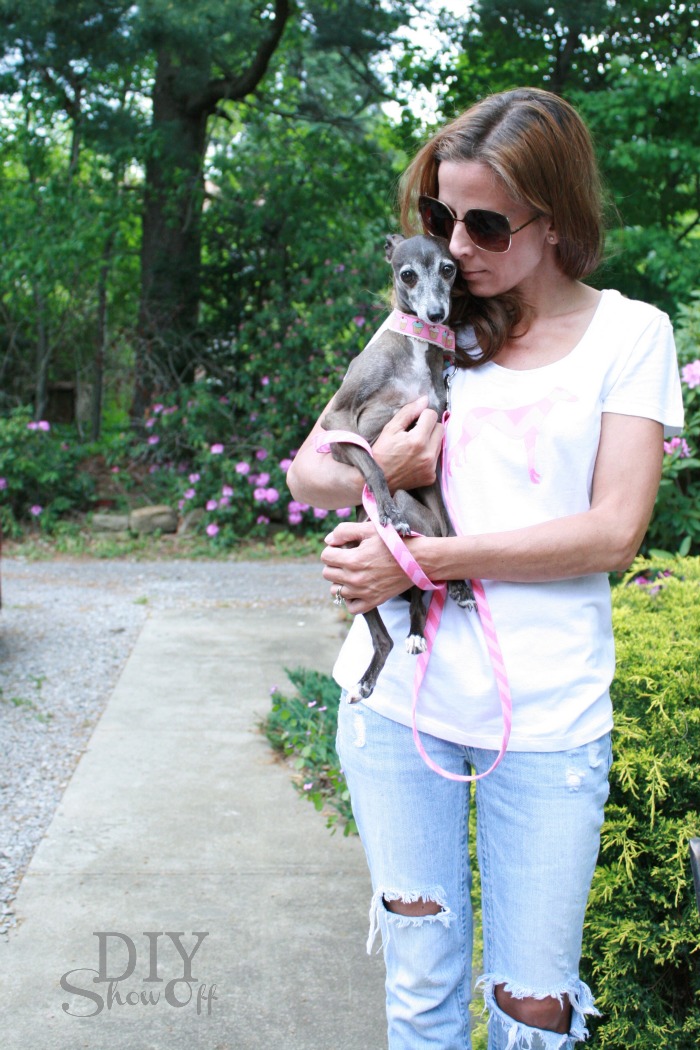
Me & CocoRosie…

CocoRosie and Roeshel

Roeshel and Rosie

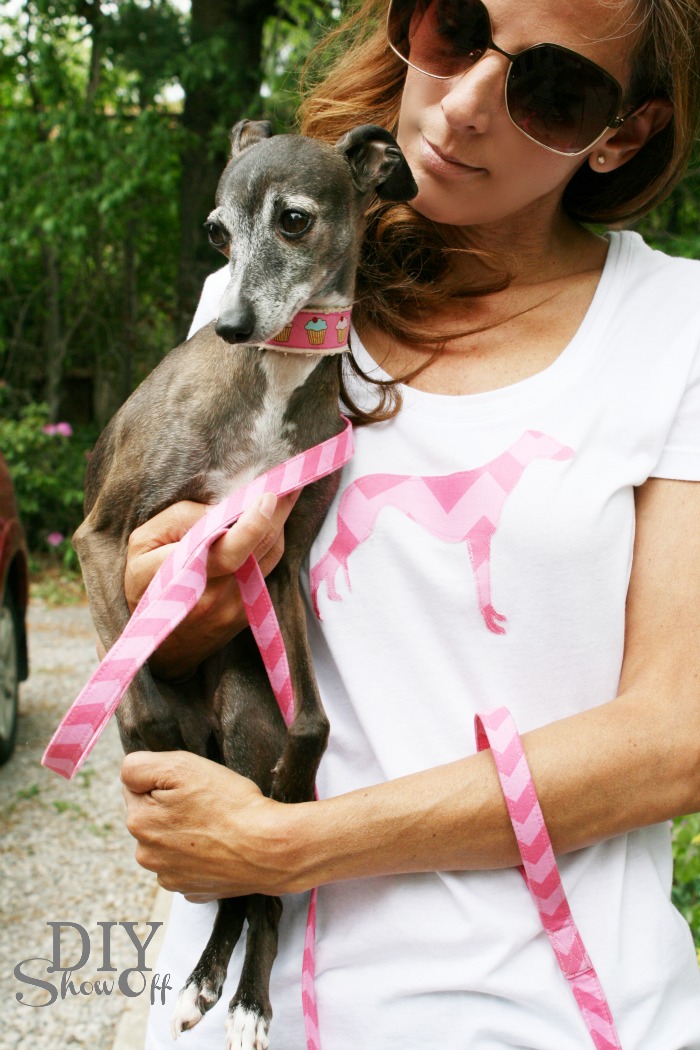
Yes, this little Italian Greyhound has stolen my heart in the 1 month since we rescued her…
DIY chevron greyhound applique

Note: I purchased the matching pink chevron dog leash (shown) and chevron dog collar (not shown) at Etsy shop, Learned Stitchworks. I loooove it (Thanks for the purple set too, Karen!) Gorgeous color choices, beautiful handmade quality, BEST pricing ever! Very satisfied customer. I need a set in every color, don’t you?

I purchased the (Riley Blake) pink chevron fabric from Fabric.com (leftover from the DIY dog bed cushion I made).

Back the fabric interfacing…It’s great for making personalized tea towels, baby blankets, tote bags, t-shirts, monogrammed pillow covers.

So not only does my Silhouette cut paper, vinyl and chipboard, it cuts fabric too! One more reason you can’t live without one! 🙂

Use code “SHOWOFF” at Silhouette America (this affiliate link) from now through May 31st to take advantage of the special pricing.

blogger-promo-may-23

And how about a chance to win a Silhouette Portrait machine?!

THIS GIVEAWAY IS NOW CLOSED. Winner is Benny who says “My son is getting married soon, I would make ‘bride’ and ‘groom’ appliqued t-shirts.” Congratulations, Benny! Benny has been notified by email to claim her prize. 

diyshowoff-silhouette-portrait-giveaway

Giveaway starts today, 5/23 and ends Monday, May 27th at midnight EST. Winner will be chosen randomly and announced shortly after. Prize: Silhouette Portrait machine (supplies not included). This giveaway is sponsored by Silhouette America and open to US residents 18+ only.
a Rafflecopter giveaway

For more chances to win, visit these blog friends: