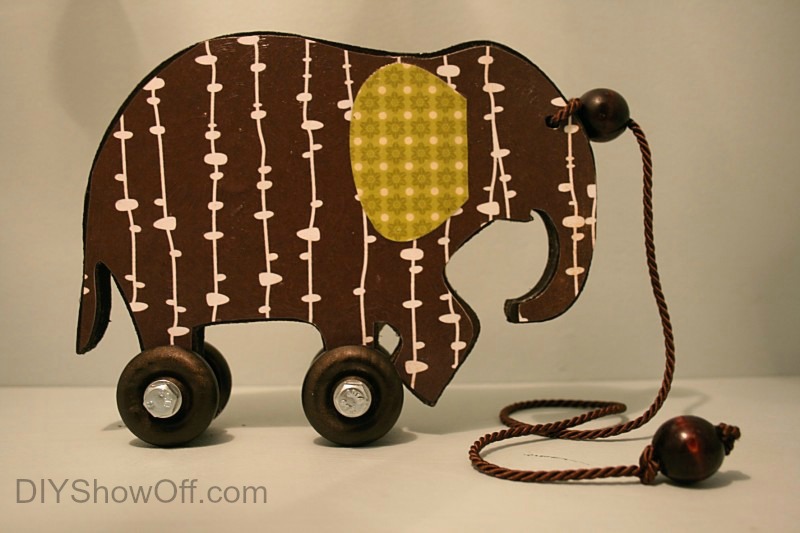
This is a DECORATIVE ACCESSORY!
Not intended for play!My Vintage-Inspired Elephant Pull-Toy Decorative Accessory
Wooden shape
Scrapbook paper
Wood filler
4 Wooden Toy Wheels
2 – 2″ Screws
Washers (I used 8 metal ones)
2 Nuts (the hardware kind…this is a family-friendly website!)
1 yd. decorative rope
2 wooden beads
Spray paint
Spray laquer
Mod Podge
Tools: Drill, 2 disposable craft paint brushes, xacto knife or scissors
Trace the wooden shape onto the back side of the scrapbook paper.
Flip wooden shape the other direction and trace on the 2nd scrapbook paper.
Cut out paper shapes. Helpful tip – trim smaller than the actual tracing so it doesn’t hang over the edges of the wooden shape.
This elephant was originally meant for a wall hanging. I filled the holes with wood filler and sanded.
{Sorry! The rest of the tutorial pictures did not transfer over from moving to WordPress}
I used a pencil to mark where the wheels would go so that my husband could drill holes for the axles. (I used a mechanical pencil with the lead out more than normal – yes, it broke a few times, but I was able to scribble inside the tiny holes for drill marks.)
Next I spray painted my elephant and his wheels. I used a satin oil-rubbed bronze color. It’s my new favorite color of spray paint! A rich dark chocolate brown with bronze/gold flecks.
I almost wanted to leave him like this. But, then I remembered my pretty scrapbook paper (I love pretty papers!). So, I used a brush to apply Mod Podge to one side of the elephant and the back side of the paper.
and applied the paper to the glue-side of the elephant. Slide it around a little until it’s perfectly in place.
Smooth out with a dry towel. I used a wooden skewer to poke through the paper where the drilled holes were and rotated it around a little.
Let dry.
Once dry, repeat the same steps with the other side and let it dry.
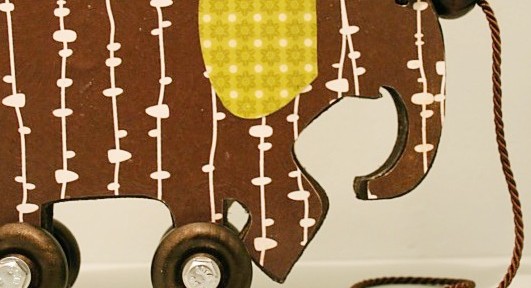
Next I used coordinating paper to cut out elephant ears. Apply Mod-Podge to the back side and put in place. Smooth out with a dry towel.
Repeat on the other side.
Once everything is completely dry, I took a clean brush and applied Mod-Podge to once side to seal everything up. I use circular motions for texture. Let it dry again.
It dries clear.
Then repeat on the other side.
I then took it outside and sprayed a coat of stain lacquer finish. Once dry, I flipped and repeated.
I used a piece of decorative rope and threaded it through the cut out for the eye for the pull string. I tied knots and used beads. I also used thread and super glue to make sure everything was secure and didn’t make the string too long. Again – this is a decorative accessory, not a toy.
Once that was done – I was ready to apply the wheels, which I bought at Michaels (1 1/2″ wooden toy wheels). Mr. DIY and I made a trip to the hardware store for bolts, washers and nuts to use as axles. We spent a great deal of time trying to figure out the best way. A dowel rod would also work since it’s only for decorative purposes.
And here he is…all done!

It’s a lot of steps but it’s so easy. I feel like one of Santa’s elves. I just love it. I think it’ll be a perfect hand-crafted (with love) keepsake gift. What do you think?
Edited: I’m linking to Mod Podge Mania at This Is The Year!


So cute! Could you tell me where you found the wooden shape?
Thanks!
britneywd@gmail.com
Thanks Britney!
I bought my wooden elephant from an etsy seller. Here's the link:
http://www.etsy.com/shop.php?user_id=94755
🙂
Roeshel
You're right it would make the sweetest little baby gift! Great job and very well written and photographed tute.
I love this and you did a great job with your explainations. I love the papers you chose as they have a vintage look to them. Oh my a little zoo of these would be so adorable for a nursery.
OMG! I love this, it is awesome!!! And it could totally be made to match any room!!! Maybe I can get this project in before baby Riley gets here!!! Thanks for the SUPER EASY to follow instructions!! You rock!!!
I'm sorry, but as cute as it looks, i would not give it to any child, almost all materials used in the making of this toy are TOXIC and not child safe. I am a real toy maker and i blame people like you for the reason real toy-makers are being shut down by the CPSIA!!
Alex.
Good point anonymous Alex. Thank you for your comment.
I agree and as I stated in my post it is a DECORATIVE accessory. Thank you for your concern and important PSA though. And I am certain that anyone inspired enough to attempt the tutorial, will read the post thoroughly and see my quote:
"This is a decorative accessory, not a toy."
Goodness, I certainly had no idea my DIY project could put toy manufacturers and makers in jeopardy. I will add a larger PSA at the beginning of the post.
Thank you, AA, for visiting my blog. I'm so sorry you feel I'm to blame for real toy makers being shut down. It was never my intention. I'm certain that innocent people like me sharing a DECORATIVE nursery ACCESSORY on a little blog are not involved.
But…I agree that it is important and I've edited my blog post further to reflect your concern.
R
Pingback: Vintage inspired elephant toy. - Mod Podge Rocks