When I first ‘e-met’ Debi from
and first saw her gorgeous starfish tutorial and adorable video,
I was hooked. I couldn’t resist checking out all of her cute videos and creative DIY ideas.
Today Debi shares a few tips for making this pretty blingy starfish chandelier. Here she is:
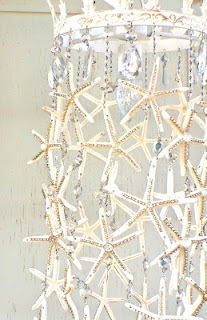
I wanted to create a light fixture that had all of the wow factor of a chandelier dripping with crystals but without the big price tag.
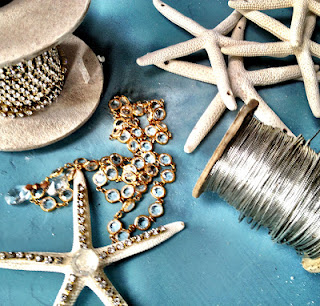
I used 36 white starfish and about 10 yards.
I have to say that every project I dream up has it’s challenges and this was no exception.
Here are some important tips I discovered along the way:
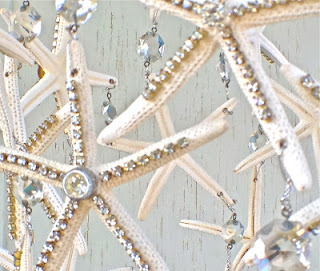
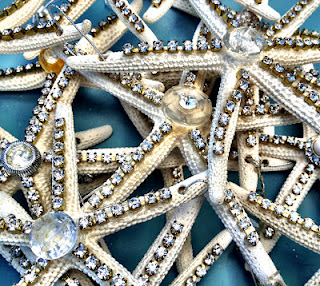
Use a small dremel if you have one, it is much easier on the delicate sea stars and you will have more control when you get to the part where you need to drill the extra holes as the starfish are hanging on the chandelier.
Lay your starfish out in a mock set up to determine how many to use and how they will hang, I used a total of 36 starfish,( 12 strands of three). six of the stands had 3inch links of chain a at the top to attach to the metal ring and the other six 1.5 inch links. I did this to stagger the starfish so they would not bang into each other or overlap too much.
Keep in mind that the bottom starfish on the strand only needs one hole but the rest of them will need two or more.
E600 is the glue I used, although it is messy and needs to be used in a well ventilated area it works well. You can find this glue at Walmart or Michaels.
of crystal chain and about 10 yards of rhinestone chain.
Ps. Materials (and this chandelier – just 1!) can be found in Debi’s Etsy Shop: Debi’s Design Diary.
Thanks, Debi! If you’re attempting this project {or even if you’re not}, check out her video tutorial for tips and to get a glimpse of the girl behind the blog. I love it!


This is stunning! Thank you for sharing and for the added tips as I’d love to try making this one day. Do you have a picture of your finished project?
I love it too, Peggy. Debi is awesome. The first picture is the finished project. I know it’s for sale in her Etsy shop (the last time I looked).
Hi Peggy,
Thank you! I am a newbie at taking photos, right now I am just using my phone. I think the best shot of it is at the very end of the video. Glad you enjoyed this so happy to be featured here!
Debi
Oh my goodness! I love this. I want a house by the beach and one of these chandeliers in every room. Thanks for showing it off to us Roeshel. Off to check out her other projects.
Heather
Oh my god she is so hilarious! I love it! totally checking out the rest of her blog just because I like her personality that much!
Wow. Now THAT is Beachy-Glam!
Super stunning. So original =)
I’m in love with this idea. I need to pin it so I don’t forget…It will go in my new craft room (whenever that happens).
I could do these with my cast plaster starfish!! She’s a funny one!!!
Thank you Roeshel,
I am so excited to have my tutorial featured on your blog, this is such a wonderful, inspiring place! Many thanks for all of the encouraging comments too, I am so happy that my videos are enjoyed. I love to make them!
Sincerely,
Debi
Wow, this is such a cool looking chandelier. What patience you must have lol.
Thanks for stopping by 🙂 Can’t wait to finish looking around here 🙂
Pingback: Beach Cottage Fridays: Beachy Lighting « The Eastern Bay
Oh my god. You killed that much starfish just to make a chandelier which you will eventually throw after you grow tired of it. Next time use something environmentally friendly.