
{Distressed antique java bamboo floors}
Next up on the family room renovation is choosing the plan to paint, choosing paint colors and a list of supplies. My Colortopia was really helpful in putting together a color palette for our family room last week.
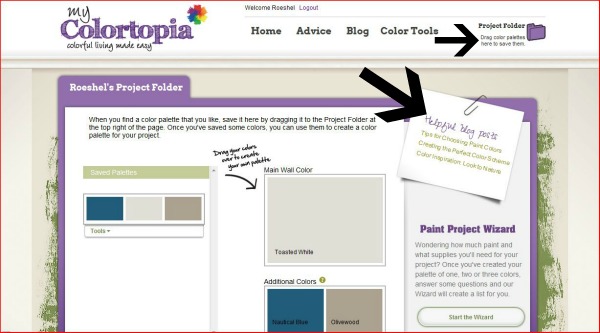
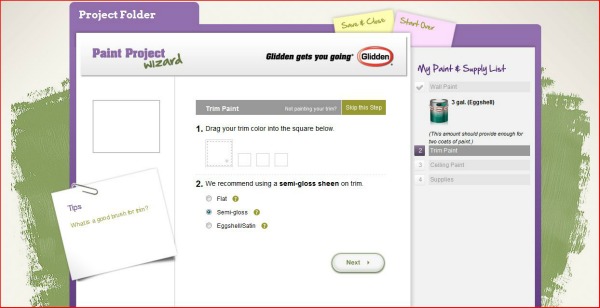
The Paint Project Wizard at MyColortopia is a great tool for planning. I started with the My Colortopia quiz and inspiration tool. Just “drag” color palette to the Project Folder. There are also some helpful MyColortopia blog tips along the way.
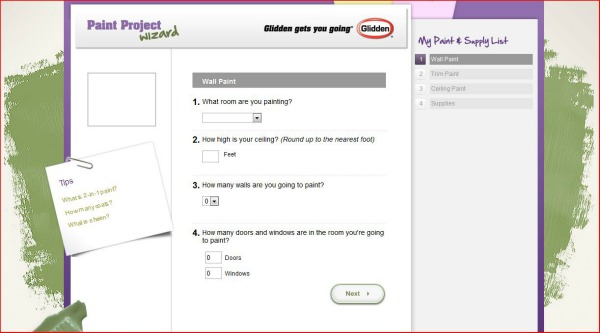
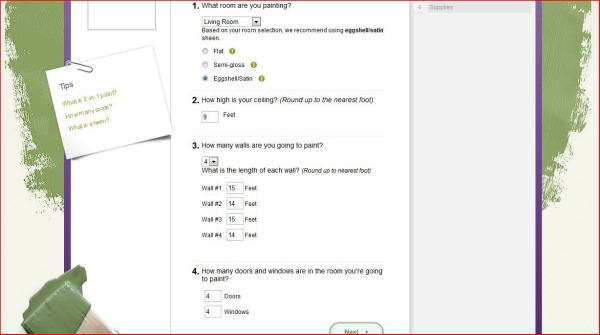
Next I just answered questions about the room I’m painting:
- What room are you painting? family room (I chose living room as an option)
- How high is your ceiling? 9 ft.
- How many walls are you going to paint? 4
- How many doors and windows are in the room? 4 windows, 2 regular doorways + 1 French door = 4 doors.
A few more specific details and recommendations:
Helpful info for walls and trim:
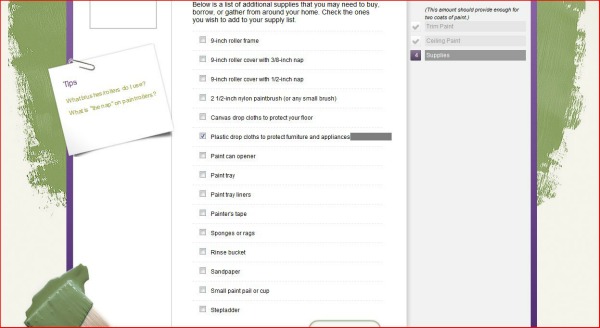
and a supply check list. It’s no fun getting started then realizing something was forgotten!
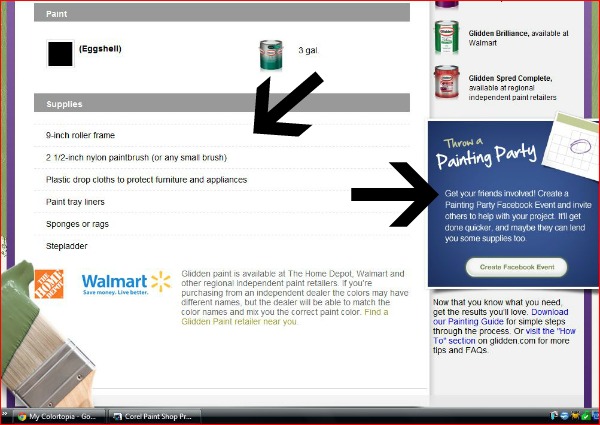
Finally, a handy materials list page to print, locations to purchase Glidden paints and even a Facebook event button for organizing a paint party!
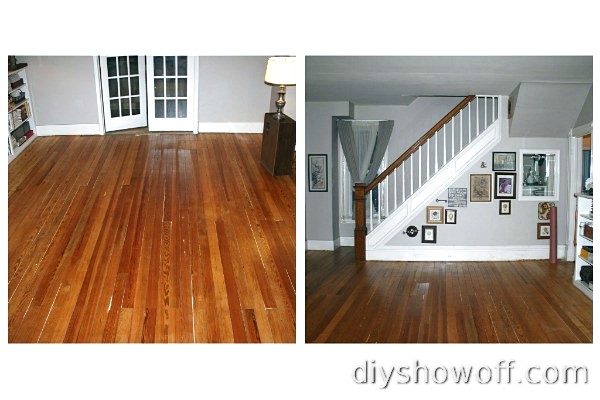
The flooring has been installed (almost done)! We have lived with bare plywood since we bought this house (after ripping out some old carpeting). We did originally sand and refinish original pine floors. And they don’t photograph terribly in the before picture…
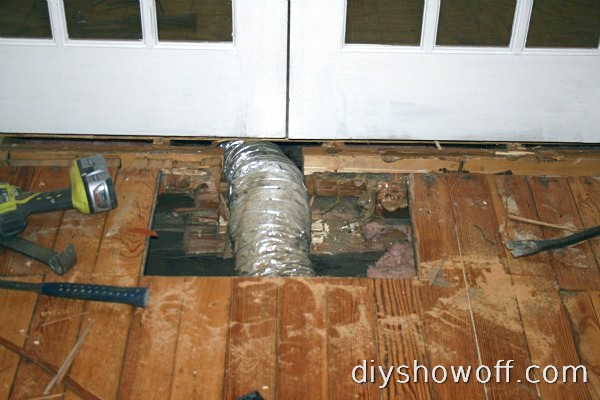
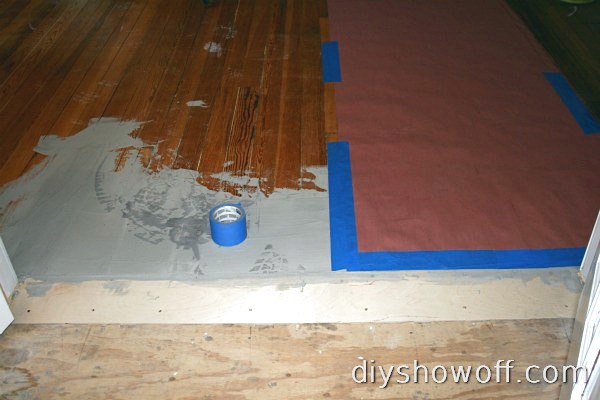
But, there are gaps between the boards (that pinch Mr. DIY’s feet…he walks really heavy) and bad patch jobs throughout. Not to mention it lines up unevenly with the newer addition’s plywood subfloor…
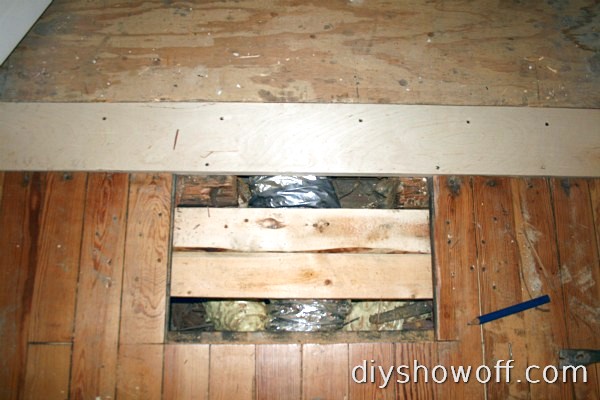
This spot needed some support added (we could bounce on it like a trampoline), so original pine wood planks were removed and support added…
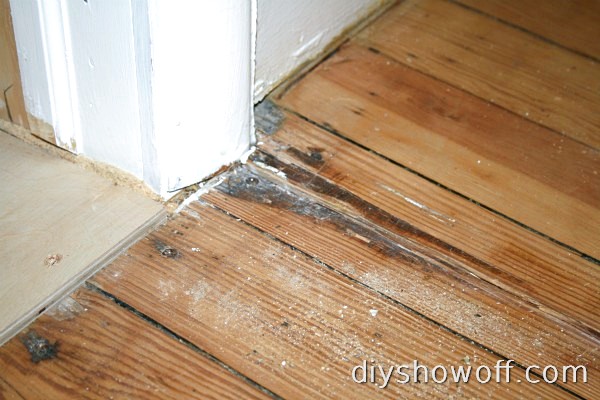
The rooms were not even or level and when previous owners added on to this old house, they cracked side boards to create a ramp down to the newer addition (not huge, but not pretty either)…
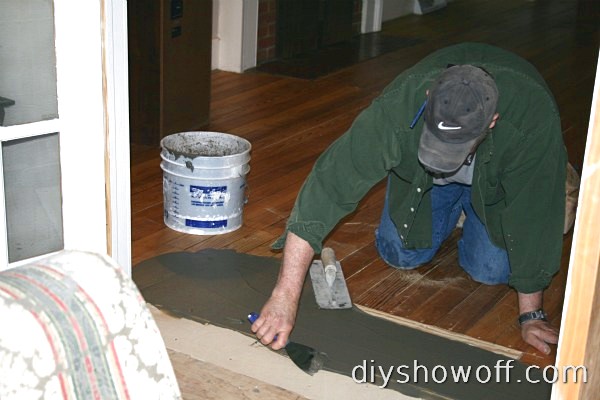
A little floor leveler helped…
But we still have a tiny bit of ramp-effect so bamboo planks in the family room run a different direction…
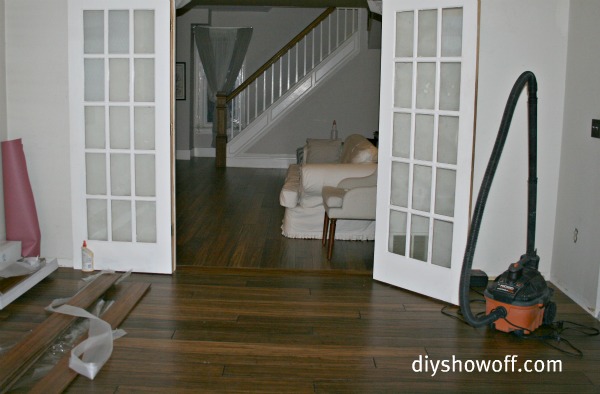
The new flooring is beautiful (same as we used in the kitchen and dining room) and I’m thrilled to have uniform floors and no more dirty-looking plywood in the family room…
Some tricks I learned along the way:
- When continuing flooring from the kitchen, tongue and groove were in a more complicated direction for the living room install. Our contractor (Gary Stone), simply created what he called a “spleen”. by making the threshold board have two “tongues” (just a little handy work). Then he was able to work in most efficient direction when installing the bamboo in the living room.
- Undercutting the wide (OLD!) baseboard trim in this room worked best, especially when it came to a rounded baseboard edge of a built-in book case and the fireplace surround. The family room had newer cheaper baseboard trim that we removed prior to installation.
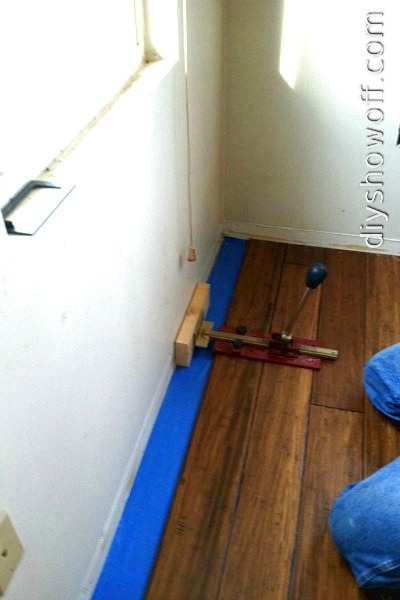
- A cool new tool I got to see is this wall jack. Necessary for putting in the last board closer along the wall – it helps to slide the tongue/groove into place since there is no working room.
- Saw off the side (short end) groove of the last plank to install. There’s no getting a short side + long side (tongue side) into place since it’s the last plank
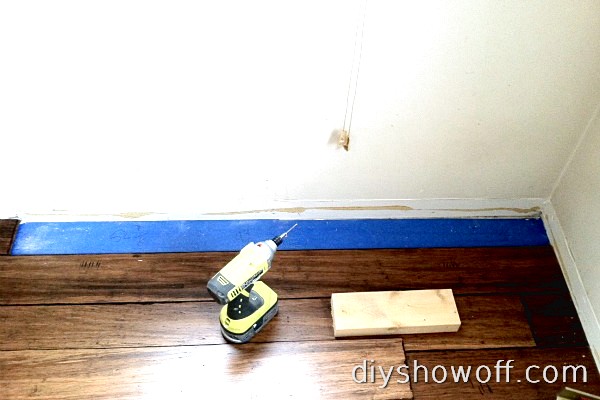 .New floors look amazing! Now our kitchen, dining room, hall (soon to be walk in pantry), living room and family room all match! A big improvement over previous owner’s vinyl and carpet! More coming soon! 😉
Sneak peek of the progress:
I have been sponsored by Glidden brand paint to write this post but the thoughts and opinions expressed are my own.



Your floors look gorgeous, and I am just so impressed you and your husband do all of this yourselves. I need to get Mr. Redoux on board with my DIY projects! I am going to use that Colortopia tool. My kids will be on break for the next two weeks and my goal is to repaint my master bedroom and maybe even change up the furniture. Let’s see how far I actually get…..Have a great weekend Roeshel!
Karen – we will attempt almost anything DIY but this one we didn’t. I followed around our contractor…who doesn’t mind if I snap pictures and teaches me tips and tricks. This floor had way too many issues that were outside of our comfort/skill level. We can tile and lay hardwood but our floors had some serious issues that needed professional advice and skills. Bamboo is reasonably priced, but it’s still a chunk of change and not something we wanted to experiment with (i.e. mess up).
Good luck with painting and furniture! Looking forward to seeing what you do. I hope you have a great weekend too! It’s gorgeous here – summer weather in March – sunshine is motivating but who wants to be inside working?! lol
What great progress! It will look soooo good!
–Katie
@ Creatively Living
They are beautiful! I have some pretty bad water damage to my floors and would love to just completely replace them, especially after seeing yours.
I love the darker bamboo – it looks so rich and yet antique at the same time {did that make sense} – anyway, it is beautiful.
Your floors turned out absolutely goregous!
Carolyn
{my simple messterpiece}
I wanted to tell you I love that floor. We are redoing our kitchen floor, and I’m going to show hubby this. We wanted a dark wood floor and I think this is perfect. Great job.
blessings,
Debbie
Just wondering if you have had any problems with (what I think are) the 5″ planks. We are considering installing a bamboo very similar and have received comments on considering going with a 3 1/4 plank to prevent cupping. I would love to hear your comments. Your floor is beautiful! Thanks!
Hi Beth! No. We don’t have any issues whatsoever. I’ve never heard of cupping. We haven’t experienced it with our Calibamboo floors. I love the wide planks.