It’s March! And that means spring is right around the corner I hope. Even though I’m looking at snow flurries, a little spring decorating is in order. I’m impatiently waiting and well, why not prepare to welcome spring when it arrives? A new DIY spring sign always gets motivated to decorate and a catchy spring phrase reminds me it’s almost time to celebrate warmer weather and longer days!
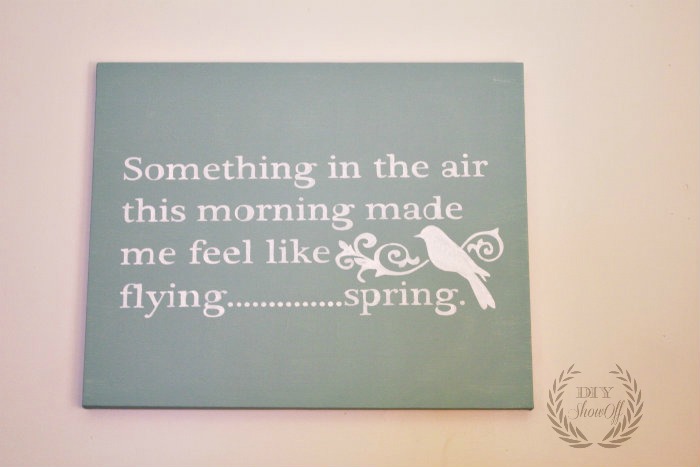
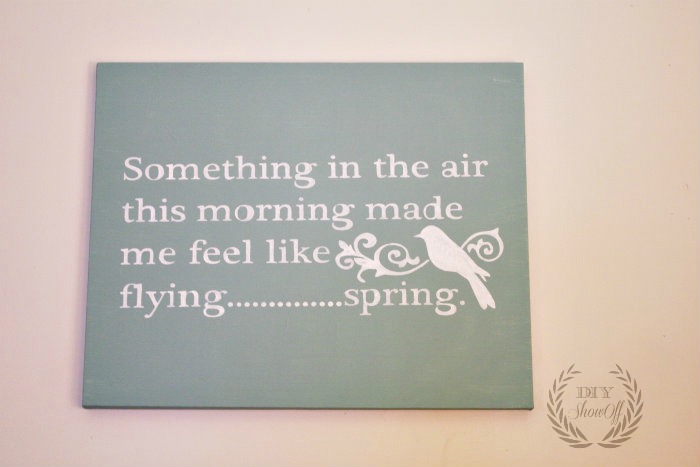
“Something in the air this morning made me feel like flying. . . “
Spring Flight
-Eileen Granfors
For this project, I gathered
- an old canvas
- acrylic craft paint
- my Silhouette Studio Designer Edition software
- my Silhouette Cameo.
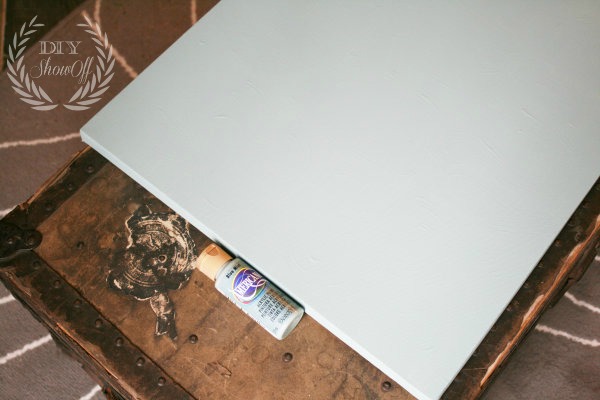
Since I had messed up the canvas with a previous DIY fail (yes, it happens!), I gave it a coat of soft blue acrylic paint to cover up my error to create a blank slate. The texture of the failed project shows through a bit, but imperfection is charm and a little texture isn’t such a bad thing. 🙂
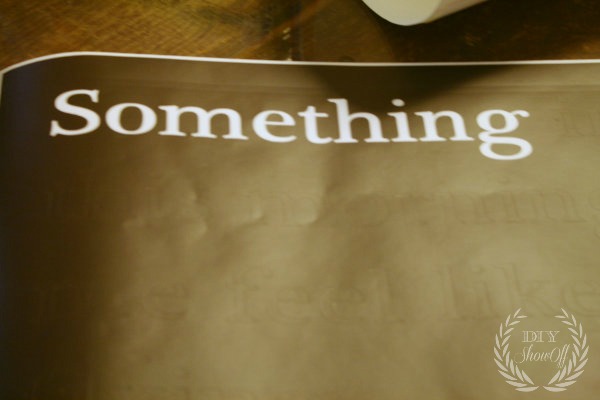
I created my spring stencil using the Silhouette Studio Designer Edition software which allows me to select fonts, sizes and shapes to create a stencil template. Then simply ‘send’ to cut…
Since I’m using my vinyl as a stencil, I removed all of the letters (these can also be saved to use in the same was as stickers or transferred directly to wood or glass as a vinyl transfer).
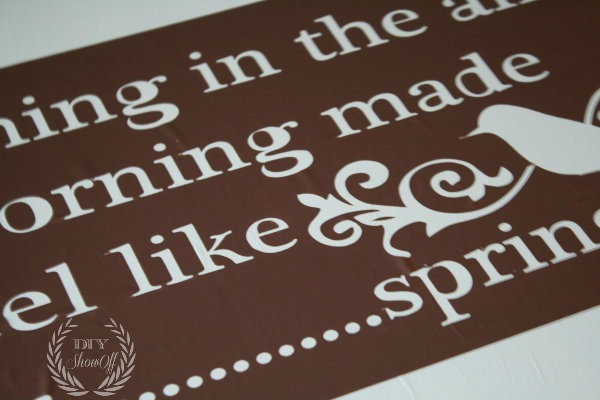
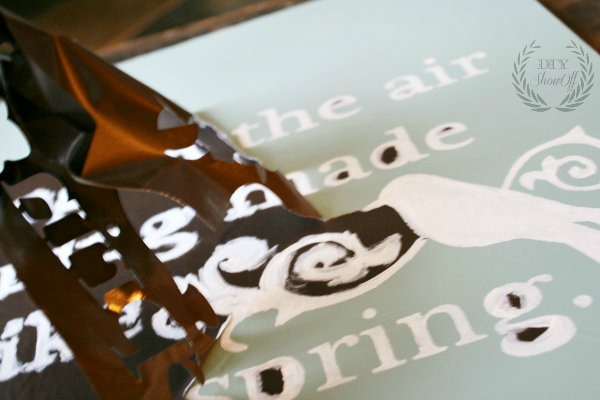
Use transfer paper over top of the stencil to transfer the vinyl stencil to the canvas. Rub into place and peel away the transfer paper.
It’s not quite that simple. Vinyl doesn’t stick so well to canvas, so it takes a lot of patience. Go slow.
The stencil is all ready to go.
I filled in my lettering with white acrylic craft paint. Since the vinyl does not have a great seal, I’m using my stencil as a guide and filling in the letters with a little bit of paint on the brush, pressing down the vinyl as I work on each individual letter. Slopping it on, will get under the vinyl.
Next, I carefully removed the vinyl stencil as soon as I finished painting and let my canvas dry.
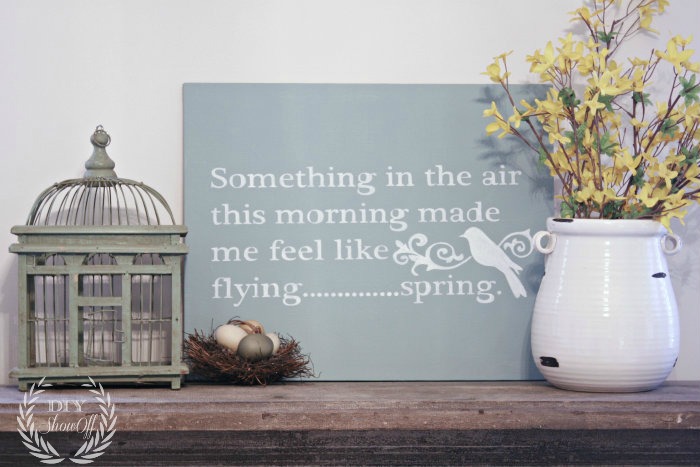
Then just collected some of my favorite spring-y decor and created a vignette around my DIY spring sign as a focal point. Good bye winter blues!
Hello spring!
Silhouette America is running a crazy spring special you won’t want to miss! Just use the code “SHOWOFF” at checkout {affiliate link} now through March 8th to take advantage of the discount prices.
I’m ready for spring, all ready! How about you? Open up those drapes, let the light in and decorate!
Looking for more spring ideas?
Joining the Easter Crafts & Spring Link Party at HoneyBearLane.
The Countdown to Spring party is underway.
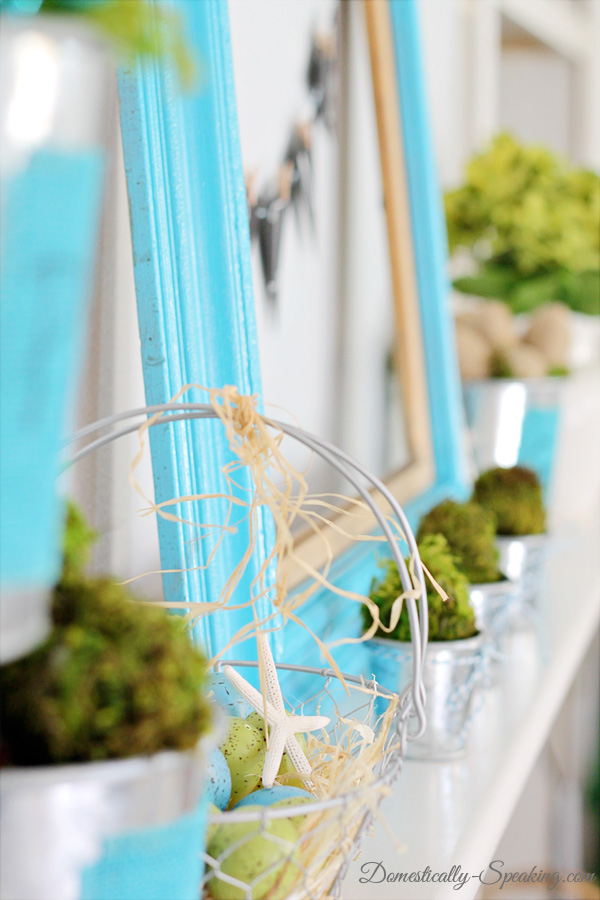
and being hosted by MaryAnn from Domestically Speaking this week with her gorgeous spring-inspiring mantel. Here’s a sneak peek…
Check it out!









I just got a silhouette cameo for my birthday and can’t find any time to actually try it out. I love what you did!!
This is so cool! What a brilliant art gadget to have! xD
That is so fresh and beautiful. Love the saying too!
Deb
Gosh I love your sign, it is so beautiful.
Sounds hard to me…. but I sure wish I had one of those Silhouette Studio Designer Edition software machines to see if I could make one. But then what we want and what we get can be two totally different things.
Hi Roeshel – Your ‘Spring Sign’ turned out just lovely! Love the sentiment, the colors and the lovely vignette that you created with it. I started a new party called ‘Saturday Sparks’ and would love to have you link this up if you have a chance.
Thanks for the ‘Spring’ inspiration,
Suzanne
Pieced Pastimes
Such a good post and great idea to welcome spring.
thanks for sharing…
http://www.lovelybusybee.blogspot.com/
Cute! I am so ready for spring and excited for all sorts of outdoor projects.
Happy March!
Julie M.
I love this sweet little sign!
Love the sign…and loving the spring weather! Definately having Spring Fever here in Northern California…temps in the 70’s this week…YEA!!
I have been wanting to create some signs and didn’t know what was best the circuit or the silhouette. Which one do you think I should invest in and if I want to make 12×24 or so sized signs? I do not understand how to use either one and know no one that has one to show me what it does. I didn’t understand the use vinyl transfer paper to remove your stencil in our tutorial? Can you explain that more? Any help would be great!
Thank you
Hi Carol. I can’t give a comparison since I’ve never worked with a Cricut but from what I understand, the Cricut needs cartridges (more cost) for different fonts/etc. The Silhouette uses the fonts I have. I’ve also easily purchased/downloaded additional fonts and shapes from the Silhouette store (usually around .99 with unlimited use). The Silhouette Cameo does cut 12 inches wide and probably about 24″ at the longest without it getting jammed. But I’ve also pieced together vinyl to make a 48″ sign.
The transfer paper: When you cut out the vinyl letters, you have to peel away all of the vinyl that isn’t going to be used. That leaves your letters on a piece of paper that has a waxy side. Sort of like a pack of stickers. But you don’t want to peel off the letters and use them like stickers…(you can) but the transfer paper makes it very easy to transfer that vinyl onto your sign (so that everything is lined up level). You just roll the transfer paper over your letters on the backing, rub and then pull off the waxy paper. Your cut out vinyl lettering is “transferred” to the transfer paper. Then place the transfer paper (the vinyl lettering will be attached) to your sign, rub and pull away the transfer paper – your vinyl lettering will be in place. Here’s a tutorial that may help since it’s hard to explain just with words and not pictures: https://diyshowoff.com/2011/02/20/the-diy-project-parade-2/ and here is one where we used the vinyl to make “stencils” https://diyshowoff.com/2012/09/06/diy-signs-and-a-girls-diy-day/.
Hope that helps!
I have been wonder if I should get a circuit or a silhouette. I have been wanting to make some signs about12x24 but didn’t know which machine could do that. What one do you recommend I do not know anyone that has either one to explain it to me. I also do not understand your tutorial that says use the vinyl paper to remove the stencil. Can you please explain? Thank you for any help!