Hello DIY Show Off readers!
I’m Shayna from The Wood Grain Cottage and I’m beyond excited (and really honored) to be here for the day. While Roeshel is soaking up some sun and relaxing on the beach (sigh), I thought we should have a little fun too!
🙂
But before I show you my project, let me take a quick second to tell you a little bit about myself.

My husband and I just built our brand new home and I’m on a mission to create custom touches in every room. I love everything to do with design, decorating and DIY and I’m passionate about creating a home that my husband and I can call our own! I try to get the perfect mix of both our styles so that we always feel happy at home. Along the way, I share DIY and craft projects as well as my adventures in making this house our home! I hope you’ll join me!
Alrighty- with that said, let get to DIY’ing!
I’ve had a big crush on homemade signs for forever! I love that they are completely customizable. So after spending countless hours (seriously, a sheet of paper and a pencil were my BFF’s for a week), I was able to write down several different ideas on what I wanted our sign to say and look like.
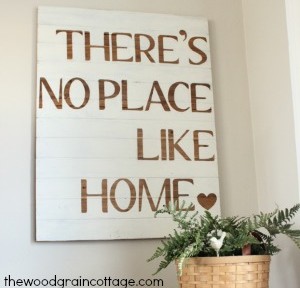
I ended up choosing “There’s No Place Like Home” for the saying, and I’m so glad that I waited and kicked around different wording ideas before I made a quick decision.

After I measured the area where I wanted it to hang, I wrote down the dimensions and grabbed my hubby for a little DIY date. Those are my favorite.
🙂
First, we headed to Home Depot to get our lumber and frame supplies. For the sign, we bought cedar tongue and groove planks that slid together and cedar 1″ x 2″ boards for the frame.
$24.00, and 2 milkshakes, later we were on our way home!
We started building the frame out of our 1″ x 2″‘s and made the finished measurements 32″ wide x 42″ tall.
We nailed the frame together and then slid the planks together using their tongue and groove.


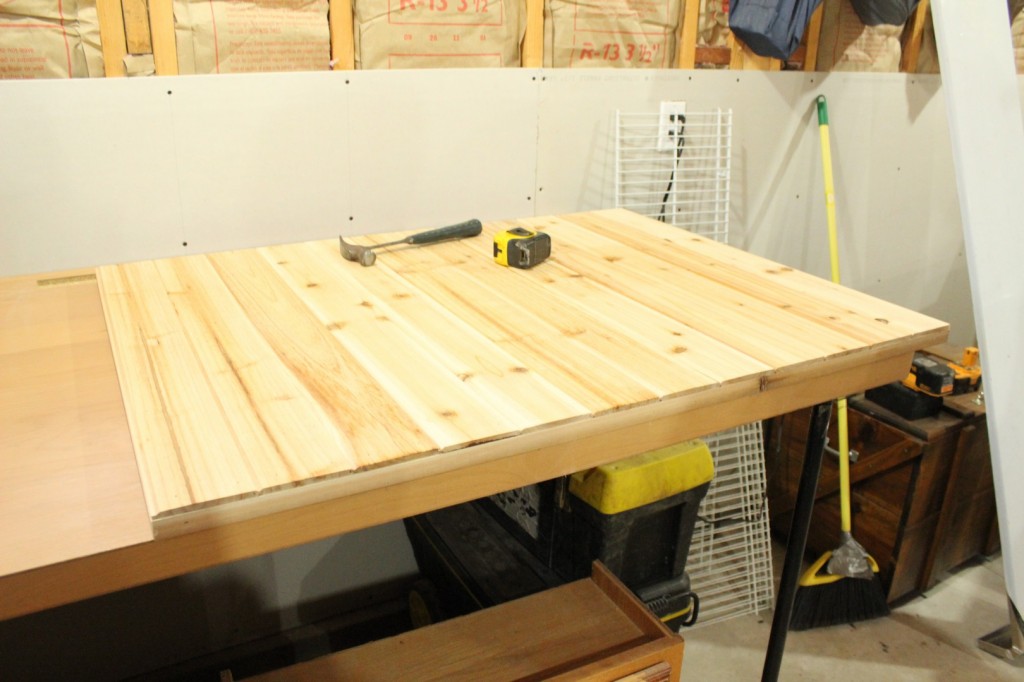
Once it was nailed together, we started the staining process.

It was a two person job, so while Anthony wiped on the stain (Minwax- Early American), I waited a minute and started wiping it off.

One heavy coat later, we had exactly what I wanted. We let the stain dry over night and I started picking out a font. I ended up downloading a new font called Aubrey.
I typed my saying in a word document and adjusted the size of the letters to fit on the board. After several attempts, the letter size ended up being 500.
I printed the letters on thick card stock and them cut them out. Once they were cut, I started arranging the words on my sign.
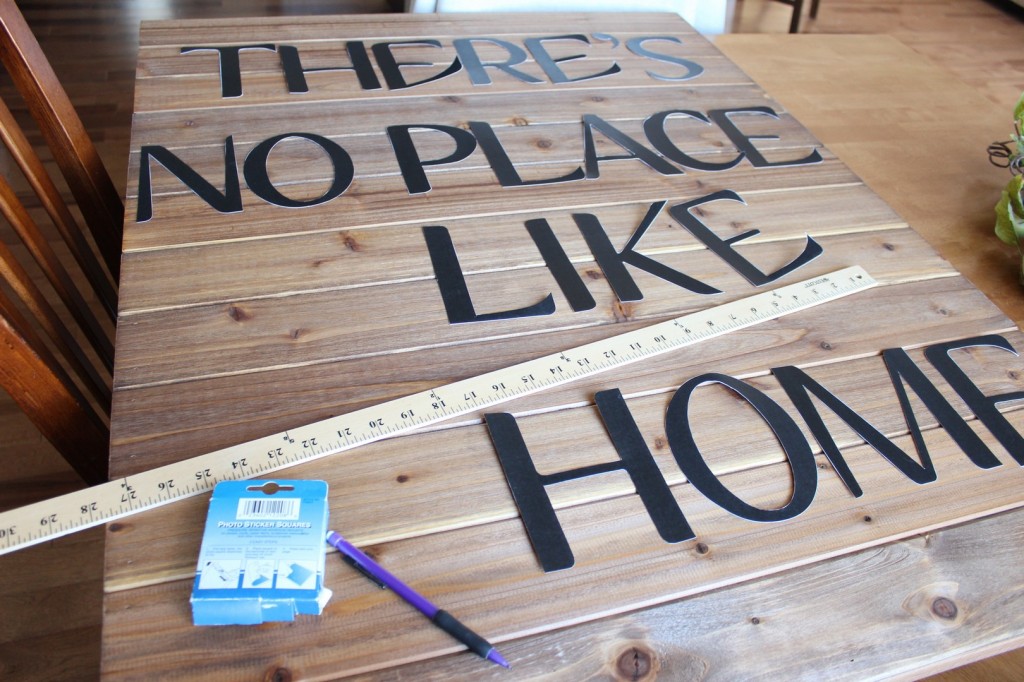
I decided to align them on the right side and used a yard stick to make sure everything was evenly spaced.
 With the letters in their place, I used several small pieces of two sided scrapbook tape to hold them down. After that, I took a pencil and traced around them.

I grabbed some leftover white paint from our entry stripes, and got busy!
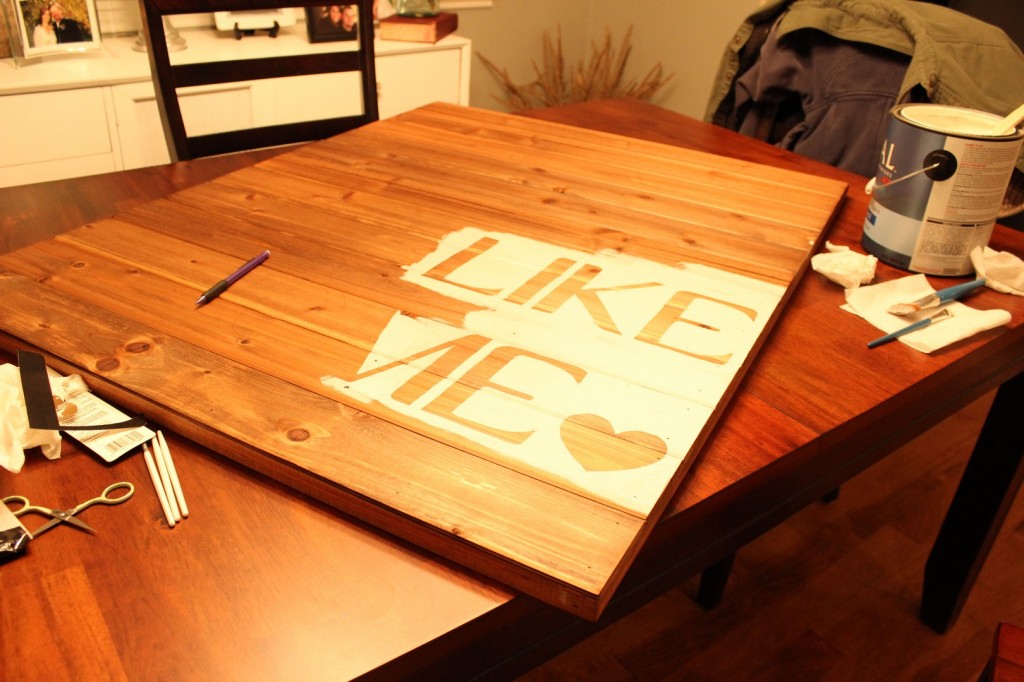
I ended up painting the entire thing by hand. Originally, I thought that I might be able to use painters tape, but it didn’t work. I tested a small area and when I went to remove the tape, it pulled off some of the stain. There was no way I was going to risk using it.

For totally free handing it, I am really happy with the way that it turned out.

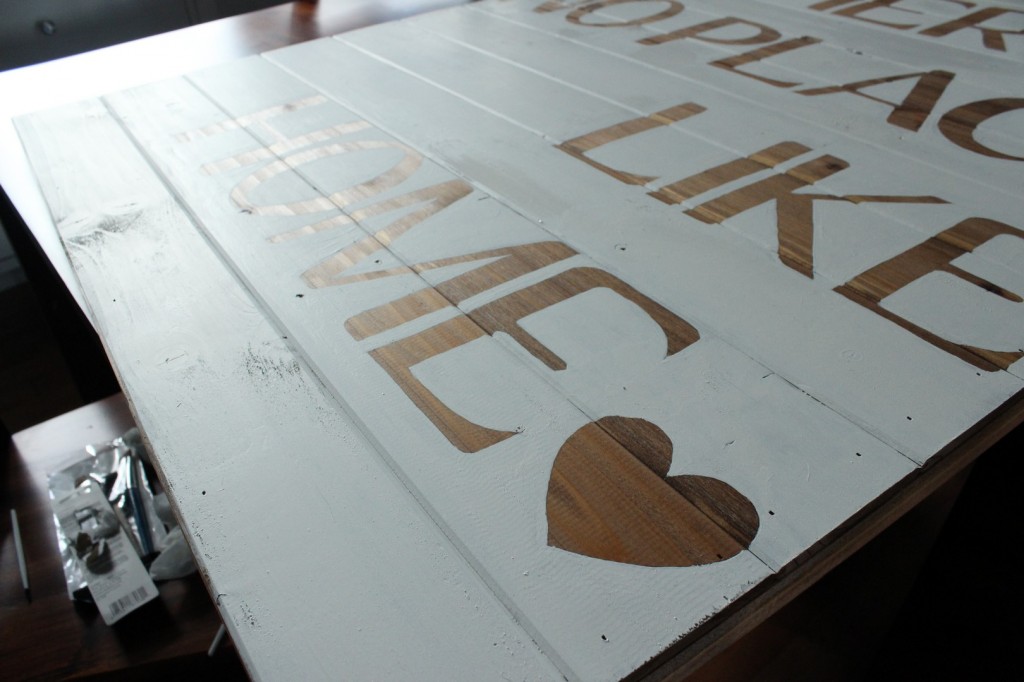
Once it was dry, I couldn’t wait to hang it up. Because we had used the 1″ x 2″ boards for the frame, we had a nice lip that would easily hang from a couple of nails.
I love the rustic vibe of the sign! The stained wood letters almost send me over the edge. Every time I look at it, my heart goes pitter. patter.
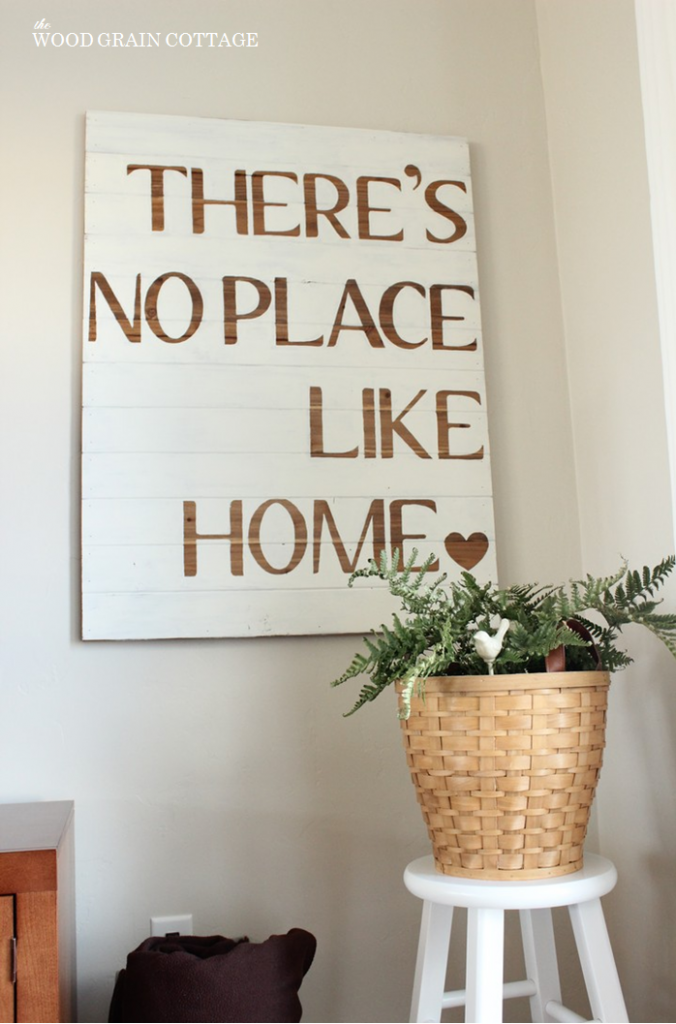
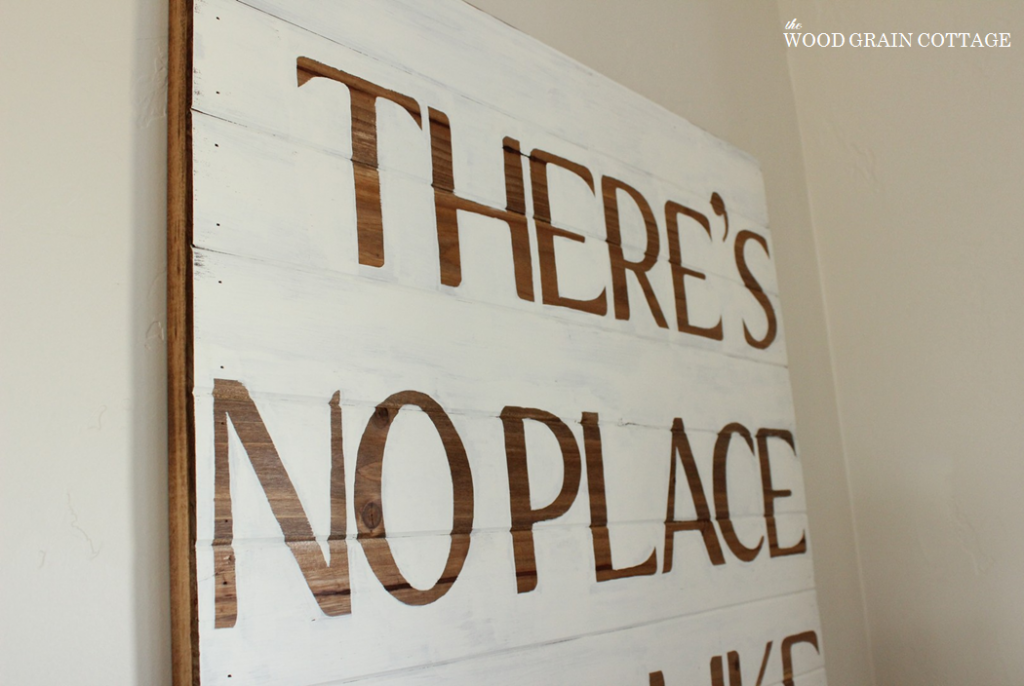
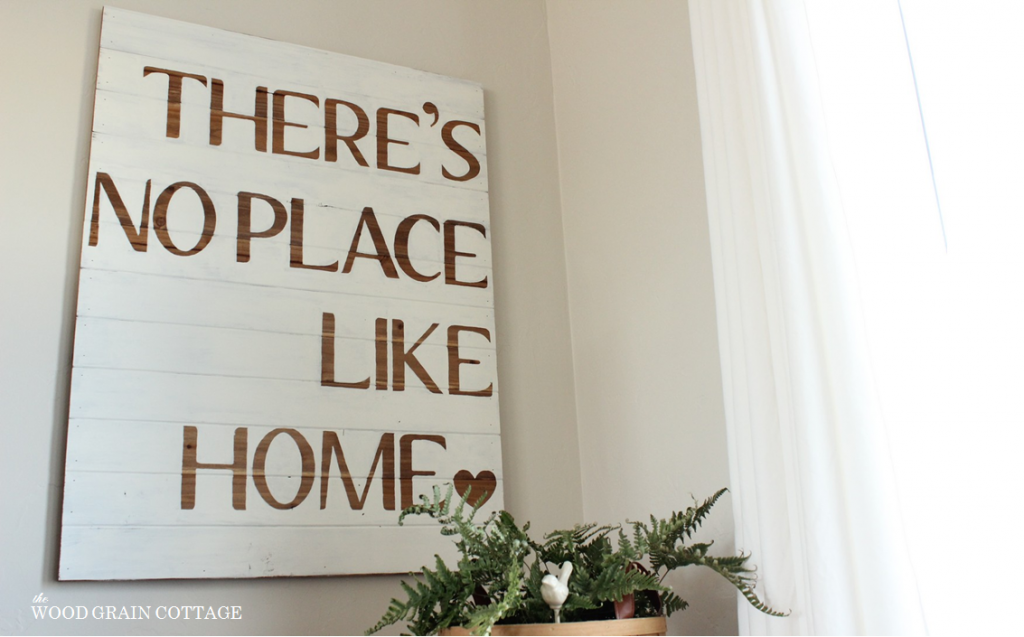

This has easily become one of my favorite projects to date- and one that still leaves me smiling from ear to ear.
And speaking of my favorite projects, here are a few more that have helped make our home feel a little bit more special!
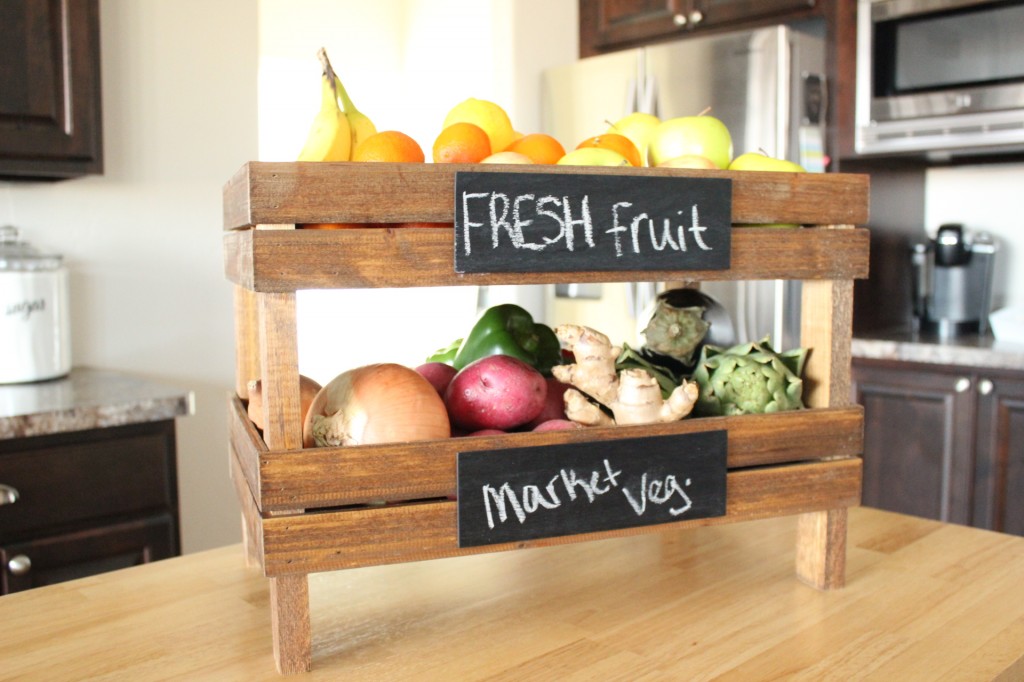
Our DIY Stackable Fruit Crates cost less than $30 and pack a ton of storage!
We just finished installing a DIY Planked Wall & DIY Bench in our breakfast nook.

And now I’m a busy bee adding the final touches to the space. I recently shared my Easy Two- Sided Pillow & Tutorial.
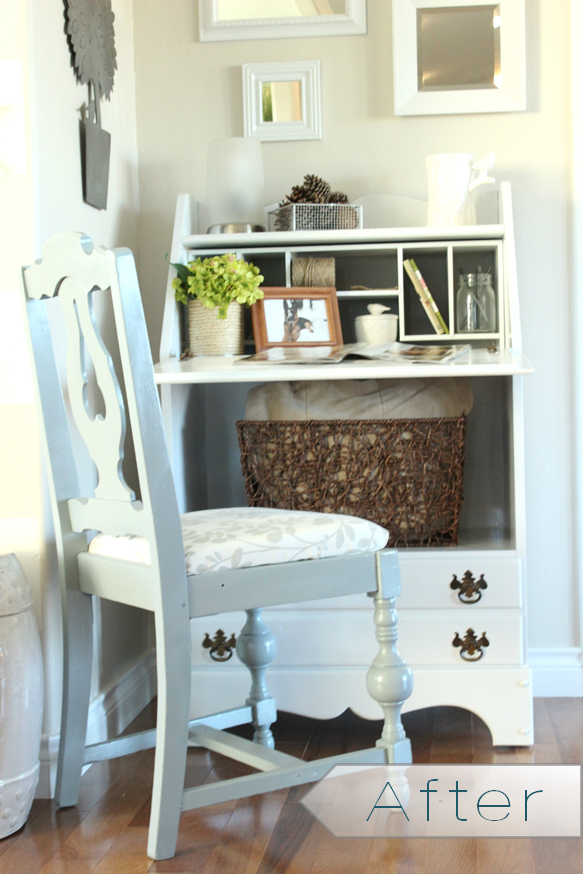
I love to refinish furniture, and this Secretary has a big makeover story.
To see more of my projects, be sure to stop by and visit– I’d love to have you!
I hope you enjoyed my DIY sign and a BIG THANKS to Roeshel for having me! 🙂

Thank YOU, Shayna for sharing your awesome DIY, beautiful home and for filling in today! 🙂



Love that sign!!
Thank you Luisa! 🙂
-Shayna
Wow! I love all of you projects!
Awe… Thank you Jenny! 🙂
-Shayna
Gorgeous sign, Shayna. I’m totally impressed with your freehand painting- it looks amazing.
Thank you Sheila! Such a nice comment! I’m so glad you like it! 🙂
-Shayna
Love this! I have a small piece left over from when I did my faux sofa table! Might have to try something like this =)
Thanks Kristin! This sign sure does make me happy! You should give it a try! 🙂
-Shayna
I love that sign as a matter of fact all of these projects are great!!!
Thank you Ches! 🙂
-Shayna
Beautiful sign! Life to the full, Melissa
Thank you Melissa! 🙂
-Shayna
This is beautiful and you have a lovely home. Btw…did I spot a pioneer hat???
Thank you Crystal! I’m so happy you liked it! And yes, you did spot a Pioneer hat… we live on a farm! 🙂
Quick question,I’ve been wanting to do the same thing,make my place feel more like a home and the decorations be personal without spending a fortune to do so. So my question being,I’m scared about free-handing the letters or even cutting them out just perfect for that matter,did you mess up at all when you were painting around the letters? I’m just afraid I’ll make a mistake and mess it all up once I got to the painting around the letters :/