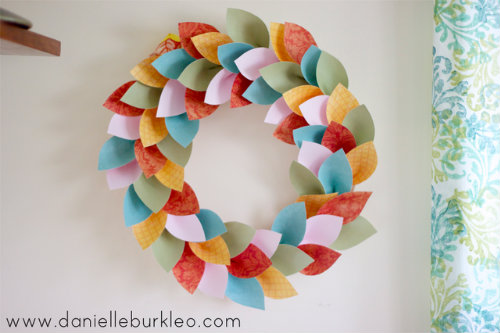
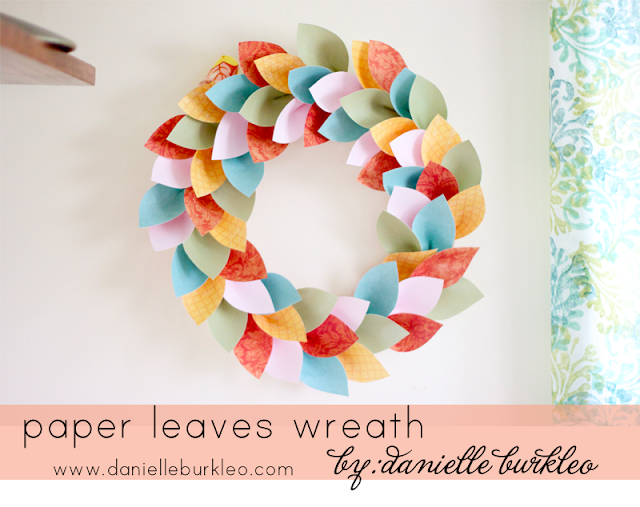
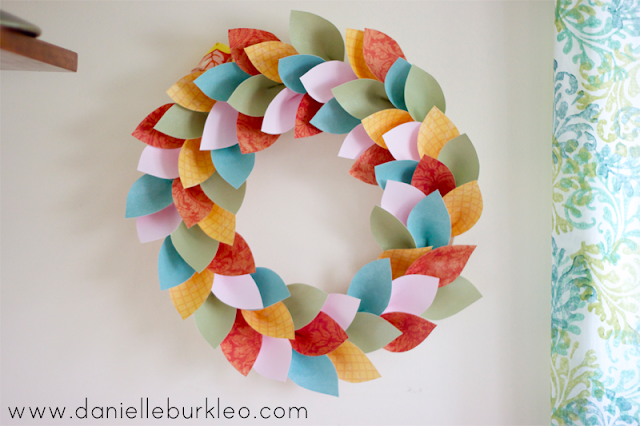
Hi DIY friends! I’d like to introduce you to Danielle from
Danielle’s blog is filled with her every day, musings on motherhood, DIYs, style, design, and a little bit of everything else. Today she’s sharing steps to create a beautiful paper leaves wreath…
Let’s get started, shall we?
You can also make a ring from made cardboard, a paper plate even…whatever you have laying around.
step 1: Make a leaf template and trace it onto your scrap book paper. Danielle made about 60 leaves.
2. Cut out the leaves.
3. Pinch the bottom of your leaf together, causing the sides to curve in, and staple.
4. Repeat sixty times. {no pain no gain no wreath}
5. Hot glue your leaves onto your wreath base. {If you are using a cardboard ring, paper plate, etc. you can staple your leaves on.}
6. Continue placing your leaves, all in the same direction (Danielle developed a pattern to prevent the same colors from being placed side by side.)
…carry on.
…so on and so forth.
7. Voila! Add some ribbon to the back or just hang it up as is.
and there you have it.
Happy crafting!
Super cute and you probably even have the supplies already on hand just waiting for a creative idea. Sounds easy enough, looks amazing enough.
Thanks for sharing, Danielle! I love it! A great project for all of that pretty scrapbook paper I can’t seem to stop collecting.
See more DIY from Danielle at Take Heart.


This is such a sweet wreath, lovely colours!
Well I’m pinning this one away for when I make my yearly fall wreath. thanks for sharing!
This is so cute, plus, we can adapt it for almost any time of year or holiday with different colors. Love it!
This paper leaf wreath is amazing and I really appreciate the wonderful tutorial as well. Hope it’s okay, I couldn’t help but feature it on a paper crafts round-up I just finished. You can see it here:
http://jamiebrock.hubpages.com/hub/15-Easy-and-Fun-Paper-Crafts-using-Patterned-Papers
Thank you so much for sharing this 🙂