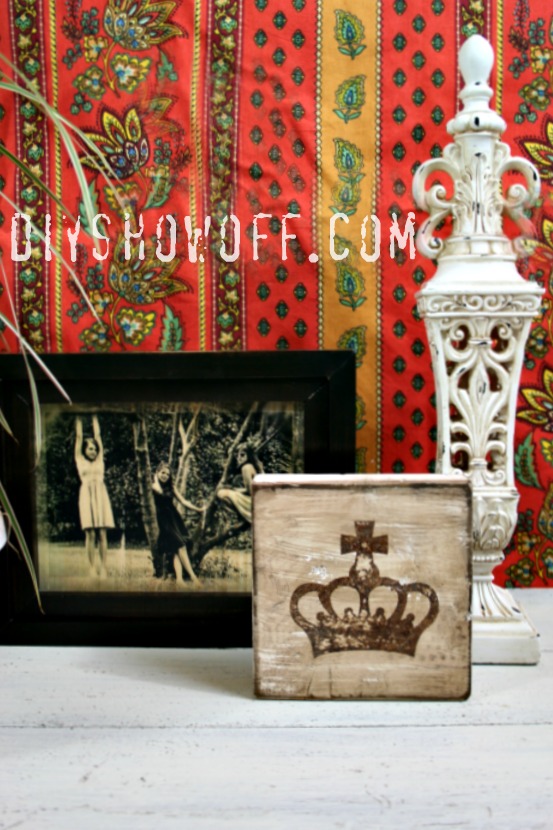
Once upon a time at Hobby Lobby, I saw a chunk of wood. It was black with white “No. 1” and distressed and I wanted it, but then the thrifty DIY girl in me decided – “I can make that from scrap wood easily”! AND make it to look however I want and so my DIY brain got to thinking and this is what I came up with…
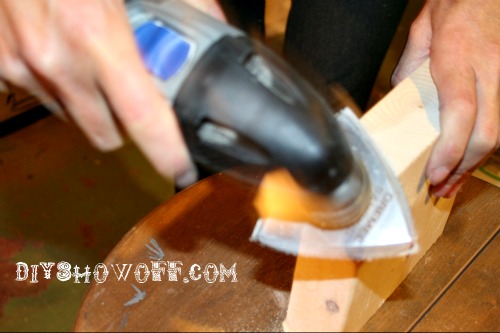
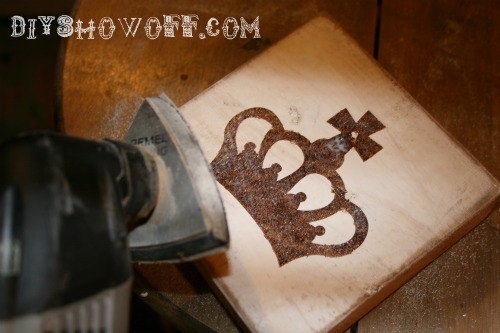
I cut a piece of 2 x 4.5 into a square and sanded the edges using my Dremel Multi-Max.
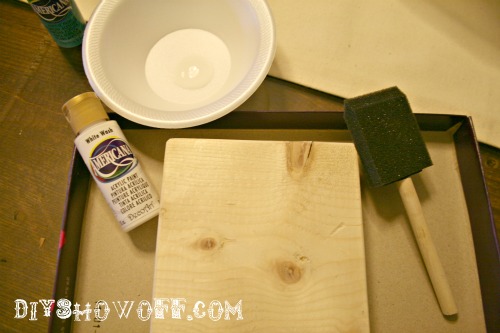
I gave it a white base coat using Deco Art Americana “White Wash”.
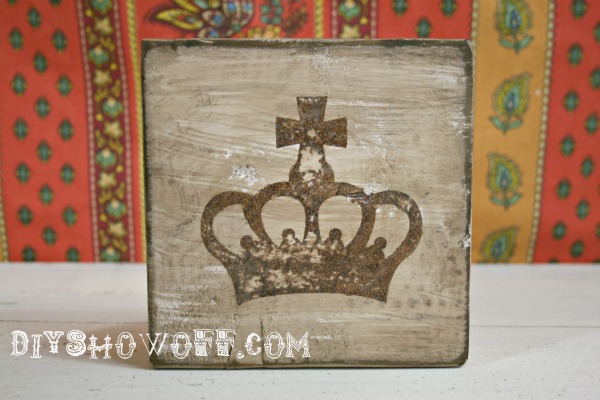
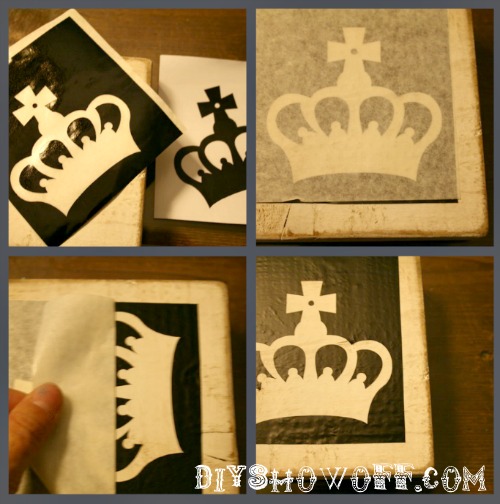
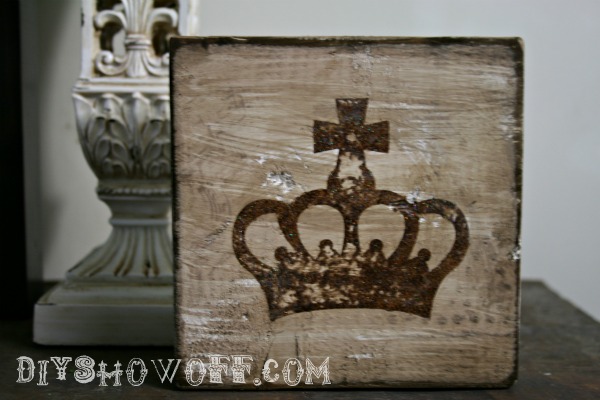
I was going to do a No. 1 but then when I started looking around the Silhouette America Online Store, I came across a vintage crown image and decided I’d like that better. Using my Silhouette Cameo, I cut out the crown shape and used the negative part as a stencil…
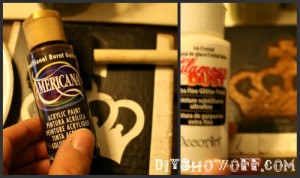
I had Americana – Traditional Burnt Umber craft paint on hand…
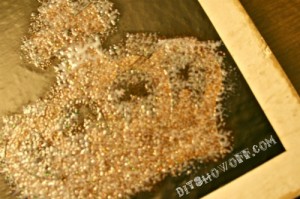
Added a little ‘bling’ using Deco Art’s Glamour Dust (Ice Crystal)…
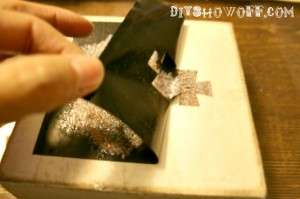
Then I peeled away the vinyl while paint was still wet.
I sanded the block edges again and a little bit of the wet paint to give it a worn look or maybe even because I lacked patience…but it’s all good and works out. 😉
Using TransTint dye from Rockler (I love this stuff! A little goes a long way!), I dry brushed a glaze effect…
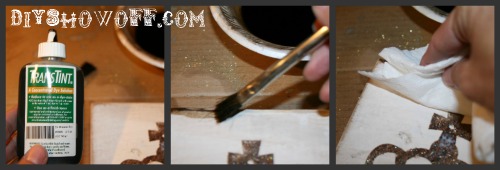 {Mix with water according to instructions or ‘guestimate’ for small projects. Set left over and brush aside/uncovered where it won’t be disturbed to store. Water will evaporate. Use again by adding water! No wasting! Or mix in a sealable container and save.}
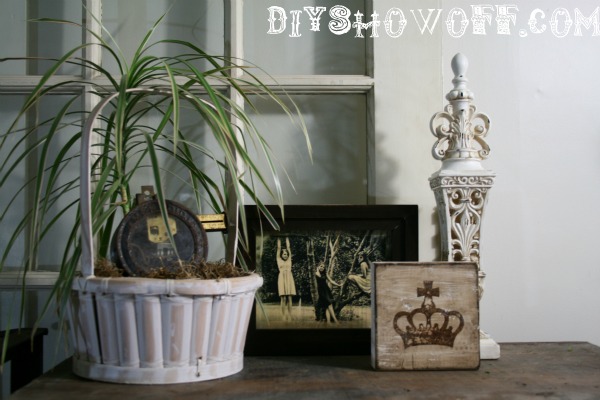
Super cute, huh?
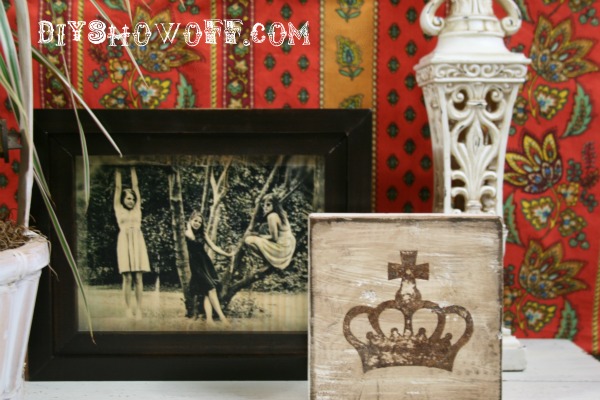
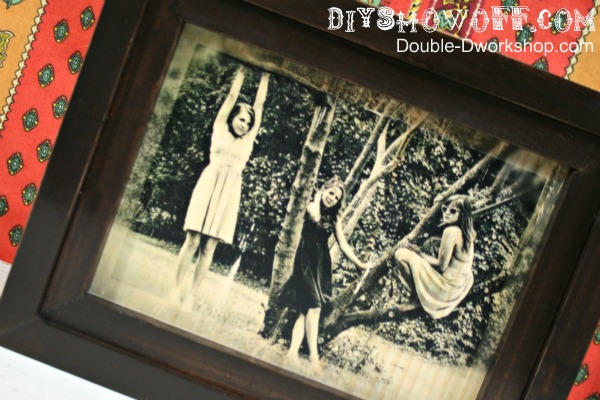
See that beautiful rustic/vintage picture of me with the girls?
It’s all one piece {image transferred to wood + frame}. It looks like it, but there’s no glass! Here’s a closer look:
I LOVE it! That’s the awesome work of Dennis from Double D’s Workshop! Yes, he made it using digital image! The quality is amazing! It’s such a great gift idea (Valentine’s day for your significant other IS coming up!). Get more info at Double D’s Workshop! {Thanks for the beautiful gift, Dennis!}
Stay tuned tomorrow when I show you the other side of my little wood chunk (may as well get 2 looks from 1 piece, right?) and a few other projects I did to create a blue Valentine vignette. 🙂 What’s that? You want a little sneak peek? Okay then, here you go:
Giveaway Alert: Lucky Linky Follower month-long {Feb. 2012} giveaway!
Not sure what a Linky Follower is yet? Created by Brent from Linky Tools, it’s a brand new blog follower tool and blog reader! You can categorize followers (general, favorites, check every day, custom!), you can reads your favorite blogs posts all in one place (AND the original blog is still credited with your page view!). It’s a great way to stay in touch with your blog friends and make some new ones! See more details here and here! Sign up on the right side bar then head over and enter to win!
Let’s see what you’ve been up to this week!
7. Visit a few other links to make some new friends, get some creative ideas!




Love the wood block project – can’t wait to see the other side. Thanks for hosting. XO Bev
Thanks, Bev! I wish I could have shared it today! I’ll be participating in the 14 Days of Love hosted by Cherished Bliss…and I’m on the schedule for tomorrow. 🙂
I can’t wait to try my hand at these adorable blocks!!
There are so many possibilities – I know you’d create something fabulous, Sunday! 🙂
Pingback: A Sunday Afternoon » Blog Archive » Makin’ it on Monday: Built-Ins
Love that accent piece! A Silhouette is on my wish list. Thanks for hosting.
Wow, that came out really nice. I love the crown! And thank you for showing off the gift I made for you. Looks great with all the accessories around it
Thank YOU, Dennis! I love it. I’ve actually added it to my gallery wall in the living room today. 🙂
Love the block! And that vintage looking picture really is awesome!! Thanks for hosting.
Goodmorning Roeshel, I love the block of wood with the crown. The finish is just right. I definitely have to check out Double D’s Workshop. The picture of you and the girls is really neat. I’ll come back later and link up to the party. Kathy, Petticoat Junktion
Thanks, Kathy! Definitely stop by Double D’s Workshop. He’s so talented and so sweet!
Hey friend! So, I realized that while I had put the link to your party in my mudroom makeover post a couple of weeks ago, I spaced out and didn’t actually link it up to your party! Sheesh! 🙂 So, I’m sharing it with you this week instead! Thanks so much for hosting us and I LOVE your darling wood block you created. Can’t wait to see the other side!
Vanessa
I’m so happy you linked up today, Vanessa! How’d I miss it?! It’s gorgeous!
Great project, Roeshel! The possibilities are endless with a Silhouette! Love the picture of you and your daughters too!
I love it! I’ve never heard of that dye, I need to get some asap. Thanks for hosting!
Crystal – I LOVE LOVE LOVE the TransTint dye…it’s pricey but a little goes a long way. I’ve used it on so many projects and love the color (hope to use it on a kitchen island). I love that it’s not sticky or stinky or oily and I can control the intensity.
Love the crown piece Roeshel. Thanks for hosting.
Thanks Roeshel!!! Excited to see your post tomorrow…14 Days of Love!!! XO, Aimee
Love the weathered appearance of your wood block! Great job! Thanks for sharing and for hosting this party each week.
I love your wood block decor. So pretty and vintage looking! And thanks for hosting again!
How cool Roeshel!! I just started painting some wooden blocks last night that hubby had left over from a project I had him help me with. As a diy’er I look at scraps as an opportunity to make something! Thanks for the inspiration.
Roeshel; I can’t wait to ‘attempt’ your block tutorial. I love it. Great PAR-TAY as always. Heather
I love that block! Thank you so much for hosting!! I just realized that I lost all my Saturday and Sunday link backs so I’m busy trying to get everyone updated…..gotcha added back:-)
I love the crown and how the wood really stands out! thanks for hosting
Roeshel… I love your little scrap block! I love the coloring.
gail
Thanks for hosting Roeshel! I love your crown block and can’t wait to see the other side. I will have to try that tint. I love Rockler’s products!
Pingback: CeCe Caldwell’s Paints Makeover #2
Hmmm…. I linked, but I don’t know how to insert the button code in a post. When I do it, I just get the code to show up. Must be an easy way, but like you and impatient crafting, I’m impatient code’in.
~Bliss~
Hey Roeshel!! Long time since visiting! Can’t wait to check out what’s new! xo How ’bout them Giants?? SO Happy!! Hope you had a wonderful weekend!
xo Lynda
You are so smart dear Roeshel ..keep sharing cool stuff!
& thanks for hosting this party!:)
Good Morning! I linked up a yummy Bread Pudding with Butterscotch Sauce Recipe. It is so dang good. Have a great week!
Rebekah-www.potholesandpantyhose.com
I love your project!! and I’m late to the party — but I’m linked up now! 🙂
Thanks for hosting this fabulous party! I just can’t seem to add your button. I’m new to this, so any help would be appreciated!!
Thanks, Debbie! You can grab the html button code from the side bar and copy/paste that into your post and the button/link should automatically appear but having a just a link back is great too! Thanks so much for joining the party today!
I’m loving these…the design you used is very nice. I saw them on Pinterest first!! Thanks for the link up Roeshel!
Have a great week,
Sherry
Pingback: 14 Days of Love…Blue Valentine {ribbon wreath tutorial} | DIY Show Off
Pingback: DIY Project Parade Party Highlights | DIY Show Off
I was looking at the tint and went to the site to purchase but there are so many colors…I tried to zoom in to see what color you used but couldn’t see the color. Which color did you use for this project? Thank you so much for this idea, I LOVE IT!!
Jessa
Jessa – you’ll LOVE that stuff. A little goes a long way. It looks like a lot of the colors are sold out. I’d go with the dark walnut brown (I think mine is dark mission brown but I’d have to check). You can adjust the color strength with water. This post shows it directly on bare wood: https://diyshowoff.com/2012/02/diy-sign-and-50-wallums-giveaway.htmll. Good luck! 🙂