The DIY Project Parade

Do you have something DIY related to share this week?  We’re still working on the kitchen  AND cleaning out the basement so we can get electric to where the kitchen island will be above and choosing the flooring and backsplash.  


I managed to squeak in getting familiar with my Silhouette before taking on a “more involved vinyl cutting project” which has me pretty excited to dive right in but best to know what I’m doing and the tips/tricks with Silhouette before taking on a bigger project. If you don’t have a Silhouette – just look at the pictures to see another fun example of what it can do (giveaway coming this week). Skip the red tutorial text.  If you do have a Silhouette and you’re looking for tips, hopefully this tutorial will help a little.


I made this project to get to know my Silhouette a little better.  A starter project.


This is Lalka.  


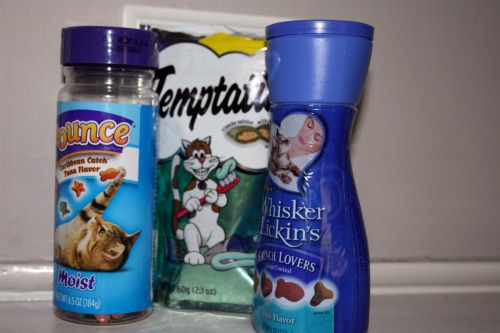
She needed somewhere to keep these…


Using the Silhouette SD, I personalized a cookie jar just for her.  Here is how we cut vinyl letters for labeling a glass cooking jar.  Trial and error. I wanted the letters smaller, but for cutting vinyl for the first time, best to go with something manageable. I still love the end result. 


I typed out my label using the Silhouette SD software.  Silhouette will cut any font on your computer – no cartridges needed!


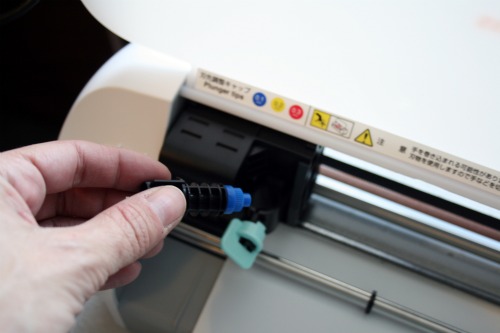
Change settings according to the vinyl package and use the blue tip.  


Feed the vinyl paper shiny side up. 


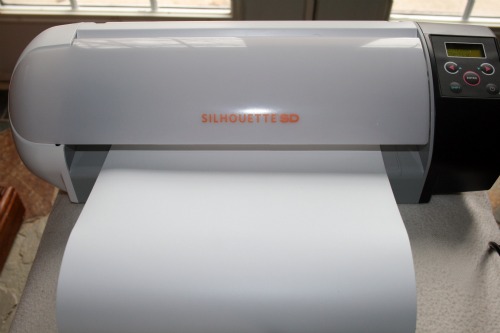
Send the document to the Silhouette SD (just like a printer except that it has a blade that cuts) and it works it’s magic, cutting the vinyl just deep enough.  It sounds like someone playing pinball. I love that sound!


Next, peel away the negative/un-used part of the vinyl from the backing. 


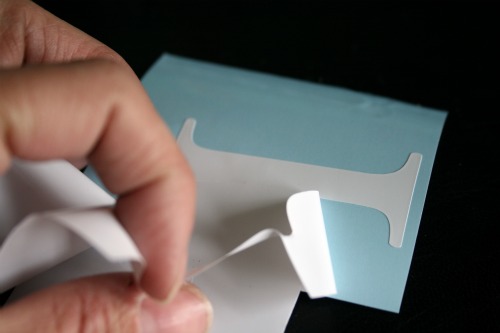
You’ll see your vinyl letter/word/shape on the blue backing like this:


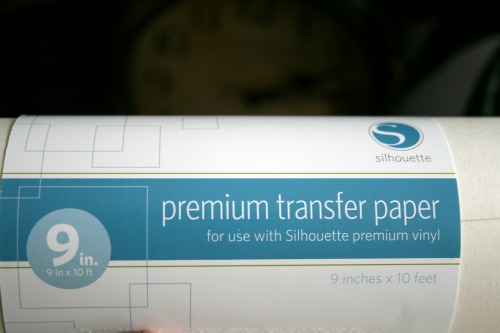
Now…cut a piece of the transfer paper to size.  Peel off the backing of the transfer paper.


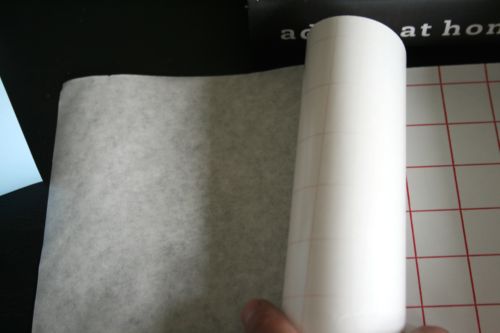
Place over the vinyl letters.  Smooth into place.


Flip and peel the backing of the vinyl paper off.  (Your vinyl words might be all together. Mine are a little separate since this was my first time and it took 3 times to get good cuts. I ended up going with pieces. Don’t give up!)


Now letters are ready to be placed onto the jar. 


Place and smooth, using fingernail to make sure it’s sticking to the glass. 


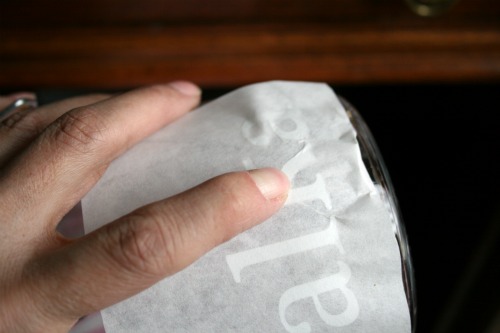
Peel off the transfer paper. There are places where the jar is rounded, so tiny parts of my vinyl wrinkle.  I smoothed them out the best I could but I’m okay with imperfections.


Now, kitty treats are stored so much cuter than the original packaging. 


Exciting news!


SILHOUETTE GIVEAWAY Wed. 2/23!


~*~*~*~

Do you have a DIY project to show off this week?  I’d LOVE to see it!  Or please visit the links to get inspired!


The DIY Show Off


If you’d like to link YOUR DIY project post to The DIY Show Off Project Parade:

1.You must use the button above and link to this post to share the linky love.


2.Include your name or blog name and project title. Add your permalink (not your blog url, but your DIY project post url). Feel free to link a Past Post, just invite your readers in a current post with a quick note.

3.Or email your link to thediyshowoff@gmail.com and I will add it for you.


4.If you notice your link has disappeared -please add the link back to The DIY Show Off to your post today, a button or a quick note to your readers about the party and try again! I love when everyone participates and readers check out everyone’s links, but I think the return favor of linking back is the nice thing to do so everyone plays fair and enjoys all of the projects and links. Also – this blog party is for DIY projects only. Links not related to DIY will be deleted.


*I received a Silhouette SD in exchange for product reviews and tutorials, however opinion (LOVE) is my own. 


Tomorrow is the last day to enter the DIY Club’s monthly party!  The new rules make it easier for you to enter your project!  
DIY Club

Diaries of a Whimsical Wife

How can you not love blog posts written diary style by a whimsical wife?

Whimsical Wife Share Button

Especially when she’s a whimsical  wife with amazing DIY talent.  Click the links below for more details, tutorials and pictures or to just say “hi”!

She’s turned an old window into a French Menu Chalkboard for her kitchen…


Her kitchen transformation is a rags to riches.  Plain to gorgeous.  

Here is the kitchen before they bought their home…


Now close your eyes and make a wish … for a beautiful, fresh, bright kitchen. (If only DIY worked that way, they would be less broken fingernails!)


Ta-da! 


{For more before photos click HERE}
{DWW Kitchen Plans HERE}
{DWW Kitchen Inspirations HERE}


WOW, huh?  I’m still so in love with all white kitchens. Great job, Melissa!
Beautiful projects (I love old windows) and the before/after kitchen is night/day. So pretty! Thank you so much for sharing, Melissa!

Personalize Glassware

This is a great idea for desserts/casseroles + hostess gift for upcoming summer parties and it’s so easy to do.  Using Deco Art Americana Gloss Enamels, you can personalize, label or monogram your glass dish so it gets back to you. Or personalize/monogram bakeware and glass dishes.
Materials:
Rubbing Alcohol  
Cotton Ball 
Glass Baking Dish (existing or new)
Stencil (Cutting Edge Stencils bird bonus stencil and a letter “B”)
Tape (painters tape)
Foam Brush (Rockler)
Paper Towel
1.  Clean the glass bottom of glass dish with a cotton ball and rubbing alcohol and let dry. 
2.  Tape stencil to the bottom of the dish. (Remember to flip words/monograms so they are painted on backwards – it’ll show right side up when the dish is flipped over).
3.  Dab foam brush to soak paint into the foam, evenly distributing paint. 

4.  Apply 2 coats of paint, letting it dry 30 min. or so in between.
5.  Repeat with more stencils and paint colors as needed/desired.

6.  Pull off the tape and stencil. If you need to clean up the lines, use a fingernail/wet paper towel.
I rub my Cutting Edge Stencils under water to clean and hang to dry for re-use.
7.  Air dry for painted baking dish 48 hours.
NOW THE COOL PART – BAKE TO SET THE PAINT!

8.  Place glass dish in oven and set temp to 325 degrees. Dish will warm as the oven temp rises.

9.  “Bake” for 30 minutes.
10.  After 30 minutes, turn off oven and crack open the door to allow glass to cool.
All done! I love it and I’ll always know which baking dish is mine.  I’ll definitely be making something along these lines for desserts and hostess gifts for summer parties!
Note:  The painted monogram/emblem is on the bottom outside of the glass. Not for direct contact with food.
For more detailed instructions, see the preparation and application instructions at Deco Art.

I’m linking up to:

The Lettered Cottage