


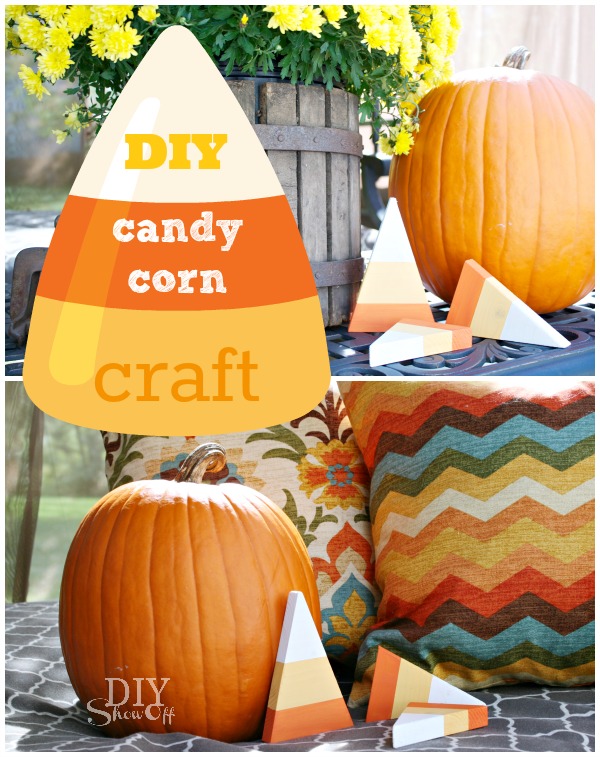
We’re making progress on the grape arbor/gazebo, recycled brick path and patio AND a laundry room makeover and in between those bigger DIY projects, I’m having fun with some stress-free easy DIY. I just saw the cutest little candy corn bean bags somewhere which inspired this project…a scrap wood version.
Materials:
- Scrap 1 x 6 wood
- FrogTape®
- Sandpaper
- Craft paint
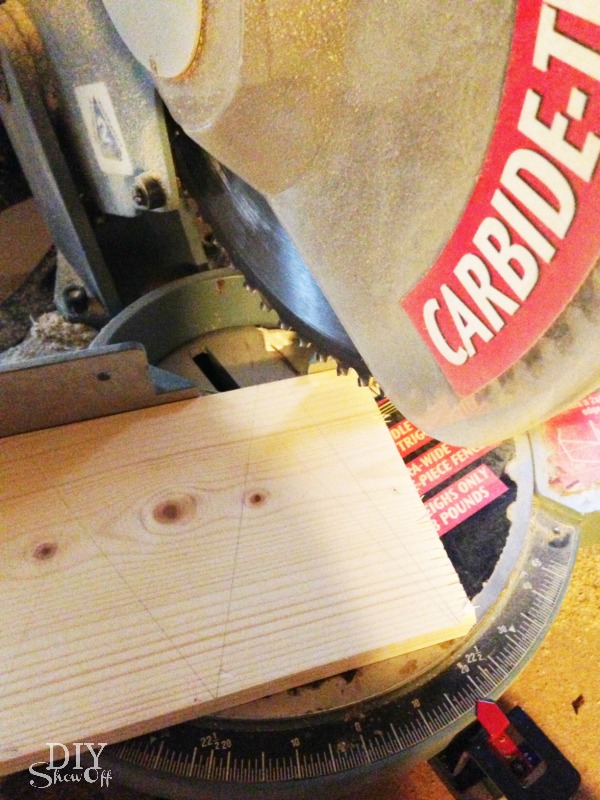
I used the miter saw to cut three triangle shapes from my scrap wood, then sanded the edges.
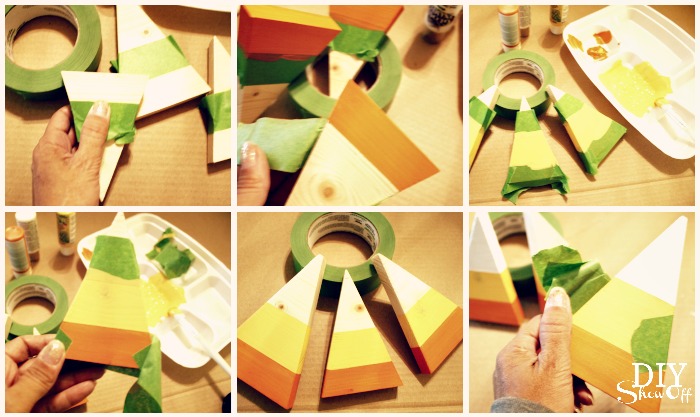
Candy Corn Fact: My DIY version goes from orange to yellow to white but the official candy corn striping starts with yellow on the bottom, orange in the middle and white on top.
I taped off each section using FrogTape®, rubbing my thumbnail along the edge of the tape. I started at the bottom with orange craft paint. After I applied a second coat, I removed the FrogTape®. Let dry and move on to the middle yellow section following the same steps, finishing with white craft paint on the pointy part of the triangle. Allow drying time between each color.
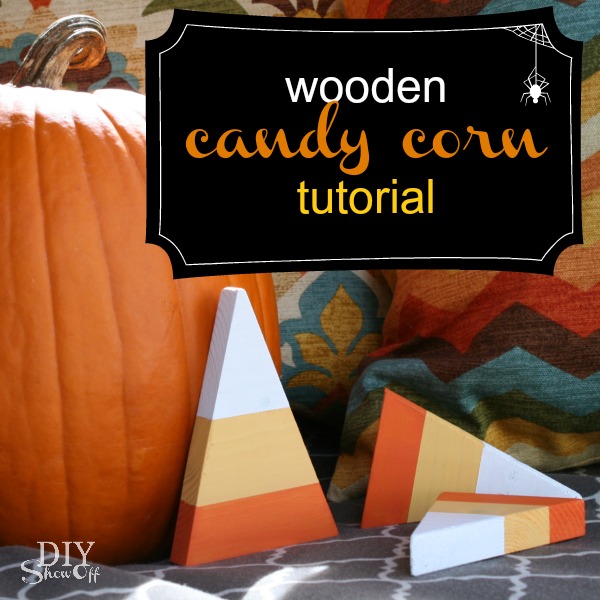
DIY Halloween/Fall craft: decorative wooden candy corn pieces
Optional: seal with a protective clear coat.
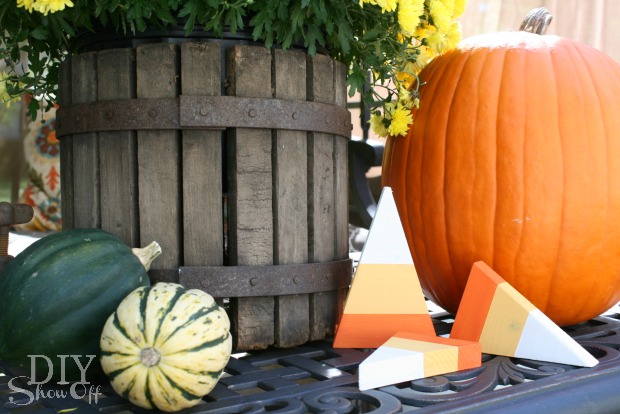
Aren’t they cute?
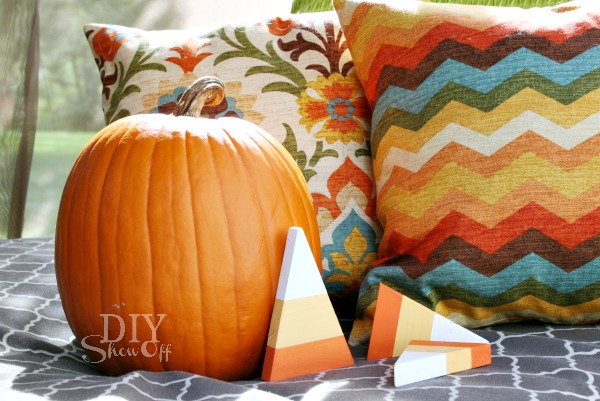
I think these would make a great fall hostess gift tied up with ribbon.
Sharing at the Lettered Cottage and Centsational Girl.
![]()
*I’m a member of the FrogTape® Blog Squad. This post is sponsored by FrogTape®. As always, the opinions are completely my own based on my own experience.


