


I’m still sort of holding my breath, hoping that spring truly has arrived after all of the teasing we’ve had recently. But regardless of the weather outdoors, I love to accessorize just a little bit with spring accents indoors.
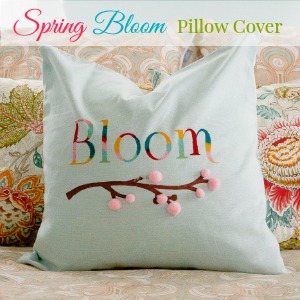
DIY Spring Pillow
Materials:
- Accent pillow cover (make your own or purchase from Ikea or H&M)
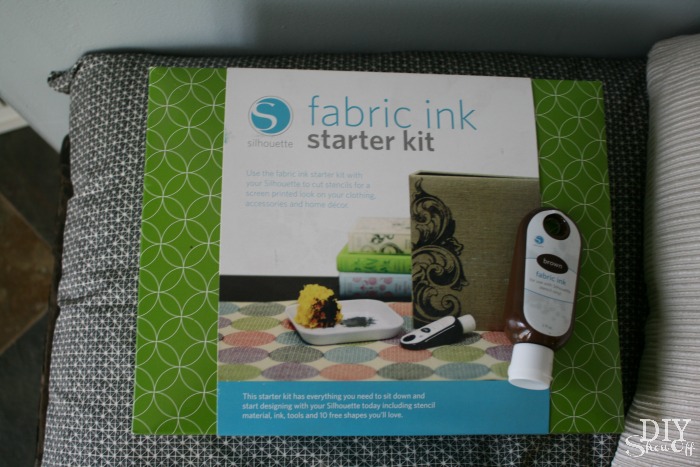
- Silhouette Fabric Ink Starter Kit from Happy Crafters – The Silhouette Fabric Ink Starter kit includes everything you might need to get started creating custom screen print designs. This kit includes: 2 oz. bottle of fabric ink in black, 9″ x 3ft roll of stencil vinyl, silhouette hook tool, mixing tray, sea sponge, foam brush, a download card worth up to 10 free Silhouette designs, an idea booklet and instruction guide, and an instructional DVD. With this kit, you have all the tools and materials needed to start creating all kinds of screen printing projects. Pair this with a Silhouette Cameo® or Portrait® vinyl cutter for designing and cutting graphics quickly using your stencil vinyl.
- Fabric Ink from Happy Crafters or fabric paint
- Pom poms
What I did:
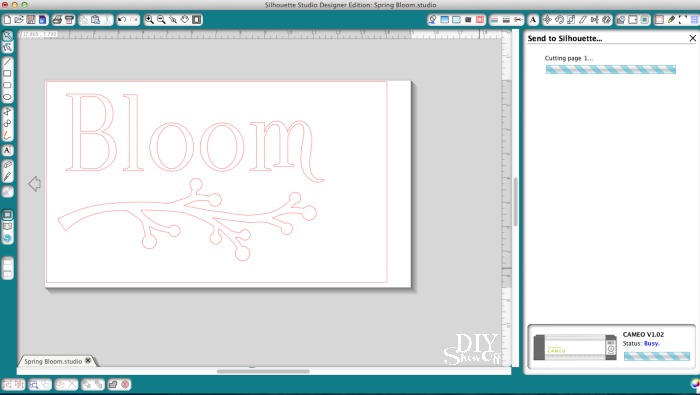
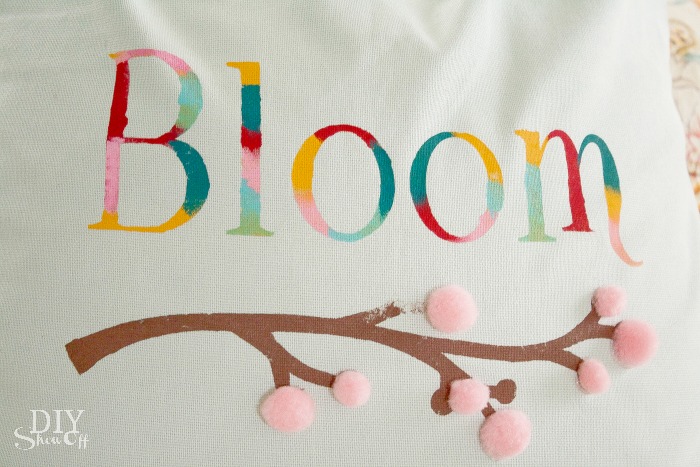
Using the Silhouette Design Studio Software, I created a spring design. There’s a promotional card in the starter kit for some fun free shapes but I created the text “Bloom” with a branch shape.
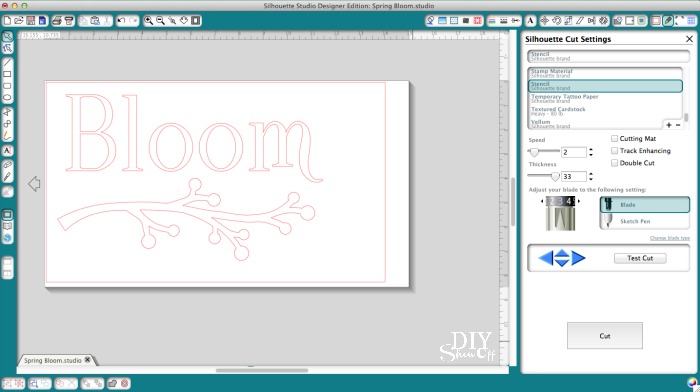
Load the tan stencil vinyl rough side up into the Silhouette Cameo. Adjust blade settings for vinyl cutting.
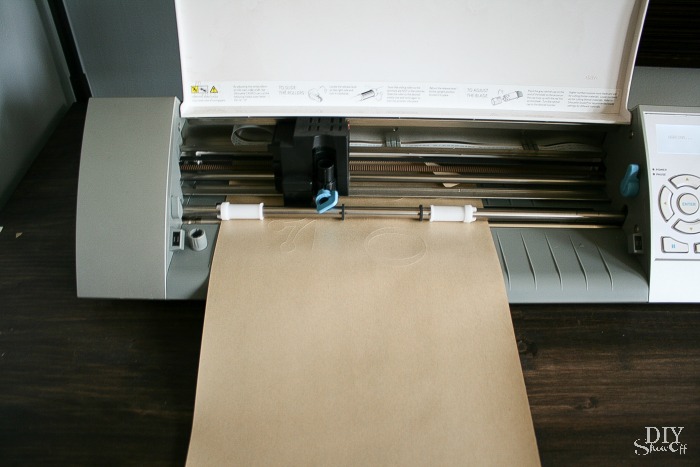
Send to cut then remove from the machine.
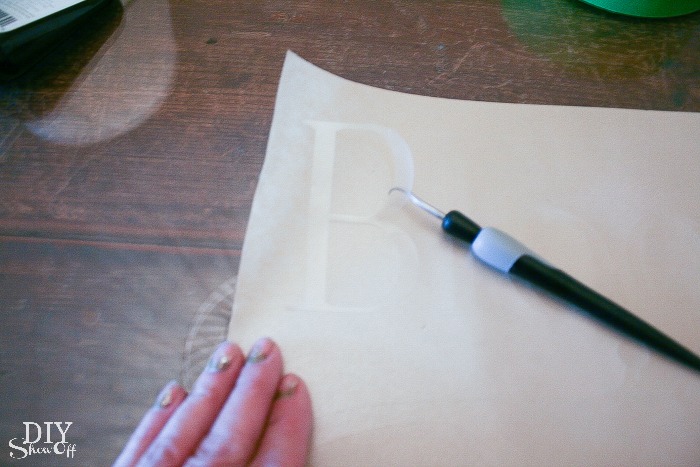
Weed away lettering and shape from stencil.
Peel away the white backing from the glossy transfer paper. Cover rough side of stencil with transparent transfer paper. Burnish using the plastic promotional card (or gift card).
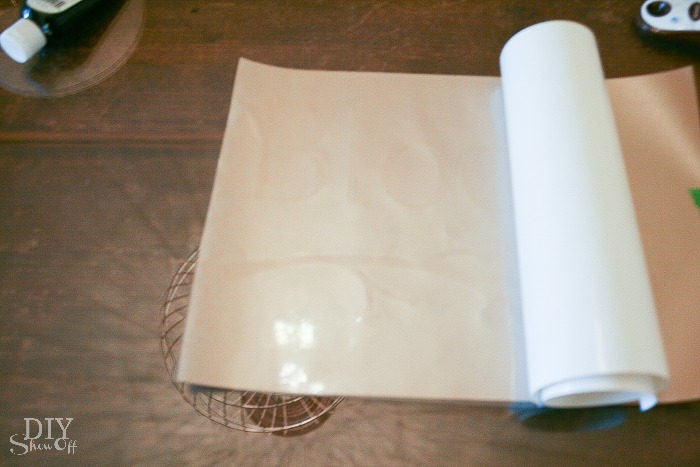
Peel away tan backing from stencil vinyl.
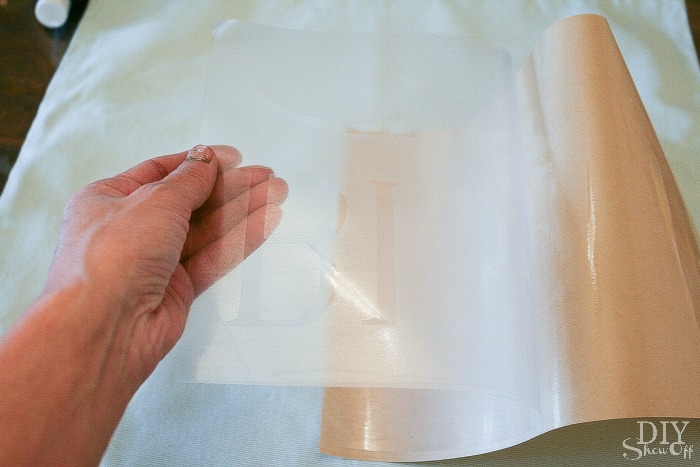
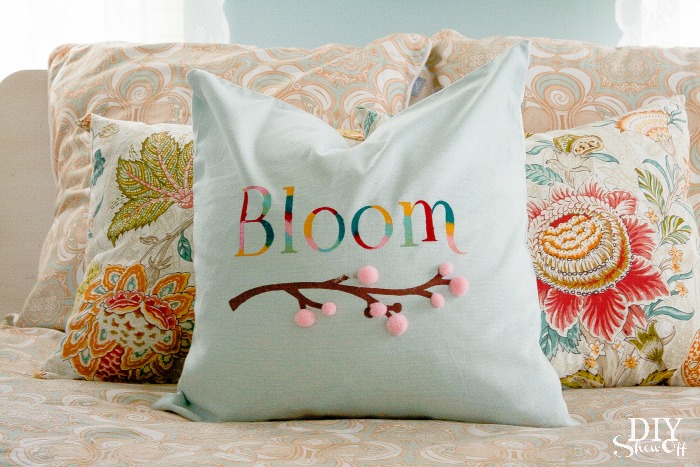
Place stencil onto pillow cover. Burnish using the plastic card.

Peel away the shiny transfer paper.
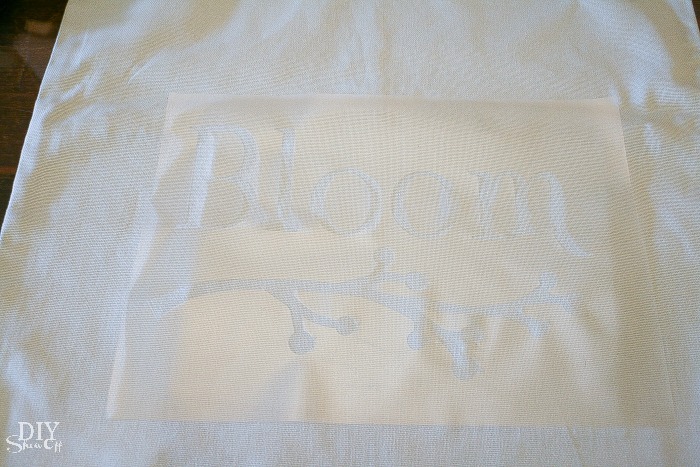
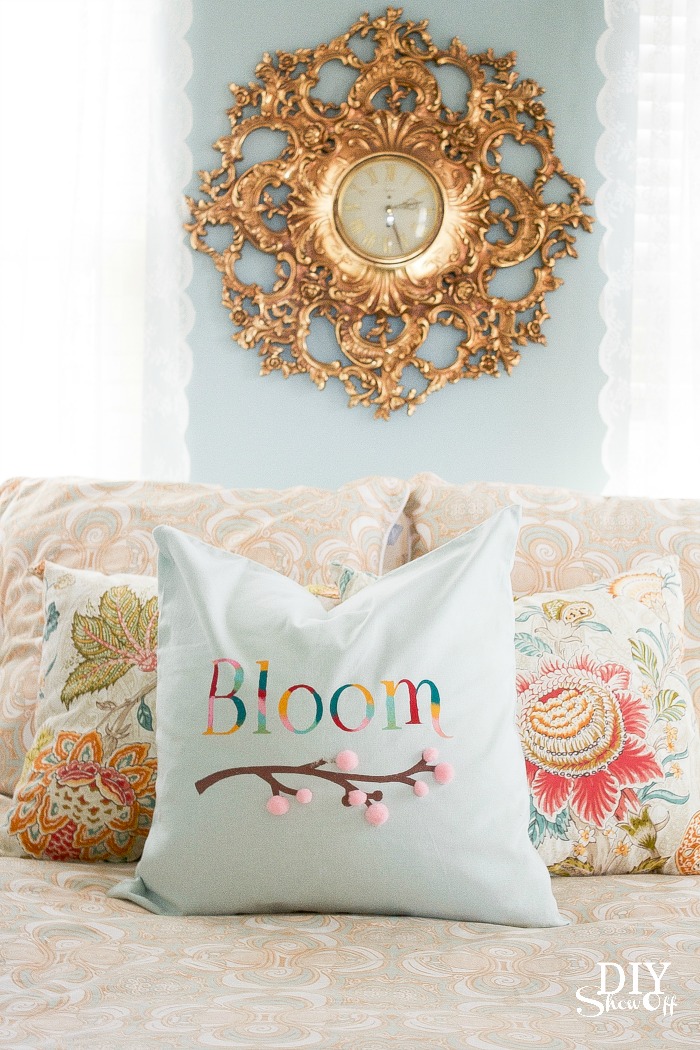
Paint design. I used a foam brush for the lettering and a sponge for the branch.
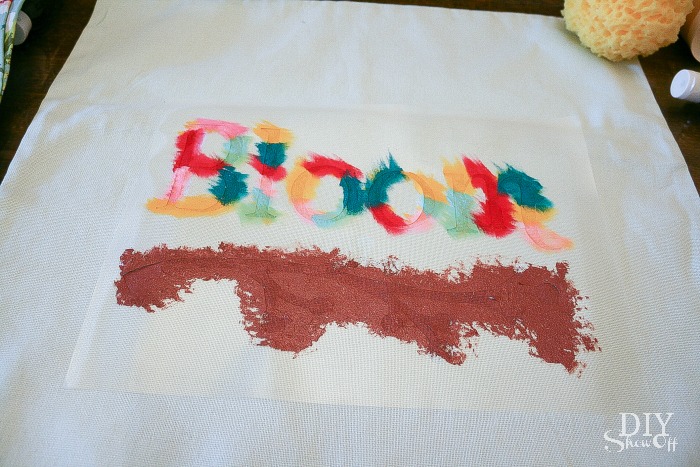
Once paint is dry, remove stencil.
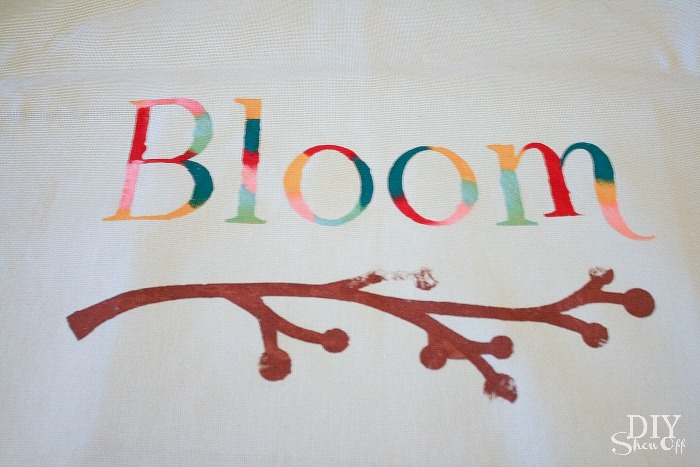
Sew or glue pom pons onto the branches.
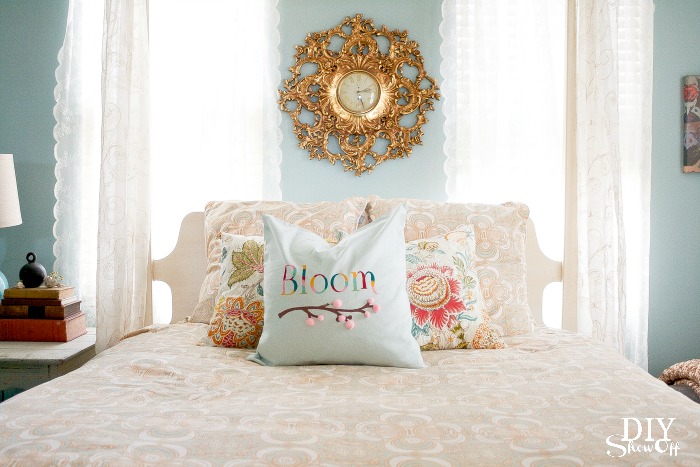
Slip pillow into the pillow cover and display. Spring is in the air!
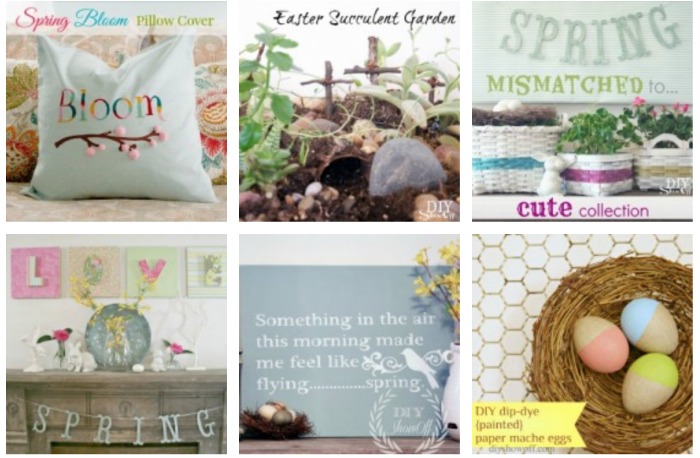
See more spring ideas in the DIYShowOff project gallery!
*This post is sponsored by Happy Crafters. Tutorial, experience and opinion is my own. Check out all the supplies at Happy Crafters for inspiration for your next project.

So cute! Love the pom poms! Perfect way to add a Spring touch.
Thanks for sharing,
Suzanne
Pieced Pastimes
I love your pillow and the way you variegated the ‘bloom’. And the pom poms just topped it off.
I would love to copy this…. if I could afford the Silhouette and the kit.
I considered fabric, but I don’t have the patience to cut our narrow stuff without cutting something off….. lol.
I forgot to mention that I love your new clock too.
Oh I love this idea, how fun. I had never heard of this kit. I need to make something too. This is wonderful and so cheerful. I would love for you to link up to my Inspire Me Tues. party. – – -http://www.astrollthrulife.net/2014/03/210th-inspire-me-tuesday.html –Hope to see you there. Hugs, Marty
This is so pretty! I need to get some fabric ink now. 🙂
What a beautiful and HAPPY pillow! Love it.
This is so pretty. I love the colors. Here is hoping spring is here to stay.
Found you over at Gina’s! I may try to create this pillow for my art studio!
Great tutorial step by step. Pillow looks really nice 🙂
Hello! This pillow is adorable! Thank you for sharing!
Pingback: 25 Ideas for Spring
Love your blog and all the fun tutorials! Inspirational to a new blogger like me. 🙂
Awe thanks, Imani! Welcome to blogging! xo
this is such a cute pillow! I don’t have a vinyl stencil machine, but either I’d do it by hand, or wouldn’t it be cute with the letters embroidered too? Thanks for sharing. I’m going to pin this one too… who know, maybe someday I’ll get to it. Liz http://www.HometoCottage.com
Pingback: Love the home you have... with a reclaimed wood old sign shutter shelfFunky Junk Interiors
Pingback: Lovely Spring features | From Evija with Love