


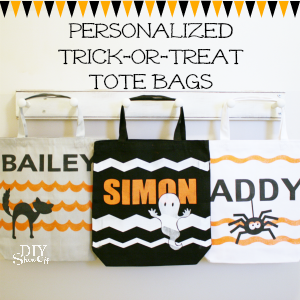
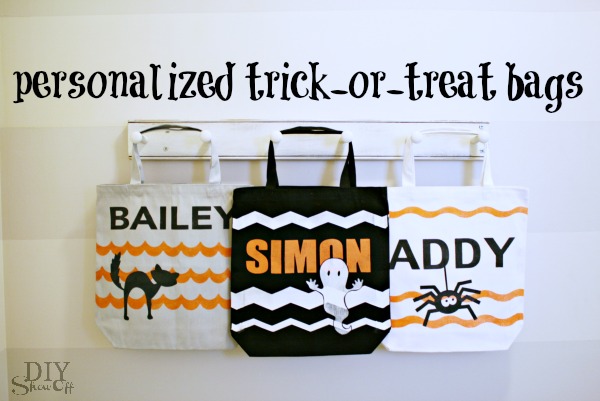
Trick or Treat is coming up at the end of the month. I sure do miss having little ones at home. We don’t even get trick-or-treaters in our neighborhood but I do have two nieces and one nephew, all under the age of 5. With help from FrogTape® and Happy Crafters, I whipped up a little Halloween surprise for them. They’re going to love these personalized trick or treat bags!
Materials:
- canvas/linen tote bags
- fabric paints
- FrogTape® Shape Tape (I used all 3 patterns: chevron, wave and scallop)
- stencils (I created my own stencils using glossy black vinyl and transfer paper from Happy Crafters)
Tutorial: (please pardon the poor lighting…it’s raining today)
Part 1 – Shape Tape
Iron the tote bags to remove wrinkles.
Insert cardboard into the tote bag (to block bleed-through to the other side).
Cut a piece of FrogTape Shape tape a little wider than the bag. Decide placement. Remove half of the strip of wax paper backing from the Shape Tape. Position and press into place. Remove the other half of the wax paper backing and smooth into place. I found that securing the edges of the tape to the table underneath on the sides, kept my tote bag from sliding around, holding it in place for painting.

Repeat step 3 to create a ‘stencil’ border/line for the design.
Using a credit card, I rubbed the Shape Tape to make sure it was nice and secure, sticking to the canvas…check closely to be sure the Shape Tape is complete adhered to the canvas.
Paint! Be careful not to lift the Shape Tape with brush strokes. It helps to move the paint brush from ‘on the tape’ moving to the fabric rather than starting on fabric and pushing paint to the tapeline.
Remove Shape tape. Nice crisp lines!!! Let the paint dry. 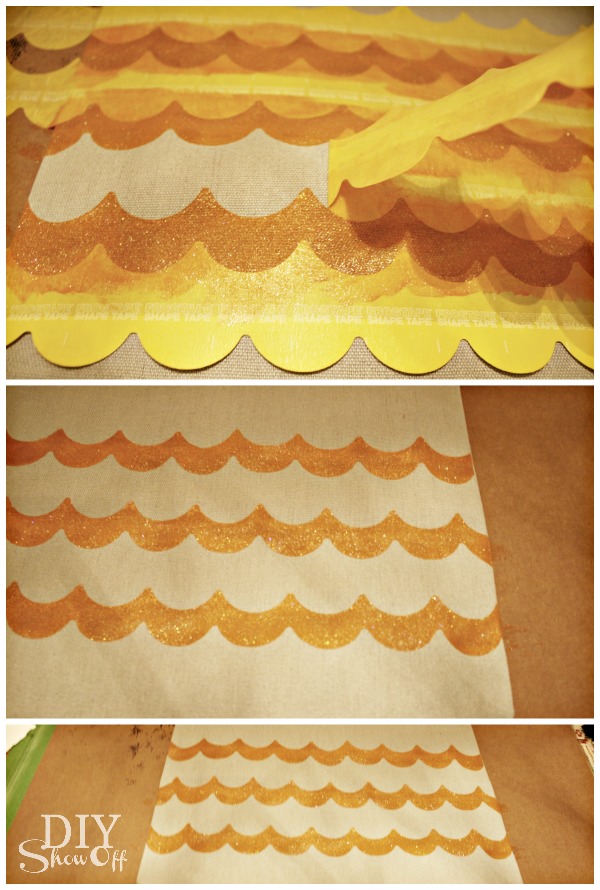
Part 2 – vinyl stencils
Using my Silhouette designer studio software, I created name stencils as well as purchased a few Halloween shapes from the Silhouette American online store. Then sent it to cut to create vinyl stencils. 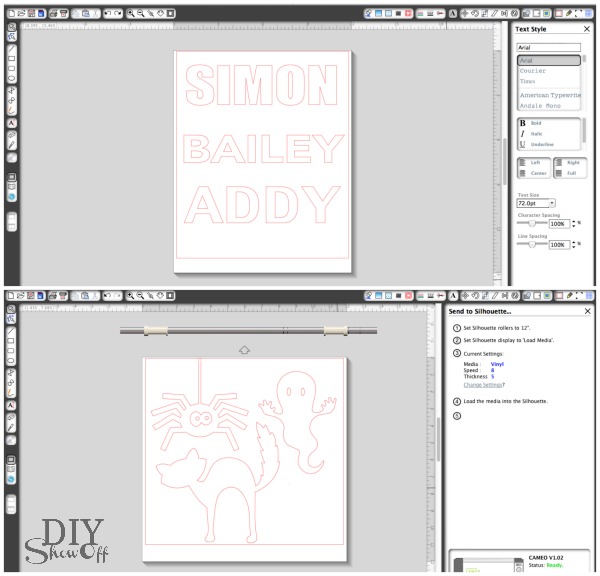
Peel away lettering and design to create a stencil. Using transfer paper, position vinyl stencil on tote, rub with a credit card and remove transfer paper – leaving the vinyl stencil in place on the canvas. 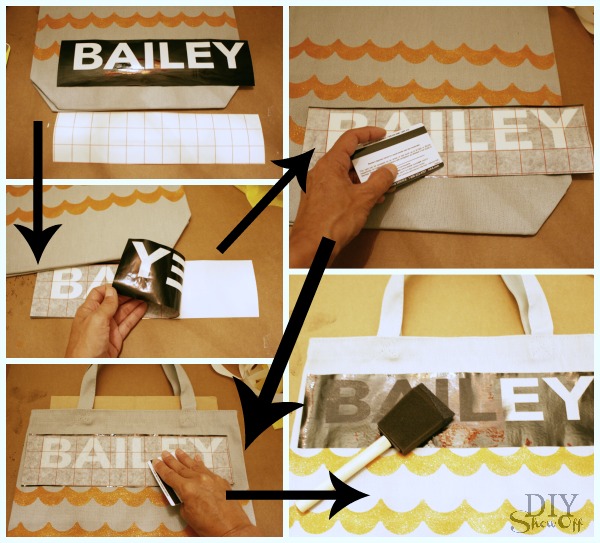
Paint and remove vinyl. Allow paint to dry 4 hours.
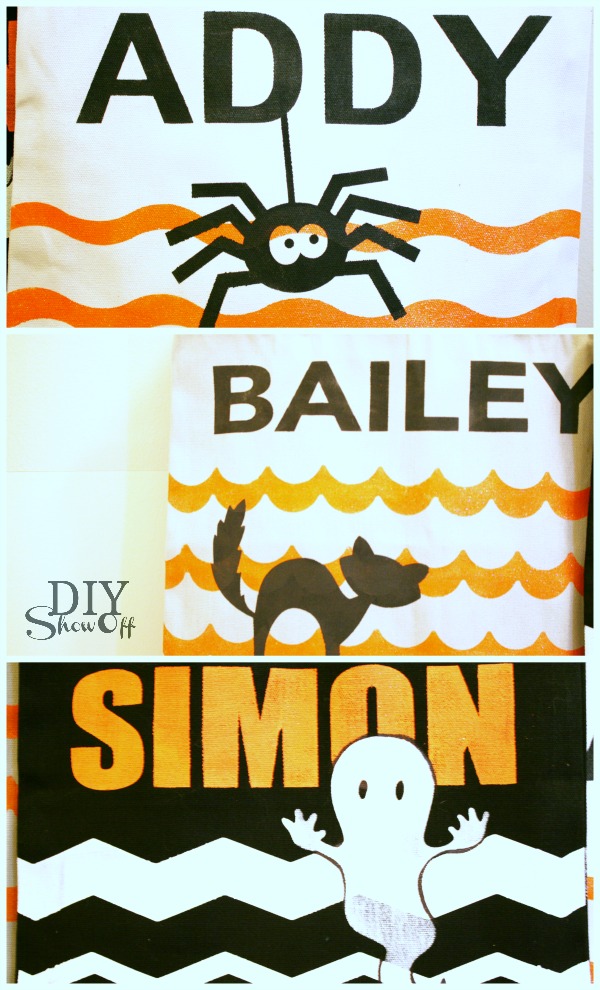
*Using a black Sharpie, I traced around the ghost where his white body met with the white chevron.
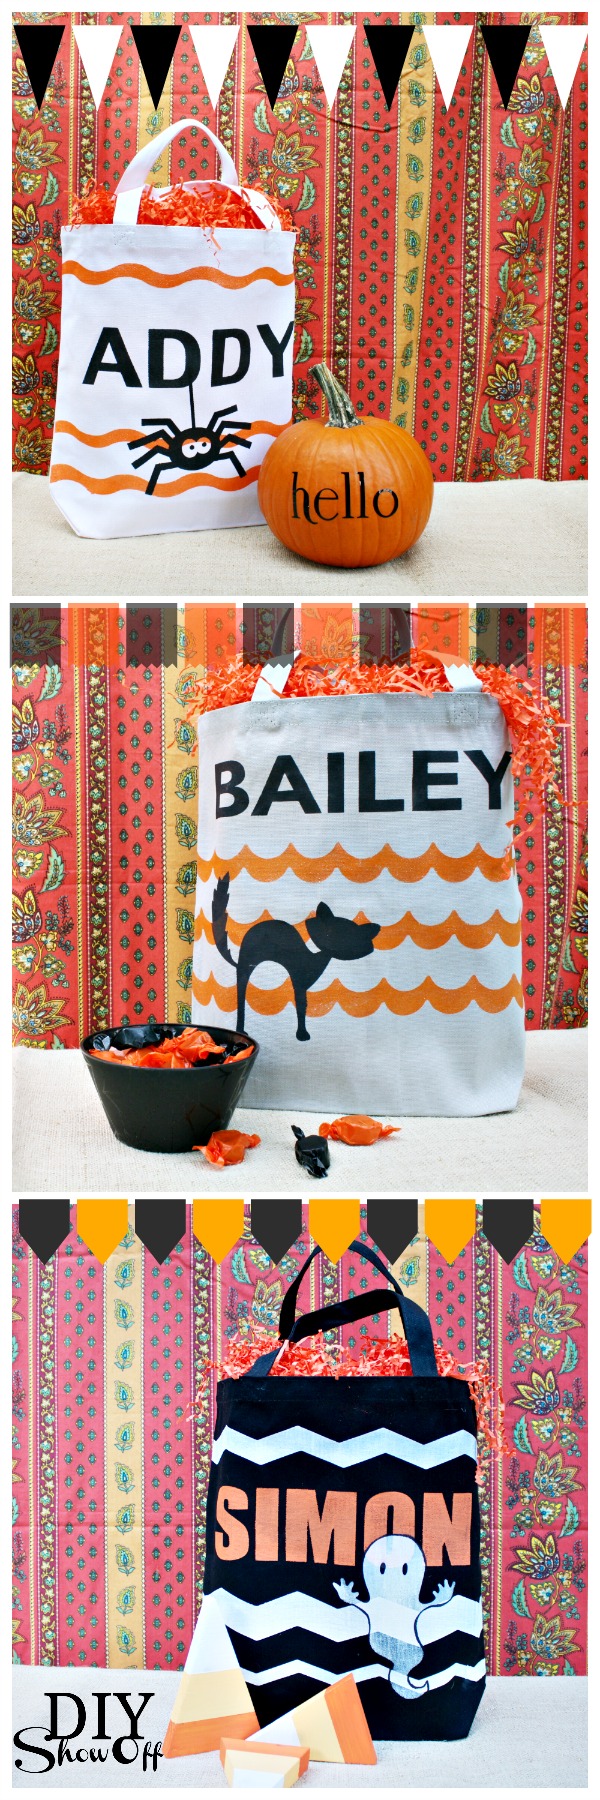
Aren’t they darling? Years of use! Machine washable (inside out) after 72 hours. Cute.Cute.Cute!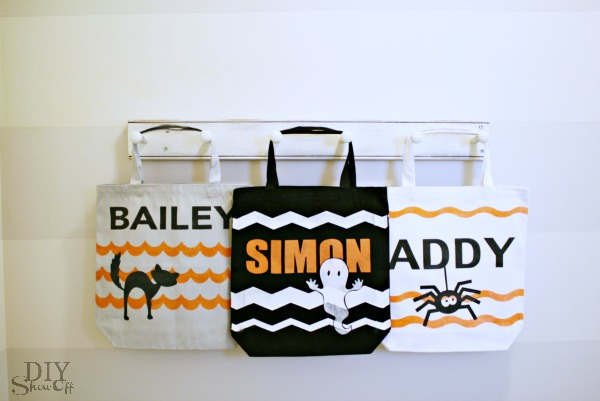
Now I have three little trick-or-treaters! Treators? What’s your favorite kind of Halloween candy?
![]()
*I’m a member of the FrogTape® Blog Squad. This post is sponsored by FrogTape®. As always, the opinions are completely my own based on my own experience. See more DIY from the FrogTape® blog squad.
*This post is sponsored by Happy Crafters. Tutorial, experience and opinion is my own. See more projects at Happy Crafters blog.

Love them!! SOOOO cute!
What a great idea… No fighting about who’s bag it is any more!
I love the shape tape… I had no idea!
Pinning!!
Your treat bags are super cute!!
Roeshel, these are just adorable!!! They turned out fantastic and thanks so much for sharing your how-to. Pinning! Hope you had a fabulous weekend and have a wonderful week ahead!
Those are soooo cute Roeshel! Might have to make some for my own little trick-or-treaters! 🙂
I love these, Roeshel! Now I know what to do with my leftover frog tape from Haven! 🙂
Roeshel these are BEYOND adorable. I really need to get it in gear with my craft / paper cutting machine!! Pinning this, of course and thanks for the inspiration!!
Holy cow! How have I never heard of “Shape Tape”?!? I need this in my life. Those bags are adorable.
Where did you find the Frog Tape?
Hi Alissa. If you’re in the US, it’s available at Lowe’s. I don’t believe it’s available elsewhere yet but hopefully soon!