I’ve been really lucky with finding thrifty {used} light fixtures. Want to see? Ever wonder how a creative idea strikes? Read on, my DIY friend…
This week, I may have squeeled with excitement when I saw this at St. Vincent de Paul for $9.99 {except that I’m the quiet type and even if I did squeel, you wouldn’t have heard me…but I was THAT excited. I still am!}
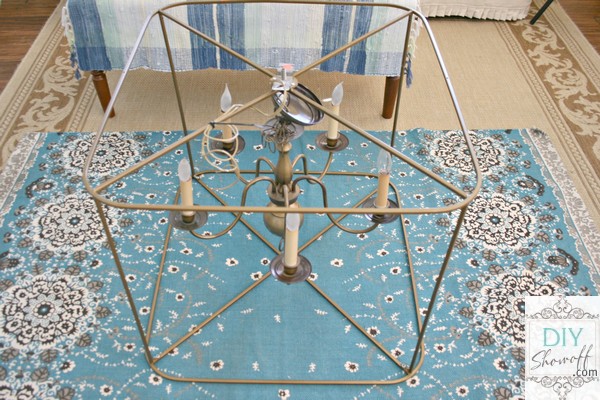
and I’m thinking it’ll go in the family room {which, as you know is a work in progress…so what it looks like now isn’t a reveal and those pretty doors aren’t finished either!}…
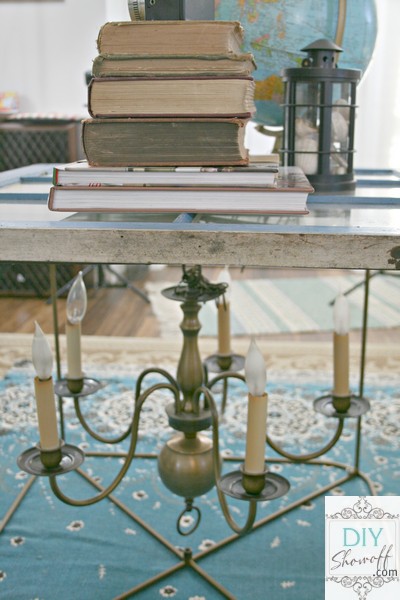
Then Lindsay had the idea of making it into an accent table – isn’t that brilliant?! ::light bulb over my head:: Re-wire it to plug in, add a glass top and ta-da! It’d be gorgeous all rigged up – no need for a table lamp if the table is a chandelier! Hmmm…now that she’s planted that seed…I just don’t know! {You know I’m indecisive!} But when it’s sitting on the floor, it DOES look like a table!
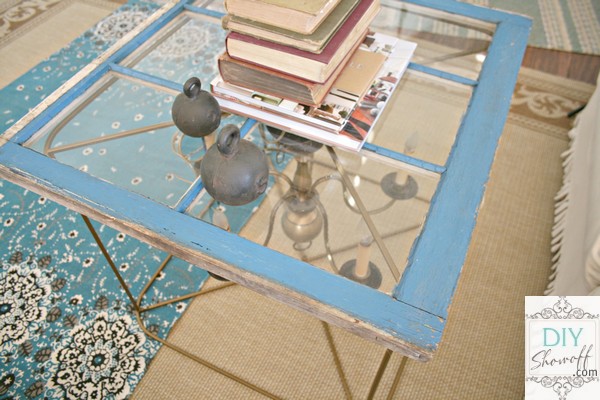
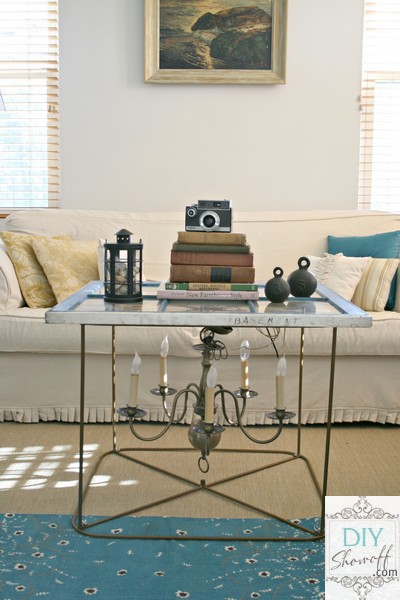
But I do love to play around. Here’s just an old window on top and an idea of how it’d look. Pretty awesome, I’d say!
This one was purchased for $20 from Habitat ReStore…
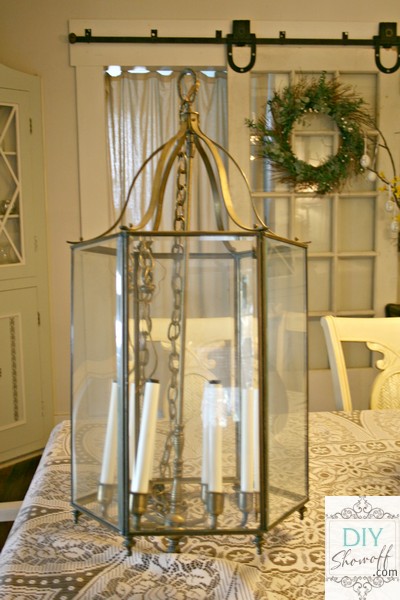
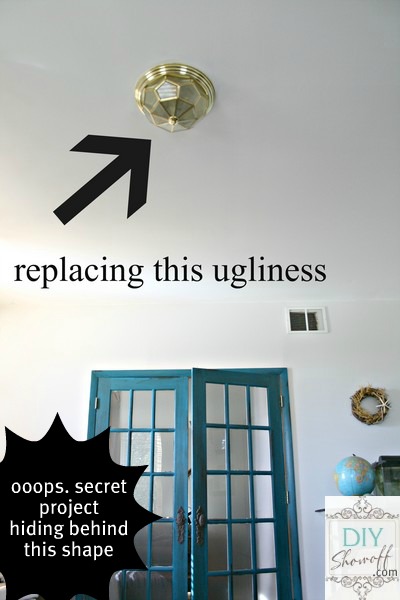
and I’m pretty sure it’s replacing the light fixture in the dining room…
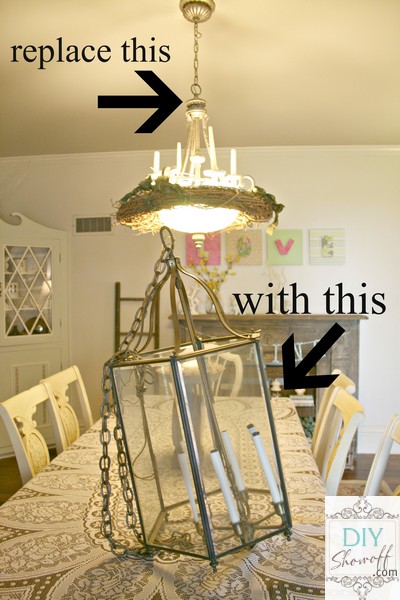
Now the dilemma. I love that they’re both huge and will make a beautiful statement in each room. But did I choose the right rooms for each chandelier? I think either light would work in either room so I’m certain I’m going in the right direction. I think. lol! What do you think?
And I love each of them and their aged gold color but I’m so tempted to give them a “WOW” with a coat of spray paint. Check out this inspiration…
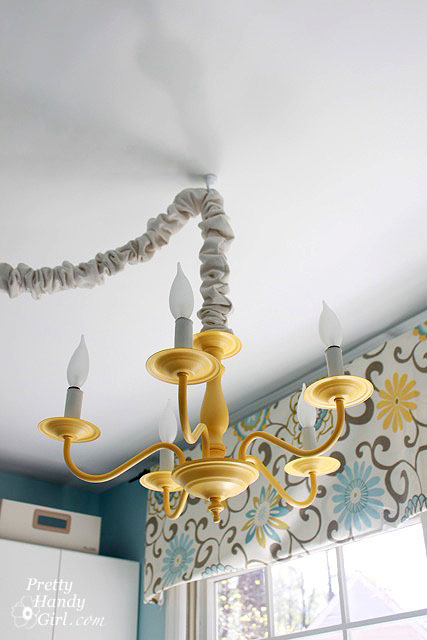
{Pretty Handy Girl}
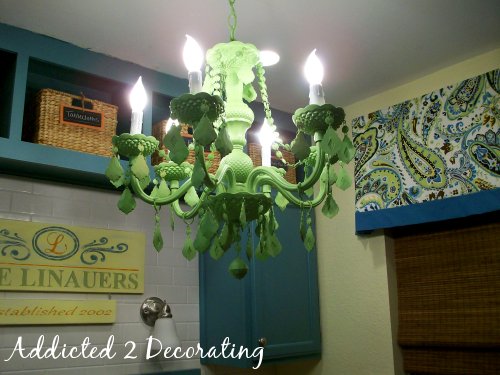
{Addicted to Decorating}
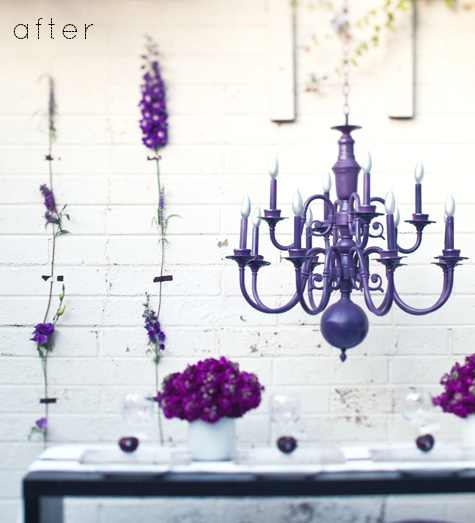
{houzz}
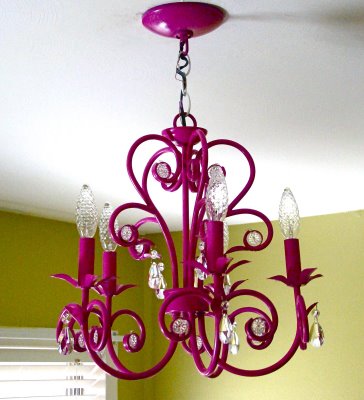
{Vickie Howell}
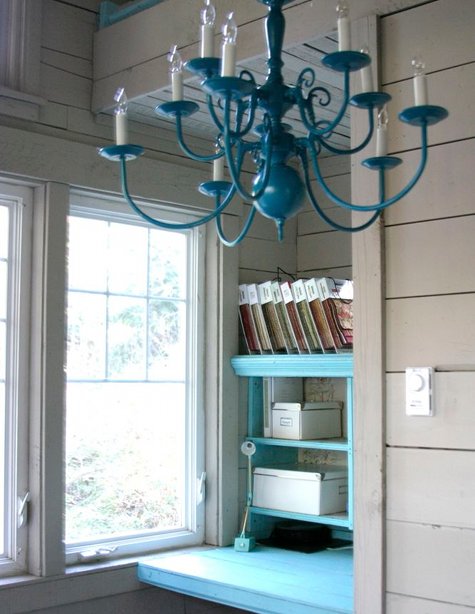
{design sponge}
I’m no stranger to spray painting chandeliers:
My dressing room chandelier used to be brassy gold…

The room that Cassity (Remodelaholic) and I designed for Shaw/HGTV Home last summer and the painted chandelier:

Guest Room Chandelier

- Keep my current placement plan?
- Spray paint one or both or none?
- Chandy side table?
Ps. Mr. DIY pictures a big palm leaf ceiling fan in the family room so the light fixture there will be temporary until we decide to choose and invest in the perfect one. And he’s sort of liking our current dining room light fixture, but maybe he won’t notice the swap? Or he’ll fall in love them when they magically appear in place? Didn’t happen with this one in the powder room:
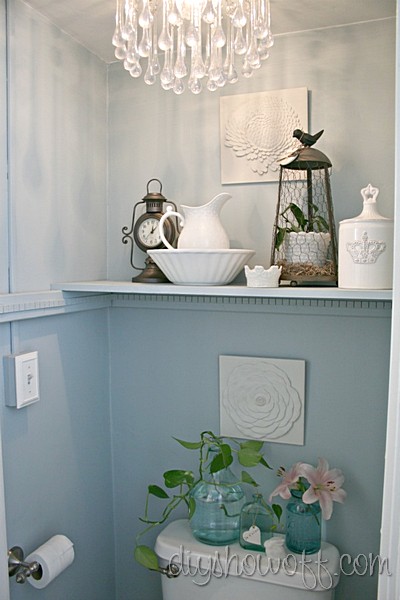
{powder room}
He’s not a fan of the ‘snot monster’. But he tolerates it for me. Love him {and the tear drop light}. They’re both keepers! 😉
After writing up this post and playing with the idea more, I’m thinking if I keep the current dining room light fixture {we’d love a pulley light there anyway}, use the lantern-chandelier in the family room and the caged chandelier as a coffee table/accent table … problem solved, right? What do you think? I am LOVING the chandelier coffee table idea! So, I’m going to work a little do-it-yourself magic, make it sturdy, add a top (I like the window) and change the electrical from hard-wire to plug-in. It’s just too perfectly my style not to go with that idea. Here are some more pictures of the repurposed chandelier table idea (I see a tutorial in my near future).
I’m so glad we had this chat. It’s been a huge help in curing my indecisiveness. 😉
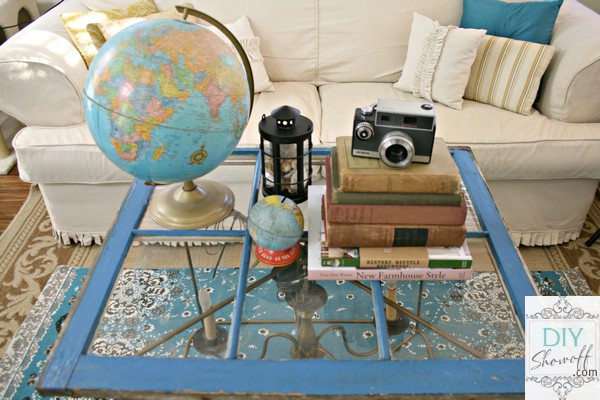
But I might still change my mind. {After all, I do have these for making a coffee table too.}


 Redoux Friday Feature Party


