Painted Play Mat

Painted Floor Mat Tutorial

How to paint a foam playmat, floor mat, do it yourself, DIY, vintage restaurant sign, aged, distressed, lobster, beachy, New Orleans

My Inspiration: With a kitchen remodel nearly done, I’ve been looking for an accent rug for in front of the kitchen sink and stove area. I haven’t been able to find something I like but one I did spy several painted foam mats on Pinterest

Project Inspiration

painted foam playmat

please pin this image directly from Sarah.Wandering.

Continue reading

Decor Allure and the Basement PlayWorld

Do you have a finished game room/entertaining basement/man cave/kids’ playroom?  If it’s something in your DIY future, be prepared to be inspired.  Erin from Decor Allure just finished her basement makeover and it is a beautiful bright space that no one is ever gonna wanna leave!  1000 square feet of something-fun-for-everyone!  Grab a napkin, you’re going to drool!
Here are some highlights from her reveal but visit her “basement is finished” post to see the full details!


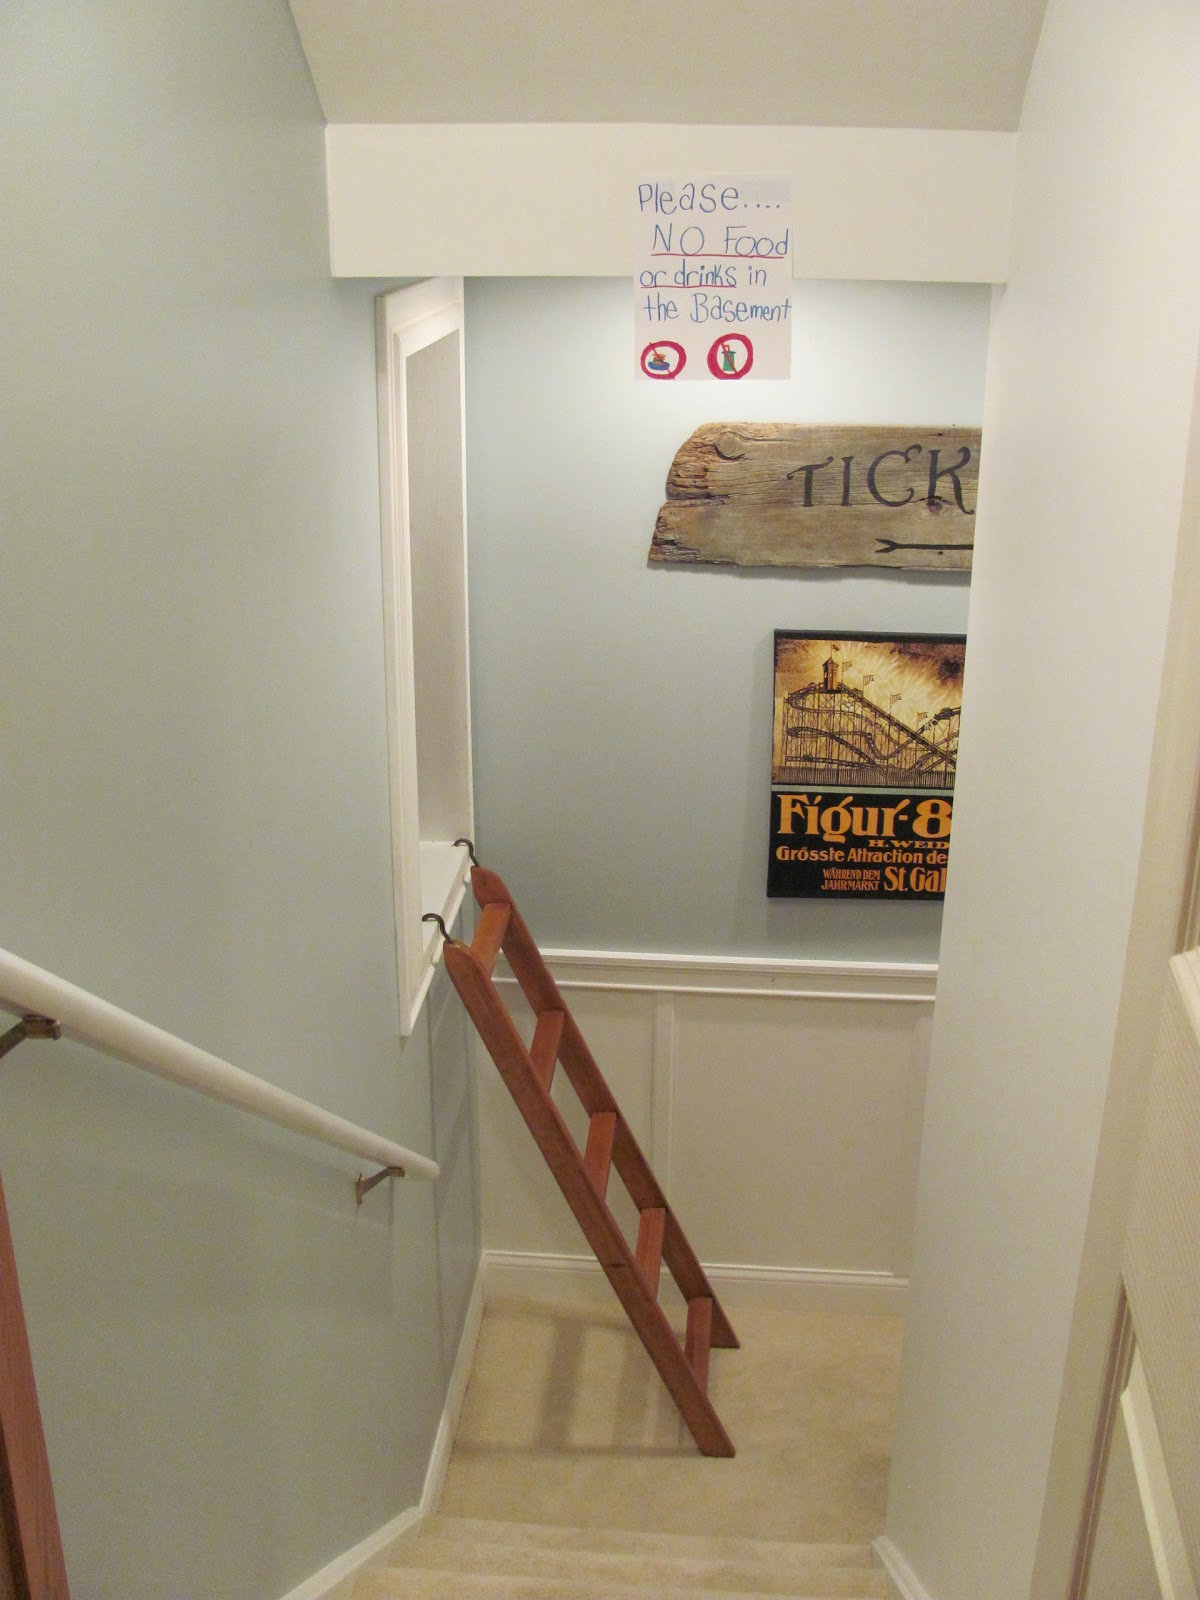
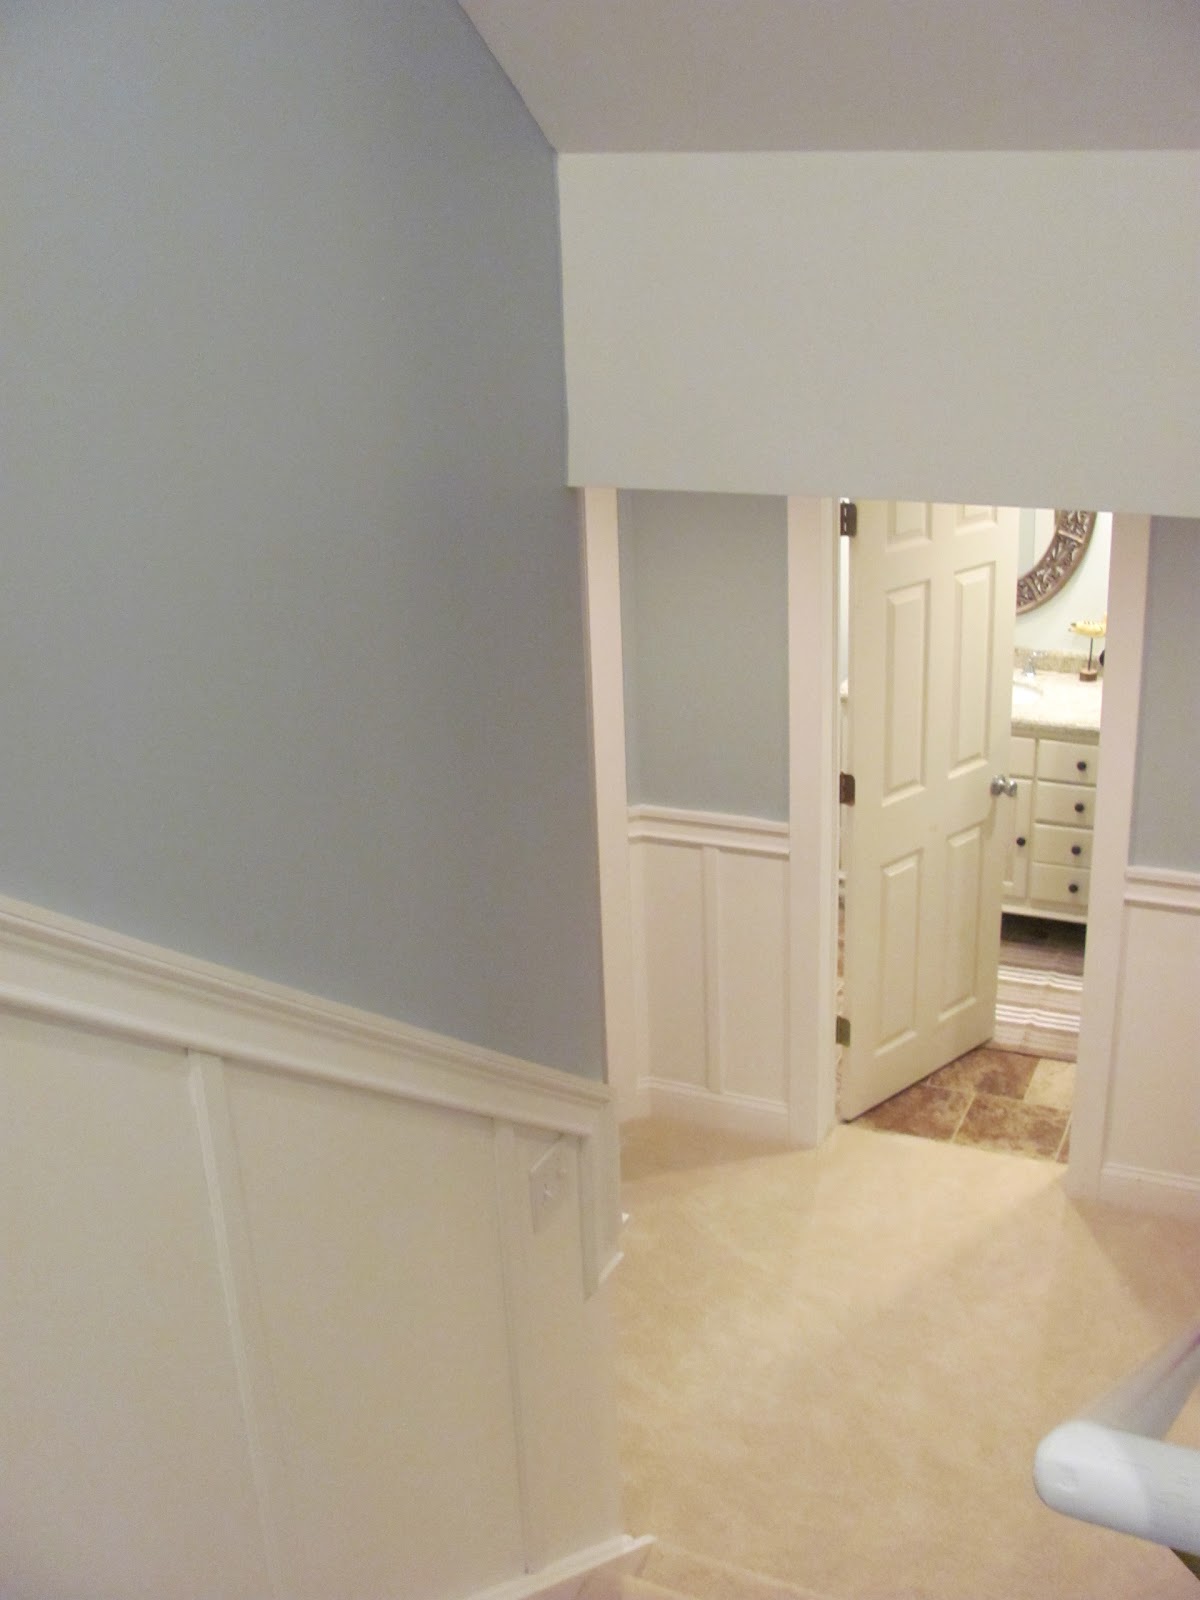
As you open the door to the basement this is what you see:

(No, the “no food” sign the kids made is not staying!  It was just up for our annual New Year’s Eve Family Party.  We had over 100 people and needed to keep the food to one level.)

The landing half-way down:

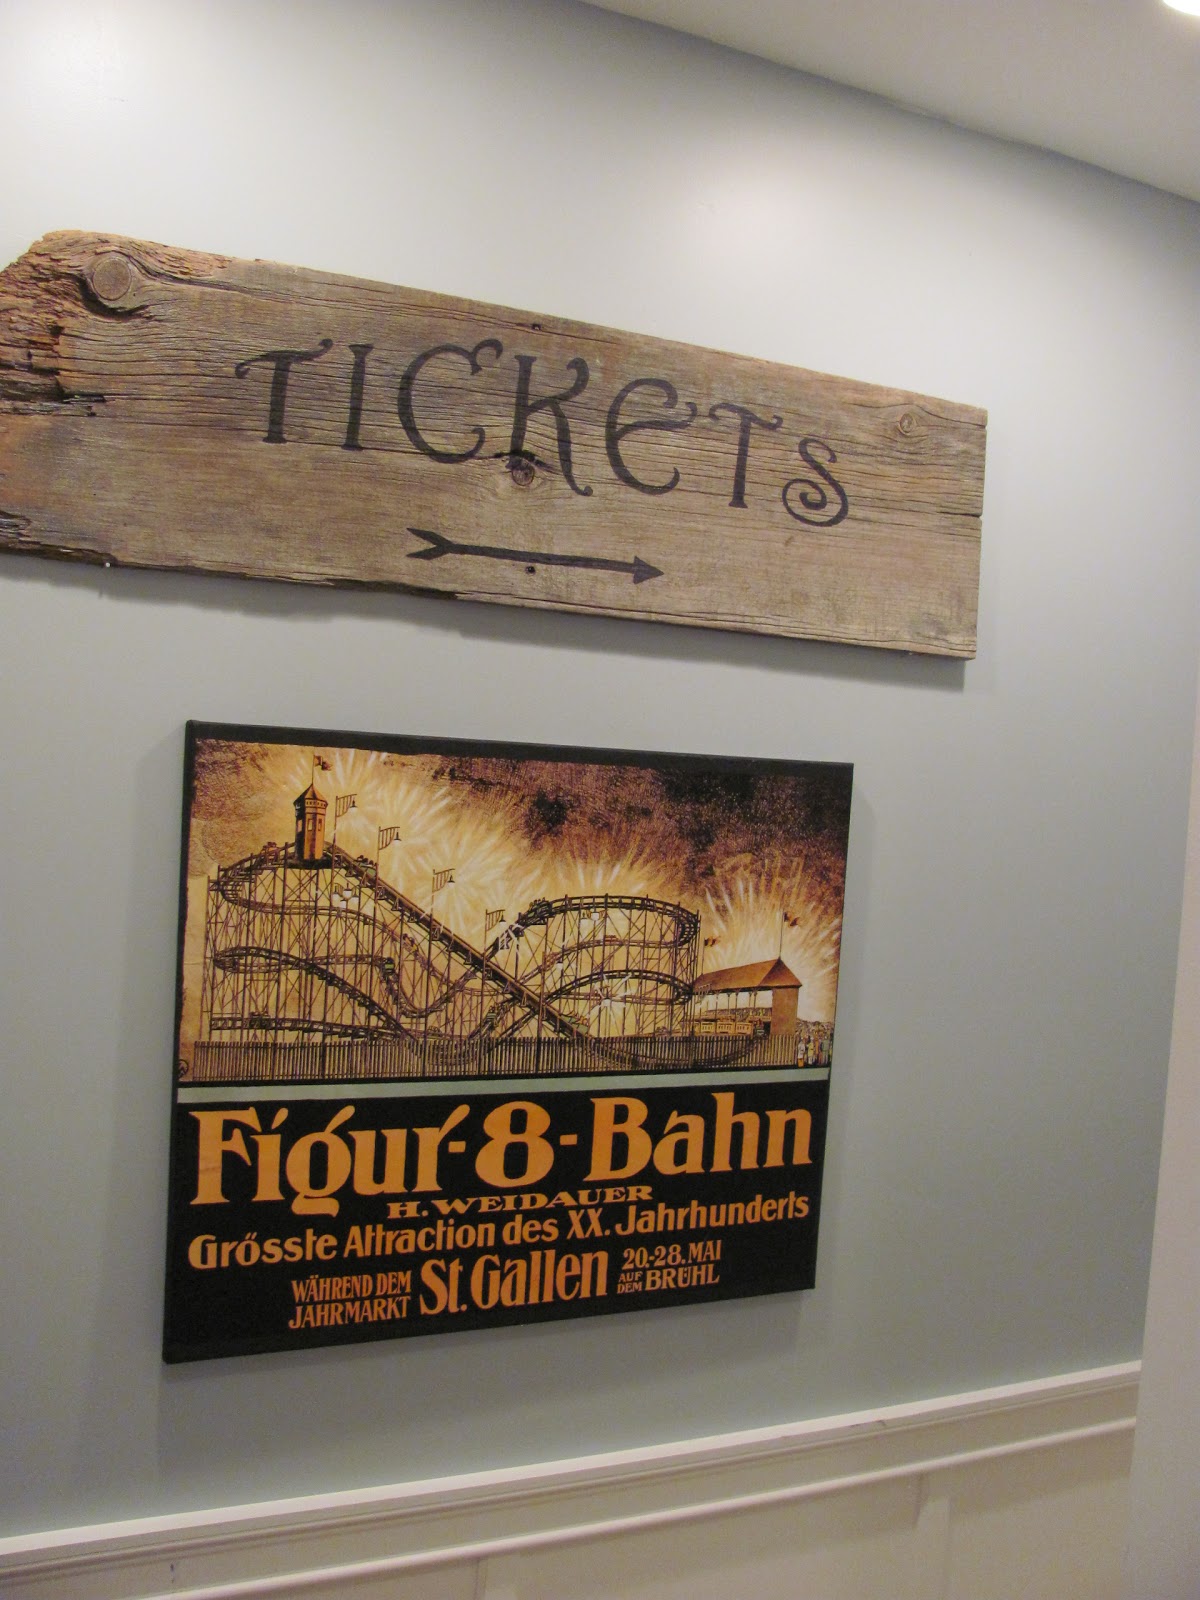
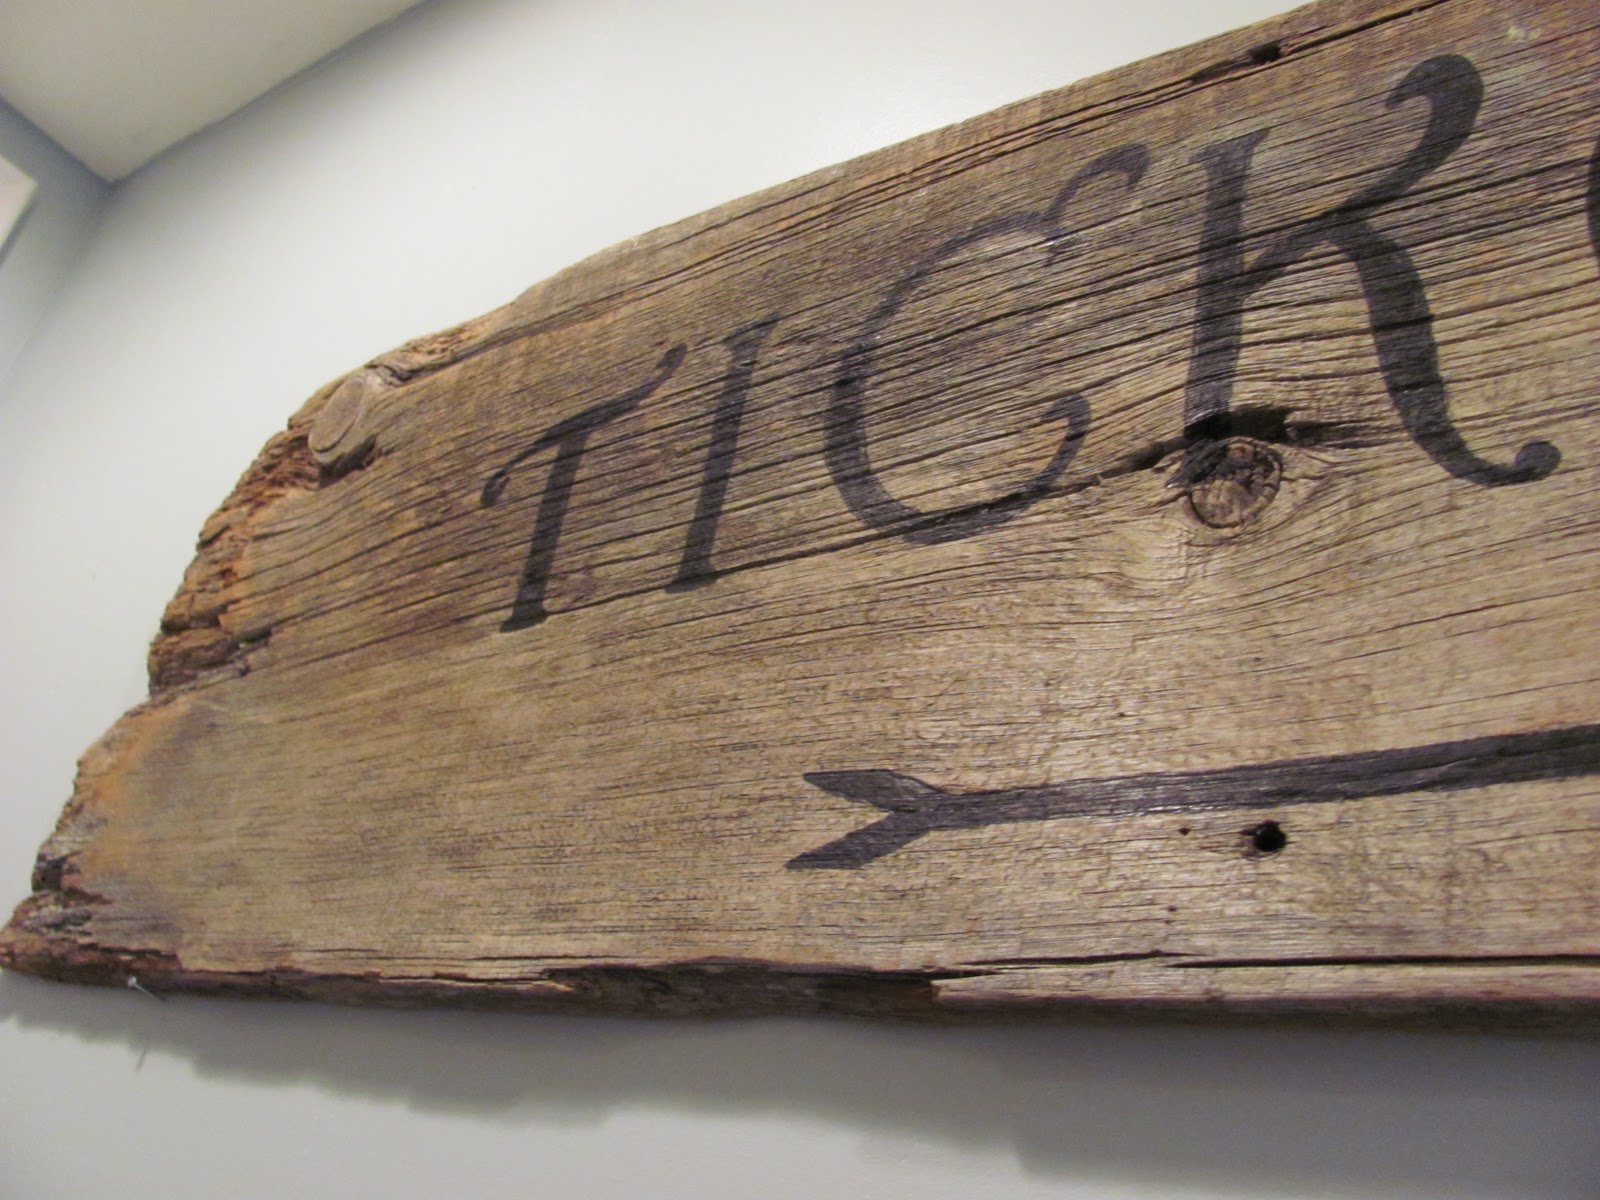
The vintage roller coaster poster I mod-podged onto a cheap canvas and the old wood tickets sign I made earlier (details here.)

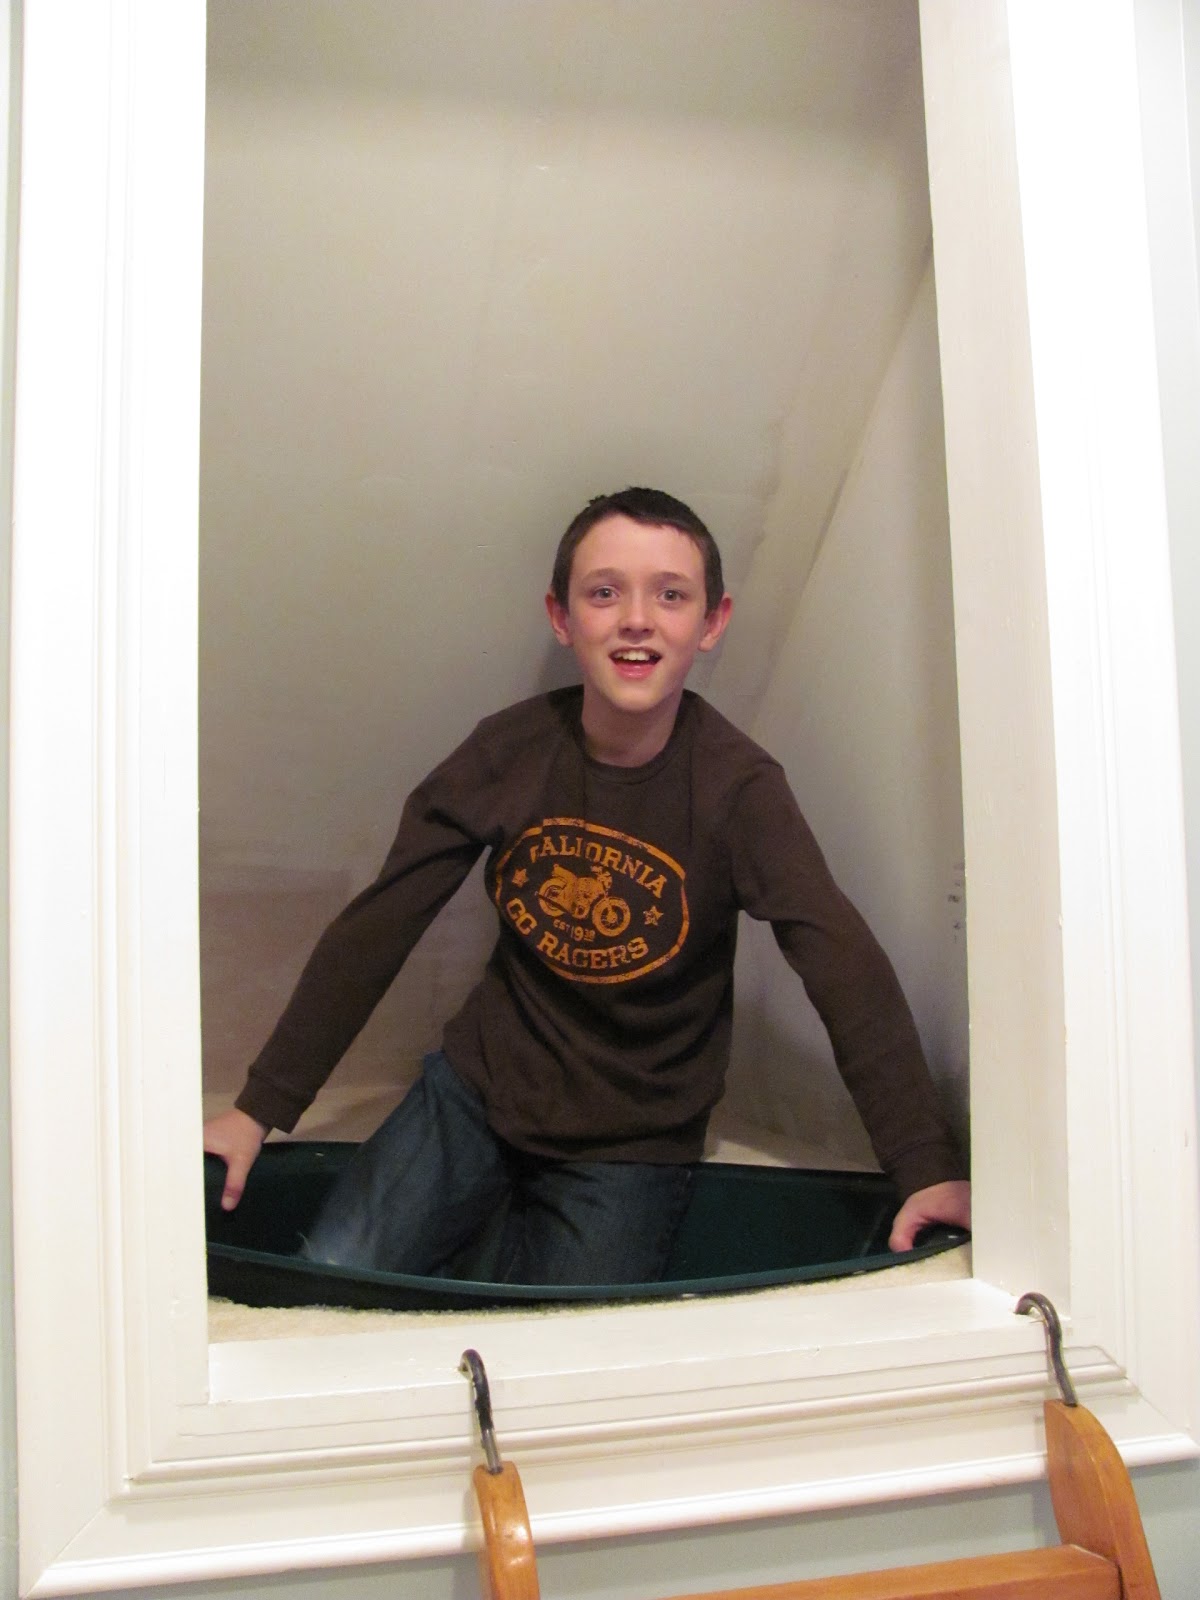
Are you asking about that Ladder about now?  That ladder leads to my husband’s pet project and favorite part of the basement finishing.  It leads to a tube slide down!  Cool, huh?

My determined engineer husband twisted the top section and added an extension piece and made what I call “the death drop slide.” It’s very steep at the start, making it fast (perfect for our kids!) It does a zig-zag and comes out gently downstairs (you’ll see in a minute.)


As you turn the corner of this landing, you can see down the next set of stairs to the actual basement.

Straight ahead it the bathroom, to the left are the two bedrooms and to your right the main room.
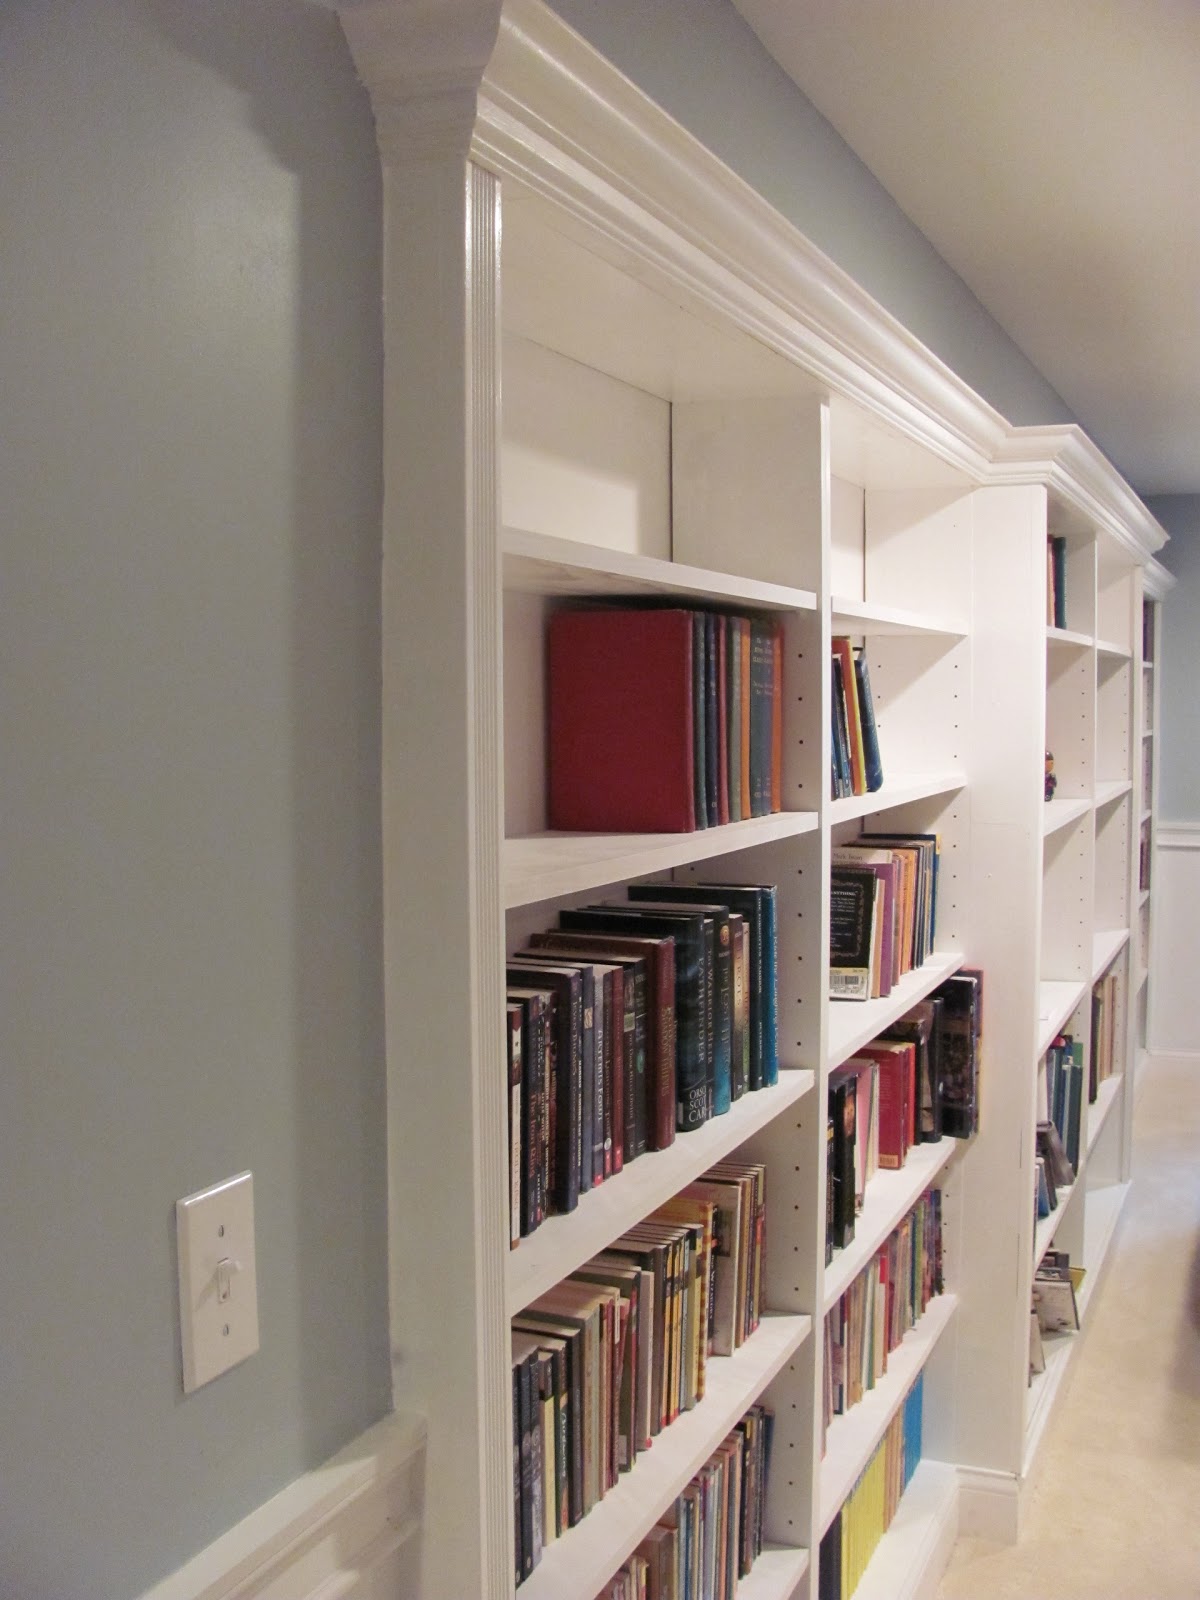
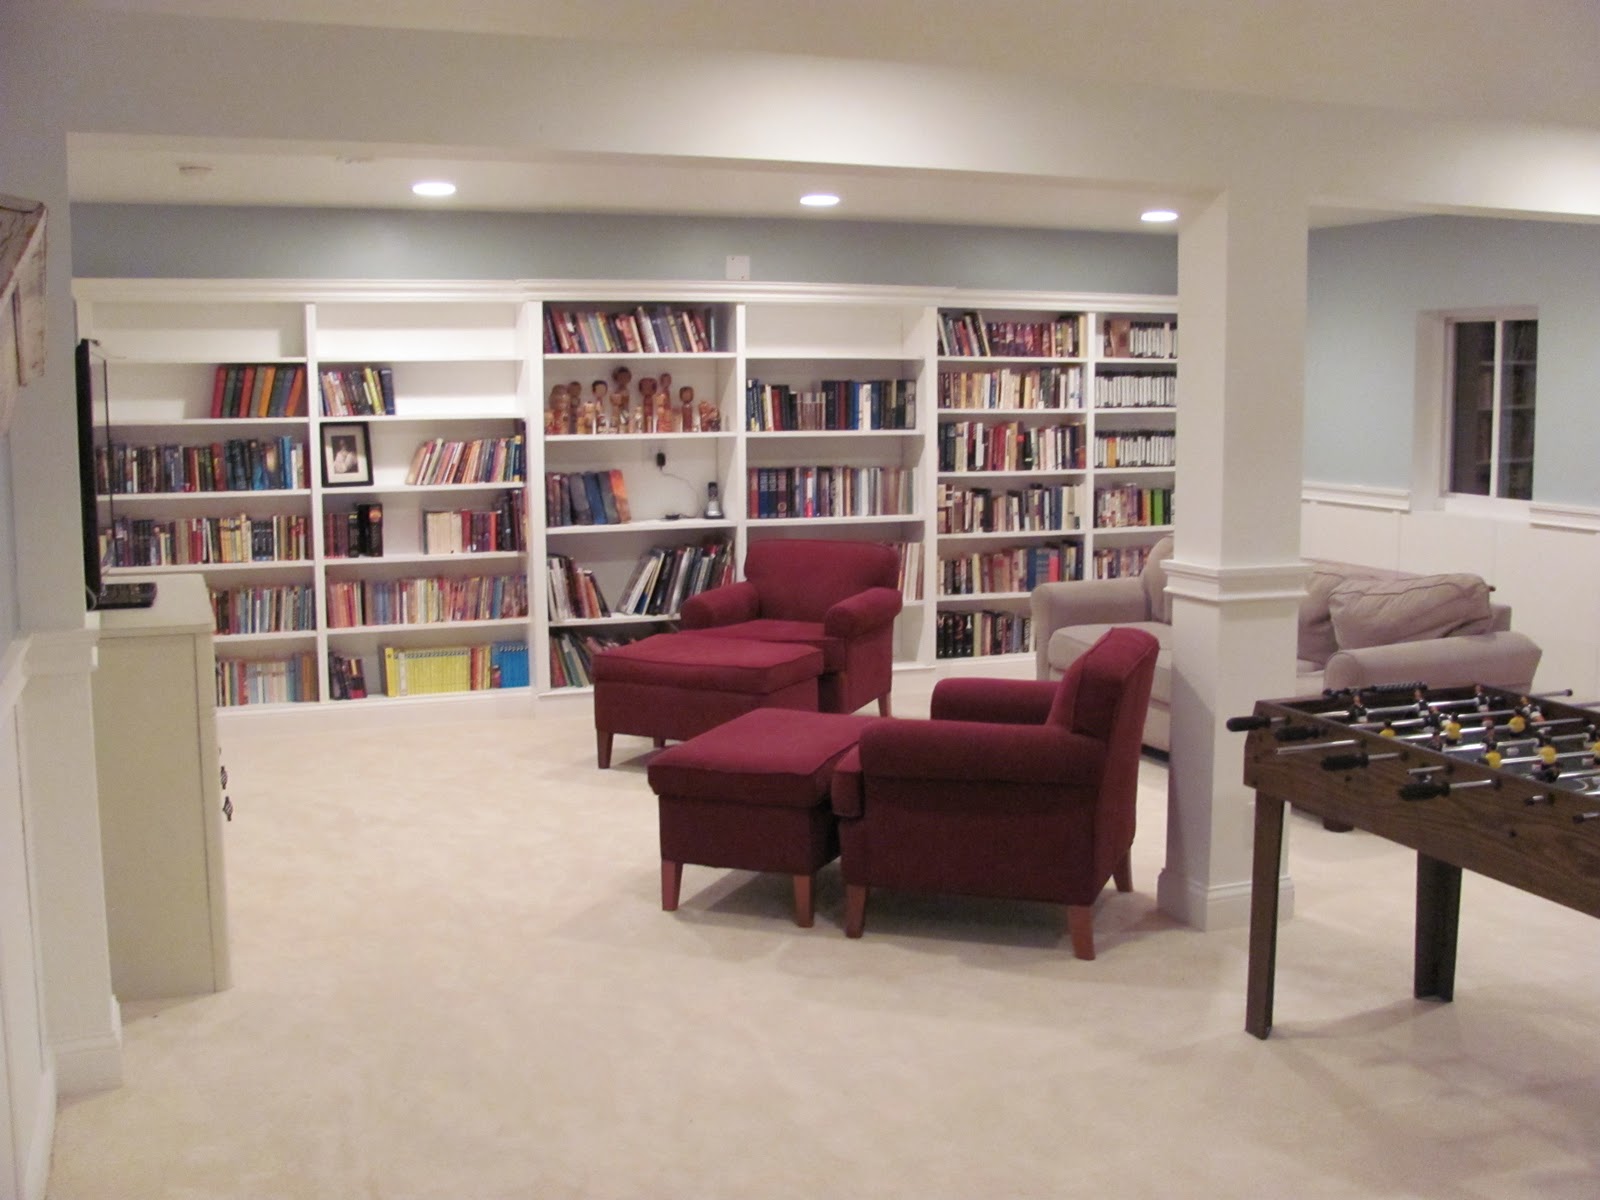
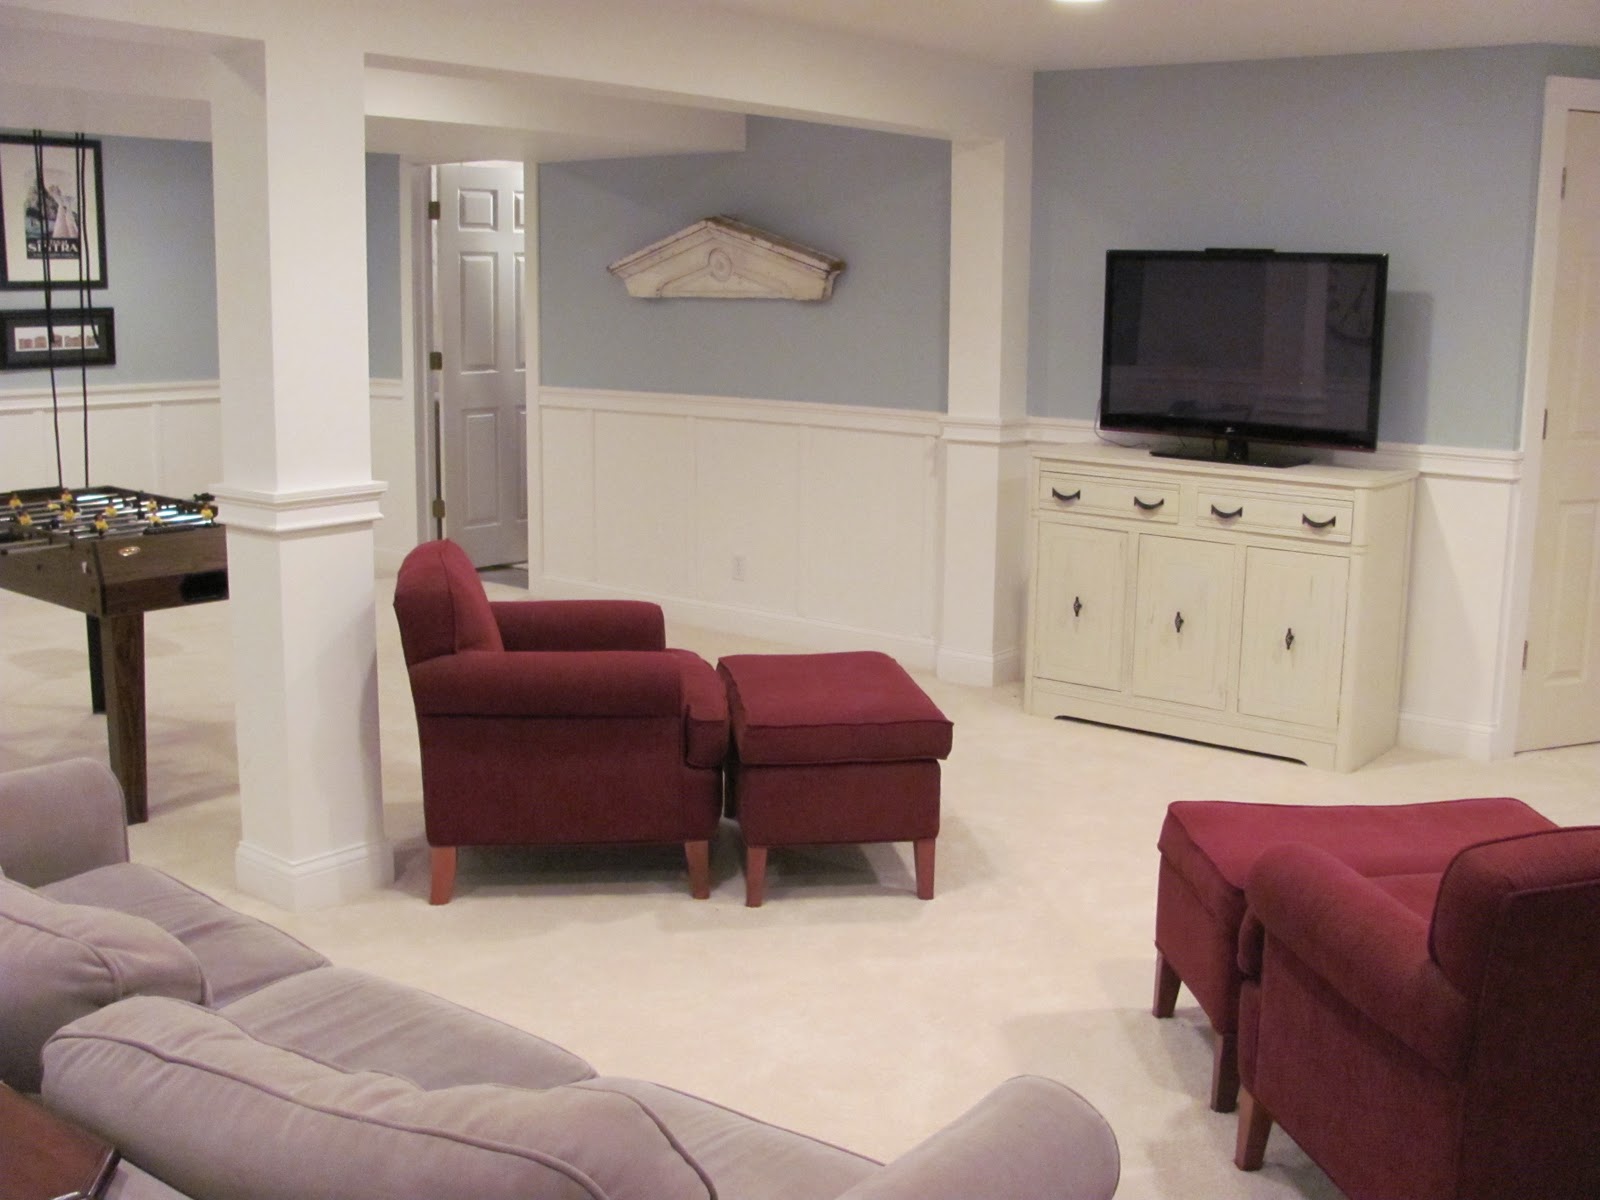
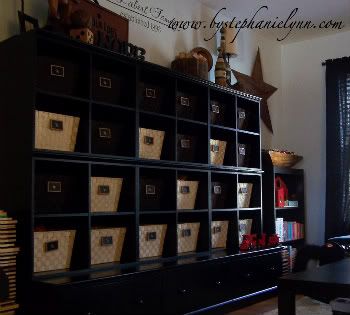
If you turn to your right, this is what you see:

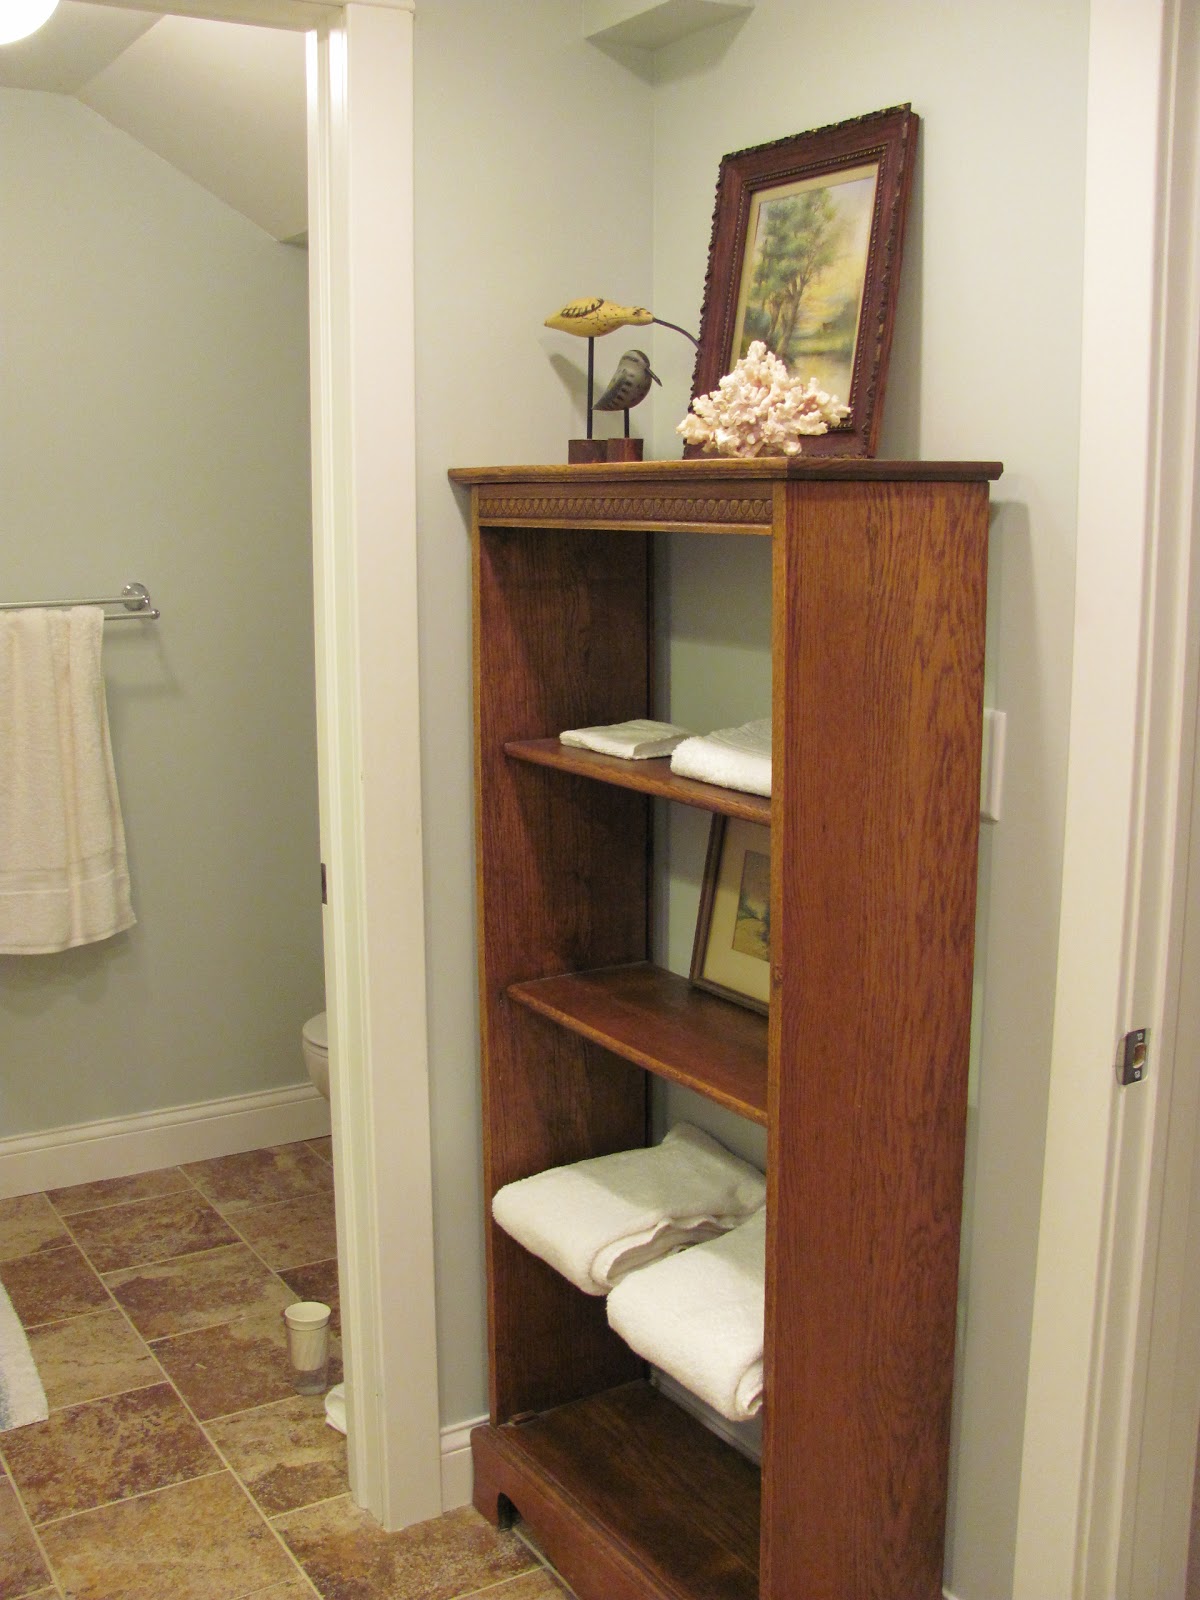
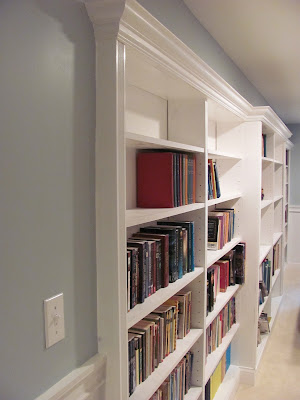
 We had a pipe that had to be soffited along this wall, so it made a perfect place for built-ins.  I pulled out a bunch of pictures of what I thought would work and my husband built it!

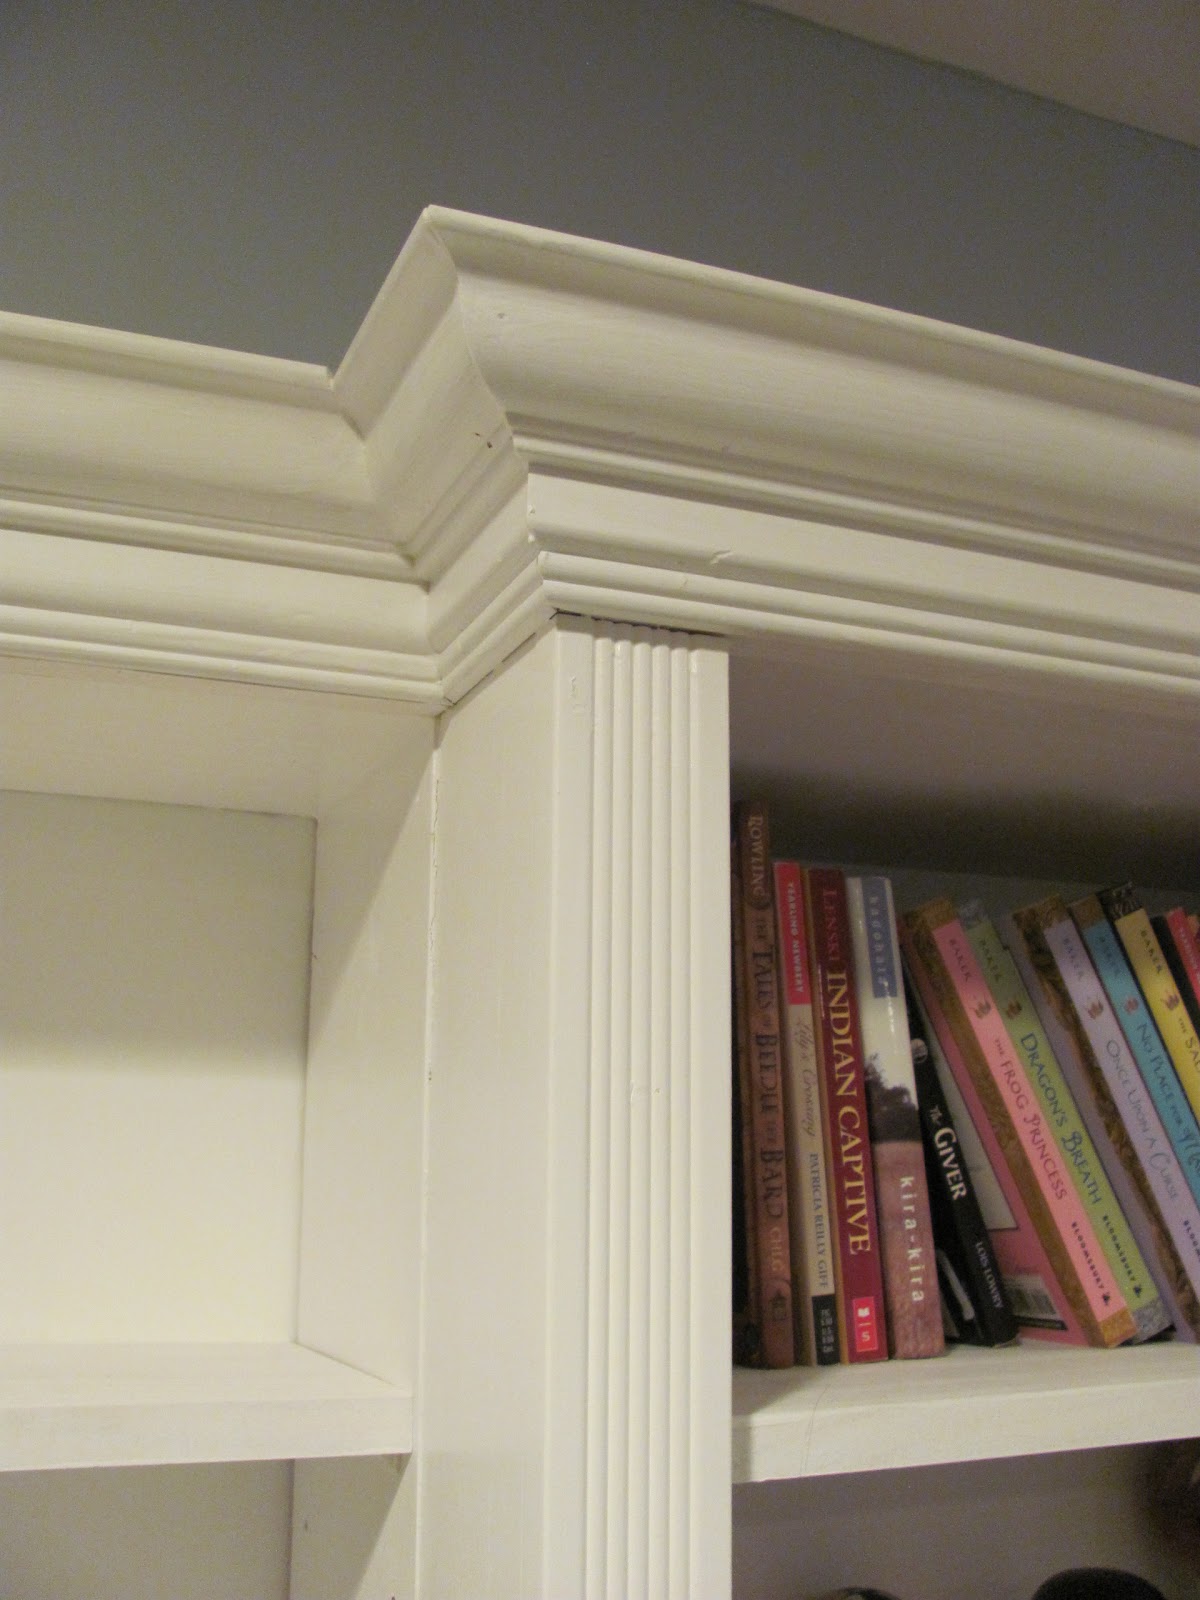
We found some lovely, wide crown moulding and some fluted trim at Habitat REstore.


Here you can see the almost-complete exit for the slide.  We still have a bit of mudding to the trim area and touch up to complete that.  We slanted the wall leading into the mai
n room to make a nice, wide entrance to the room.  The door lends access to the slide and should someone want to remove the slide, it would be easily done and leave a nice storage closet behind.


We threw down some furniture we had and I’ve since found the perfect smaller-sized sectional. I plan on slipcovering it and those red chairs with dropcloth.

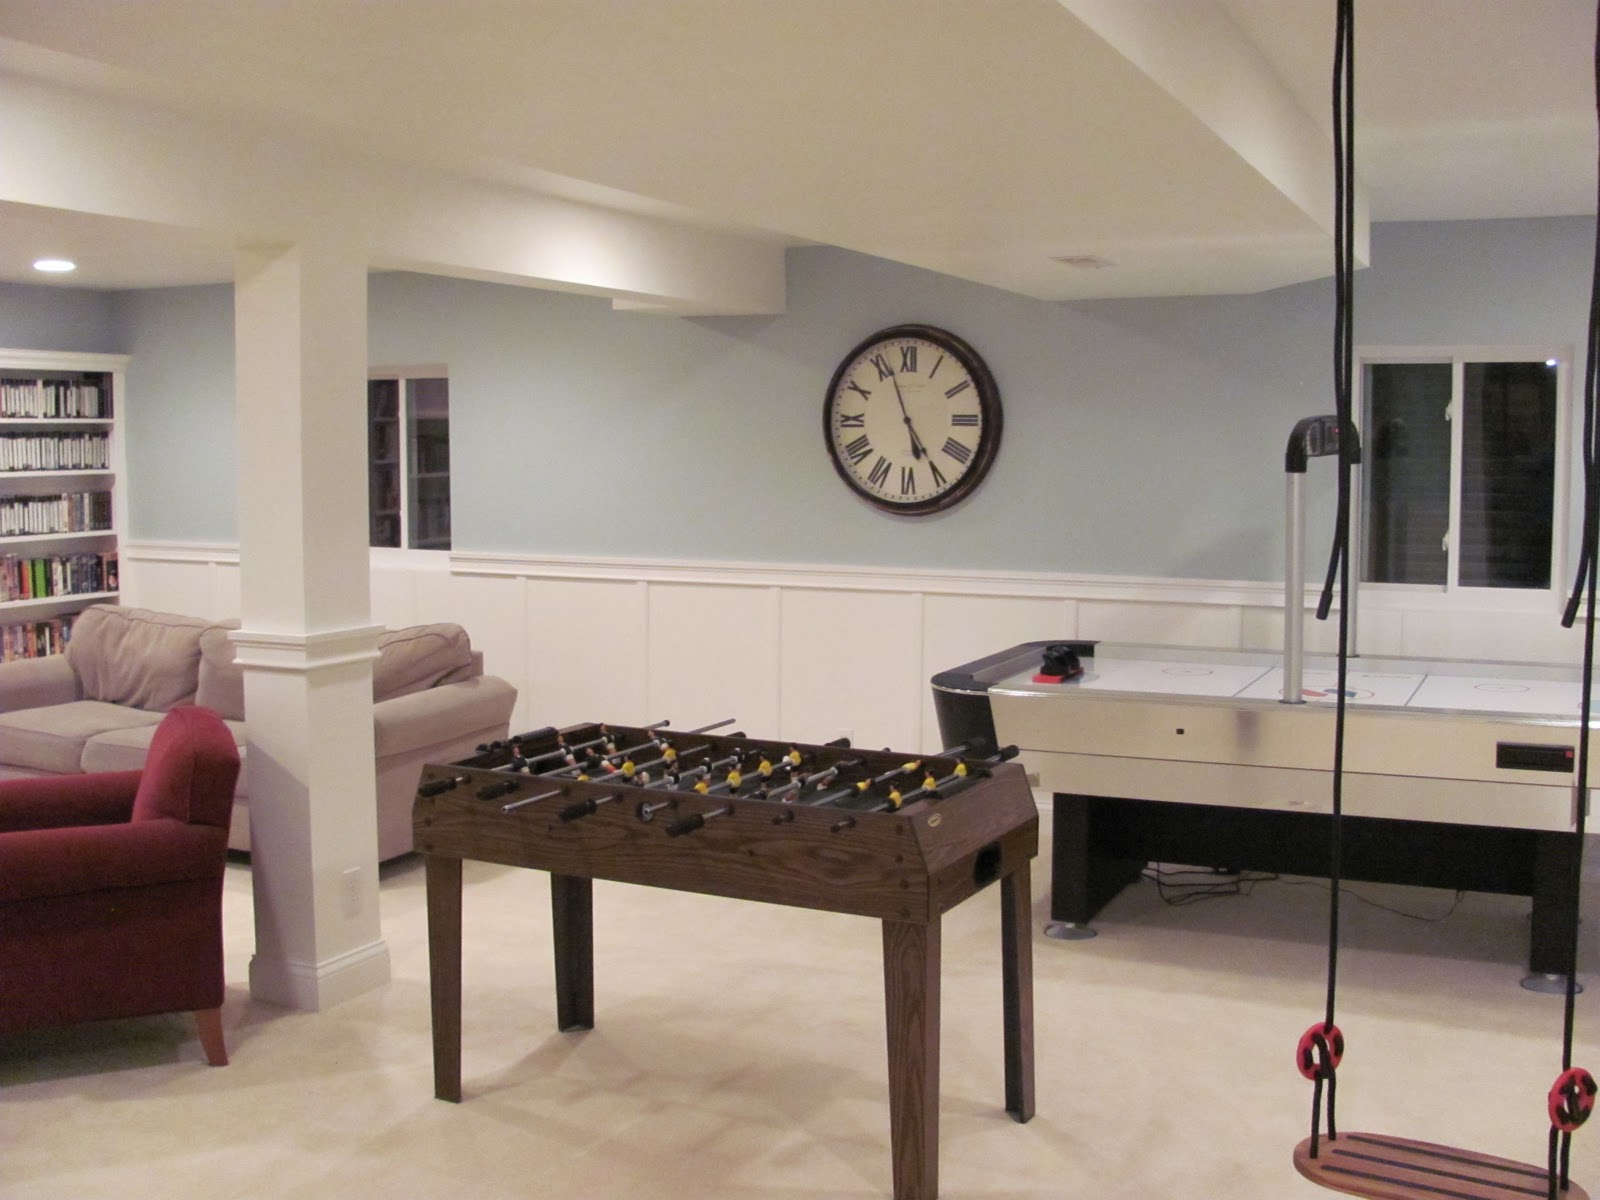
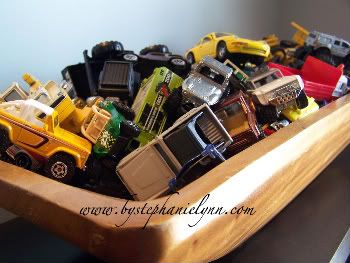
The kids also love the swing from Ikea.  We reinforced some boards between beams and marked the spot before we drywalled the ceiling.  The air hockey table was a $60 score at a garage sale a few years ago and the $10 foosball wasn’t out of reach either!

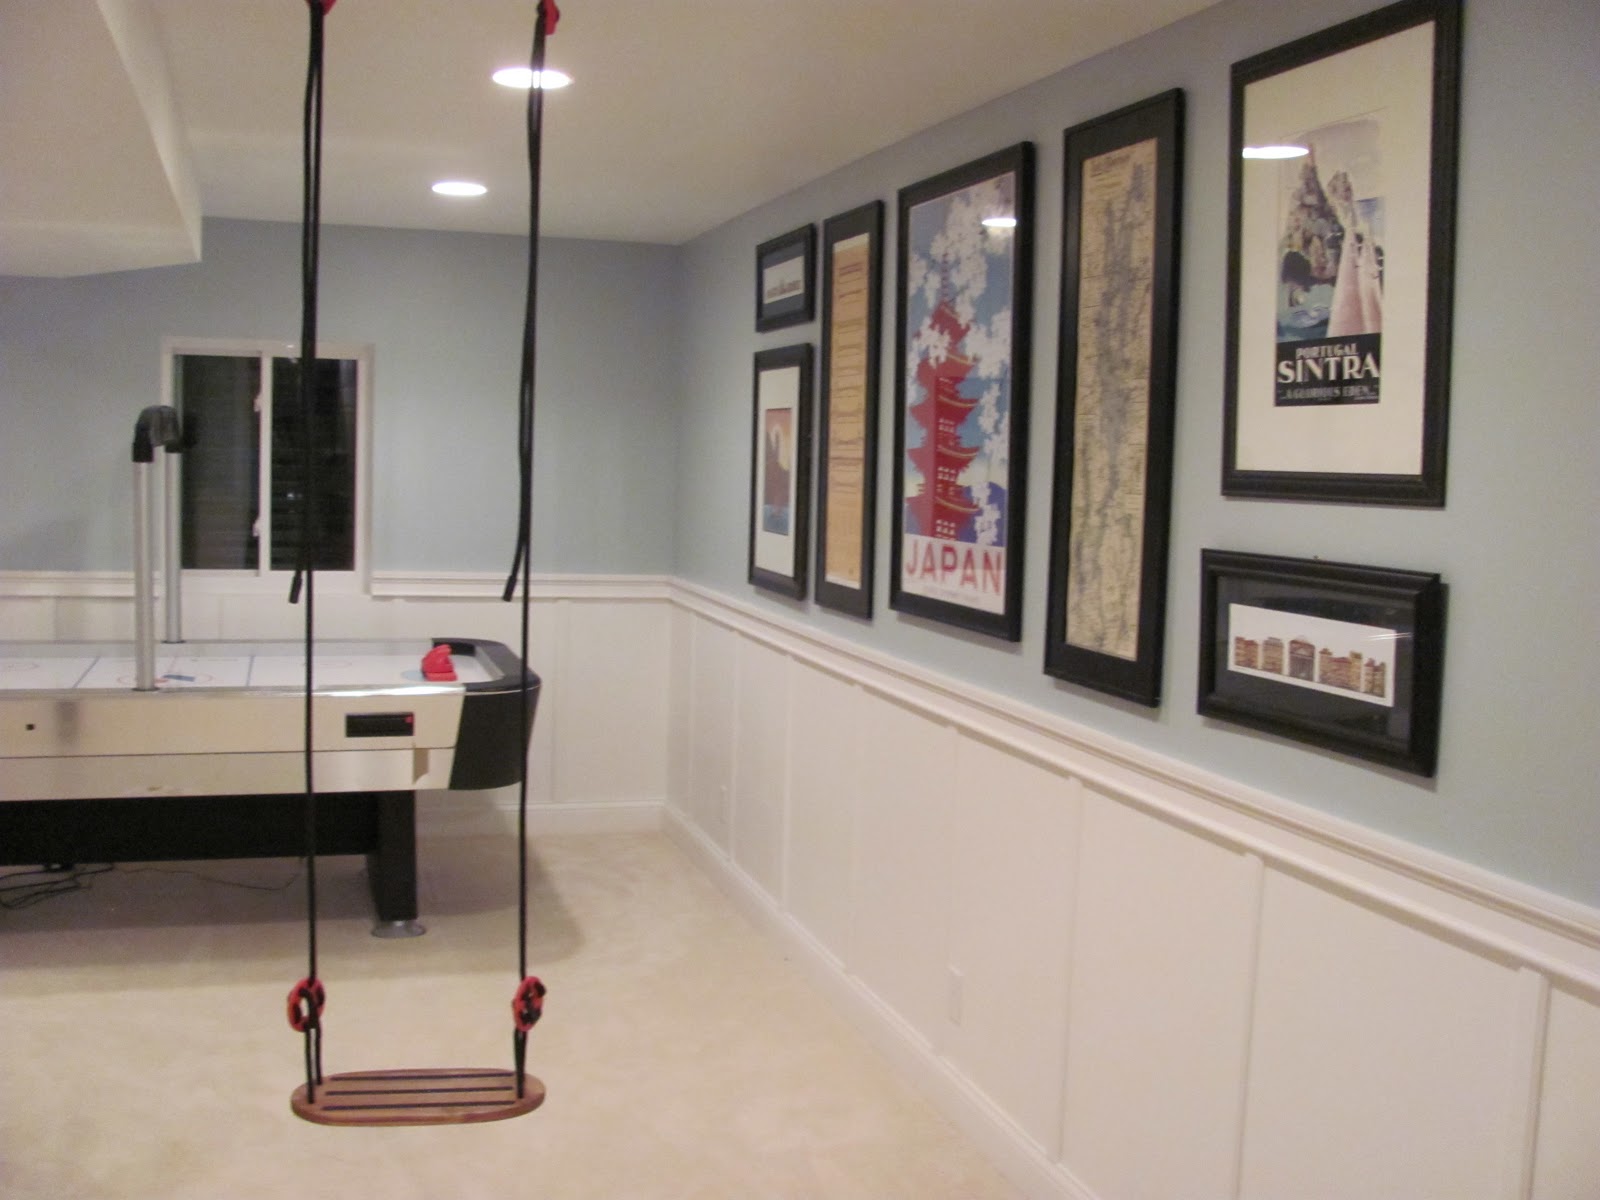
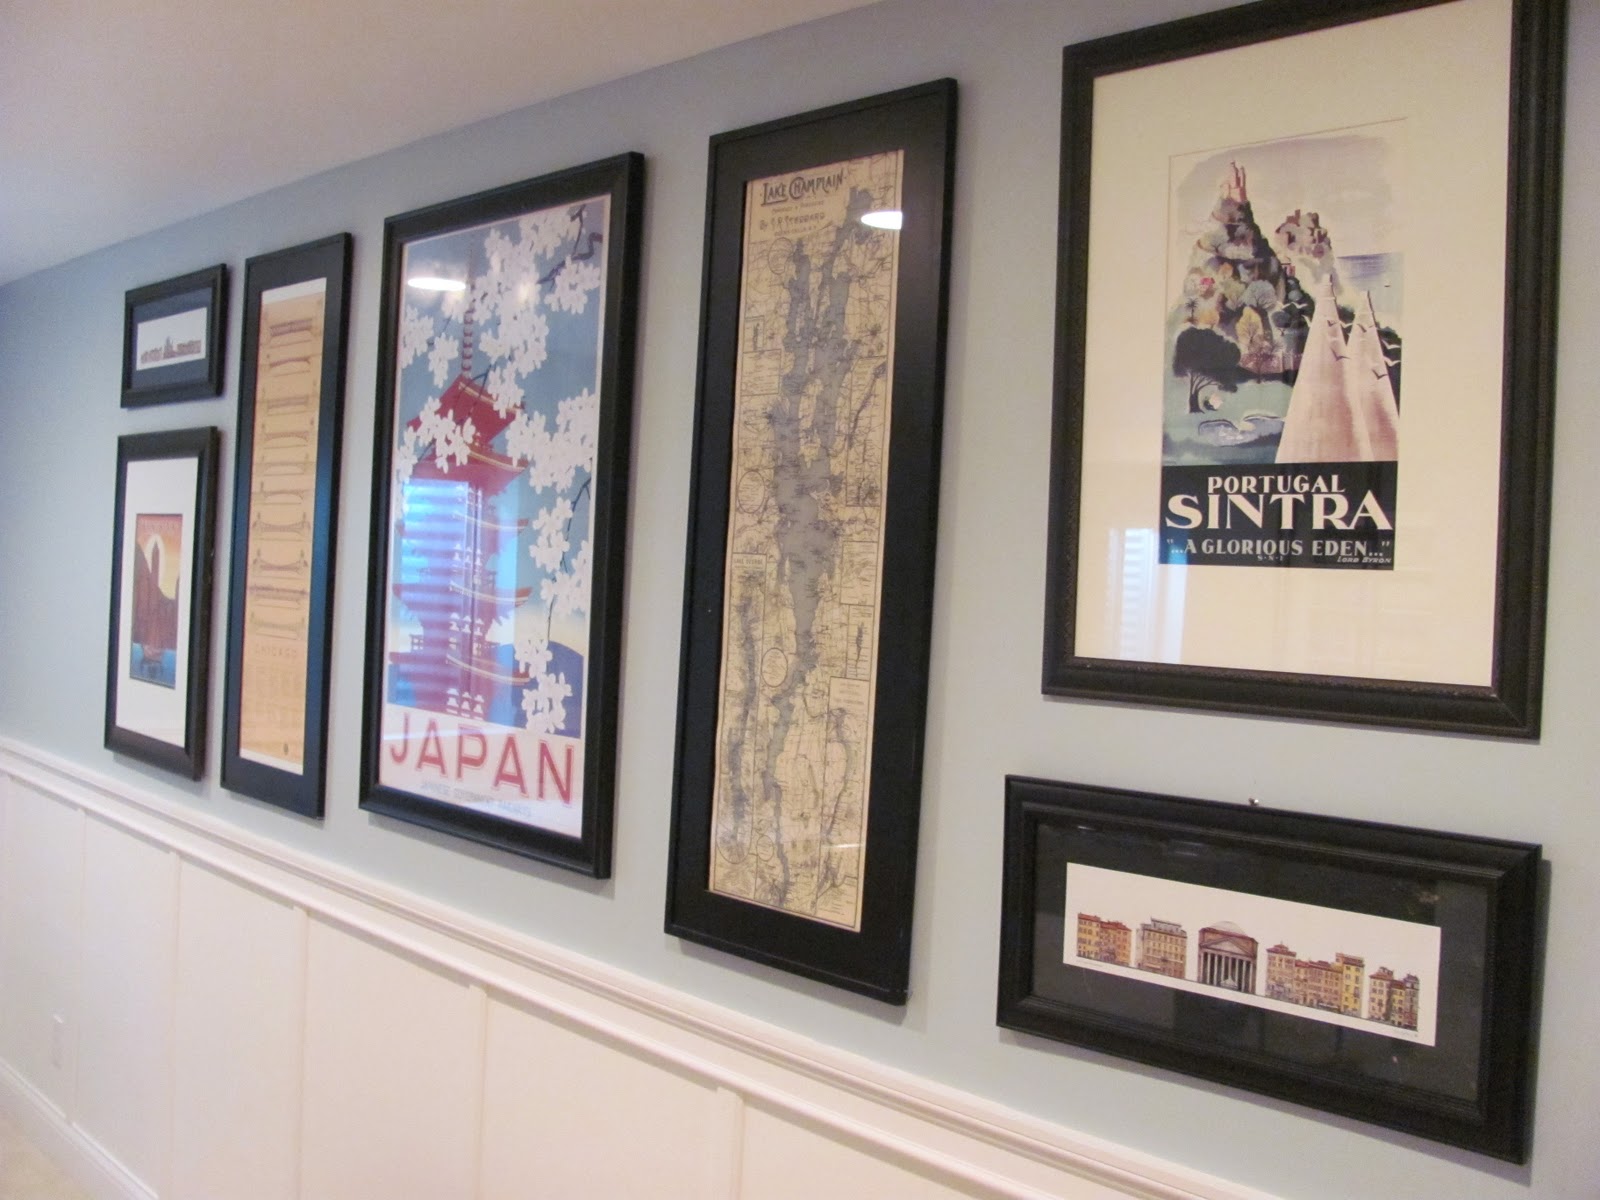
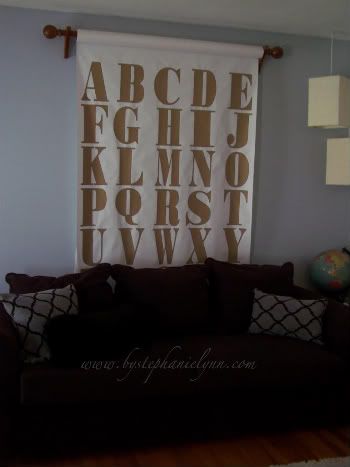
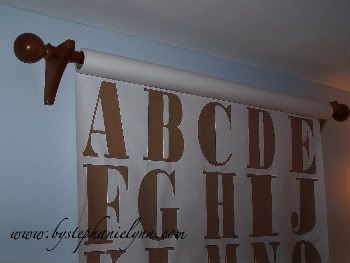
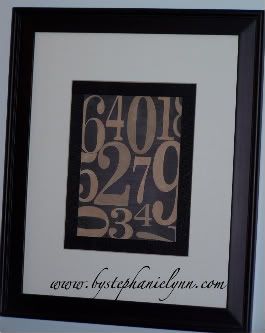
I pulled together a collection of posters, maps and prints from a few places we’ve traveled to. My handy-dandy mat cutter made it easy to use some old frames from Goodwill and a few standard, cheap frames to frame the artwork.

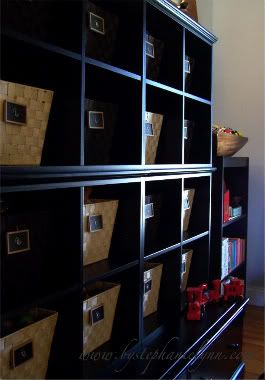
Here’s a close-up of the moulding treatment we chose.


Alright, this is heading back towards the stairs and the rooms.


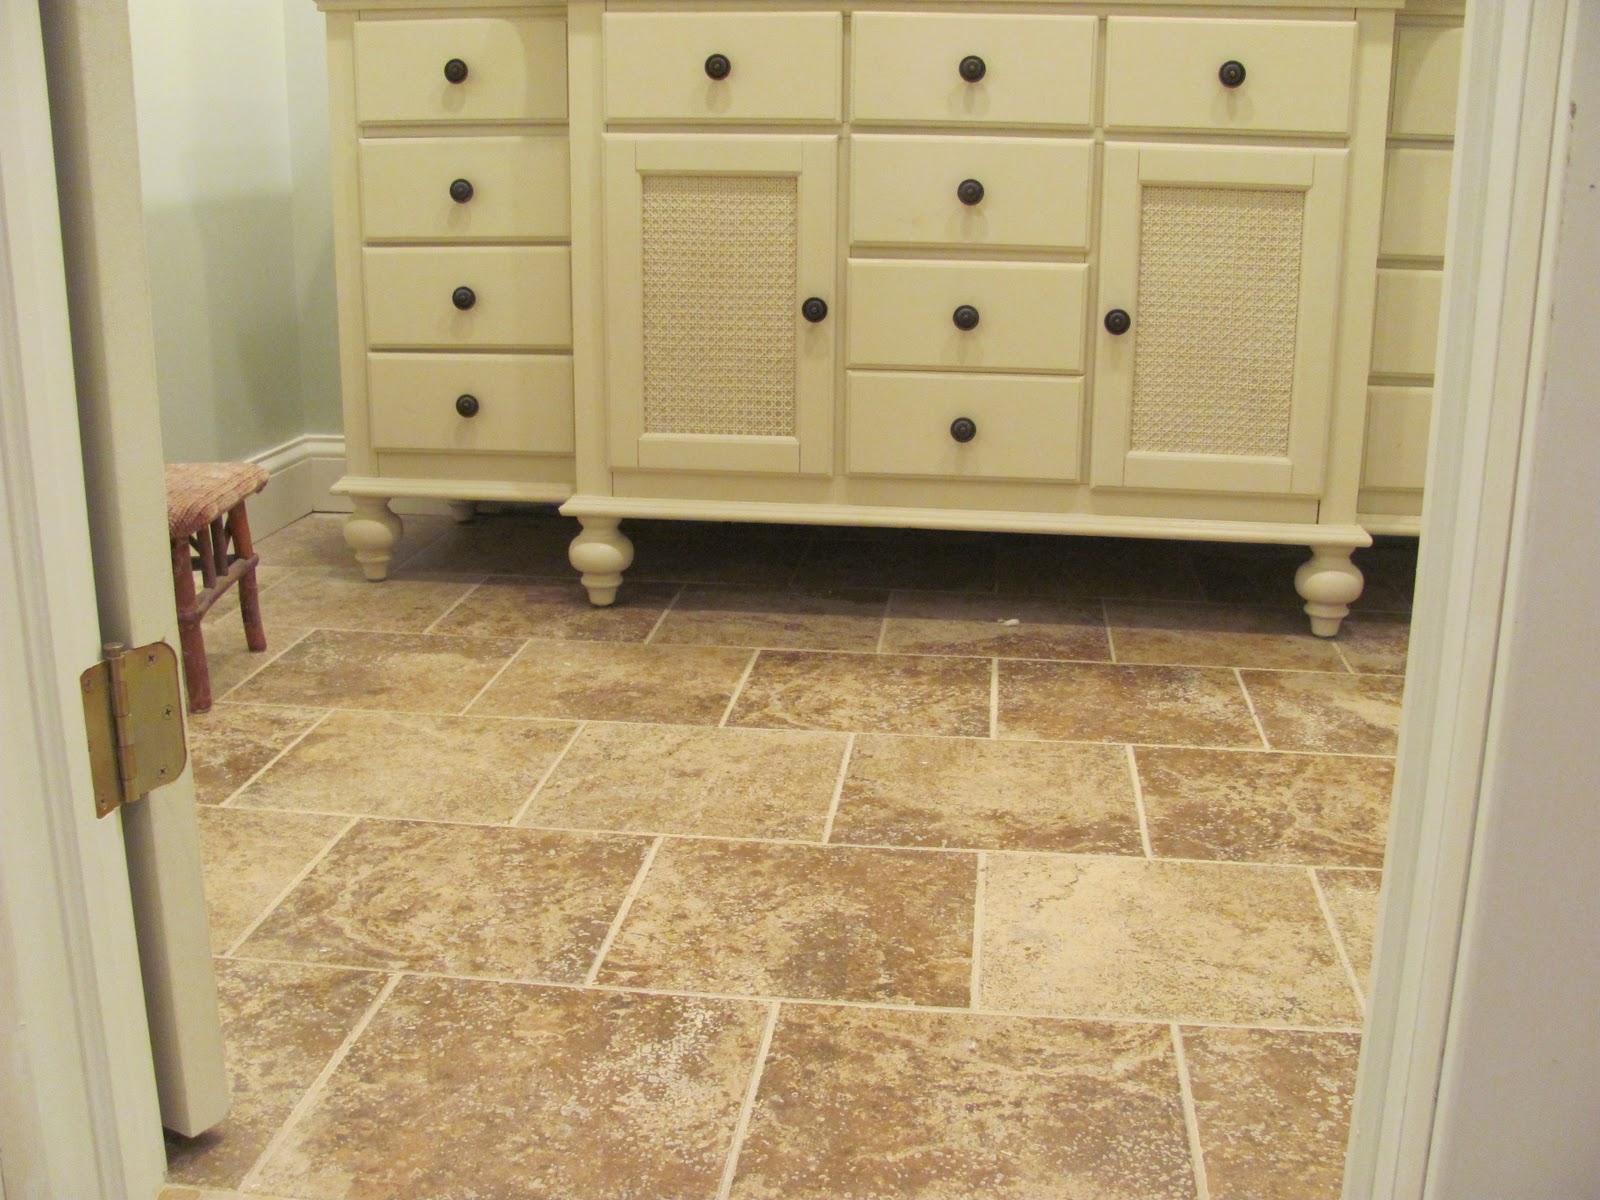
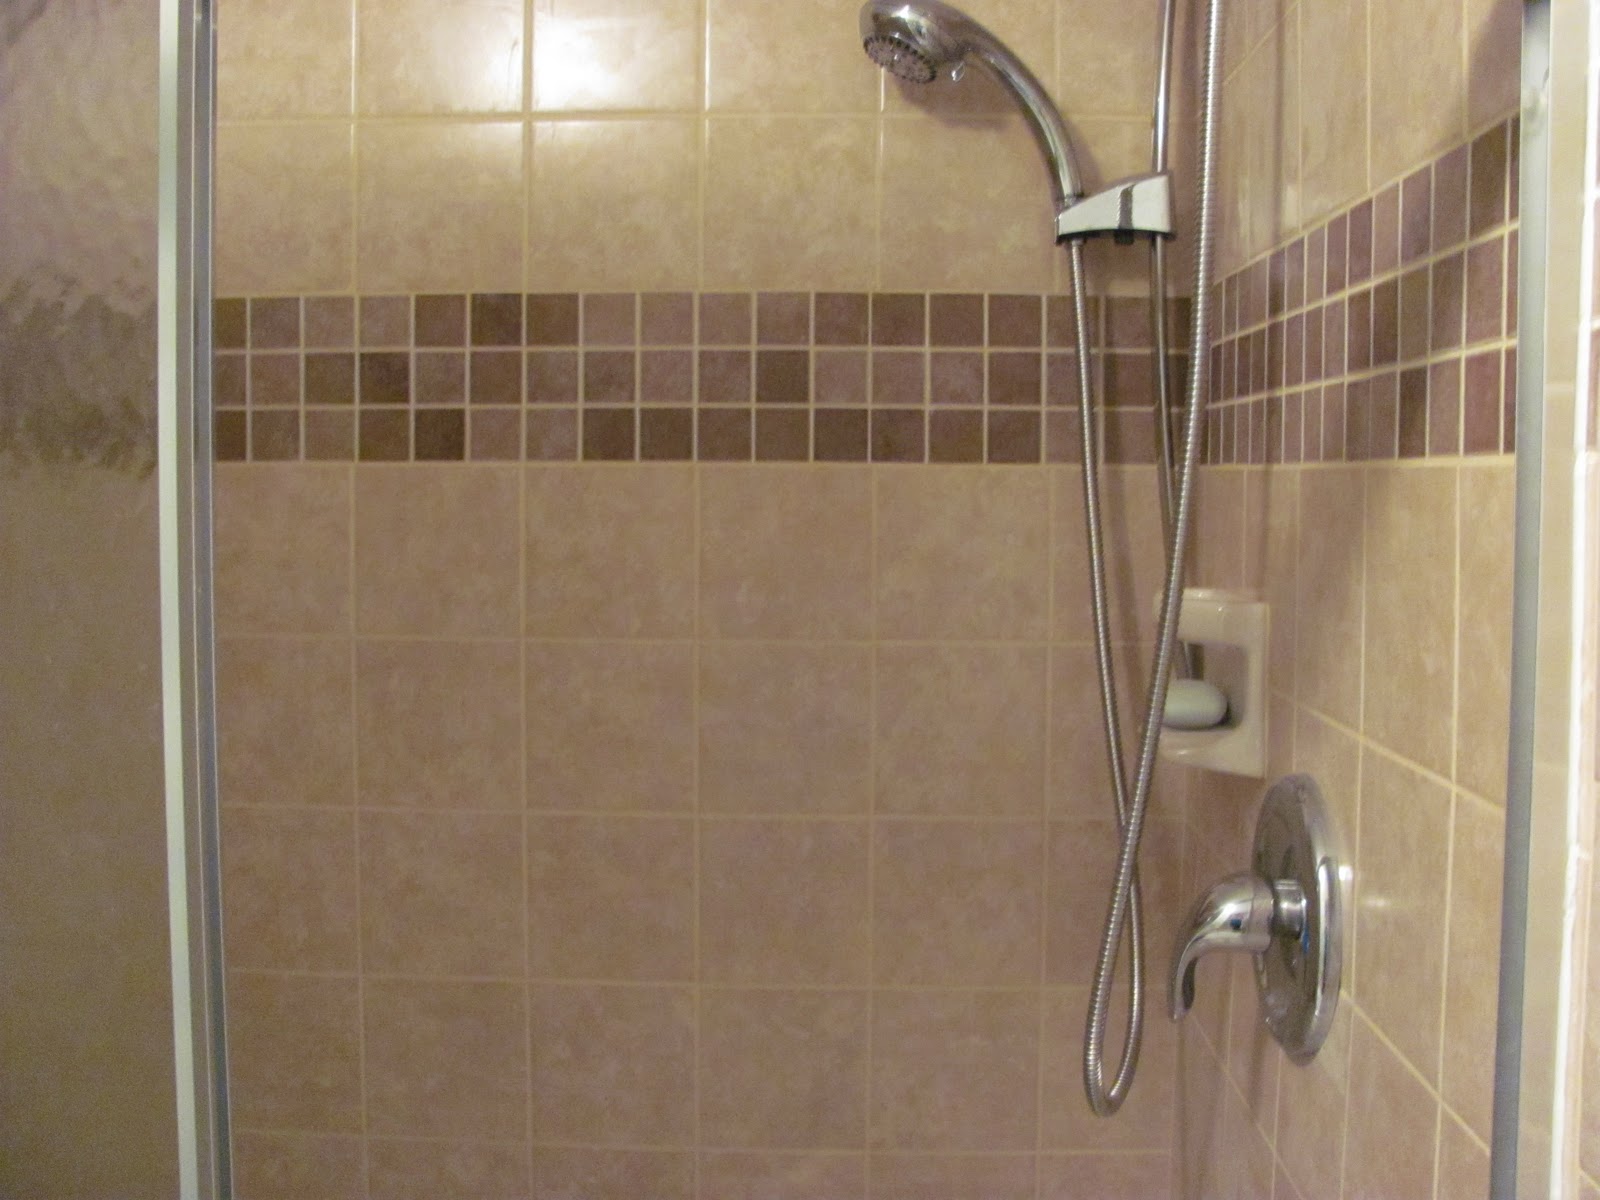
This is heading into the bathroom:


We chose to lay the typical square 12″ tiles off-set from each other instead of square to add more interest.  We really like how it turned out.


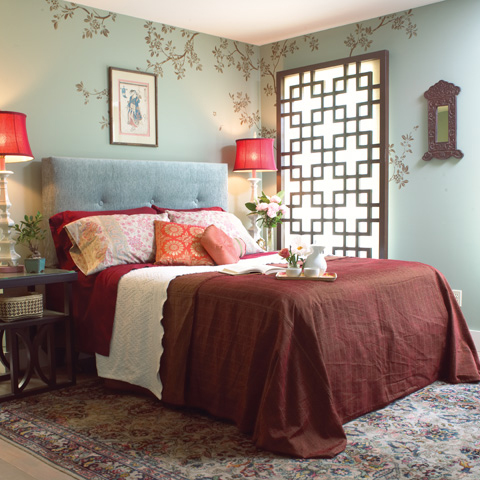
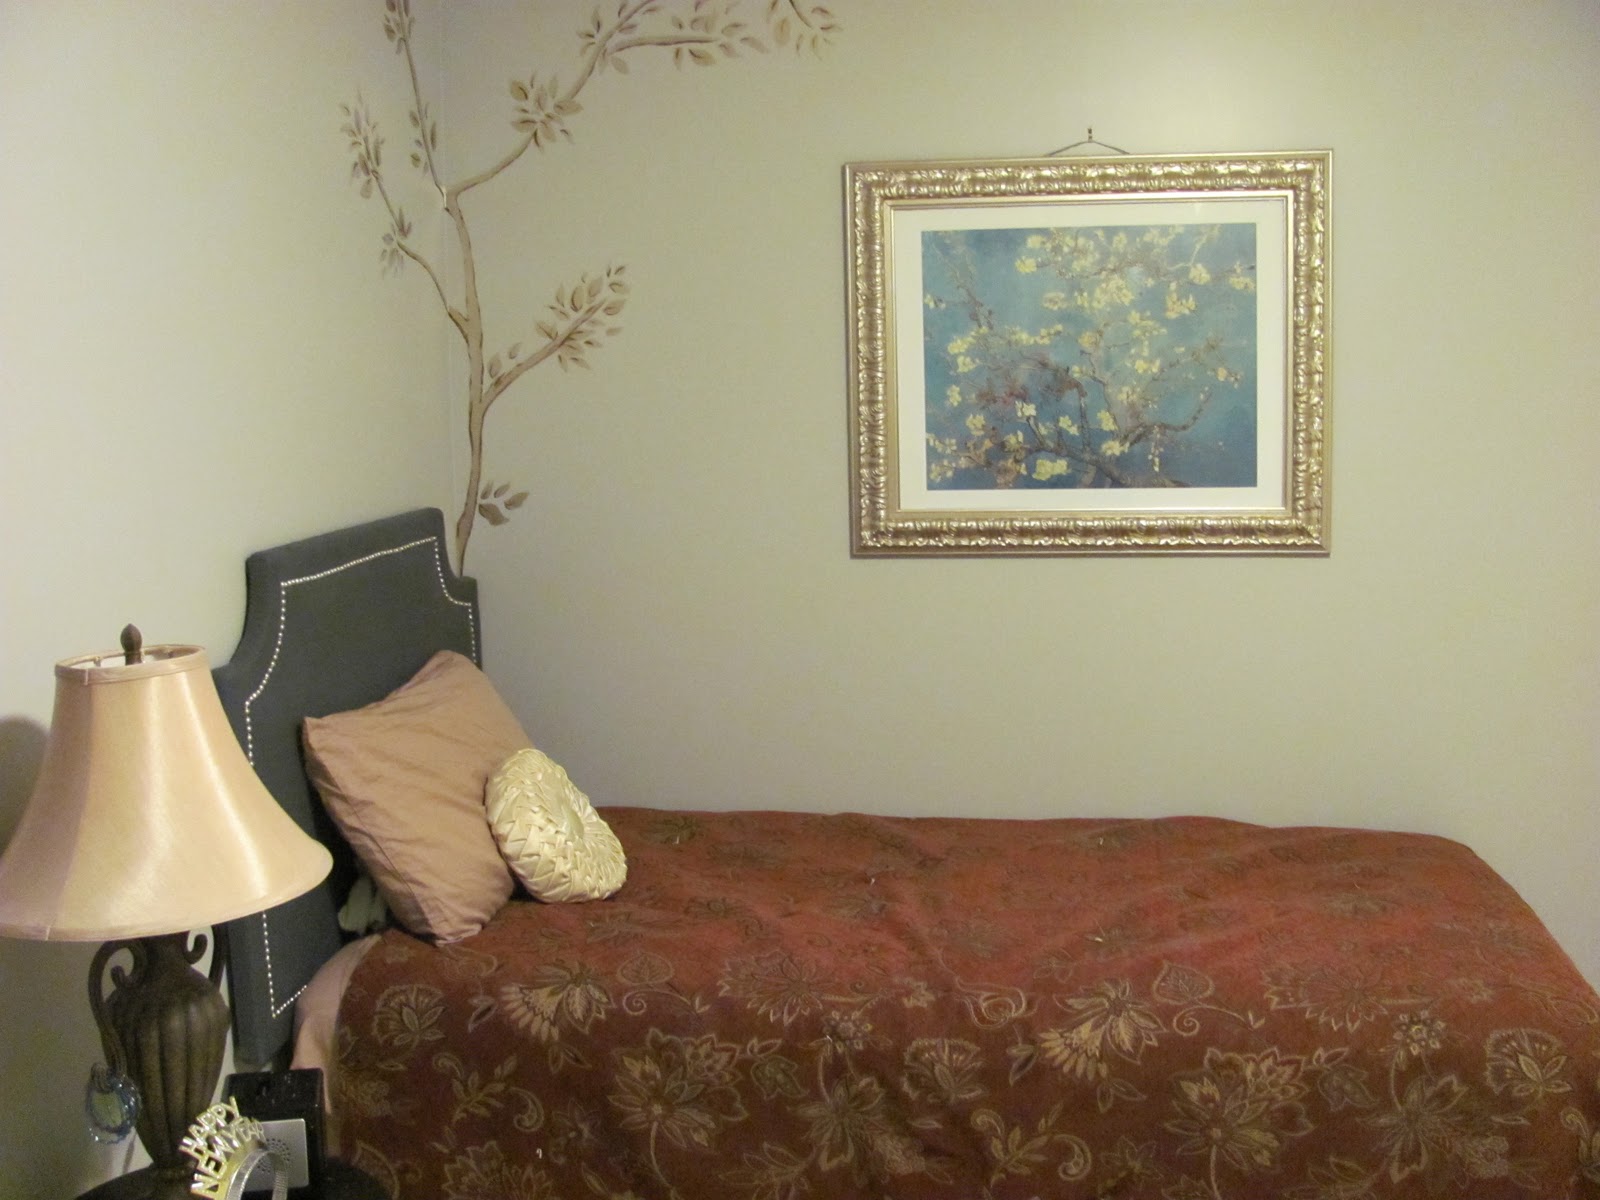
Now, we’ll head into the first of the bedrooms.  My oldest wanted an Asian feel to the room. This was her inspiration picture that we were going for:


And here’s ours so far.  We need some more accessories and such, but it’s off to a good start:


I made the upholstered headboard with nailhead trim (I’ll try to do a tutorial on it later) and made the bedspread.  We already had the artwork by VanGogh and just repainted a second-hand frame.


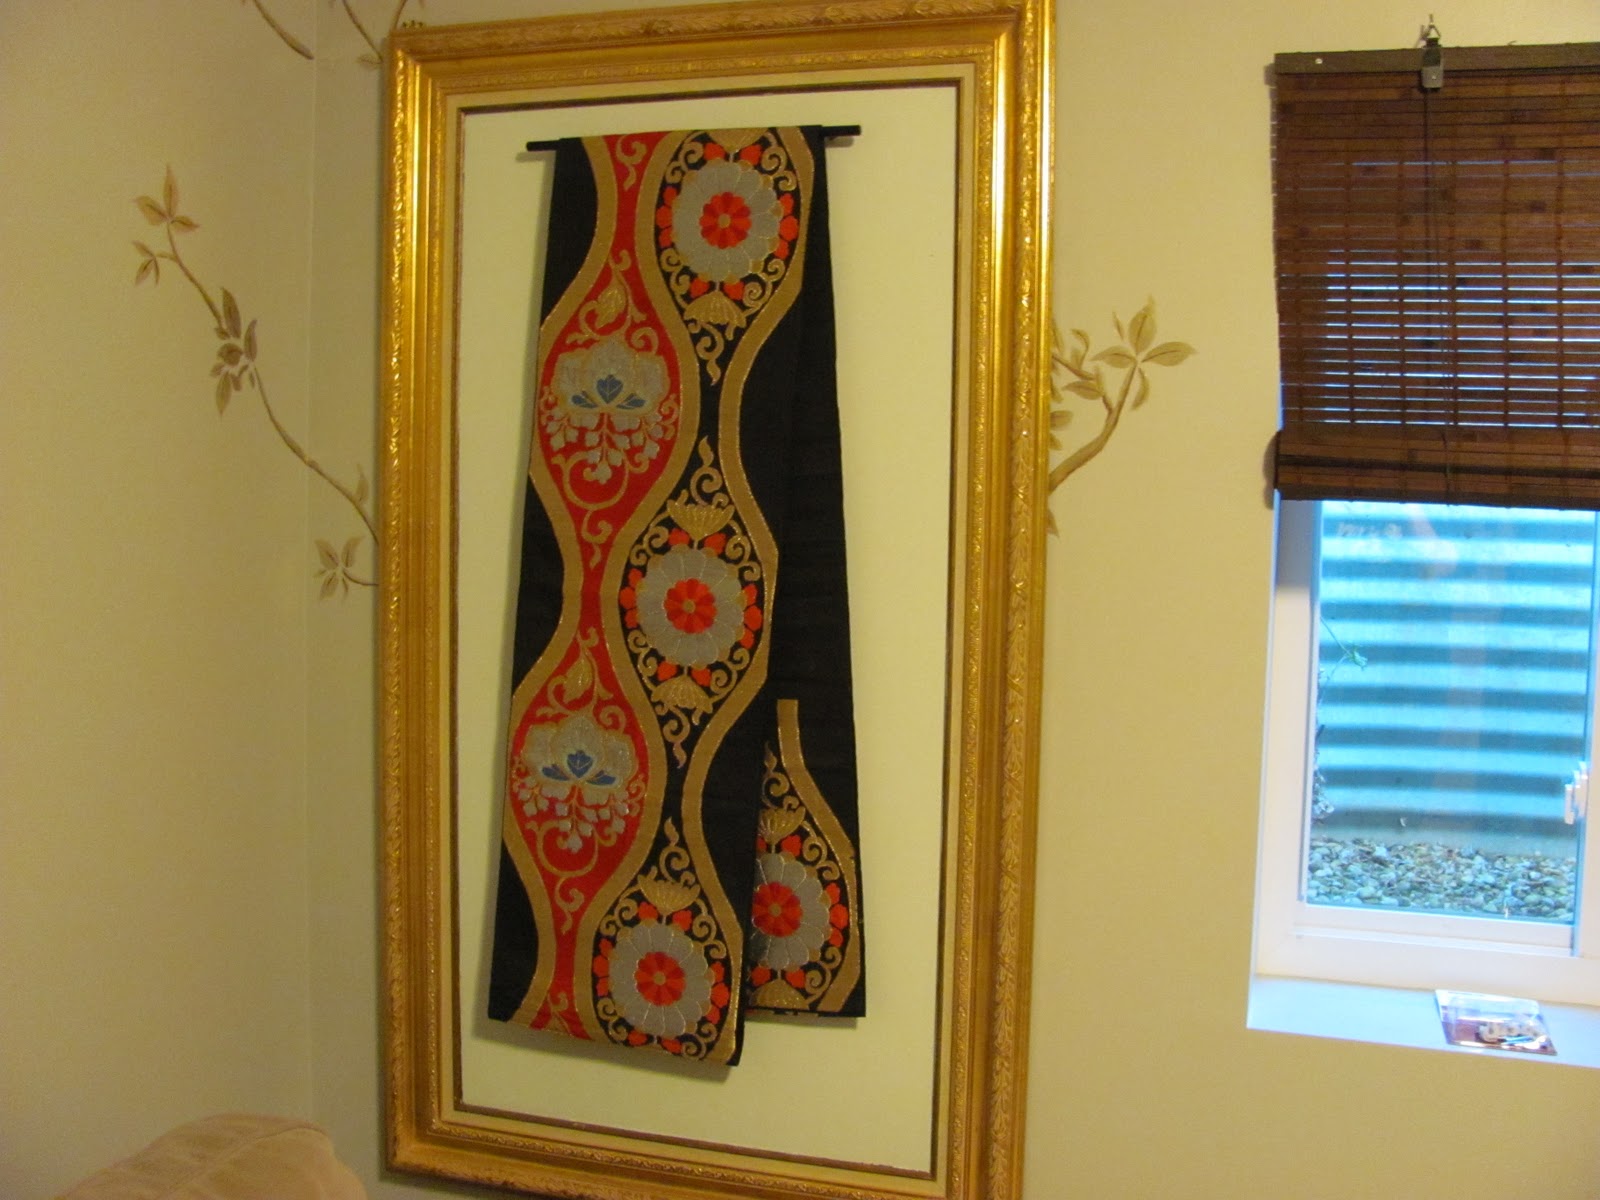
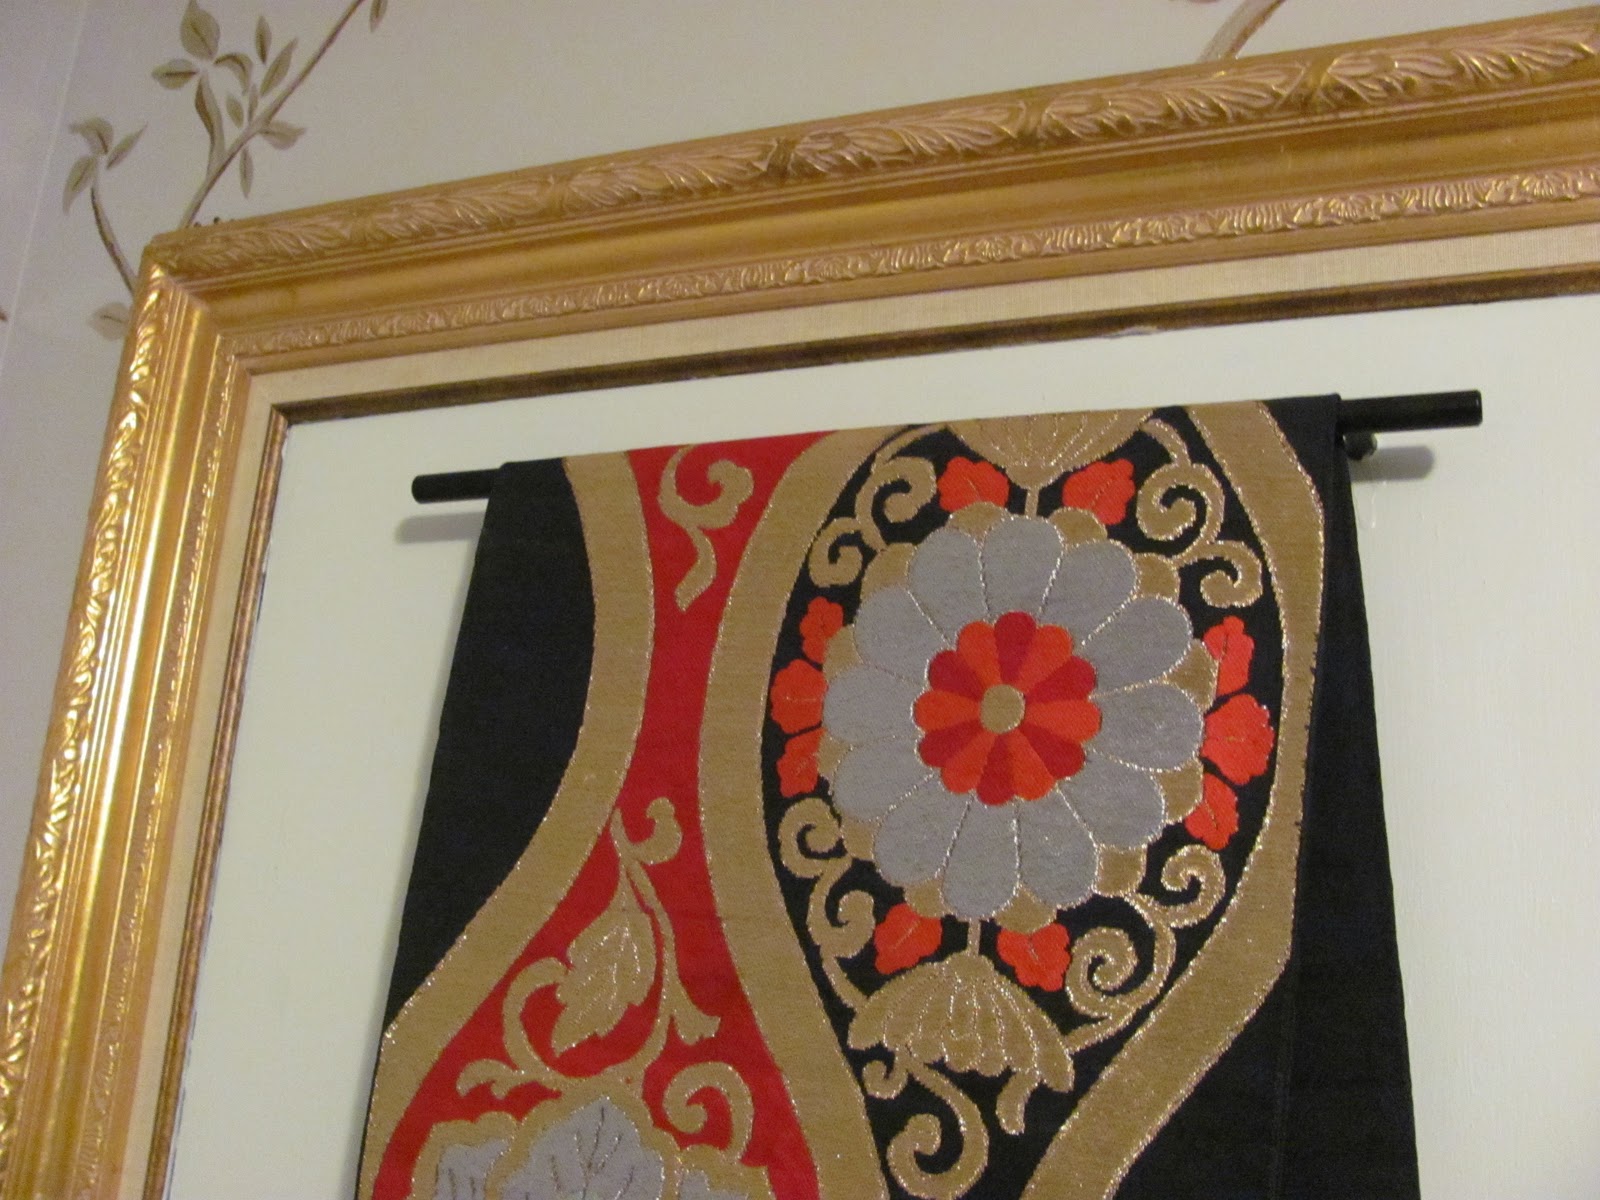
I found a very long $2 frame at a garage sale, cut a piece of thin plywood for the backing.  After painting it, I screwed on a kitchen drawer pull and hung a Japanese Obi we had from our stay in Tokyo.  It makes a fun art piece, yet does something much more practical; it hides the ugly electrical box that had to stay situated in the bedroom.  It’s on hooks for quick removal should we need access to the circuits.

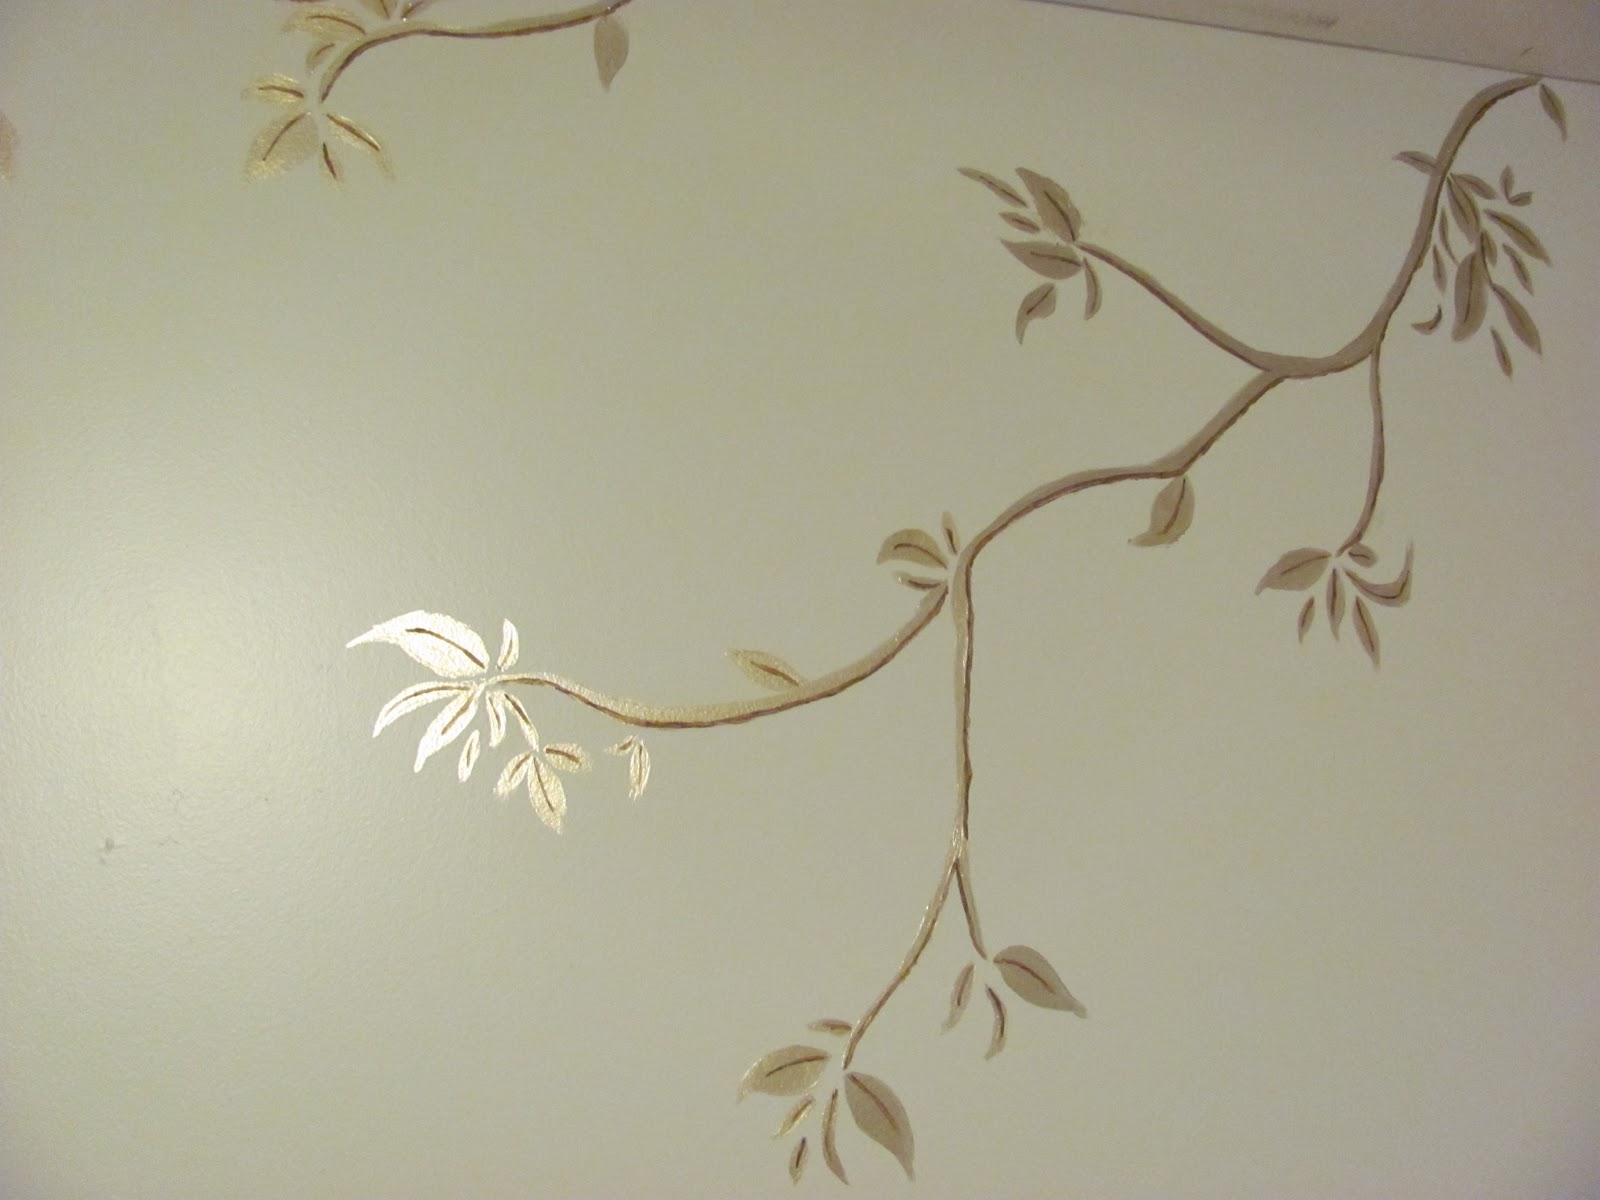
Some wonderfully talented friends came over and painted these branches for us in a nice metallic paint.

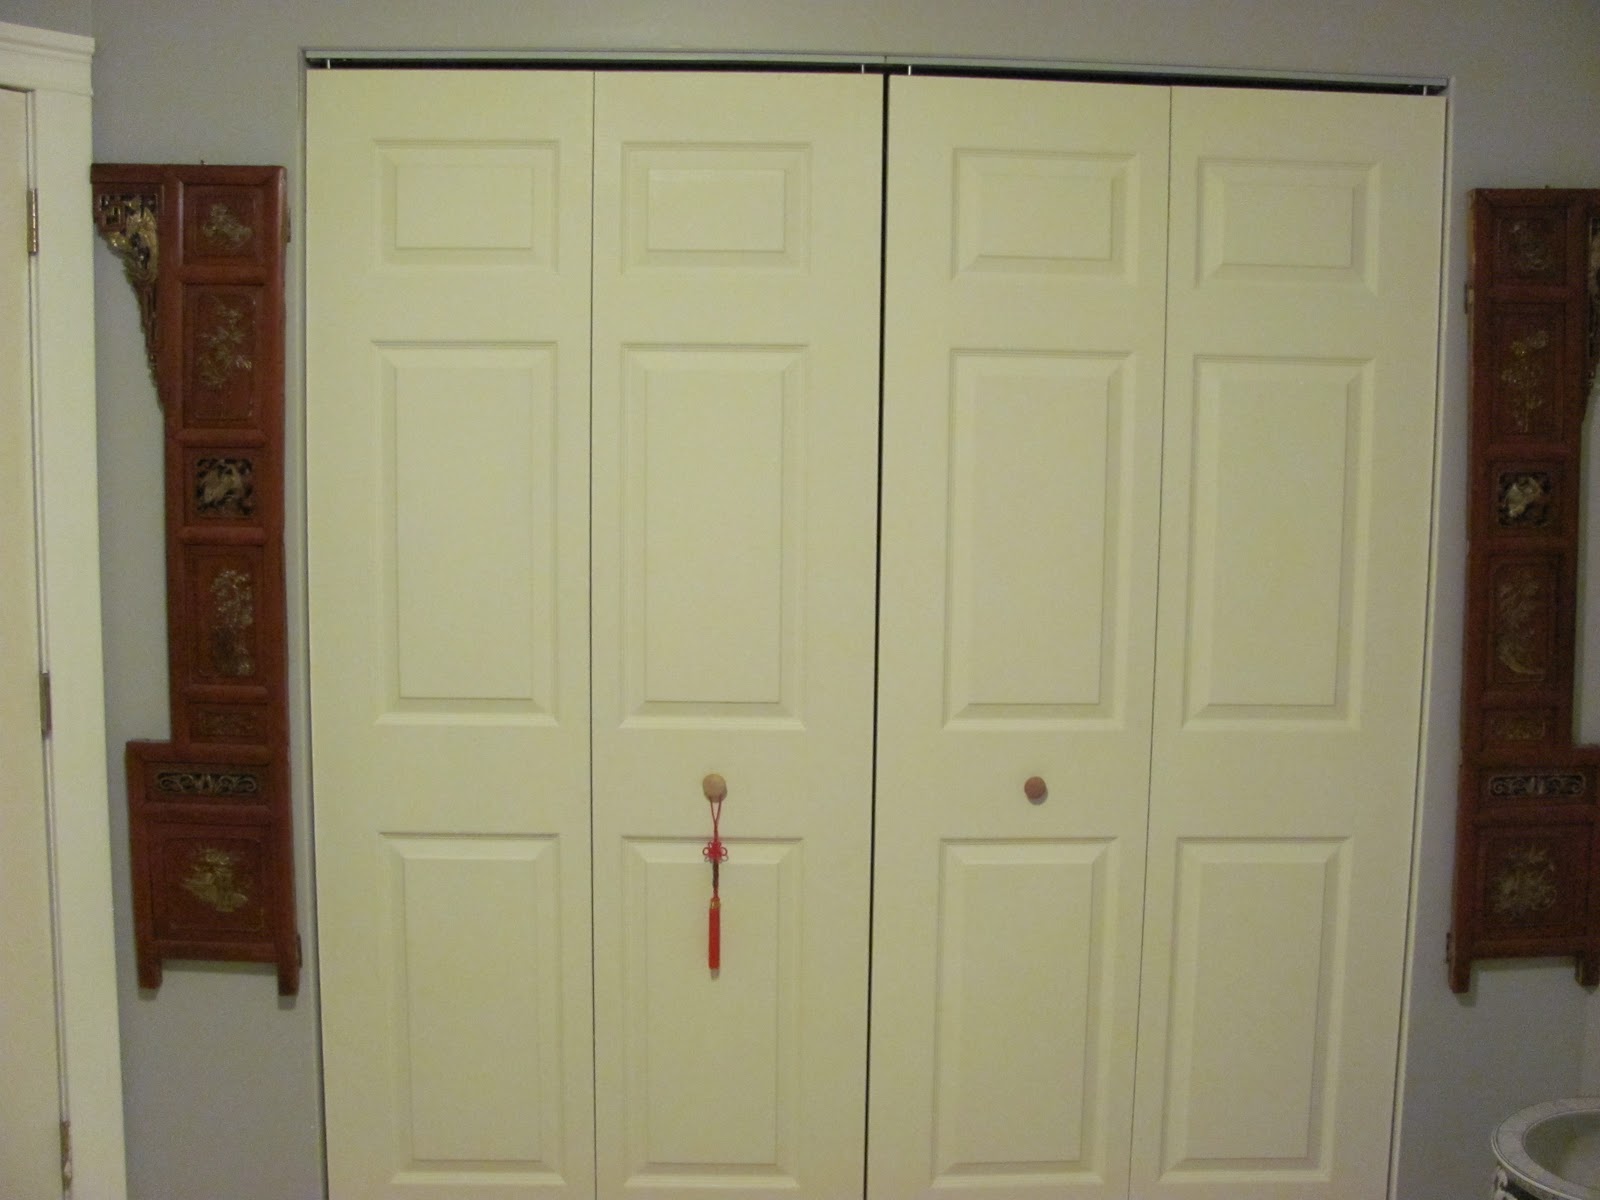
On either side of the closet we placed some old Chinese screen panels:

 We’re on the lookout for a fun desk for her room, but it’s coming along.

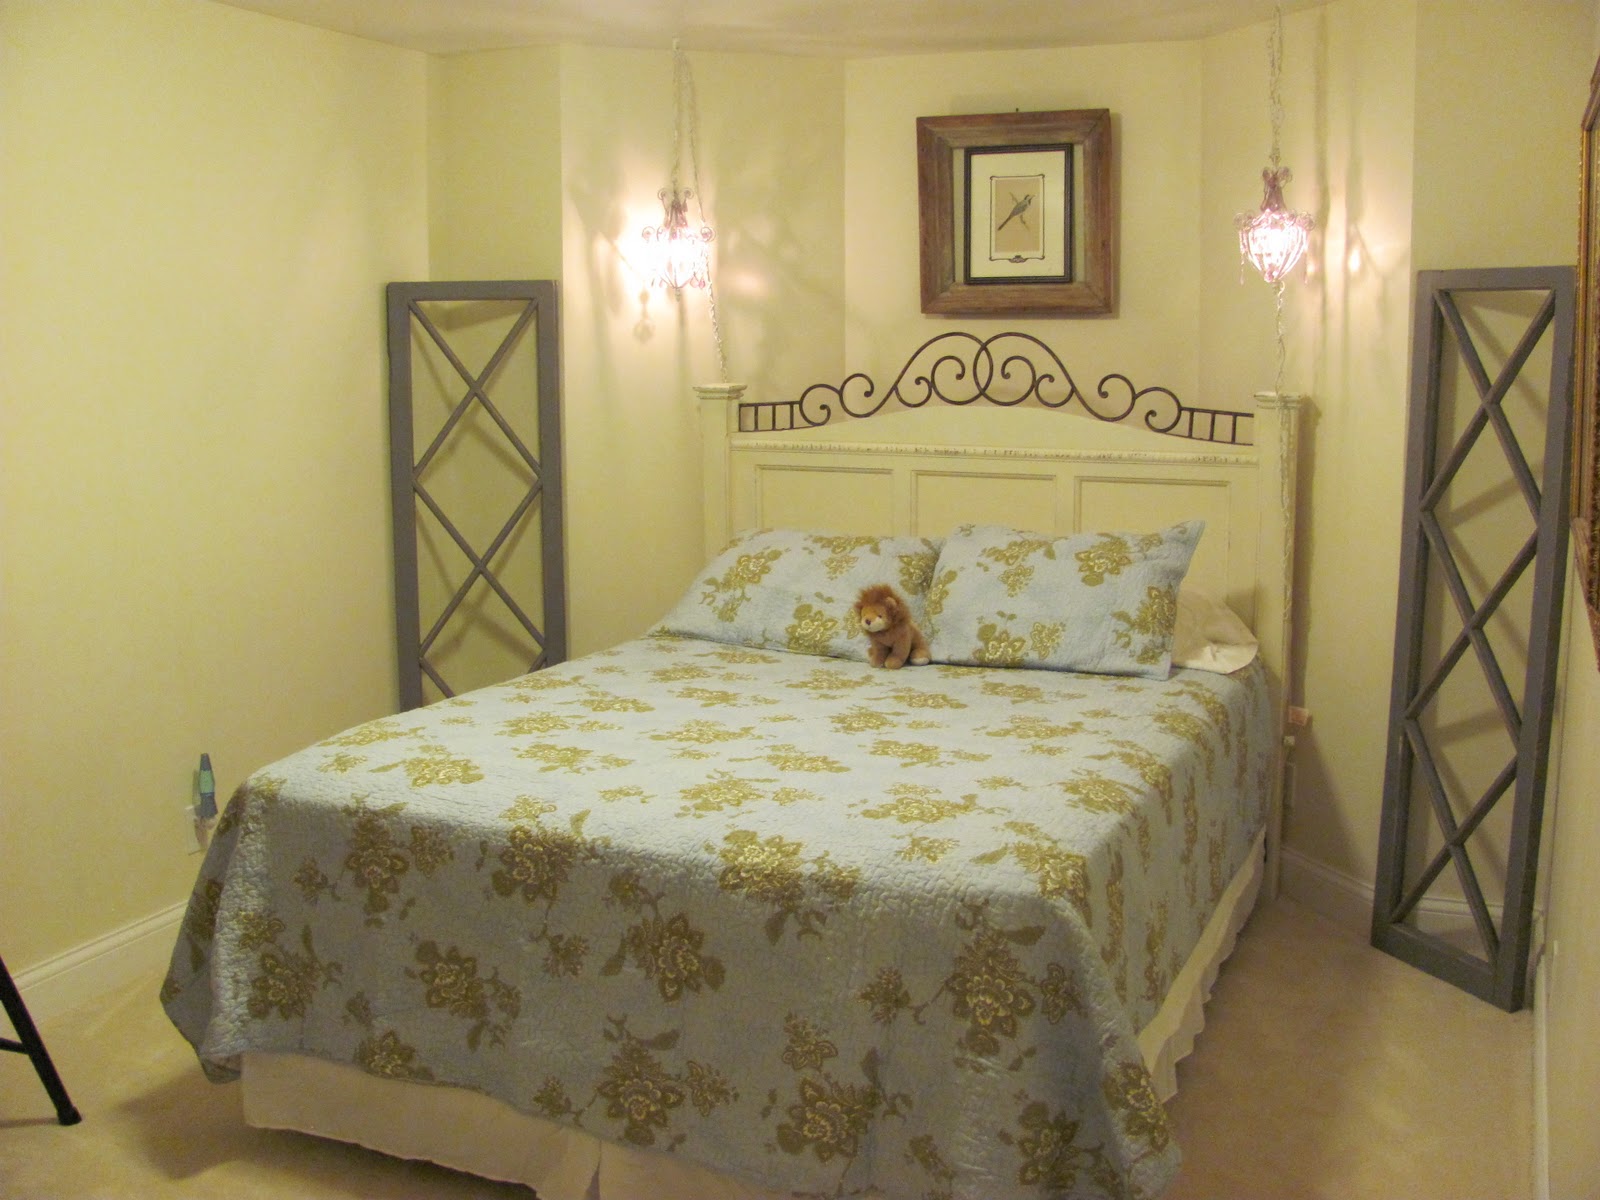
Next door is our other daughter’s room.  She’s been warned that she’s the first to get kicked out when guests visit since we put a queen size bed in.

The headboard was found at a garage sale for $20, repainted the famous “Heirloom White” (we left off the footboard so it wouldn’t close in the room as much.)  It’s positioned in a bow in the foundation since this room sits right under the den in the front of the house, which has a bow window.


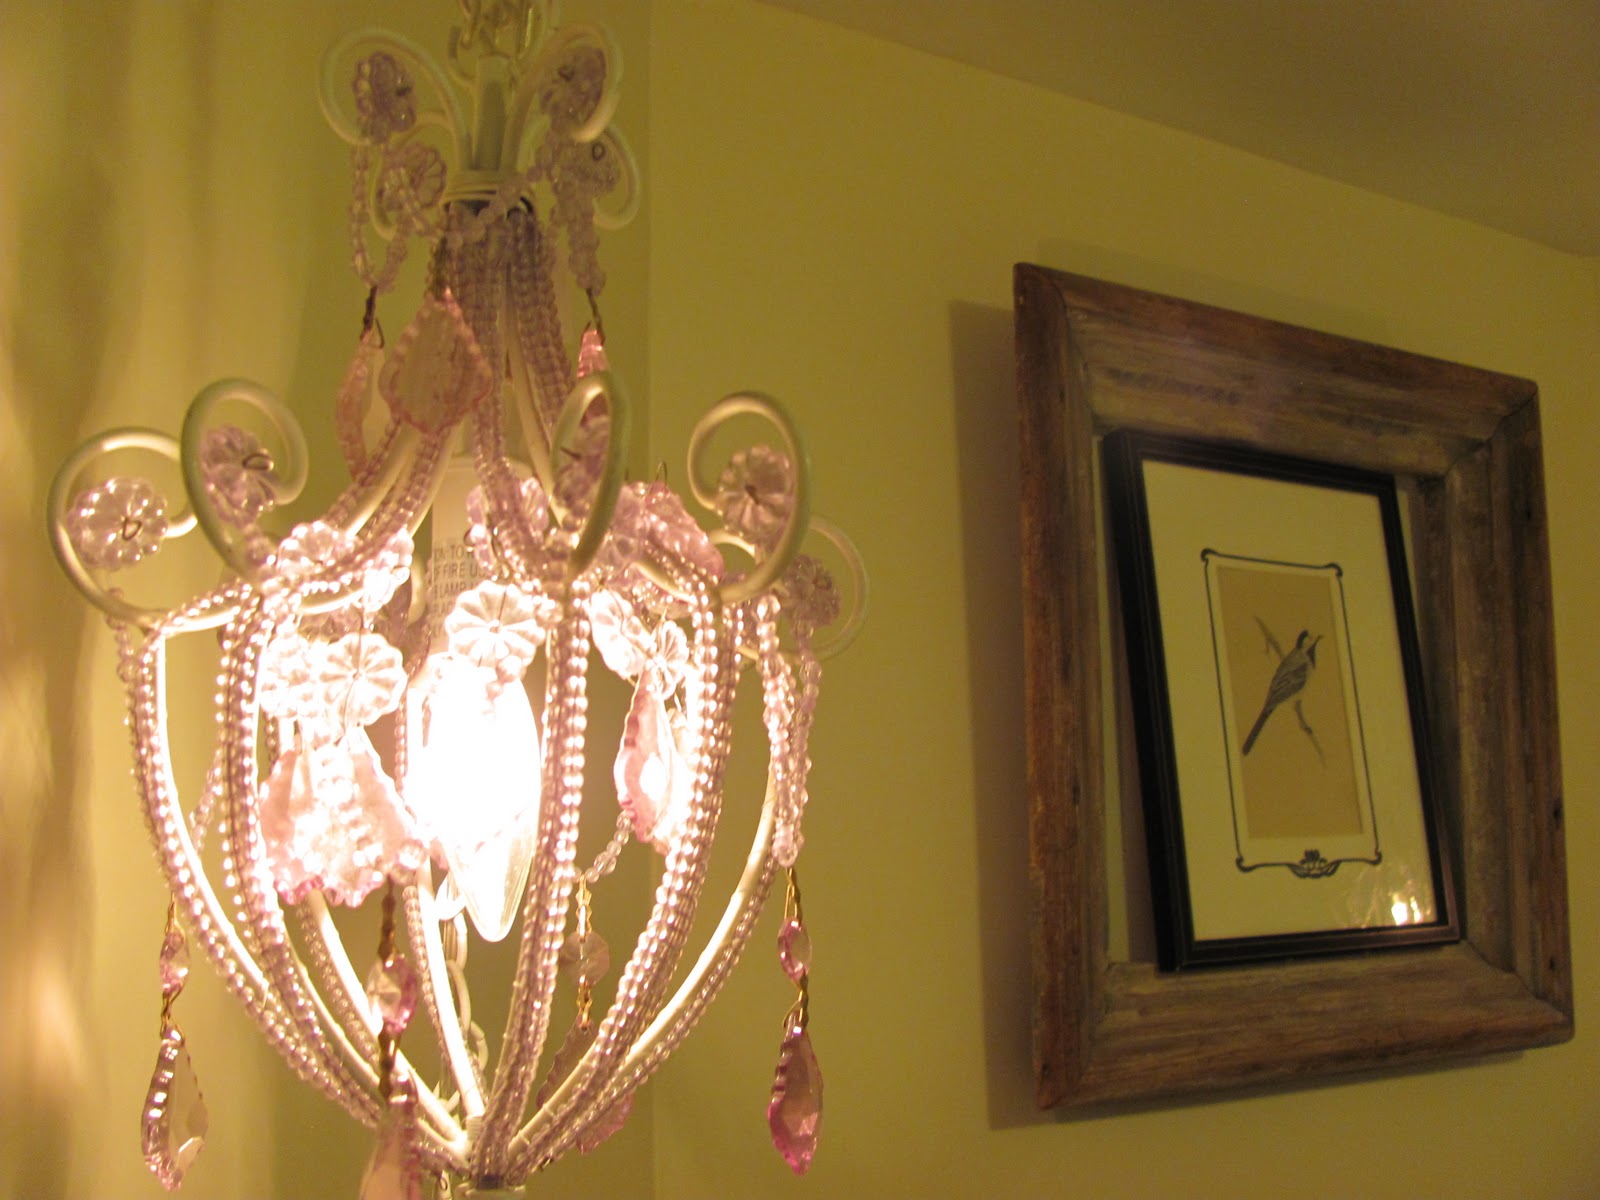
We already had these mini chandeliers from the girls’ old rooms.  They have very dim bulbs so they can be used as reading lights.  They’re connected together and put on a button switch attached low on the bed frame for easy on and off.  This very old, delightfully rough frame was found for a $1 and the bird print in the center was found at Goodwill.

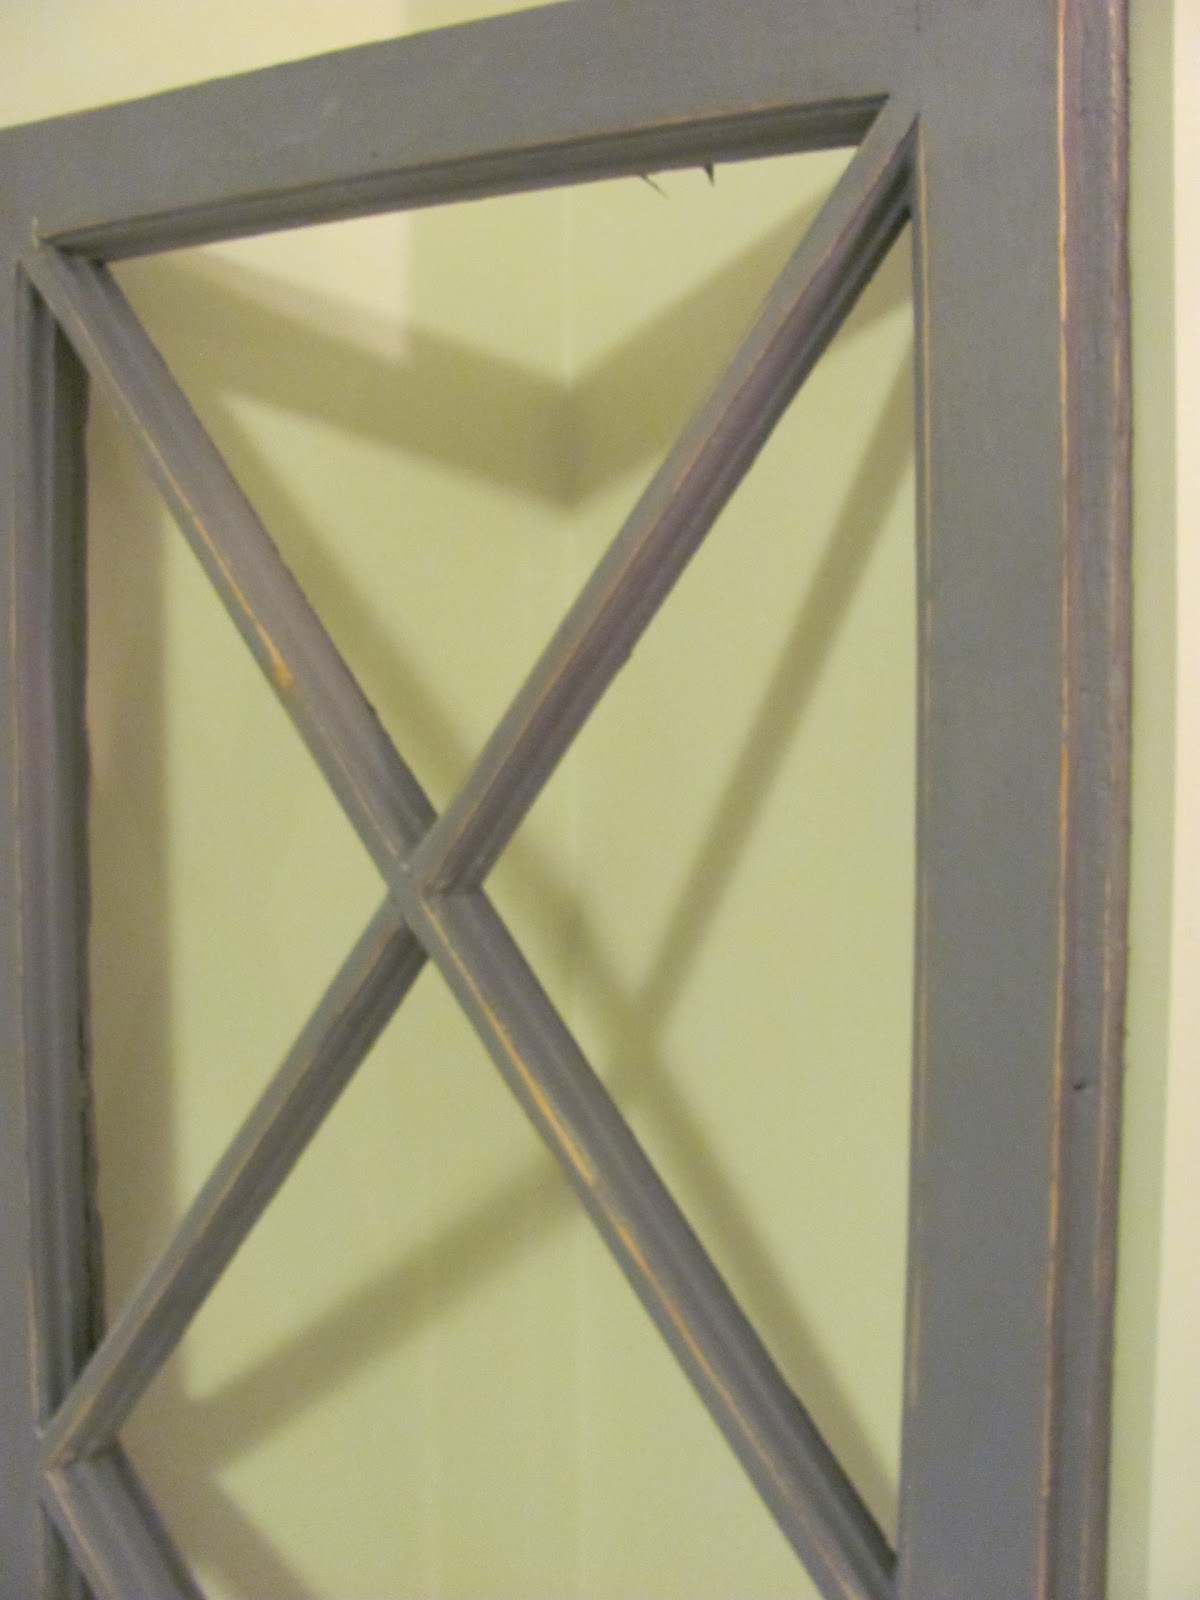
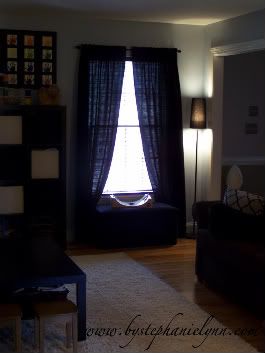
On either side of the bed are these great old window frames I found on Craigslist.  We painted them gray and distressed them a bit.  We’re patiently waiting for some free mirror on craigslist or Habitat REStore to turn them into mirrors.  It’ll help reflect more light into the room.

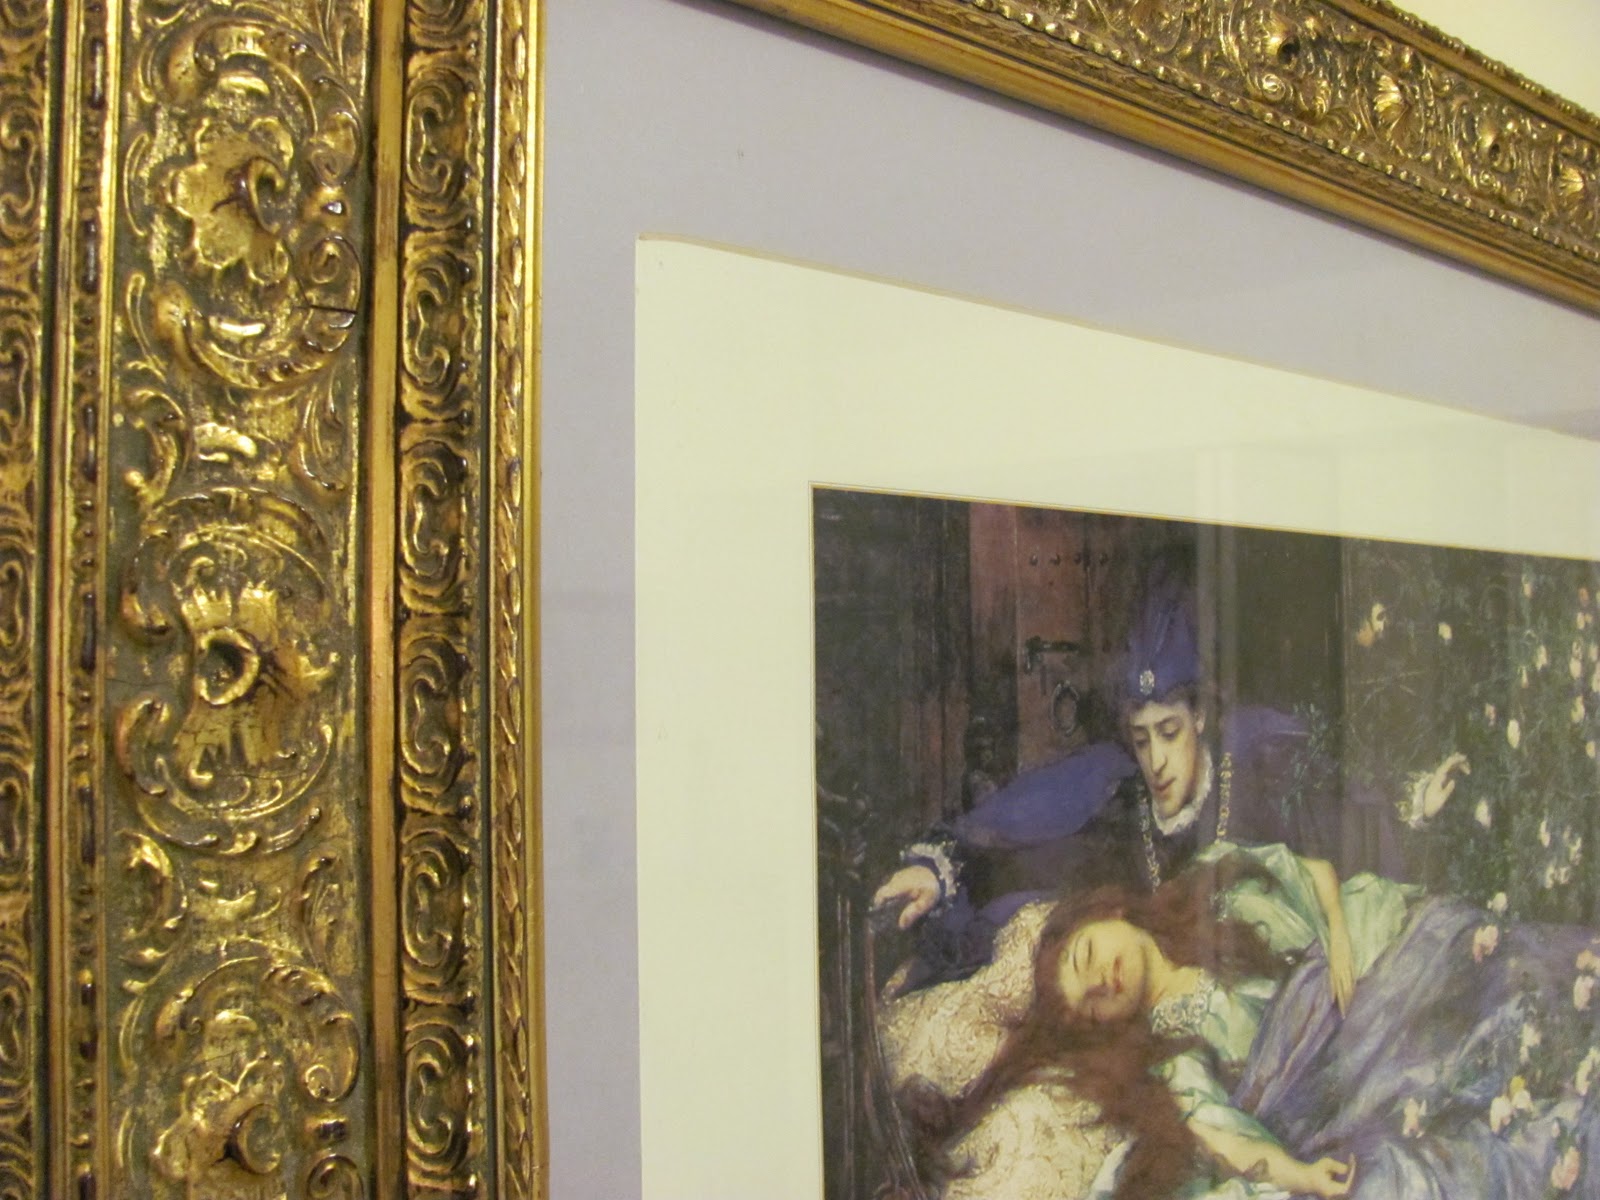
To the right of the bed is a sleeping beauty print we had in
their old room.  The frame is a fun antique find for $5.


We’re moving in a slant-front desk and need to make some curtains, as well as look out for a few other accessories.
  
More pictures and details at her original post along with the paint colors she chose.  
Erin – it is fabulous!  What a beautiful and fun entertaining space!  The bathroom is gorgeous – love the tile and fixtures.  Lucky girls – such stunning rooms!   I see lots of fun family and friend get-togethers at your house!  Thanks for sharing all of your hard work.  Super job!

DIY Project Parade

**I‘ve been featured! Check out Thrifty Treasures at
Sunshine & Wine
! Thanks Suzanne!**

~*~*~*~
Last week, my jaw dropped at this gorgeous playroom from Stephanie at
UndertheTableandDreaming


So much DIY
art – it’s gorgeous! (Thanks for sharing Stephanie!) Here is her post, then head over to her blog to see more great DIY projects and get details on an upcoming blog party:

A Playroom With Room to Play and Space to Grow

I had two major goals when creating our little guys playroom; a functional room for him to play & learn and a versatile space that could easily grow with the ever changing needs {and wants} of a three year old toddler. We choose a room located on our first floor main living level to transform into this magical space. Since the area can be visually seen by visiting guests {and me, everyday} I had a two items that topped my priority list when planning the space; 1. A neutral & natural decor to somewhat blend in with the rest of our home and not particularly scream playroom and 2. Lots and lots of hidden storage.

It took awhile to find all the right elements to bring the room together but I could not be any more happier with the outcome {and our little guy loves having a space all to himself as well} I feel the priorities were met without compromising the fun feel a playroom should have and a space that captures the personality of my little guy. Would you like to see what we have been up to?

I love the addition of unique pieces as storage options. This 27 inch wooden dough bowl was found at a local antiques mall and is the perfect home for matchbox cars and trucks.

The room has two windows which are dressed with black long panels and wooden mahogany blinds. Under each window sits two wooden toy chests that I covered with batting and velour fabric. They provide additional hidden storage which is a necessity in any toy filled household.

Between the two windows sits an eight cubby storage unit filled with cream and espresso canvas totes; More hidden storage…have I told you how much I love hidden storage.

The handmade art above the cubby is a rainbow of the little guys handprints. {You can find my tutorial here} It’s a great color learning piece. On top sits a wooden marble run which is just too cool not to display. Burl wooden bowls are another one of my favorite decor accessories ~ I simply can not pass these up any time I spot them.

A vintage wooden munising bowl showcases the colorful marbles for the marble run.

The bottom two cubbies were left open for a couple easy reach toys like this wooden car ramp. Another munising bowl was used to hold the cars.

The second open cubby holds a vintage wire egg basket filled with Lincoln Logs.

Centered in the room is a cream 10X13 shag rug to provide some tiny toe comfort and accent the wooden floors.

Even some toys themselves provide excellent storage options.

Comfortable seating was another one of my must haves in this space. This espresso twill couch is a great snuggle and read spot. Two paper shade pendant lights hanging in the corner create perfect wind down ambiance at the end of the day.

Above the couch is an oversized paper roll and wooden holder found at Pottery Barn Kids last year. Since we are working on the alphabet now, I printed and cut out 8X10 letters on brown kraft paper and simply attached them to the roll with a glue stick. It’s perfect for
filling up the large wall as well as creating a focal point.

What playroom isn’t complete without a vintage sock monkey…

More handmade wall art – This creation was inspired by PB and is a very easy and low cost project {find more details and my how-to on this post}

Utilizing more toys as storage…

A vintage wall box with a lollipop hanger creates additional fun storage.

As much as I would have loved to have a full play kitchen in this room the space just did not allow; so I opted for a more manly wooden grill for my little guy. The colors were a little too bright for the space, but nothing a little custom paint job couldn’t cure.

The wooden crate boxes under the grill and easel provide yet more hidden storage. I printed out the labels using the same font and paper as the paper roll alphabet and glued them to the front. Stacked wire puzzle racks provide an organized display for the wooden puzzles.

More ‘diy’ canvas wall art ~ our own live-by wishes for the little guy. {You can find more details and instructions on this previous post}

Because this room is visible on our main living level, hidden storage was a must. This cubby and drawer wall unit combo is the perfect solution for neatly concealing everything a three year old could possibly dream of.

A combination of espresso and vanilla woven baskets fill each cubby and we have managed to pack them all full of goodies.

A chalkboard tag hangs from each basket and {because I am too conscious of my own handwriting} I printed out the alphabet with a typewriter key font to label each one.

Extra space on top provides a perfect area to display some rustic, vintage inspired favorites.

I have a love for all things oversized, unique, and unusual.

I am always on the lookout for these and have a hard time passing them up.

The activity table in the center of the room is used for just about everything under the sun. It provides a great work space for my sons therapies {as well as arts & crafts, trains, cars, you name it}

The lower shelf stores easy to reach train tracks, rails and cars.

And you can’t forget something for their cute little bums…

…though my little guy prefers to stand {on top the table at that}
I can officially say we have one room that is completely finished without any to-do’s…except to have fun!

~*~*~*~
I’m behind on visiting the links. Thank you for your patience! I hope to get caught up soon.
What’s your latest DIY project?

~*~*~
The DIY Show Off

If you’d like to link YOUR DIY project post to The DIY Show Off Project Parade:
  1. You must use the button above and link to this post to share the linky love.
  2. Include your name or blog name and project title. Add your permalink (not your blog url, but your DIY project post url). Feel free to link a Past Post, just invite your readers in a current post with a quick note.
  3. Or email your link to thediyshowoff@gmail.com and I will add it for you.
  4. If you notice your link has disappeared please add the link back to The DIY Show Off to your post today with a quick note to your readers about the party and try again! I love when everyone participates and readers check out everyone’s links, but I think the return favor of linking back is the nice thing to do so everyone plays fair and enjoys all of the projects and links. Also – this blog party is for DIY projects only. Links not related to DIY will be deleted.

**Don’t forget to enter the cutting edge stencil giveaway!**
Click Here!