Shabby Chic Style Little Girl's Bedroom

You may have seen this but in an effort to spread the love (the love of beautiful DIY before and after) and for those who may not have seen it yet, I must share this beautiful transformation.  It’s from Becky at Tea Party.   Prepare to go “ooohhhhh” an “awwwwwe”. 

Here is her daughter’s bedroom before:

Here it is after.  It’s all in the details, right?  Teagan’s new big girl room is full of pretty details…

My favorite parts?  Did you see the gorgeous grain sack inset on the headboard?  All of the DIY art work?  How about the soft, peaceful color scheme?  What do you think? 
Check out all of the details at Tea Party.  Beautiful reveal, beautiful job, Becky!  Thanks so much for sharing!

Toddler to Big Boy Room full of DIY details!

Ive been blessed with girls so when it comes to decorating or anything related to boys, I’m clueless but that doesn’t stop me from loving a great boy’s room before and after makeover. I love this one from Hi SugarplumEspecially when it involves creative ideas, repurposing and DIY.  Here are some of her photos but be sure to head over to check out the full reveal and all of the details here


It seems like only yesterday I was decorating my son’s nursery, but now he’s 9 and it was time to kiss the ‘sweetness’ good-bye. So while he was visiting his grandparents for two weeks, we surprised him with a room makeover suitable for a big guy. And the best part is, by using items from our house, updating his existing stuff, and shopping smart….the total bill for the room came to under $300!


Before:


before


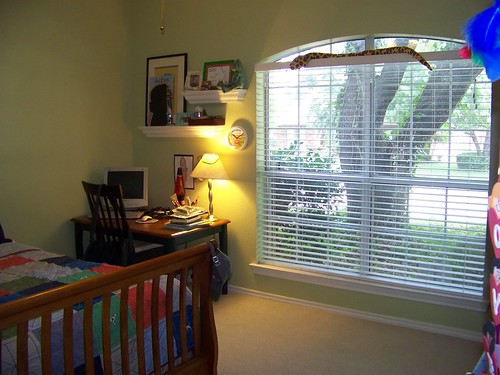
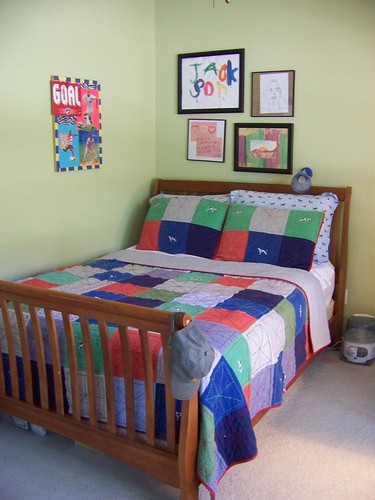
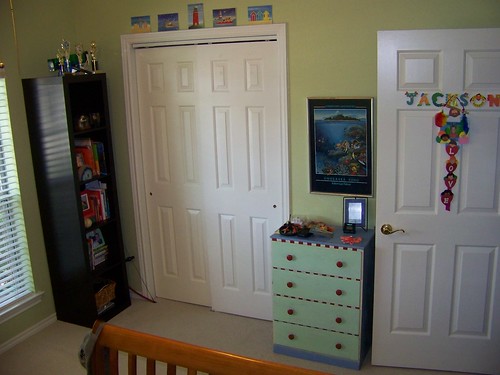
Pale lime walls, puppy dog patchwork bedding, pictures he made as a toddler, Crystal Light carpet stains


jack bed before


before 2


And the awesome afters:


1
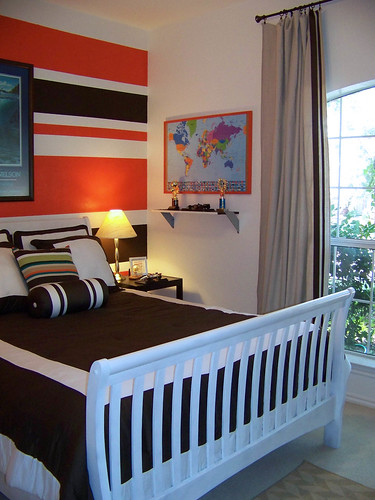
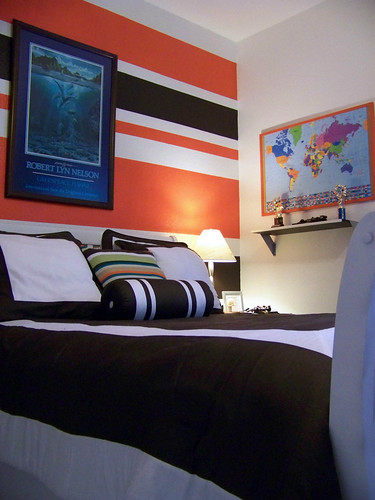
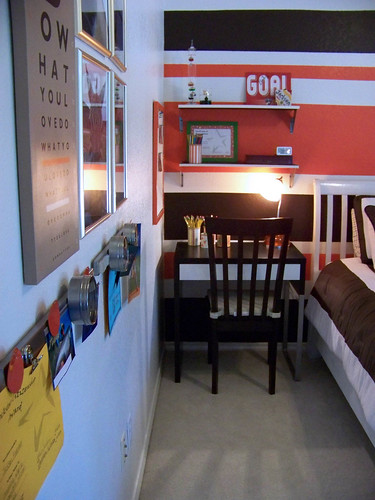
The bed was spray painted high-gloss white. The small Ikea sisal rug was borrowed from the laundry room and adds some warmer tones as well as texture. The over sized wall clock is from Marshalls.


2


Love the stripes!
3


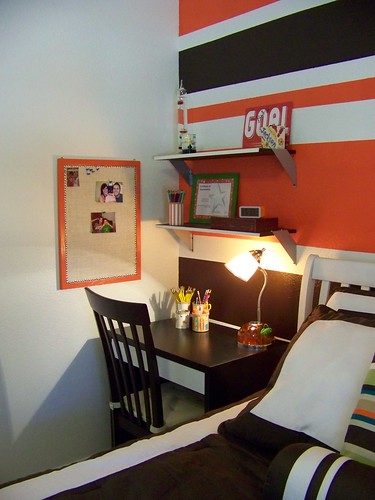
DIY – cover a corkboard with burlap to add texture.


4


5


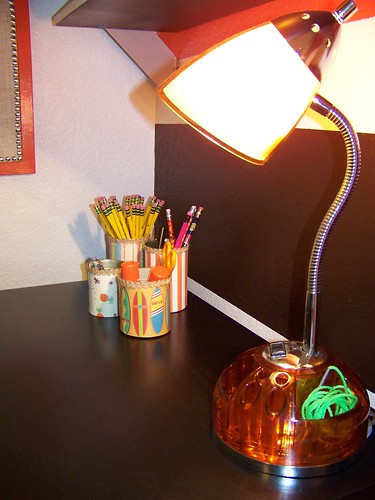
DIY – soup can pencils holders


6a


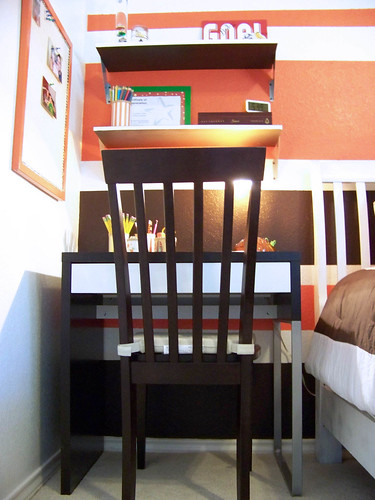
Organized study area…


7


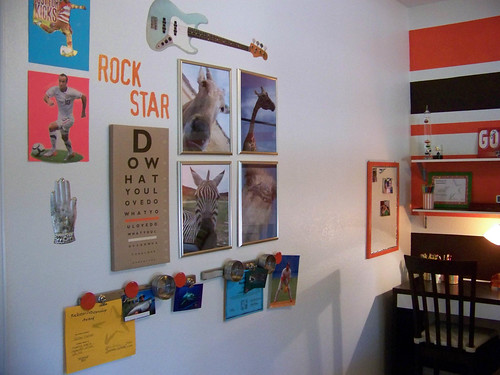
Gallery wall with room to grow and DIY prints from the zoo.


9


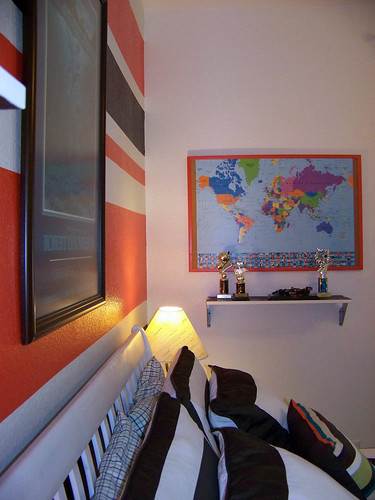
DIY cork map (A project on my list too – just waiting for the map to arrive.  Great minds DIY alike!)A


11

Awesome job, Cassie (proven by his happy reaction at the reveal)!  Loved that!  Thanks so much for sharing your hard work.  You created a fun big boy room – so creative with your budget.  Great job!

Ship Shape Big Boy Room

I love this blog and her header just makes me smile.  
Because I imagine with 3 boys, I’d have a hard time making “home” my style…girly.  lol  But she has an amazing style and I love her DIY projects.  The latest ‘love’ is her son’s room, which makes me wish I had a boy, especially during the teenage girl drama stage. 

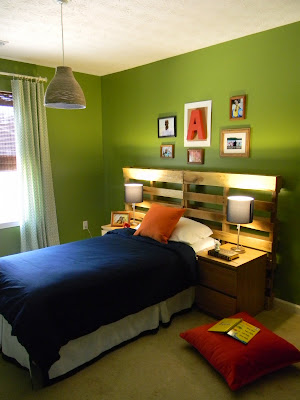
Check out what she did, including the awesome light fixture and clever headboard and all of those darling nautical details!  She has an amazing way of stretching the budget and gets a big bang for her buck.

BIG BOY ROOM REVEAL!

The “Big Boy” room is complete (for now)! I can not tell you how much I’ve enjoyed working on this space for my oldest son!
As you know, the inspiration for this room came from Serena and Lily’s Ronan Collection.  Of course I didn’t want to copy the space, but there were a few key elements that had to be brought in from the ispiration. Here is my version of the Serena and Lily room!


The shipping palettes were a must in the design of the space! I think that is what made the Serena and Lily room so unique! I got such a kick out of my husbands response when I called him outside to help me unload them from the truck:-)

This light fixture turned out really nice, if I may say so myself! It’s the Melodi pendant light from Ikea. I have a tutorial coming up later this week on how I “hacked it”!


Here is the fixture with the light off (above). I think it ties in nicely with the nautical themed room!

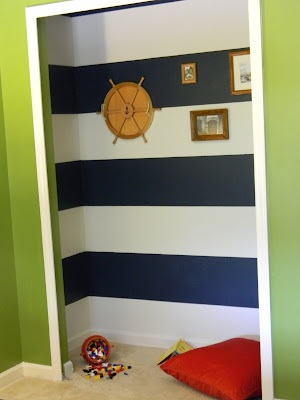
Do you notice the closet?! You can’t have a nautical themed room without stripes! Taking note from the inspiration room again, I knew that I had to bring in the stripes. But, the price tag of the duvet didn’t work with the amount I had to spend on one;-) So with $20 and a little sweat, I think that the look was acheived and you can’t tell this was my first attempt at painting stripes (can you?)!

I haven’t decided if I want the storage cubes to remain in the closet or on this wall below

(I need a chair for that corner!)


By taking the toy storage out of the closet, he can use the closet as a little ‘nook’ to read or to play with his Legos


Seriously, what sailor doesn’t need a place to read “One Fish, Two Fish, Red Fish, Blue Fish”?!

Here are a few close ups

Mrs. Limestones photography is the best!

Isn’t this the cutest hermit crab?!

Great room, isn’t it?  It’s like waking up to vacation every day!

She has a post  listing her sources too.
And I love that she shares her DIY disaster but doesn’t give up.  Happens to us all, right?  
You’ll have to visit her to see what I mean along the cutest little desk makeover.

And her entire blog full of inspiring DIY projects.

Thanks for sharing your amazing style and genius DIY ideas, Lakeitha!