I love this DIY story from I Love My 5 Kids and I love the amazing change! The entire family pitches it. So cute! Thanks for sharing David and Lana! Here is the blog post:
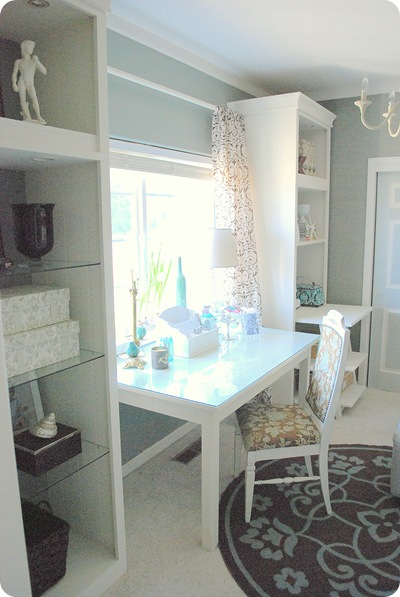
The Office – complete season. (It’s a TOTAL MAKEOVER)
Well, this is a story that never has an ending.
Our 70’s home – coming in to the new millennium.
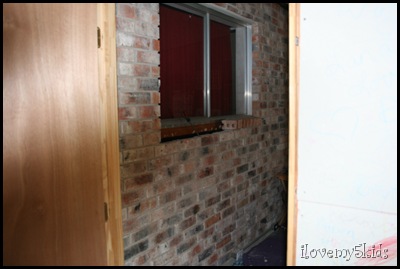 Apparently, my hubby was bored and needed a project.
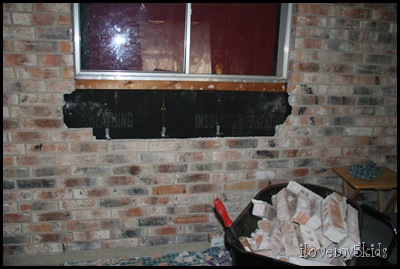 He never liked the wall between our bedroom and the office. So, the bricks started to come off.
 They learned how to tear down walls.
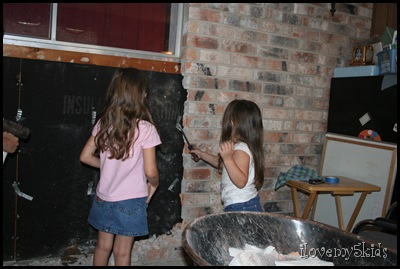 Even the princesses.
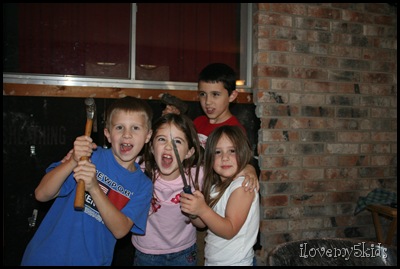 I think they enjoyed themselves.
Now for the bedroom side…
We don’t let them cut their own meat but…
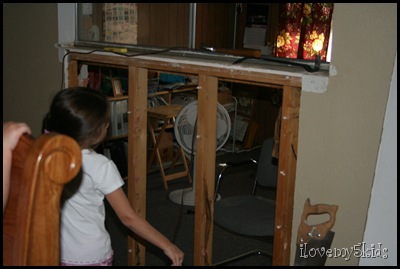
Then, an accident occurs…makes me glad I’m in Dallas.
Thankfully, no injuries.
Well, the window…but he was leaving anyway.
Okay, glass is cleared up. Big hole in wall.
Kids are so proud of themselves.
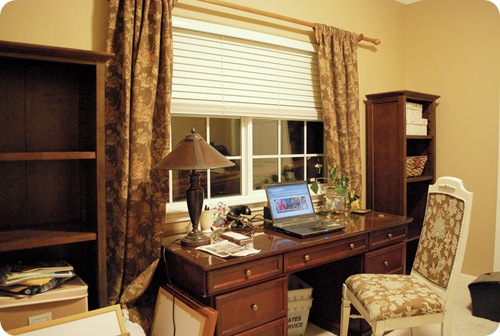
Curtains always makes things seem right.
Now for stage 2: (Spring)
We took off the ugly wood paneling. And started to add sheetrock in some places.We had to take out the huge windows that had no seals and were anything but energy efficient.We usually don’t encourage our sons to hit windows with hammers…
We also had to take off the ugly siding and add nice siding.
The black paper is a weather barrier and it
STINKS!!!
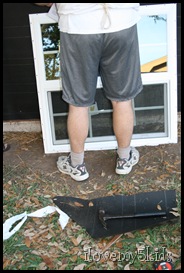
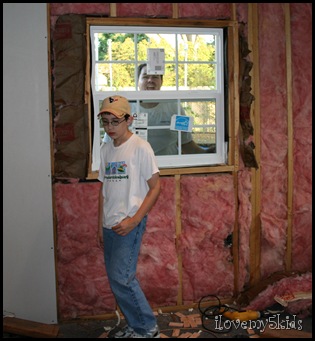
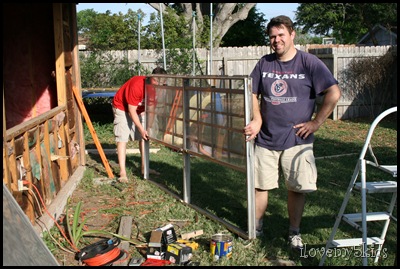
See my hubby’s socks (Yeah, he probably won’t appreciate this picture). They mean he either – just got off work and the whites were not clean (like that would ever happen – hehe) or he couldn’t wait to work on the room. Hmmm….Window is in…
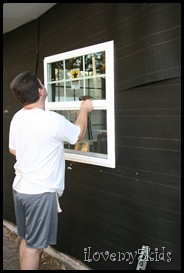
From this side…he looks like a peeping Tom.
Again, our Princess Helper…
 We need to take out these windows…again, not energy efficient.
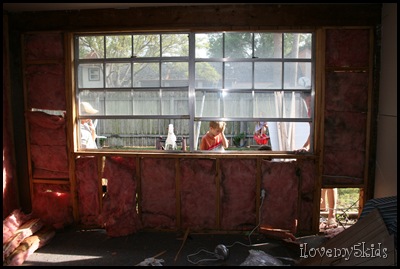 This had to be done with extreme caution…
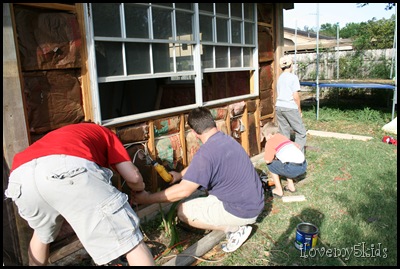 Because under the window…
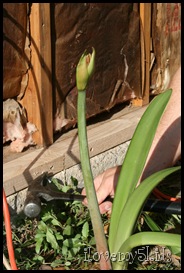
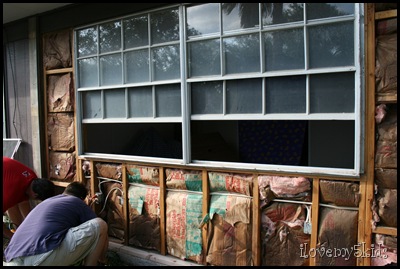 was a precious gem.
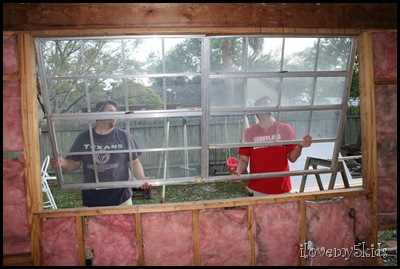 Our sweet friend B. came over!
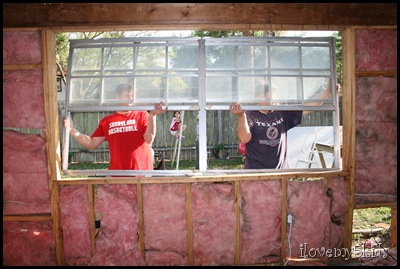 He was paid with a pancake supper. I’m telling you – those pancakes are delicious – he was begging for more work. Well, that is how I remember it.
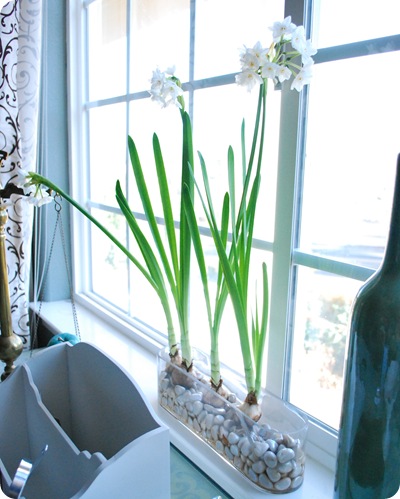
 The gem (Amaryllis) bloomed like the next week.

Then we both tape and floated. I will say, this was not my favorite part. My least favorite was the SANDING! Oh, the dust!!!!
 Here is his brush…
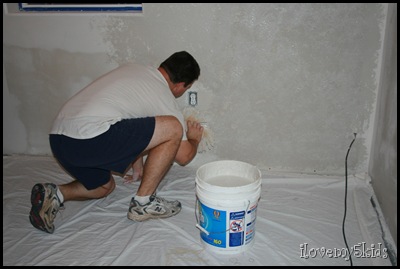 Here is his brush working…
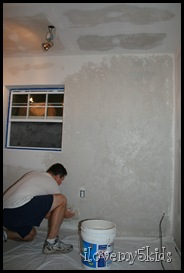
I love when he is smiling when he is working. He was not smiling while we were tape and floating.
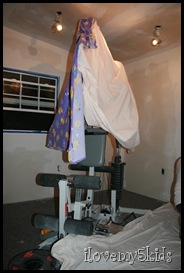
this exercise “thang” was pretty scary in the middle of the night.

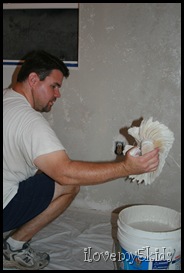
I really liked this part. It just almost smelled done.
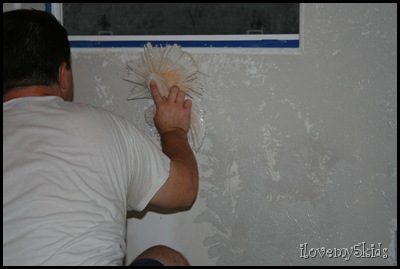

Doesn’t this goo just look gross? I don’t care, it symbolizes something.
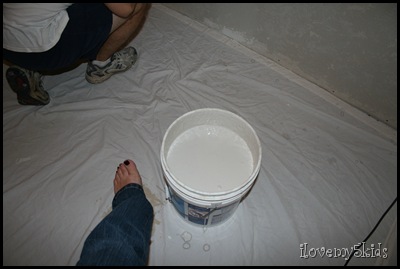 Like peace and tranquility. Or really just our room completed. Which is peace in my book.
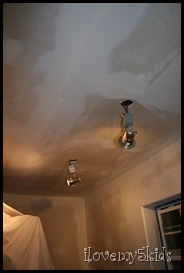
Oh, did I tell you…these used to be “popcorn” ceilings. I love the new lights!
I painted it while hubby was at work. He was surprised.
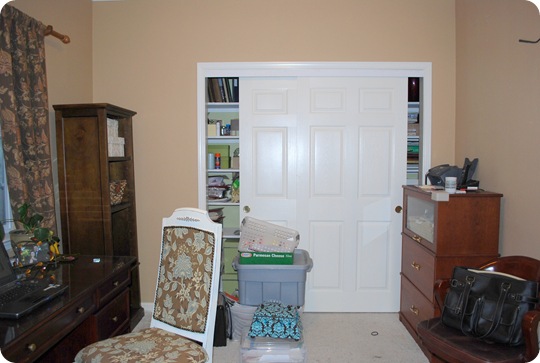
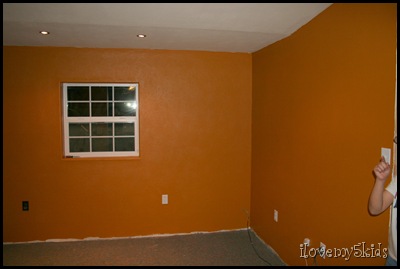 Cider Toddy from Lowes.
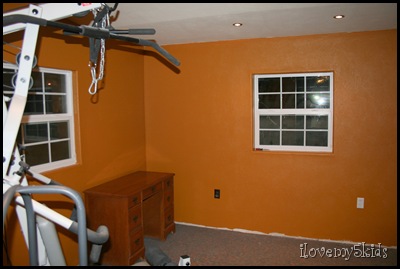 We really like it. It is very warm and neutral.
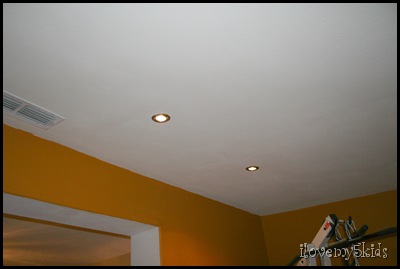 Remember the lights, aren’t they fantastic?

 We are so happy!

Yes, it finished.
(Well, except for the trim, wall decor and curtains.)


