


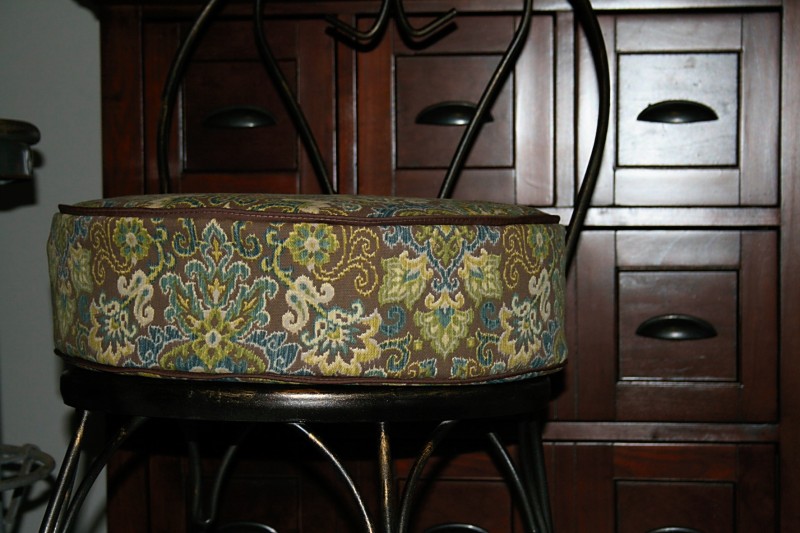
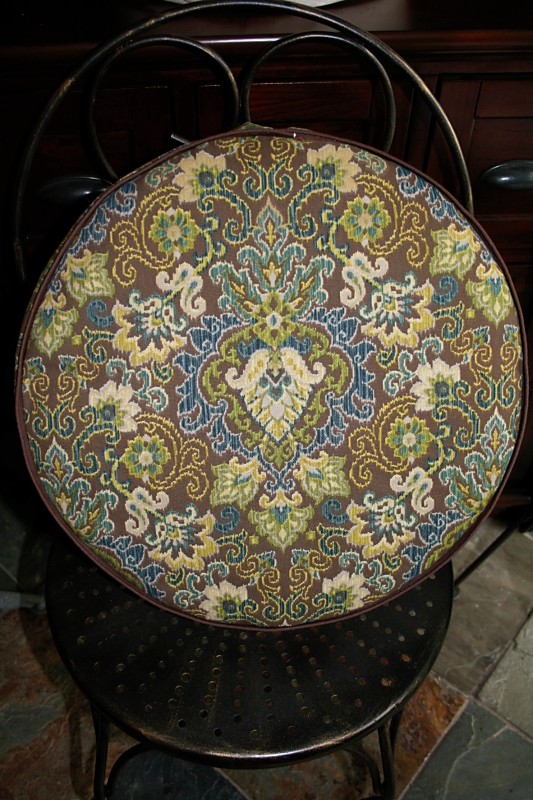
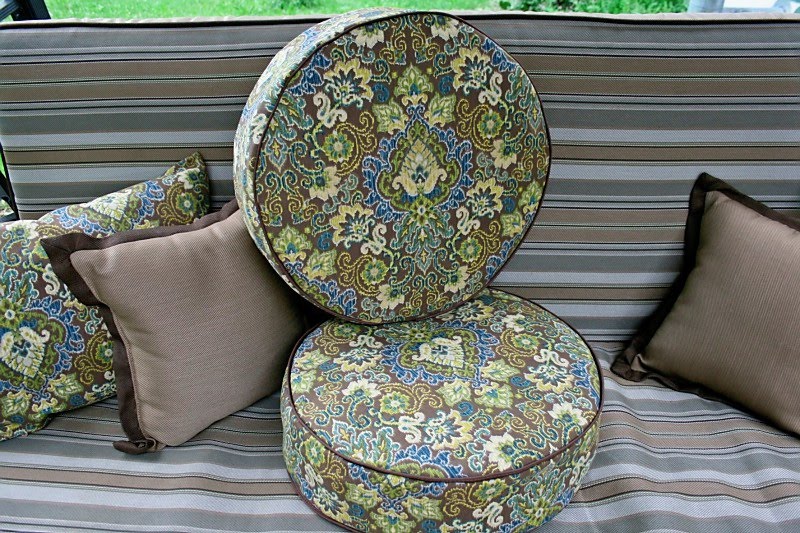
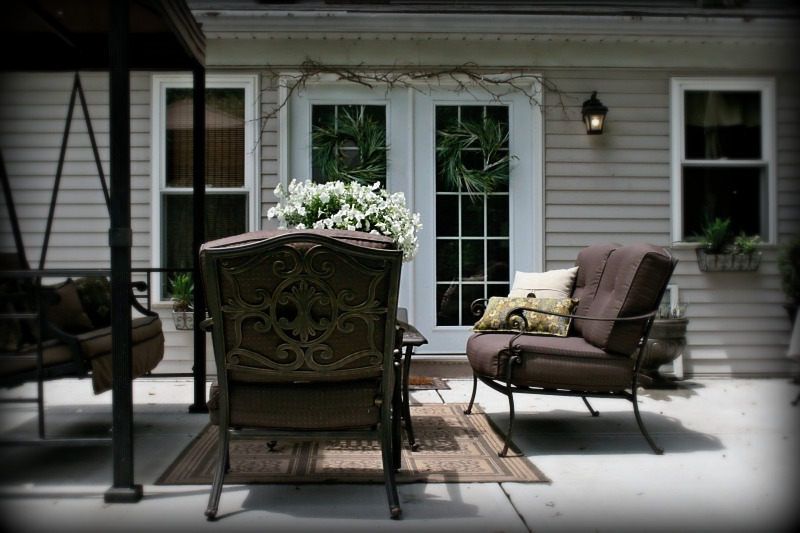
 The cushions we have are brown for the most part except for the swing which has sage/tan and gold stripes so I felt limited by that. 🙁 But, I was able to find a fabric that looks good with everything!
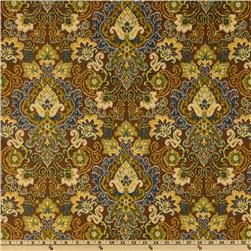
It’s called Magic Carpet (walnut) by Waverly.
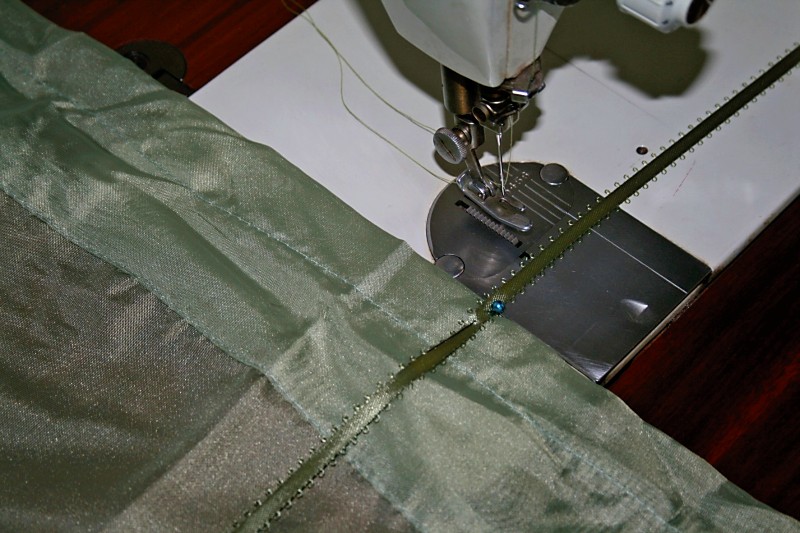
I did document my DIY steps in pictures so if anyone is interested in some helpful round cushion tips, I will create a tutorial.
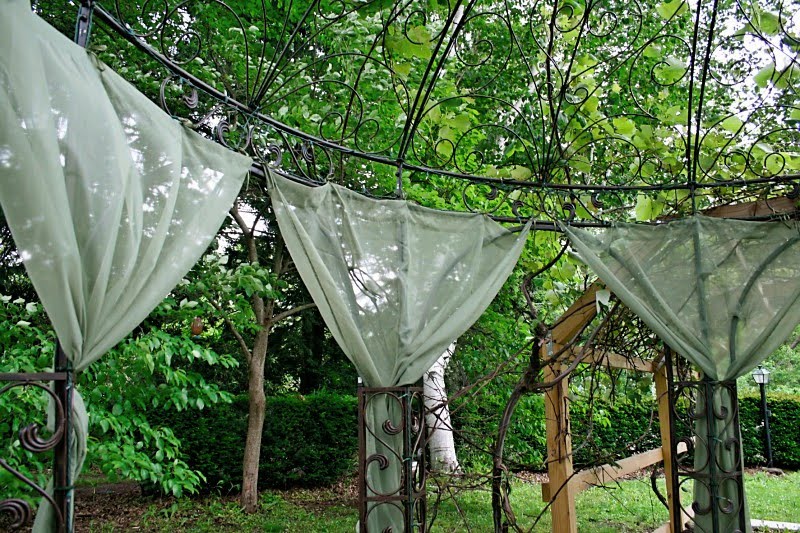
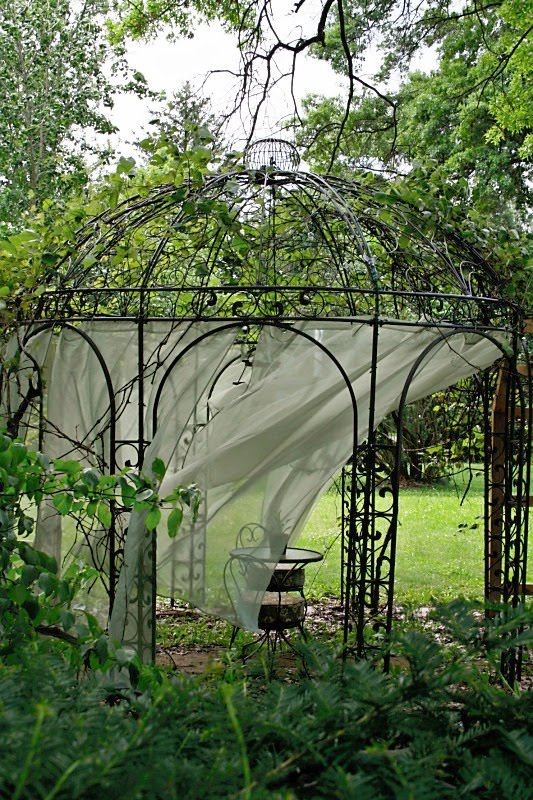
I sewed ribbon to sheers that I got here to tie to the grape arbor to disguise the imperfections…I mean create a romantic atmosphere. CHEAP source for sheers! $2.99/panel!
Before I continue, I have to point out what’s not done (because that’s usually what I see). 🙂

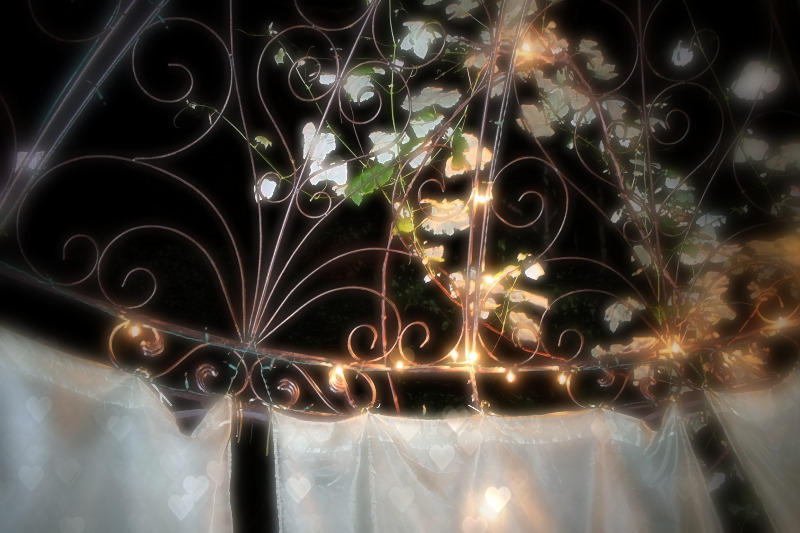
Here’s a close up. “Hello Chippy!”

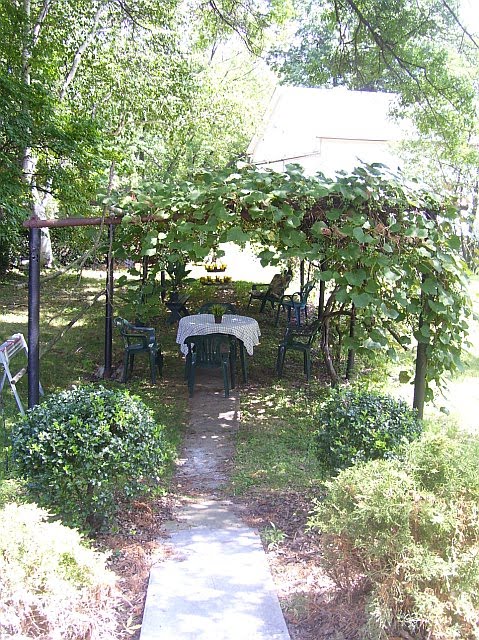
Even at it’s ugliest, it was a beautiful space for my brother’s small wedding in 2008.

And a great space for shaded seating for my sister’s baby shower last year.
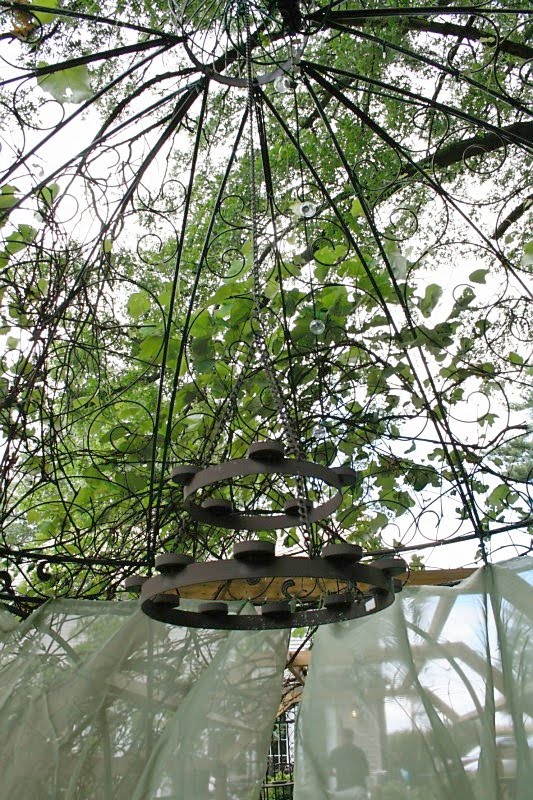
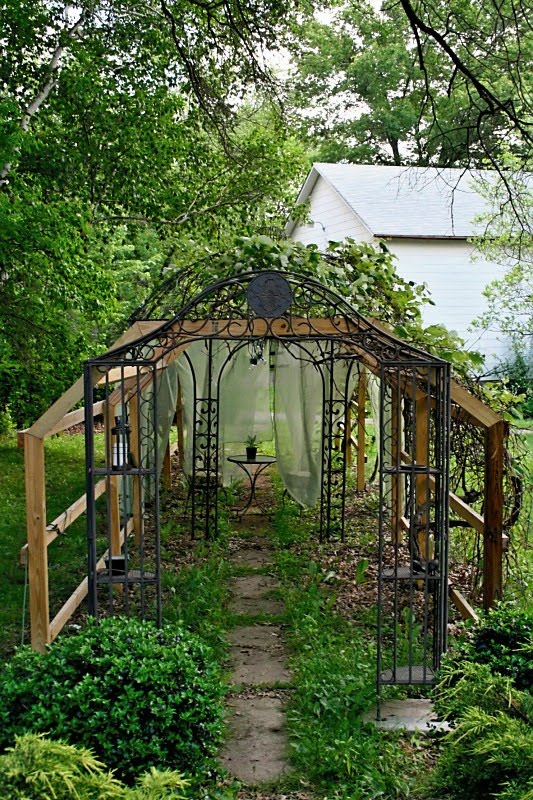
Mr. DIY (and family friend) built up the new wood structure around the old rusty iron skeleton, lifting and shifting the grapes in the process before removing the old iron poles. It’s about 7’x7’x50′ (except for the gazebo area). The grapes survived the stress!


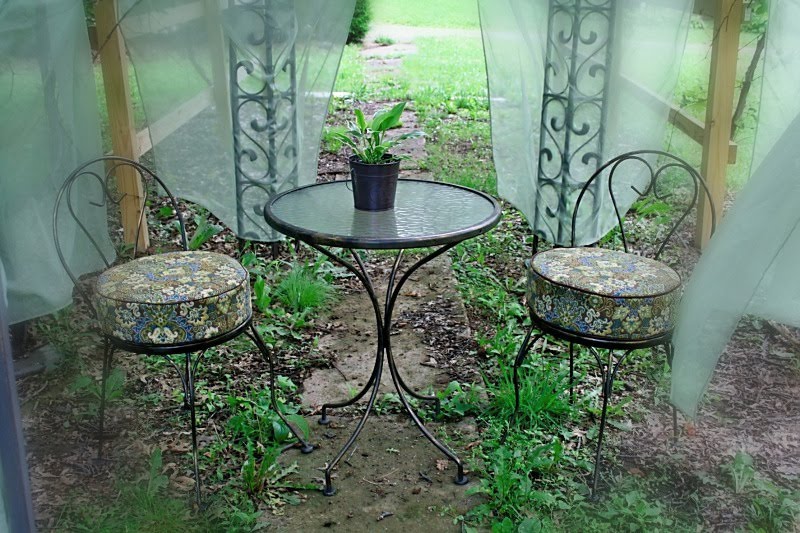
 Here are the after pictures with the new bistro set and sheers.
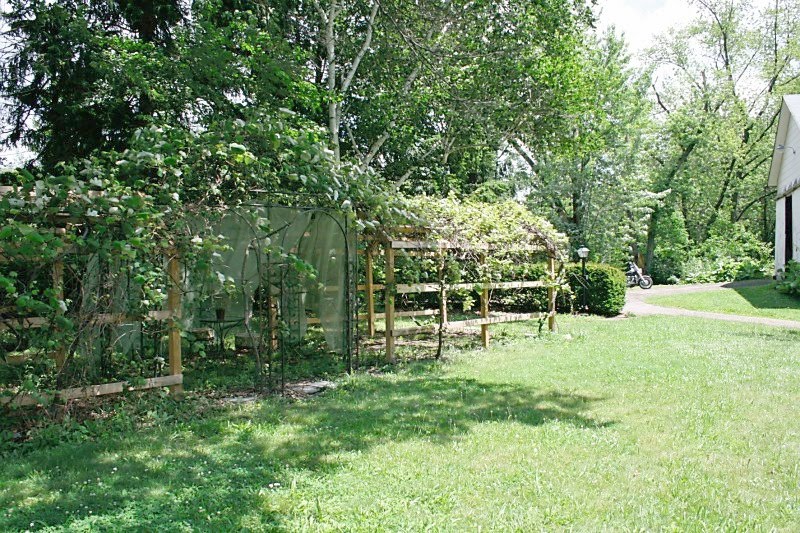
And the grape arbor now ‘in progress’


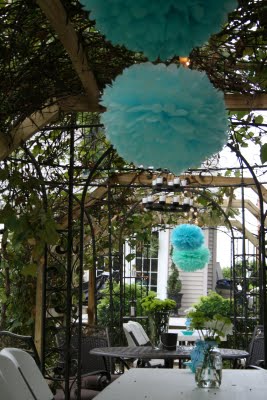
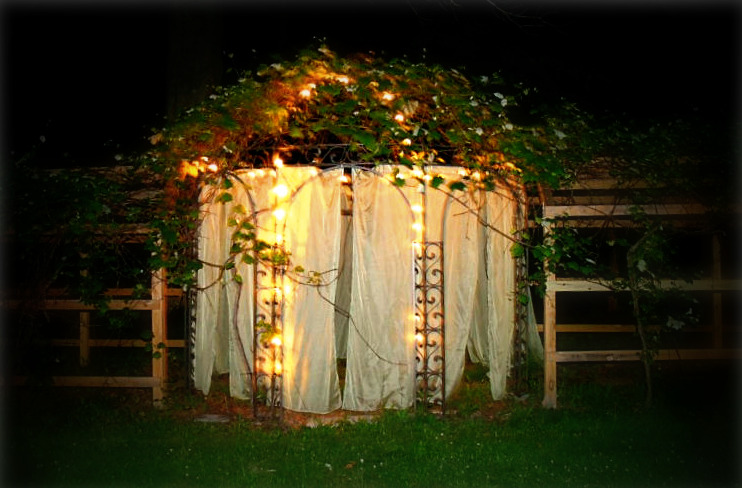
Here are some pictures of the grape arbor and gazebo at night. So pretty!

Still a little work with the pavers or flagstone path underneath. It’ll look so much better after staining the wood structure, but what do you think so far? Care to join me for a glass of wine and relaxing under the rotunda? Perhaps with Keanu Reeves from a Walk in the Clouds? 🙂
And some new pillow covers for the existing patio furniture (and the swing fabric that I had to consider with the new fabric).


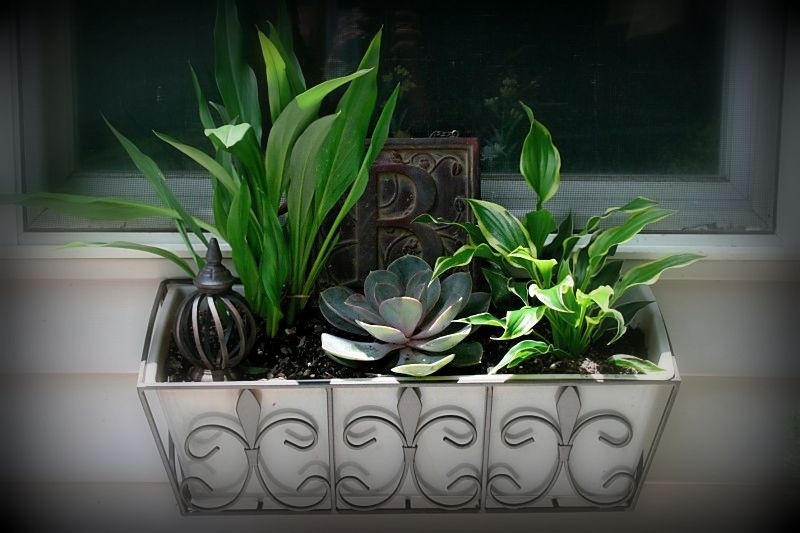
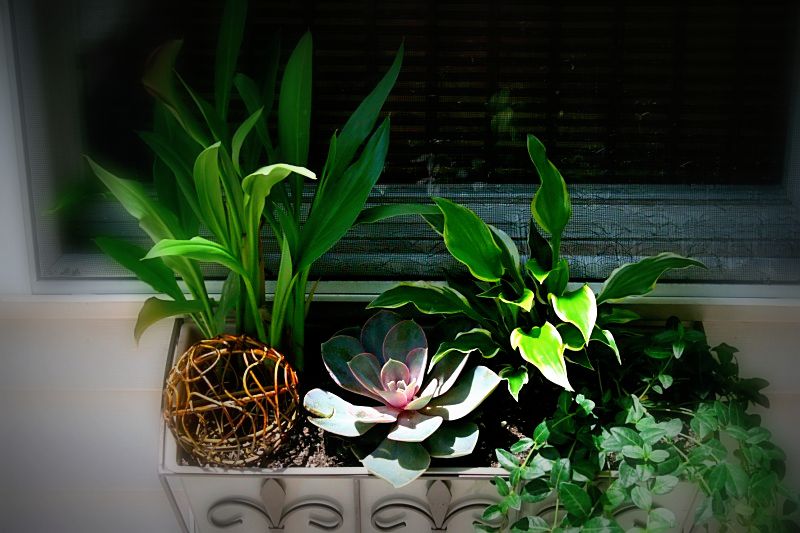
And my window boxes this year:
So...that’s what I’ve been up to. What about you? Feel free to link up!

- You must use the button above and link to this post to share the linky love.
- Include your name or blog name and project title. Add your permalink (not your blog url, but your DIY project post url). Feel free to link a Past Post, just invite your readers in a current post with a quick note.
- Or email your link to thediyshowoff@gmail.com and I will add it for you.
- If you notice your link has disappeared – please add the link back to The DIY Show Off to your post today with a quick note to your readers about the party and try again! I love when everyone participates and readers check out everyone’s links, but I think the return favor of linking back is the nice thing to do so everyone plays fair and enjoys all of the projects and links. Also – this blog party is for DIY projects only. Links not related to DIY will be deleted.