71 Toes ~ Home Tour

I recently was introduced to a new blog (thanks Kristy!) and not only am I excited to feature her beautiful home with gorgeous pictures, I admire her faith and strength.  Meet Shawni from 71 Toes.  You’ll want to take the time to browse her blog full of beautiful photography and great stories and to learn more about her and her amazing family but in the meantime, I’d love to show off her home and before and after projects.  Prepare to fall in love (of course with her home, but with her family as well!)  Here goes!


Family Room/Kitchen

Our family room/kitchen went from this:
to this:

…and the view coming from the other direction went from this:to this:
The dining nook went from this:
to this:(For more about that map, click here.)

And the family room took a lot of different looks before we really decided what we wanted. It went from this:

to this:
to this:
and finally to this:
I had some of my favorite places printed up on canvases to add some color:
(The top one is Wellesley College, middle is Bear Lake, and the last one is Utah.)

And you can read about the saga of making our family motto here.
Anyway, it’s finally done, and we love how bright and light it feels.

Kitchen

So, here’s the kitchen for now:Oh my word I love white cabinets.

Especially when they used to look like this: Room Change
(More to come but here’s a sneak peek):

It’s taken us a while to transform this:…into this:
 
Entryway
So, our entry way started like this:

Then we painted the door almost black way back when (this is the only picture I have for some reason):The “Love More” is just something I put up there because it has some special meaning in our family…and who doesn’t need a little reminder to “love more” once in a while?

After our “spruce-up” we ended up with this (although that archway is NOT blue…not sure why it looks like that):
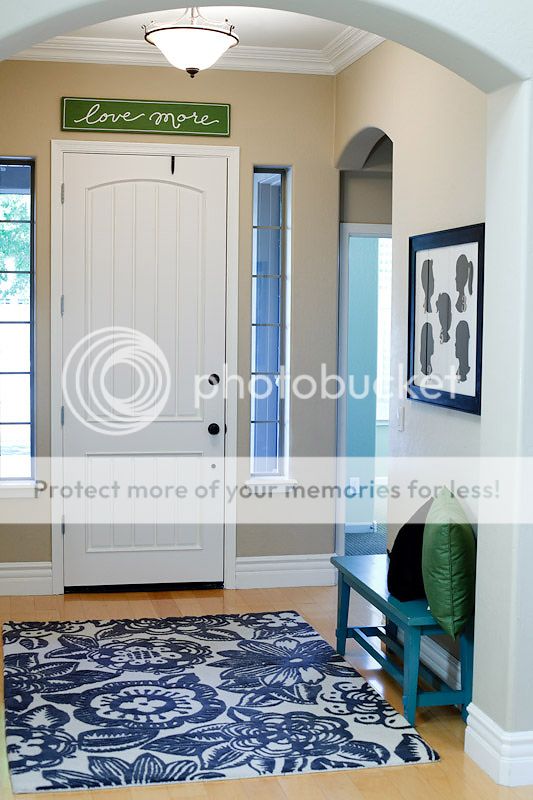
And here it is with a little of the dining room in there too…before I finished those window pane thingys:
My favorite part? (Aside from the fact that it’s bright and light and has that rug that I love sitting there for me to walk by all day long):

This thing:
More details on the DIY art here!

Dining Room
This was our dining room a long time ago:
It held no furniture for YEARS (but it was a great dance/gymnastics room).

Then we finally filled it up:
And spruced it up a little bit with this molding:
Here is the finished product from one angle:

And here it is from the other direction:
(This is where we have Sunday dinner.)

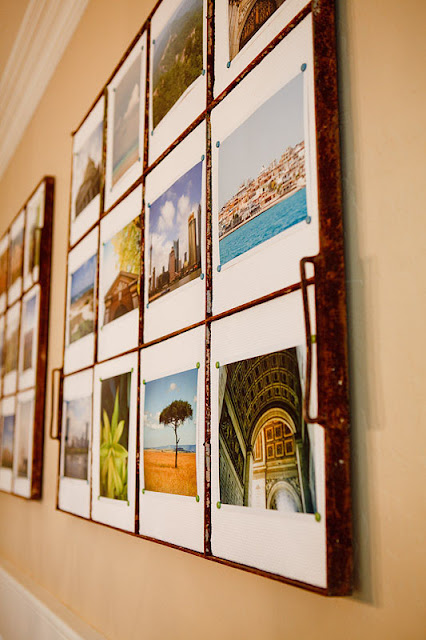
That wall over yonder is my favorite part. Denise saw these old, rusty window panes at this antique shop and told me I needed them. She has vision. I do not. (I love her.)

Dave’s comment when he saw those heavy metal things was that we needed to make sure we were all caught up with our tetanus shots.

But I LOVE how they turned out.

Denise had the idea to put a bunch of dining stuff in each frame, but I could never find enough stuff, so I got foam core board cut to fit in each frame, covered each one with white coarse linen, and stuck in pictures of places we’ve been (you know how I salivate over traveling the world). We like to talk about those places over Sunday dinner. And it means something to all of us.
Her “sprucing up” journey began HERE.

Before

After

Shawni – thank you!  You and your family are such an inspiration.  I don’t know where you find the time to fit in DIY or “sprucing up”! Thank you for showing off your gorgeous home and style and sharing your beautiful spirit through your inspiring blog and story.  
More awesome posts by 71 Toes that you should check out:
Walls 

The Inspiration behind 71 Toes ~ here.

 theilovelucyproject

Progress in my Livingroom! A Sneak Peek!

I still have 1 wall left to paint and a lot of other things on my list, but I wanted to show you a sneak peek on how it’s going because I am in LOVE!

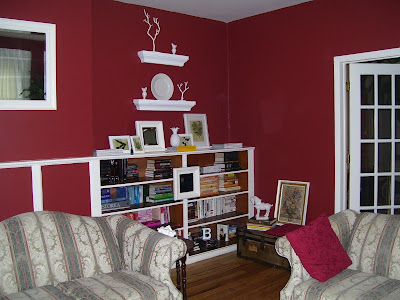
Here is the before:
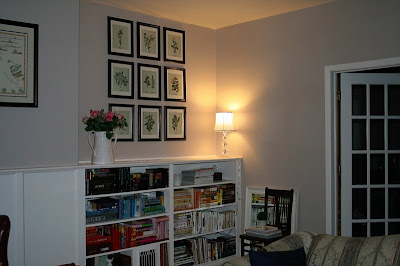
And here it is NOW!

I painted the panels (there is another smaller built-in book shelf to the left of those panels) and I painted inside the built-in shelving to match the trim (BM Half and Half – which I think is a discontinued color! Good thing I have some left over!). Oh! And does anyone know the difference between board and batten and wainscoting? It’s about 4 ft. high so my guess is wainscoting? Which is it between my bookcases? ??? Google wasn’t helping me or I just was just too tired to look beyond a quick look.
Wall color = BM Smokey Taupe
Today, I picked up 9 matted frames at Michaels (30% off of 9.99 ea.) and printed the botanical prints from vintageprintables.com (great site!). Even WalMart’s framed botanical print set of 4 was $278! I paid less than $70 for 9! SAVING OVER $200 and I like mine better! I printed them on cardstock that I already had at home and used a glue stick to keep them in place in the mat (gluing around the edges and securing the print to the “fake picture” that comes with the frame.)

Also – at vintage printables, I clicked the picture I wanted, highlighted it and right clicked to copy. Then I pasted it in a Word document(margins set at .5 all around), right clicked again to resize at 10.5 height. Then I dragged the right margin to about 7.45. This allowed the print to fit perfectly in the matting.

9 picture frames with all of these little metal tabs on the back = sore thumb and fingernails pulled. OUCH! DIY doesn’t have to be torture! Instead, I use this plastic card to pull them up and push them back down. Very easy!
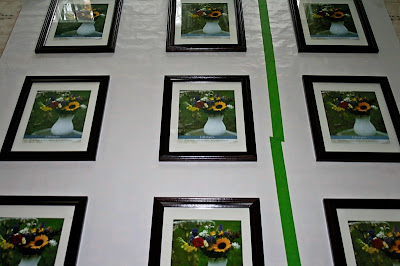
I laid out my frames on paper (back side of wrapping paper) and marked where the hanger is on the back (I made a separate frame pattern and marked where the nail needed to go). These look black but they’re a mahogany color. I debated about getting a lighter color but I love how these look on the smokey taupe wall.

Taped to the wall (after lining up the center with the middle top picture’s nail):

I used tape behind the paper where the nail needed to go in since my walls are a plaster night mare. I learned the hard way that nails and plaster walls aren’t compatible. Lots of crumbling. But! The tape worked like a charm along with the small, very sharp, black nails. The tape kept the wall from falling out in chunks!
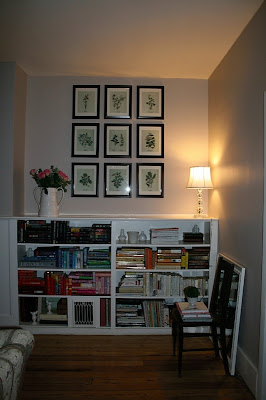
Here it is again! Yes – that’s my Valentine’s day dozen roses from Mr. DIY! AWE!!! And the lamp was brought in from another room for light since it’s dark now and there is no overhead lighting here. I’m looking for lamps for this area and I want to go through the big mess of books. There are way too many that we’ll never read again (lots of handy-me-down romance
novels, etc.). I can’t wait to clean it up and accessorize!

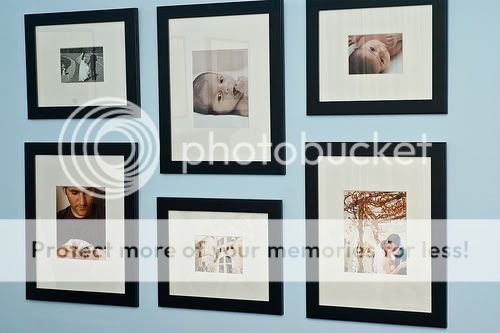
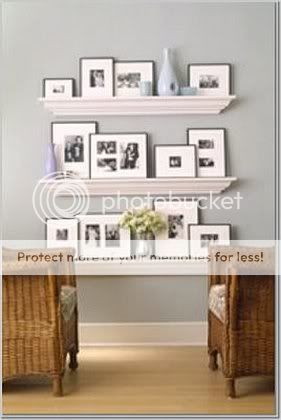
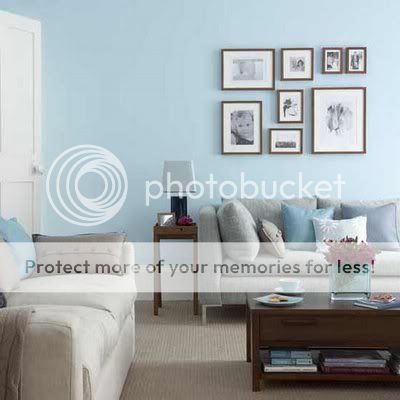
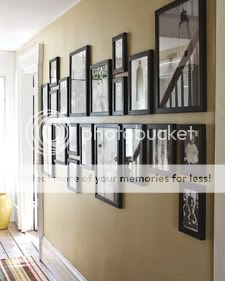
(more photo/gallery wall inspiration here)

More to come!

So, what do you think?

Looking for a DIY party? Join me at:
Funky Junk's Saturday Nite Special

AND –

It’s so very RENOVATED!

Photo Wall Tutorial & a Show & Tell

Do you have a photo wall? Show us! I’d love to add it to the bottom of this post. Just submit your pictures to thediyshowoff@gmail.com. 🙂


Tricia from Boutelle Family Zoo has created a tutorial about how she put her beautiful photo wall together. Here is her post:

When planning out any big project, this is what I do.
I draw it out.
I include (rough) dimensions and sizes.
Notice the board and batten type material at the bottom.
That ended up becoming tongue and groove beaded board.
I never use these drawing TOO literally, as I have a bit of ADD and newer,
prettier, or easier ideas steal my attention.
Then I just move on.
It’s my curse.

The tools of the trade for this job.
1. helpful and very patient husband

2. air compressor (for beaded board portion)

3. level

4. wrapping paper (or any roll of paper you have)

5. contact paper cut into small thin strips

Laser level and world’s smallest hammer.
Disclaimer: Yes, this is my hammer. Jason’s is much larger and manly. 😉


My true “before” pics of this house have magically vanished into the abyss.
This is part way into the project, as proven by the beaded board that is already up.
{This is what my air compressor loving hubby did with afore mentioned tool.}
It was a life saver, btw. Very fast and efficient. If you don’t own one and plan to add tongue and groove beadboard, go out and rent yourself one. It will save hours of your life.

Here is the main part of all of the prep work.
No photos of this prep. Sorry.
It was like 1 a.m. I was a little out of it.
***
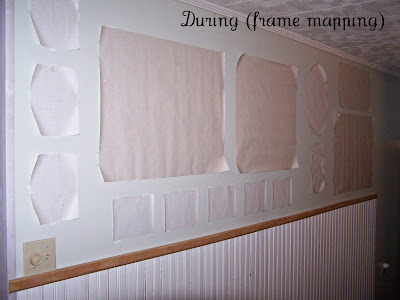
*I layed the frames out on top of pieces of wrapping paper.

*Then I traced and cut out exact size pieces, marking where the picture hangers were positioned.

*Then I taped the large pieces up with tabs made from contact paper.

*The contact paper strips worked well because they are not super tacky.

*They hold for the time being and remove without damaging walls.

*Once all of your paper pieces are attached where you’d like them to be.

*{BTW, this took me about 2+ hours, because I can be a bit anal retentive}

*I made sure they were equally spaced and level as per my tape measure and laser level (and the help of a very patient husband) 😉

*Then I used the worlds’ smallest hammer to tap the nails into place based on the markings on my paper.

*Once everything was level, spaced, and nailed I just RIPPED the paper and tape off the wall.

Voila!!!
Perfectly spaced and leveled nails to hang your art or photos from.

Please also note that the paper placement is not exactly the same as my drawing.
These things evolve over time, and I realized that these frames worked out better.
The drawing simply served as an aid to how I wanted to overall thing to look.
This was the first draft of the photo wall. Not bad, but it needed a little something.
See if you spot the changes in the next shot.

See what I changed?
Added “FAMILY” letters, painted empty frame and wall behind,
moved large frame,
moved “B”, and switched oval frame out for rectangular frame.


This is the view from the basement stairs looking up at the tree I painted on the wall.
You’ll notice that in the drawing this tree was on the top left of the drawing.
Like I said, things evolve as you go.
It felt too busy to have the tree there, so here it landed.

This is the view from the main hallway, which is 3 steps down from the family room.
Of course this is me, and that means that the photo wall will evolve.
It will change.
Things will be added.
Things will be removed.
Eventually this photo wall may stretch the full length of the hallway.
Who knows?!
What I do know is that I love the outcome.
We were in this house for a year before I put a single photo on the wall.
Now while that is a l-o-n-g time, and I would not suggest living for a year with no photos of your loved ones, I can say that it was worth the wait.
It is almost exactly what I imagined, and as my whims dictate, it will evolve right along with our changing family.

Thanks for sharing Tricia – your site is so full of inspiration and awesome DIY projects! I love your photo wall and all of it’s interest and art. Great job!

~~~~~~~~~~~~~~~~~~~~~~~~~~~~~~~~~~~~~~~~~~~~~~~~~~~
The DIY Show off
reader
SHOW & TELL

Lyndsay – Life In Motion
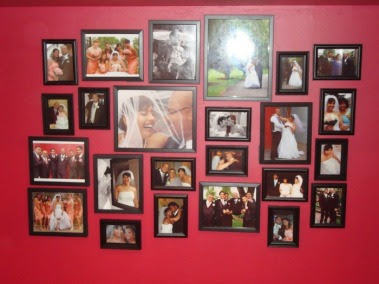
Hey there! Here are a few images of photo walls….I have lots of them in my house 😉


Kris
This is our family tree.

Lyssa – Z Family

Amandelic

Sparkly*Bride

Sarah – Pewter + Sage

East Coast Suburbanite

Suzanne – SunshineandWine.blogspot.com
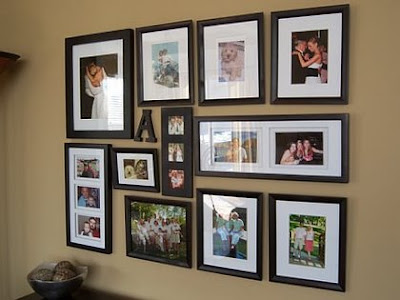
I love photo walls too. I think it’s nice to have a grouping of pictures, instead of random frames throughout the house. I’ve attached my budget photo wall, which I created with frames from Dollar General, Big Lots and Dollar Tree. The photo mats are from Dollar Tree too. I simply spray painted the frames to match my espresso furniture.

RoeshelEvangeline’s Vine
My photo wall is in my office. After seeing some inspiration – mine feels a bit crooked and I think it’s ready for a “mini-makeover”.

DISPLAY YOURS HERE!
(submit photo to thediyshowoff@gmail.com)

Keep checking back – I’ll post more Show & Tell as they come in!
Thanks everyone!

~~~~~~~~~~~~~~~~~~~~~~~~~~~~~
and taken from the D&R FAQ courtesy of beckysinluv:

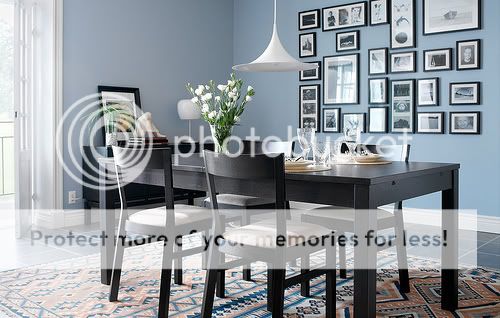
Inspiration Pictures for Photo Galleries

~~~~~~~~~~~~~~~~~~~~~~~~~~~~~~~~~~~~~~~~~~~~~~~~~~~~~~
Young House Love also has a great video with tips.
Check it out.