Silhouette Heat Transfer Tutorial

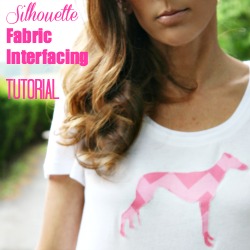
I recently shared a tutorial for Silhouette Fabric Interfacing which is great for creating fabric appliqués.

silhouette fabric interfacing tutorial

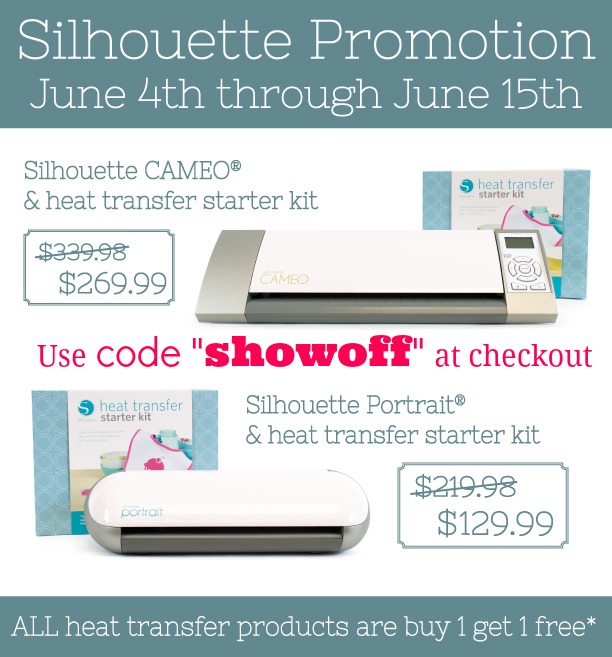
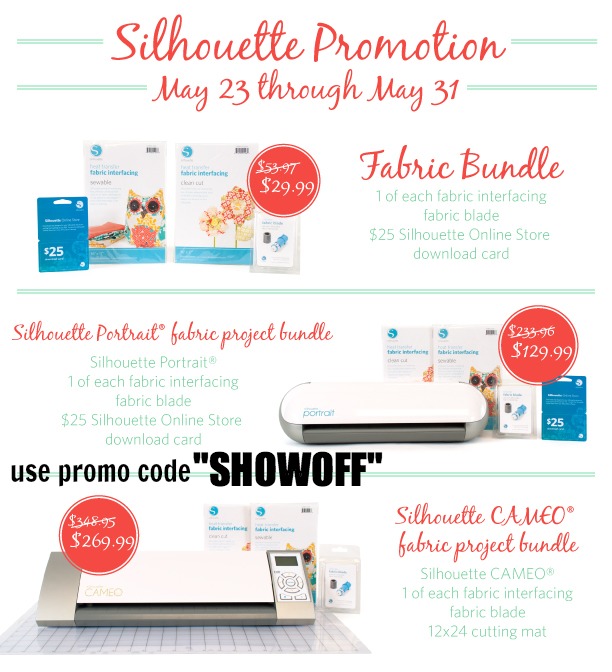
Silhouette’s heat transfer material is another great option, especially when you don’t want to sew around a larger design or a lot of lettering. As a member of the Silhouette affiliate program, I had the opportunity to try the Silhouette Heat Transfer Starter Kit. I was not paid to share this tutorial but did receive the starter kit and receive a small percentage of sales generated from this month’s Silhouette Sale when readers use code “SHOWOFF” at checkout at Silhouette America. Promotion ends June 15th.  Here are this month’s awesome deals:

Silhouette June Promo

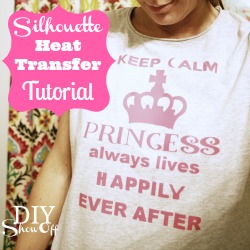
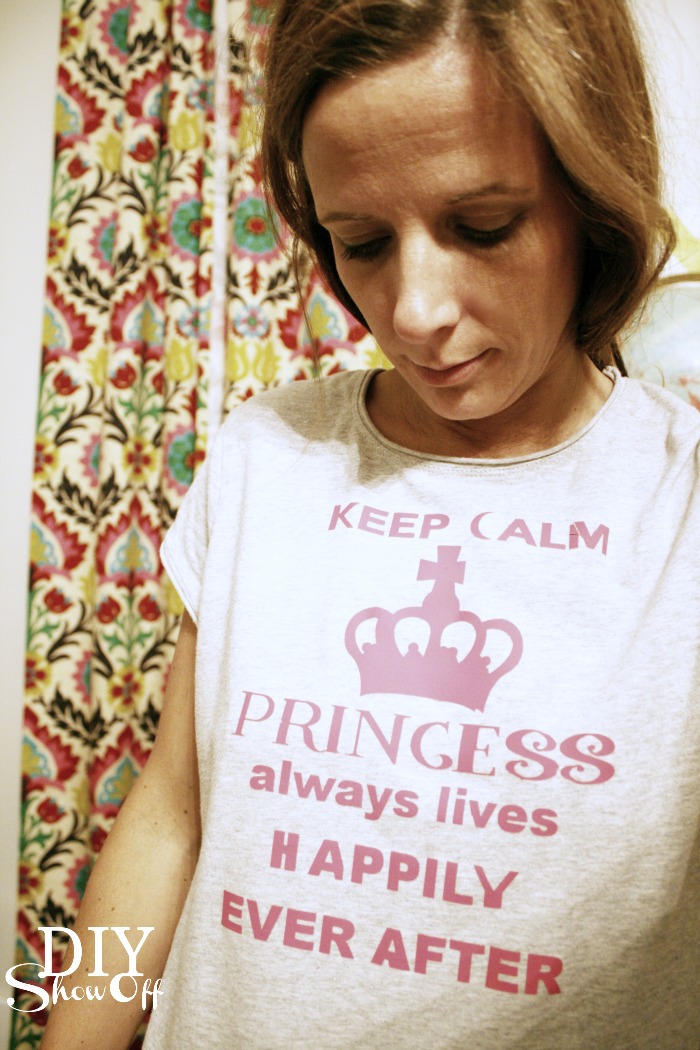
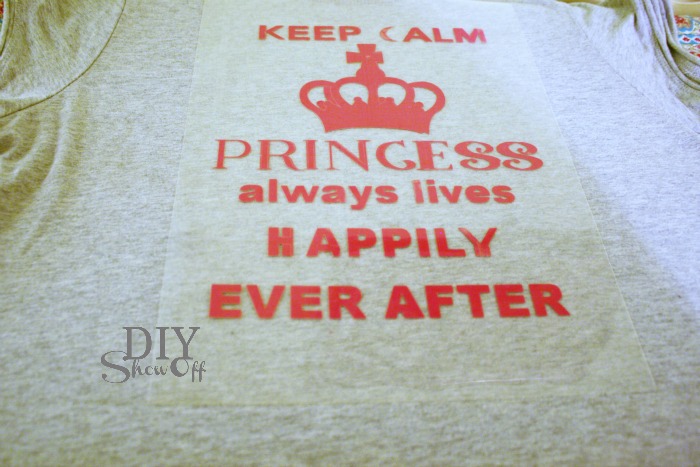
If you’re a DIY Show Off social media fan, you may know that last year my mom battled breast cancer (doing great!) and just recently my younger sister was diagnosed with breast cancer. She is so brave and keeping a positive spirit. I’ve purchased her several fun t-shirts with sayings like “I pay my oncologist big bucks for this hair style.”, “Does this shirt make me look bald?” and “Save the Hooters.” She has a great sense of humor and is very social. She has a close group of friends who’ve nicknamed her “princess”. She also has an amazing sweet heart and her big concern right now is how others are affected by her diagnosis. So, I decided a “Keep Calm. Princess always lives happily ever after.” t-shirt would send a reassuring message to her social group. 

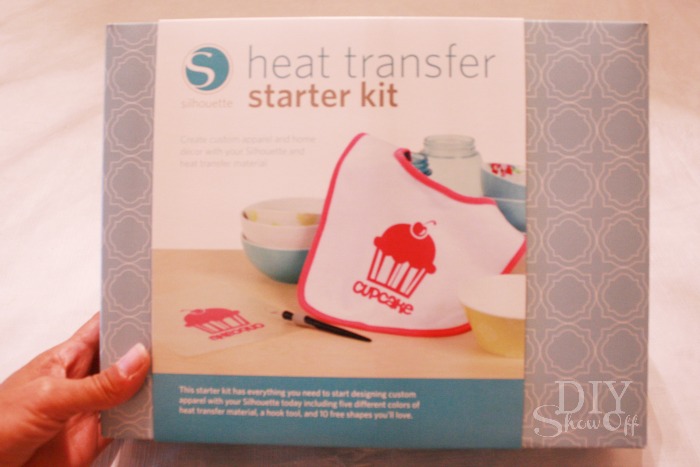
heat transfer starter kit

The Silhouette Heat Transfer Starter Kit comes with:

  • 3 sheets of smooth heat transfer material (9 in x 12 in of black, teal, dark pink)
  • 2 sheets of flocked heat transfer material (9 in x 12 in of white and yellow)
  • Silhouette hook
  • exclusive download card good for 10 heat transfer designs
  • idea booklet and instruction guide
  • instructional DVD

Silhouette Heat Transfer Tutorial

Tutorial: 

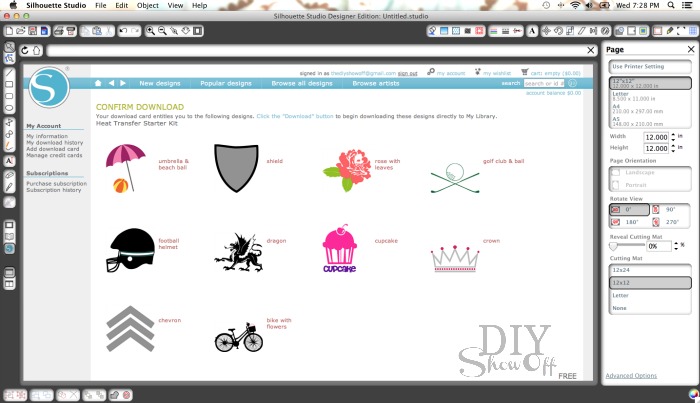
1. Download the heat transfer designs from the Silhouette online store. (I chose a design I already had on hand instead but love that bicycle!)

silhouette heat transfer shapes

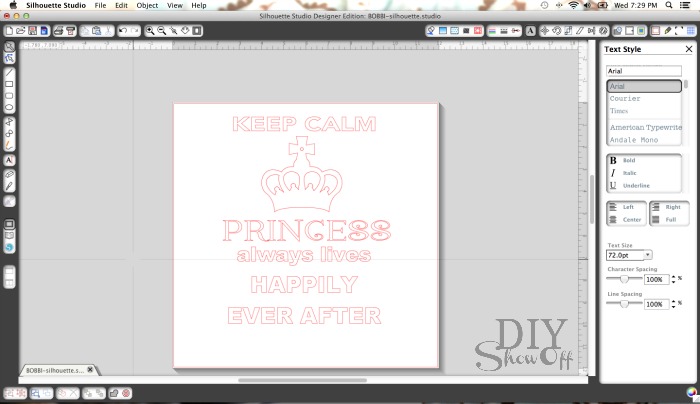
2. Create design in the Silhouette Studio. 

silhouette studio keep calm princess

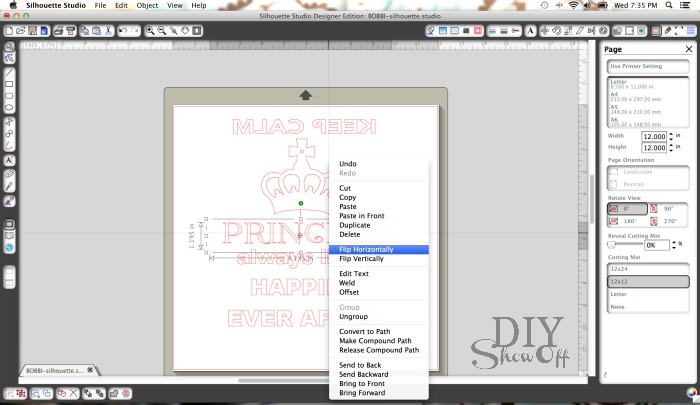
3. Right click on each individual element of the design and click “FLIP HORIZONTALLY” to create a mirror image. 

silhouette studio mirror

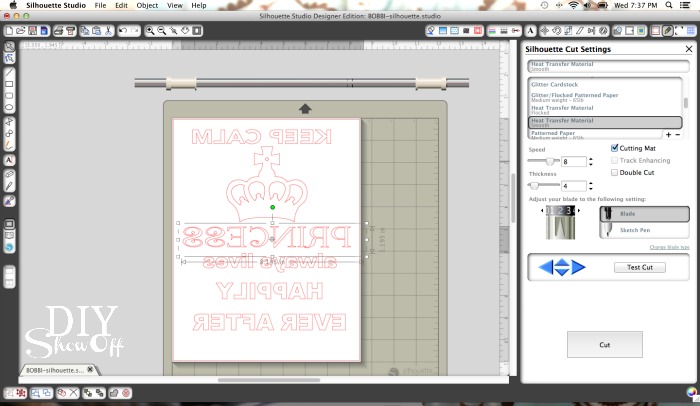
4. Send to cut. Choose Silhouette Heat Transfer (flocked or smooth…I used smooth).

silhouette heat transfer cut

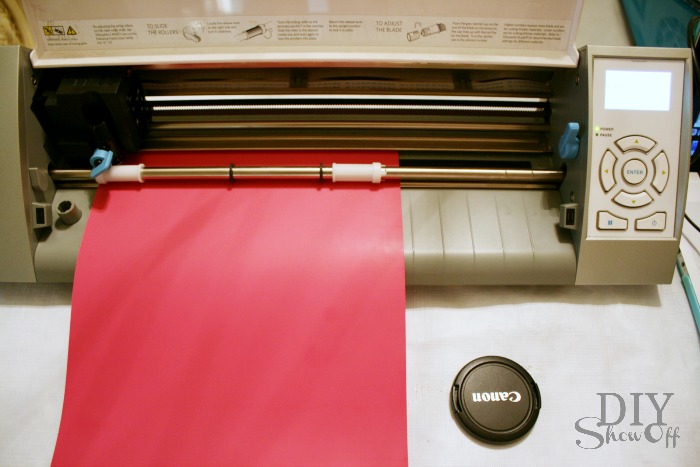
5. Load paper shiny side down and adjust blade setting as recommended (2).

loading heat transfer paper

6. Cut and unload. 

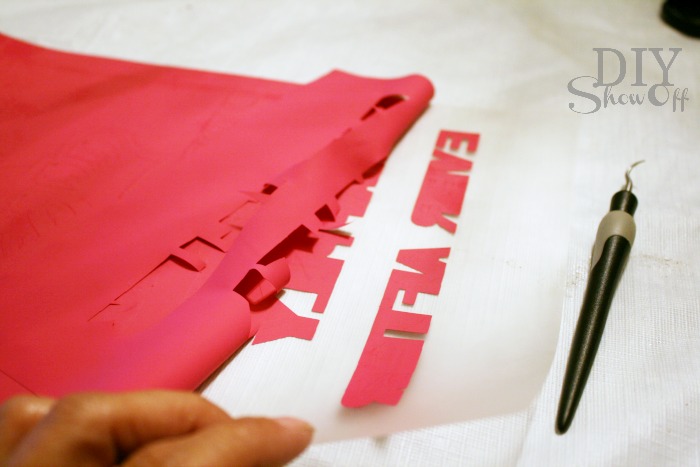
7. Remove negative heat transfer. 

removing negative heat transfer

8. IMPORTANT: This is tricky with intricate designs and lettering. Be sure you’re in a well lit area so you can see the cut lines and utilize the Silhouette hook to remove small pieces of negative area when necessary. GO SLOW! 

I did remove some of what I shouldn’t have and had to improvise…let’s not dwell on my imperfections. If you have the extra materials, you may want to do a “practice run” before your true project, especially if it’s your first time and if you’re creating a gift. 

7. One side will be sticky with a backwards design. The other side is shiny and readable. 

8. Place heat transfer/transparency sticky side down onto shirt or tote or dish towel.

keep calm silhouette heat transfer

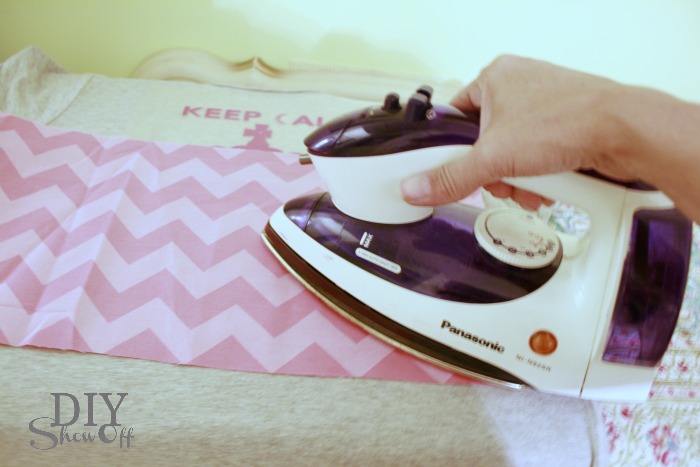
9. Iron using a towel or scrap fabric between the transparency and iron according to directions. 

ironing silhouette heat transfer

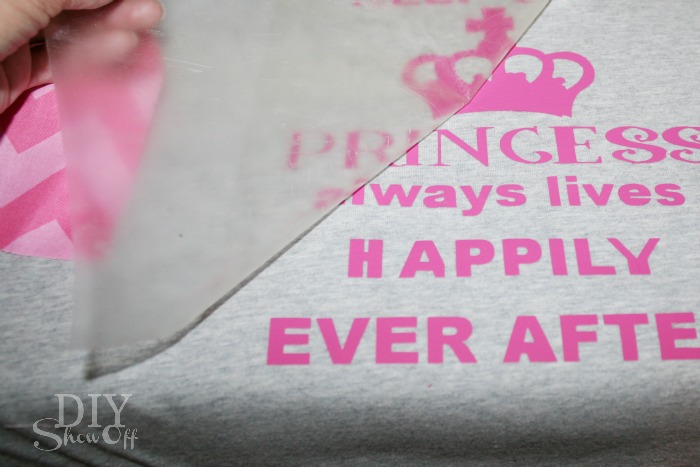
10. Slowly remove sticky/shiny transparency. (If some of the design is still stuck to the transparency, replace and iron again.)

silhouette heat transferring

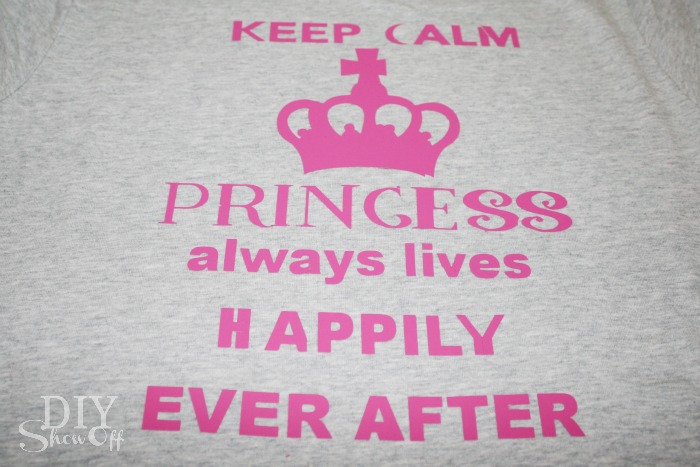
Ta-da!

silhouette heat transfer starter kit

Imperfections and all, I think she’s going to like it! 

breast cancer tshirt

THIS GIVEAWAY HAS ENDED.  WINNER is Rachael from My Disorganized Life

How about a chance to win a Silhouette Portrait?

Silhouette Portrait giveaway

I excited to offer an opportunity to give one lucky DIY Show Off reader a Silhouette Portrait machine. Enter using the Rafflecopter widget below. Giveaway starts now and ends Sunday, June 9th. Winner will be chosen randomly and announced shortly after. Open to US residents only. Lots of chances to win!

a Rafflecopter giveaway

Need more info? Check out these helpful YouTube videos:

http://www.youtube.com/watch?v=qvpSG7DqdAY

http://www.youtube.com/watch?v=bA7jgv8BA-w

http://www.youtube.com/watch?v=DwuItoS5ZXY

http://www.youtube.com/watch?v=AYDCiH2HlMg

http://www.youtube.com/watch?v=VB2vHZoVvRE

http://www.youtube.com/watch?v=YVKuAIL9-pc

http://www.youtube.com/watch?v=1fGXW_8BbGQ

This project is sponsored by Silhouette America, who provided the heat transfer kit in exchange for a tutorial. Experience and opinions are my own. Sales generated from this post using code “showoff” earn me a small percentage of sales (thank you!) and Silhouette is providing a Silhouette Portrait to one lucky DIYShowOff reader (good luck!). Prize includes a Silhouette Portrait only and ships directly from Silhouette America. Other Silhouette materials are the responsibility of the winner.

Silhouette Portrait Fabric Interfacing Tutorial

As a Silhouette America affiliate, I have the opportunity to try new products and earn a small commission on sales while passing along  special promotions. Here’s the current deal with awesome savings. Just use code “SHOWOFF” at checkout.blogger-promo-may-23

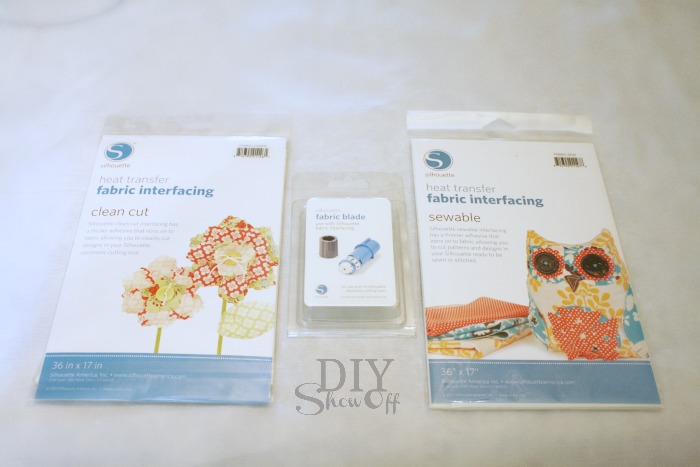
Did you know that Silhouette America has fun products like sewable fabric interfacing (thinner for sewing into place and washable) and clean cut fabric interfacing (thicker for no sew/no wash projects) for creating fabric appliqués?

Silhouette fabric interfacing

Here’s a tutorial on how it works: I chose the sewable fabric interfacing.

fabric interfacing tutorial

1. Pre-wash/shrink fabric and t-shirt.

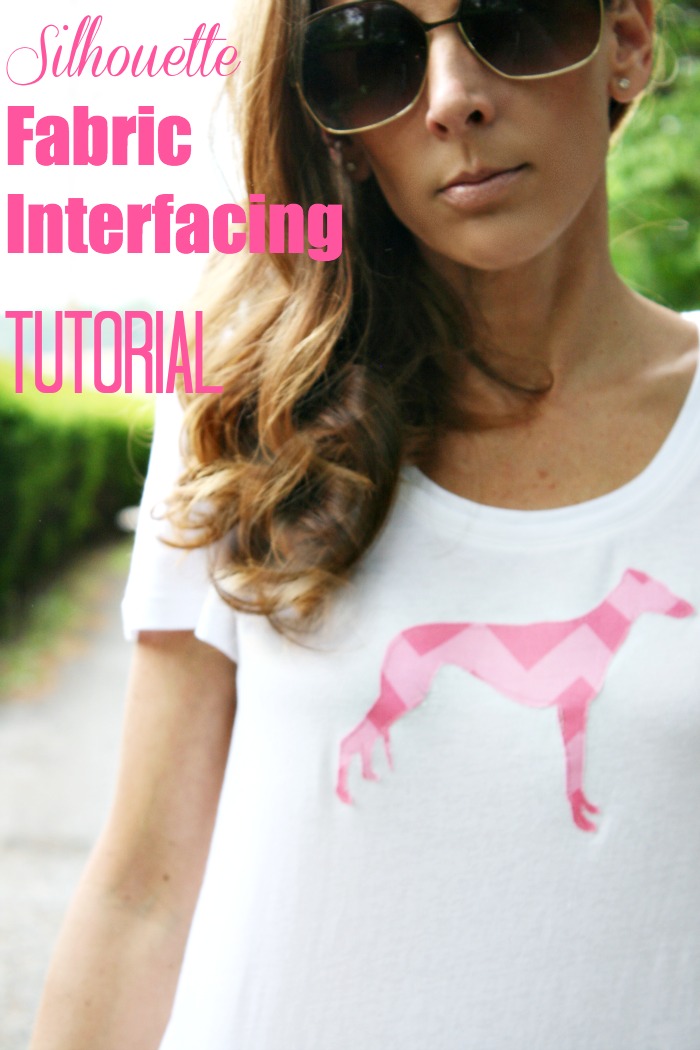
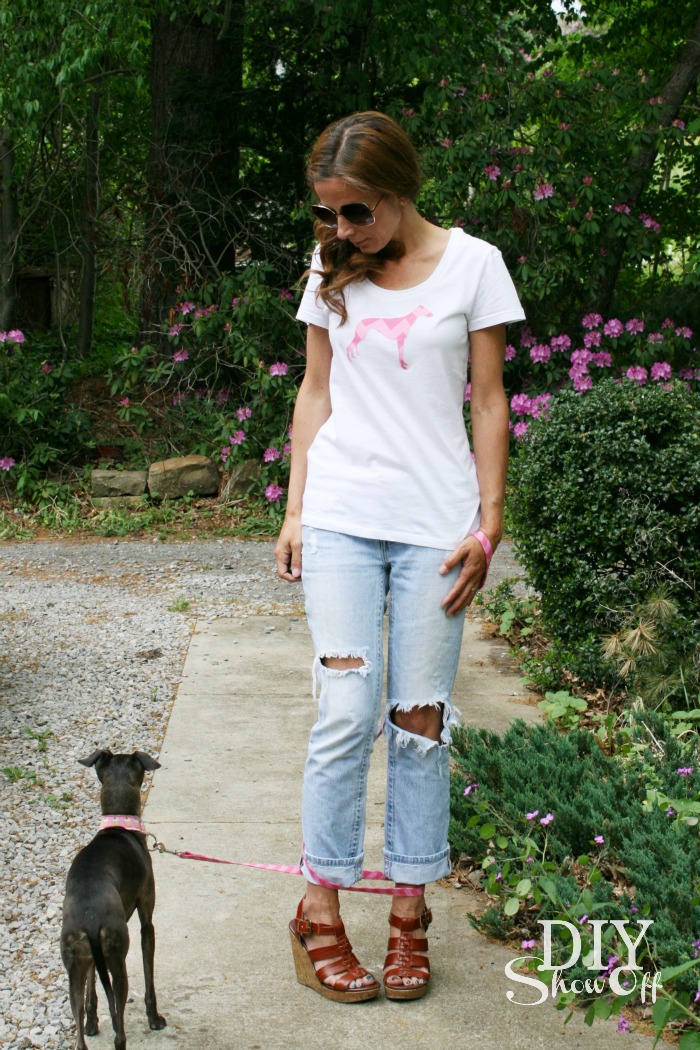
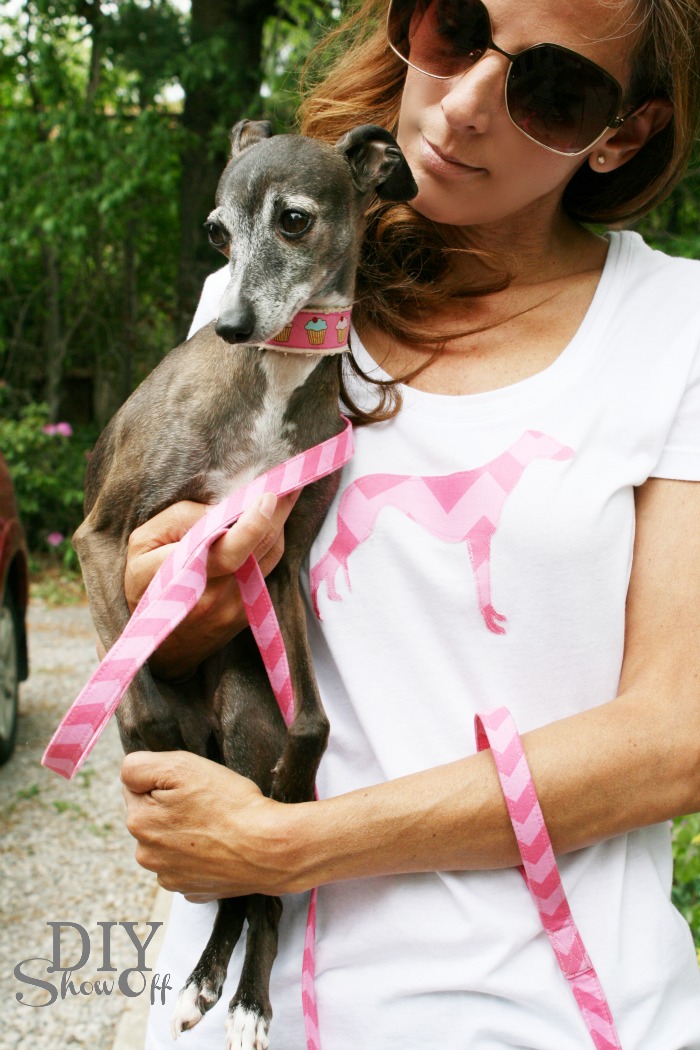
2. Open the Silhouette Studio software and create a shape, monogram, even lettering for words. I easily purchased a ‘greyhound shape’ from the Silhouette online shop for 99 cents for labeling the pet food jars a while back that I can use over and over again. The little girl in me decided to create a pink chevron appliqué for a plain white t-shirt. For me. To match my dog. I’m a dork like that. 😉

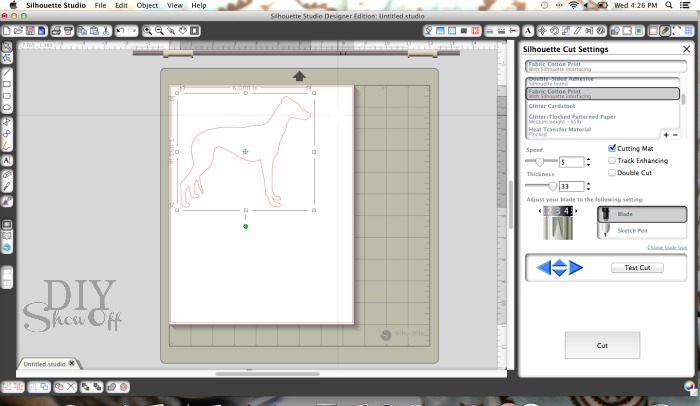
3. It’s easy to size in the software. I place my shape in the top left hand corner of the “cutting mat” in the open studio software.

silhouette studio

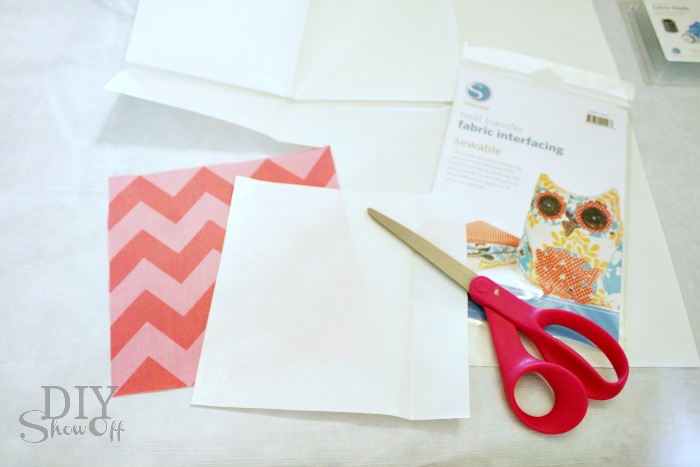
4. Cut the appropriate sized piece of fabric and interfacing.

Silhouette interfacing

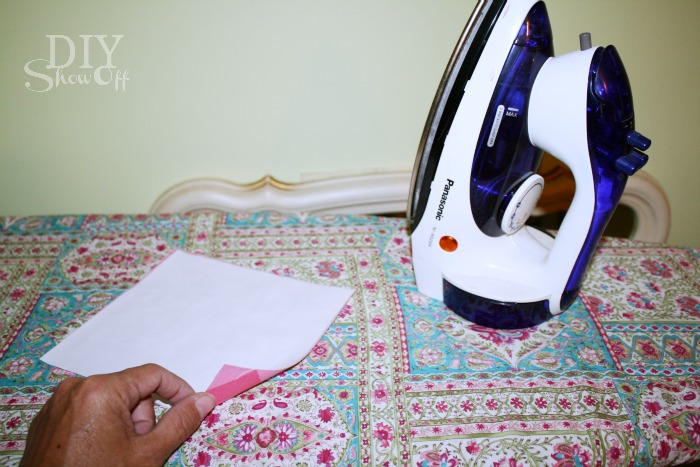
5. Next, iron together a piece the sewable fabric interfacing (rough side) to a piece of scrap fabric (cut to size) on the back/wrong side using the appropriate settings for the fabric.

ironing interfacing

{Wow! I guess I did get some sun in Mexico in Feb! I tan super easy/quick even with sunblock.}

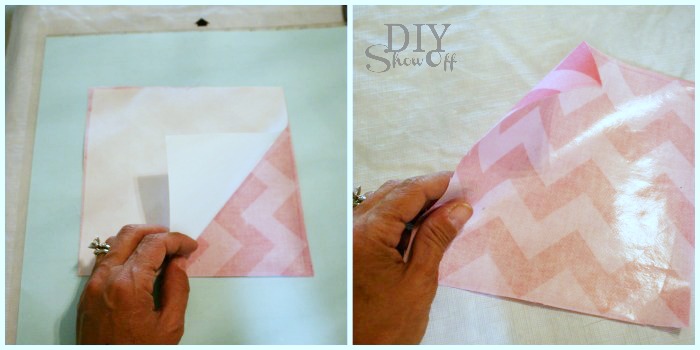
6. Peel away the paper…you’ll see the ‘interfacing/glue’ has transferred to the fabric.

heat transferrable fabric interfacing

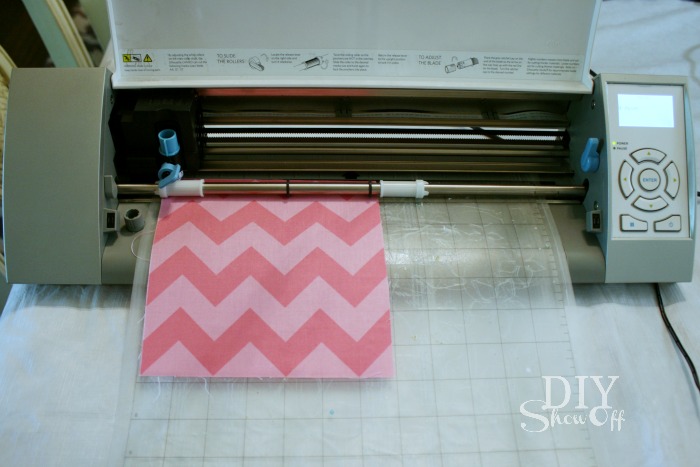
7. Then place the fabric onto the cutting mat (into the same location as shown in the Silhouette Studio software) and insert into the machine.

Silhouette cutting fabric

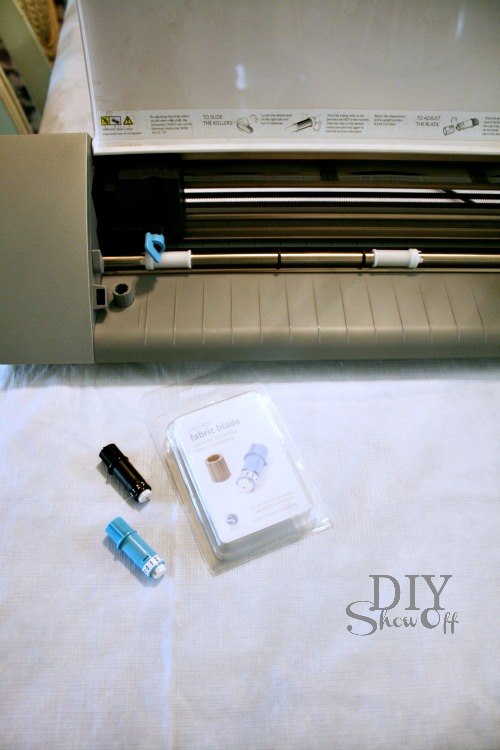
8. Hit “send to Silhouette”, change the blade and cut settings.

silhouette fabric blade

9. Click “cut”.

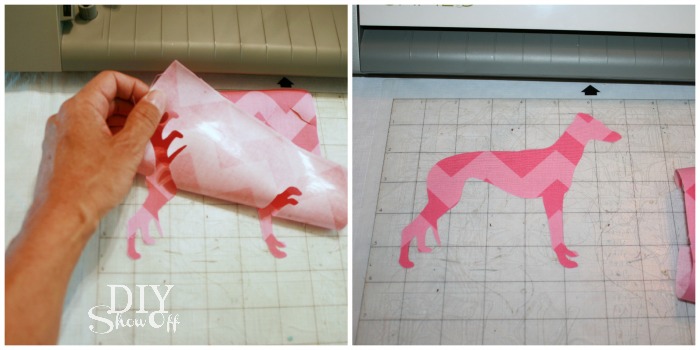
10. Once it’s finished cutting, remove the fabric from the cutting mat, toss the scraps and you’re left with an iron-on fabric appliqué.

SIlhouette applique

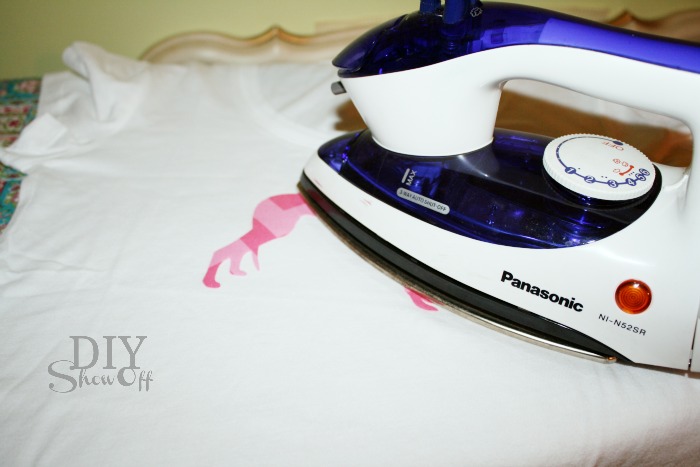
11. Next I positioned the appliqué onto my t-shirt and ironed it on (using the heat setting for cotton). This holds it into place.

ironing appliqueironing applique

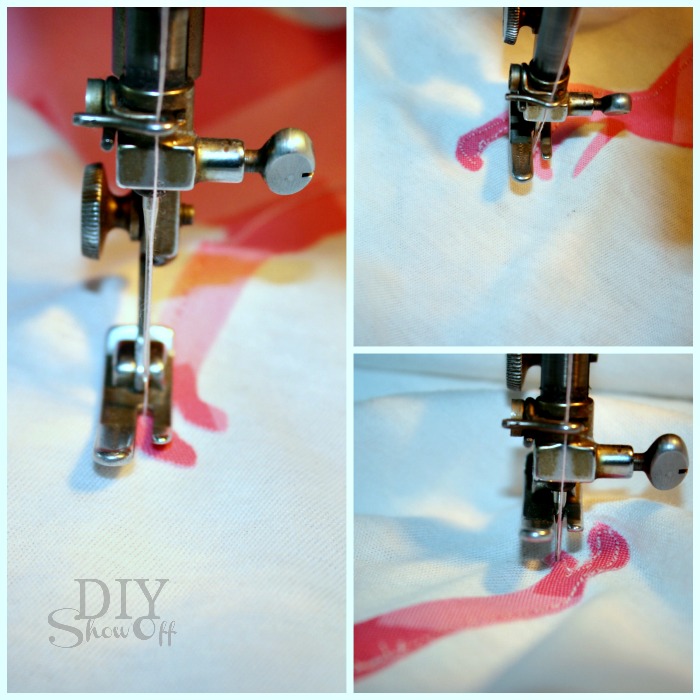
12. Then added stitching as close to the border as I could get with the sewing machine to make it more secure and durable for washing. Tip to help maneuver curves in a design: with the needle down (piercing the fabric appliqué), lift the foot then slide around the t-shirt, put the foot back down and resume sewing. Also, make sure NOT to sew the front of a shirt to the back while sewing!

sewing applique

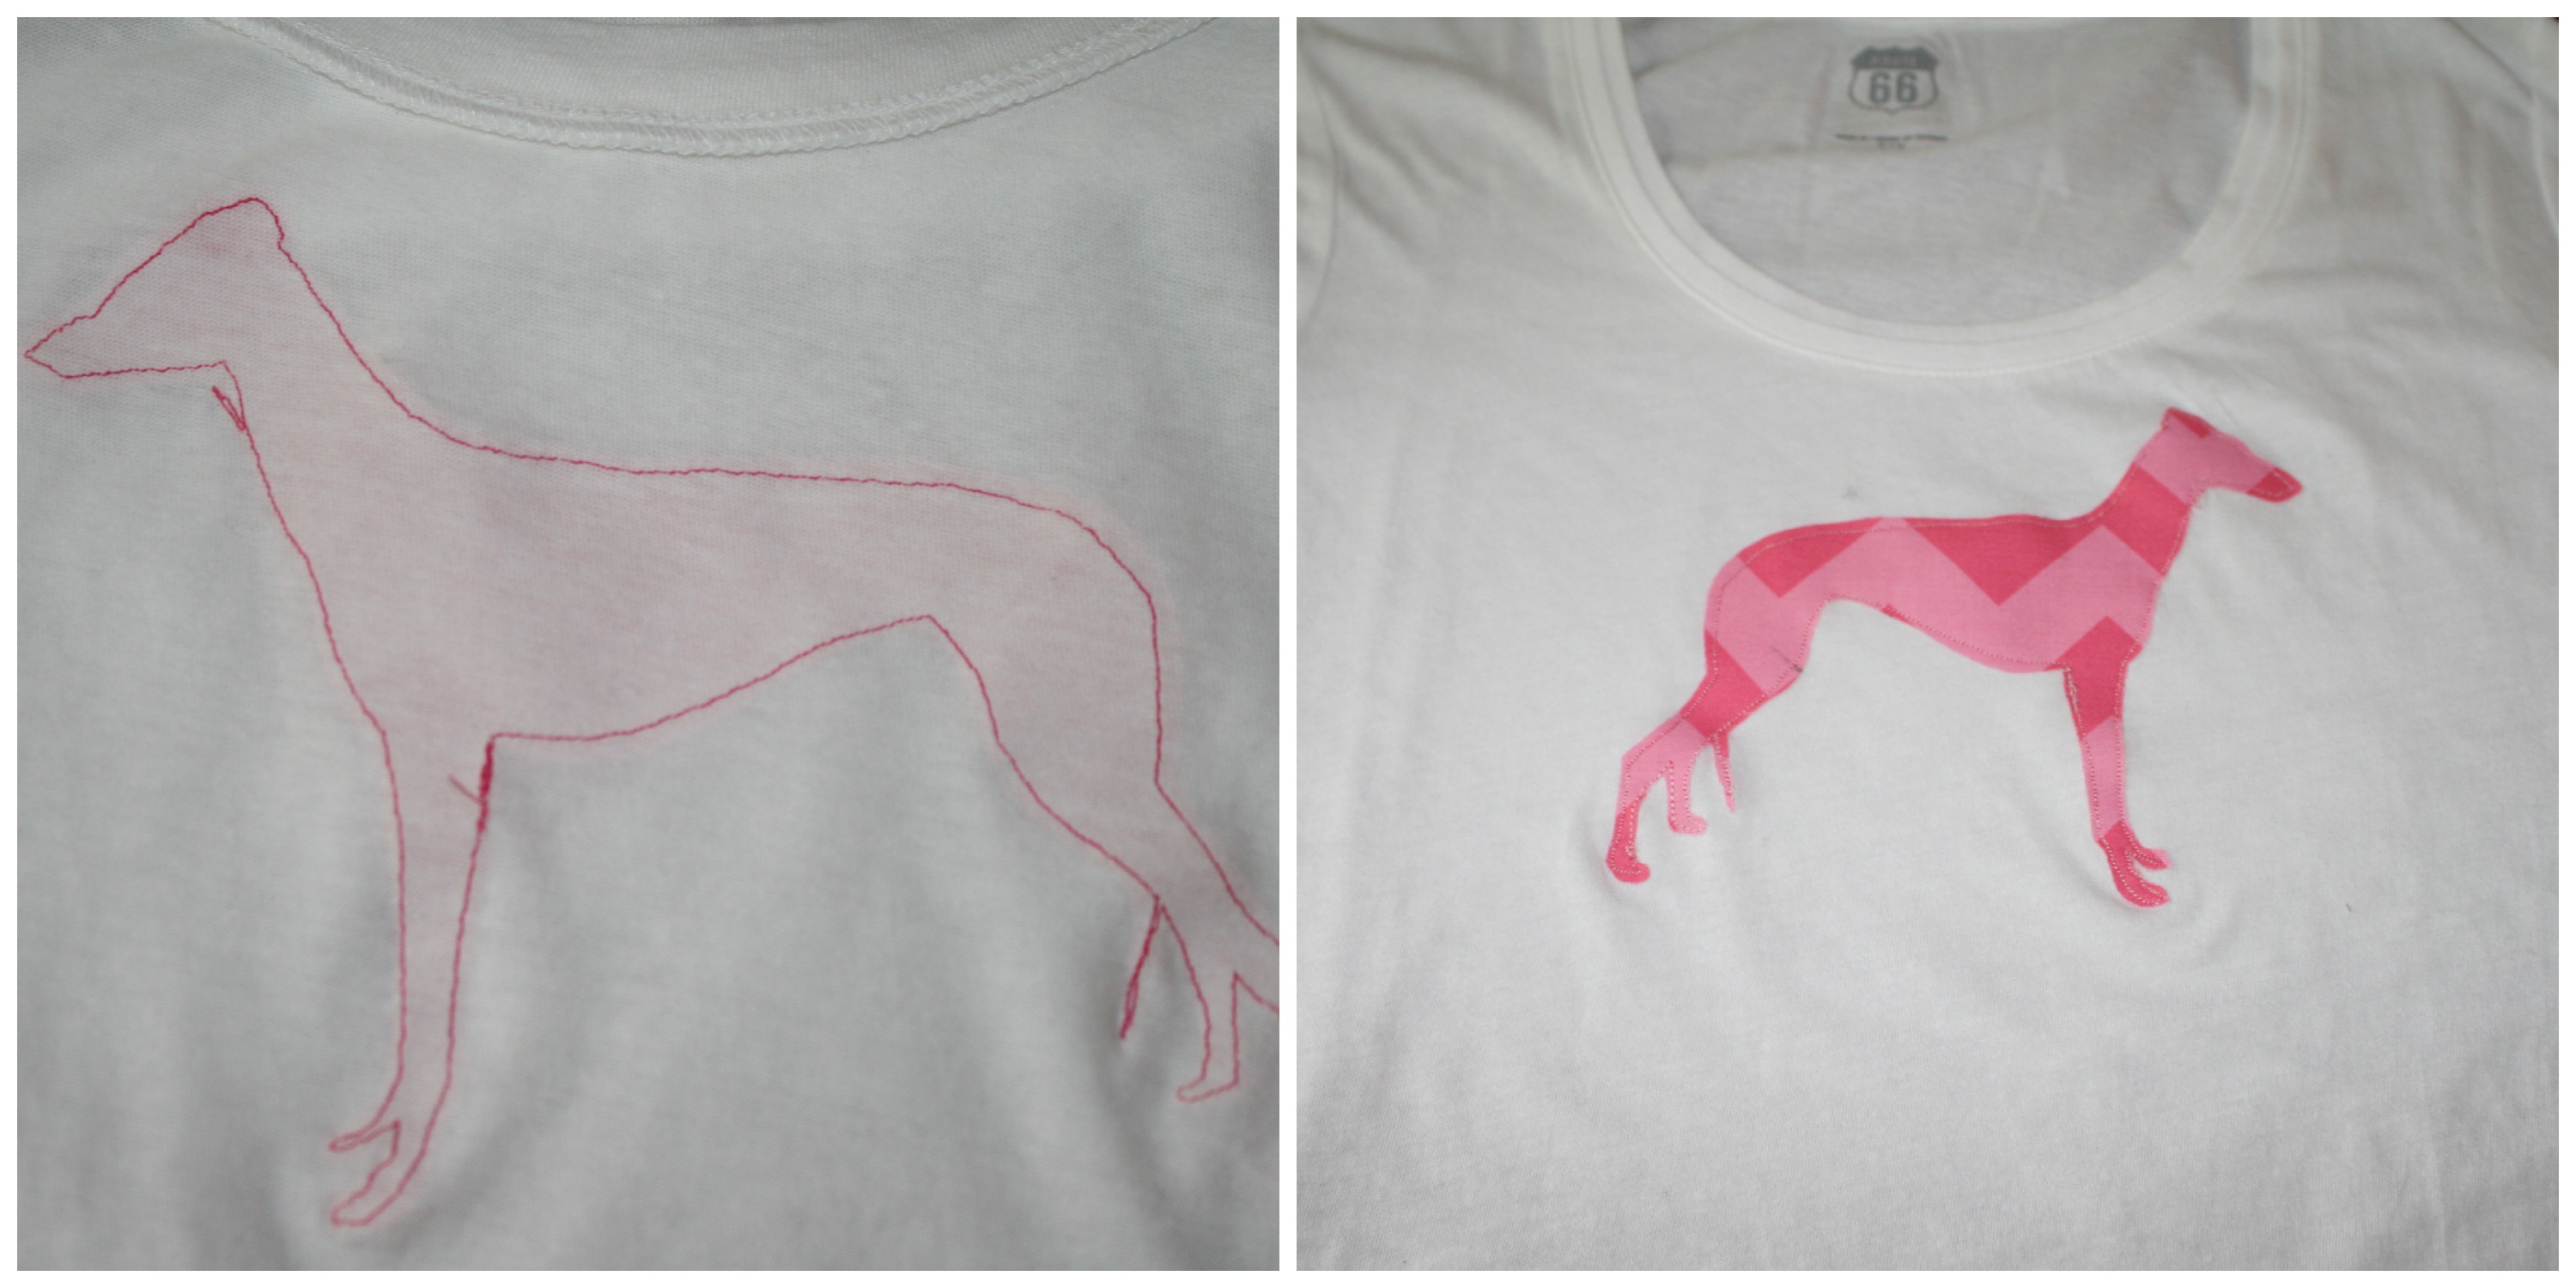
All done! Here is what it looks like inside out and all complete…

Silhouette applique inside outside

Cute! I love it. 🙂

Silhouette-greyhound-applique

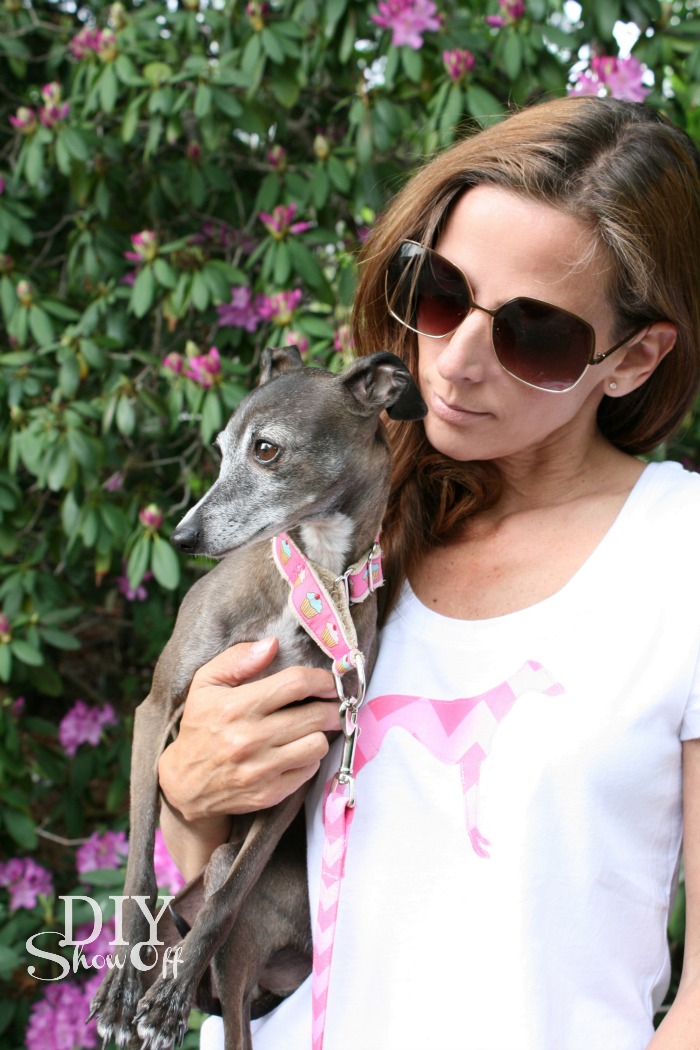
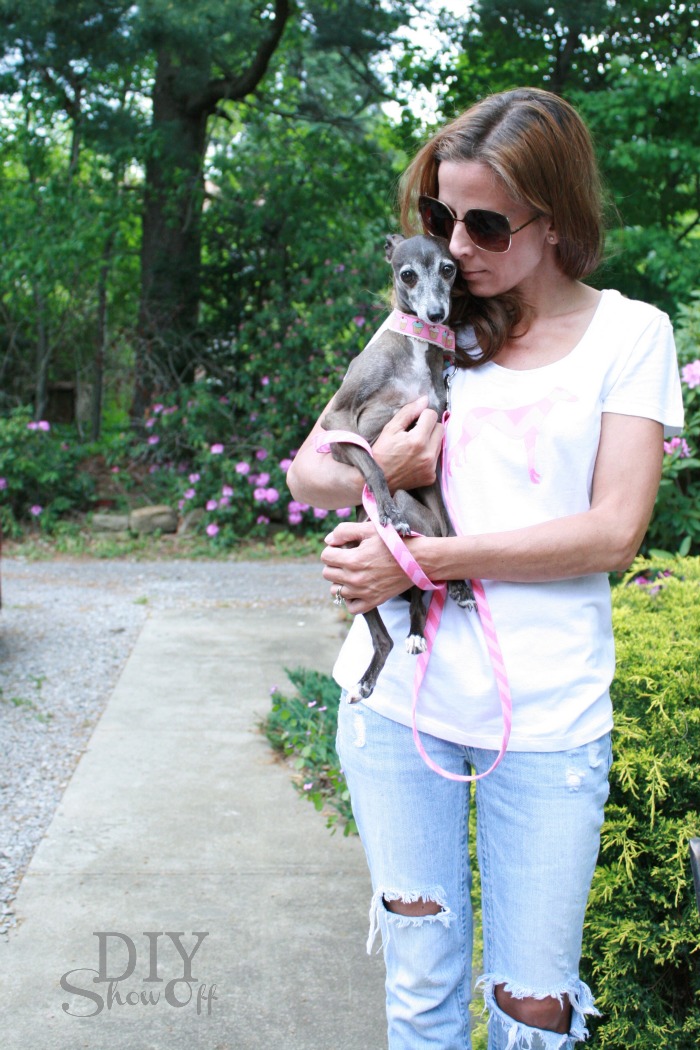
Me & CocoRosie…

CocoRosie and Roeshel

Roeshel and Rosie

Yes, this little Italian Greyhound has stolen my heart in the 1 month since we rescued her…

DIY chevron greyhound applique

Note: I purchased the matching pink chevron dog leash (shown) and chevron dog collar (not shown) at Etsy shop, Learned Stitchworks. I loooove it (Thanks for the purple set too, Karen!) Gorgeous color choices, beautiful handmade quality, BEST pricing ever! Very satisfied customer. I need a set in every color, don’t you?

I purchased the (Riley Blake) pink chevron fabric from Fabric.com (leftover from the DIY dog bed cushion I made).

Back the fabric interfacing…It’s great for making personalized tea towels, baby blankets, tote bags, t-shirts, monogrammed pillow covers.

So not only does my Silhouette cut paper, vinyl and chipboard, it cuts fabric too! One more reason you can’t live without one! 🙂

Use code “SHOWOFF” at Silhouette America (this affiliate link) from now through May 31st to take advantage of the special pricing.

blogger-promo-may-23

And how about a chance to win a Silhouette Portrait machine?!

THIS GIVEAWAY IS NOW CLOSED. Winner is Benny who says “My son is getting married soon, I would make ‘bride’ and ‘groom’ appliqued t-shirts.” Congratulations, Benny! Benny has been notified by email to claim her prize. 

diyshowoff-silhouette-portrait-giveaway

Giveaway starts today, 5/23 and ends Monday, May 27th at midnight EST. Winner will be chosen randomly and announced shortly after. Prize: Silhouette Portrait machine (supplies not included). This giveaway is sponsored by Silhouette America and open to US residents 18+ only.

a Rafflecopter giveaway

For more chances to win, visit these blog friends:

Silhouette Chipboard & a Giveaway

*This giveaway is now closed. Winner is Alexandra “I would love to use it to cut fabric and vinyl! I would love to make some art for my living room!” Congratulations, Alexandra. I will be contacting you through email with instructions to claim your prize!

Did you notice the “Hello Sunshine” banner on the patio swing makeover yesterday?

patio swing makeover - after

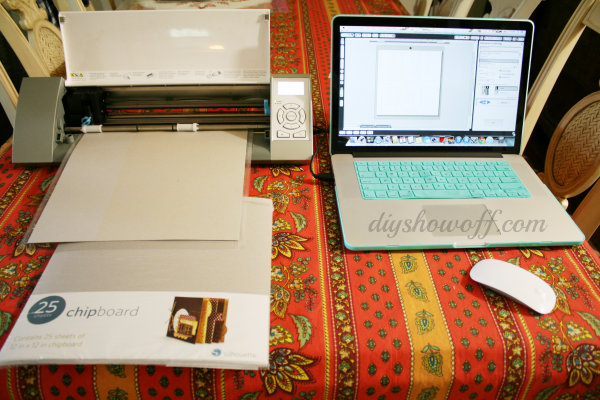
Silhouette now has chipboard! Adding another FUNction to my Silhouette machine. Love it! {This is a sponsored post with affiliate links when using code “showoff”.}

Chipboard Banner Tutorial

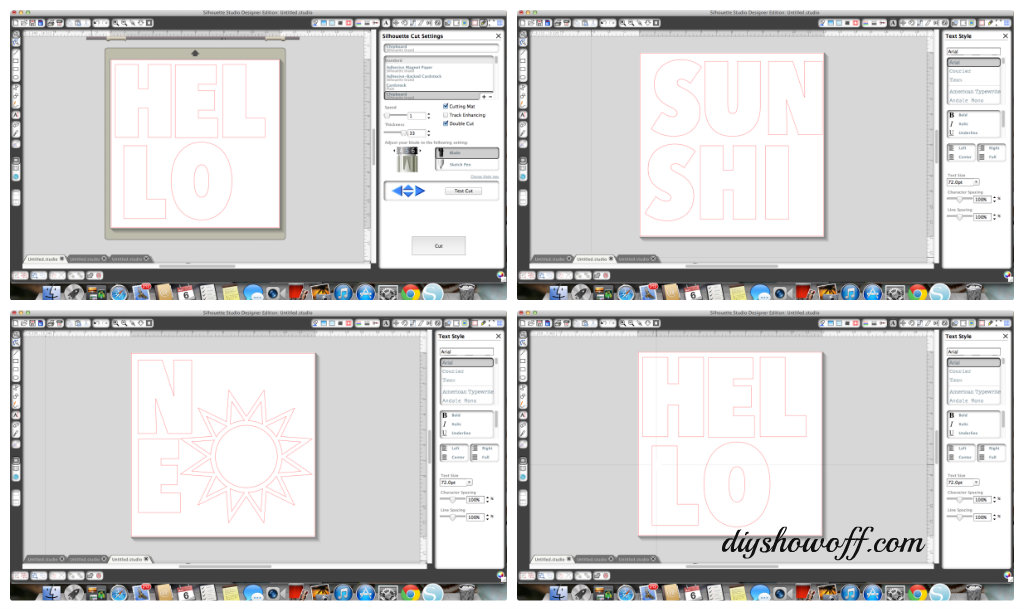
Silhouette Chipboard Tutorial

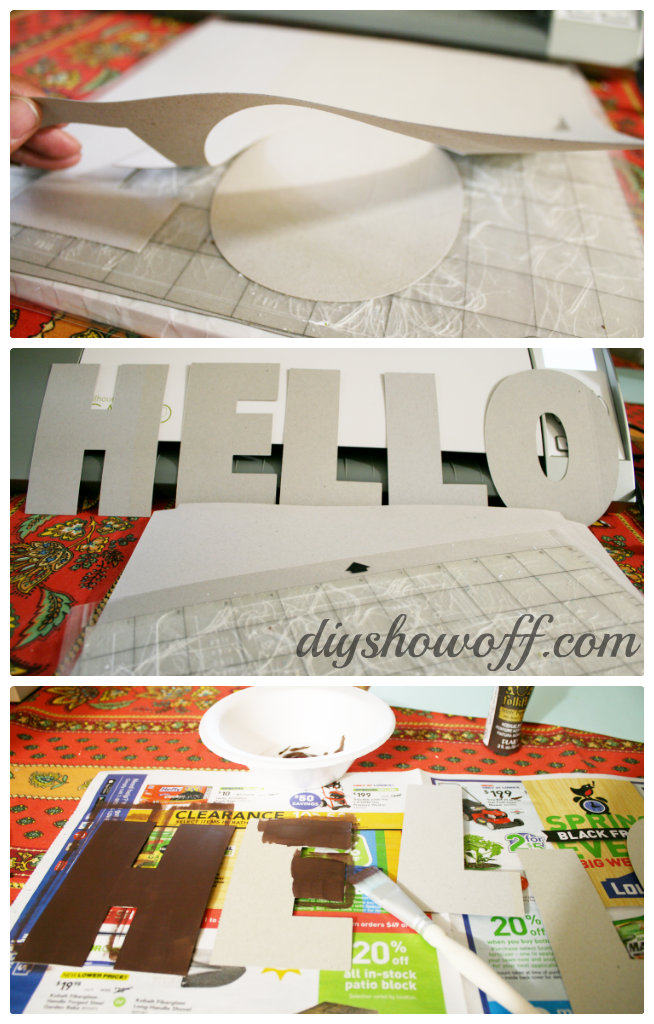
I created my banner letters using the Silhouette Studio software and sent to “cut”. Add chipboard to cutting mat and insert into the machine. Remember to change the settings for each page to “chipboard” and to change the blade depth before cutting.

silhouette-chipboard-project

Two ways to paint chipboard letters (I used acrylic craft paint):

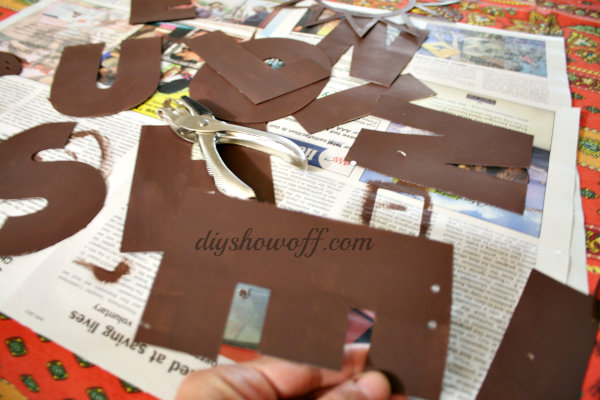
1. Remove lettering and paint. You will have painted fingers when trying to hold letters.

painting chipboard

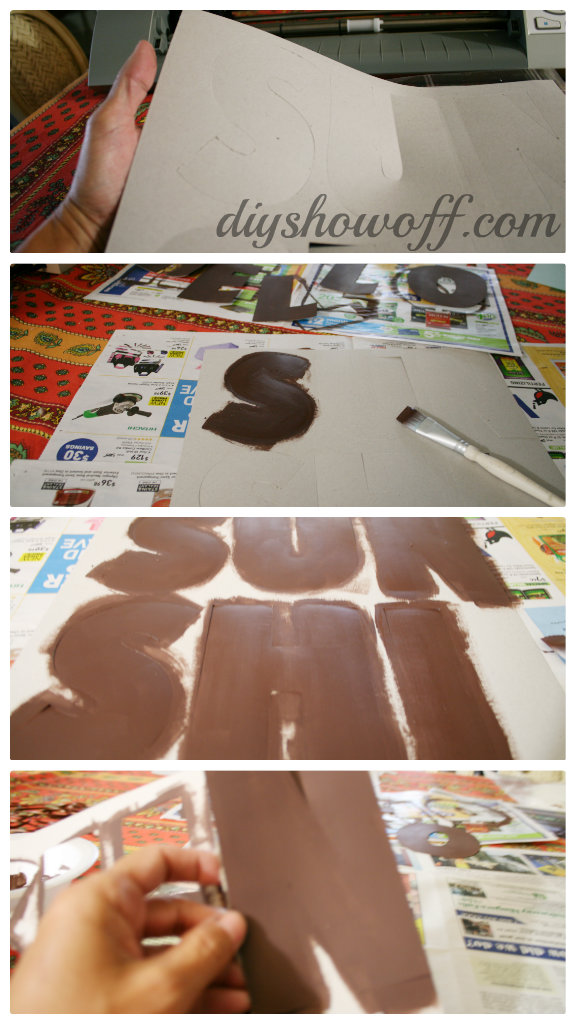
2. Don’t punch out chipboard. Paint lettering intact then punch out when dry. Letters will need touched up when removed from chipboard.

how to paint chipboard

I painted both sides. Letters may need to be placed under weights (books) to flatten when dry.

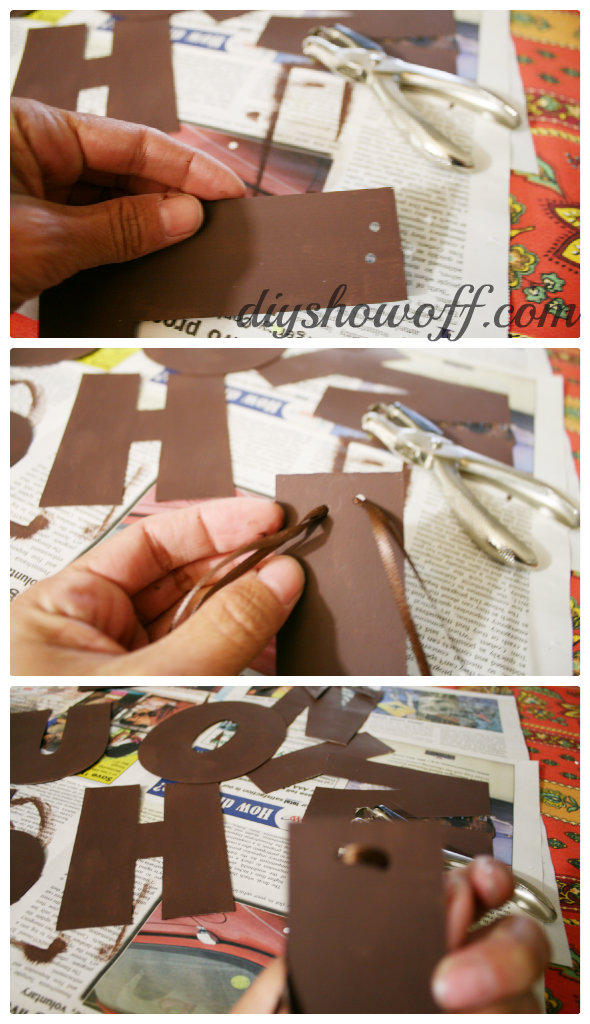
When dry, using a hole punch, I placed two small holes at the top of each letter.

silhouette chipboard banner

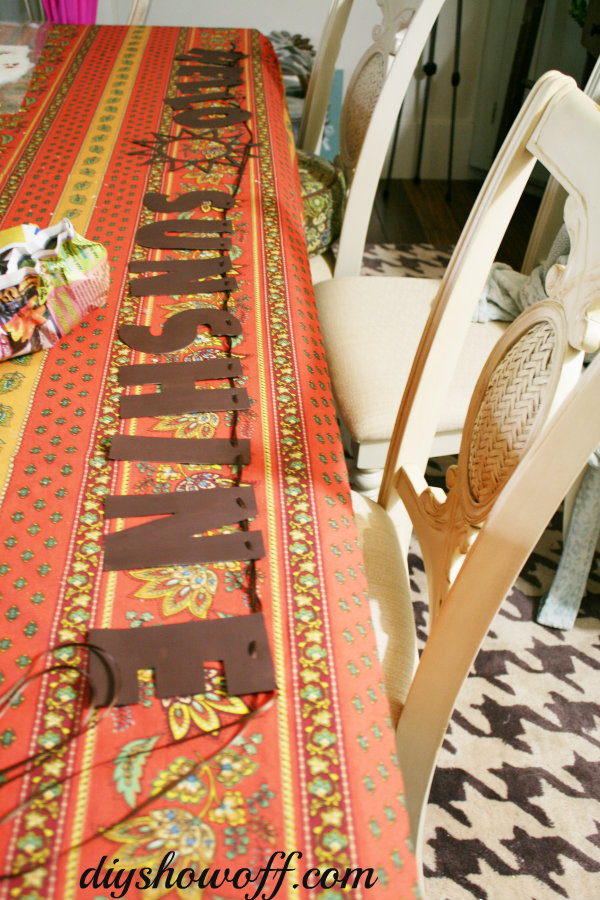
And laced with two long pieces of ribbon (long enough for my words “Hello Sunshine”, including room for spacing and tying the ends. I laced starting in the back of the letter and pulling the ribbon through to the front, then into the second hole, coming out the back.

chipboard banner tutorial

Tie off the ends.

silhouette-chipboard-banner-tutorial

Ready to hang! I think I’m going to add a little color to my banner. And I’m going to love making customized party banners.
patio swing makeover

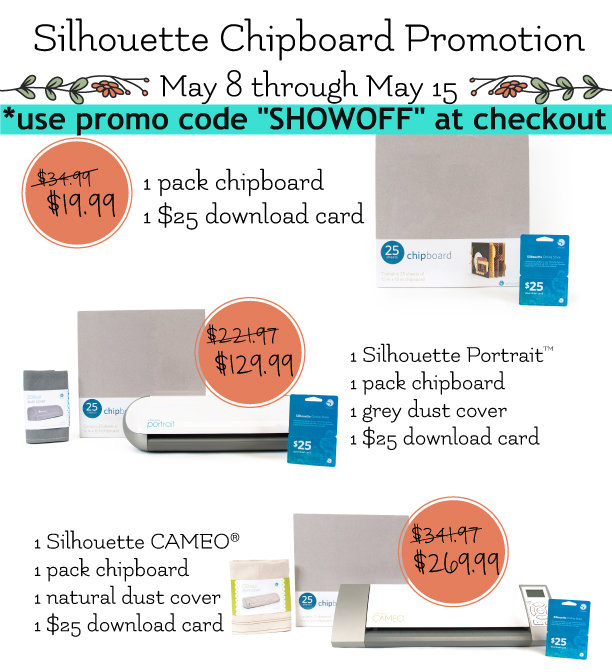
May’s Promotional Bundles

May Deals at Silhouette

Visit Silhouette America and use the promotional code “SHOWOFF” http://www.silhouetteamerica.com/chipboard to take advantage of these amazing deals:

(1)    1 Silhouette CAMEO®, 1 pack of chipboard, 1 natural dust cover, 1 $25 download card: $269.99

(2)    1 Silhouette Portrait™, 1 pack of chipboard, 1 grey dust cover, 1 $25 download card: $129.99

(3)    1 pack of chipboard, 1 $25 download card: $19.99

diyshowoff-silhouette-portrait-giveaway

ENTER TO WIN A SILHOUETTE PORTRAIT:

a Rafflecopter giveaway

Giveaway is open to US residents and runs Wednesday, May 8, 2013 until Monday, May 12, 2013. Winner will be chosen randomly and announced shortly after. Good luck!
Here’s a video with some awesome information on the new chipboard: http://www.youtube.com/watch?v=DL2qbJyUCu4&list=UUdt8jBsW4kvA__vAcAGMvBw Enjoy!