Spring Bloom Pillow Cover

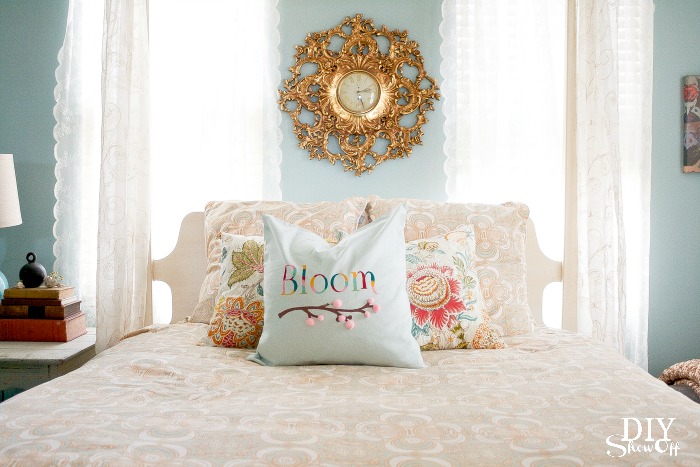
I’m still sort of holding my breath, hoping that spring truly has arrived after all of the teasing we’ve had recently. But regardless of the weather outdoors, I love to accessorize just a little bit with spring accents indoors. 
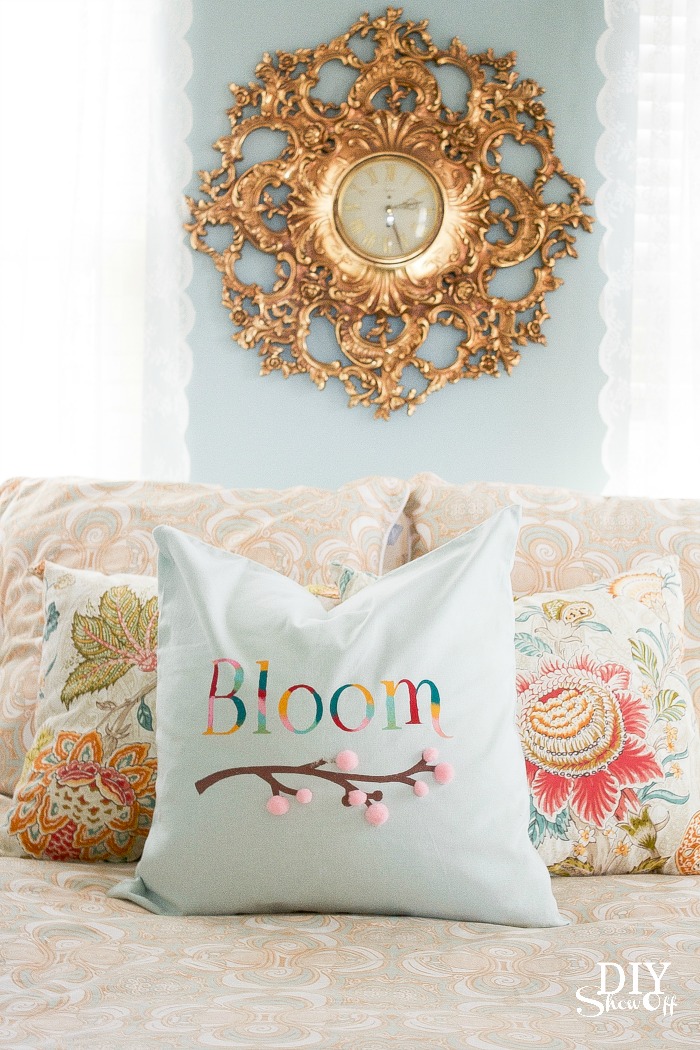
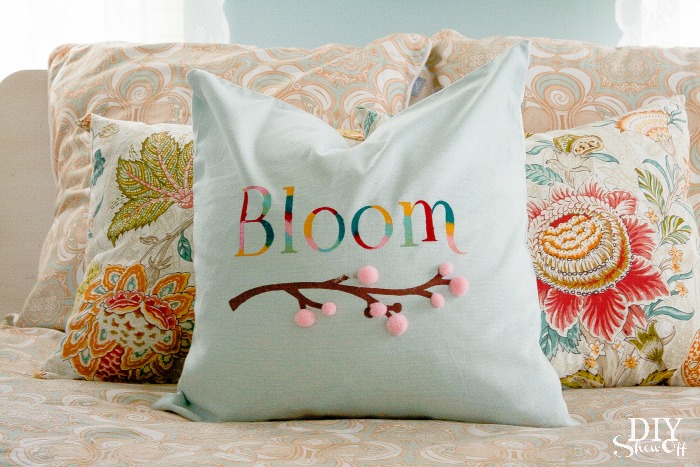
DIY Spring Pillow

spring pillow cover diyshowoff.com

Materials:

  • Accent pillow cover (make your own or purchase from Ikea or H&M)
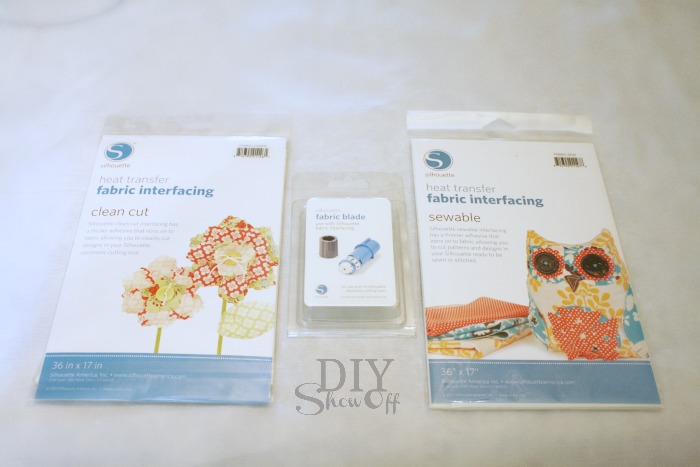
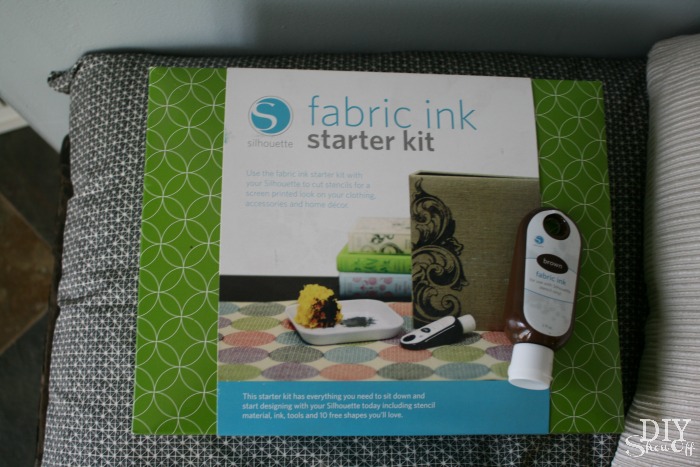
  • Silhouette Fabric Ink Starter Kit from Happy Crafters – The Silhouette Fabric Ink Starter kit includes everything you might need to get started creating custom screen print designs. This kit includes: 2 oz. bottle of fabric ink in black, 9″ x 3ft roll of stencil vinyl, silhouette hook tool, mixing tray, sea sponge, foam brush, a download card worth up to 10 free Silhouette designs, an idea booklet and instruction guide, and an instructional DVD. With this kit, you have all the tools and materials needed to start creating all kinds of screen printing projects. Pair this with a Silhouette Cameo® or Portrait® vinyl cutter for designing and cutting graphics quickly using your stencil vinyl.

Silhouette fabric ink starter kit

What I did:

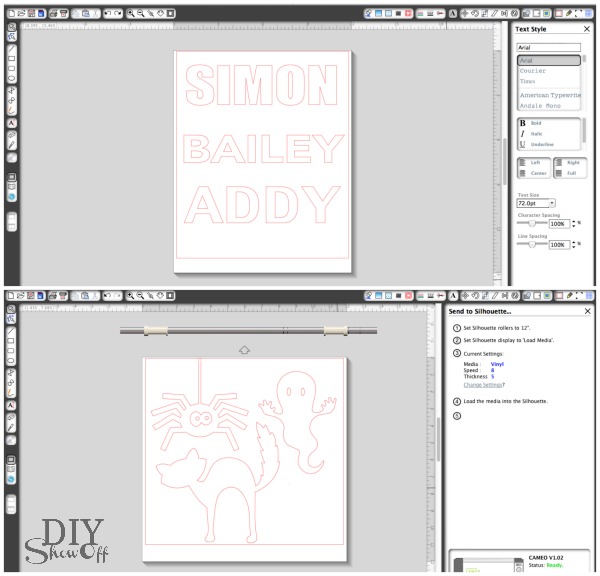
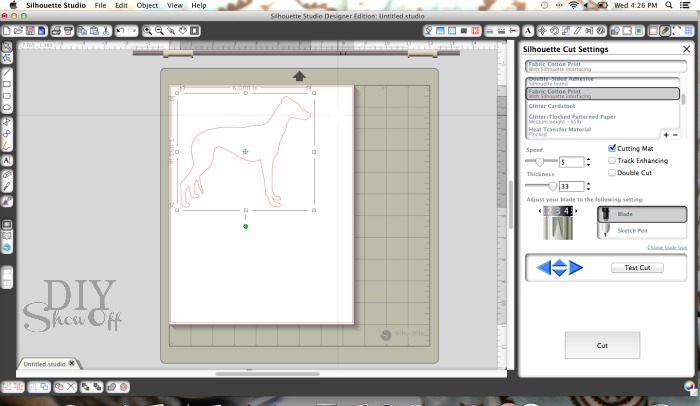
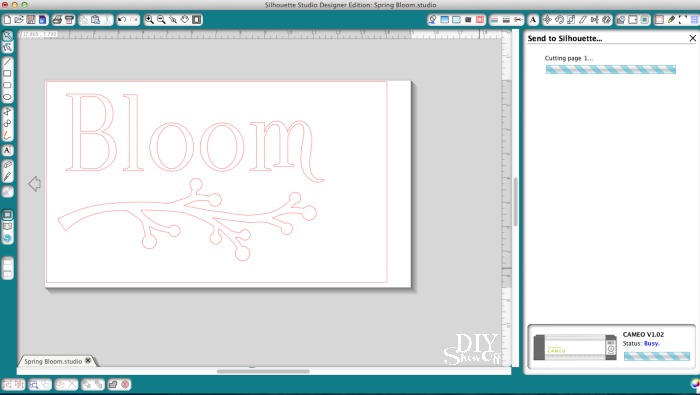
Using the Silhouette Design Studio Software, I created a spring design. There’s a promotional card in the starter kit for some fun free shapes but I created the text “Bloom” with a branch shape. 

Silhouette Design Studio spring bloom design

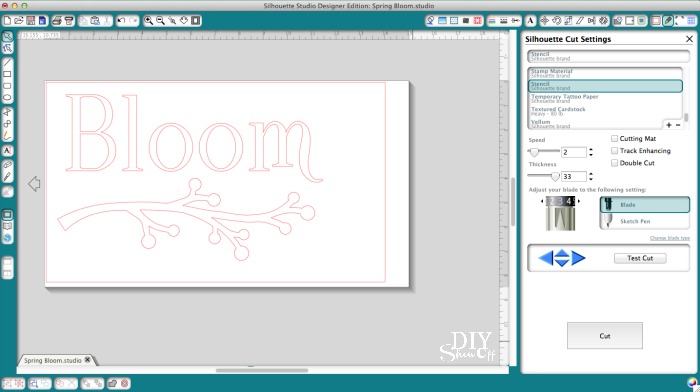
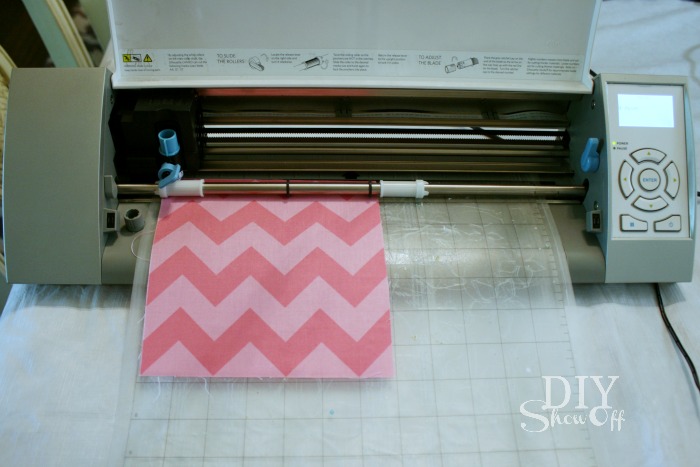
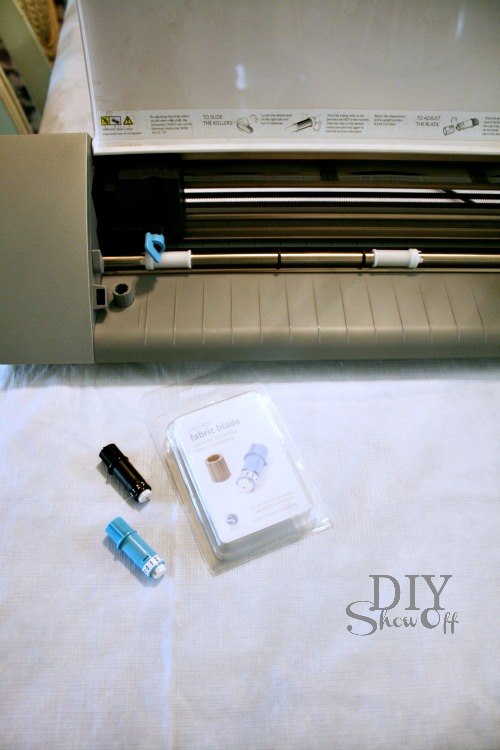
Load the tan stencil vinyl rough side up into the Silhouette Cameo. Adjust blade settings for vinyl cutting. 

Silhouette fabric ink tutorial

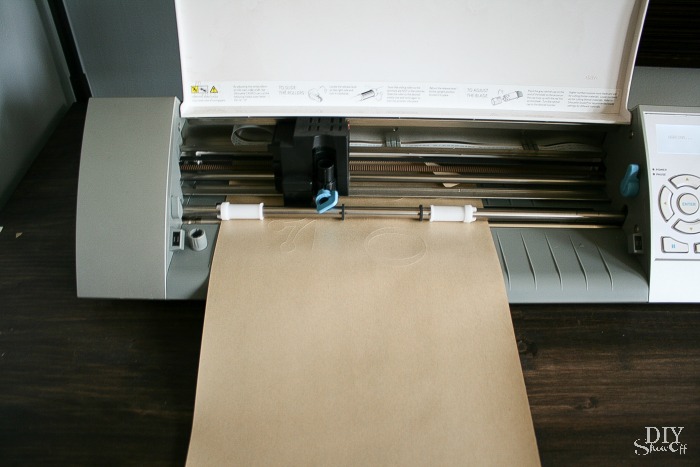
Send to cut then remove from the machine.  

Silhouette fabric stencil tutorial

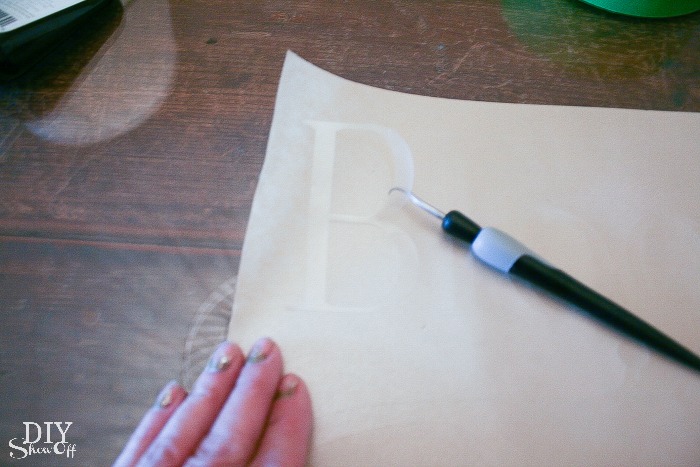
Weed away lettering and shape from stencil. 

weeding vinyl fabric stencil

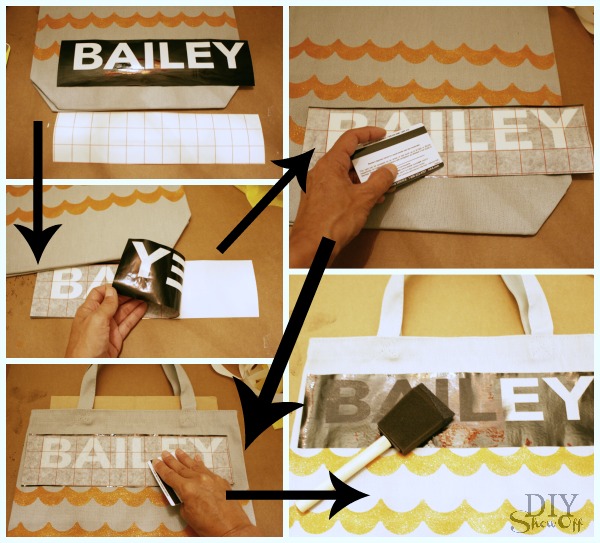
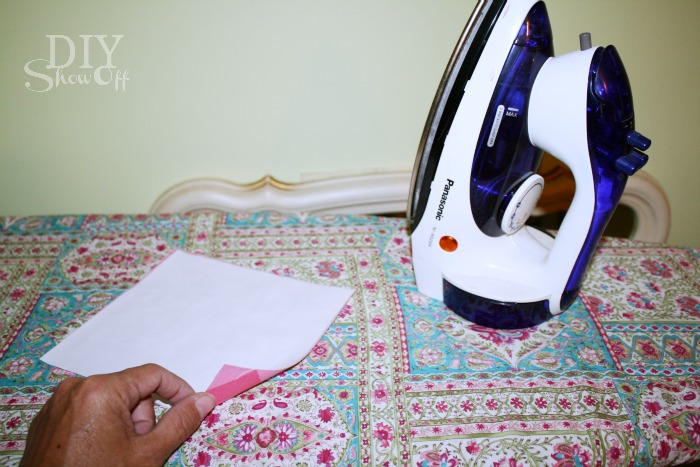
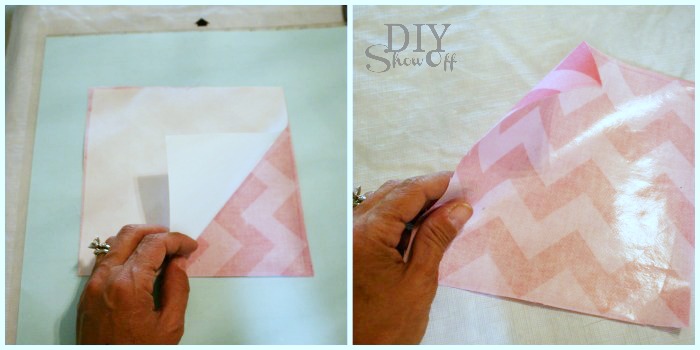
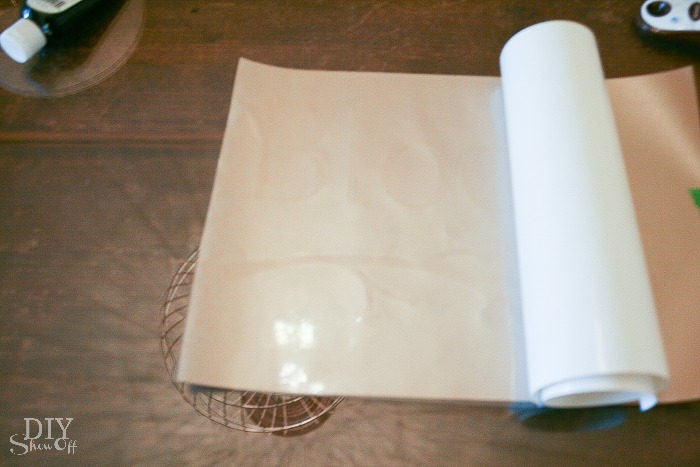
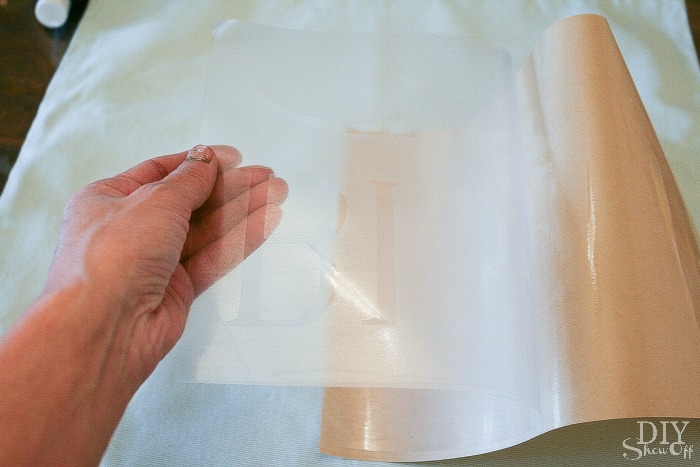
Peel away the white backing from the glossy transfer paper. Cover rough side of stencil with transparent transfer paper. Burnish using the plastic promotional card (or gift card). 

Silhouette fabric ink transfer paper tutorial

Peel away tan backing from stencil vinyl. 

Fabric Ink Kit tutorial

Place stencil onto pillow cover. Burnish using the plastic card. 

burnishing vinyl stencil

Peel away the shiny transfer paper. 

Happy Crafters Fabric Ink Kit tutorial

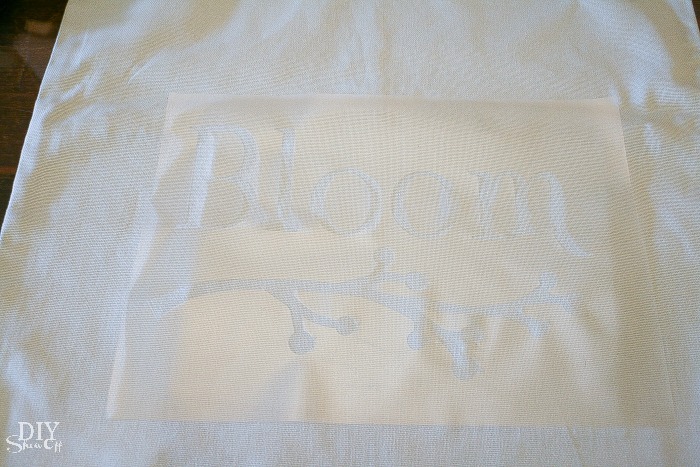
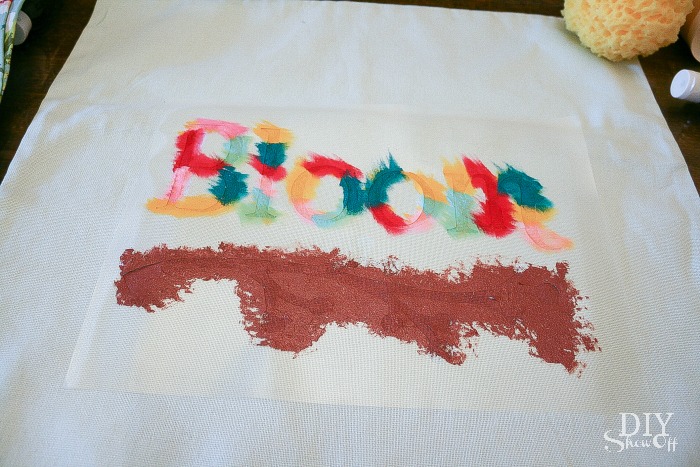
Paint design. I used a foam brush for the lettering and a sponge for the branch. 

painted pillow cover tutorial

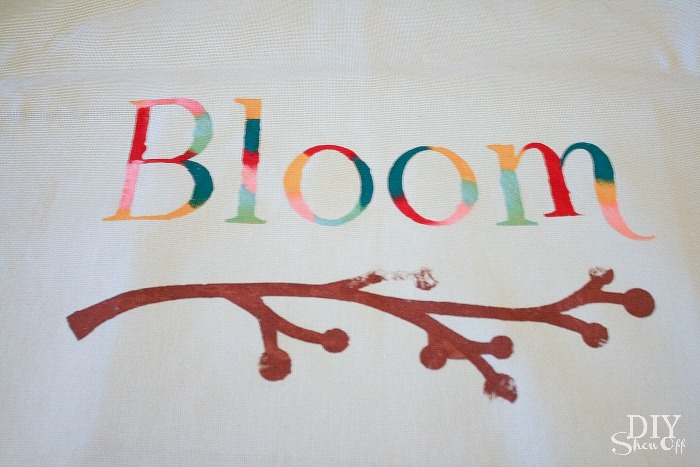
Once paint is dry, remove stencil. 

painted spring pillow cover

Sew or glue pom pons onto the branches. 

Spring bloom pillow cover tutorial

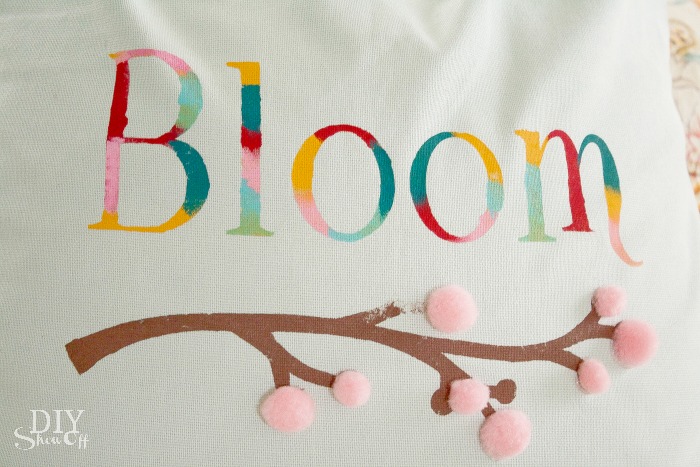
Slip pillow into the pillow cover and display. Spring is in the air! 

Spring Pillow Cover at diyshowoff.com


spring bloom pillow at diyshowoff.com


spring pillow cover diyshowoff.com


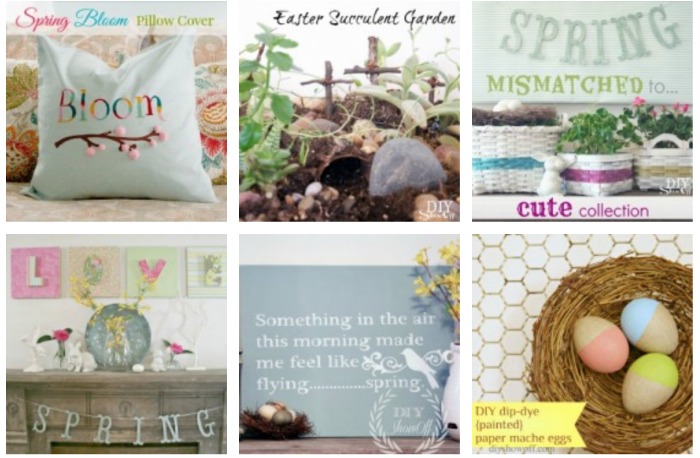
See more spring ideas in the DIYShowOff project gallery!

spring DIY projects

*This post is sponsored by Happy Crafters. Tutorial, experience and opinion is my own.  Check out all the supplies at Happy Crafters for inspiration for your next project. 

HClogopngsmall

Personalized Trick or Treat Bags

Trick or Treat is coming up at the end of the month. I sure do miss having little ones at home. We don’t even get trick-or-treaters in our neighborhood but I do have two nieces and one nephew, all under the age of 5. With help from FrogTape® and Happy Crafters, I whipped up a little Halloween surprise for them. They’re going to love these personalized trick or treat bags!

DIY personalized trick or treat bags

Materials:DIY personalized trick or treat bags

  • canvas/linen tote bags
  • fabric paints
  • FrogTape® Shape Tape (I used all 3 patterns: chevron, wave and scallop)
  • stencils (I created my own stencils using glossy black vinyl and transfer paper from Happy Crafters)

Tutorial: (please pardon the poor lighting…it’s raining today)

Part 1 – Shape Tape

Iron the tote bags to remove wrinkles.

Insert cardboard into the tote bag (to block bleed-through to the other side).

Cut a piece of FrogTape Shape tape a little wider than the bag. Decide placement. Remove half of the strip of wax paper backing from the Shape Tape. Position and press into place. Remove the other half of the wax paper backing and smooth into place. I found that securing the edges of the tape to the table underneath on the sides, kept my tote bag from sliding around, holding it in place for painting.

DIY personalized trick or treat bags

Repeat step 3 to create a ‘stencil’ border/line for the design. 

Using a credit card, I rubbed the Shape Tape to make sure it was nice and secure, sticking to the canvas…check closely to be sure the Shape Tape is complete adhered to the canvas. 

Paint! Be careful not to lift the Shape Tape with brush strokes. It helps to move the paint brush from ‘on the tape’ moving to the fabric rather than starting on fabric and pushing paint to the tapeline. 

Remove Shape tape. Nice crisp lines!!! Let the paint dry. DIY personalized trick or treat bags

Part 2 – vinyl stencils

Using my Silhouette designer studio software, I created name stencils as well as purchased a few Halloween shapes from the Silhouette American online store. Then sent it to cut to create vinyl stencils. DIY personalized trick or treat bags

Peel away lettering and design to create a stencil. Using transfer paper, position vinyl stencil on tote, rub with a credit card and remove transfer paper – leaving the vinyl stencil in place on the canvas. DIY personalized trick or treat bags

Paint and remove vinyl. Allow paint to dry 4 hours. 

DIY trick-or-treat bags

*Using a black Sharpie, I traced around the ghost where his white body met with the white chevron. 

DIY trick-or-treat bags

Aren’t they darling? Years of use! Machine washable (inside out) after 72 hours. Cute.Cute.Cute!DIY personalized trick or treat bags


Now I have three little trick-or-treaters! Treators? What’s your favorite kind of Halloween candy?

FrogTape Blog Squad

*I’m a member of the FrogTape® Blog Squad. This post is sponsored by FrogTape®. As always, the opinions are completely my own based on my own experience. See more DIY from the FrogTape® blog squad.

*This post is sponsored by Happy Crafters. Tutorial, experience and opinion is my own. See more projects at Happy Crafters blog.

HClogopngsmall

Silhouette Portrait Fabric Interfacing Tutorial

As a Silhouette America affiliate, I have the opportunity to try new products and earn a small commission on sales while passing along  special promotions. Here’s the current deal with awesome savings. Just use code “SHOWOFF” at checkout.blogger-promo-may-23

Did you know that Silhouette America has fun products like sewable fabric interfacing (thinner for sewing into place and washable) and clean cut fabric interfacing (thicker for no sew/no wash projects) for creating fabric appliqués?

Silhouette fabric interfacing

Here’s a tutorial on how it works: I chose the sewable fabric interfacing.

fabric interfacing tutorial

1. Pre-wash/shrink fabric and t-shirt.

2. Open the Silhouette Studio software and create a shape, monogram, even lettering for words. I easily purchased a ‘greyhound shape’ from the Silhouette online shop for 99 cents for labeling the pet food jars a while back that I can use over and over again. The little girl in me decided to create a pink chevron appliqué for a plain white t-shirt. For me. To match my dog. I’m a dork like that. 😉

3. It’s easy to size in the software. I place my shape in the top left hand corner of the “cutting mat” in the open studio software.

silhouette studio

4. Cut the appropriate sized piece of fabric and interfacing.

Silhouette interfacing

5. Next, iron together a piece the sewable fabric interfacing (rough side) to a piece of scrap fabric (cut to size) on the back/wrong side using the appropriate settings for the fabric.

ironing interfacing

{Wow! I guess I did get some sun in Mexico in Feb! I tan super easy/quick even with sunblock.}

6. Peel away the paper…you’ll see the ‘interfacing/glue’ has transferred to the fabric.

heat transferrable fabric interfacing

7. Then place the fabric onto the cutting mat (into the same location as shown in the Silhouette Studio software) and insert into the machine.

Silhouette cutting fabric

8. Hit “send to Silhouette”, change the blade and cut settings.

silhouette fabric blade

9. Click “cut”.

10. Once it’s finished cutting, remove the fabric from the cutting mat, toss the scraps and you’re left with an iron-on fabric appliqué.

SIlhouette applique

11. Next I positioned the appliqué onto my t-shirt and ironed it on (using the heat setting for cotton). This holds it into place.

ironing appliqueironing applique

12. Then added stitching as close to the border as I could get with the sewing machine to make it more secure and durable for washing. Tip to help maneuver curves in a design: with the needle down (piercing the fabric appliqué), lift the foot then slide around the t-shirt, put the foot back down and resume sewing. Also, make sure NOT to sew the front of a shirt to the back while sewing!

sewing applique

All done! Here is what it looks like inside out and all complete…

Silhouette applique inside outside

Cute! I love it. 🙂

Silhouette-greyhound-applique

Me & CocoRosie…

CocoRosie and Roeshel

Roeshel and Rosie

Yes, this little Italian Greyhound has stolen my heart in the 1 month since we rescued her…

DIY chevron greyhound applique

Note: I purchased the matching pink chevron dog leash (shown) and chevron dog collar (not shown) at Etsy shop, Learned Stitchworks. I loooove it (Thanks for the purple set too, Karen!) Gorgeous color choices, beautiful handmade quality, BEST pricing ever! Very satisfied customer. I need a set in every color, don’t you?

I purchased the (Riley Blake) pink chevron fabric from Fabric.com (leftover from the DIY dog bed cushion I made).

Back the fabric interfacing…It’s great for making personalized tea towels, baby blankets, tote bags, t-shirts, monogrammed pillow covers.

So not only does my Silhouette cut paper, vinyl and chipboard, it cuts fabric too! One more reason you can’t live without one! 🙂

Use code “SHOWOFF” at Silhouette America (this affiliate link) from now through May 31st to take advantage of the special pricing.

blogger-promo-may-23

And how about a chance to win a Silhouette Portrait machine?!

THIS GIVEAWAY IS NOW CLOSED. Winner is Benny who says “My son is getting married soon, I would make ‘bride’ and ‘groom’ appliqued t-shirts.” Congratulations, Benny! Benny has been notified by email to claim her prize. 

diyshowoff-silhouette-portrait-giveaway

Giveaway starts today, 5/23 and ends Monday, May 27th at midnight EST. Winner will be chosen randomly and announced shortly after. Prize: Silhouette Portrait machine (supplies not included). This giveaway is sponsored by Silhouette America and open to US residents 18+ only.

a Rafflecopter giveaway

For more chances to win, visit these blog friends: