No photos of this prep. Sorry.
It was like 1 a.m. I was a little out of it.
*Then I traced and cut out exact size pieces, marking where the picture hangers were positioned.
*Then I taped the large pieces up with tabs made from contact paper.
*The contact paper strips worked well because they are not super tacky.
*They hold for the time being and remove without damaging walls.
*Once all of your paper pieces are attached where you’d like them to be.
*{BTW, this took me about 2+ hours, because I can be a bit anal retentive}
*I made sure they were equally spaced and level as per my tape measure and laser level (and the help of a very patient husband) 😉
*Then I used the worlds’ smallest hammer to tap the nails into place based on the markings on my paper.
*Once everything was level, spaced, and nailed I just RIPPED the paper and tape off the wall.
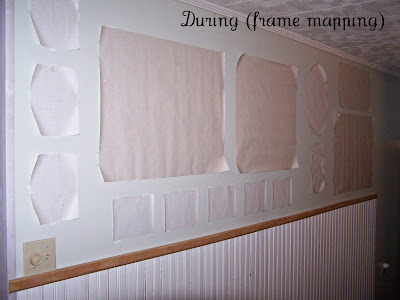 Please also note that the paper placement is not exactly the same as my drawing.
These things evolve over time, and I realized that these frames worked out better.
You’ll notice that in the drawing this tree was on the top left of the drawing.
Eventually this photo wall may stretch the full length of the hallway.
Thanks for sharing Tricia – your site is so full of inspiration and awesome DIY projects! I love your photo wall and all of it’s interest and art. Great job!
reader
SHOW & TELL
Lyndsay – Life In Motion
Hey there! Here are a few images of photo walls….I have lots of them in my house 😉


Kris
This is our family tree.
Lyssa – Z Family
Amandelic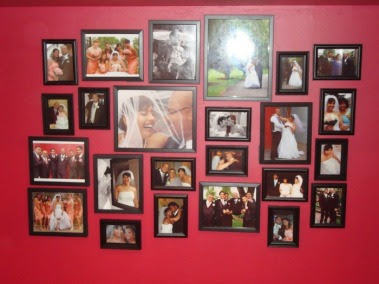
Sparkly*Bride
Sarah – Pewter + Sage
East Coast Suburbanite
Suzanne – SunshineandWine.blogspot.com
I love photo walls too. I think it’s nice to have a grouping of pictures, instead of random frames throughout the house. I’ve attached my budget photo wall, which I created with frames from Dollar General, Big Lots and Dollar Tree. The photo mats are from Dollar Tree too. I simply spray painted the frames to match my espresso furniture.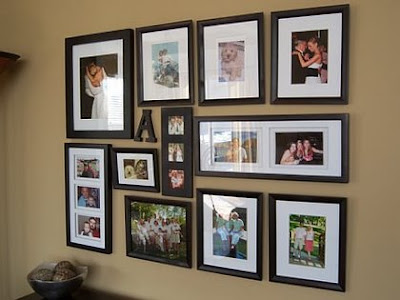
My photo wall is in my office. After seeing some inspiration – mine feels a bit crooked and I think it’s ready for a “mini-makeover”.

DISPLAY YOURS HERE!
(submit photo to thediyshowoff@gmail.com)
Keep checking back – I’ll post more Show & Tell as they come in!
Thanks everyone!
~~~~~~~~~~~~~~~~~~~~~~~~~~~~~
and taken from the D&R FAQ courtesy of beckysinluv:
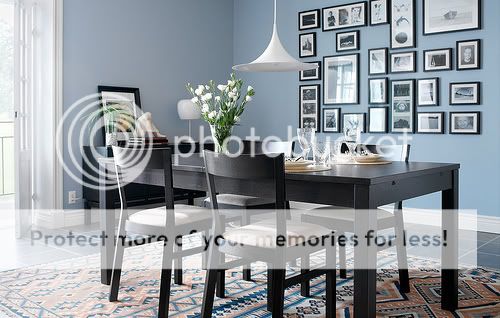
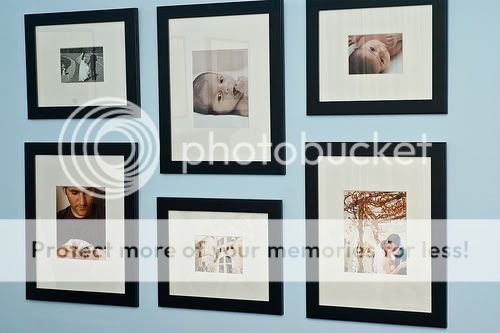
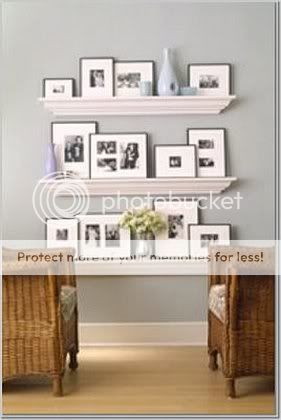
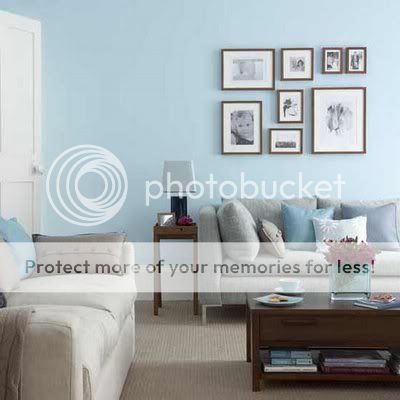
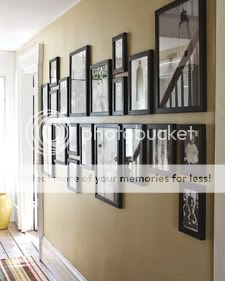
Inspiration Pictures for Photo Galleries
~~~~~~~~~~~~~~~~~~~~~~~~~~~~~~~~~~~~~~~~~~~~~~~~~~~~~~
Young House Love also has a great video with tips.
Check it out.






That looks so amazing! What was total time from planning to "completion"?
Wow, my husband would love if I did this instead of putting holes in the wall, trying out a picture, and changing my mind. The pictures, letters, and mural look beautiful and professional.
What a great idea with putting up the paper frames and then nailing – oh I can't wait to try something like this in our new house – thank you for sharing!
Amazing!! This will save me from having 400 holes LOL
Thank you for your sweet comments 🙂
rue
Hi everyone.
Thank you so much for your nice comments.
Erin Marie, the total time was probably about 6 hours. That includes putting the photos in the frames, cutting paper, frame mapping, nailing, leveling, hanging frames, leveling again, etc…
The tree was probably another 35 minutes.
It was a bit drawn out, but so worth it. Every time I walk past that wall (which is about 1000 times a day) I smile. I have seen those pictures a million times, but I still love stopping to look at them.
It does make me happy to have everything in its' place, without 400 holes in the walls. lol
XO*Tricia
I love these photo walls! I haven't done one in our new house yet, but after seeing these I really want to! Gorgeous!
Awesome post, I need to create a photo wall and love all the diagrams you included.
Karen