









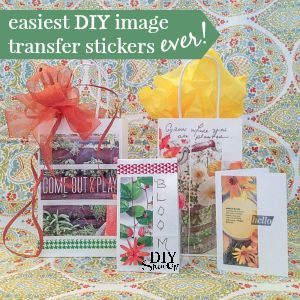
Want to make your own custom stickers without a Cricut or special equipment? This easy DIY image transfer method lets you turn printed designs into simple stickers you can use on glass, wood, jars, or decor.
Here’s a quick tutorial for DIY image transfer stickers using packing tape. Seriously so cool, you’re going to want to grab a roll of packing tape and a few magazines! Today!
Easy DIY Image Transfer Stickers
Materials I used:
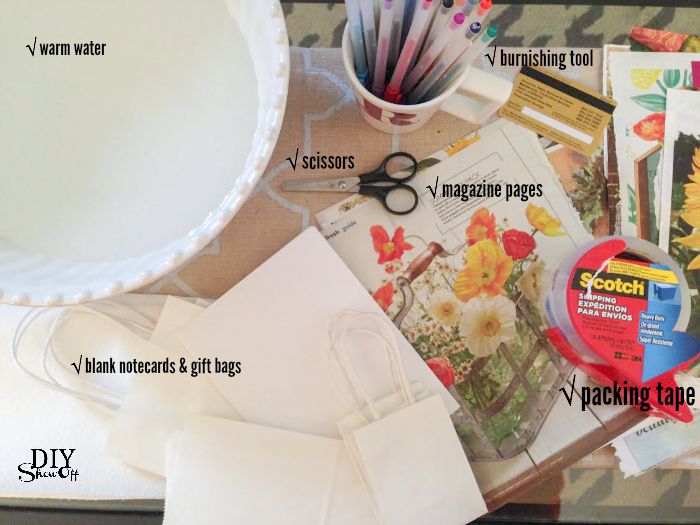
- packing tape – note the brand I used pictured above as it may make a difference.
- blank note cards
- blank gift bags
- magazines
Also needed: scissors, warm water, credit card (burnishing tool), paper towels, optional: embellishments
What I did:
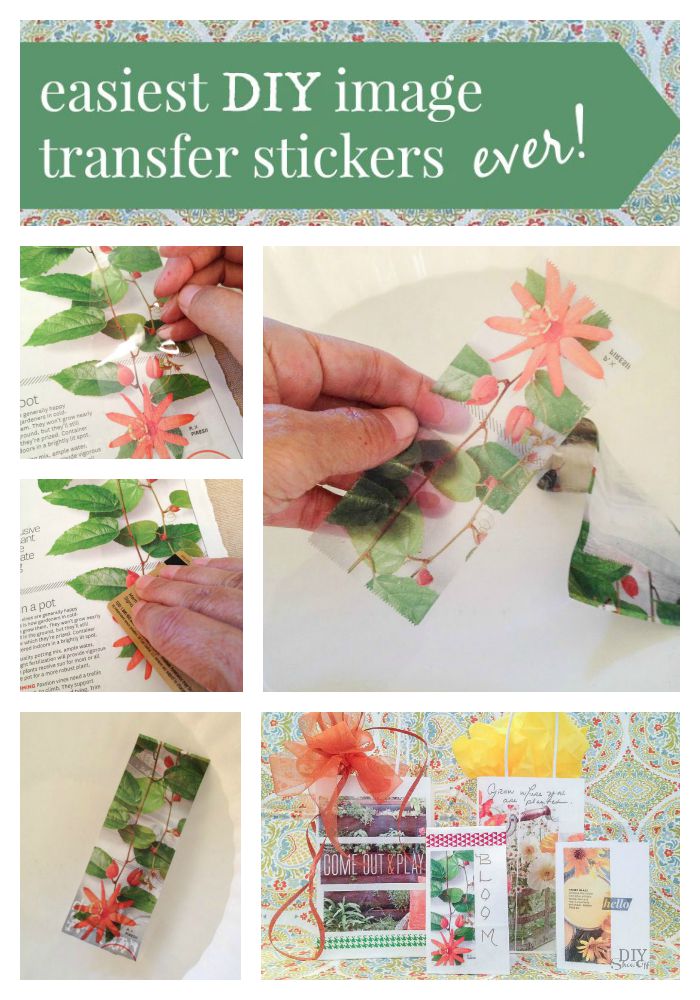
Cut a piece of packing tape.
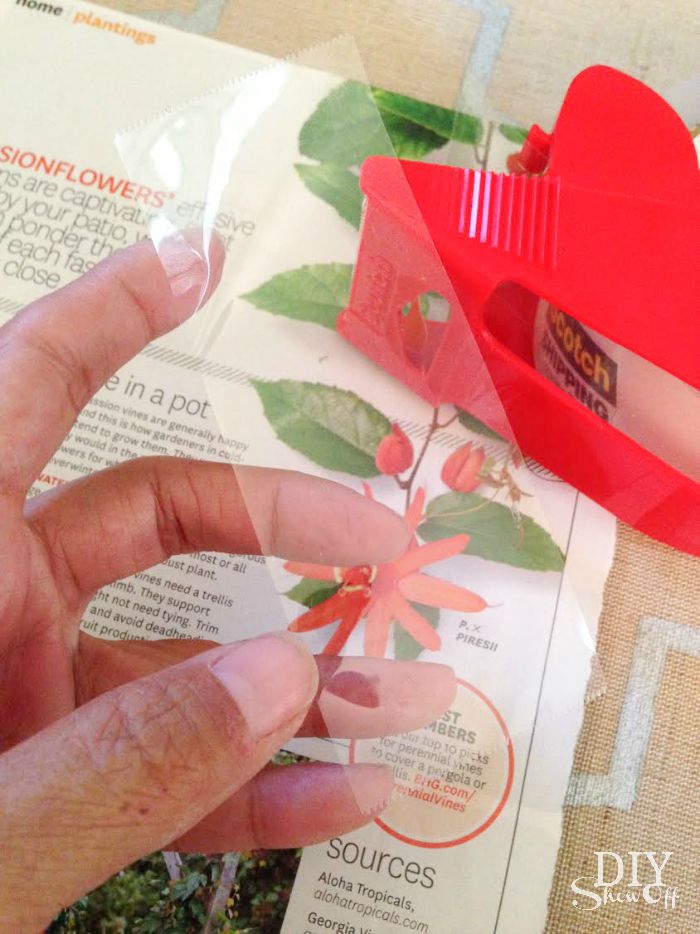
Carefully place it onto magazine image, smoothing with fingers to avoid air bubbles.
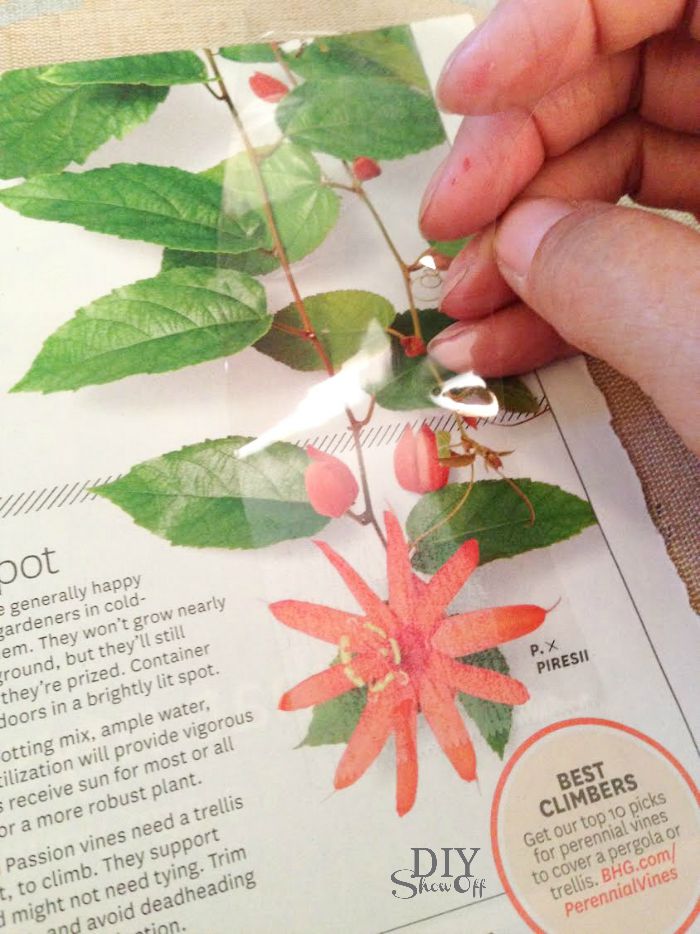
Burnish the packing tape.
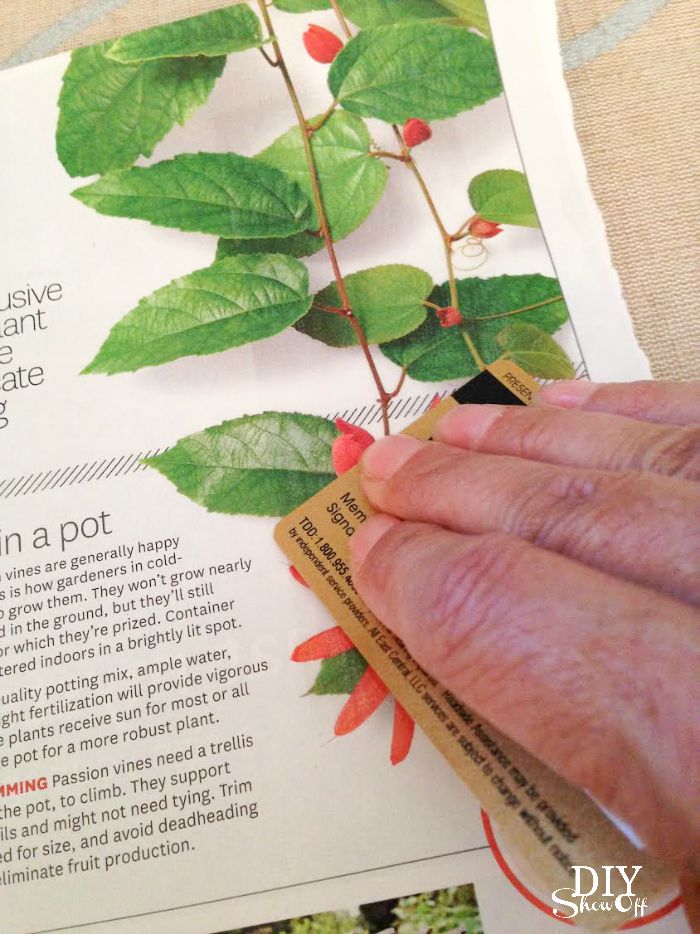
Trim rip away excess magazine page.
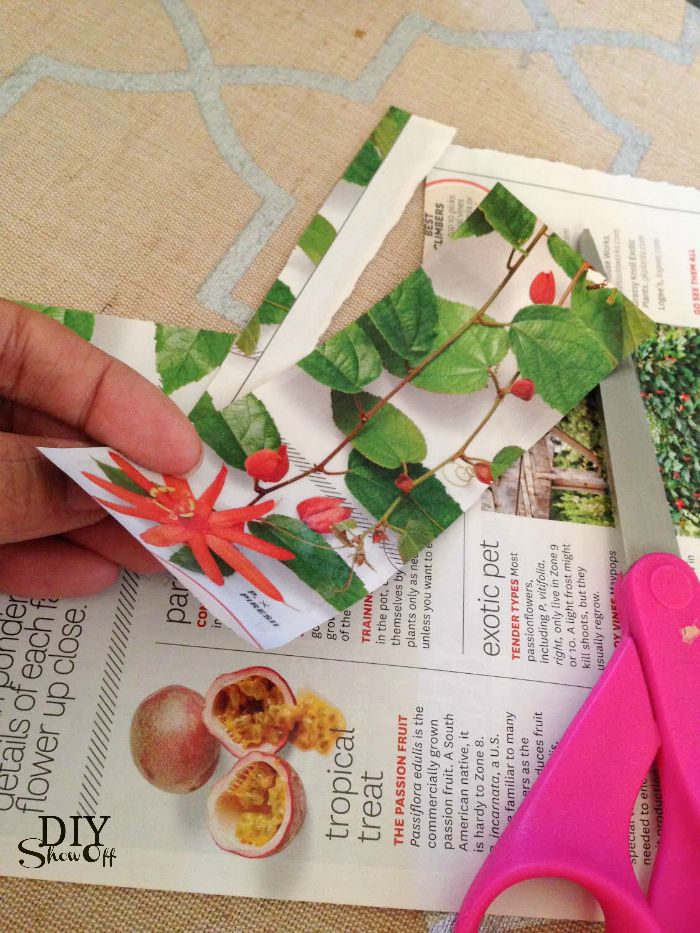
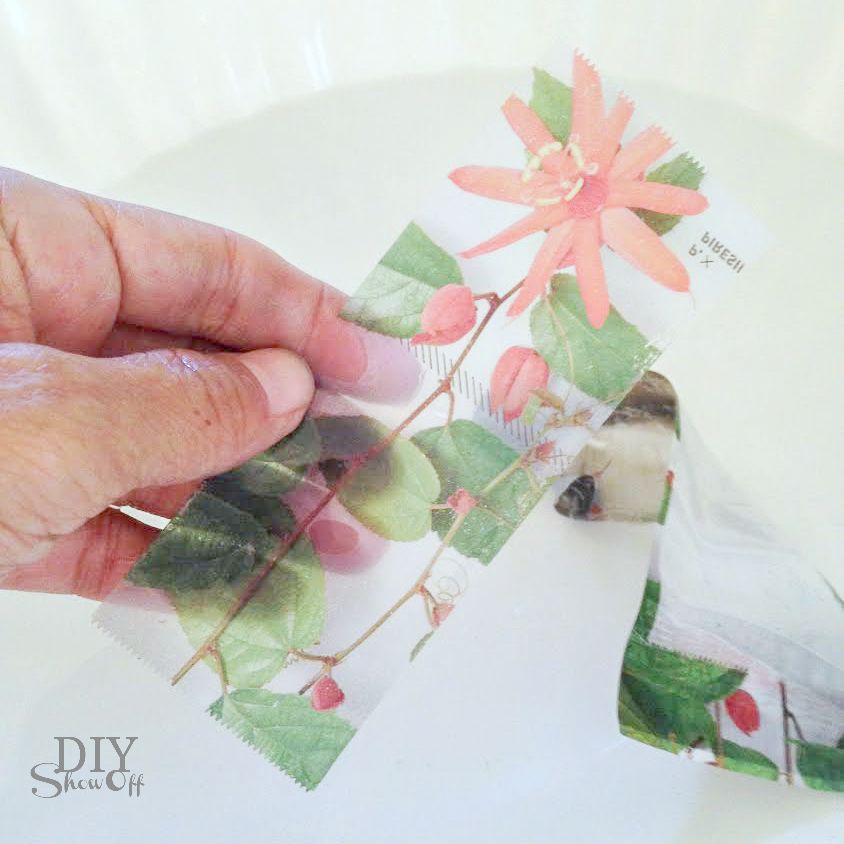
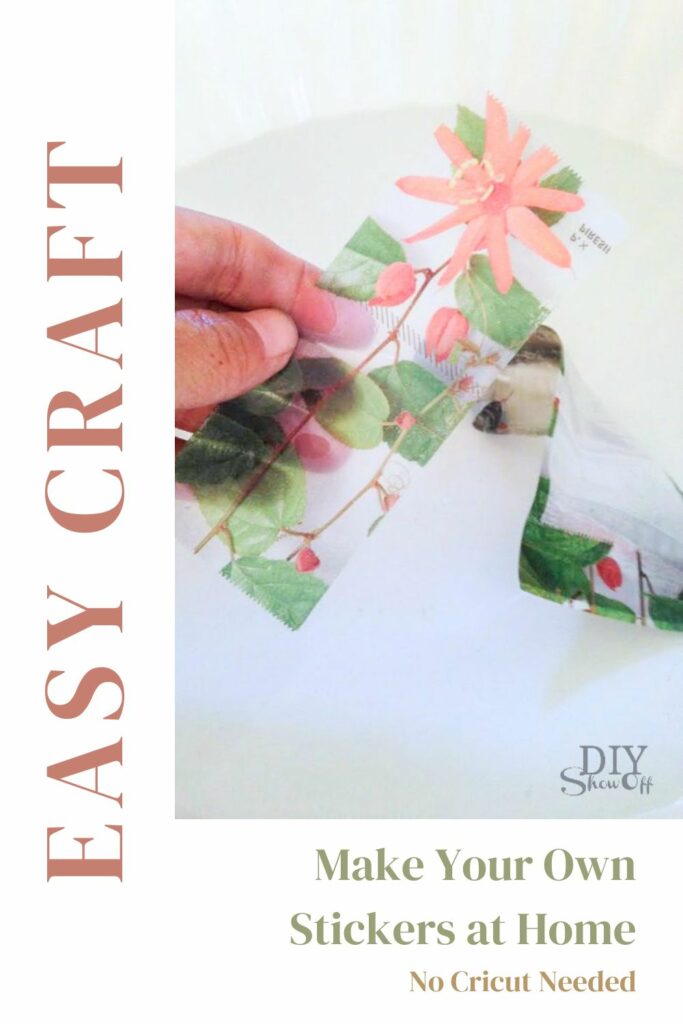
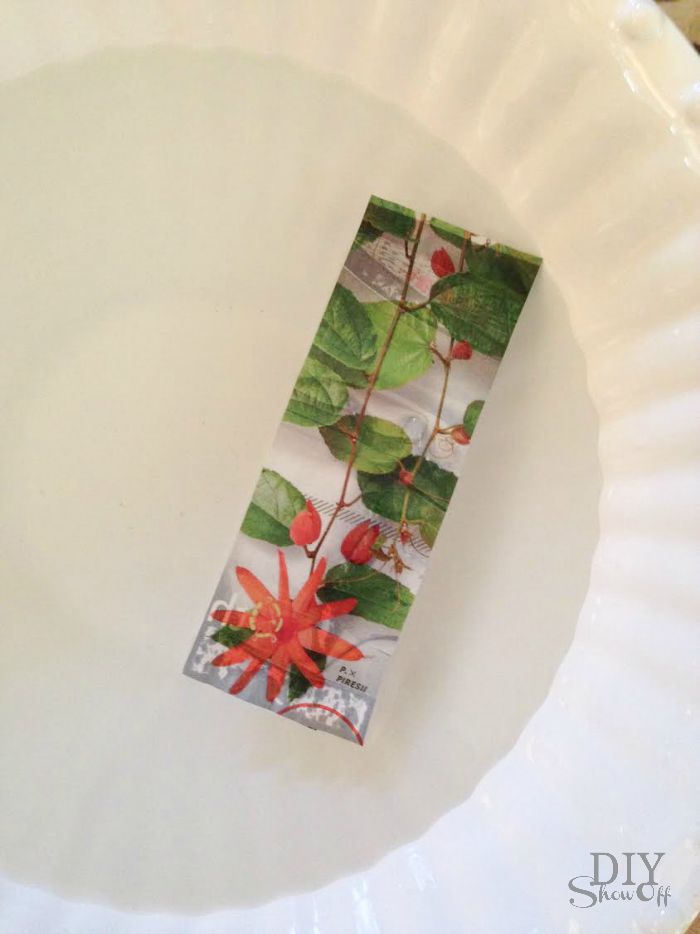
Place into warm water. I let mine sit for maybe a minute or two but you could do longer if you’re working on creating more or give it less time if you’re impatient.
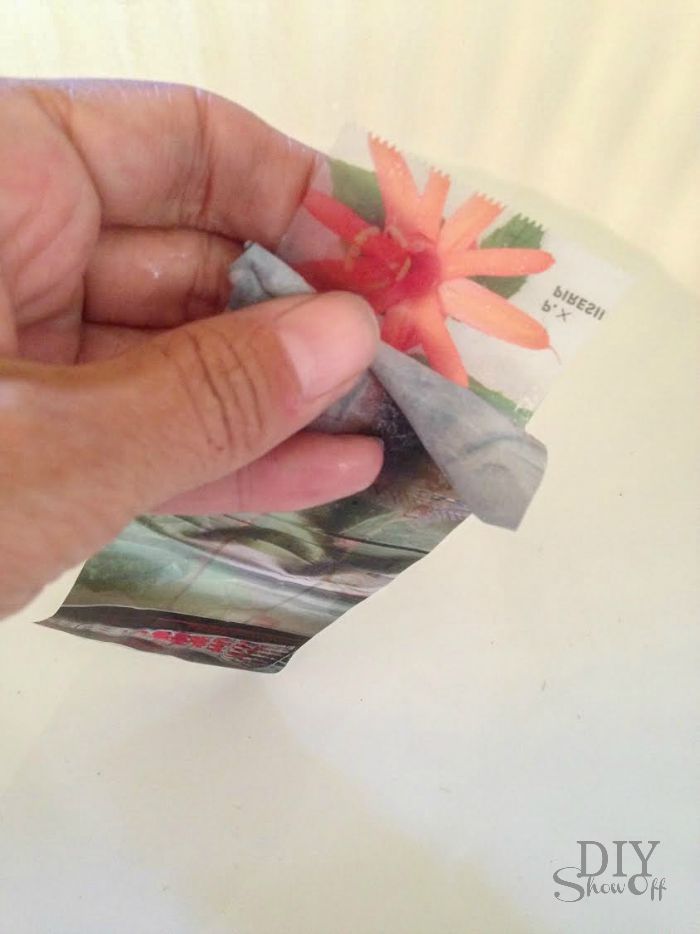
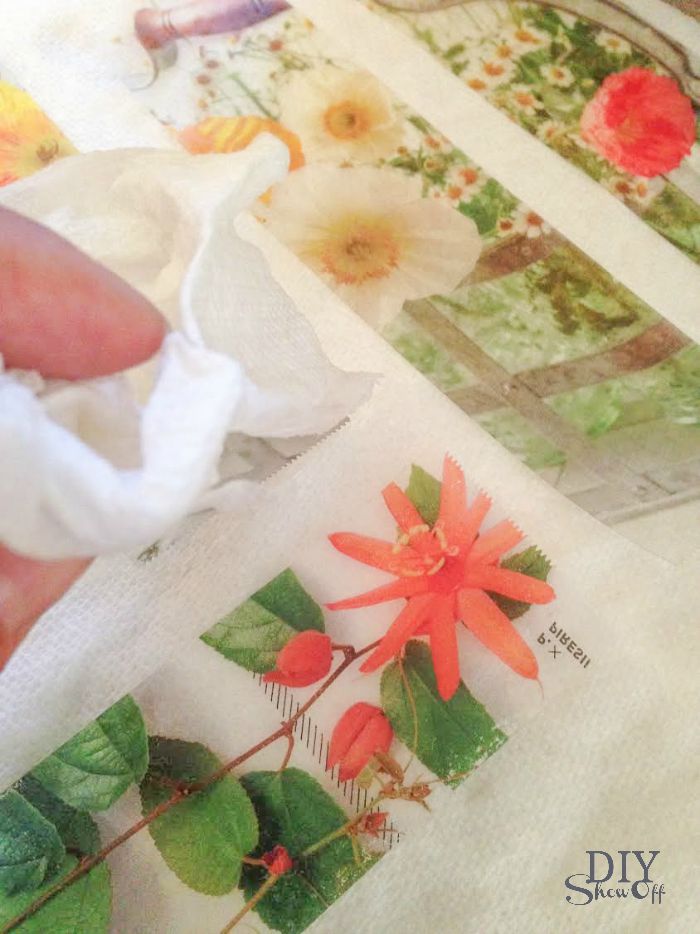
Remove from water and using thumb, rub away paper. Dunk back in water during the process to “clean” away the paper. Thicker magazine pages (like the weight of a magazine cover) will take more work than thinner pages.
Ta-da! A transparent image transfer! How is it that I’ve never known about this fun project? Love!
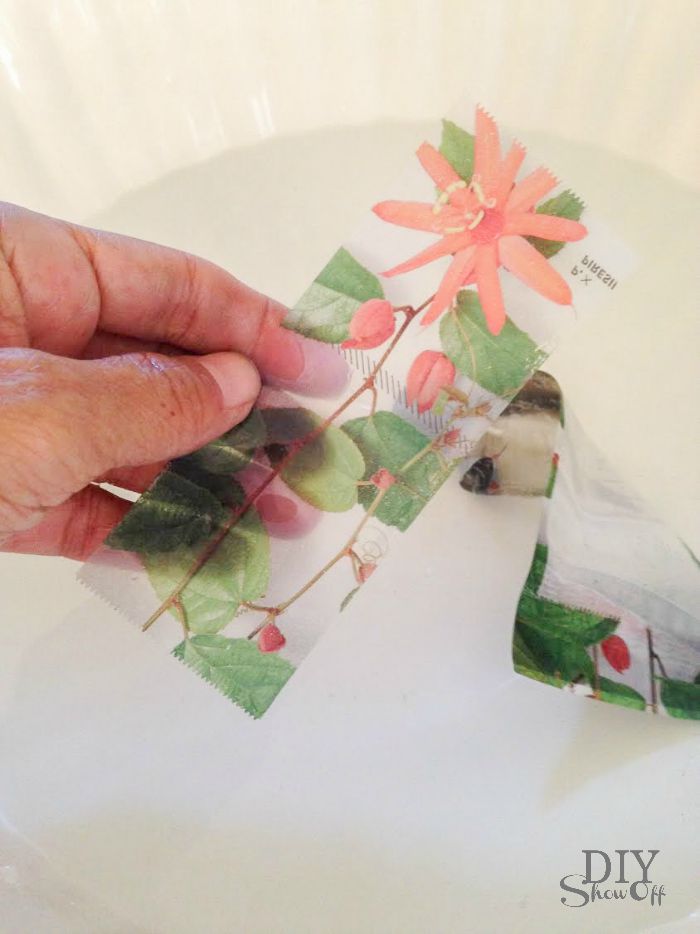
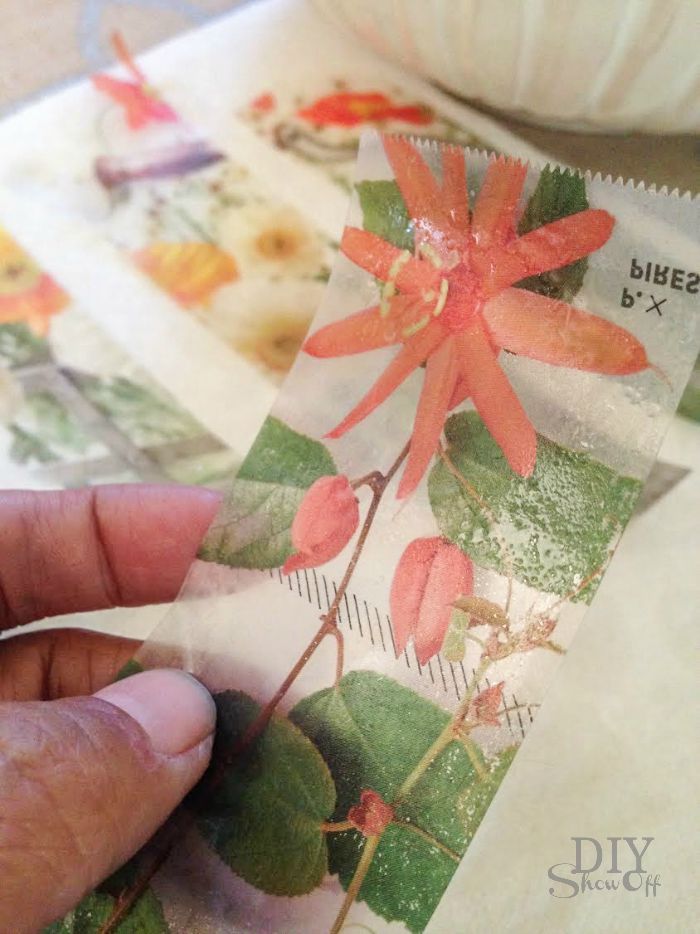
Pat with a paper towel and let dry a few minutes. As packing tape dries, it becomes sticky again! So cool, right? If it dries out, I found that dipping back into warm (not cool) water reactivated the glue. If not using right away, store your image transfer stickers on wax paper.
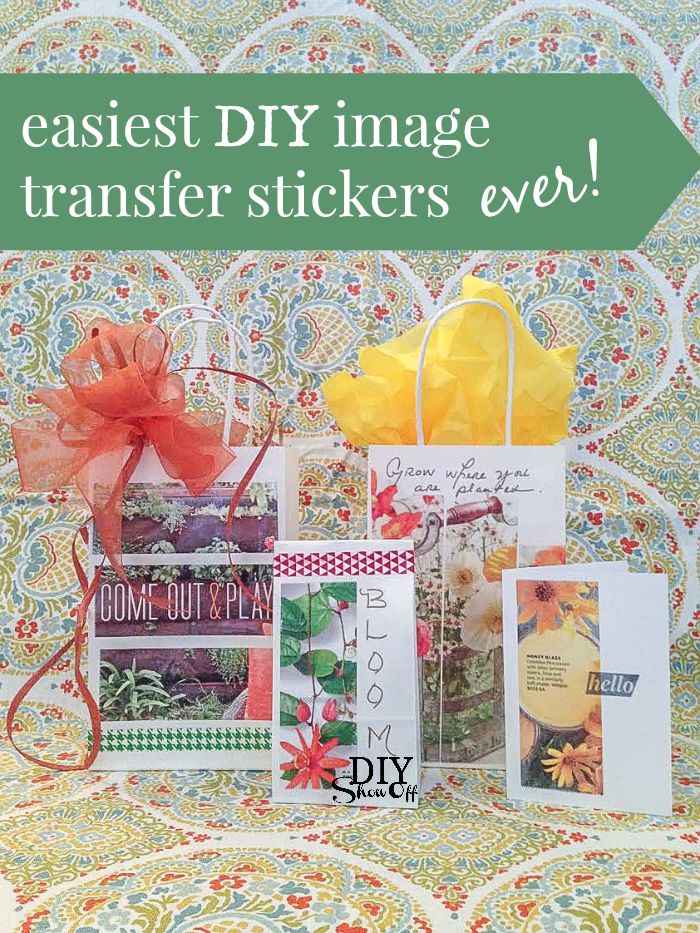
Apply to gift bags, blank note cards, wrapping paper, packages, scrap books, collages, even glass. Embellish if desired with ribbon, decorative tape, quotes, etc.
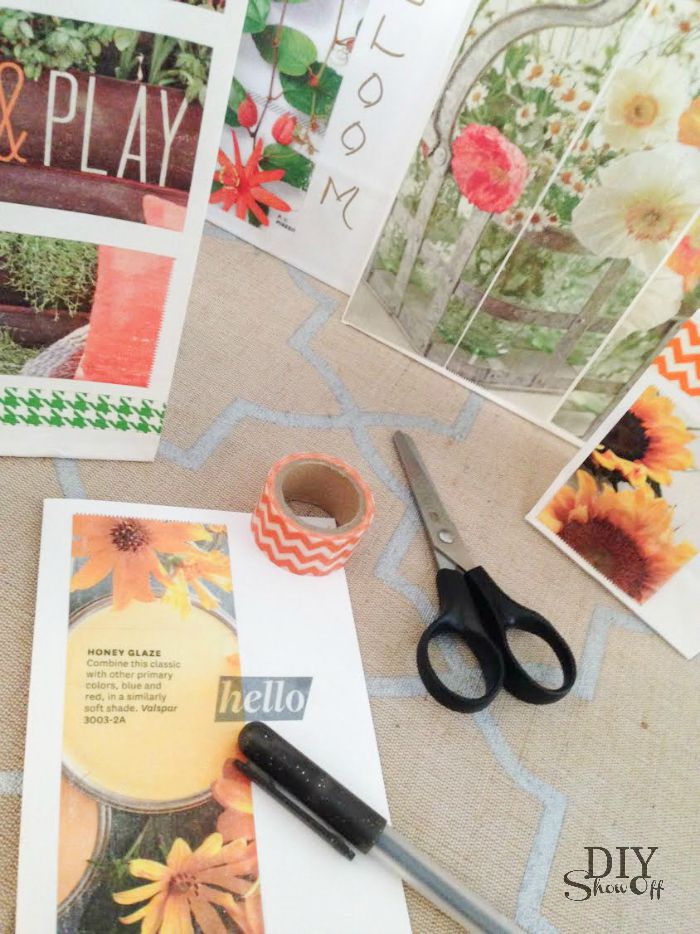
So many ideas and finally a real use for those pretty magazine pictures! Go grab your packing tape and old magazines.
Ways to Use DIY Image Transfer Stickers
- labeling jars or containers
- decorating glassware
- small DIY gifts
- furniture or decor accents
- seasonal crafts, cards
- junk journals
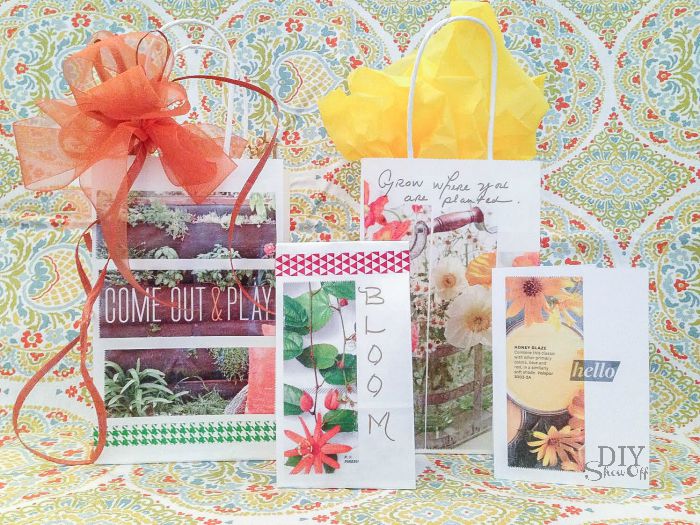
So fun & easy! Where would you use these?
Pair it with your junk journal!
I love going to my stash of old magazines and creating stickers for journaling. Speaking of, if you’re a grandmother (or know of one and need a gift idea), Grand-Moments is a faith based mini devotional, planner, journal for being present and intentional with your grandchildren. More about that here: GRAND~MOMENTS.

More Crafty DIY You’ll Love
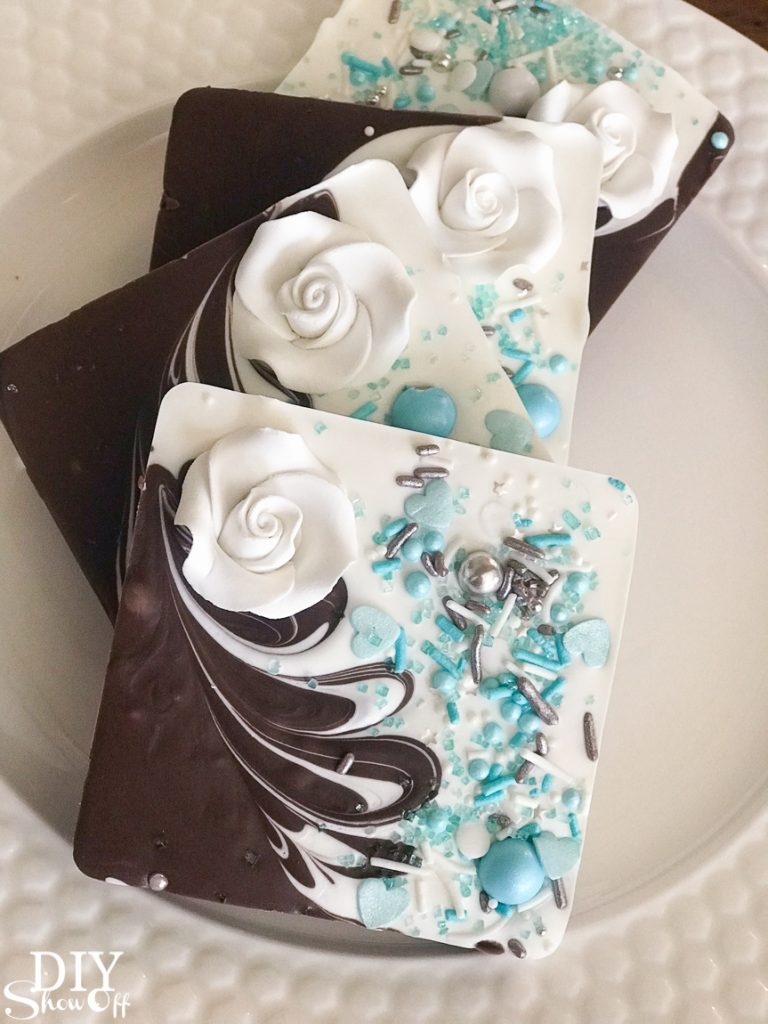
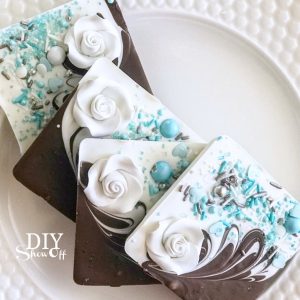
DIY Chocolate Candy Wedding / Party Favor Gifts
Disclaimer: As a member of the Michael’s Makers blog team, I received a Michael’s gift card to complete this craft challenge.
I think you just gave me an economical solution to a big problem I have. I’ve needed a template for font on an old stove to transfer to my newly enameled one. I’m going to try this idea by just taking a picture of it and printing it on paper. Now I just need to figure out how to transfer only the font and not the background. Any tips? I’m thinking I need to learn some photo-editing. the font is small…about the size of typed print. Thanks for this post!
Omg! This is brilliant!! I just got a magazine and one of the pages has a gorgeous image! I’ll totally do this! It’s like having your own shiny washitape! Thank you!
This might be a silly question, but how do you transfer these onto your project piece ?
Hi! Mine are sticky but you could also use a glue stick. 🙂
This is genius!
I have tired this once just to see how to do it, now after seeing your post, this would be really fun if I can find good mags to make my daughters M Day cards. Pinned for future project.
Good luck, Karren!