DIY “READ” letters tutorial: I recent shared where I read and what I’m reading…
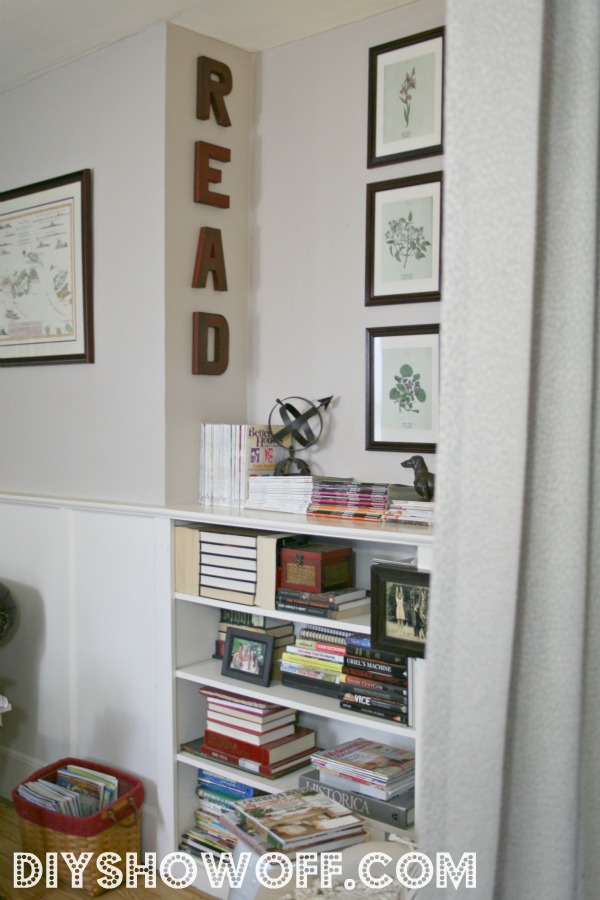
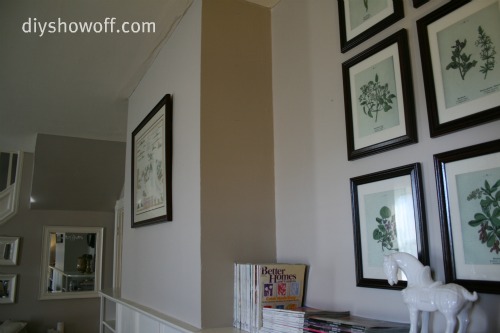
See that sliver of bare wall to the left? GASP! I’m not a minimalist so I decided it needs something. A quick trip to the craft store and I had an idea…
Aged/vintage inspired wall letters
Materials:
- Cardboard letters spelling R-E-A-D (or “D-E-A-R” if I want to change them around)
- Deco Art’s Americana craft paint
- Dark brown glaze (I use Rockler’s TransTint dye)
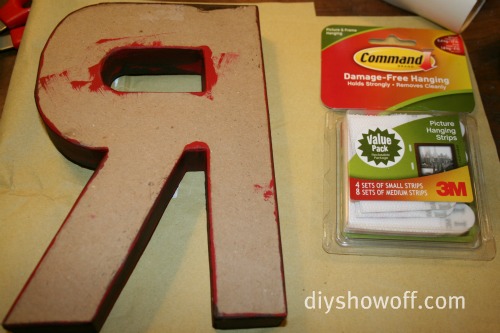
- Command velcro hangers
Tutorial:
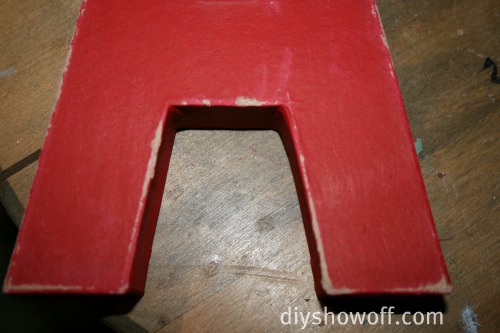
1. I painted my letters and let them dry. I love this beautiful red (Deco Art Americana Tuscan Red)…
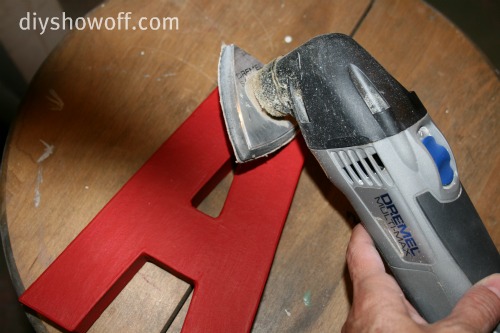
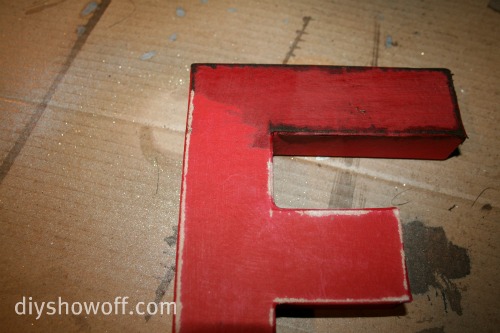 4. Once the glaze was dry, I applied velcro hangers since the cardboard is so light. (And no holes in the wall…that usually doesn’t stop me though. Holes can be patched.)
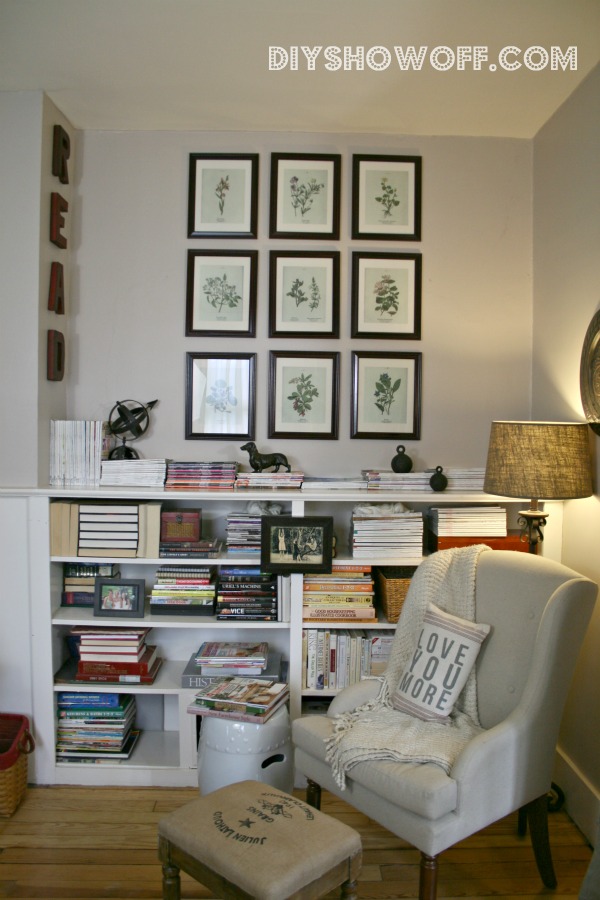
5. My letters are centered and spaced evenly and secured to the wall with the velcro.
BEFORE
What do you think?
In other news:
I have to beg share!
Woo hoo! I’m so excited, you guys! I just learned that I’ve been nominated for the Best Home Design Blog at Apartment Therapy’s Homies 2012 and I’d love your vote! Chances are slim, but a DIY girl can dream, right? I NEED your vote! I appreciate and thank you in advance if you’ll Visit AT Homies 2012 here. Thank you SO MUCH!





I love the read letters! I would have never thought to use those kind (cardboard) of letters.
Looks awesome!
Love them!!
Love it {of course}.
Those turned out perfectly, such a great spot for them.
These letters turned out perfect – and you have the perfect niche to display them.
Congratulations on your nomination, you deserve the recognition.
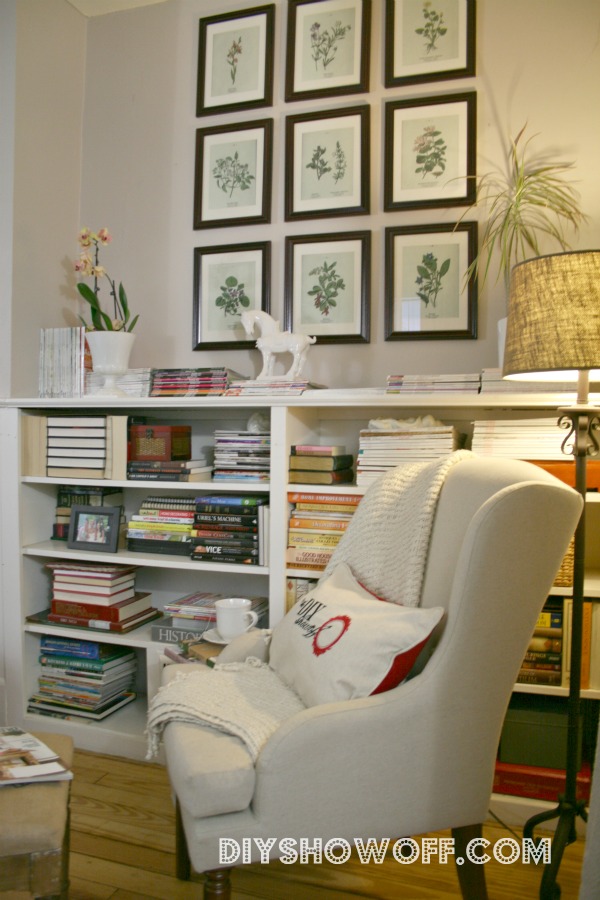
Your library nook is looking amazing!!
OK number one. Why does everyone I see lately have those bookends that remind me of the hunger games and WHERE OR WHERE can i find them!
Second, that looks SUPER great! And so easy! Thank you for the tutorial!
Thanks, Trina!!! I haven’t read the Hunger Games yet so I don’t know! Do you mean the ring with the bird/flames? Or the garden compass-y thing in my photos? I think that came from TJMaxx.
Thanks for sharing your tutorial. I was thinking about doing something like this above my stairs. You have a great blog full of inspiration!!!
Love the letters! and the tutorial. Are the letters from Hobby Lobby?
Sindy 🙂
Thanks, Sindy! Hobby Lobby probably has them but I got mine at Joann’s. 🙂
Thank you!
I love it! Always love anything distressed! : )
Hello Roeshel,
You have been tagged… have fun!
http://cinnamonrosecottage.blogspot.com/2012/02/blog-tagim-it.html
Your letters turned out beautiful!!
Have a wonderful day,
Beverly
You’ve got my vote girl!!!
Thank you so much, Amanda! 🙂 It’s a long shot and I’m just happy to have been nominated but I do love seeing the votes…it’s like a little blog reward! 😉
I love your reading nook and how those letters turned out just perfectly. And I voted for you too! Good luck. 🙂
cozy reading nook ! love the letters – can change your
message to ‘dare’ – as in dare to dream !
Love that, Dodie! D-E-A-R crossed my mind but not DARE. I’ll have to switch it out on occasion to see if anyone here notices. lol Probably not. I would but my husband would notice in December! haha!
Very nice DIY. You have a lovely blog. Thanks for stopping by mine.
Nicole/Beadwright
I love your letters! The glaze made all the difference in the world. Good luck at Homies! I’m there too, yikes!
gail
Love it so much!
I LOVE your letters! They’re adorable. I love your house! It’s soooooooo clean looking how you have it decorated. I am doing for that look too but haven’t mastered it yet!
Thanks, Cindy! I’m so glad you stopped by!
Love the letters, love cardboard, going to
Joanne to get me some,
kate
LOVE this!! Would not have thought about the velcro…genious!!!
I used the same letters for my grandsons to be name and coved with old maps for his nursery…love your idea near the books.