A day with freezing rain isn’t my ideal spring day, but it is still officially winter. Spring. In like a lion, right? ::groan::
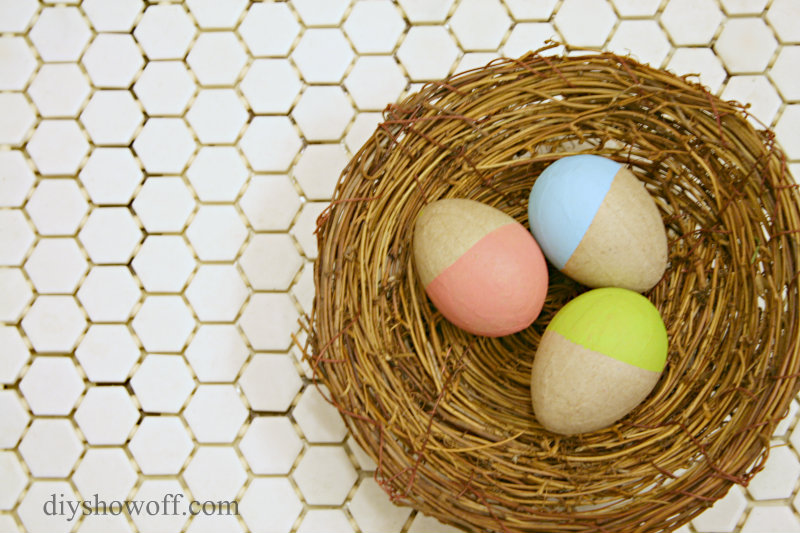
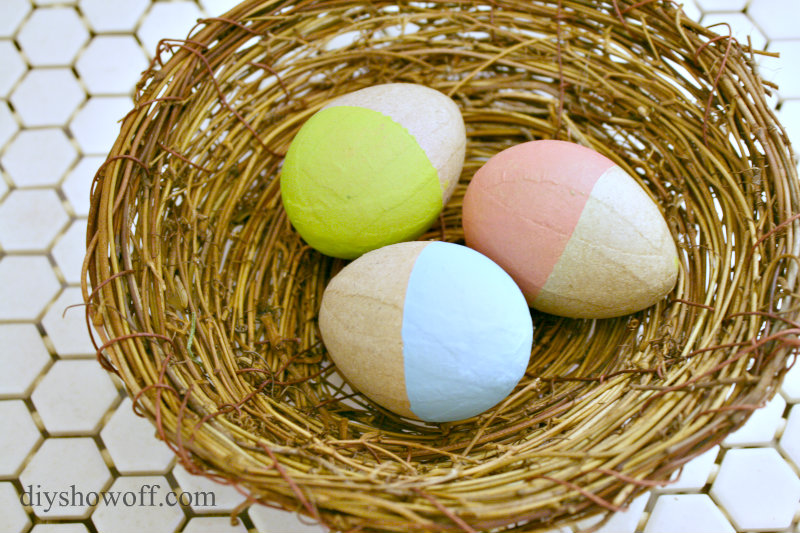
Fortunately, this dip-dyed {painted} paper mache Easter egg craft is a cheerful easy DIY project which aided in averting my eye from the cold, gloom and sleet outside.
I don’t think you really need a tutorial. But, since writing up a “how to” is what I love to do, I’m going to tell you what I did anyway. 😉
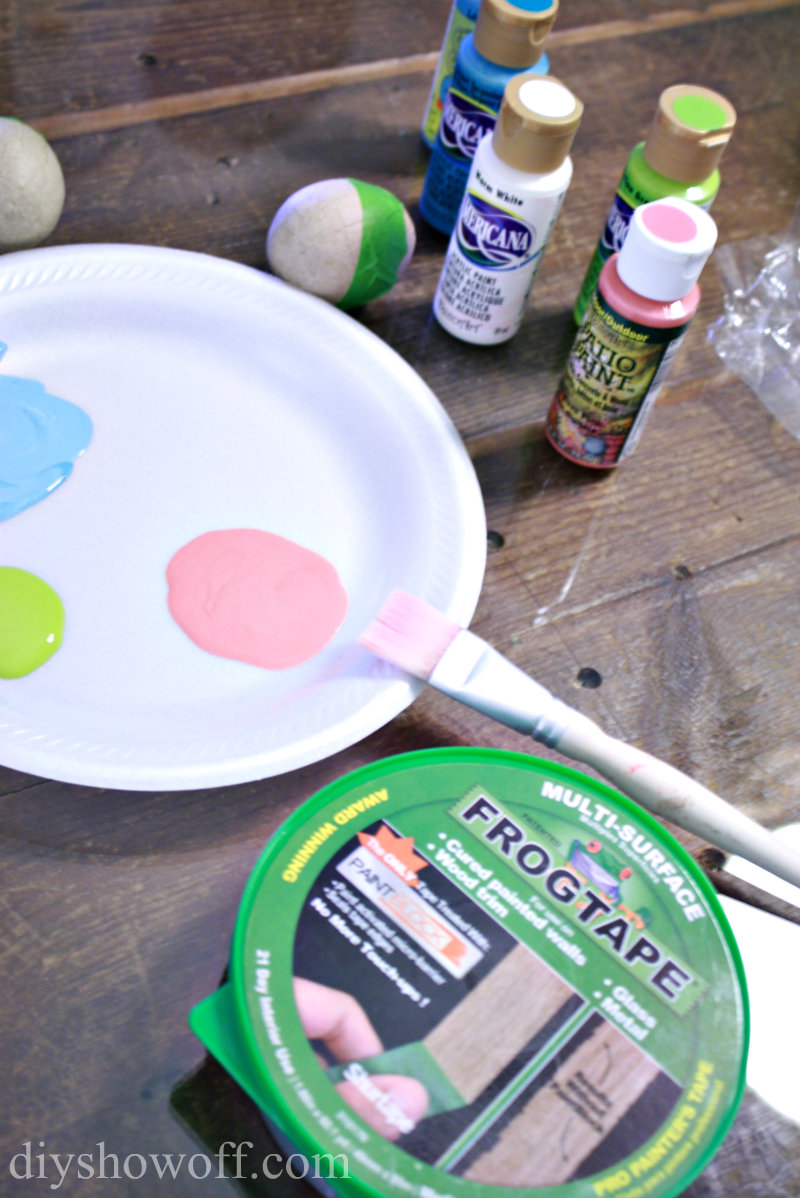
Materials:
- Paper mache eggs
- FrogTape
- DecoArt Americana acrylic craft paints
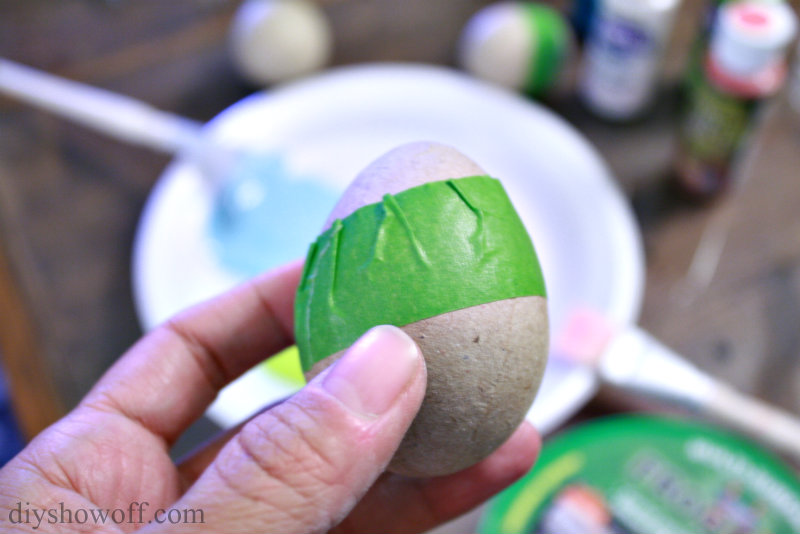
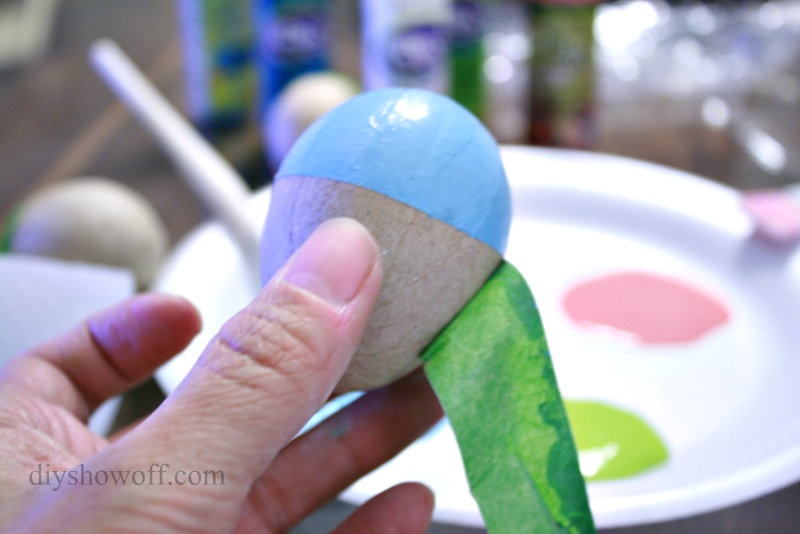
Wrap FrogTape around the paper mache egg to create a faux dipped line. Using my fingernail, I rubbed the edge of the tape to activate the Paint Block Technology to prevent paint from seeping underneath the tape, to create a crisp clean line.
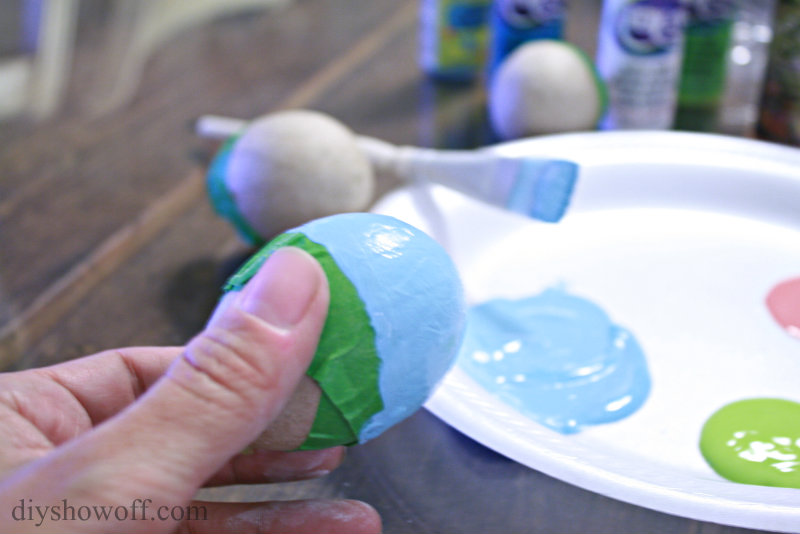
Then I simply painted the bottom of my paper mache eggs using different spring-inspired colors:
Pull away/remove FrogTape while paint is still wet. It’s a little tricky! After I was done, I thought: “I should have used a set of tongs or something to get a better grip on my egg.” #hindsight
Allow paint to dry. (I just set mine on the cellophane paper mache egg packaging.)
Decorate!
Do you decorate with Easter eggs {faux or real} this time of year?
Joining Lana over at Making a House a Home for “It’s a Spring Thing” linky party where she shares her sweet little DIY playhouse for her little guy.
There’s another It’s a Spring Thing link party too! Fun! I’m joining the party by linking up with my best blog girlfriends too.
What are you working on? You’re invited to link up & share!
Joining the party with Amanda too!

This is a sponsored post brought to you by FrogTape. The opinions are completely my own based on my own experience.
Affiliate links for project materials:


