A Bathroom Reveal

Meet: Gemma from

The Sweetest Digs

She shares our love of thrift shop hunting, interior design and DIY. The Sweetest Digs is a blog about Gemma’s adventures in transforming her first house from boring to beautiful on a shoestring budget.

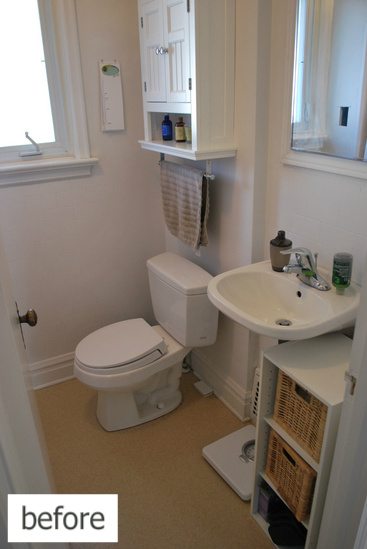
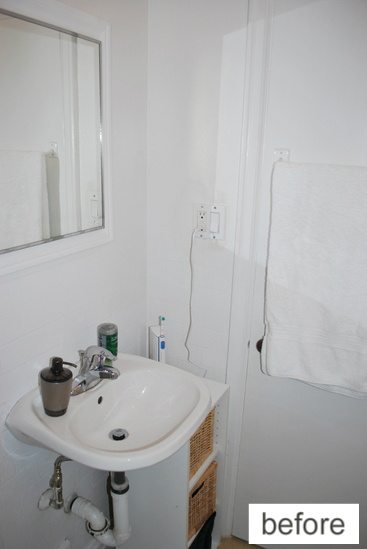
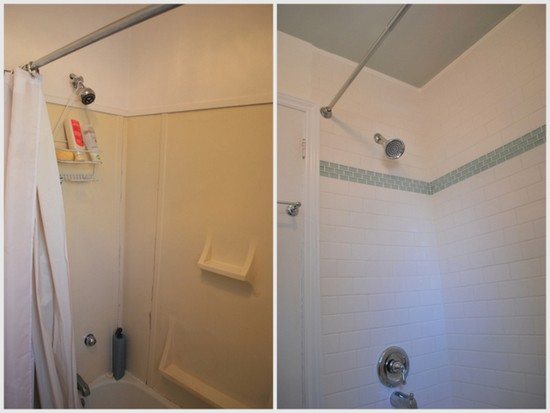
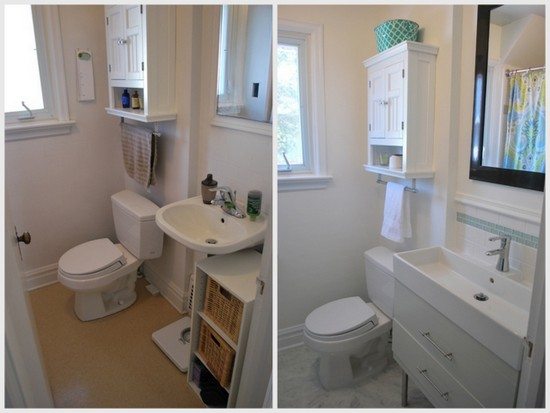
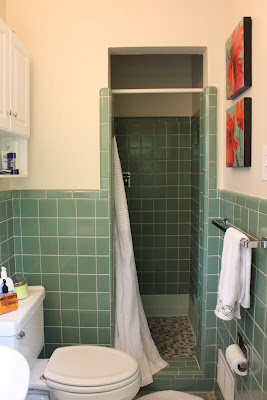
Gemma’s bathroom before was pretty non-descript, totally storage-deprived with a danky old tub.

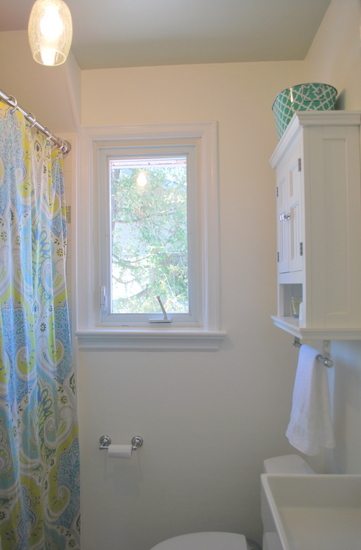
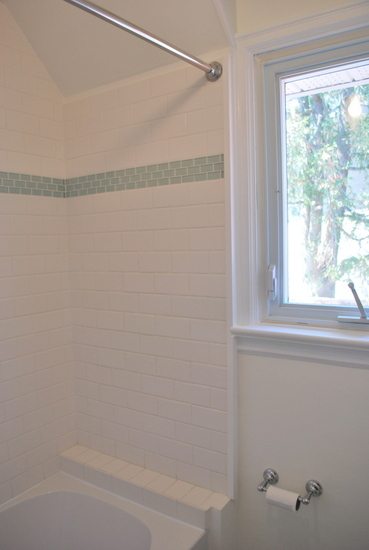
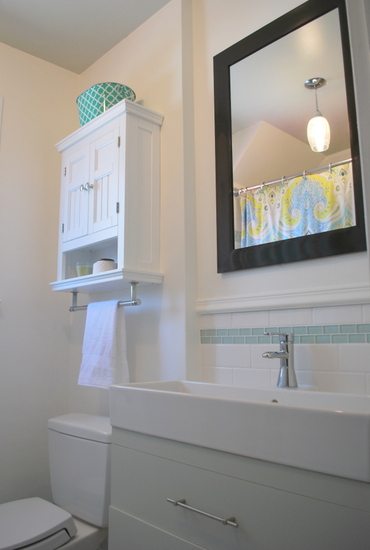
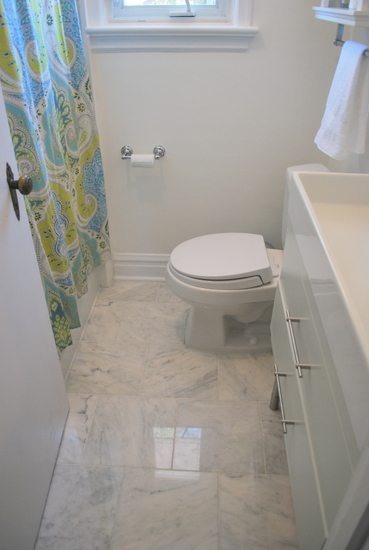
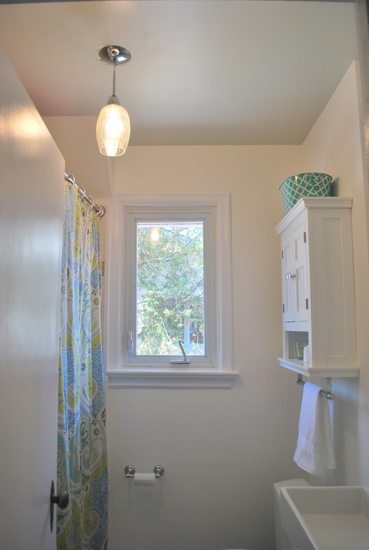
Goodbye boring beige bathroom. Hello classic, bright, and fresh. She’s a whole new woman.
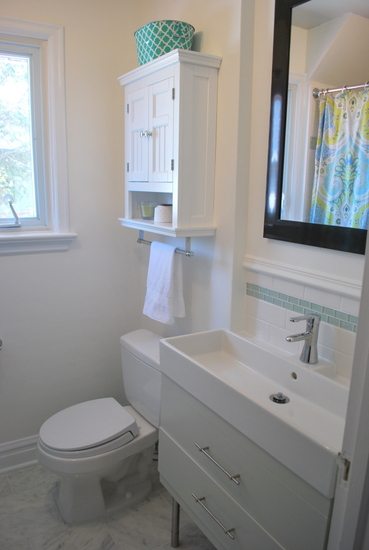
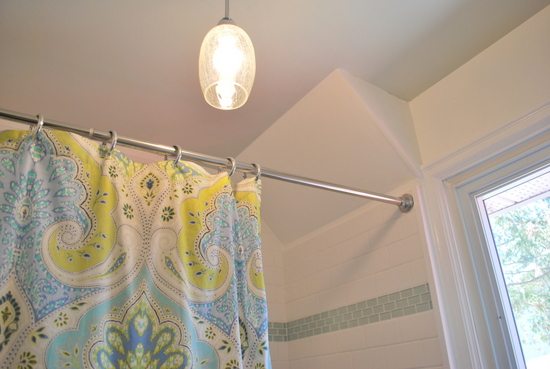
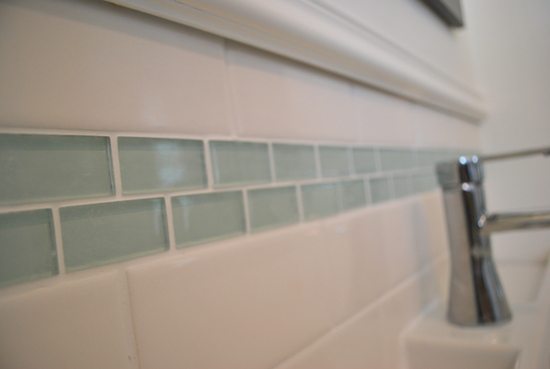
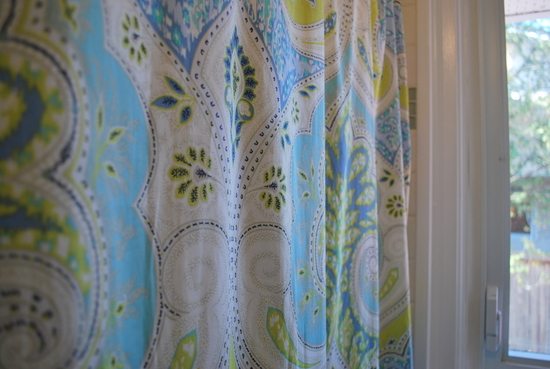
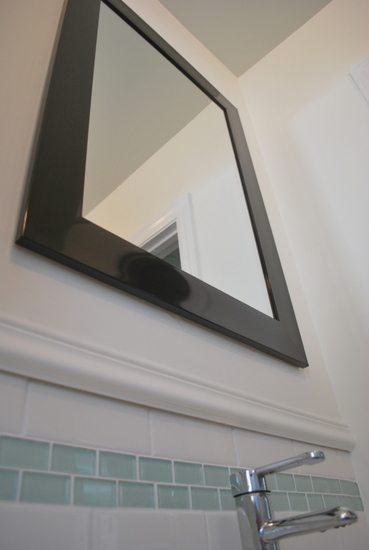
Love the white with beautiful shower curtain and spa blue glass tile accent.

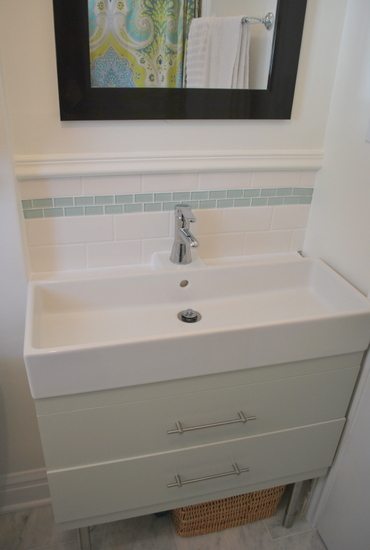
Gorgeous floating vanity/sink…
Let’s throw in a little side-by-side comparison for good measure. She’s come a long way!

Budget breakdown {goal was under $5k}…

  • tile (marble, subway tile, accent glass tile): $601.23 (originally $900, but we returned some unused tile)
  • bathtub and fan: $364.45
  • accessories (shower rod, towel bar, shower curtain, toilet paper holder, etc): $155.46
  • drywall: $115.98
  • mirror: $30
  • vanity (wood, track system, legs, handles): $176.50
  • vanity sink: $100
  • paint: $64.85
  • supplies (tiling supplies, plumbing, trim, tools, etc): $900.26
  • gift card purchased for friend who helped out with plumbing: $100

Grand total: $2608.73!!!

And after using some wedding gift cards, actual out of our pocket expense was only $1527.67. Not bad for a complete bathroom renovation!

Want to see more awesome DIY from Gemma? Pop over to The Sweetest Digs and introduce yourself!
DIY Show Off - FacebookDIY Show Off - TwitterDIY Show Off - PinterestDIY Show Off - Feed


DIY Play Kitchen before and after

I’ve introduced you to Tanya from

Dans le Towhouse blog

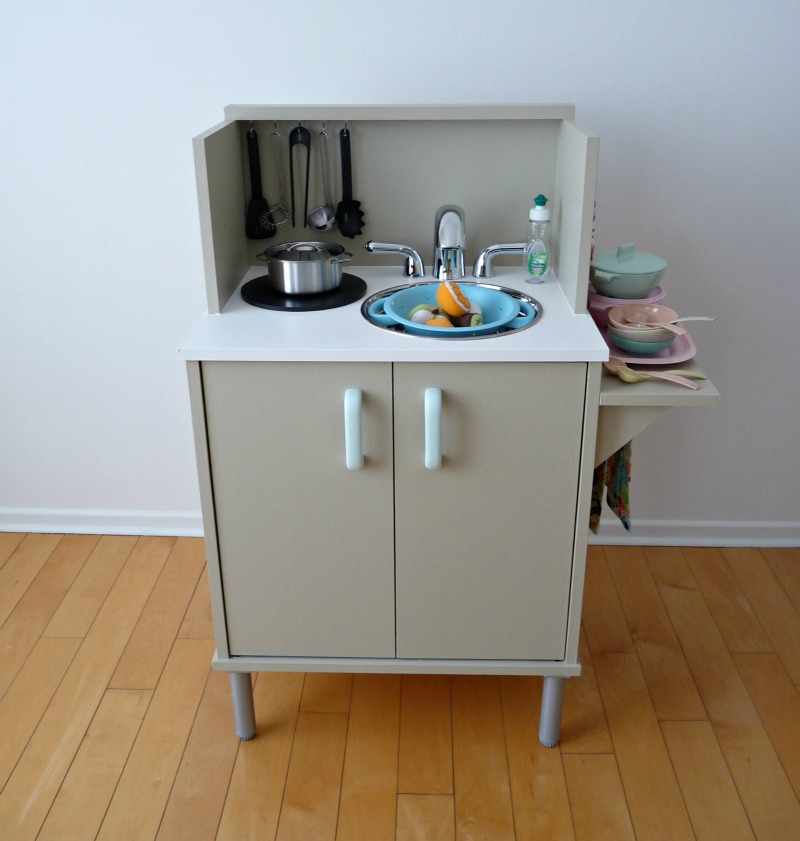
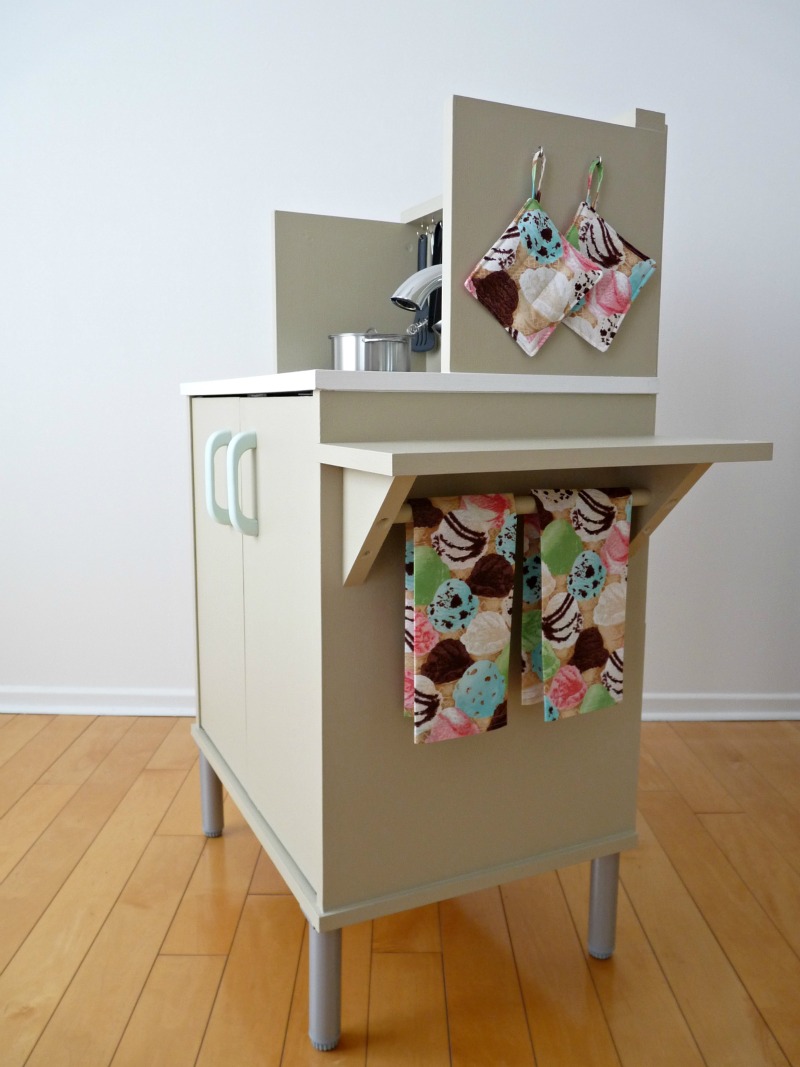
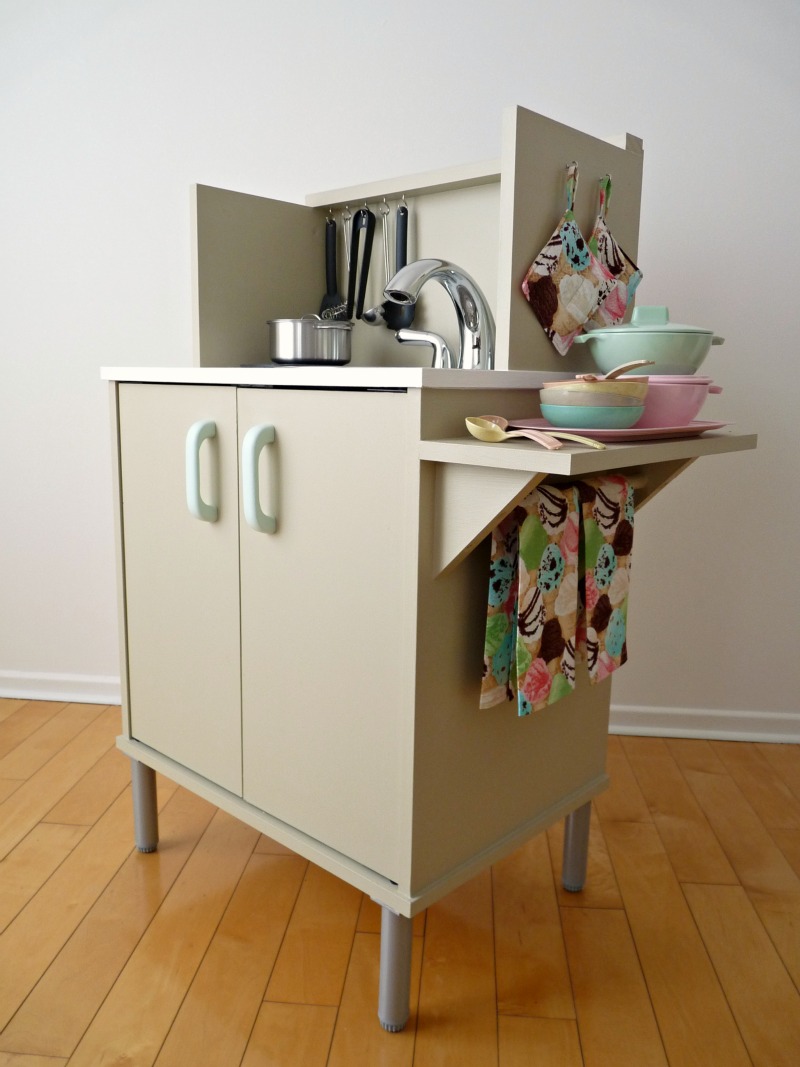
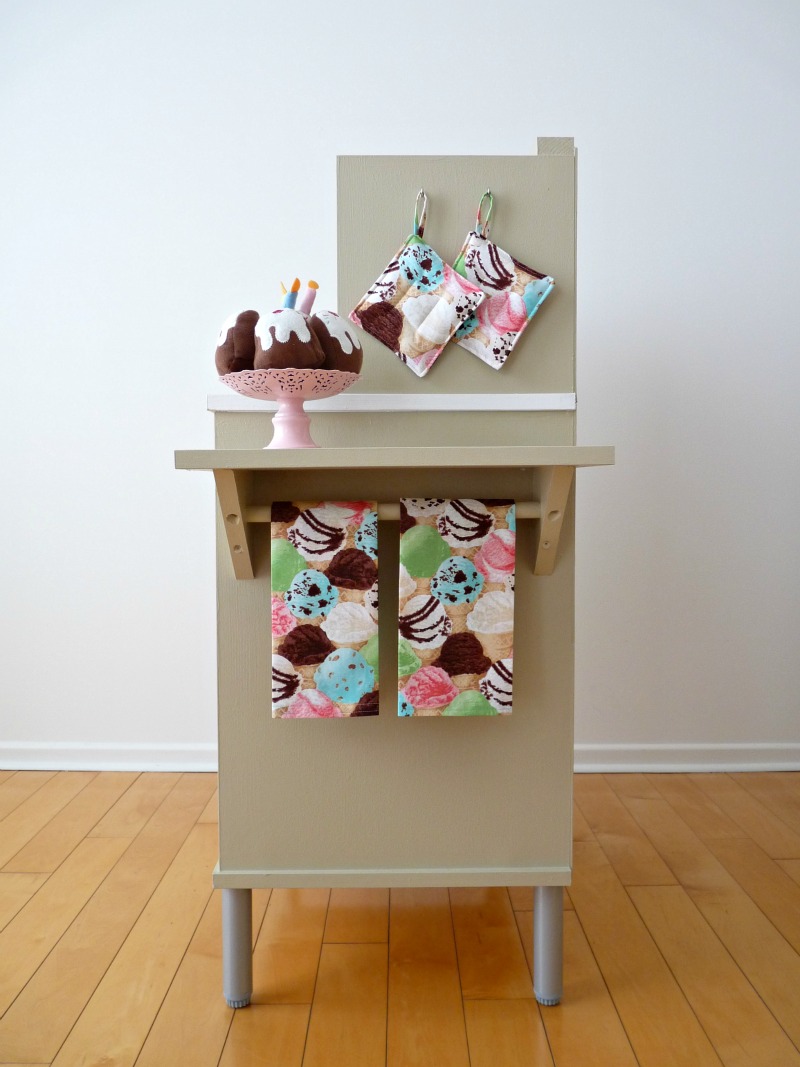
in the past. She has some awesome DIY skills and talent. She recently made a play kitchen for her little cousin. This is one of the sweetest hand made gifts ever!
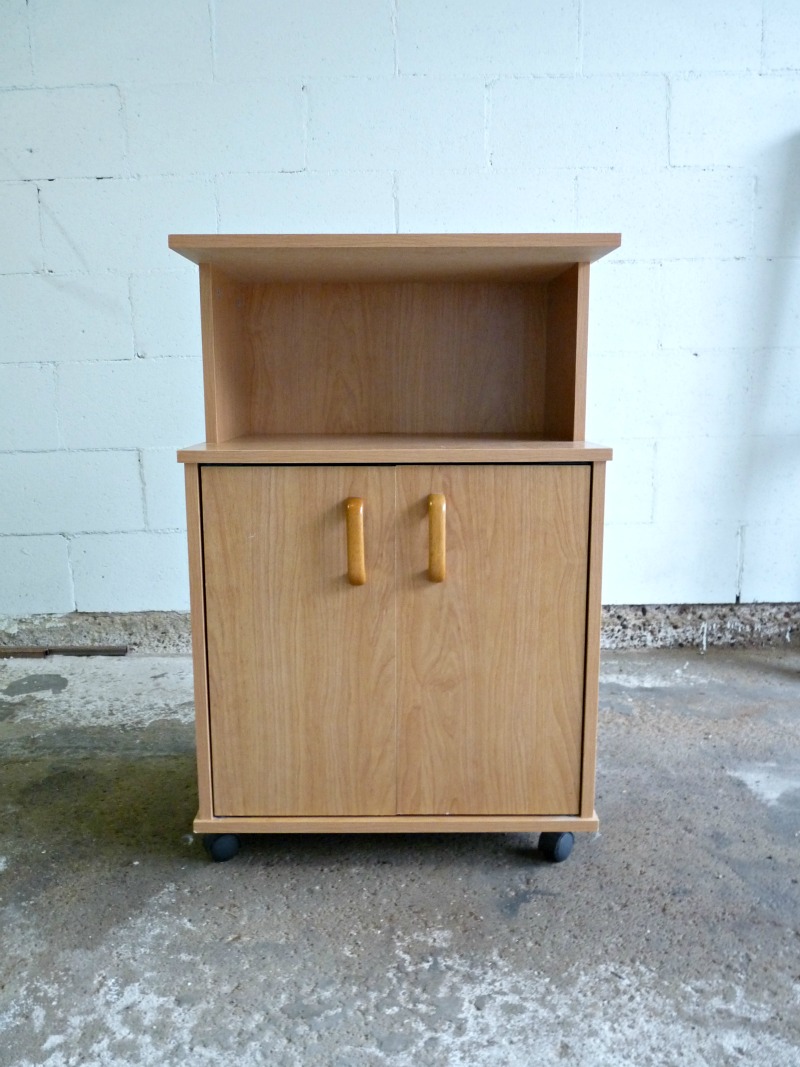
Before:

microwave cart


See full tutorial at DIY Play Kitchen Reveal.

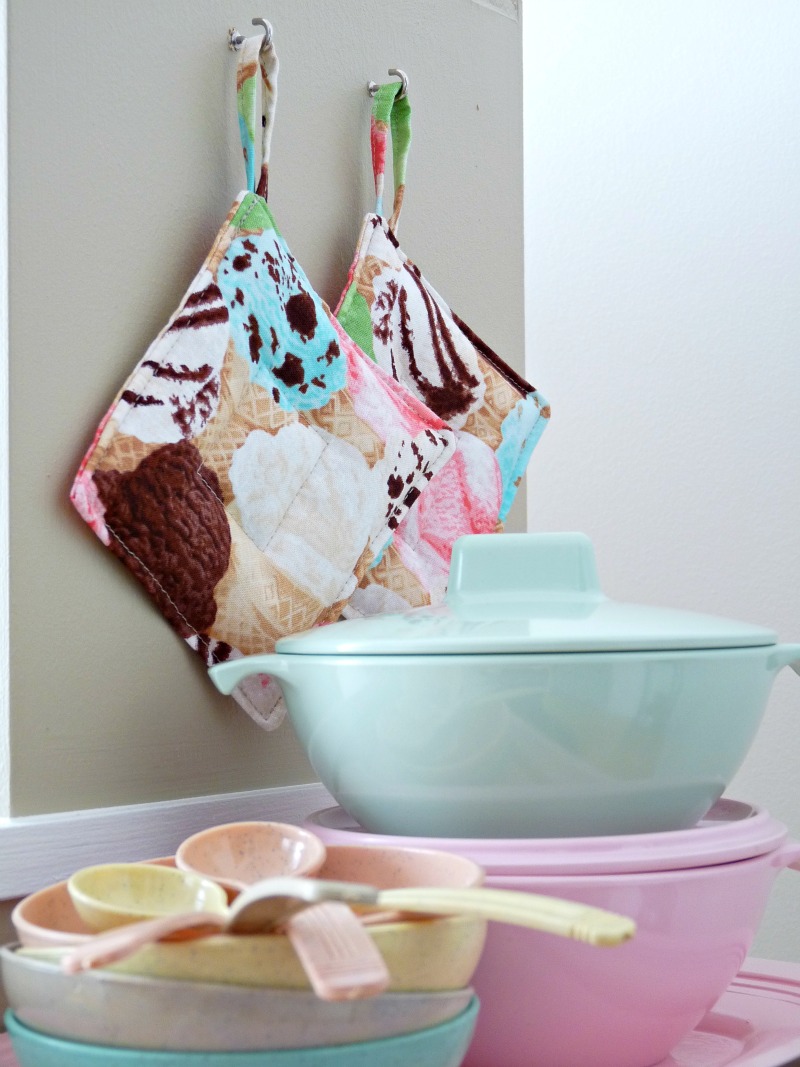
Awesome after photos:

kids pot holders
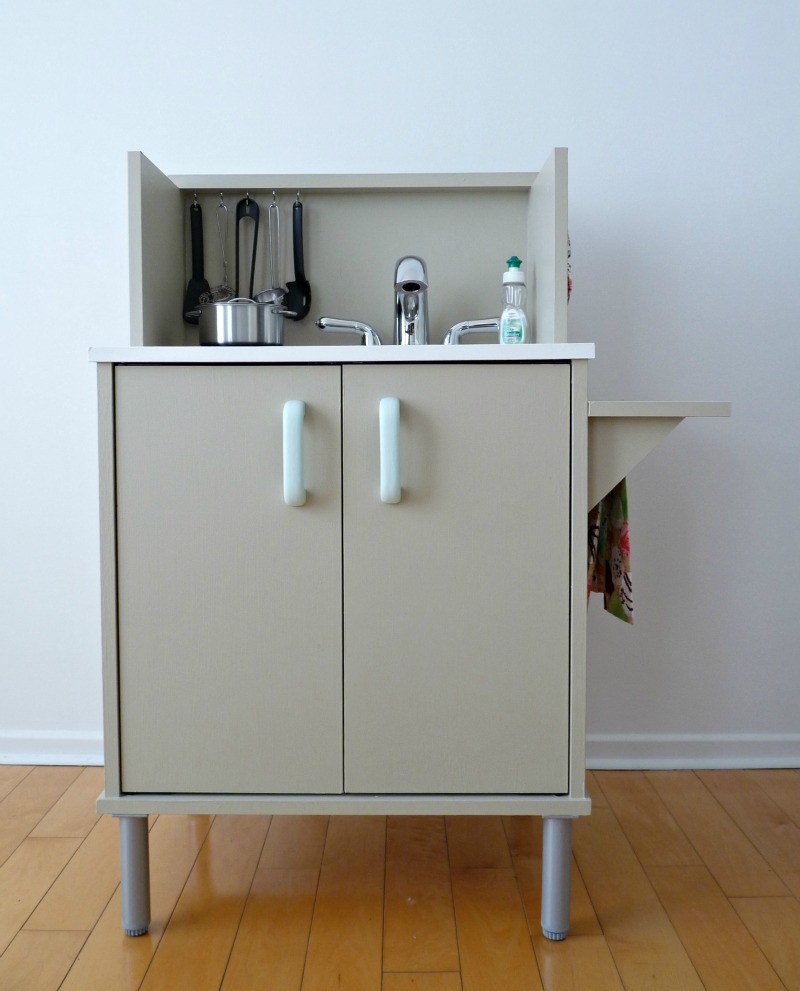
DIY play kitchen 
DIY play kitchen from microwave cart
DIY kids kitchen
One more before and after:
old microwave cart, cheap furniture
Before
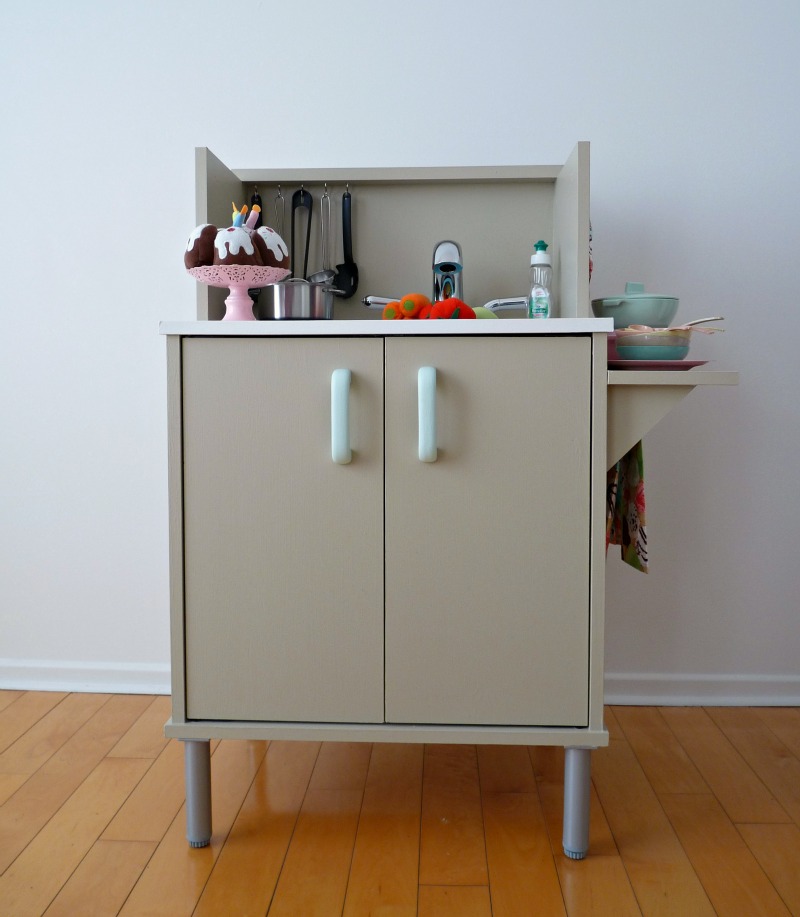
diy cute play kitchen
After
Super sweet! I want to play! Look how real, even down to the dish soap…
DIY play sink

I am so smitten with this kitchen and all of that fun food and accessories!

diy play kitchen
play kitchen, DIY
do-it-yourself play kitchen
I want the accessories for my real grown up kitchen. Adorable!
play kitchen
diy play kitchen
diy play kitchen
play kitchen
Cost breakdown (not including applicable taxes):
  • Microwave stand: $6.99 (included cute, wooden handles that I painted)
  • Faucet: $15.00 (with a bit of negotiating, bought from kijiji.ca)
  • “Sink”: $3.99 (it’s actually a stainless mixing bowl from the thrift store)
  • “Element”: $1.25 (a cork trivet from dollarama)
  • Wood for shelf brackets + dowel: $5.00
  • Primer & paint: leftovers
  • Legs: Free! (Mom had them lying around)

Total kitchen cost, having paid the tax man (but minus accessories):  $34.65 

LInks to the DIY accessories:

Tanya! You’re the best cousin ever! This is just so sweet, so amazing. I love it!  Thank you so much for sharing. I definitely need to add this to my DIY list for my nephew’s 3rd birthday. I love that you kept things neutral and included a set of ‘boyish’ accessories too…

diy play kitchen

I love ALL of Tanya’s DIY. She is super talented. Please visit her at

Dans le Towhouse blog

to pin from the original source and see MORE great DIY ideas!


A Master Bathroom Makeover – Wow!

I’ve featured Susanne from Tenth Avenue South and her drop cloth headboard and kitchen makeover in the past {she’s a DIY girl too, friends!} and she has another AMAZING transformation I’m excited to share with you today. 

Her master bathroom before was stuck in 1956…

before

bathroom before

but some cosmetic surgery has this old bathroom

Continue reading