Pantry Makeover Prep and #ReadyDoneClean Giveaway

This giveaway is now closed. And the winner is…winner1

winner2

Congratulations, Jessica! I’ll send you an email to get your mailing information!

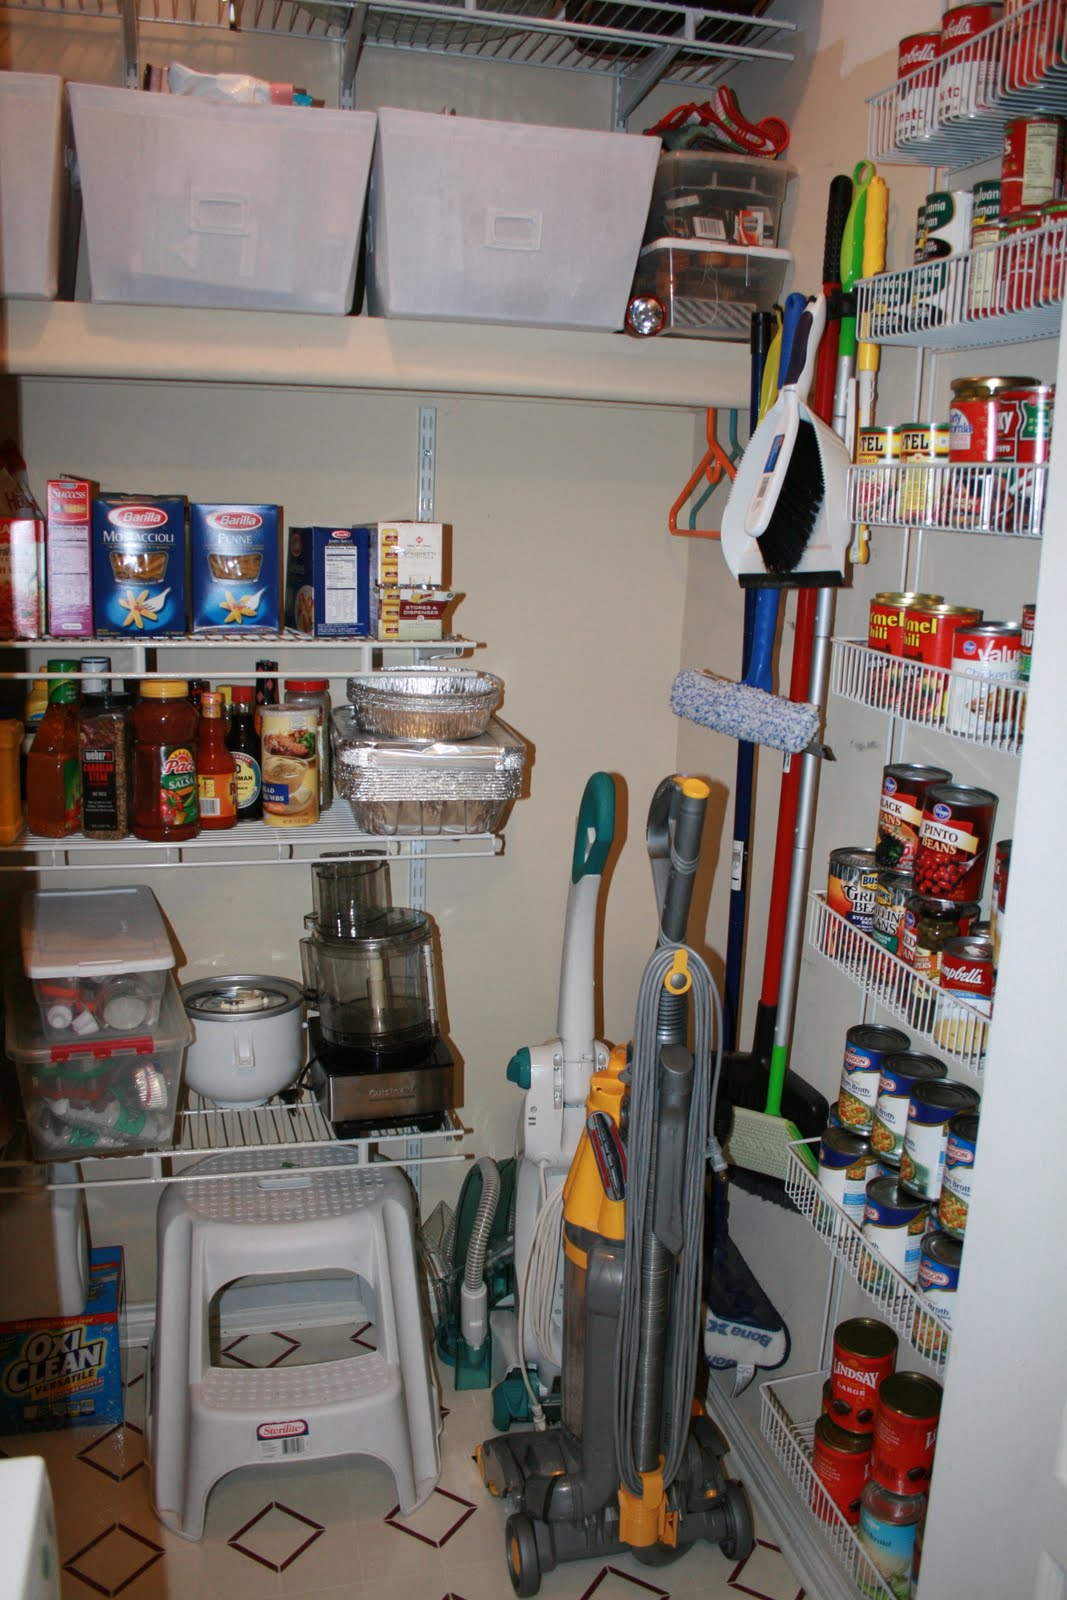
We’ve been using an enclosed porch as a temporary pantry ever since we removed a closet from our kitchen but with warmer weather approaching, it’s going to need to be moved inside for better temperature control. So, it’s time to start considering a pantry makeover.

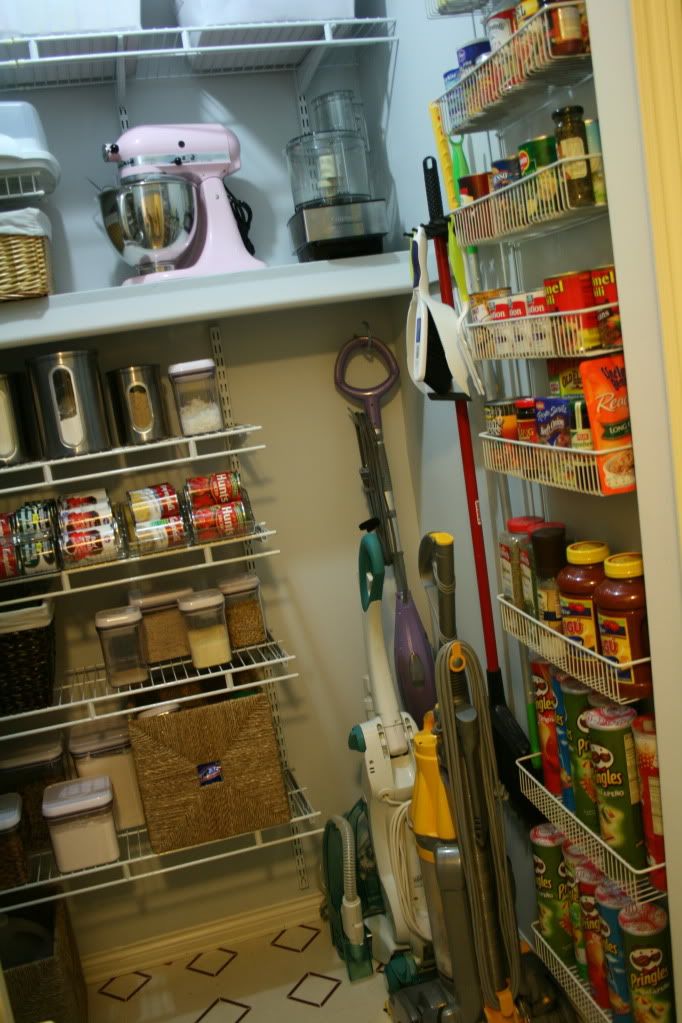
Inspiration: I have had this open pantry image from Emerson Made saved in my inspiration files forever.

Emerson Made open pantry

via Apartment Therapy

The ideal spot is the ‘room’ behind this back wall in the kitchen… farmhouse kitchen

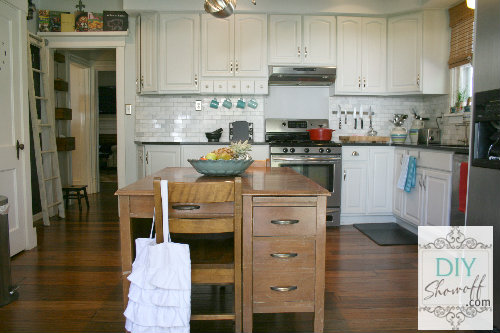
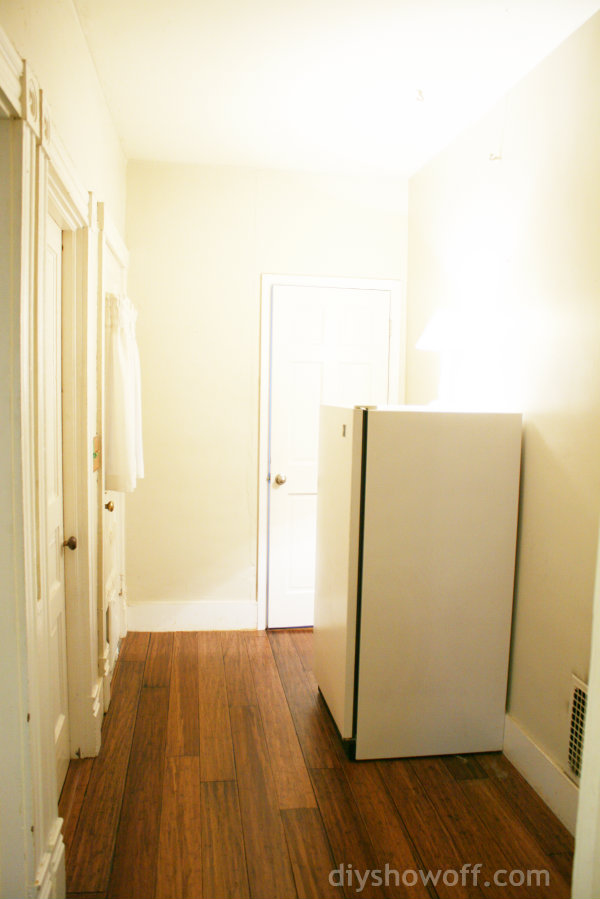
It’s wider than a hallway and sits between our kitchen and living room and has FIVE doorways. Time to make the most of what has always been a waste of space. The freezer will be relocated to the basement.

open pantry before

The first step in prepping for painting is to examine the walls and fill any holes, cracks or imperfections with spackling, letting it dry and sanding smooth. My Swiffer Sweeper is handy for cleaning up the spackling dust.

Then time for a little clean up. This area is so dark and un-used, meaning it often gets overlooked even though we walk through here nearly every day. Cleaning up before painting is important. Ever get cobwebs on your wet paint brush? No fun. A Swiffer Sweeper with a dry sweeping cloth works really well by attracting dirt and dust from virtually any surface, including walls, ceiling and baseboards with it’s 360 degree swivel head. With the long Swiffer Sweeper handle, I don’t even need a ladder to dust the 9 foot ceilings and corners.

I DO clean so I’m embarrassed by the dirt that accumulated in this dark, unused space. Yikes! This is just from the ceiling, walls and trim above 5 door frames. It’s not something you’ll want to paint over.

dirt and dust

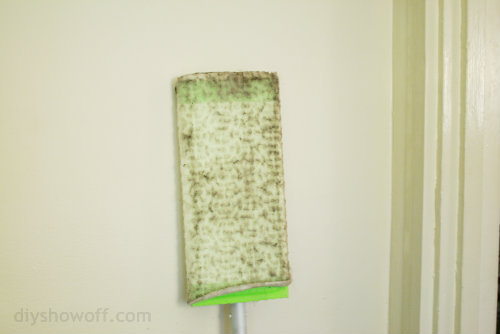
I can’t believe it took cleaning this room for me to actually see the dirt. Gross! Next prepare for painting by taping off trim. Then paint!

After painting, I use my Magic Eraser. It’s is so powerful that it removes more grime per swipe than the leading all-purpose bleach spray cleaner, and it has no harsh chemicals. I seriously have a basket full of Magic Erasers. With a husband who loves to cook, I use them all.the.time. for cleaning up spills and drips on white kitchen cabinets too.

magic eraser clean up

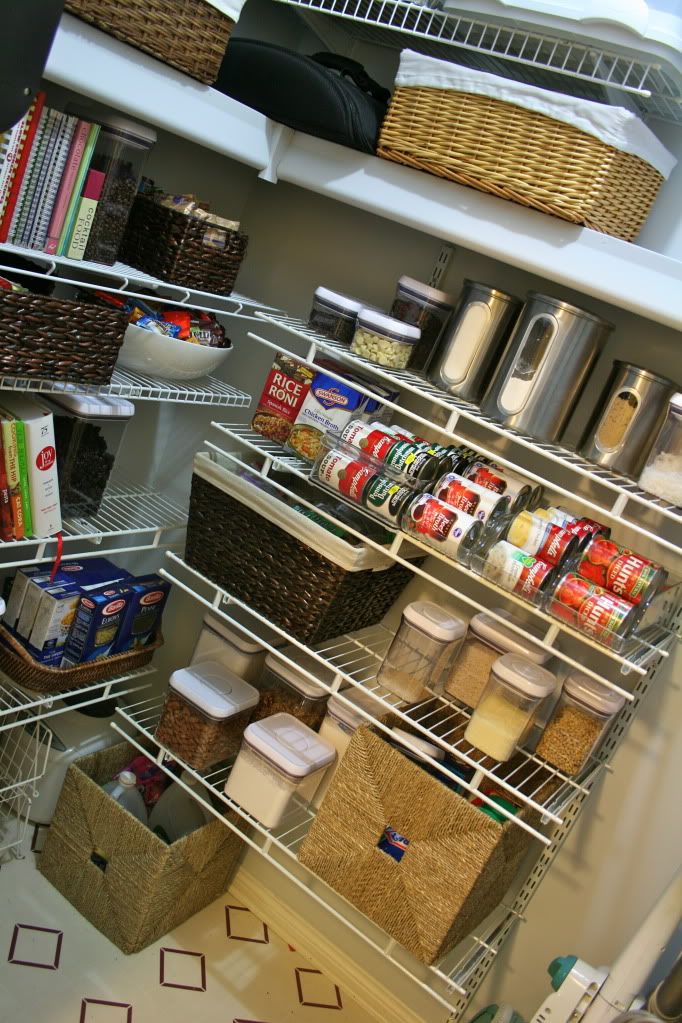
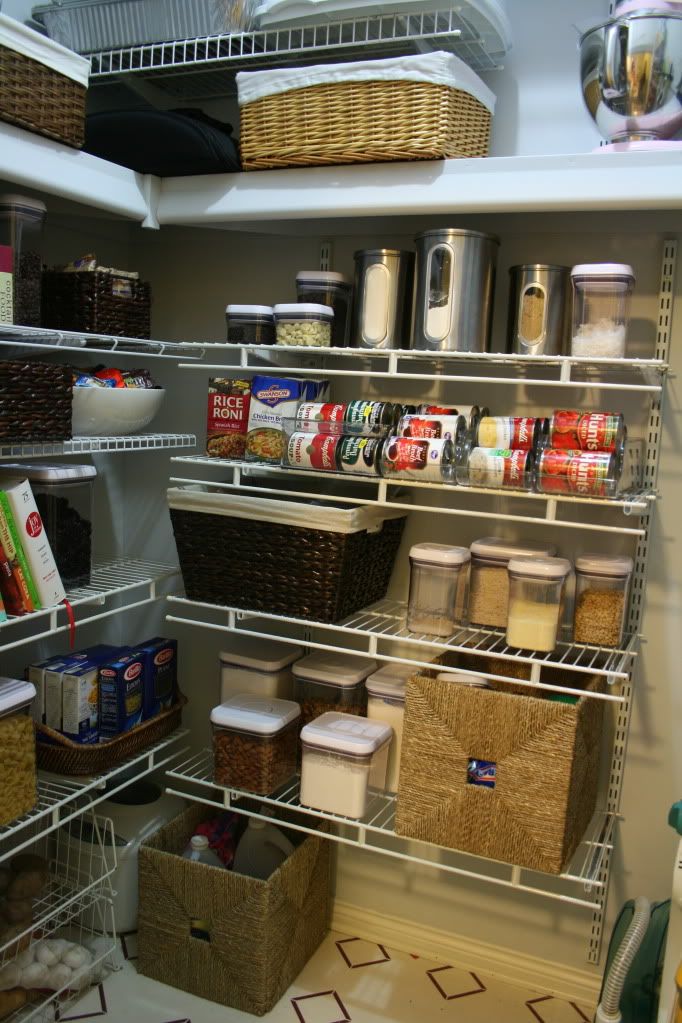
It’s going to feel so good to use this space, for it to be lighter and organized! I can’t wait!

You can find all of your painting supplies, including the Swiffer Sweeper and Mr. Clean Magic Eraser, at the Home Depot near you. Be sure to visit Paint Like a Pro at HomeDepot.com for a paint calculator and more great DIY painting and tips.

Home Depot P&G Prize Pack

Ready to paint?

Get ready. Get done. Get clean. Giveaway

#readydoneclean-giveaway

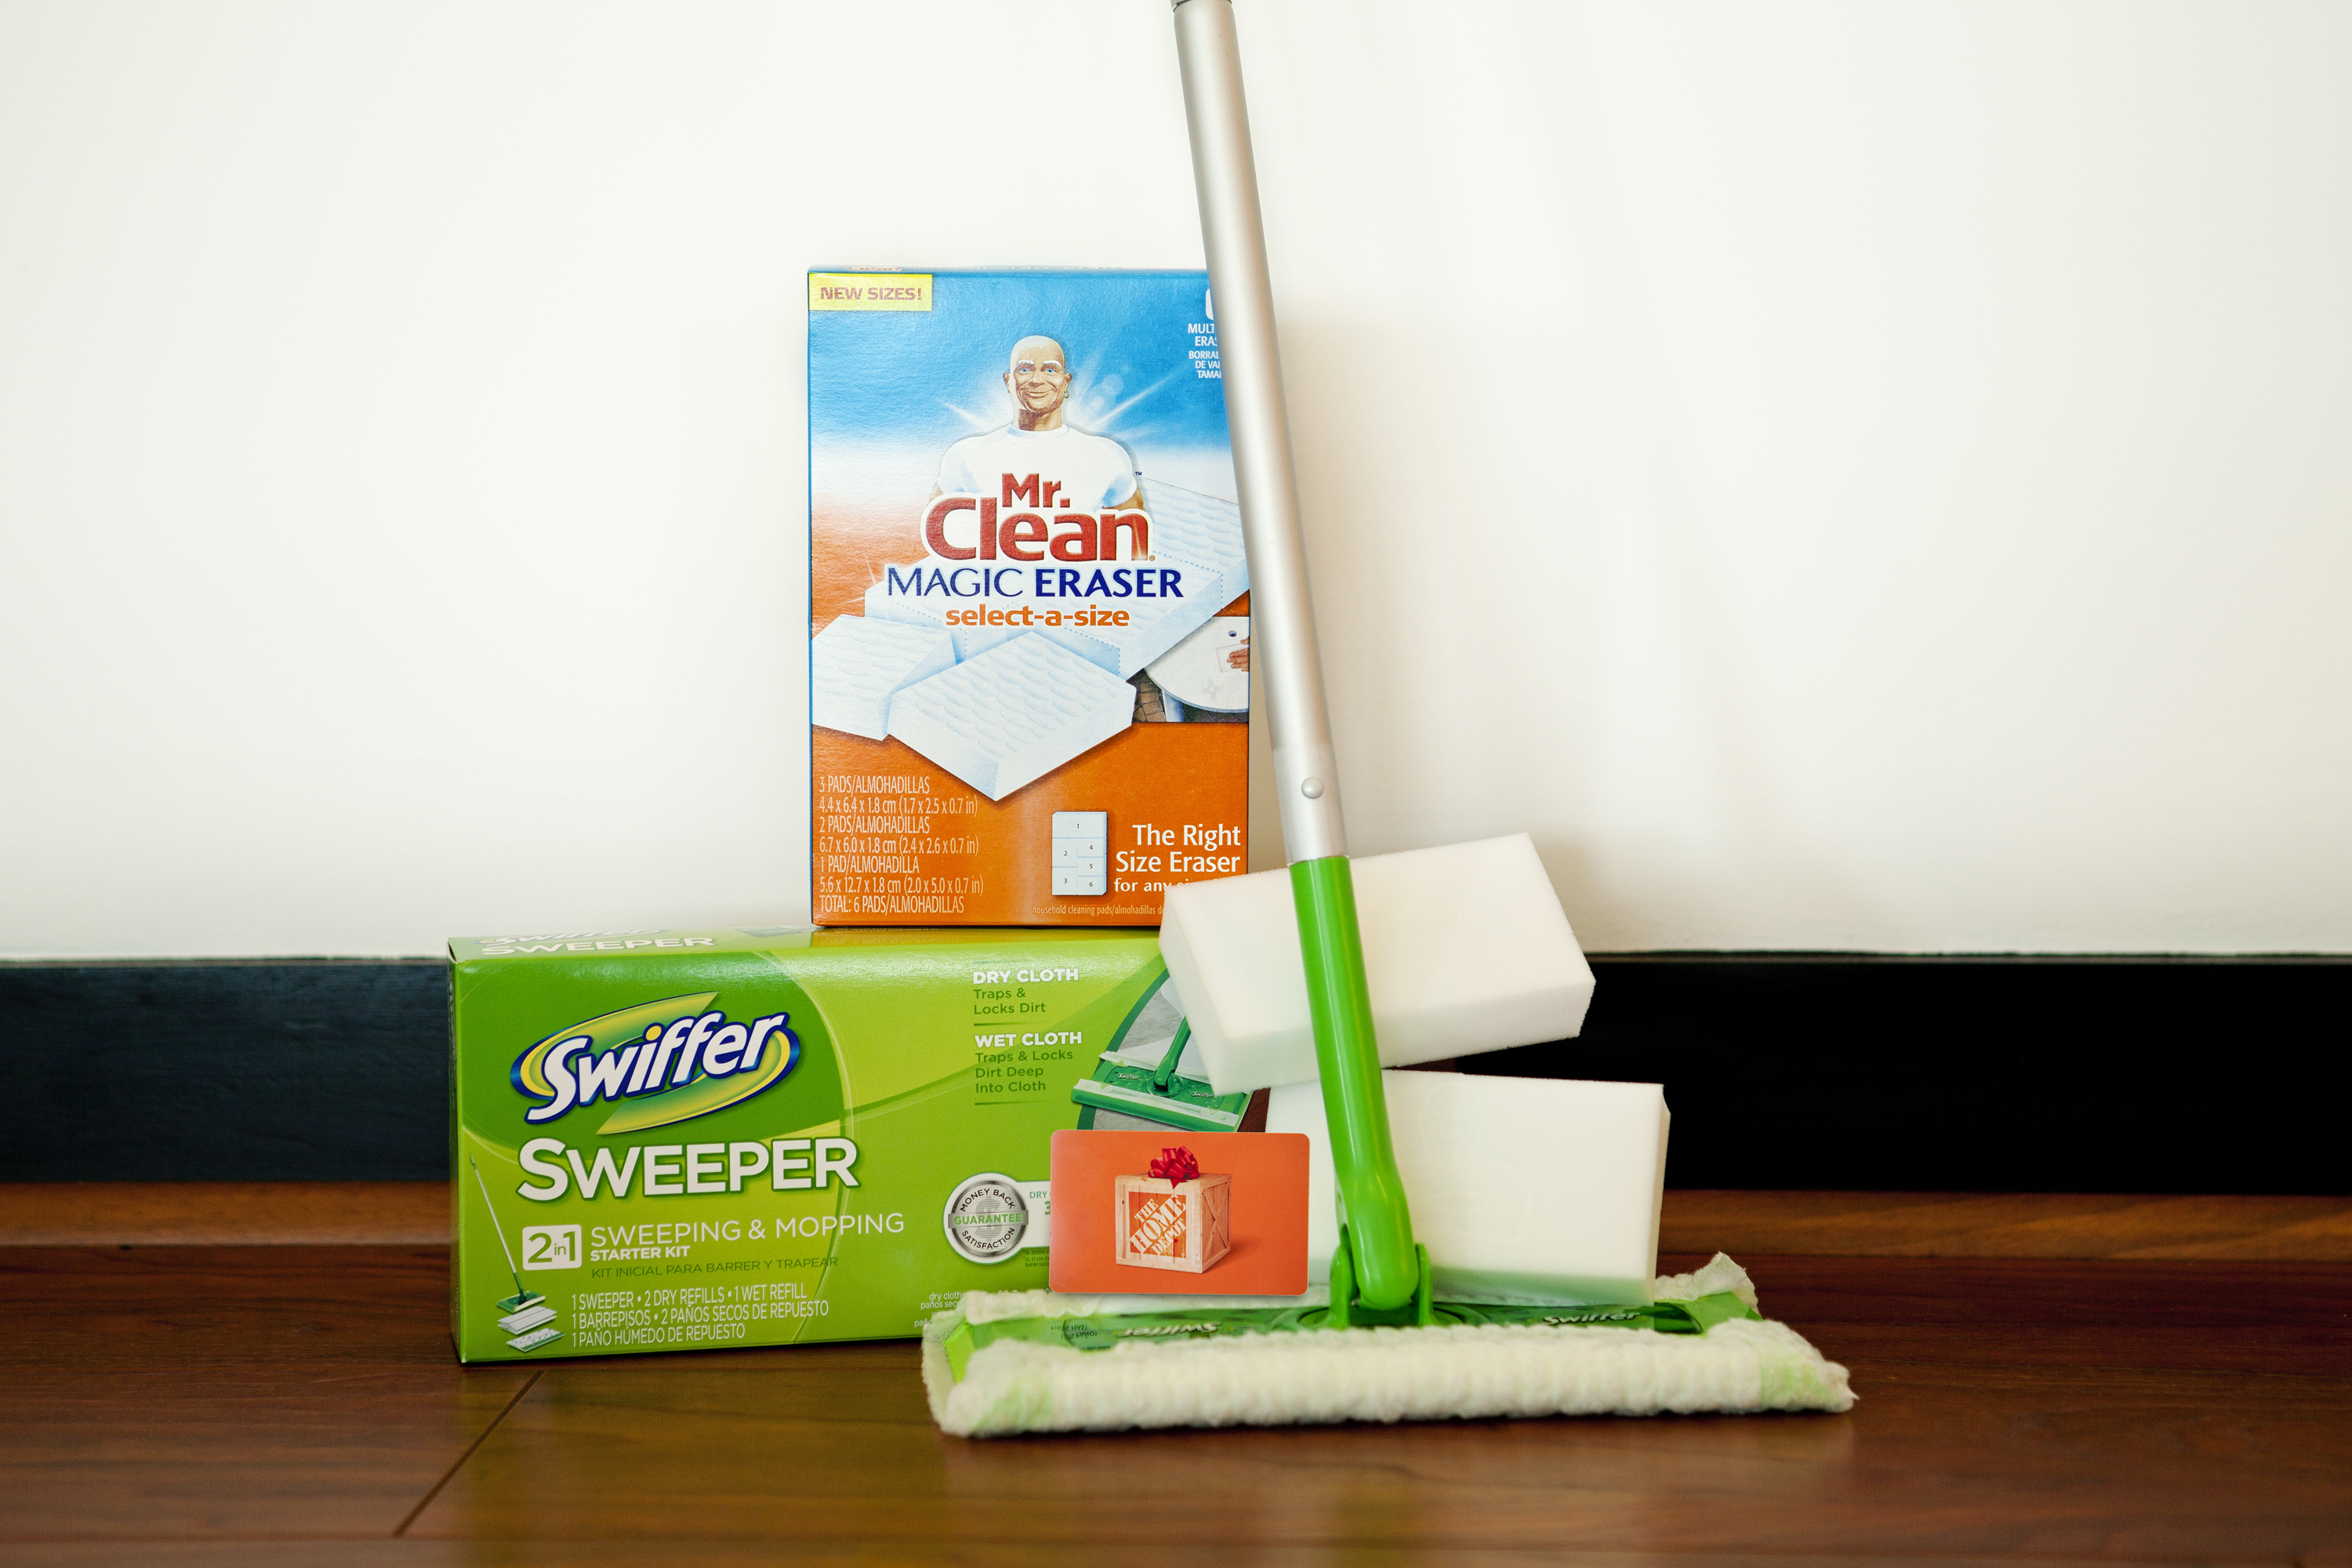
DIY Painting #ReadyDoneClean Prize Pack:

  • Swiffer Sweeper
  • Mr. Clean Magic Eraser Original
  • $50 The Home Depot gift card

(1) entry per person: Simply leave a comment below describing your next paint project to enter to win.  Giveaway starts today and ends March 1, 2013. Open to US and Canadian residents. Winner will be chosen randomly and announced shortly after.

*This review and giveaway is sponsored by The Home Depot and Proctor & Gamble, however opinion is my own and these are products I do purchase and use even when not sponsored. Read more about the DIY Show Off disclosure here

Farmhouse Kitchen Updates

Our farmhouse kitchen is still evolving. We still have some finishing touches such as baseboard trim, little pot rack/light fixture DIY, stove backsplash and kitchen island. But I wanted to show you how it’s looking today.

I’ve decided to go with red as an accent color.

farmhouse kitchen

Continue reading

Organizing Your Pantry ~ My Happy House

Molly from

My Happy House
always has some great cleaning, organizational tips and DIY.  With holiday cooking and baking on the agenda, I thought you’d enjoy some helpful tips:


Up until just a few days ago, on a good day, my pantry used to look like this:

Before: 

Maximizing the pantry is key. Oh and I want it to look pretty, am I asking too much? Perhaps, but that didn’t stop me from trying. See the tips at the bottom of this post. 

 
After: 

How to achieve the pantry of my your dreams:

  1. Really only stock the items you need. I ditched a few things I really didn’t need and have a pile of stuff to donate.
  2. Visually break up the shelves. A nice balance of baskets, containers, cookbooks, and serving platters helps big time!
  3. Uniformity is somewhat key. I wasn’t about to drop $$$$ on new baskets when I had quite a few I could repurpose. I actually like the variety there, but I wanted to have all the same containers for the most part. So I spent some money on those.
  4. The wire rack on the side wall was one way to house can goods, but I needed a better solution for items I keep in bulk (diced tomatoes, chicken broth, etc.). Fridge bins work great for this! They are clear, so they go with whatever theme you have and are the perfect size since they are for soda cans.
  5. Don’t overfill the shelves. This one was hard for me to do because I really do need all the space in there, but I’ll show you something I did later that really helped with this!
  6. Make sure to use all the vertical space! The way the pantry was originally set up, there was a good couple feet above the shelf that wasn’t used because I just didn’t have that many tall items. We added the wire shelf up top, instant space. And notice on the left, where I have some serving pieces, those little “S” hooks. Again, vertical space. It still looks aesthetically pleasing by not looking crowded, but without those hooks, I’d lose an entire space for a basket.
  7. When using that top vertical space, be smart about it. I kept all the canvas baskets at the very top light in weight. Linens, chips, cereal, etc. are easy to get down without fear I’ll knock myself unconscious when I need to get them down.
  8. Keep the color scheme light. The paint we chose was some paint we had bought and weren’t able to use the perfect paint for the little closet space with no natural light. (Platinum by Ace) However, I’m pretty sure any paint would have been an upgrade from builder grade beige, and especially so seeing as the ceiling white came about 2 feet down the wall with a jagged line to finish it. Seriously builders?
Thanks so much for sharing your great tips, Molly! Perfect timing! I know that not only with the holidays do we do more cooking and baking, but with cold winter weather and shorter days, there are more home cooked meals, more comfort foods and having everything organized feels so good! 
 
You can see more from Molly at