Easy DIY Pelmet/Cornice Box Tutorial ~ My Old Country House

Lesli from My Old Country House is showing off her super easy tutorial for: 
PELMET/CORNICE  BOXES
The supplies you will need:
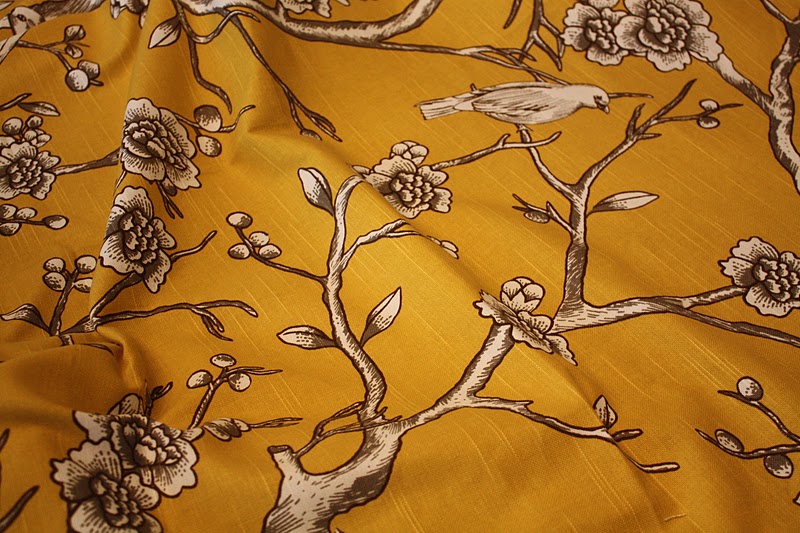
1. Fabric

2.Foam Core Board
the kind your kids use for school projects (unbelievable!)


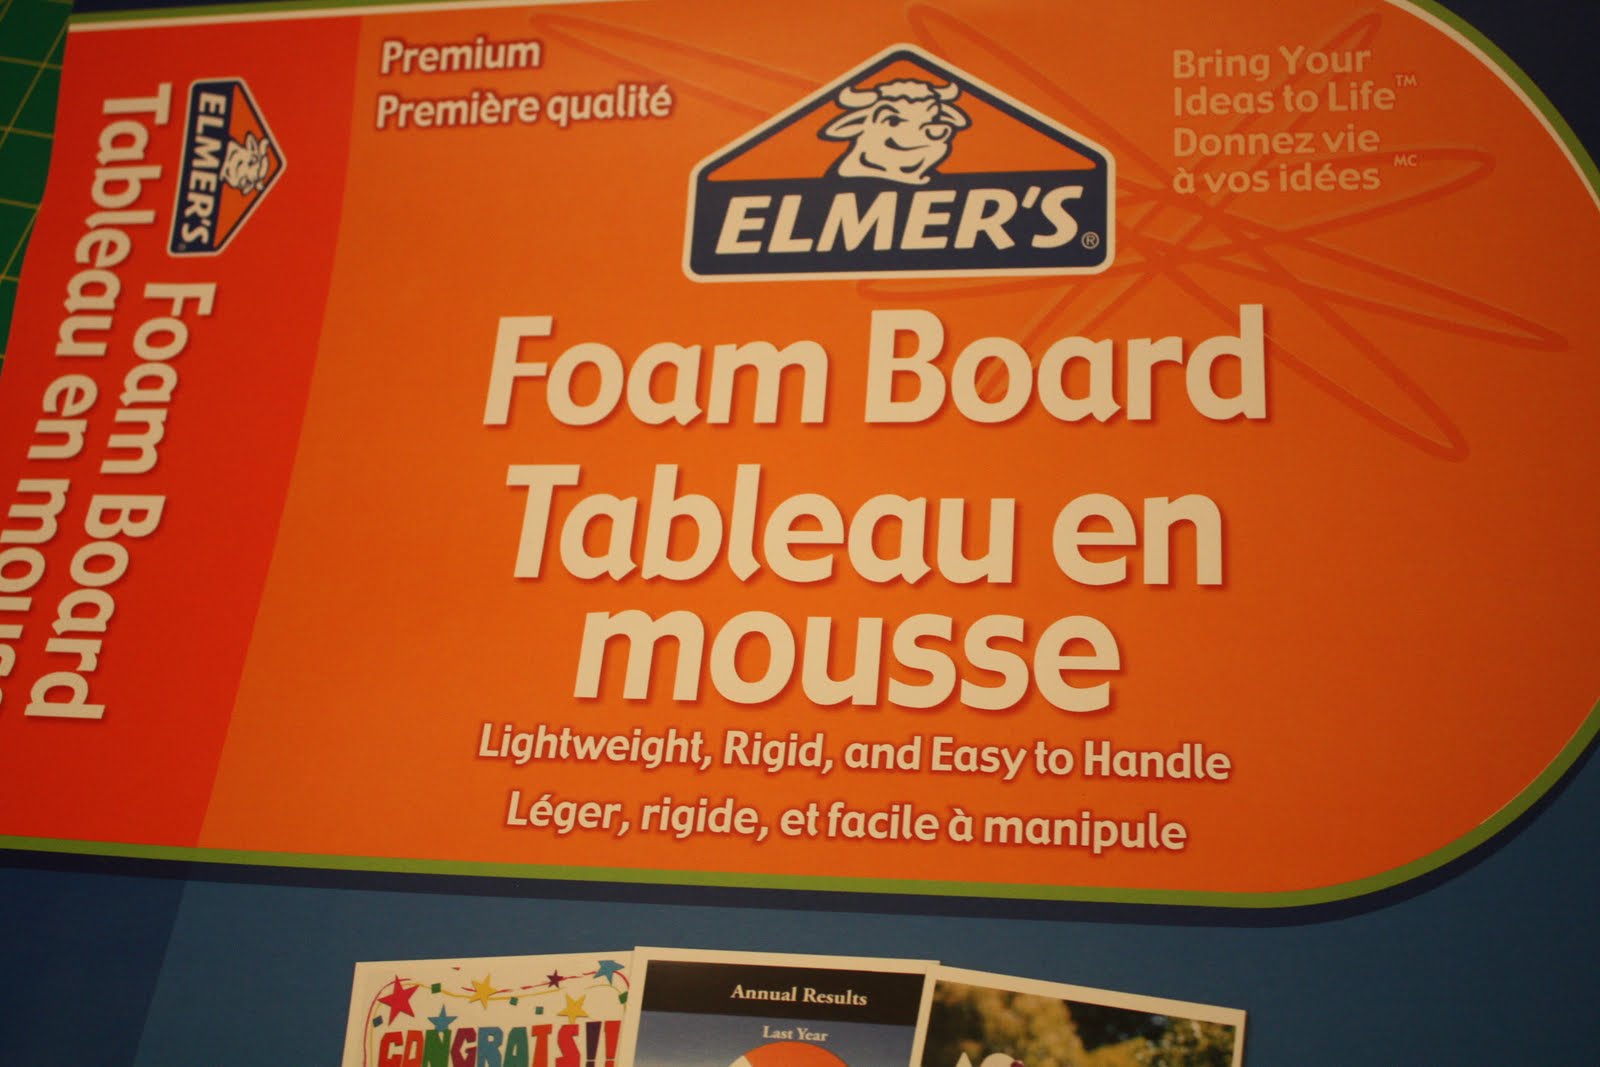
(They come 3 in  a pack for about 8-$10. You will need 2 per Cornice
 so, that means… you will need 2 packs total.)

  • 3. Packing Tape
  • 4. scissors, 
  • 5. a box cutter
  • 6. and batting to line the Cornice.
  • 7. Normally this would be staple gun, BUT
  • I could not find my staple gun so I ended up using Packing Tape for the whole thing!

Talk about EASY!


Okay here we go…

First, measure your window width and then add 9″. You will need 3 1/2″ on either side to be the SIDES and one extra inch on either side to set the Cornice out from the window frame. (You will need to adjust YOUR personal measurements if you want your Cornice shallower or narrower or wider. 

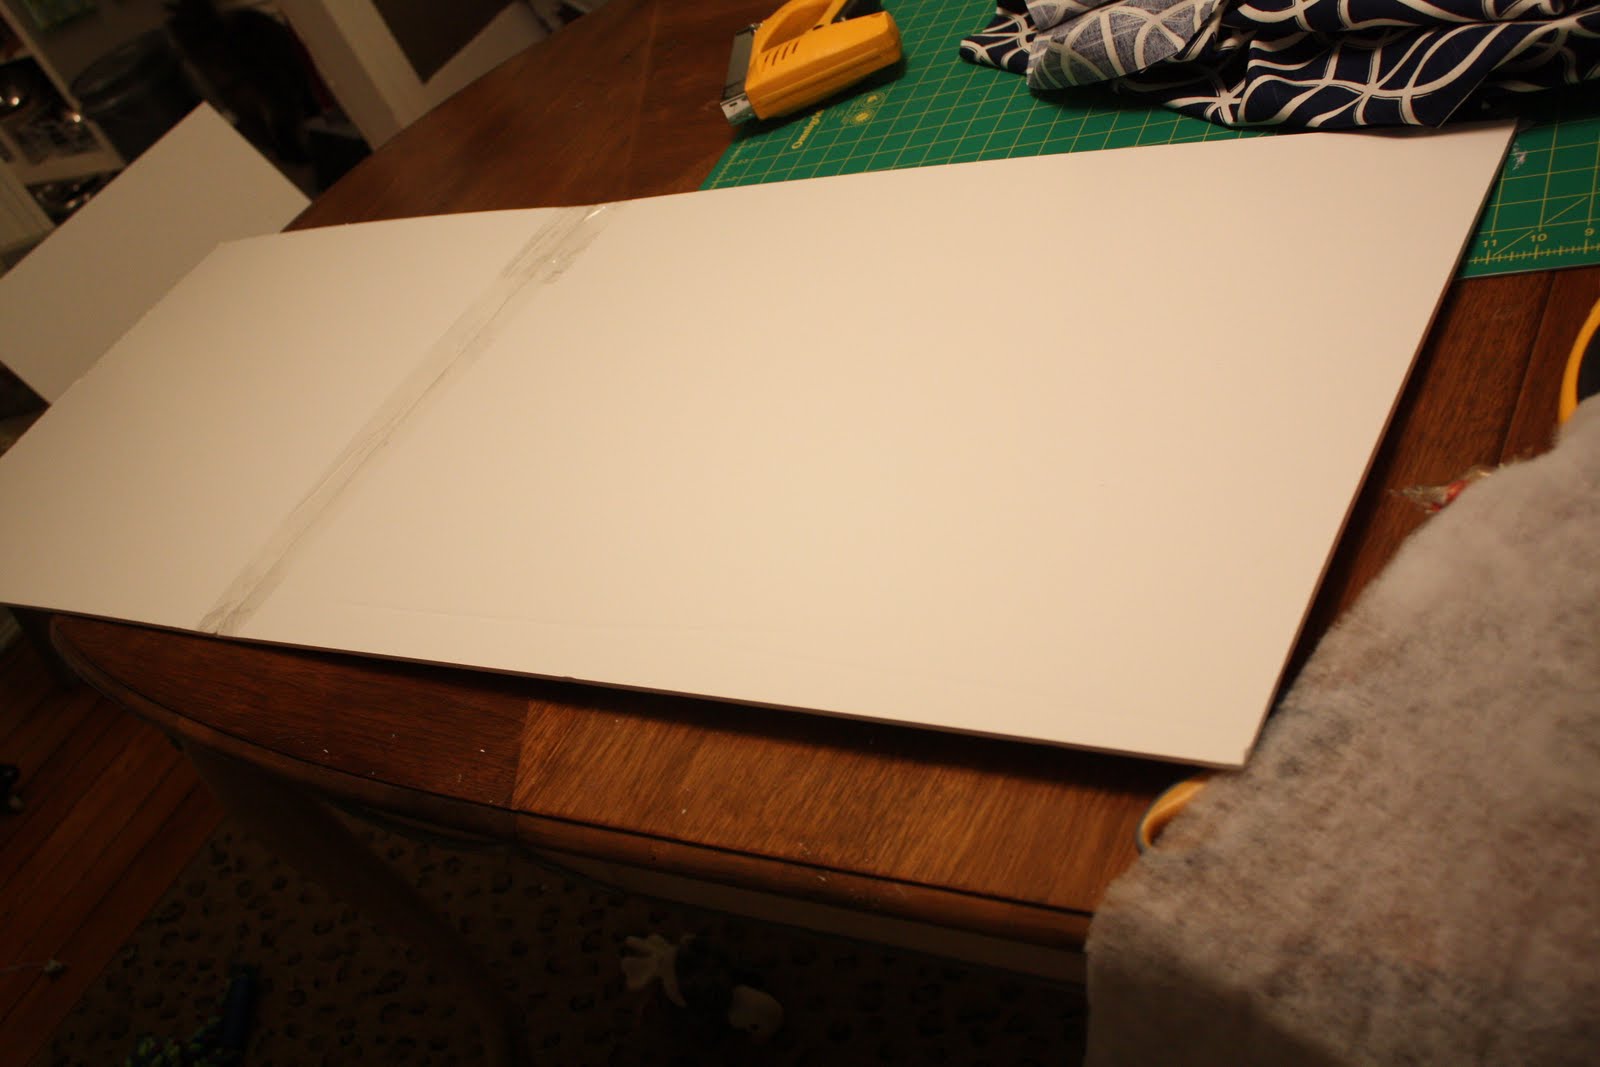
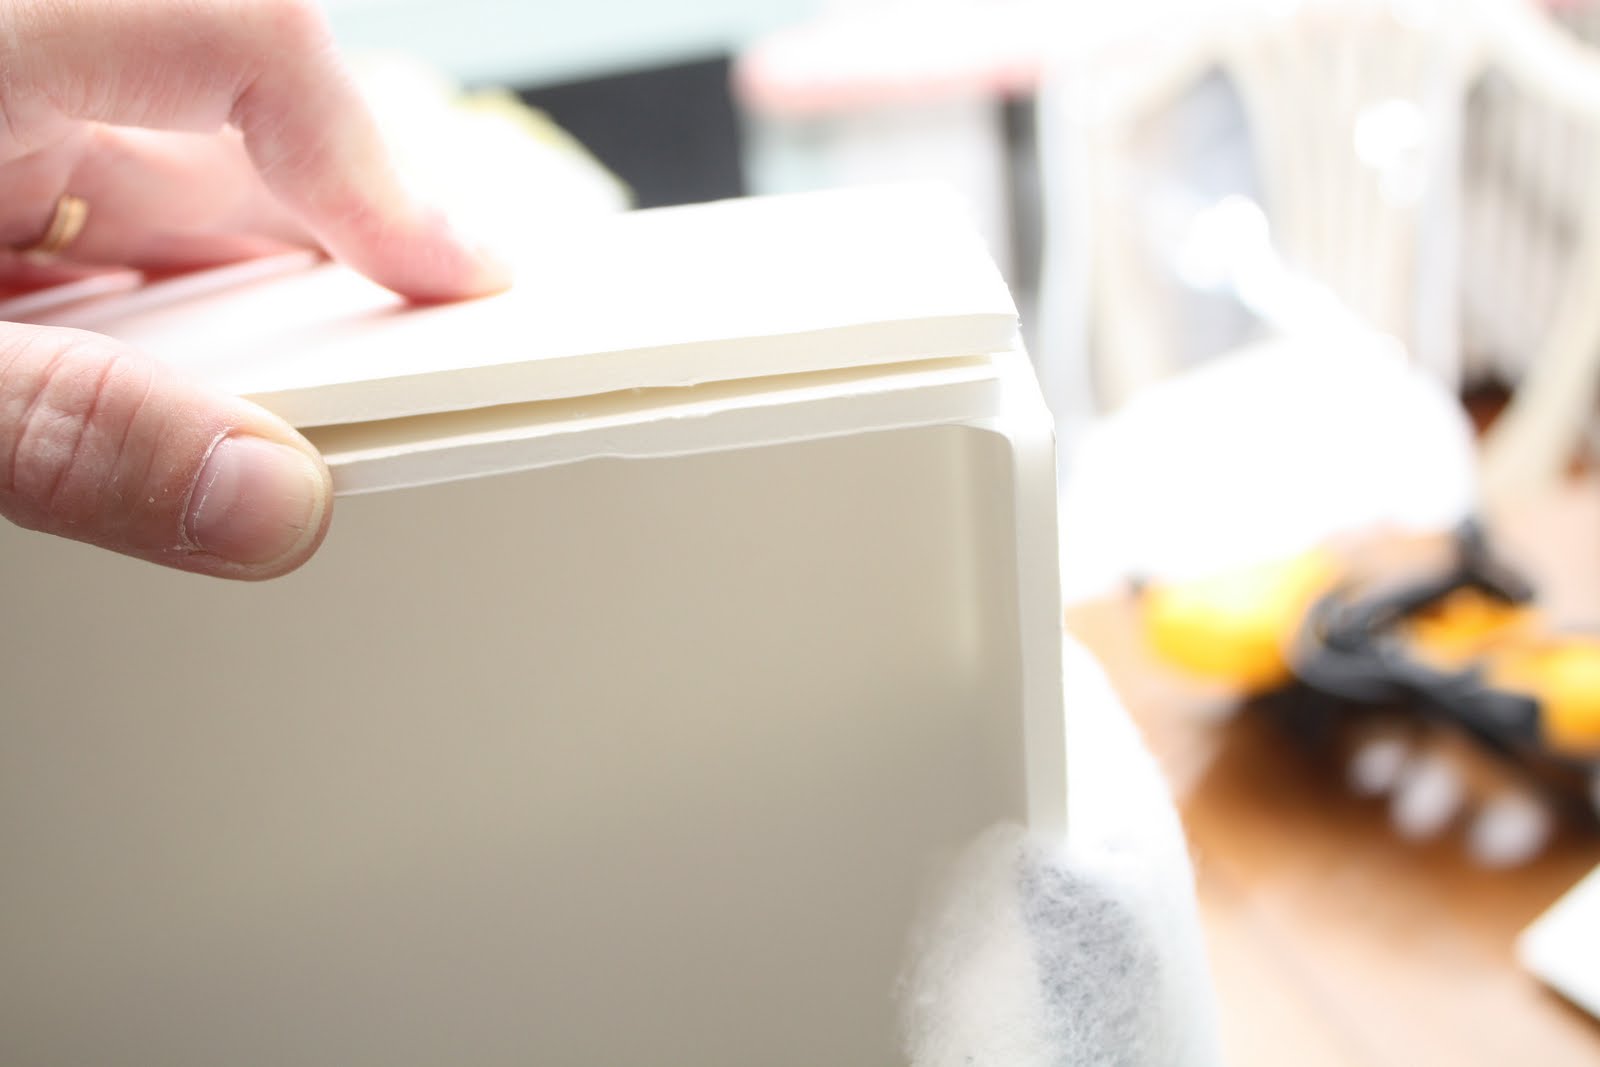
Next, take your board, (I just used the exact size of the board 20″ x 30″ (NO cutting!) and I cut the second board so that the EQUALED the measured length I needed. 

After you get the right combined length, tape the two pieces together, back and front. 

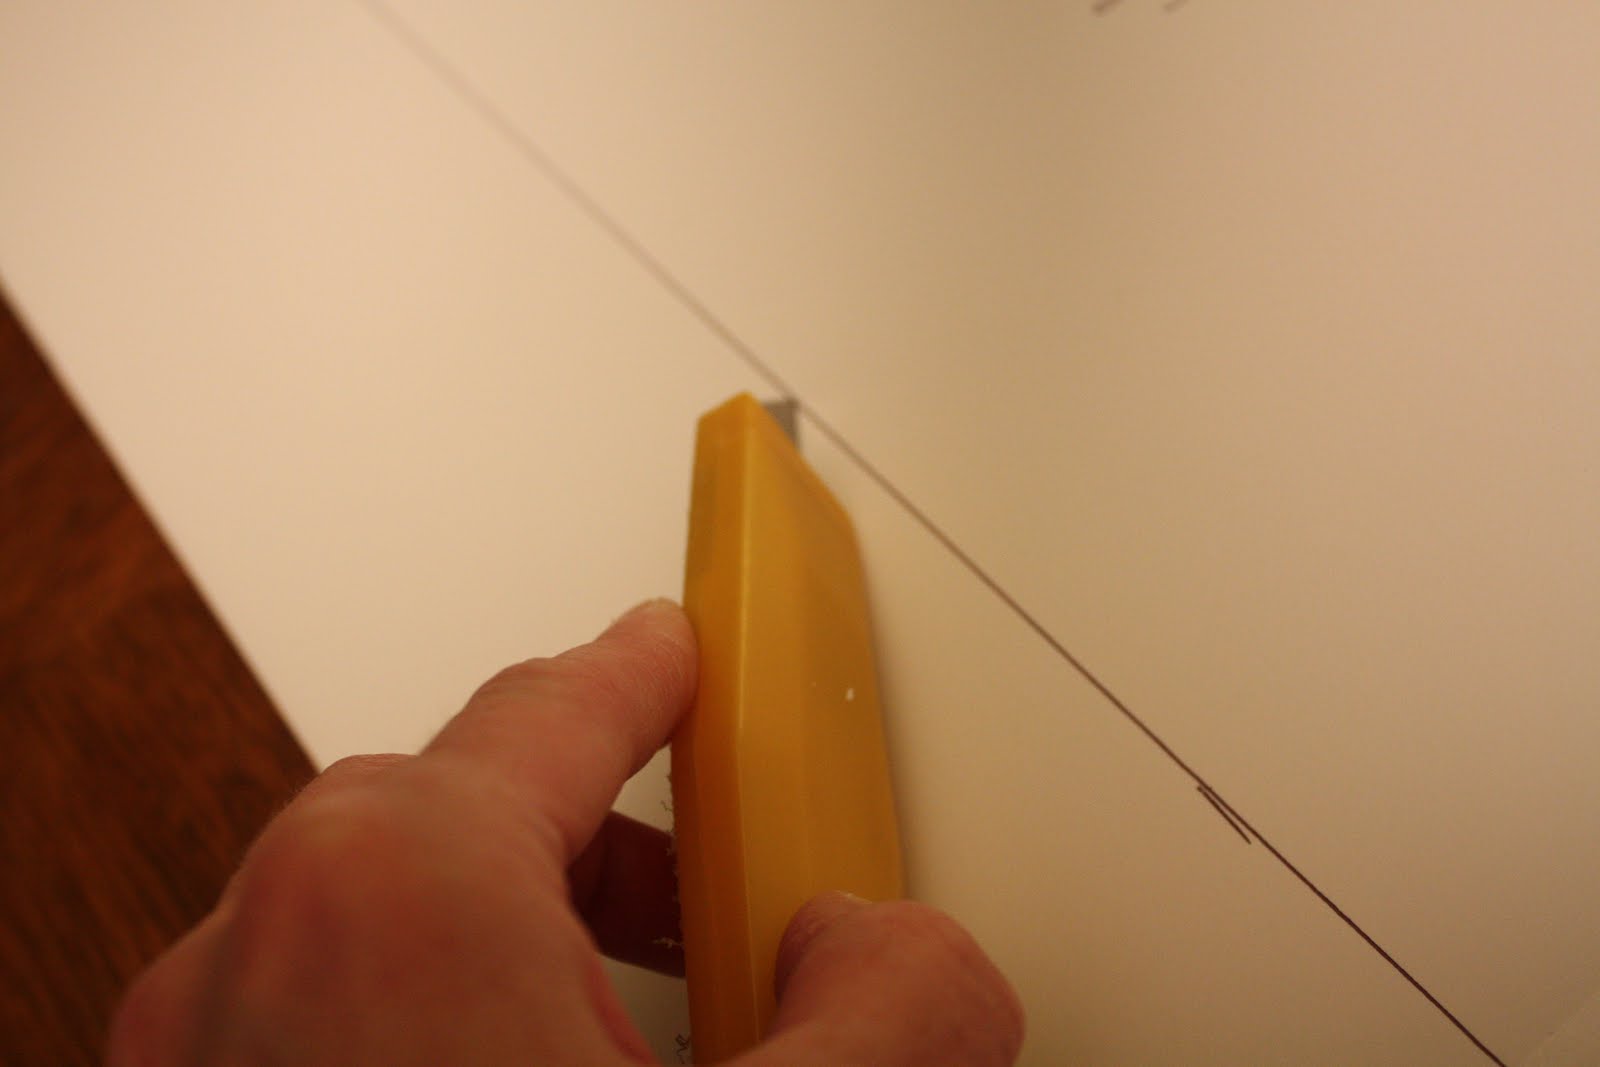
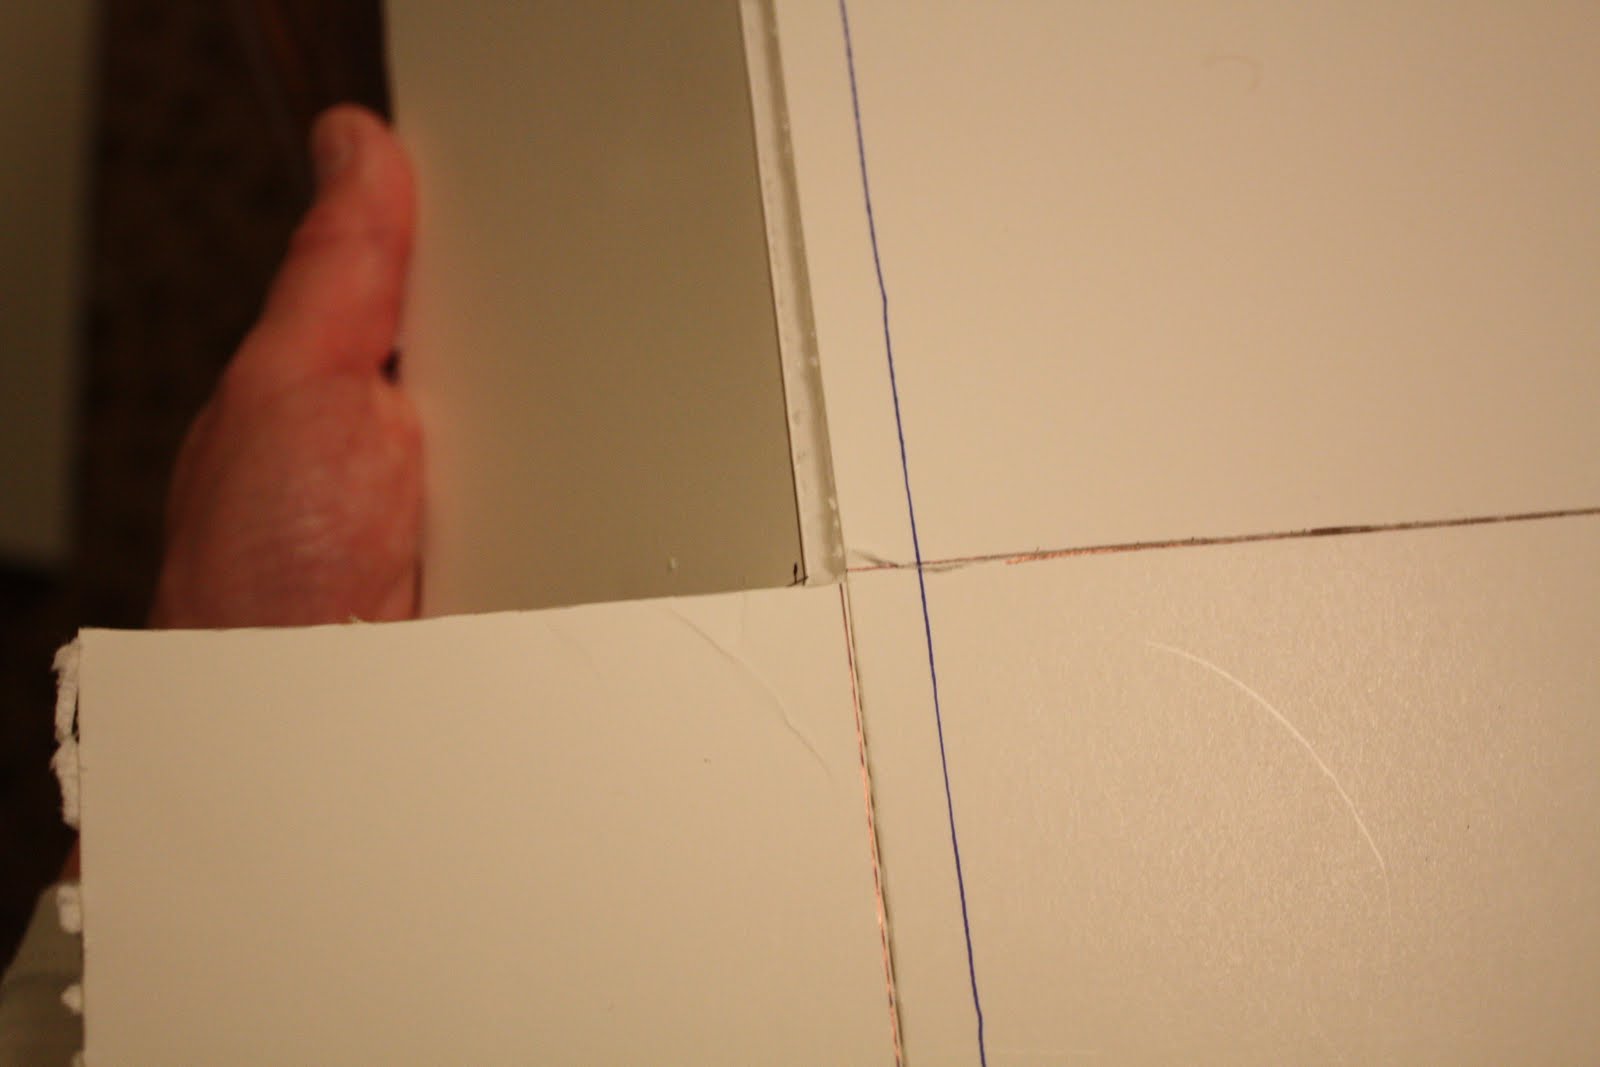
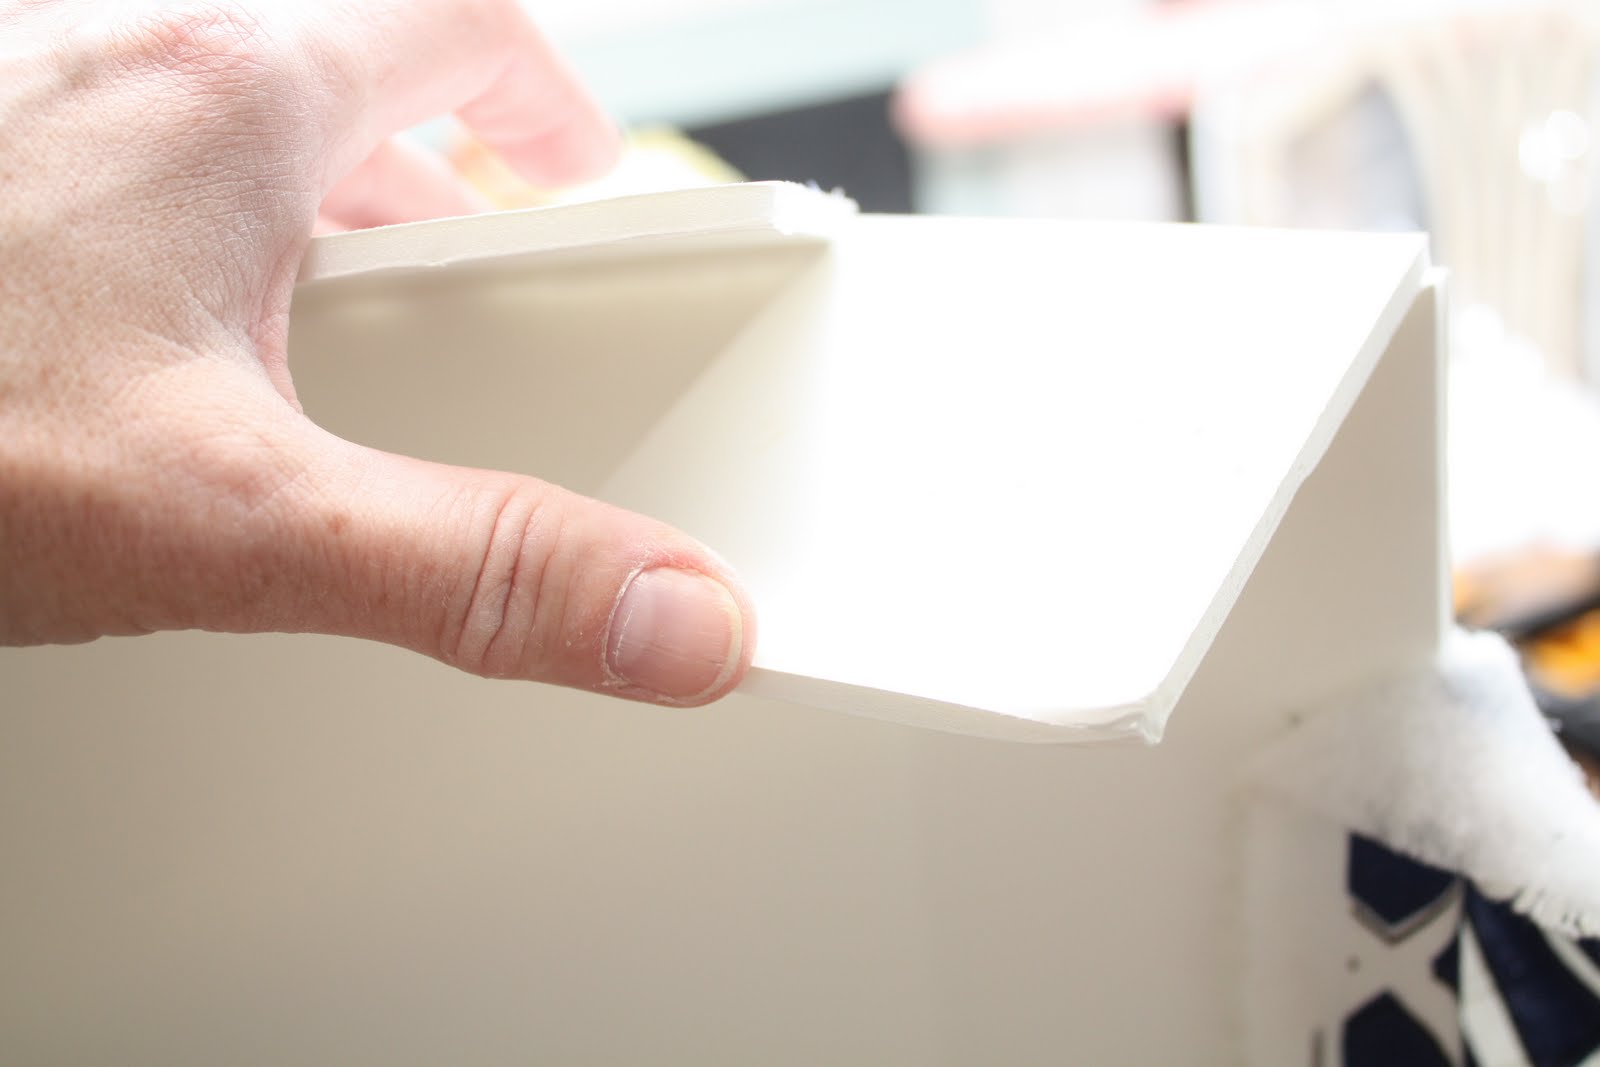
Then on one side of your board, which will be the FRONT, measure out 3 1/2″ on all sides, draw a line, and cut with your mat knife, BUT only a cut half way through, you are going to bend this to make your BOX.


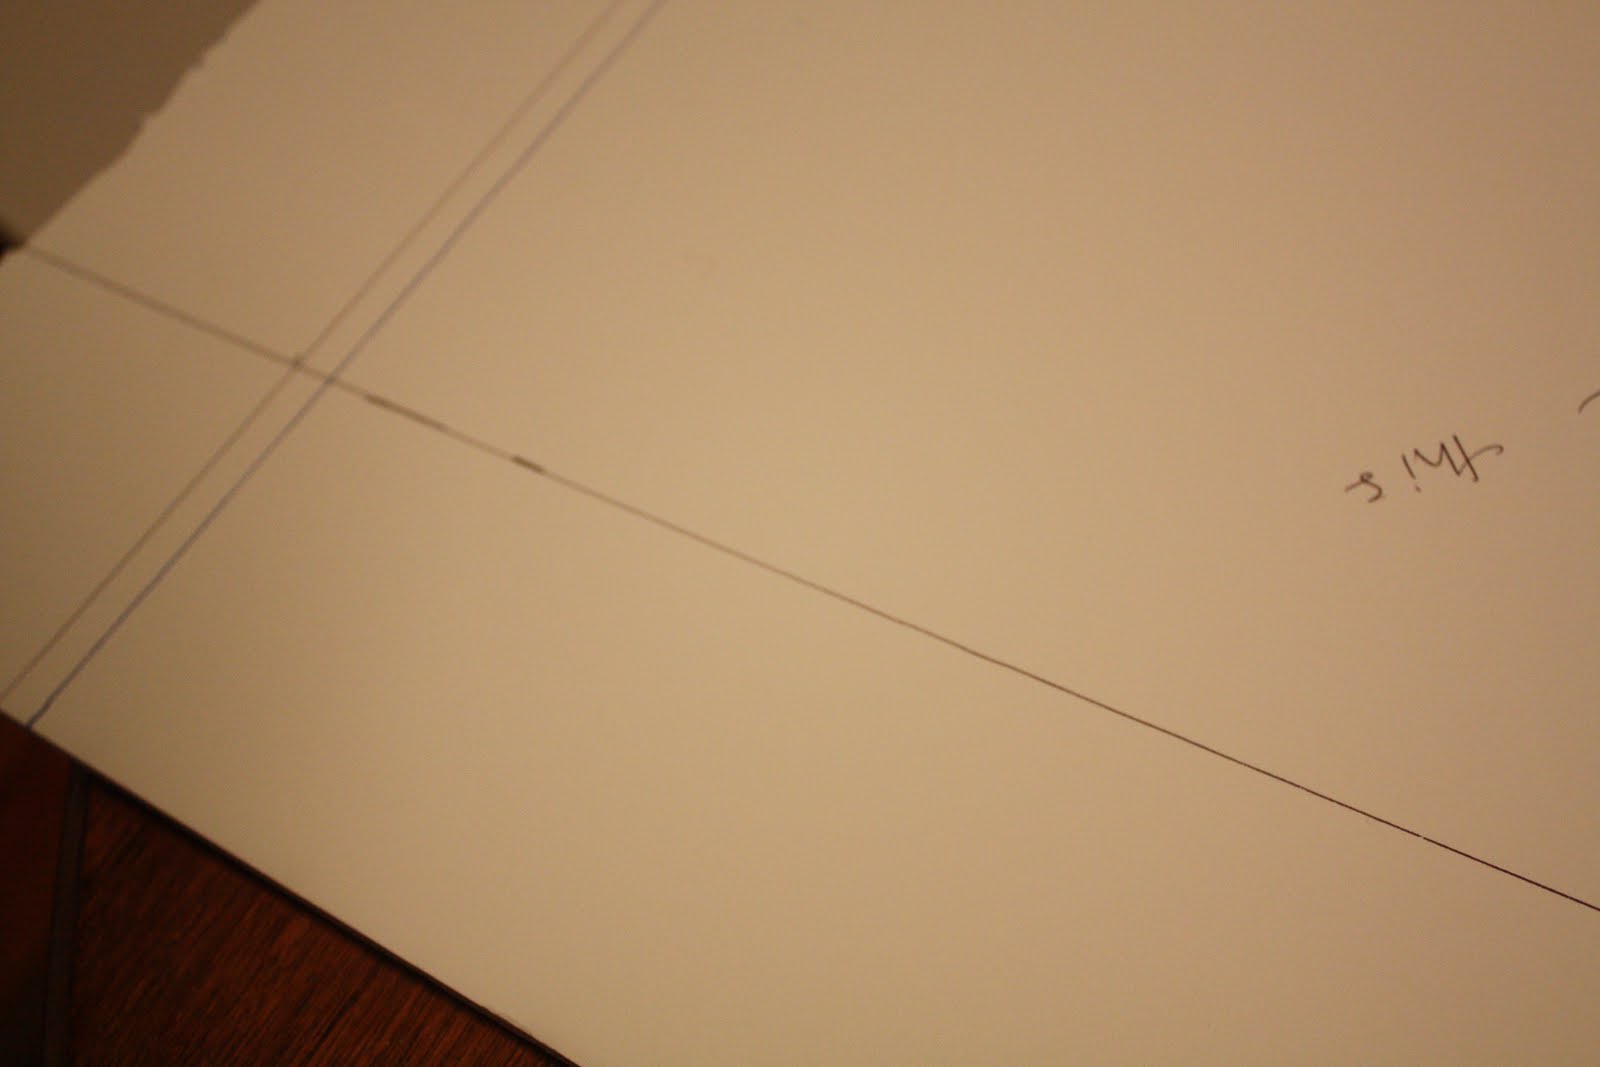
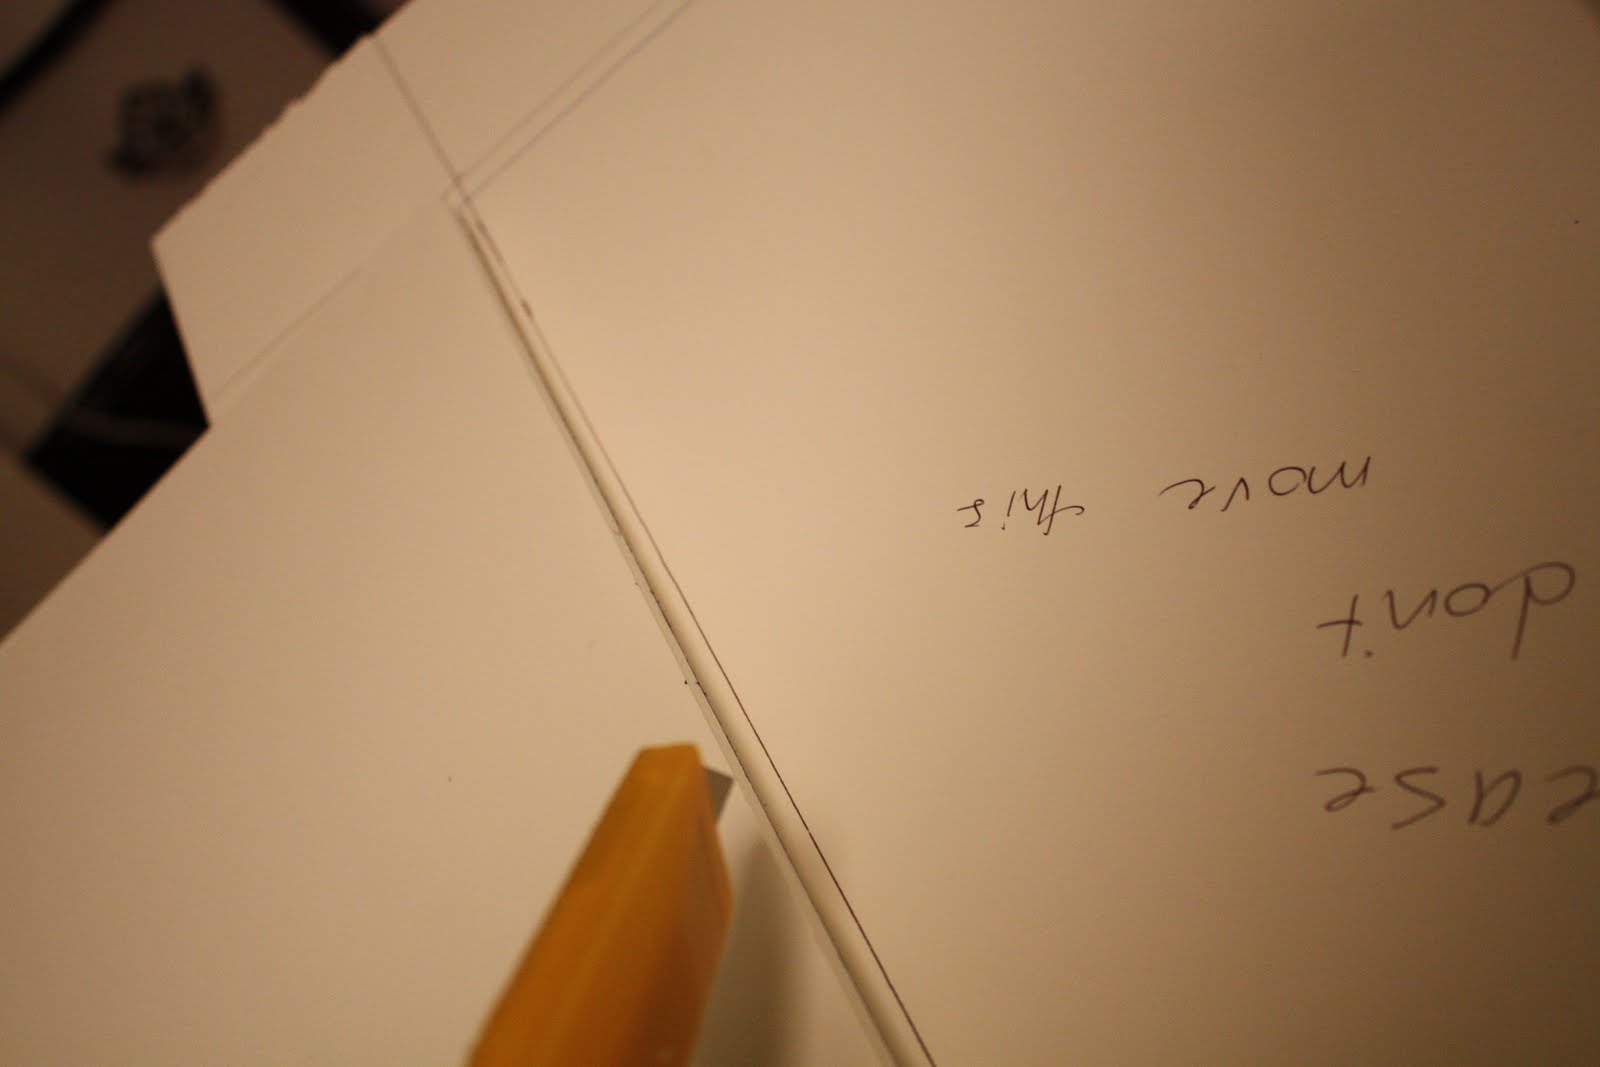
When you get to the corners, you will have a little box, and the LOWER part, the LINE part that is on the sides (parallel with the floor) , you are going to CUT all the way through until you reach the side line, because when you fold that down and tuck it into the side, it will make your BOX!


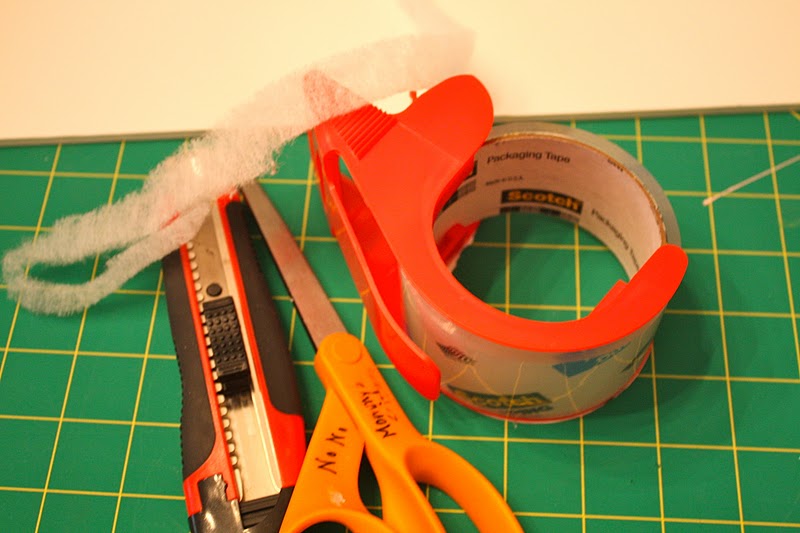
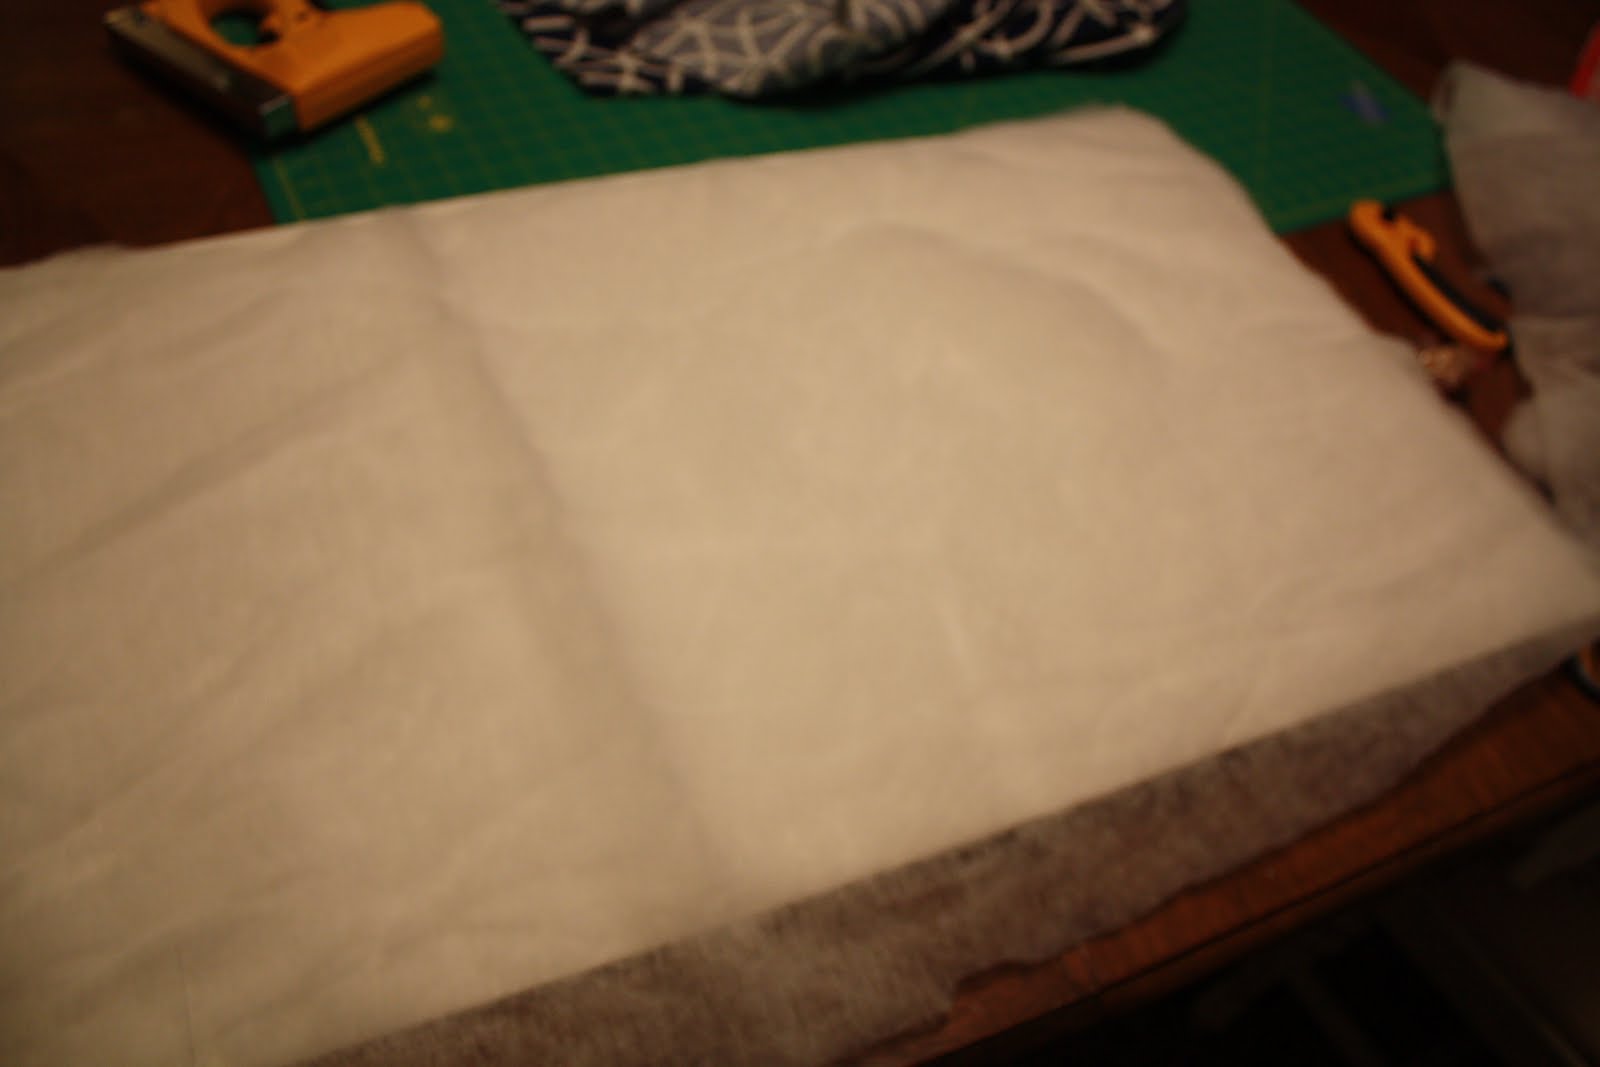
Lay your batting down on the FRONT Face of the Cornice. This is where I discovered that I did not know where my staple gun was and took a break and ran to the grocery store and got packing tape.

Tape the edge down on the bottom and on the top to hold the batting in place

I had also discovered that I did not have enough fabric to cover the WHOLE piece so I pieced together a coordinating DWELL STUDIO Fabric, and created a lining.

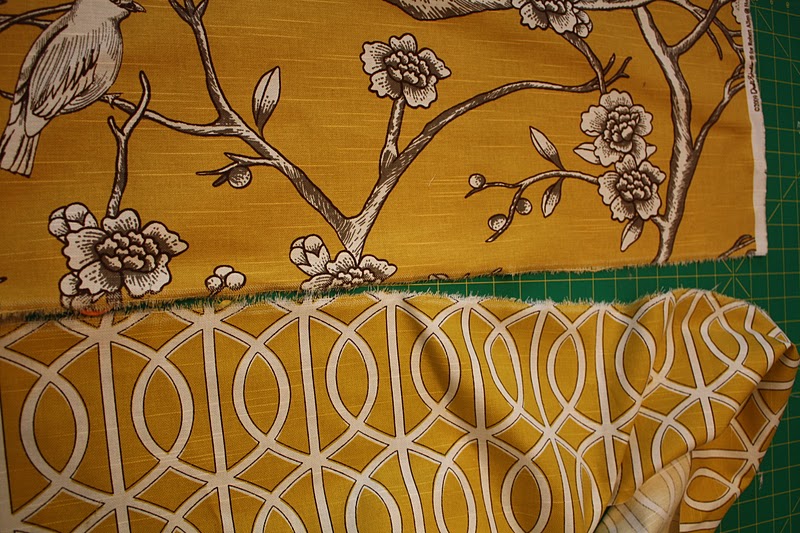
 I then sewed this fabric together …


I love how this lining peeks out of the bottom 
I taped the fabric to the board…


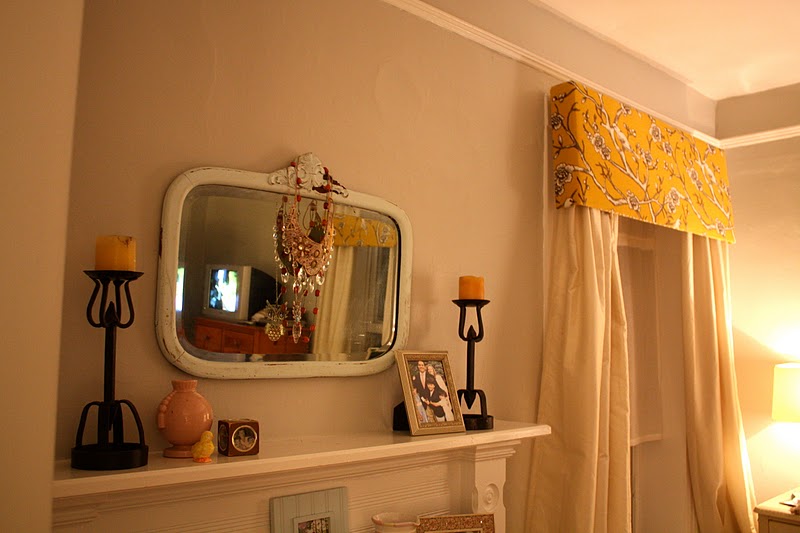
I put the curtain rod, which held the Bedroom curtains inside the top of the Cornice…

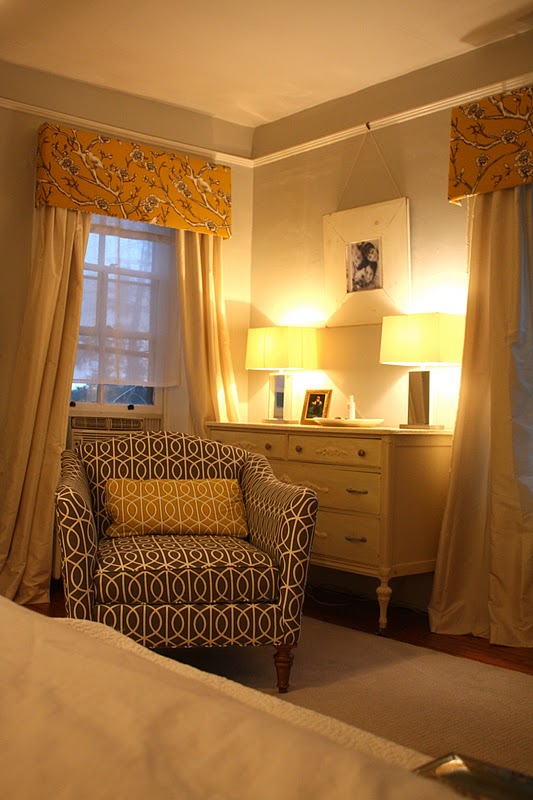
Okay…are you ready for the REVEAL???


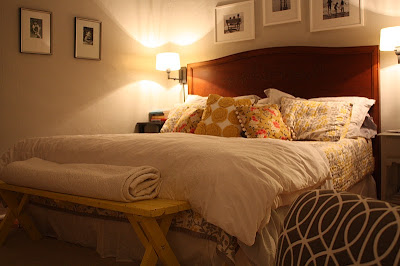
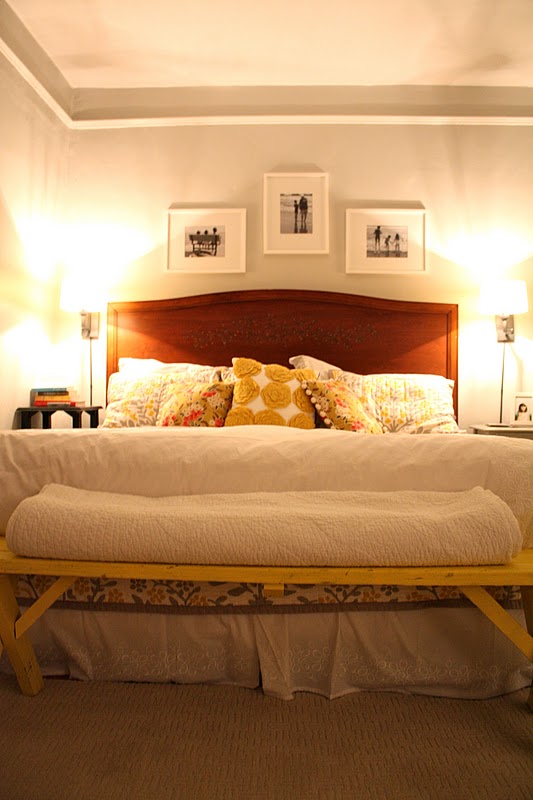
Isn’t that awesome?! WOW!  Take a look at the rest of Lesli’s beautiful bedroom…
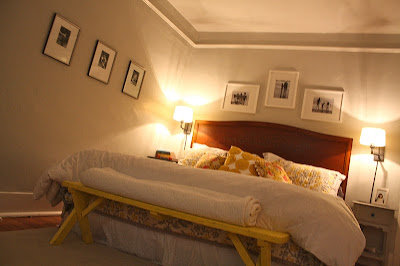
She has plans to make a cushion and upholster the bench. 
Lesli even made the pillows (Amy Butler fabric).

Lesli, you’re cornices are awesome!  Unbelievable! You make it look super easy and super cheap but the results are so professional and custom! Great job!  Thank you so much for sharing your creativity!

See more from Lesli at 

Pin It

DIY Weekly Wanderings – Vintage. Repurposed. Home.

What’s better than DIY?  Coming from the DIY Show Off, it’s our opinion that there’s not much better than DIY projects. EXCEPT for awesome genius DIY projects beautifully photographed. Let’s face it, great projects portrayed in pretty pics is what inspires us.

Meet:  Sheryl from

Hi Sheryl!  Sheryl is a photography and DIY’er and {insert sexy whistle} take a look at her beautiful DIY.  Click the links to visit Sheryl’s blog for the details and tutorials. My favorite projects are vintage and salvaged items repurposed into gorgeous home accessories. These are awesome!
Looking for a creative idea for those pallets sitting around?
Sheryl shows us how to make a Pallet Swing.
Pallet Swing Tutorial

I love the rich color, recycled beauty and rope in the place of chains!

Remember those old windows lying around in the garage just waiting for a creative idea? 

Sheryl spied these beauties…

and created these for her daughter!
Vintage Window Jewelry Organizer Tutorial

 No tangles!

I just love the rustic charm of these. Pretty. Organized. Neat and within easy reach for accessorizing! Yes, please!
Everyone I know loves a beautiful old door.  So charming!
Sheryl snagged this one from her aunt’s old house…

and with a lot of work, turned it into chalkboard entryway “thing-a-ma-gig”.

What a wonderful idea and love the natural wood paired with black magnetic paint!

Chalkboard Entry Display Tutorial

 Bottle cap magnets – perfect!

 Ceramic knobs keep purses and bags organized in the entry way.

I want this in my entryway! No more purse on the floor or chair.  Great idea for a family memo center too!
Awesome job, Sheryl!  Each project has is genius and I love that you’ve enhanced each thing’s natural beauty and charm.  Inspiration for sure! Thank you!
~*~**~*~

Love repurposed vintage pieces as much as Sheryl & I do? 

Don’t forget to enter the Giveaway!
~*~*~*~
A special thanks to Miss Charming for featuring my design challenge room today!

What You Make It

Meet:  Coley from “What You Make It“.  Coley is a DIY’er, lover of entertaining, and a nutrition-conscious girl who grew up in a big city and was recently transplanted to small town America.  She has some pretty great DIY ideas.  Click the link to see the full original post at What You Make It.

Get details on how to make this super easy
Adorable for adding a pretty touch to your laundry room!

Seating charts made from old windows (cute wedding idea!)…
are repurposed as a poster frame…

Great for bringing a little fresh green outdoors inside!


I love taking Coley’s advice.  DIY , home and life – all areas that are “what you make it”.  Make it your best.  🙂
You can see more DIY ideas at