Chevron Reindeer Games sign tutorial

DIY Chevron Reindeer Games Sign 

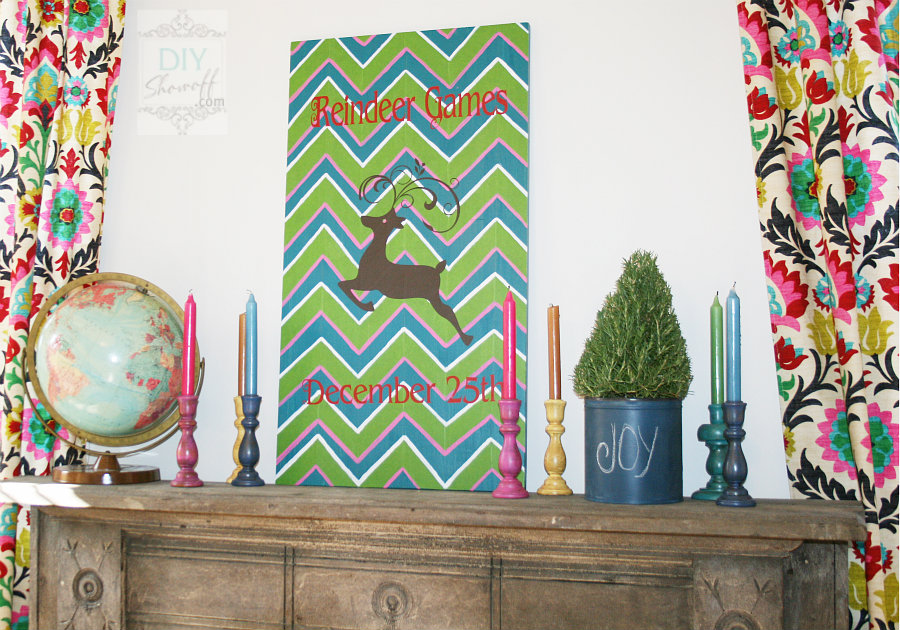
DIY colorful Christmas chevron reindeer games sign

It’s officially time for Christmas decorating in our home! I know! By blogging standards, I’m late to the game. With a family room makeover in progress, it’s at a point where plans for completion can be put on hold until after the holidays and I can still decorate that room to be pretty once I put away the ladder and some tools. I really loved the chevron garden sign I made for summer {here}. I decided I wanted to create a fun colorful Christmas sign incorporating some of the fun colors in the fabric I chose for the curtains.

Remember the tabletop I replaced on the kitchen bar for the apartment? {If not, you can see my post on my DIY wood plank kitchen bar top.} Time to recycle it! I knew it’d be a great material for a DIY sign one of these days. Tabletop to holiday decoration. Why not? To prep for making a sign, I scuffed up the finish with sandpaper and gave it a coat of left over teal paint and let it dry. I’ll call it my “canvas”.

This is what the top looked like before:
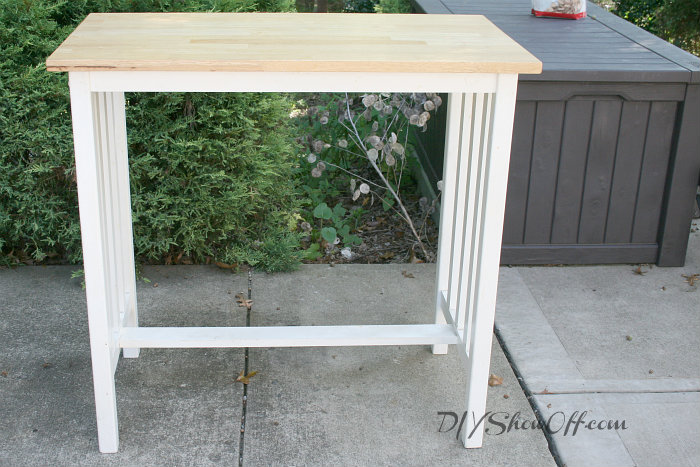
kitchen island before

Tips for creating a chevron pattern using FrogTape:

It’s hard to explain how to create a chevron pattern words/pictures {next time I’ll do a video} but some tips:

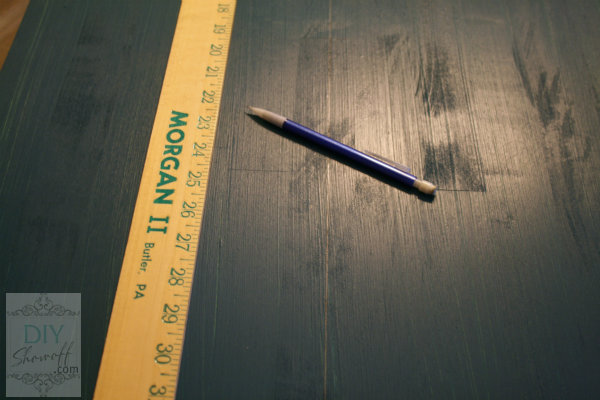
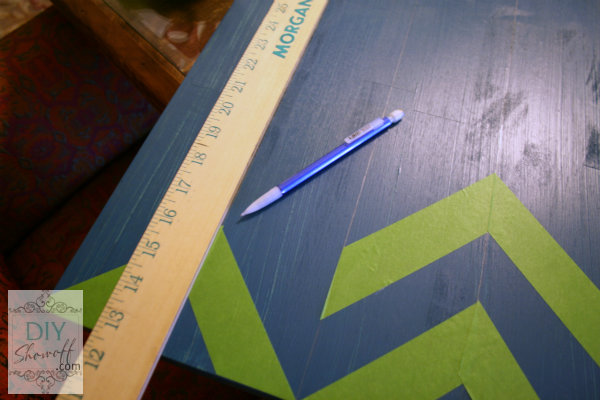
My first row is measured. 5″ strips of FrogTape.

DIY chevron Christmas Reindeer Games sign

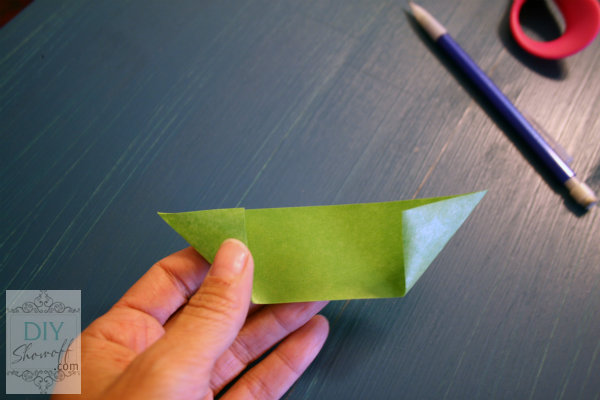
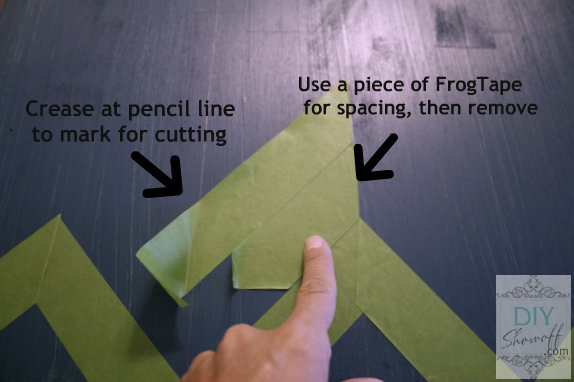
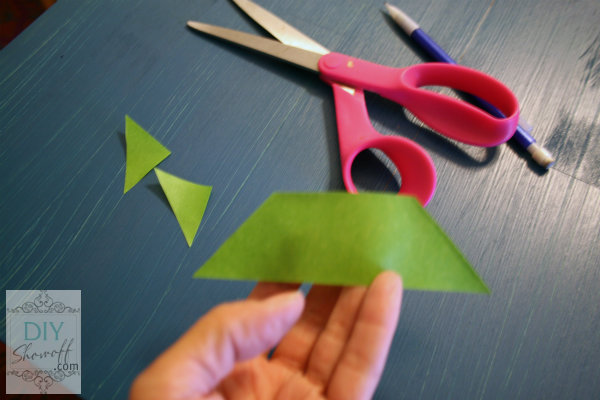
Depending on how it would line up, I creased the edges of the tape (non-sticky side) to create a line for cutting.

DIY chevron Christmas Reindeer Games sign

Cut on fold.

DIY chevron Christmas Reindeer Games sign

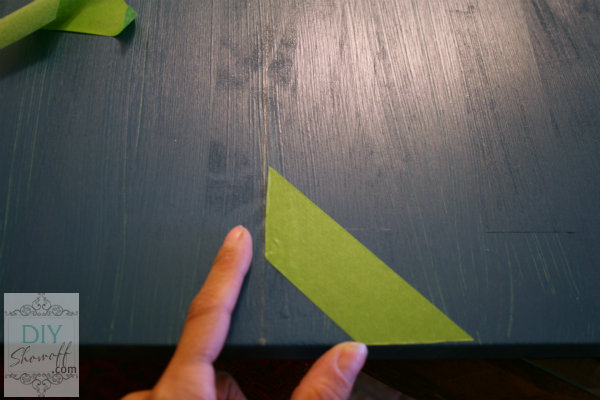
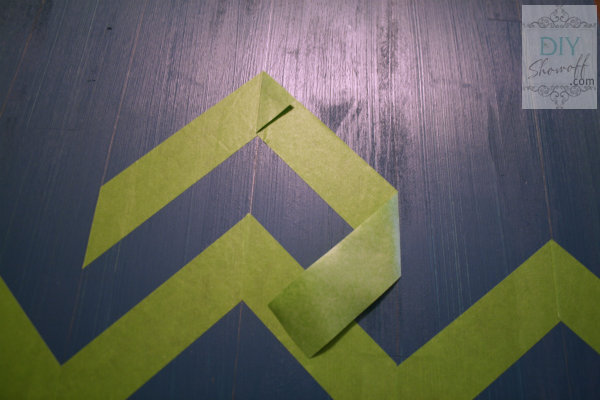
I placed the angled side on my center pencil line and cut the bottom flush with the bottom of the canvas and smoothed it into place.

DIY chevron Christmas Reindeer Games sign tutorial

I drew vertical lines with my pencil from the peaks and “v’s” of my first chevron row.

DIY chevron Christmas Reindeer Games sign tutorial

Once my first line was in place, I used a piece of FrogTape for spacing, I worked from the center out by placing another longer piece of tape angled from the center pencil line down to the right pencil line.

DIY chevron Christmas Reindeer Games sign tutorial

Then I pulled up a corner and folded it on the pencil line so I would know where to cut. Most of the time, the pencil transferred to the sticky side of the tape, creating a cutting guide.

DIY chevron Christmas Reindeer Games sign tutorial

I repeated those steps until I reached the top and finished.

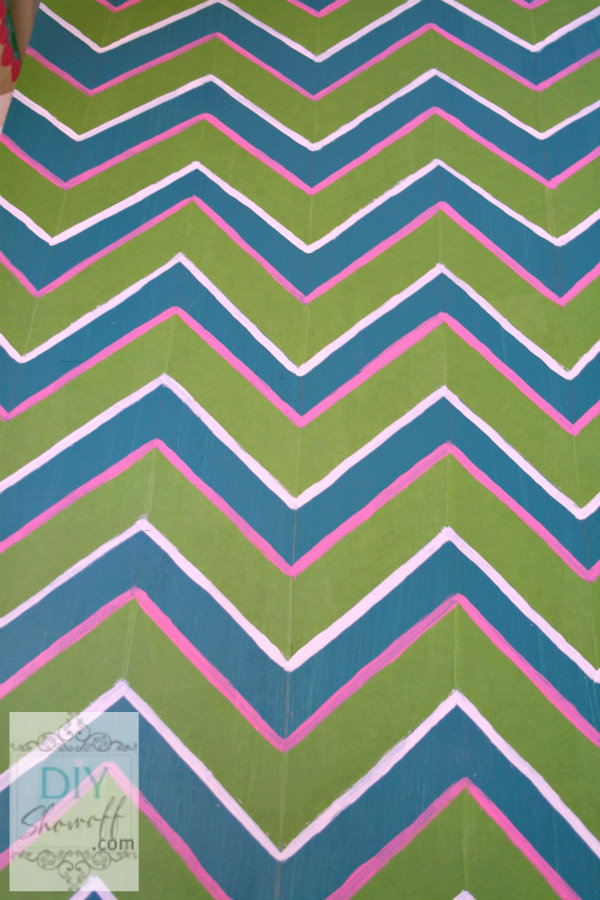
I used pink and white craft paint to add more color.

DIY chevron Christmas Reindeer Games sign tutorial

My plan was to paint the blue area showing green and peel away the FrogTape, but I decided to keep the FrogTape in place. {Paint colors: Benjamin Moore Pacific, DecoArt Pretty in Pink “Hope Pink” and Americana Warm White, Green is FrogTape}

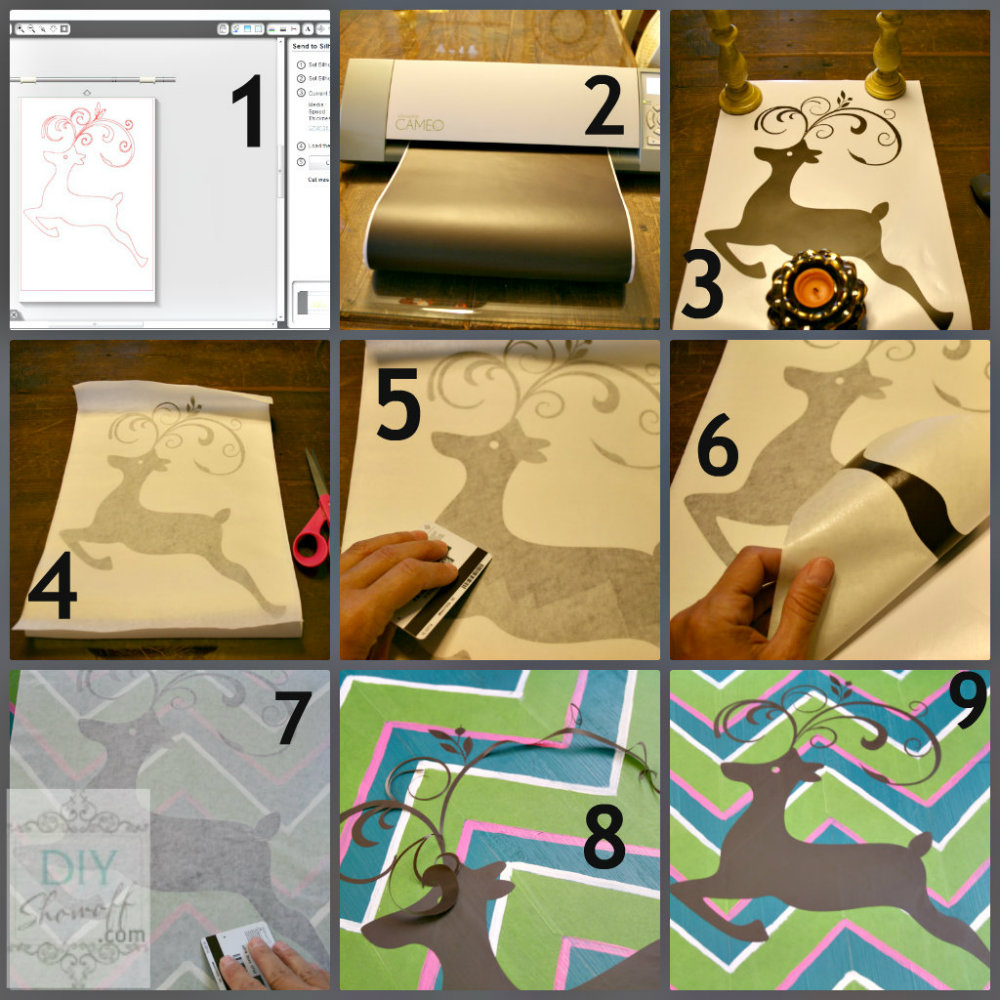
Using my Silhouette Cameo, I chose a reindeer from the online store and my Cameo cut it out {brown vinyl}. I created my letters for “Reindeer Games December 25th” using the software and chose the premium dark red vinyl and LDI Fancy Font. I peeled away the negative vinyl (the parts that are not the design) and applied my transfer paper. I made sure the transfer paper was secure by rubbing with a credit card.

DIY chevron Christmas Reindeer Games sign tutorial

Peel away the backing {the vinyl is transferred to the tacky transfer paper} and place on canvas. Rub the design with a credit card to get it to stick and peel away the transfer paper. In my case, all of the design wasn’t transferring, so I had to be careful and some of my reindeer was applied just as I would a sticker.

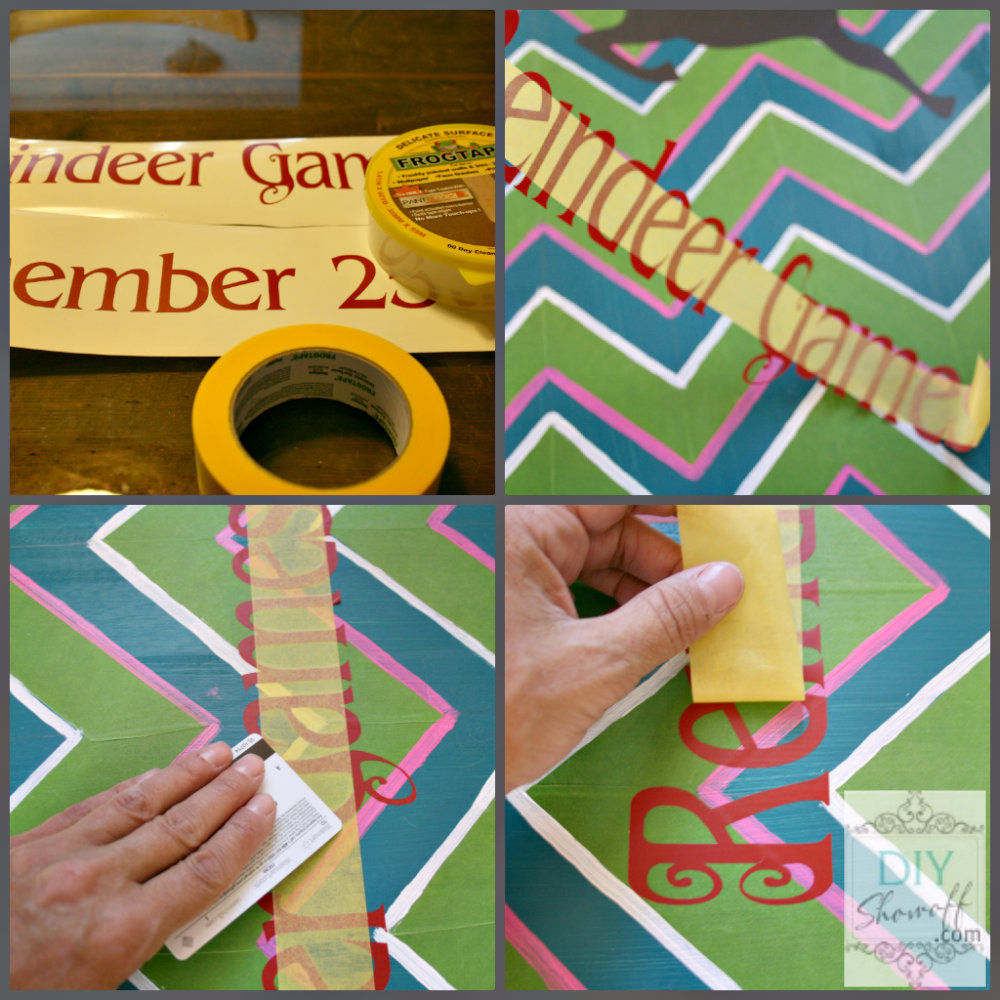
I followed the same steps for my lettering, however, knowing that the transfer paper was tricky for my project, I chose to use Delicate Surface FrogTape (the yellow tape) to help transfer my letters. This worked a little easier than applying by hand like stickers and kept my lettering evenly spaced and level.

DIY chevron Christmas Reindeer Games sign tutorial

I haven’t had time yet, but since I have FrogTape and vinyl on my sign, I’m going to seal everything with a coat or two of ModPodge. Ta-da!

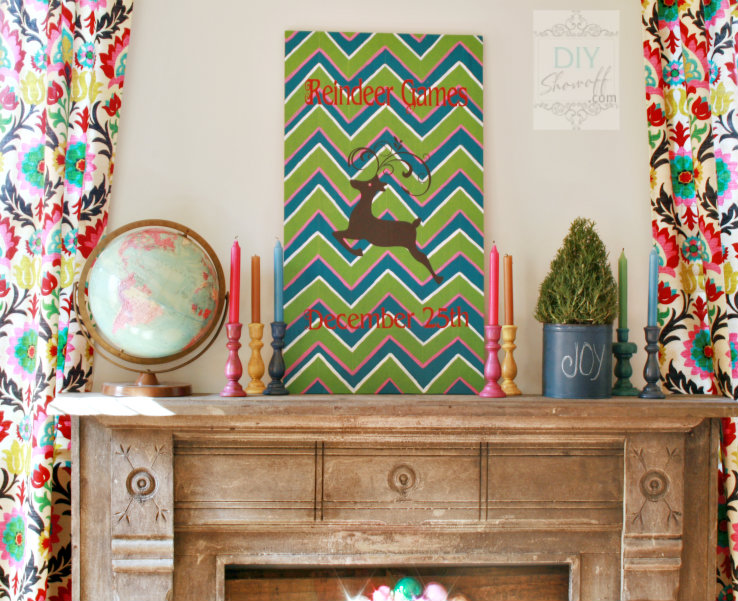
Colorful Christmas DIY reindeer sign tutorialNon-traditional. Colorful. Fun. I love it. It fits in perfectly with my eclectic colorful family room.

DIY chevron Christmas Reindeer Games sign

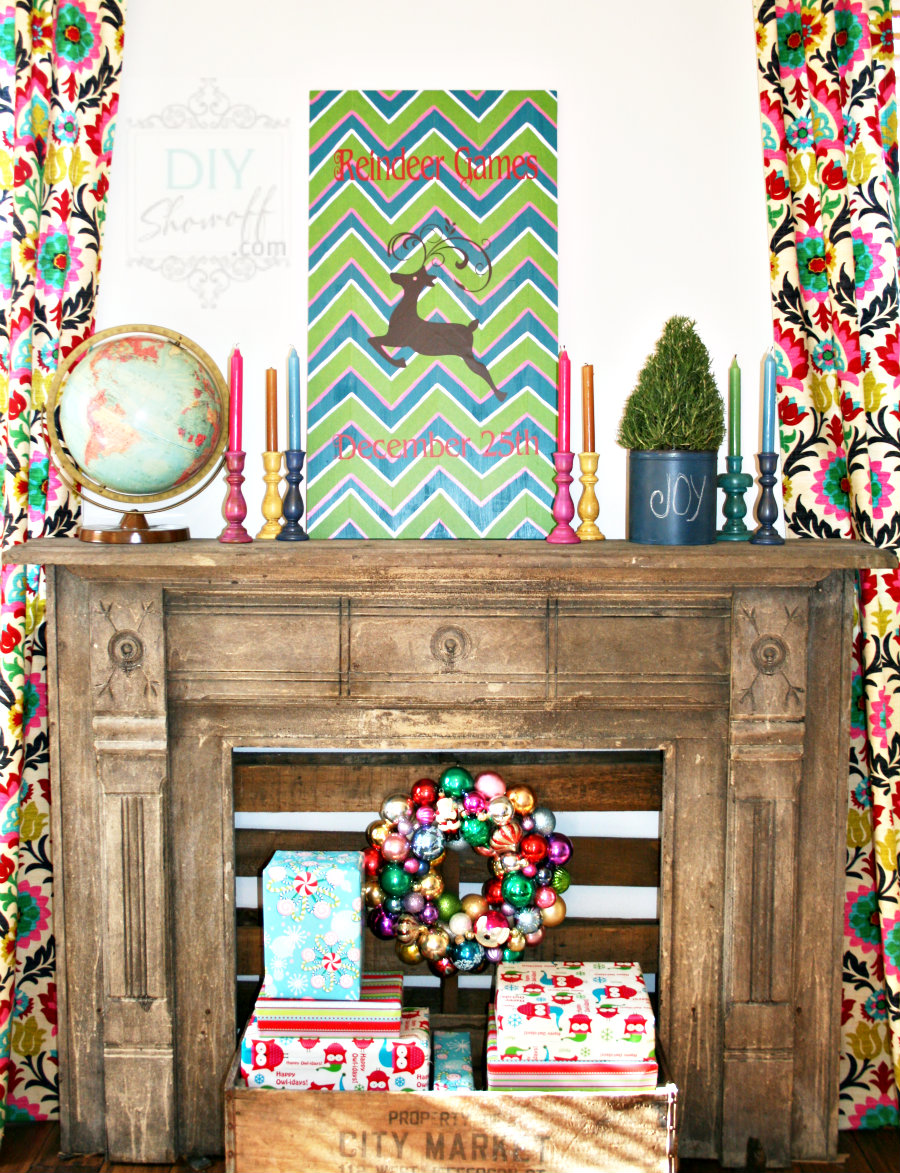
What do you think? I just sort of quickly staged for photos so I could share this today. I’ll be re-arranging, re-decorating. In fact, this mantel is even moving to another wall. More on the family room renovation and Christmas decorating coming soon.

colorful Christmas decor

I will attach a saw tooth hanger to the back and hang and rearrange but…I wanted to get this done to share and to tell you something important:


*I was not compensated for my review but I did receive vinyl and I participate in the Silhouette America affiliate program and will earn a percentage of sales when you use the code “SHOWOFF” for your purchase. This is a sponsored post brought to you by FrogTape. The opinions are completely my own based on my experience. Results may vary. 

FrogTape Blog Squad

Party time:
52 Mantels

DIY Show Off DIY Holiday Highlightsshabby creek cottageThe Shabby NestWeekend Bloggy Readingchristmas-linky-parade-button-songbirdHome Stories A2Z

Songbird & Cottage Magpie


Thanksgiving decorating {thrift store art print becomes Thanksgiving reminder}…

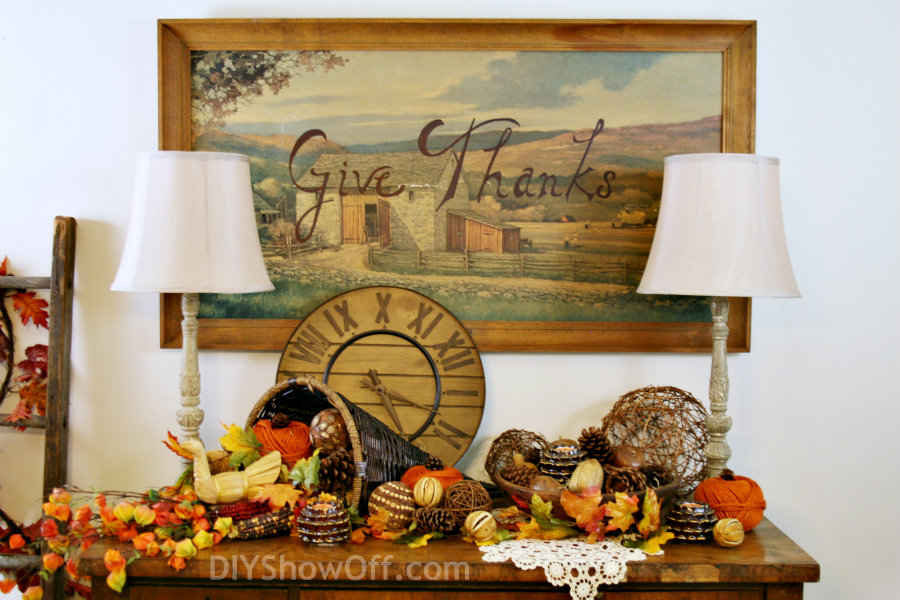
We don’t host Thanksgiving dinner. We’re lucky to be guests. So, Thanksgiving decor is minimal at the DIY Show Off home but I did want to share how I turned a $4 print called “Nostalgic Autumn” by Eric Sloane into something I love hanging in our home this time of the year. Our thrift stores have huge framed outdated prints in “fair” condition on occasion. It’s not something I’d normally choose, but the the colors and autumn farm theme is perfect for our dining room. I decided that adding the words “Give Thanks” ensures that once a year, I will hang this print. And every time I look at the words “give thanks”, I take a moment to thank God for our many blessings.

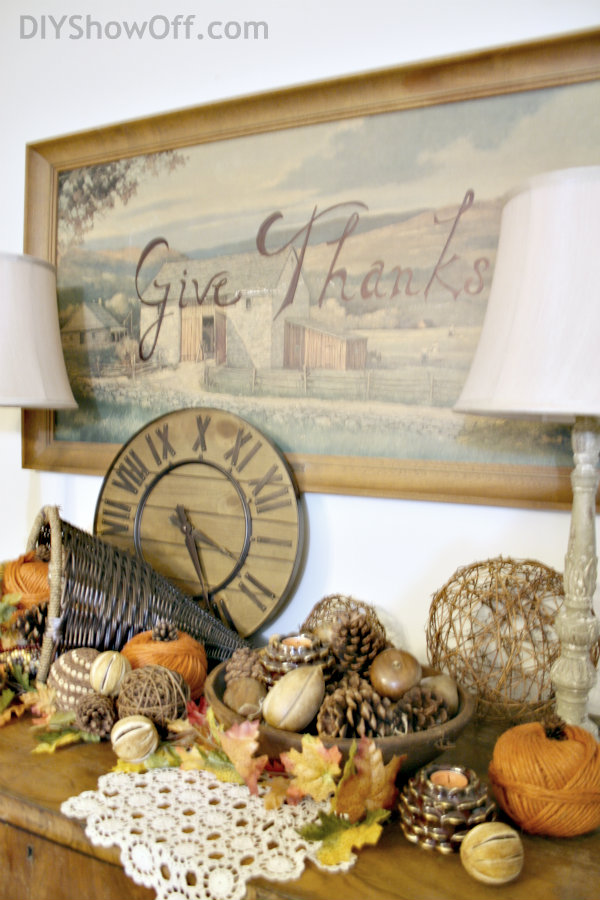
Give Thanks vignette

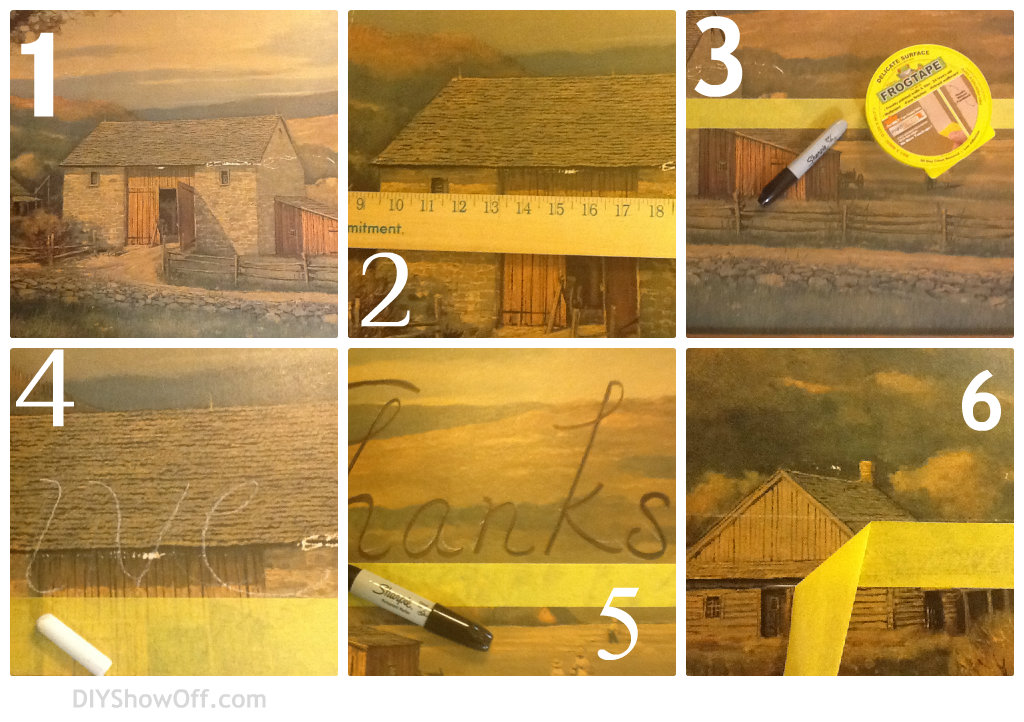
What I did:

easy DIY Thanksgiving wall art

  1. Old framed print {thrift store}. Mine wasn’t in the best of shape. There were scratches on the print, etc. but we embrace imperfection around here, therefore it’s “perfect”. {You may want to check to see if your print has value before altering it.}
  2. Decide where lettering will be placed using a level or ruler.
  3. Apply a piece of FrogTape Delicate Surface. It works on freshly painted surfaces (24 hours) so it’s a good option for sticking lightly to an old art print. I did not rub the tape to adhere since I’m not painting. I’m using it as a guide/straight line.
  4. Write quote or words with chalk or use a stencil.
  5. Go over chalk words with a Sharpie/permanent marker. Be care of smudging with your hand, work from left to right {or I guess if you’re left handed, it might make sense to work from right to left…which ever way your hand won’t smudge the area you’re working on}.
  6. Carefully peel away FrogTape. Continue drawing letters that fall below the level line, wipe away chalk.

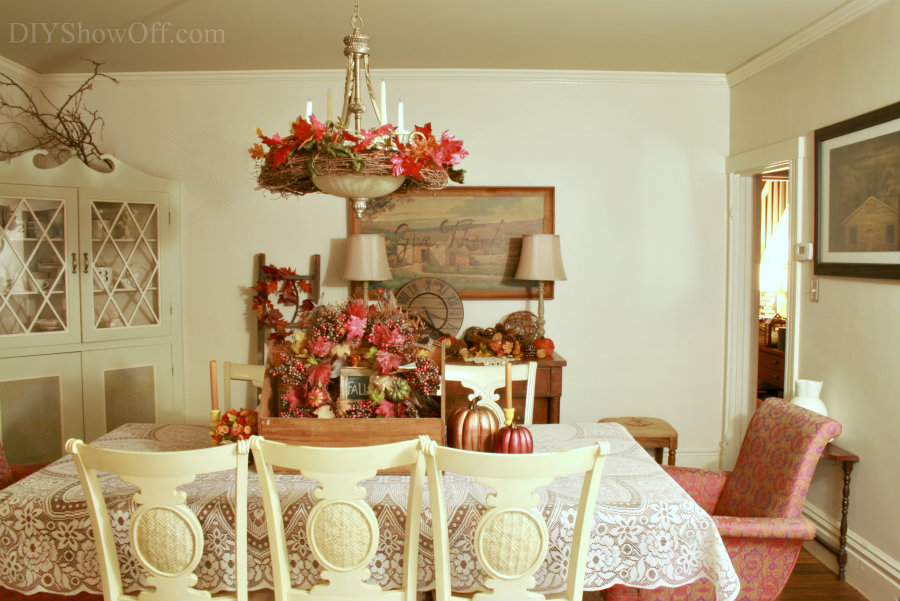
farmhouse Thanksgiving dining room

I love the every day reminder to “give Thanks”, especially this time of year. What do you think? Have you seen large art prints at the thrift store or yard sales that with a little DIY touch or accent would work for your seasonal decor?

DIY Thanksgiving wall artThis is a sponsored post brought to you by FrogTape. The opinions are completely my own based on my own experience. 

 FrogTape Blog Squad

15 Awesome DIY Highlights

Every week, I host a DIY linky party where so many of my talented blog friends share their latest DIY and every week, I am so inspired. I wanted to share a few recent favorites with you {please visit and pin from the original link}:

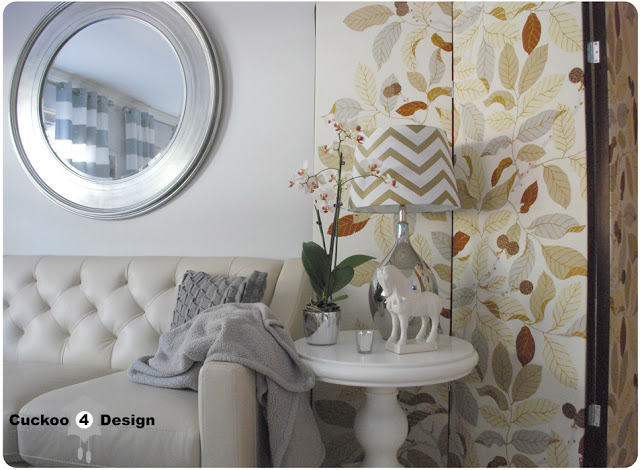
Julia from Cuckoo 4 Design always has a plan for some fun DIY and shares her tutorial for a DIY room divider. Beautiful and functional!

DIY room divider @Cuckoo 4 Design

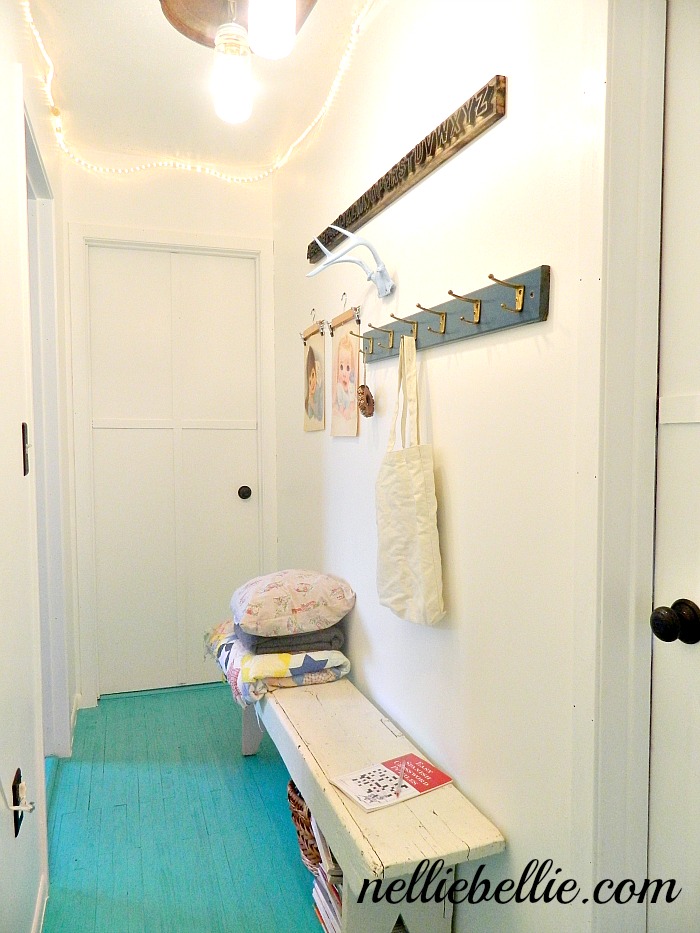
I love every room Janel has shared of her fun eclectic home at Nellie Bellie and her epic hallway makeover has so many fun features including a painted floor and awesome lighting…

nellie bellie hallway reveal

So beautiful! Amy from the Blissful Bee shares her formal living room updates. Great space to hang out! I love what she’s done to create an inviting formal living room {nothing stuffy or impersonal about her style…it’s awesome!}

formal living room @ The Blissful Bee

As a mom of girls, I’ve never had the opportunity to decorate a boy’s room but loving these…

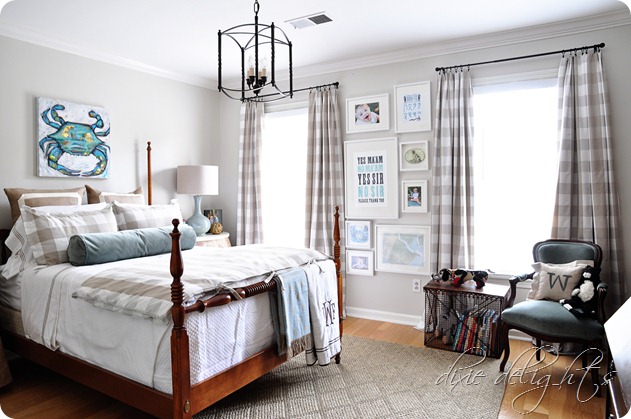
Color, texture, memories…it’s a beautiful combination for this big boy room makeover at Dixie Delights.

boy room before and after @Dixie Delights

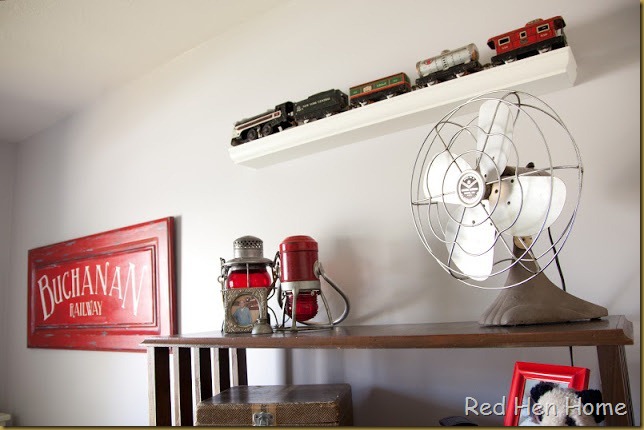
A sweet little vintage/industrial nursery from Korrie’s neighbor at Red Hen Home…

vintage nursery Red Hen Home

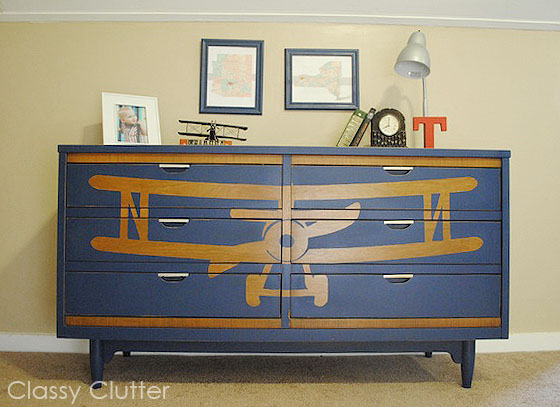
Speaking of sweet little boys rooms, did you see this adorable stenciled biplane dresser at Classy Clutter? SO cute! {stenciling tutorial included}

DIY, stenciled biplane dresser @Classy Clutter

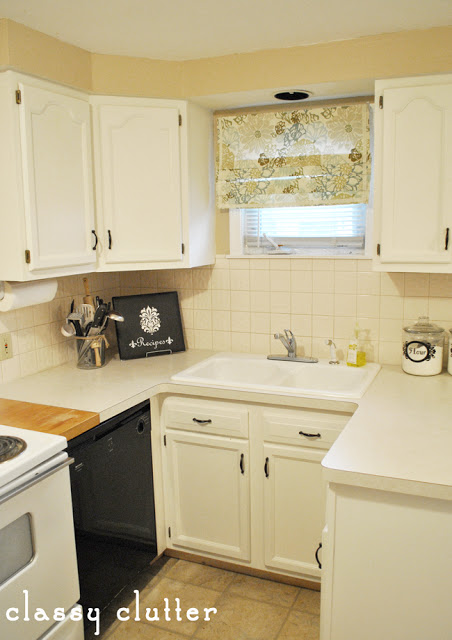
and then…speaking of Classy Clutter, there’s an amazing tiny kitchen makeover! Need an example of how paint can brighten up a small space? Check out the before and after that Mallory finished earlier in the year {dining room makeover too}. Wow!

DIY kitchen makeover @Classy Clutter

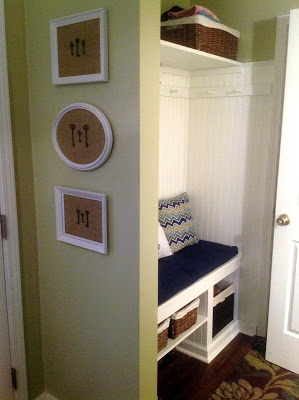
No entryway or mudroom? Creating your own closet to mudroom. A great idea for making a welcoming space to take off shoes. This one from Handmade Modern is so pretty and organized:

DIY closet mudroom @Handmade Modern

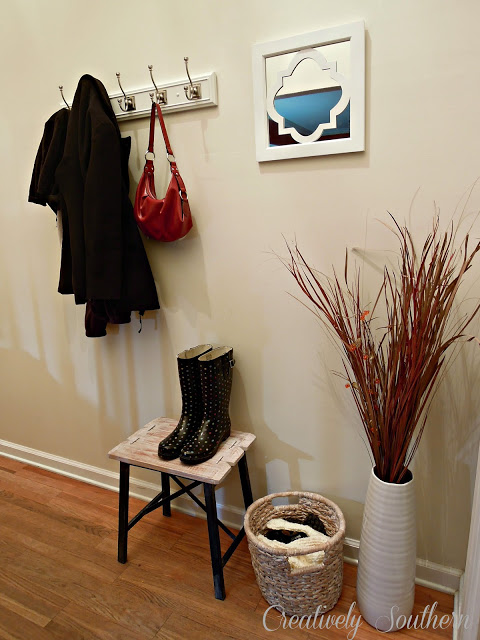
or…Ellora from Creatively Southern shares tips for creating an entryway space right inside the door:

how to create an entryway @Creatively Southern

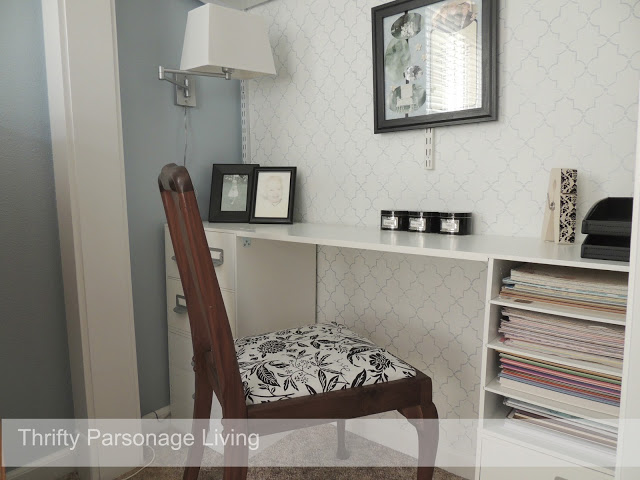
Closets aren’t just for storage or clothes or junk or entryway/mudrooms. A closet makes a cute office space too. I love the organization and pretty closet office at Thrifty Parsonage Living…a quiet place to be busy.

closet office reveal @Thrifty Parsonage Living

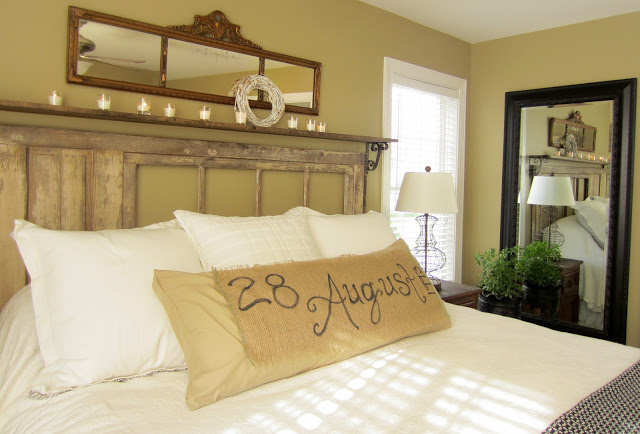
A vintage rustic master bedroom filled with DIY awesomeness and gorgeous vintage accents at Down to Earth Style…

vintage rustic master bedroom @Down to Earth Style

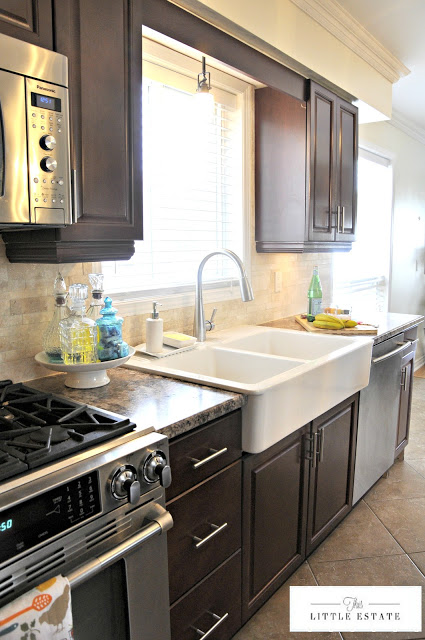
Bethany from This Little Estate invites us to see her stunning kitchen remodel. Beautiful choice in materials, lovely styling, unbelievable before and after…

kitchen remodel @This Little Estate

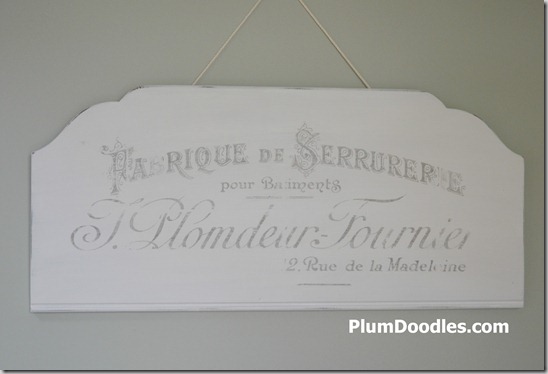
Sheila really did an amazing job with creating this beautiful footboard wall hanging at Plum Doodles…it’s so creative, so pretty!

footboard wall hanging @Plum Doodles

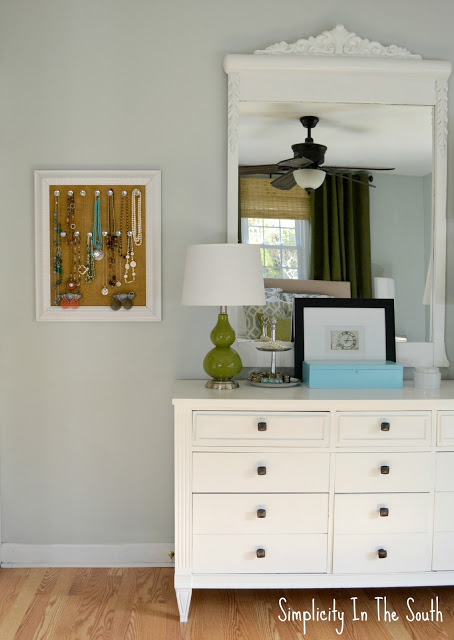
Tricia from Simplicity in the South is updating her sweet petite master suite {makeover in progress} and it’s looking good!

master bedroom makeover @Simplicity in the South

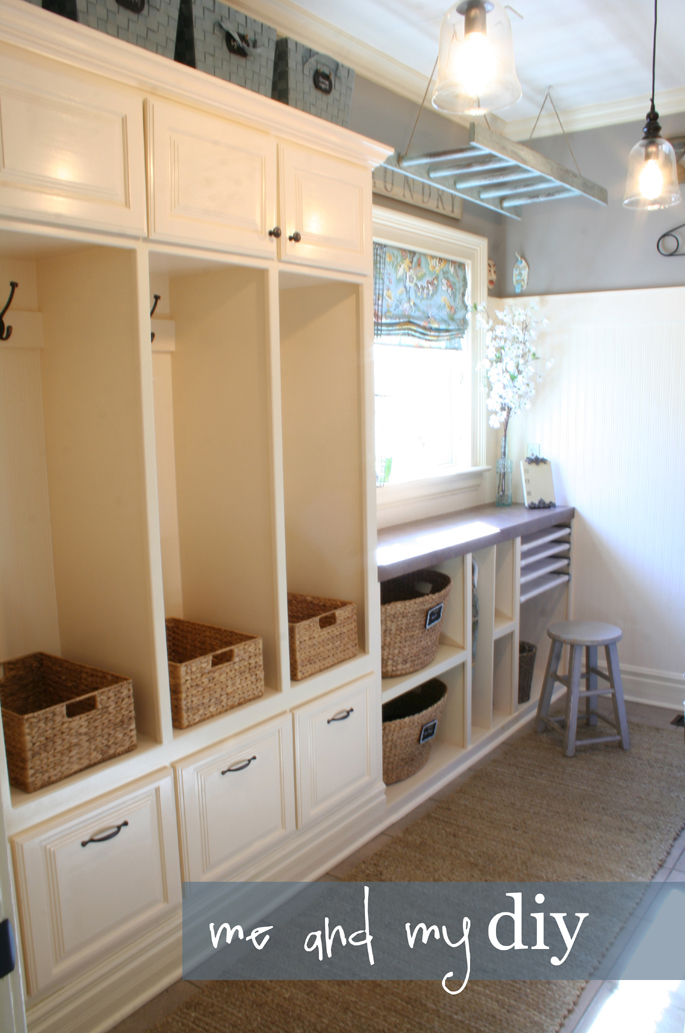
and last but not least, my laundry room inspiration. There is not one thing in this laundry room that doesn’t fit my style or requirements. It’s full of character and so functional. Yes. It’s dreamy.

laundry room makeover @Me and My DIY

All of the links were really worth sharing but since I can’t do an entire post, you’ll have to visit the DIY party to see the rest. Including these fun ideas:

  • Weaving with twigs from hurricane
  • Chicken wire bulletin board
  • Thumb tack embellished ornaments
  • Simple rustic Christmas ornaments
  • DIY decanter bar lights
  • Super cute stocking hat crochet pattern
  • Building a nook under the stairs
  • Autumn front porches
  • Painted faux hardwood floors
  • DIY curtain rods
  • Recycled cork floor mat
  • Reversible tree skirt
  • so many sweet furniture makeovers
  • DIY felt Christmas trees
  • Mason jar chandelier
  • and so much more!

Hope to see you Sunday at the next DIY Project Parade!

DIY Show Off

If you’ve been featured above, please feel free to grab an “I’m Featured” button {here} to show off! Thanks to everyone for linking up and sharing your inspiring DIY creativity and hard work!

DIY Show Off