I’d like to introduce you to Karah from
today. Karah lives in a dream location and invites us each into her home. Well, via her blog. Not literally. Because if it was a literal invite, we’d all be on the next plane and I don’t think she has room for everyone. Darn! 😉 Her blog posts make me smile and her creativity is an inspiration. Meet Karah:
Hello, hello DIY Showoff readers! I am really, totally kind of pinching myself right now.
OK, to let you know how much of a dork I am, I just typed ‘pinning’ instead of ‘pinching’. You know when you finally get the chance to meet someone you’ve been stalking admiring for a long time and you say “it’s nice to meet me” instead ”it’s nice to meet you”? Yeah, I just did that, in the privacy of my own home, but just can’t seem to keep it to myself. I’m a bit of an over-sharing, too honest for my own good, trip over my own words ALL THE TIME type o’ gal.

My name is Karah and I blog over at the space between. You know the space, that one between where you’ve been and where you’re going. It’s nice to meet me, er …. you. 😉
After being a homeowner and avid DIYer in the US for many years I found myself transplanted to a Caribbean island over 2 years ago. I know, I know … try not to hate pity me.
 We absolutely LOVE it here. My biggest personal challenge was definitely shifting from homeowner back to renter. It took me a few years to find my DIY, home improvement groove in a home that is not my own.
But I turned my habit of collecting random beachness into a habit of decorating with said random beachness. Like these two extra large pieces of driftwood I hung in my kitchen and now call open shelving. It sounds very trendy really, open shelving does.
 My little blog actually started with a post about a driftwood Christmas tree. I am quite infatuated with the stuff.
And, on this little island, there tends to be a constant supply of homes in some state of construction, providing an endless supply of pallets. I first made the pallet word art hung in the kitchen (seen in the picture above) and my new favorite project, the free, little storage crate I just made to house our canned goods.
 I even stenciled the word CURACAO on the front. It’s kind of like a crate of goods headed to our island.
You might be thinking, ‘seriously, all of your canned goods fit in there?’. Yep, they do. I affectionately refer to our rental as a breadbox, and as that nickname insinuates, it’s itty bitty and I need to be pretty creative with storage ideas.
And … in addition to the endless pallet supply, I elicit many a strange look as I peruse through their roadside dumpsters. Not too long ago I came home with this guy.
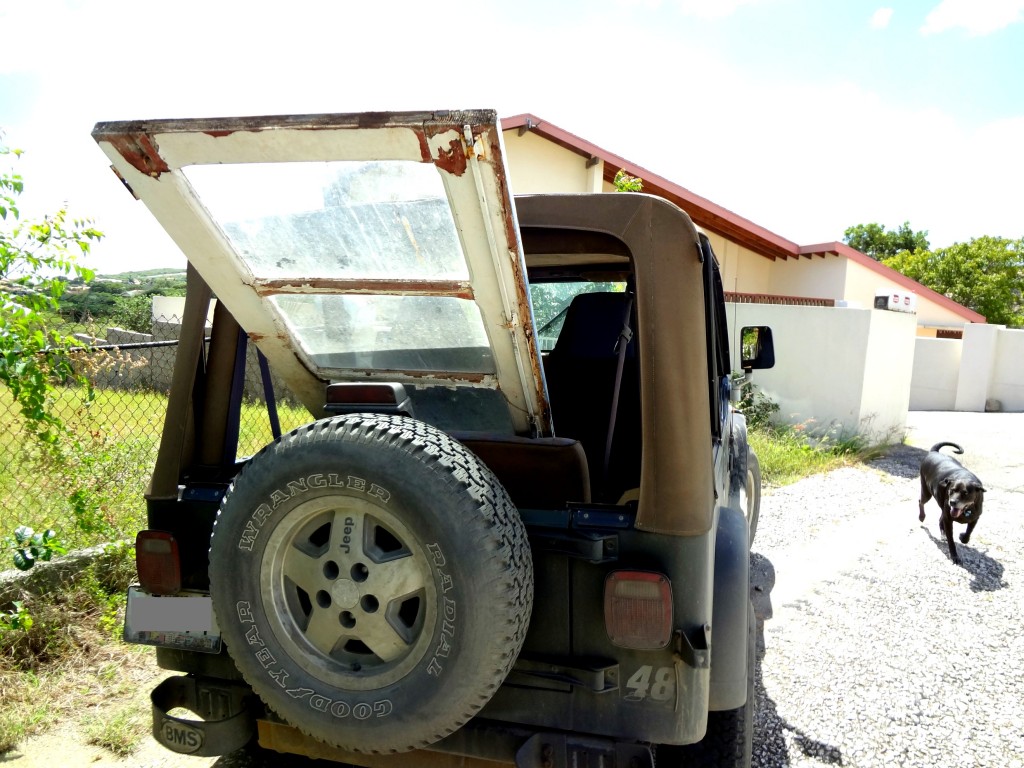 And turned her into a handy message board to support my listing habit. You can read about all of the lists I’m dreaming of writing on my cork/chalk/dry erase/pin board here.
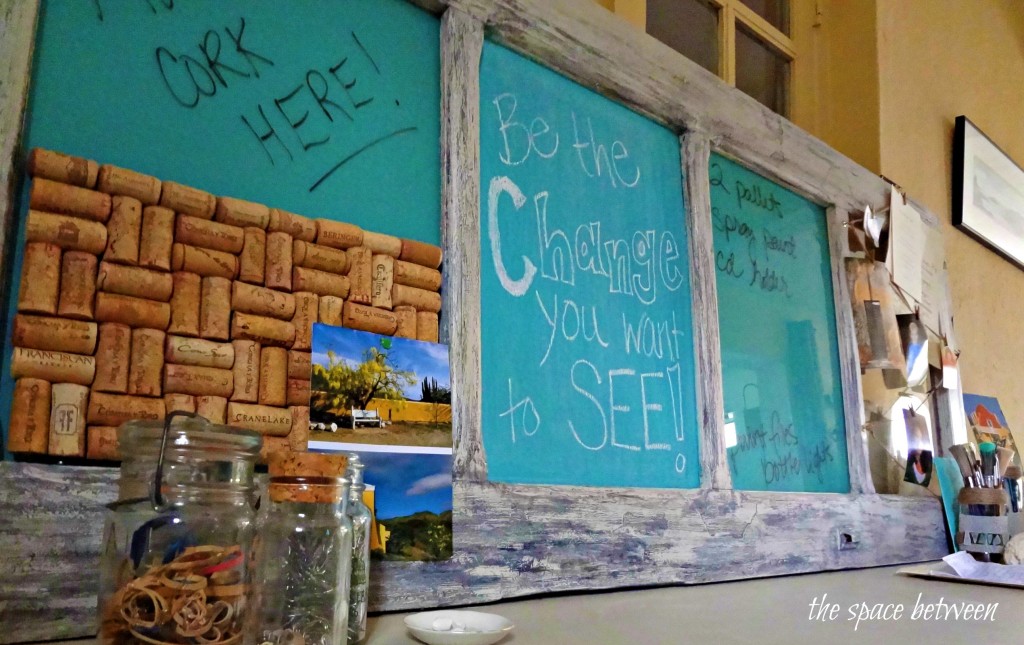
I even managed to make my own chalkboard paint because I knew I didn’t want it to be black. So many fun options now that I know I can make chalkboards in any color. Check out the how-tos here!
It has been so fun to have the opportunity to share just a few of my favorite projects using quirky things to try to make a home out of our breadbox of a house with you. A HUGE Thank You! to Roeshel for giving me the opportunity. And, an equally HUGE Thank you! to you, the readers, who have lasted to the end. 🙂
I appreciate you taking the time to learn a little bit about the small space I keep in the world wide web. You will also find homemade canvas silhouettes, number art and easy decor ideas if you have an opportunity to come by the space between. I hope to see you there soon.!
-Karah


