


Guest Blog Post –
Lesli from My Old Country House
– My Raggy Fabric Vines!
HI, this is Lesli DeVito, from
and I am thrilled to be a Guest Blogger for
Roeshel
on the DIY SHOWOFF.
I have loved getting to know Roeshel
and she is one of those amazingly generous
Blogger Sisters
who has helped me share my little fledgling blog
with everyone!
When Roeshel asked me if I had any Holiday DIY ideas to share
I knew immediately what I would show you.
…but first, true confessions.
I confess…I have a
“LOVE/HATE”
relationship with Holiday decorating.
There, I said it.
With three kids, who are getting bigger every day…
decorating for the holidays means
More work…
MORE stuff, MORE clutter,
MORE clean up.
But more than anything, I think the reason why I get a bit
apprehensive is that every year…when Dec 1 rolls around,
and I pull those boxes out
I have to take a deep breath and sigh
as I realize how FAST the years are going.
Too fast. Just too fast.
It, for me is bittersweet.
There you have it.
…and yet…when my home is all done.
…all decorated, and the tree is up.
I LOVE IT!
I ADORE IT!
I wake up every morning before the kids get up, make my coffee
and sit and just stare at the tree.
It is almost
like a meditation.
and I LOVE LOVE LOVE
to listen to my Christmas music…
everywhere,
until
the kids beg me to stop.
Last year, in the interest of saving a few pennies
on Holiday decorating,
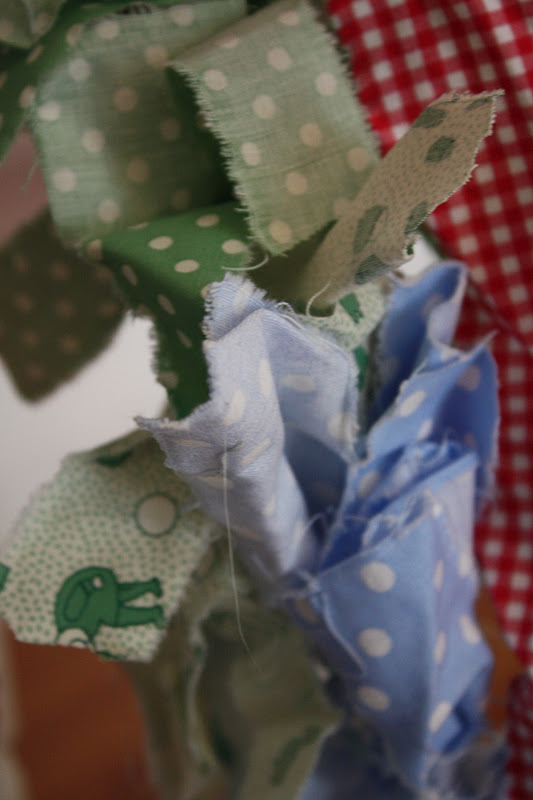
I started making these Raggy Fabric Vines
and this year I am selling them at
my friend Jill’s annual Holiday craft show!
They are super dooper easy, and fun to make.
so here is your tutorial!
DECORATIVE RAGGY VINES
Time to make – 30 minutes to 1 hr/each.
supplies needed:
1. scissors
2. fabric scraps or yardage (approx 1/2 to 2/3 yrd per vine)
3. rope- I use twisted sisal rope that I got at Lowes, about $6.50 for a 100ft roll.
4. cutting board or surface to work on.
(warning- this is a very “thready” craft, you will want to do a vacuuming afterward…but it is all worth it!)
Instructions:
 gather your supplies…
 |
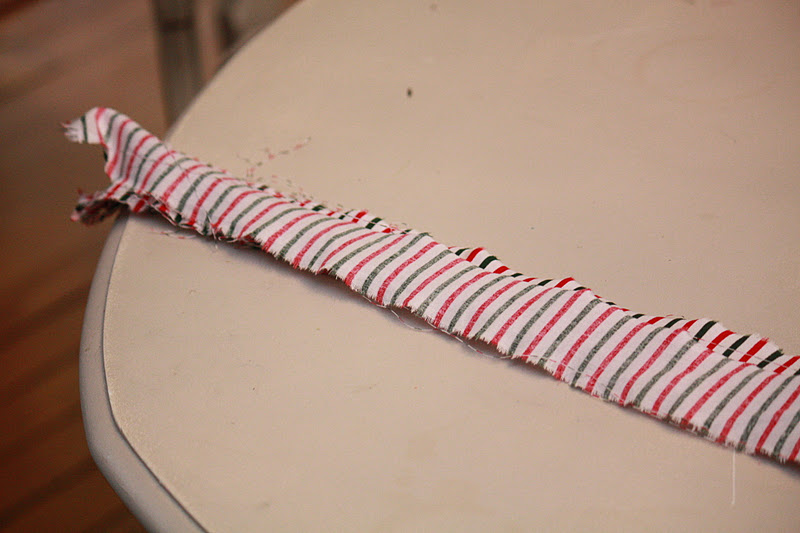
| …score your fabric on the sides and then tear into long strips. The width is up to you. I usually do about 1.5 inches |
 |
| stack your strips |
 |
| …and then cut them into the length you want. For smaller vines, 6″ will do, forlonger, fatter, raggier vines, 12″- 15″ strips is good. |

 |
| …tie off the end of your rope pieces. I cut mine pieces about 70″ each and then tie off about 1 foot on either end.I used white duct tape to secure the ends. |
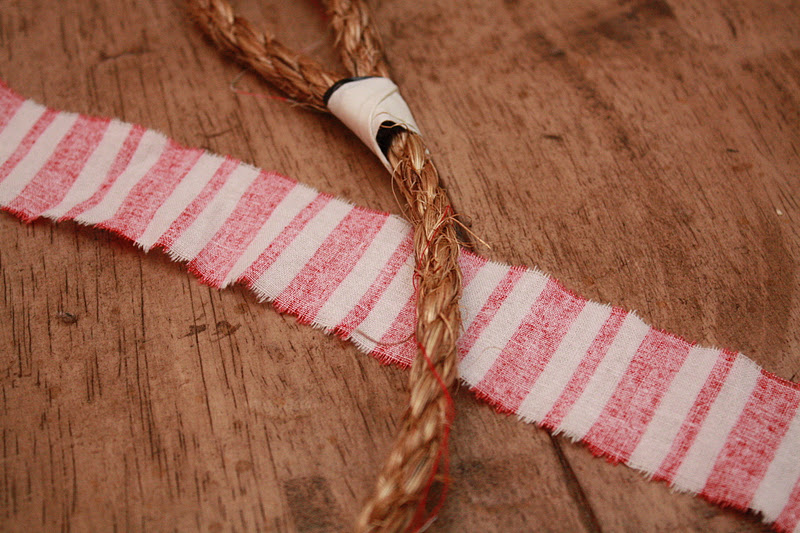 |
| …lay your fabric piece under the rope |
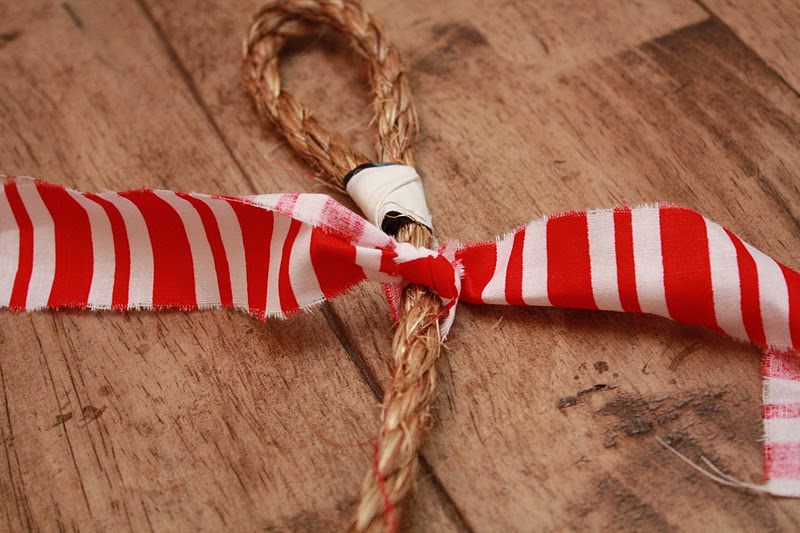 |
| tie it on… |
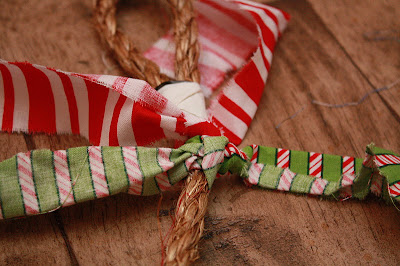 |
| …and so on and so on…until you reach the other end! You can design a patternor do it all the same…have fun with it! |
I love Greenery.
The look of it…the smell of it. I LOVE IT!
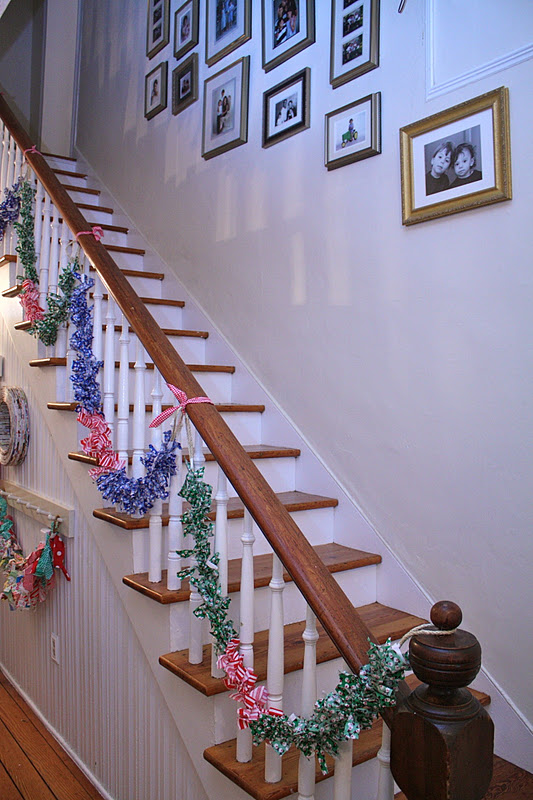
I usually put it everywhere, on the mantles, on the porch and
stair railings…over the windows.
But as much as I love it….it can get expensive.
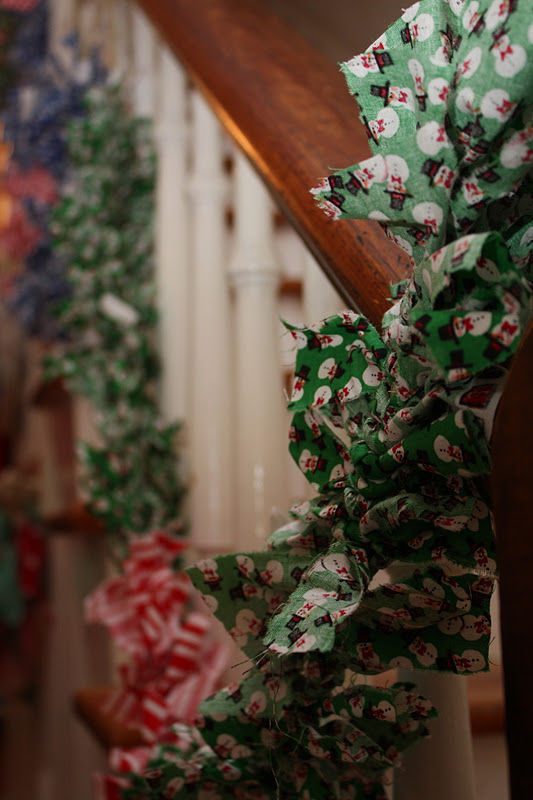
What I LOVE about these Shabby RAGGY fabric vines is that
we can use them over and over again, every year.
They have become part of our Holiday decorations.
Part of our tradition.
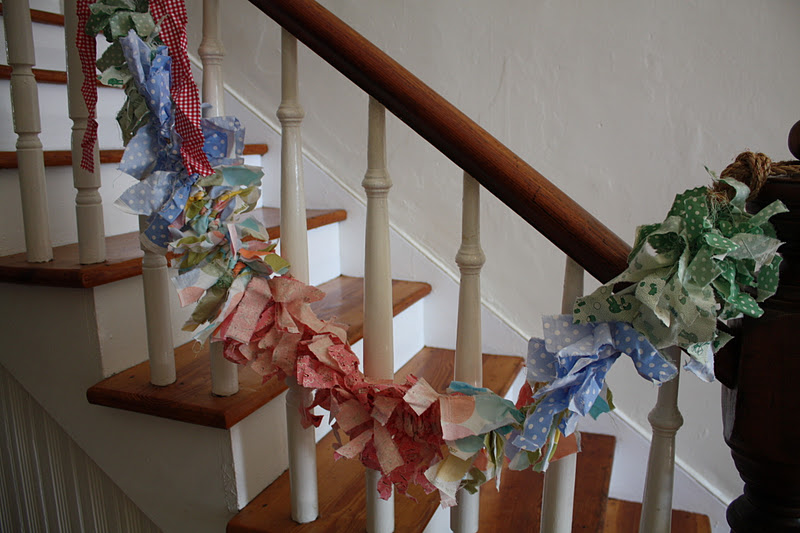 |
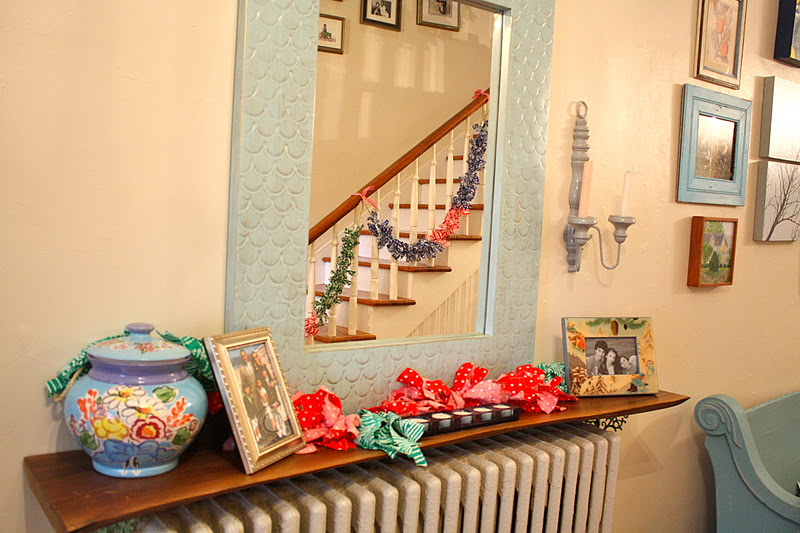
| …on the stair railing… |
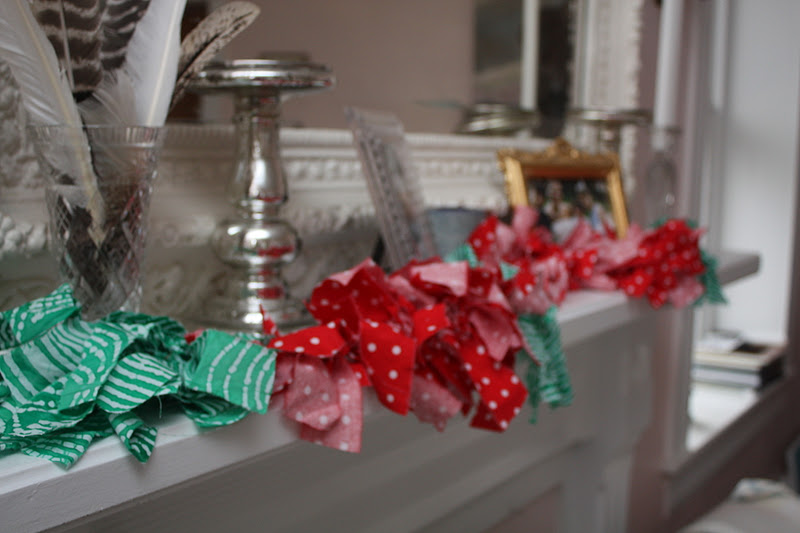 |
| …along the mantle… |
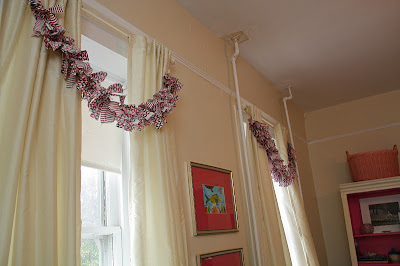 |
| …over the windows. I have even done these in pastels and have used them to decorate kids rooms…the possibilities are endless! |
 |
| anywhere…. |
So go grab yourself some rope and some fabric and your other supplies and have fun!
It is a great craft to do with the kids of all ages!
They can put them in their bedrooms or give them to the teacher for a gift!
My 2 year old niece even helped me stack the fabric this past weekend!
Thank you Roeshel for inviting me to be a Guest Host
on the DIY Showoff
I have loved sharing this easy and thrifty
Holiday craft with you
and your wonderful followers..
HAPPY HOLIDAYS to everyone!!!

I invite you to stop by
so we can share my ART and more decorating ideas!
Those are just absolutely darling! I'm going to hop over right now and pay her a visit. Great guest post!
🙂
Vanessa
Are you no longer putting the full blog posts on Google Reader or is that a glitch? I'd be bummed if I couldn't read them in my Reader anymore.