Jazz up baby’s crib for under $10

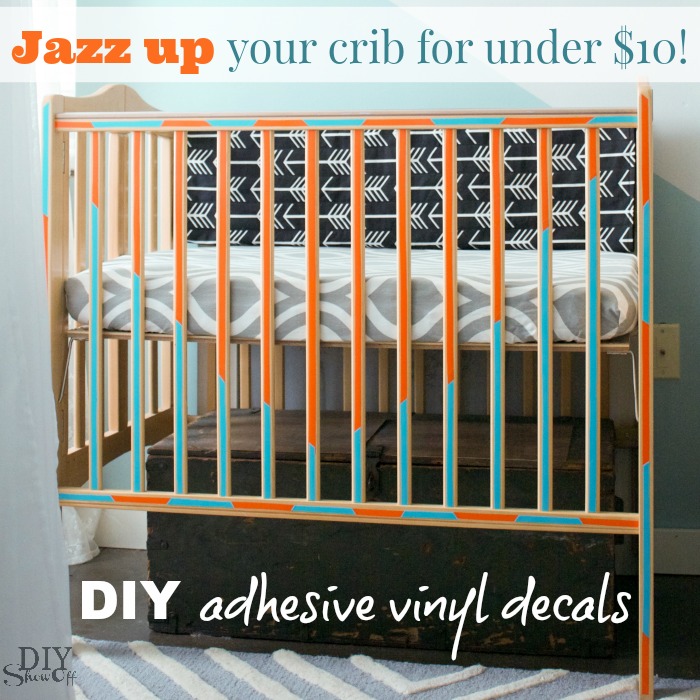
Need a splash of color in the nursery? Jazz up the crib with vinyl decals for less than $10! 
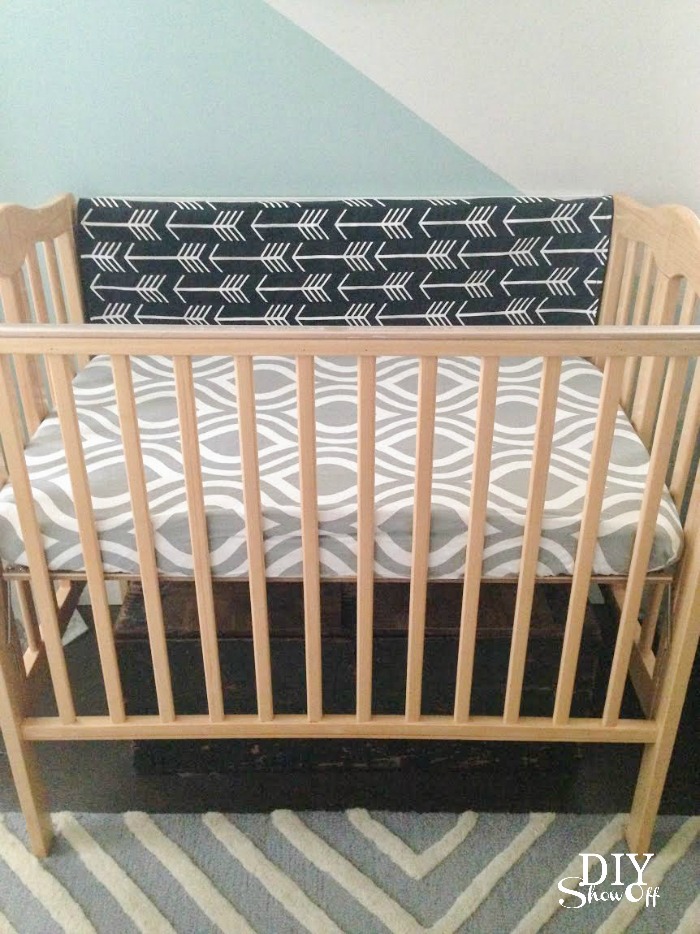
Jazz up your crib for under $10 with DIY adhesive vinyl decals. Tutorial @diyshowoff

Crib before:

Jazz up your crib for under $10 with DIY adhesive vinyl decals. Tutorial @diyshowoff

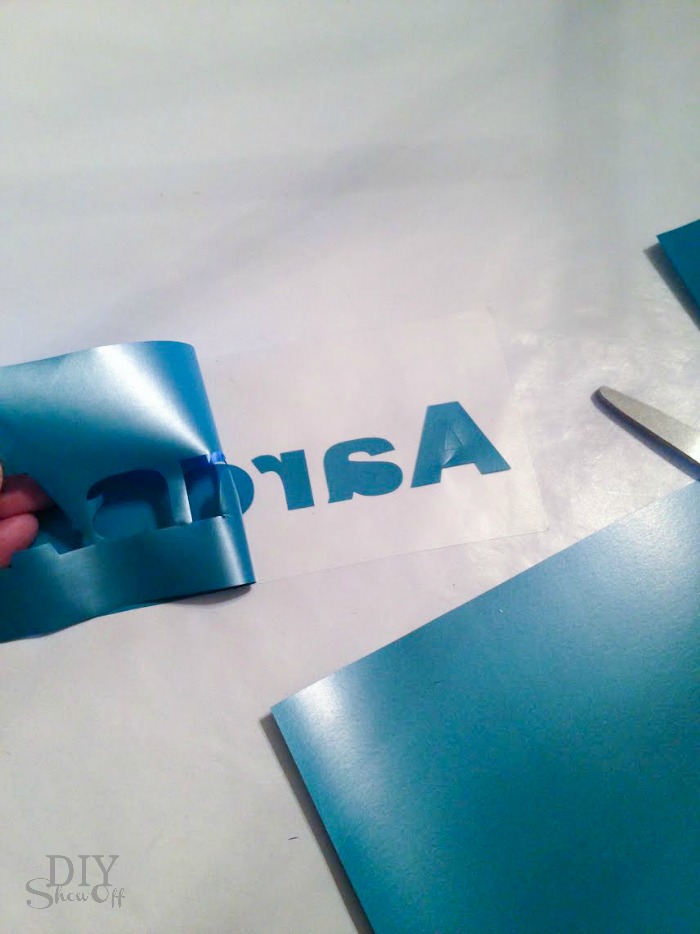
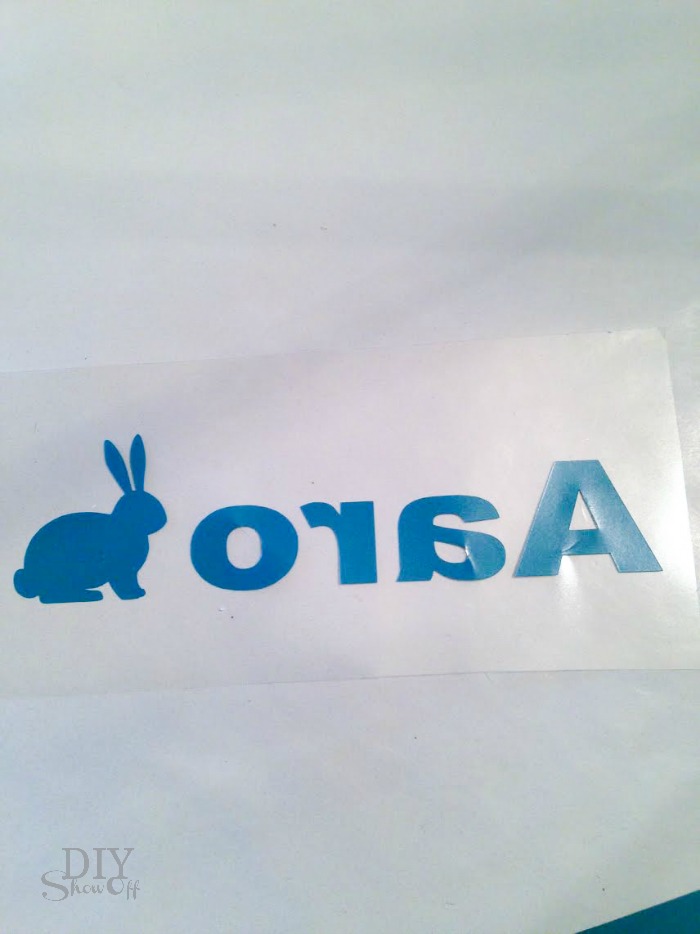
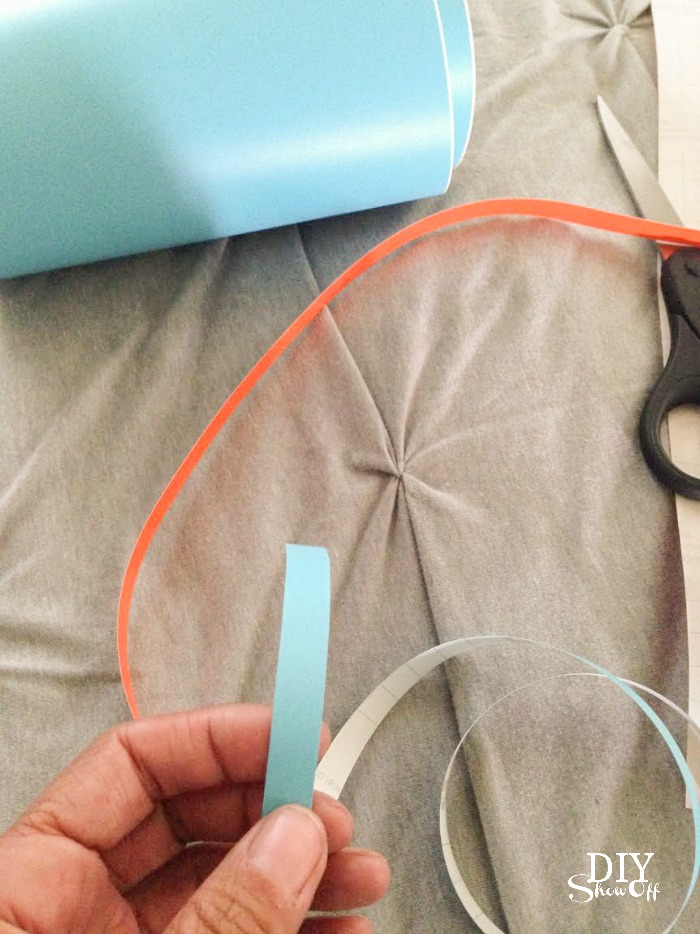
Materials I used: Happy Crafters adhesive vinyl x 2 colors 

Tools Needed: Scissors

Jazz up your crib for under $10 with DIY adhesive vinyl decals. Tutorial @diyshowoff

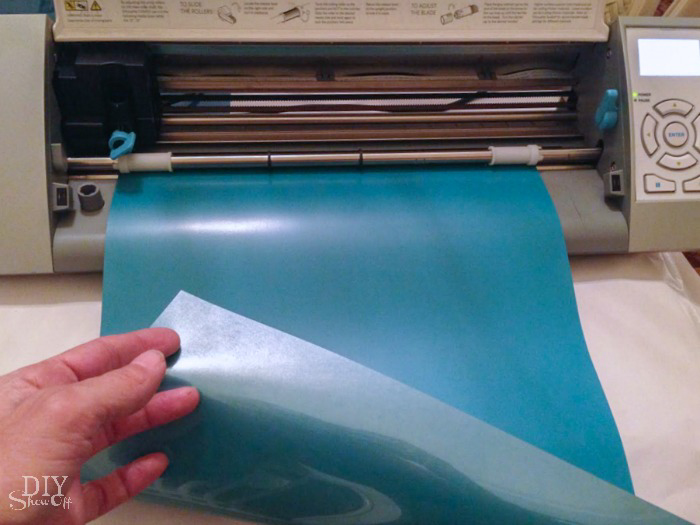
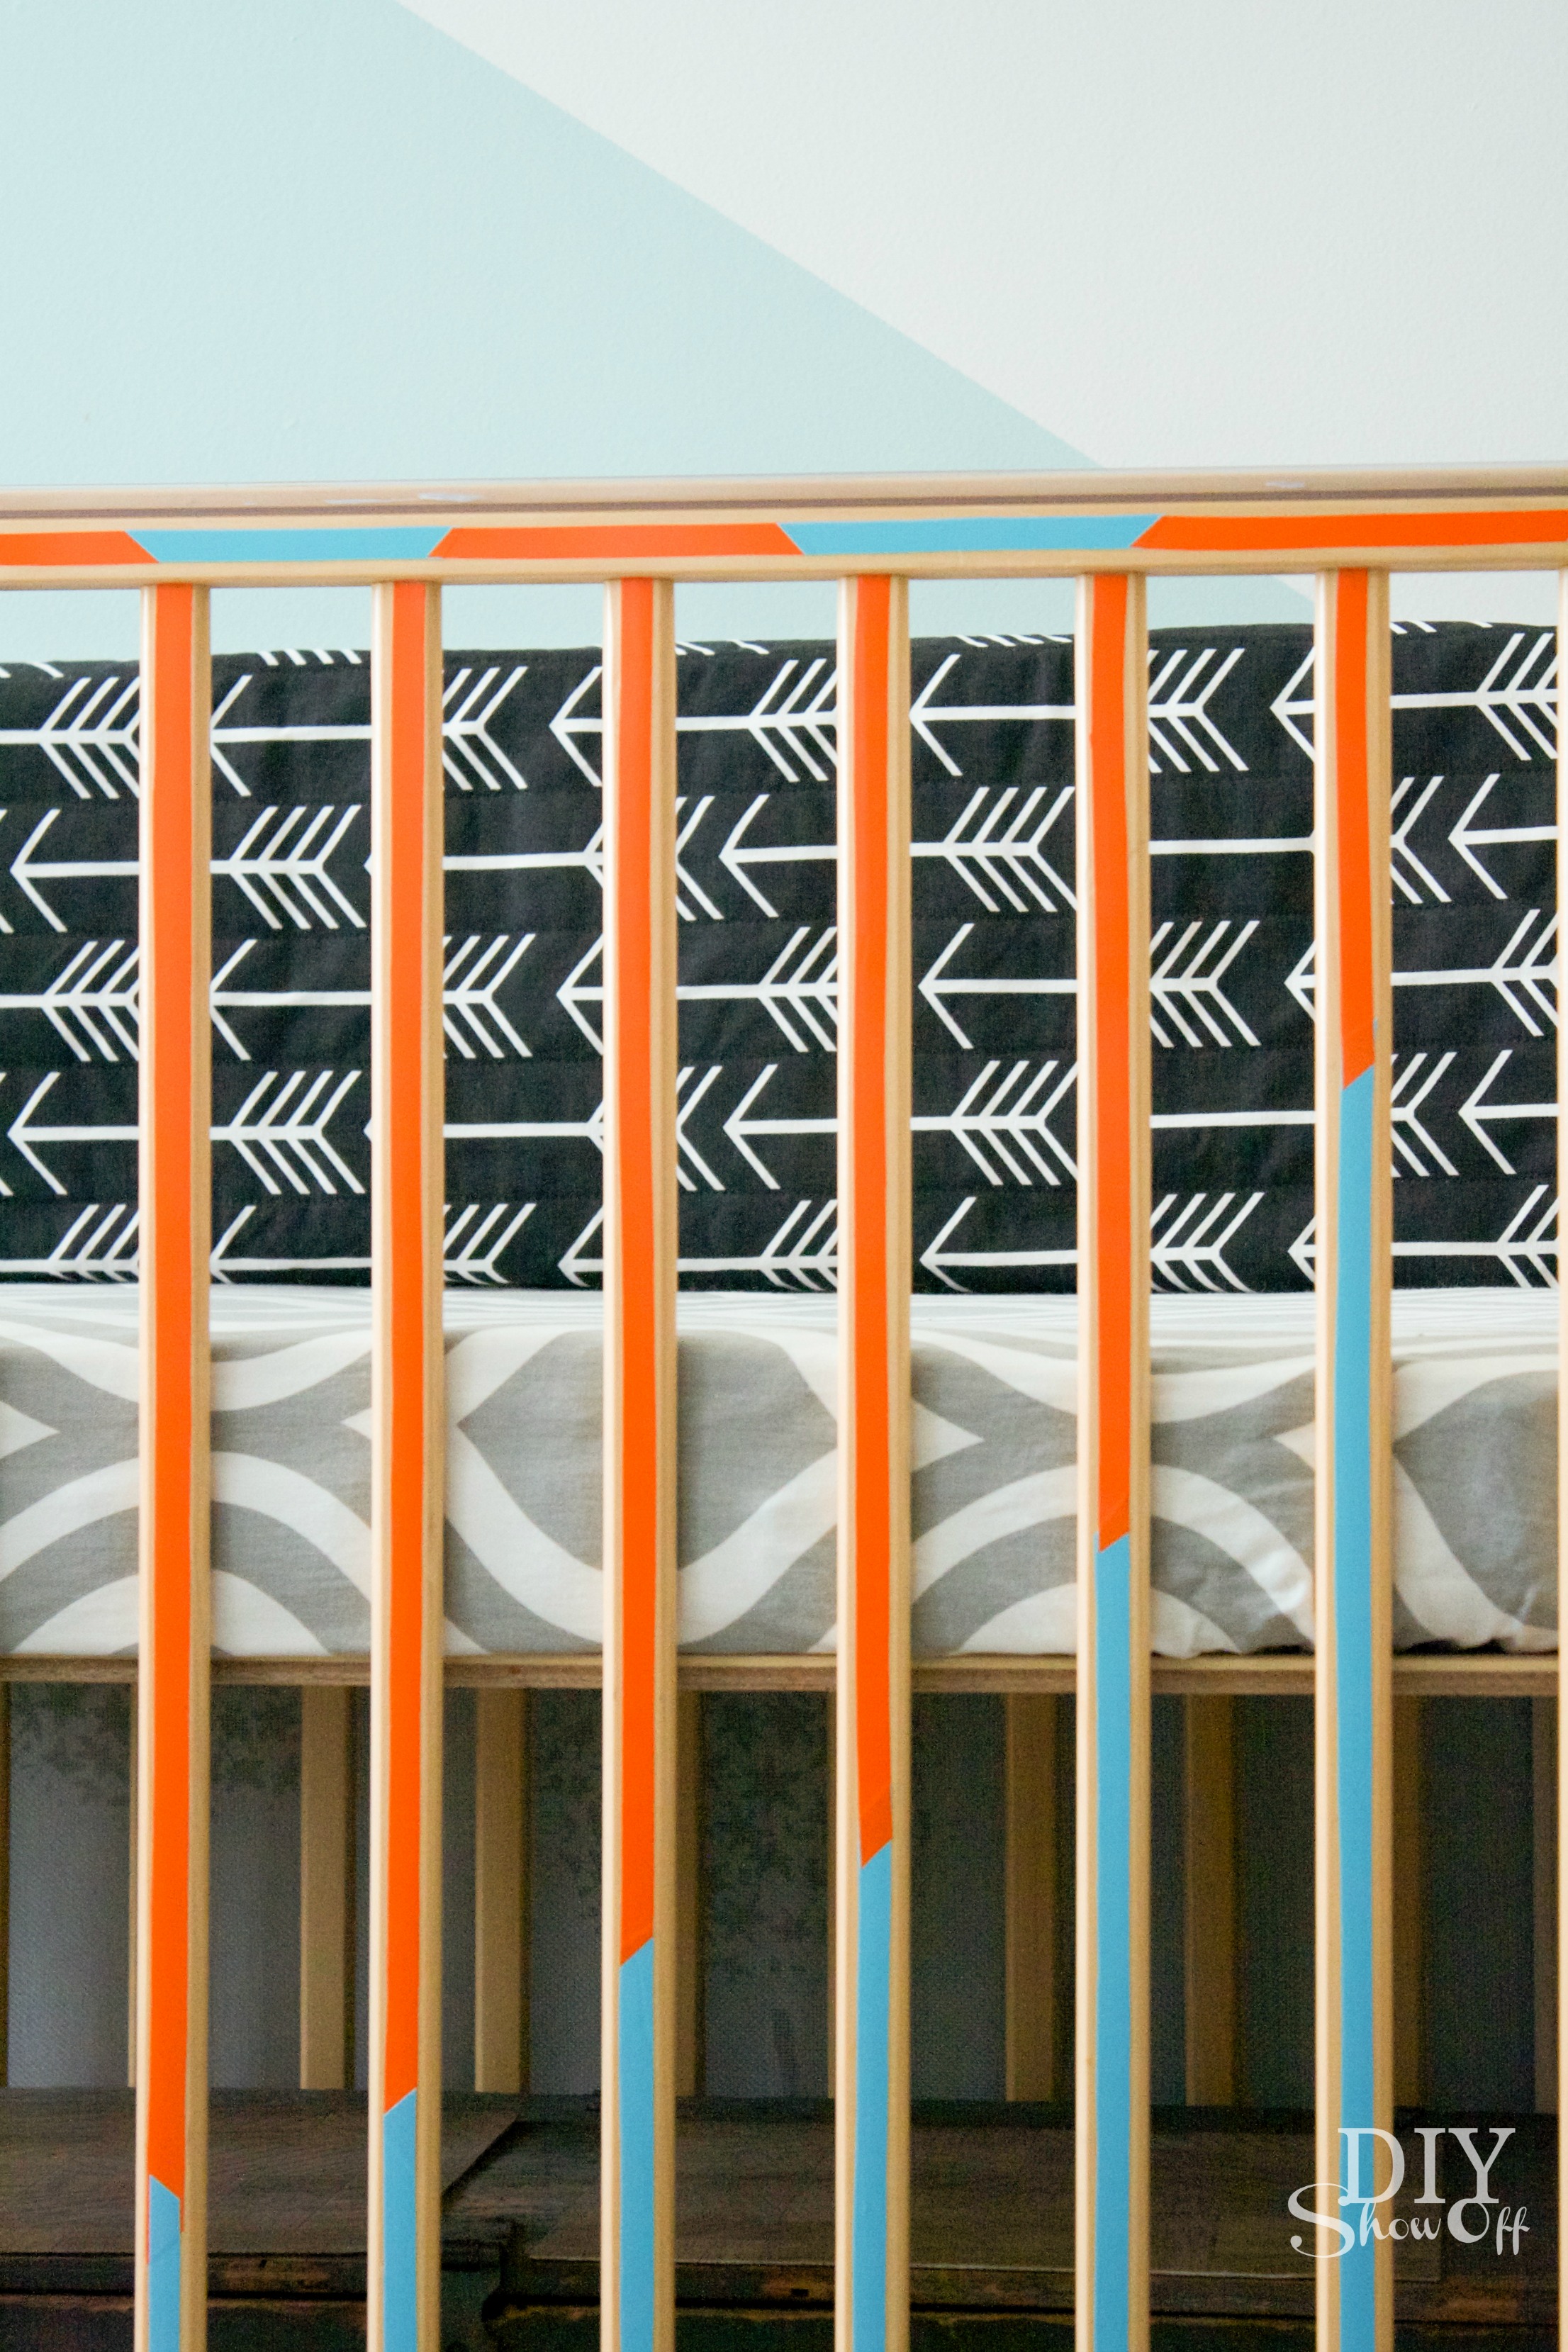
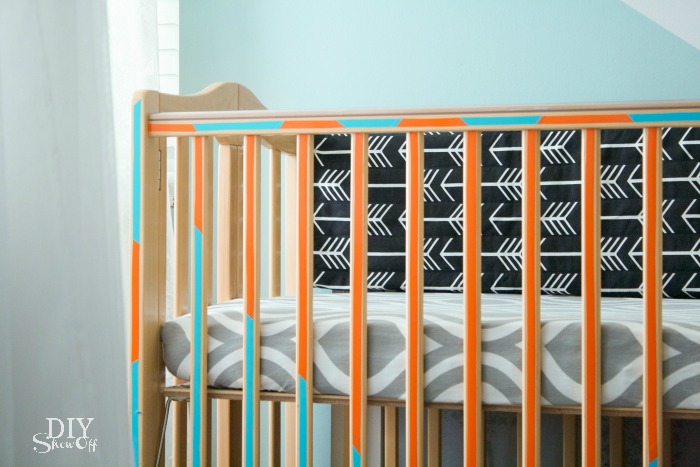
The Oracle brand adhesive vinyl from Happy Crafters has a grid on the back side. Using scissors, simply cut strips of adhesive vinyl to size. No vinyl cutting machine required.  

Jazz up your crib for under $10 with DIY adhesive vinyl decals. Tutorial @diyshowoff

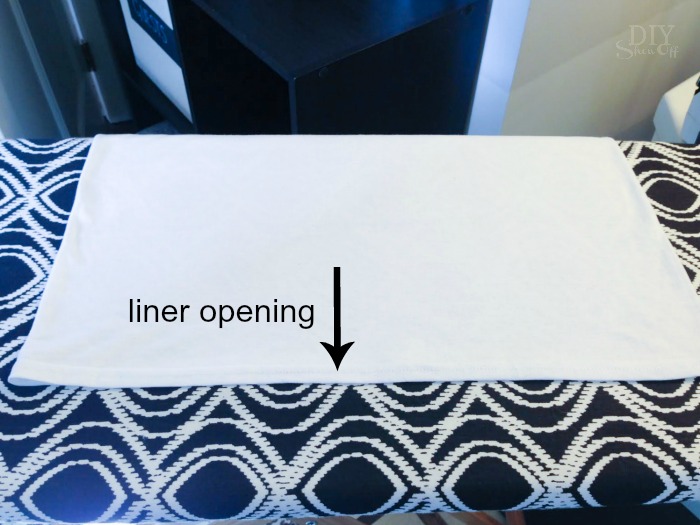
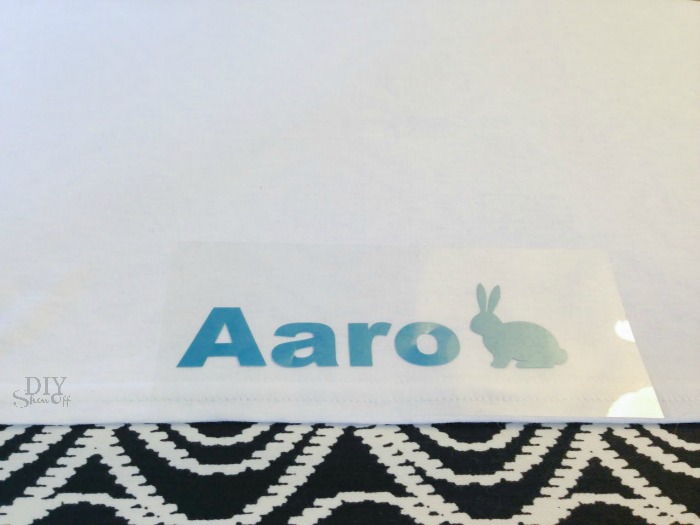
Remove backing and place onto crib like stickers. You choose the color or colors that coordinate with your space. Best part? They’re removable! Get a fresh new look temporarily without ruining the crib’s finish. 
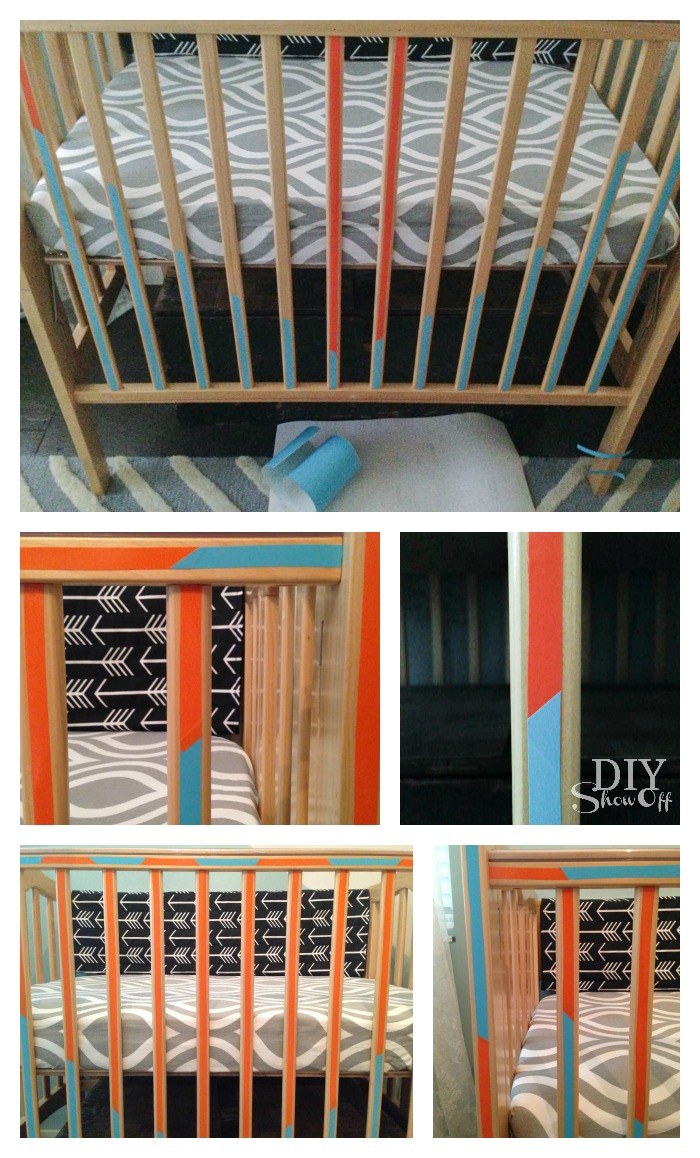
Jazz up your crib for under $10 with DIY adhesive vinyl decals. Tutorial @diyshowoff

After: 

Jazz up your crib for under $10 with DIY adhesive vinyl decals. Tutorial @diyshowoffJazz up your crib for under $10 with DIY adhesive vinyl decals. Tutorial @diyshowoffJazz up your crib for under $10 with DIY adhesive vinyl decals. Tutorial @diyshowoff

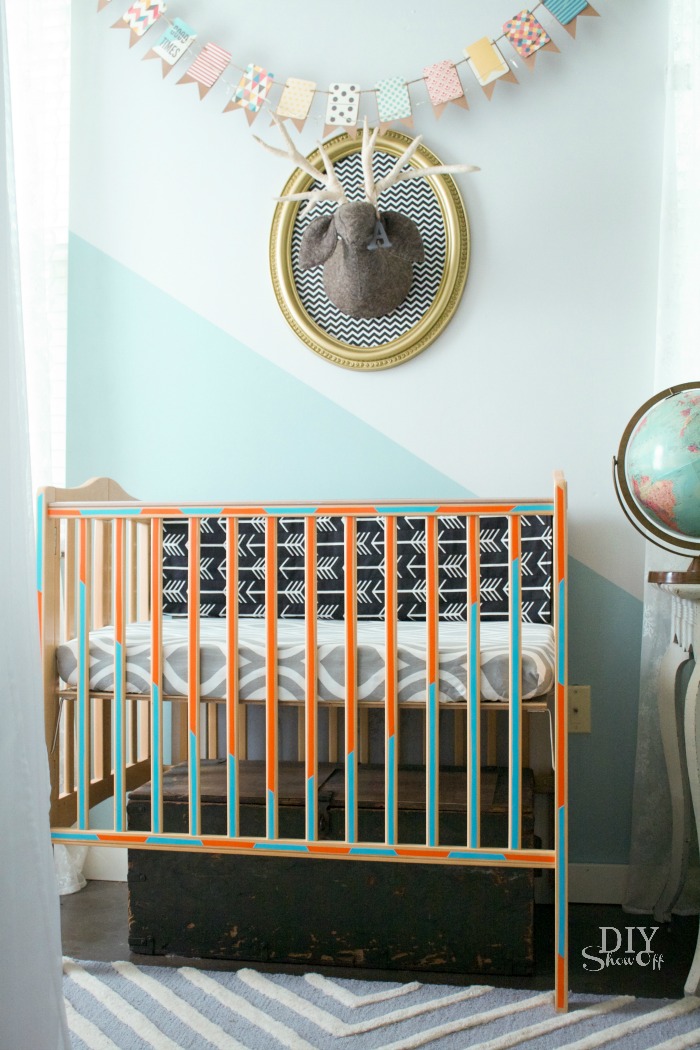
Can’t go wrong with easy, affordable, temporary and cute crib decorating! 

*Please note that you should make safety your first priority. If you find that your vinyl decals are peeling up, remove vinyl immediately. We do not have any issues, I’m only sharing a decorating project that works for us. Attempt this project at your own risk. 

**This post is sponsored by Happy Crafters. Tutorial, experience and opinion is my own. I love the products and the prices are affordable. Check out all the supplies at Happy Crafters for great prices, products and inspiration for your next project. 

HClogopngsmall

DIY Vinyl Iron on Decal

My monthly project for Happy Crafters is all about iron on vinyl, my favorite being the gold vinyl where I can quickly add a little bling to a plain t-shirt, tote back, pillow covers, onesies, etc. 

gold metallic iron on vinyl decal tutorial @diyshowoff #happycrafters

Materials:

Tutorial:

Use Silhouette Design Studio software to create a design of text with a quote. 

gold metallic iron on vinyl decal tutorial @diyshowoff #happycrafters

Resize text the text box and font to fit the front of your t-shirt. 

*Important! Right click and “flip horizontally” so that the text is a mirror image/backwards.

gold metallic iron on vinyl decal tutorial @diyshowoff #happycraftersgold metallic iron on vinyl decal tutorial @diyshowoff #happycrafters

Load sheet of vinyl iron on into the machine shiny/color side facing down. 

gold metallic iron on vinyl decal tutorial @diyshowoff #happycrafters

Click “send to cut” and be sure to adjust settings for cutting smooth heat transfer. I found that I needed to up the blade 2 more than recommended to get through the vinyl (awesome quality stuff!) so you may want to do a small text cut. 

gold metallic iron on vinyl decal tutorial @diyshowoff #happycrafters

Click “cut”. Once cutting is complete, remove vinyl from machine. 

Trim away excess vinyl. I like to have about an inch border around my text.

Weed away the negative part of the design (leaving text on the tacky clear transfer sheet). 

gold metallic iron on vinyl decal tutorial @diyshowoff #happycrafters

Place iron on sticky side down onto t-shirt.

gold metallic iron on vinyl decal tutorial @diyshowoff #happycrafters

Iron according to paper instructions included with the vinyl iron on material with a cotton cloth over the transparent plastic. 

gold metallic iron on vinyl decal tutorial @diyshowoff #happycrafters

Carefully peel away clear transfer sheet. If vinyl iron on design hasn’t transferred, replace transparent sheet and re-iron/try again. 

gold metallic iron on vinyl decal tutorial @diyshowoff #happycrafters gold metallic iron on vinyl decal tutorial @diyshowoff #happycrafters

That’s it! This metallic gold foil has a mirror quality, reflections in the decal. So cool!

gold metallic iron on vinyl decal tutorial @diyshowoff #happycraftersgold metallic iron on vinyl decal tutorial @diyshowoff #happycrafters

*This post is sponsored by Happy Crafters. Tutorial, experience and opinion is my own. I love the products and the prices are affordable. Check out all the supplies at Happy Crafters for great prices, products and inspiration for your next project. 

HClogopngsmall

Easy DIY Personalized Easter Basket Liner

Happy Spring! With a new grand-baby in the family, I can’t help but get all giddy about making up an Easter basket this year. As you know, I love to personalize gifts and with just a t-shirt and a DIY iron-on vinyl, this liner is super easy to make! 

DIY personalized Easter basket liner tutorial @diyshowoff

What I used:

personalized Easter basket liner @diyshowoff

What you’ll need: sewing machine, scissors, straight edge, computer/vinyl cutter, iron. 

What I did:

Lay inside out t-shirt flat and using a straight edge, draw a line beneath the t-shirt arms. This is the sewing guide…simply a straight line. 

personalized Easter basket liner @diyshowoff

Sew along the line. 

personalized Easter basket liner @diyshowoff

Then cut straight across above the sewn line (right below the armpits of the t-shirt). 

personalized Easter basket liner @diyshowoff

Flip right side out. 

Place the seam inside of the basket and fold the edges of the t-shirt over the basket to create a liner. Measure how much room you have horizontally and vertically to get an idea of your iron on design’s size. I kept mine under 2″ high by 7″ wide. 

personalized Easter basket liner @diyshowoff

Using the Silhouette Design Studio software, I created a graphic with name and a cute little bunny shape. 

personalized Easter basket liner @diyshowoff

You’ll need to mirror the text and image by right clicking and selecting “flip horizontally”. 

personalized Easter basket liner @diyshowoffpersonalized Easter basket liner @diyshowoff

Double check the size. (One sheet of iron-on vinyl is going to make a LOT of decals!) 

personalized Easter basket liner @diyshowoff

Load vinyl into the machine shiny side down. The shiny side is actually the transparent cover. Vinyl is the matte side (facing up). 

personalized Easter basket liner @diyshowoff

Send the design to ‘cut’. Adjust setting for heat transfer material and “cut”.

personalized Easter basket liner @diyshowoff

When cutting is complete, remove vinyl from machine. Trim to a manageable size. 

personalized Easter basket liner @diyshowoff

Weed away the excess vinyl. The decal will show a backwards design on the transparency. 

personalized Easter basket liner @diyshowoff

Smooth out the t-shirt liner with the open end facing you. Place the iron on decal towards the bottom, centered. 

personalized Easter basket liner @diyshowoffpersonalized Easter basket liner @diyshowoff

Cover with a cotton cloth (or the scrap t-shirt material) and iron according to instructions that came with the iron on vinyl.

personalized Easter basket liner @diyshowoffpersonalized Easter basket liner @diyshowoff

Carefully remove the transparency film. 

personalized Easter basket liner @diyshowoff

Line the Easter basket and fill. Easy, right? Cute too! 

DIY personalized Easter basket liner tutorial @diyshowoffDIY personalized Easter basket liner tutorial @diyshowoff

It’s actually a pretty easy DIY project for any time of the year, any basket or to personalize a gift basket for any occasion.

DIY personalized Easter basket liner tutorial @diyshowoff


More Easter DIY ideas

DIY warm cool aromatherapy snuggle bunnies @diyshowoff #essentialoilsdip-dyed-easter-egg-tutorialDIYShowOff Easer succulent garden


*This post is sponsored by Happy Crafters. Tutorial, experience and opinion is my own. I love the products and the prices are affordable. Check out all the supplies at Happy Crafters for great prices, products and inspiration for your next project. 

HClogopngsmall