Happy Valentine’s Day baby photo and club feet update

Happy Valentine’s Day! One thing this new grandma can’t get enough of is this cute little love bug and a chance to whip out the camera for some photography practice. I’m not a professional photographer but I do enjoy pretending to be one. As a home/DIY blogger, I’m used to taking photos of before/after spaces and tutorial steps. A moving model is a lot more challenging but a lot of fun! I call this one “Cupid’s Aaro” and of course he’s covered in grandma kisses. Valentine's Day baby photo 2015 @diyshowoff #clubfeet

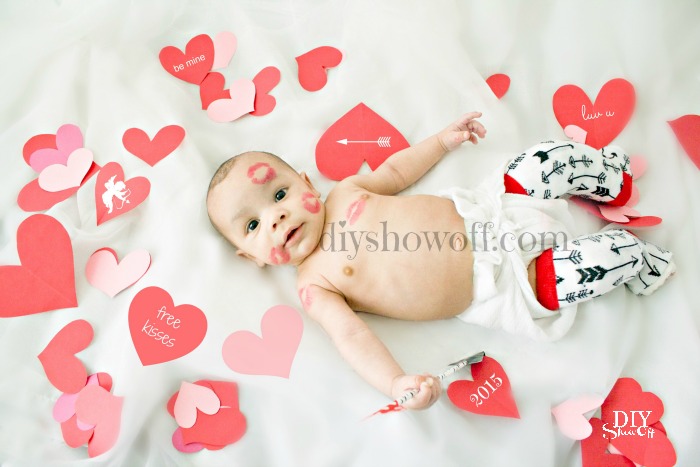
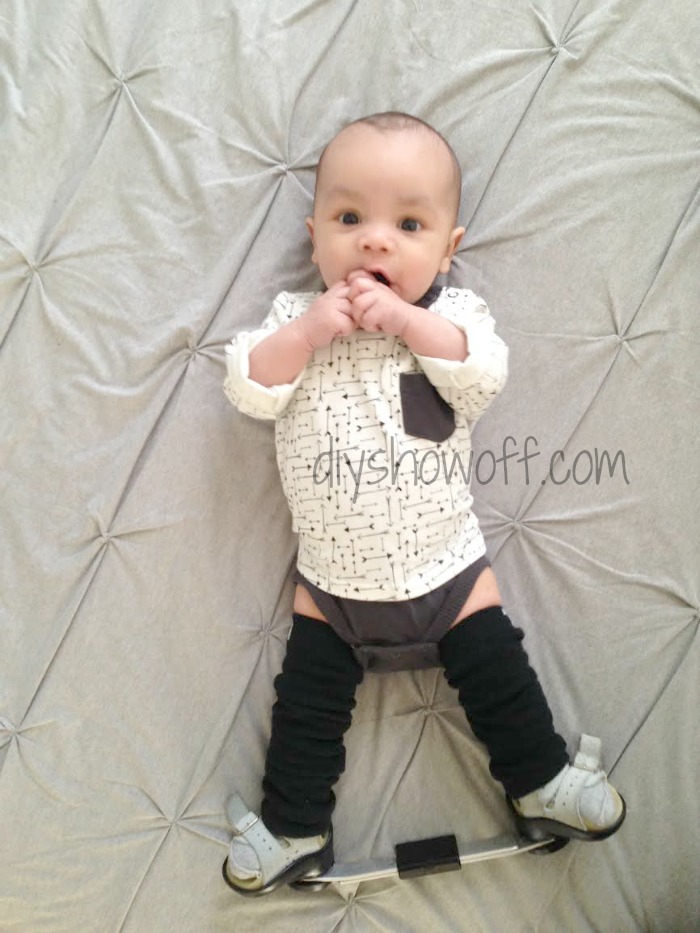
DIY cast covers: The casts had gotten a little worn and dirty looking. He does have some cute leg warmers but for this photo, I just snipped off the toes of festive dollar store socks (adult sized) and tucked in the raw edge. Perfect fit.

Update: He is now two months old and doing well! He loves to ‘talk’ and is always smiling. Thanks for the prayers! The plaster casts from his surgery were finally removed after three weeks earlier this week. He wasn’t phased one bit by the extra heavy weight from top of thighs to little tiny toes but he was temporarily horribly traumatized by the saw.  Measurements were taken and he’s now wearing temporary shoes and bar until his custom ones arrive. He’ll wear them for 23 hours a day. 

club feet shoes & braces @diyshowoff

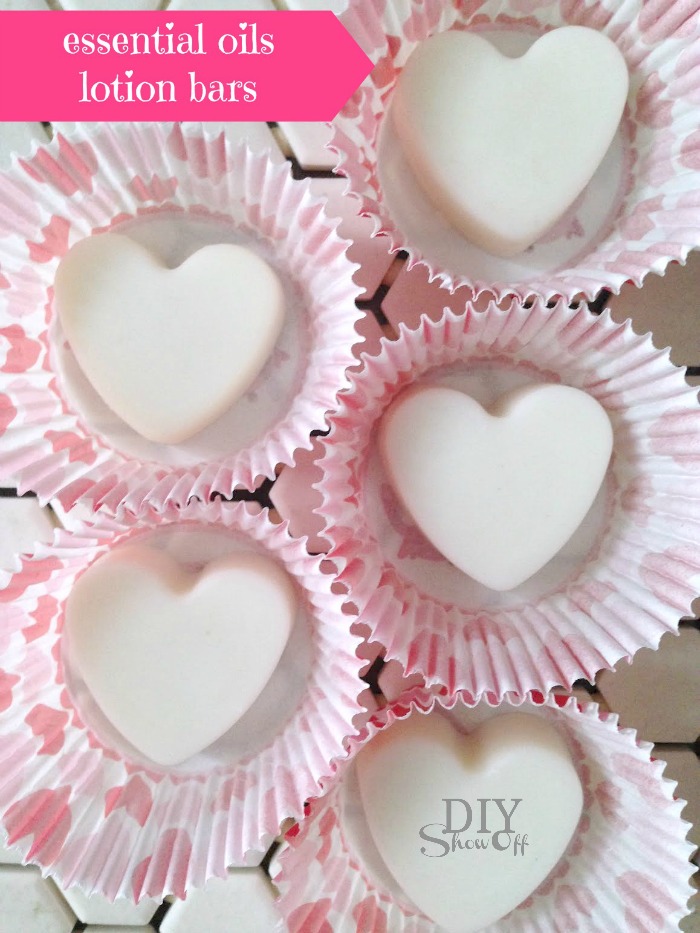
His feet are a little peel-y from being in casts for months so my daughter is applying a V6/lavender essential oil blend with success. And he’s able to finally bend his knees for the first time since he was born, lots of kicking and fascination with feet during that one hour a day without shoes. 

Happy Valentine's Day 2015 from @diyshowoff

And…I just want you to know that you are loved. Your comments, your support, your encouragement, your kindness, every time we interact, I’m smiling. I hope your Valentine’s Day is filled with lots of love, kisses and good health. 

Striped DIY “Love You More” Sign

I like to incorporate a little Valentine’s vibe into my decor this time of year but I prefer to have decorative accents that can withstand longer time frame. Creating a “love” themed vignette works year round and this striped scrap wood sign is the perfect focal point. 

striped Valentine LOVE sign @diyshowoff.com 

Materials I used:

  • scrap wood for canvas
  • paint
  • FrogTape® Multi-Surface
  • vinyl decals

What I did:

Sand edges and clean scrap wood canvas. 

striped Valentine LOVE sign @diyshowoff.com

Paint base color and let dry. I did two coats. 

striped Valentine LOVE sign @diyshowoff.com

Use FrogTape to create stripes. I started with a center stripe and worked my way out. Just eyeball it. Use a small piece of FrogTape for spacing. 

striped Valentine LOVE sign @diyshowoff.com

Burnish the edges of the FrogTape using a thumbnail or credit card. 

striped Valentine LOVE sign @diyshowoff.com

Paint stripes. I did two coats. 

striped Valentine LOVE sign @diyshowoff.com

While second coat of paint is still wet, remove FrogTape. Let paint dry. 

striped Valentine LOVE sign @diyshowoff.com

I added DIY vinyl decals. Other options include a print/rub technique (print out wording, rub pencil on the back of the paper then place paper on wood sign and trace lettering) and paint or marker or stickers…get creative!

striped Valentine LOVE sign @diyshowoff.com

Now I have a “love” themed vignette perfect for Valentine’s day and a wood canvas sign that I can display all year round (cute for the nursery too)!

striped Valentine LOVE sign @diyshowoff.com

FrogTape Blog Squad

Disclaimer: I received compensation to complete this project for using FrogTape® products. All opinions, projects and ideas are based on my own experience.

Essential Oil Lotion Hearts

It’s the second month of the Embracing Wellness Series and giveaway – several blog friends sharing their favorite Young Living essential oils and hosting an awesome giveaway as our way of wanting to help spread the oily love. Woo hoo! More details below. *This post contains some affiliate links of what I purchased on Amazon, enough supplies for several different DIY/handmade recipes.

These essential oil lotion hearts are not only a great gift idea, they’re super handy for dry skin. Winter and extra-handwashing have made my hands super dry. I love having these on display/ready to grab near the soap on our bathroom sinks and in my purse for a quick grab. Not to mention a cute gift, great {essential oil} business incentive or prize at essential oil classes/events. 

DIY essential oils lotion bars @diyshowoff

Ingredients I used:

DIY essential oils lotion bars @diyshowoff

*I chose Valor for the one I keep in my purse. I like the benefits for easing occasional feelings of anxiety on top of soothing dry skin on the go. I also like Joy, Peace & Calming, Lavender and Sacred Mountain. One of the bonuses to DIY! YOU choose the essential oil you prefer. 

Valor: Valor® is an empowering combination of therapeutic-grade essential oils that works with both the physical and spiritual aspects of the body to increase feelings of strength, courage, and self-esteem in the face of adversity. Renowned for its strengthening qualities, Valor enhances an individual’s internal resources. It has also been found to help energy alignment in the body.

Young Living Essential Oils @diyshowoff Member #1836762 #youngliving #essentialoils

What I did: 

I simply added the shea butter, beeswax and coconut oil into a double boiler (I bought this double boiler) and melted it together over medium-high heat.

DIY essential oils lotion bars @diyshowoff

Once completely melted and blended, remove from heat and mix in essential oil. You’ll need to move through the next step rather quickly (but you can always reheat to liquify if needed). 

I poured my mixture into a glass measuring cup to make pouring the mixture into silicone heart molds easier. 

DIY essential oils lotion bars @diyshowoff

I let them cool. It doesn’t take long. I waited a few hours just to be sure they were completely cool and formed. 

DIY essential oils lotion bars @diyshowoff

Then I removed the hearts from the silicone mold. They pop out easily! Wrap for gifts or display in small labeled dish on the bathroom sink.

DIY essential oil lotion bars recipe @diyshowoff 

Let’s get YOU started! Join the Oily Families team by simply visit Young Living HERE (using member#1836762 as sponsor & enroller), choose the wholesale membership to save 24% (no obligations) and choose the Premium Starter Kit. It’s the best way to start your essential oils experience and a great deal! Embrace wellness! What are you waiting for? Today’s the day! 
Curious about more uses for essential oils? Follow the entire Healthy Living / Healthy Home series by checking out these sweet blog friends and what they’re sharing:

Catch up on even more information by visiting the January edition of Embracing Wellness here where I shared an easy lavender pillow & linen spray recipe. 

How to Make lavender pillow and linen spray @diyshowoff wool dryer balls and essential oils @diyshowoff #oilyfamilies