Glitter Iron On Vinyl Decal Tutorial

Many of you have asked how my sister is doing and guess what? She’s finally completely “all done” with her treatments! Hurray! Confetti & champagne! My hero! And my hero’s superpower is “hope”…
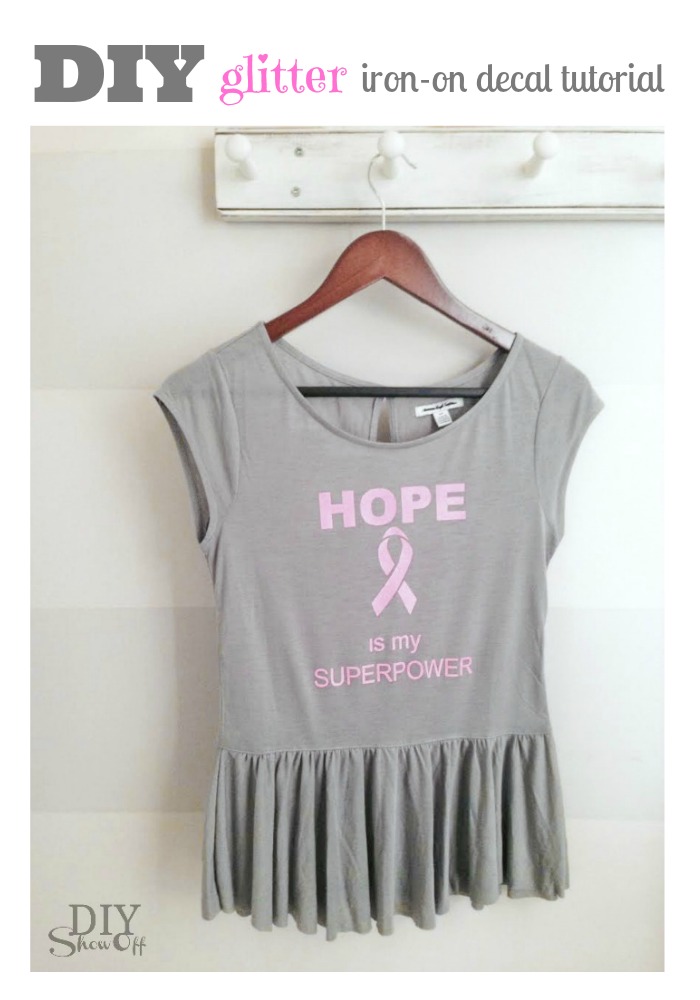
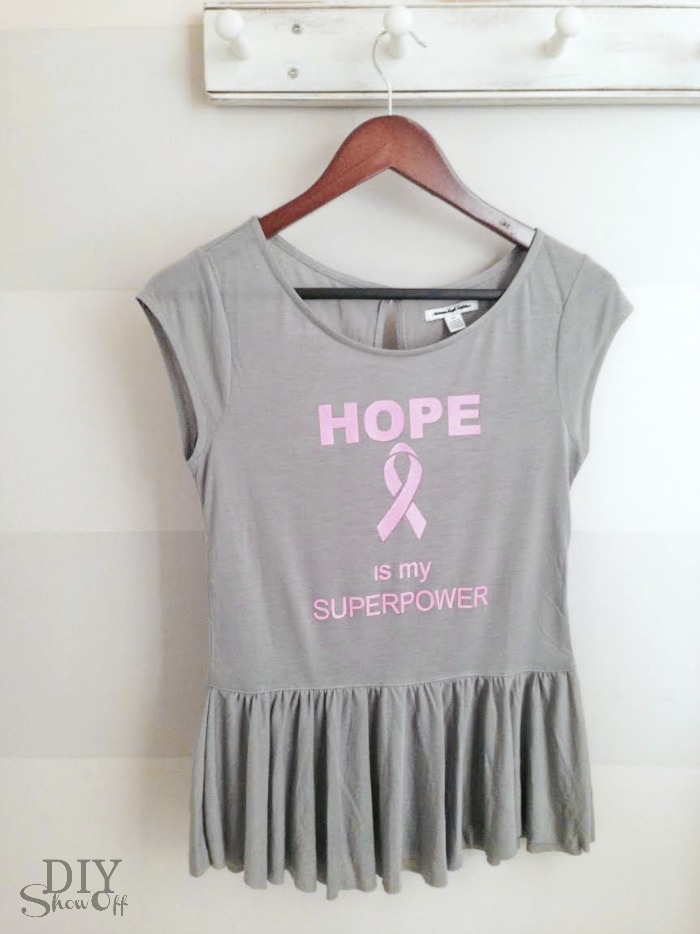
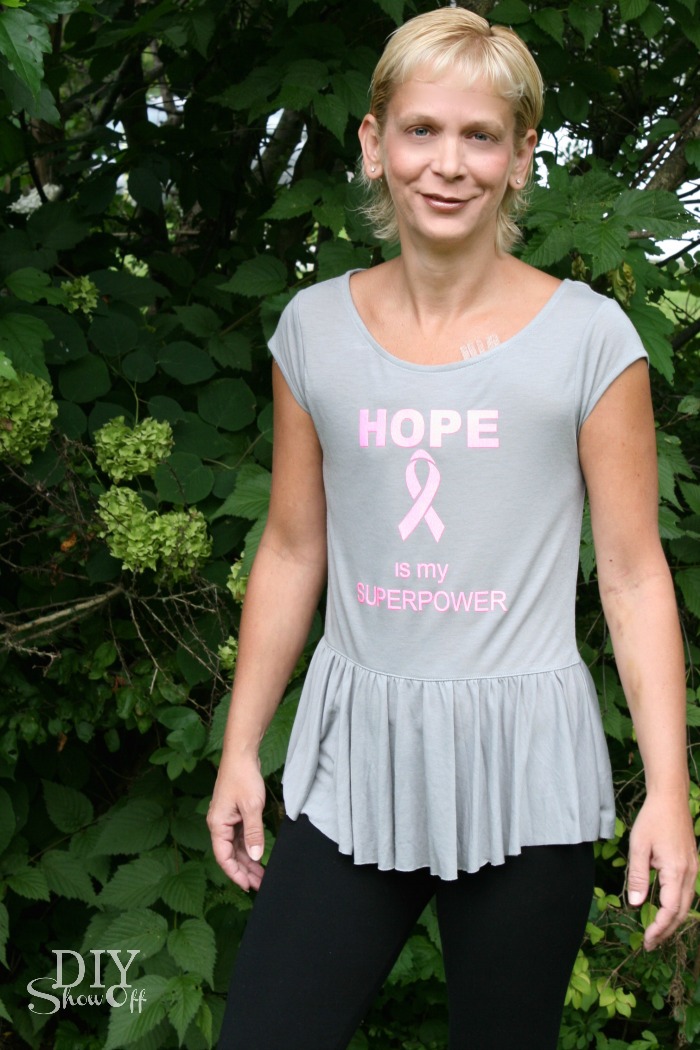
DIY glitter iron-on decal tutorial at diyshowoff…and like most heroic milestones, it’s an occasion for a celebration, right?! Right! Well, that’ll be coming up in just a few weeks when we celebrate her birthday with a super-hero themed “Bobbi-fest” but in the meantime, I whipped up a cute breast cancer survivor shirt. 

What I used:

What I did:

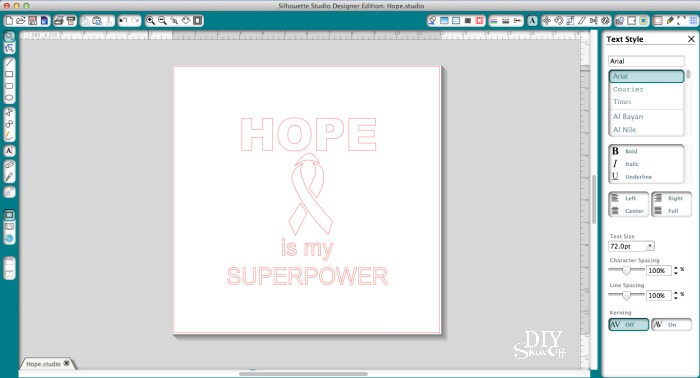
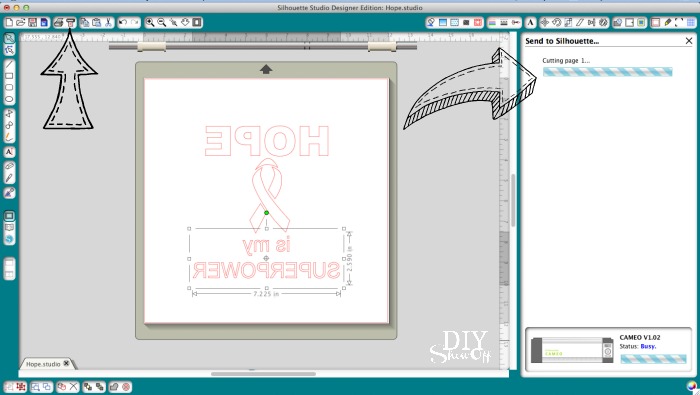
1. Using my Silhouette design studio software, I created a design using text and a breast cancer ribbon, keeping the overall size in mind for a good fit on the shirt. 

pink glitter iron on - hope is my superpower breast cancer shirt

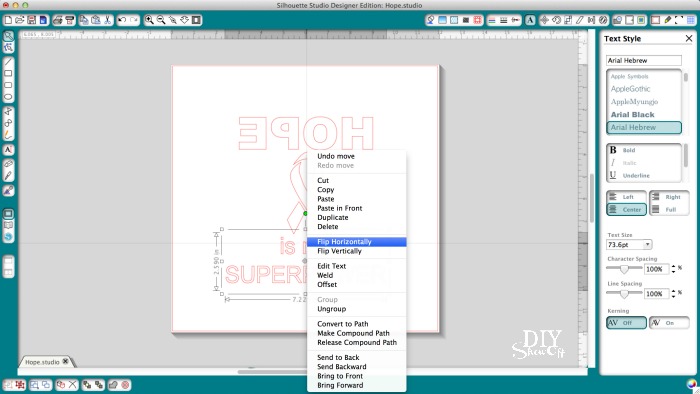
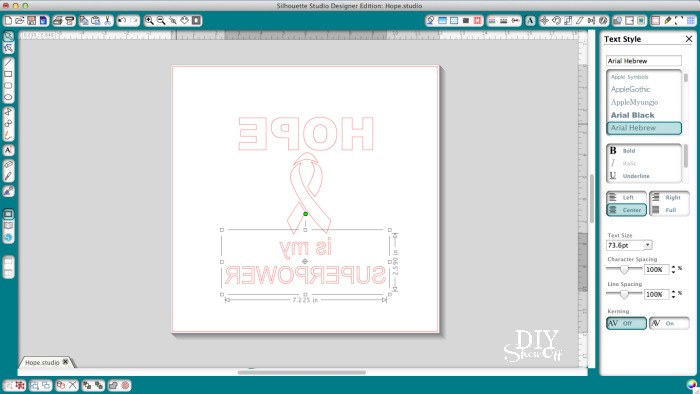
2. Right click each part of the design and choose “flip horizontally” to mirror the text and image. 

pink glitter iron on - hope is my superpower breast cancer shirt pink glitter iron on - hope is my superpower breast cancer shirt

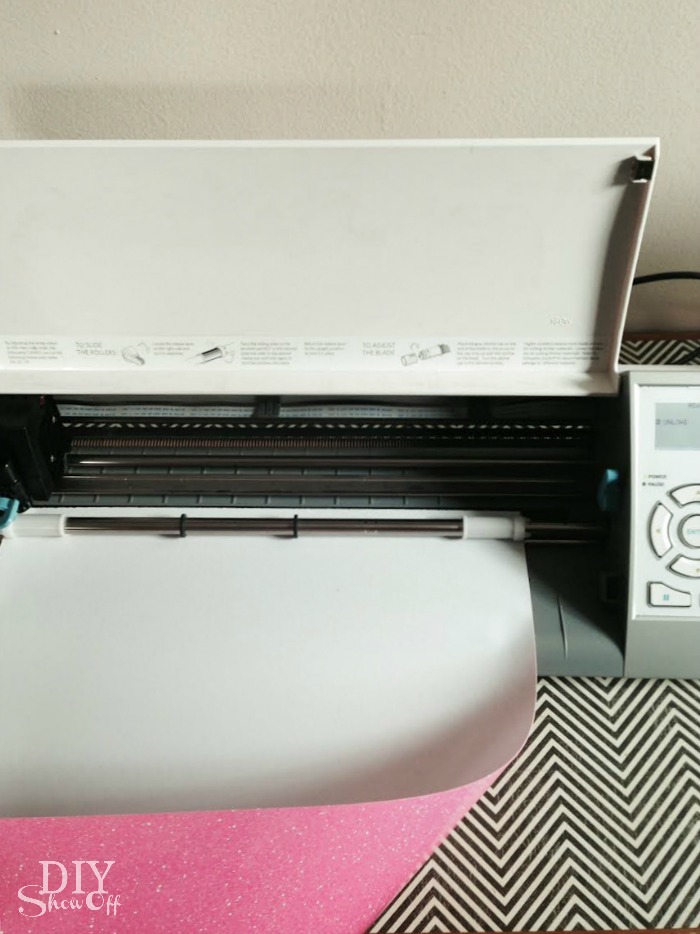
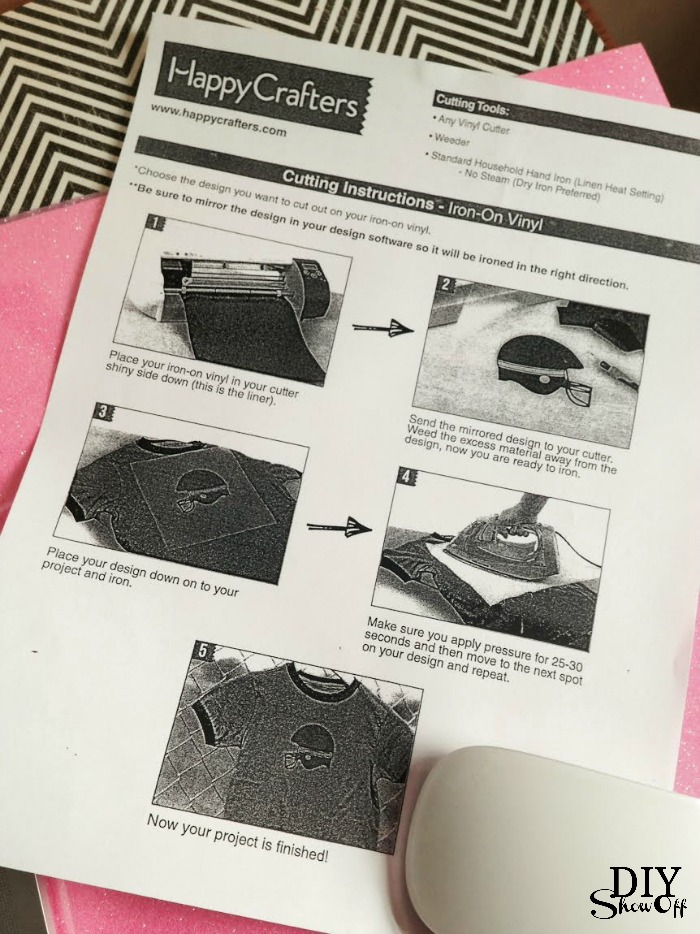
3. Load the vinyl shiny-side (pink glitter side) facing down into the vinyl cutting machine. 

pink glitter iron on - hope is my superpower breast cancer shirt

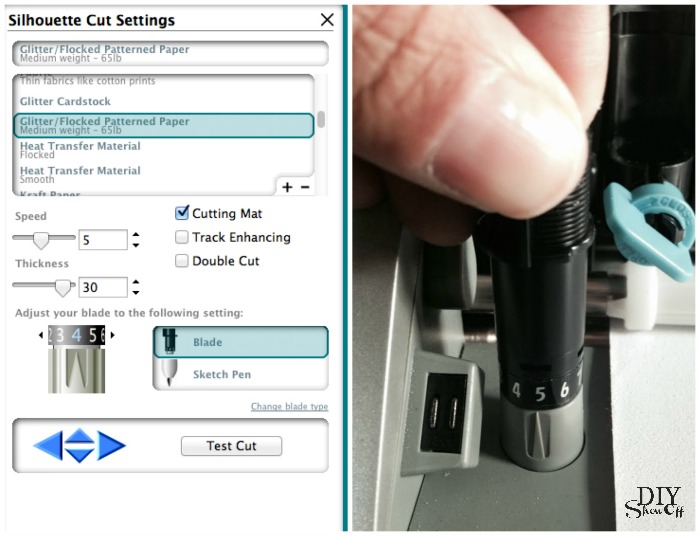
4. Choose glitter/flocked iron on adhesive from the drop down menu in the cut settings. Adjust blade settings. (Always do a test cut first to ensure the blade doesn’t cut too deep or too shallow.)

pink glitter iron on - hope is my superpower breast cancer shirt

5. Hit “cut”.

pink glitter iron on - hope is my superpower breast cancer shirt

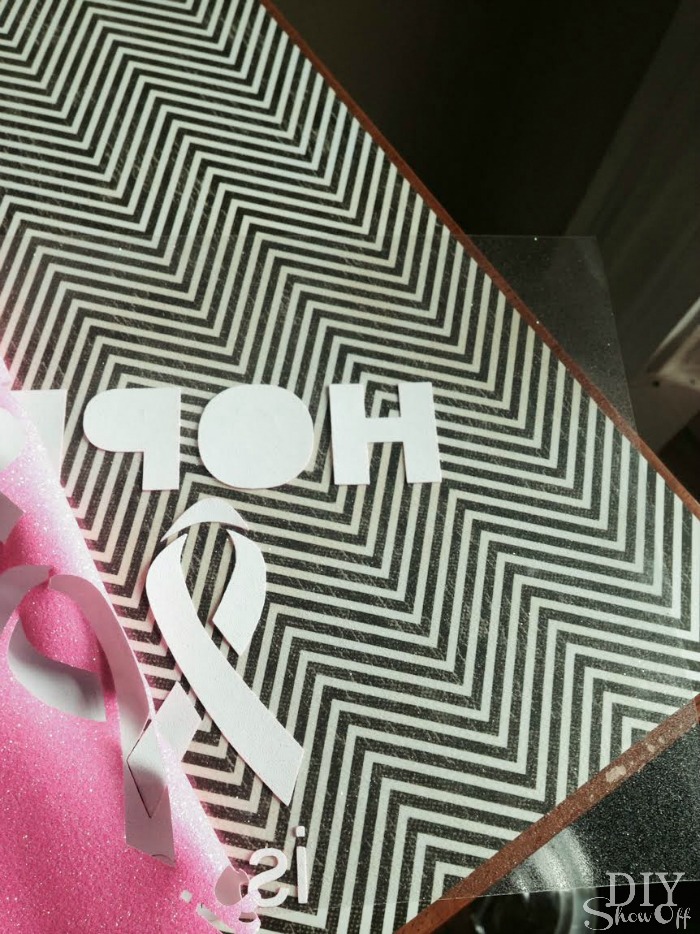
6. When cutting is complete, remove from machine and peel away excess vinyl. Weed away the vinyl surrounding the design. 

pink glitter iron on - hope is my superpower breast cancer shirt

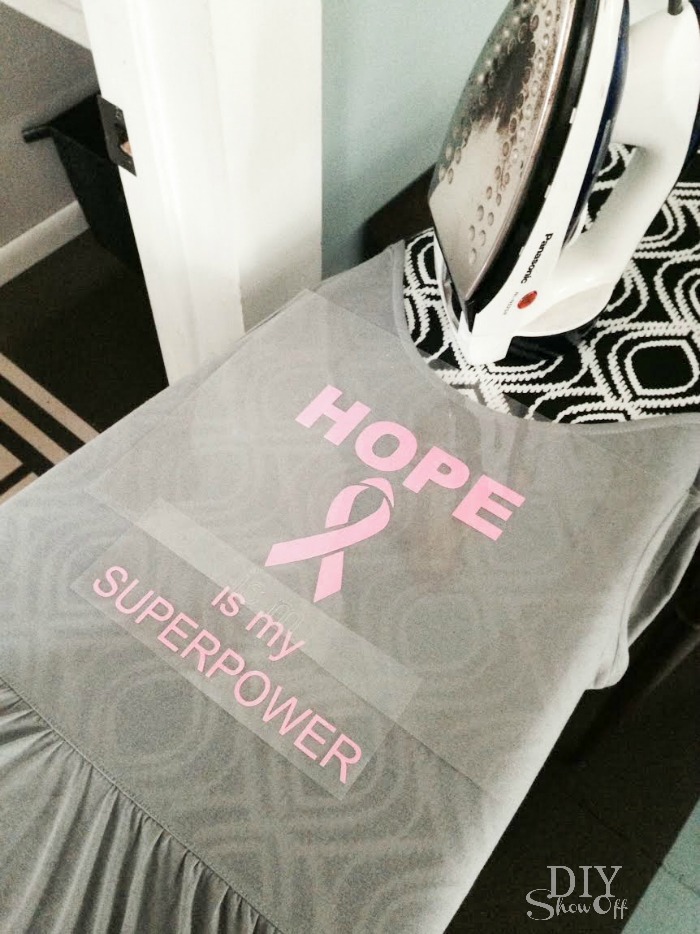
7. Following the iron on’s printed instructions, I laid out the shirt on an ironing board and smoothed out the wrinkles. Place vinyl onto shirt.

pink glitter iron on - hope is my superpower breast cancer shirt

pink glitter iron on - hope is my superpower breast cancer shirt

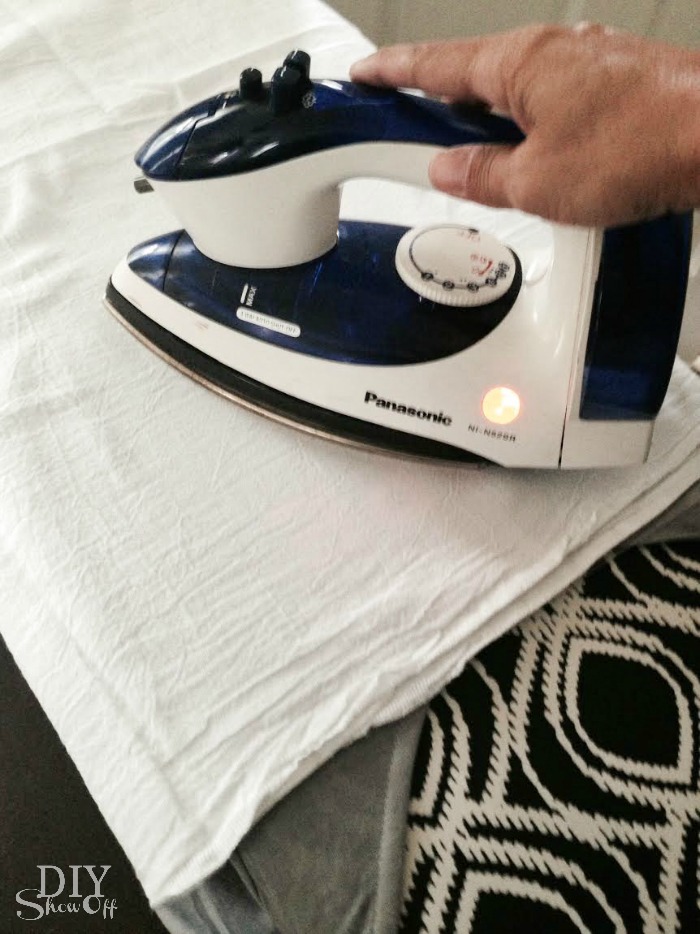
8. Cover with a cotton dish towel or cotton fabric and iron, applying pressure 25-30 seconds and then moving to the next spot on the design and repeating. I used the highest setting on my iron (no steam).

pink glitter iron on - hope is my superpower breast cancer shirt

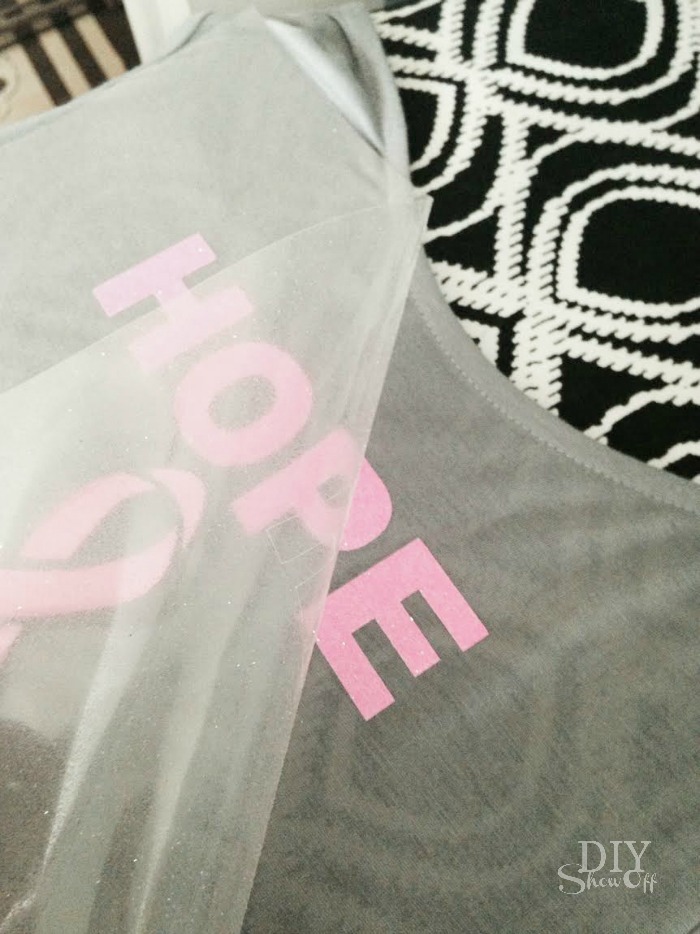
9. Slowly peel away the transparency. (If letters peel away too, repeating step 8, applying more pressure/holding a few seconds longer.)

pink glitter iron on - hope is my superpower breast cancer shirt

Ta-da!

Hope is my super power breast cancer iron on decal tutorial

Despite nausea and having tests done the same day, she agreed to model my handiwork. Isn’t she beautiful? {I love how despite not feeling 100%, she smiles. And how her hair is growing back with curls!}

breast cancer (hope is my superpower) - Bobbi at diyshowoff.com

Now that the treatment is behind her, she’s free to focus on recovering, building up strength and feeling better every single day. Thanks for your prayers! xoxo

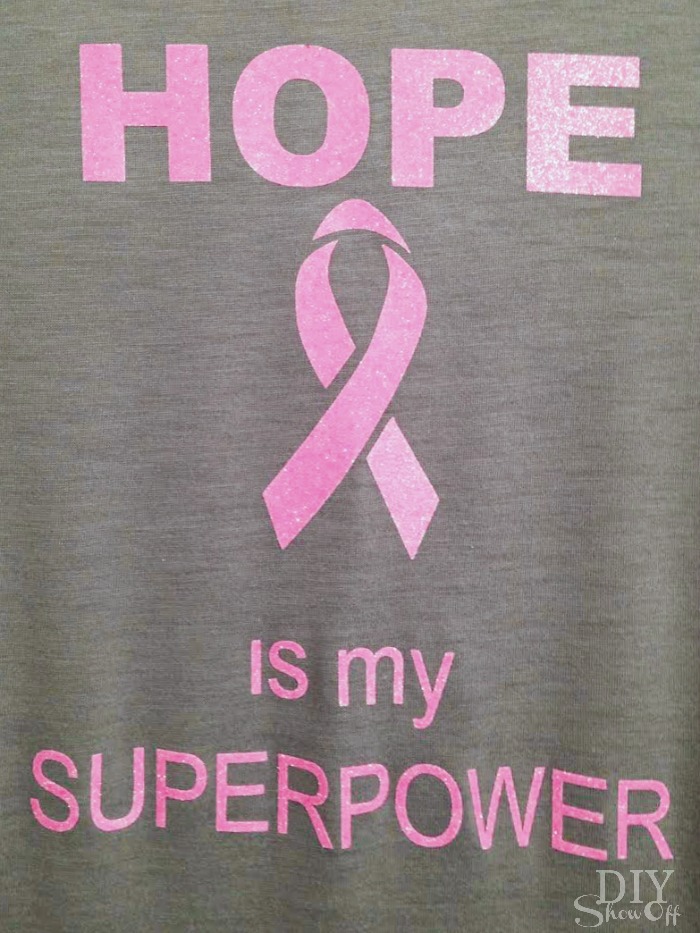
Glitter is so difficult to photograph. It’s a more uniform and sparkly than shown above. 

hope is my super power


party pink bling glitter iron on vinyl

*This post is sponsored by Happy Crafters. Tutorial, experience and opinion is my own.  Check out all the supplies at Happy Crafters for inspiration for your next project. 

HClogopngsmall

Valentine’s Day Decorating {Vinyl Decal Glass Top Table Runner}

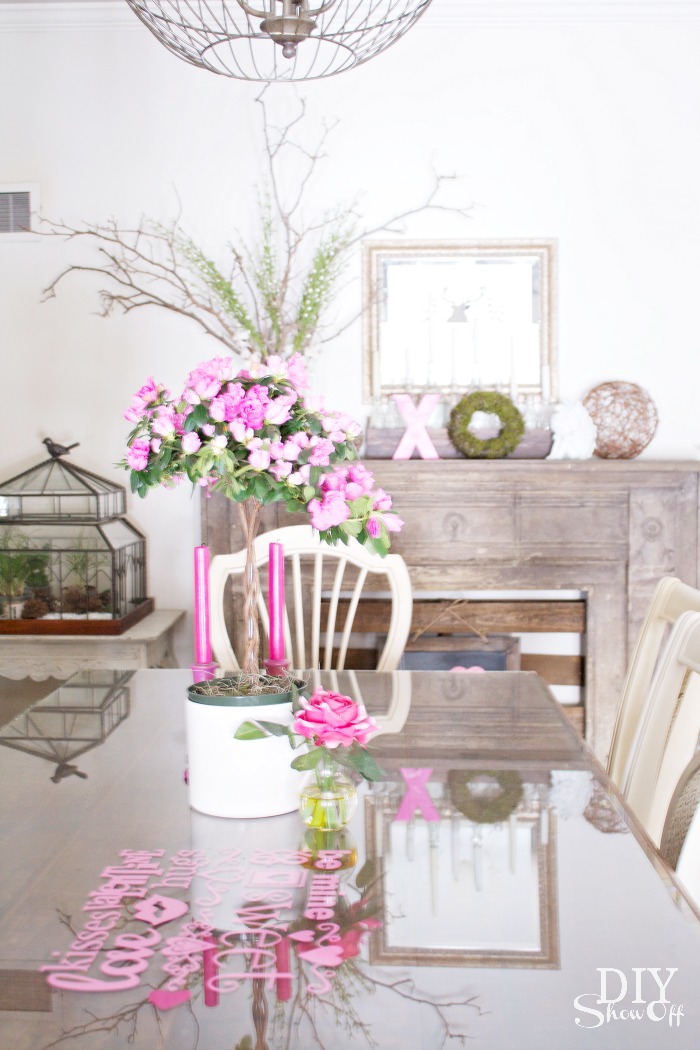
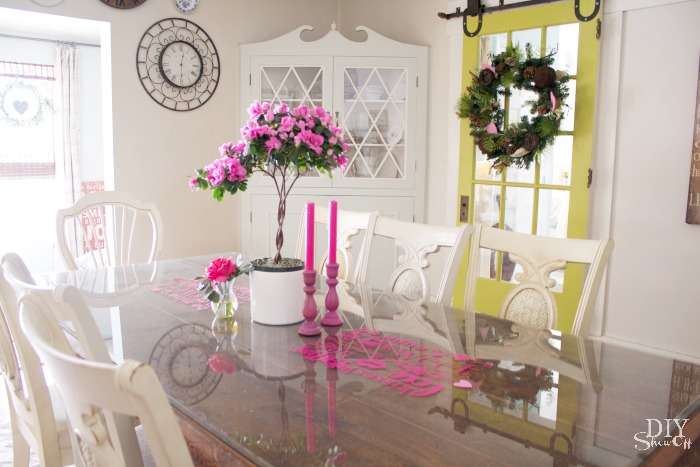
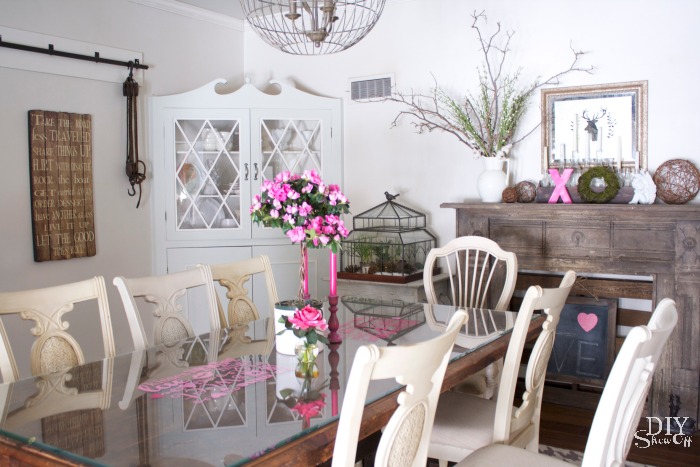
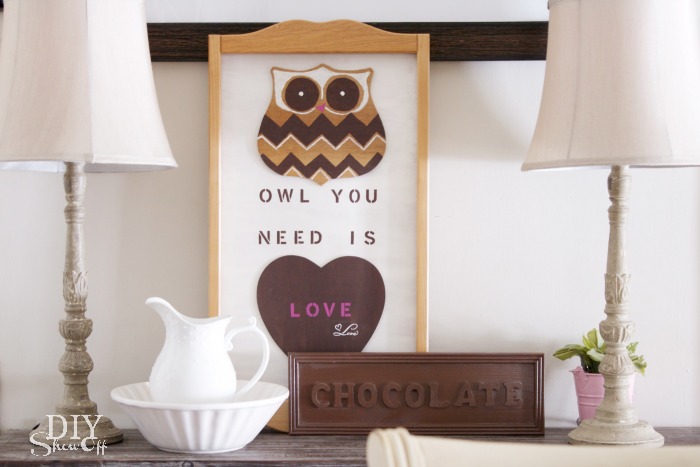
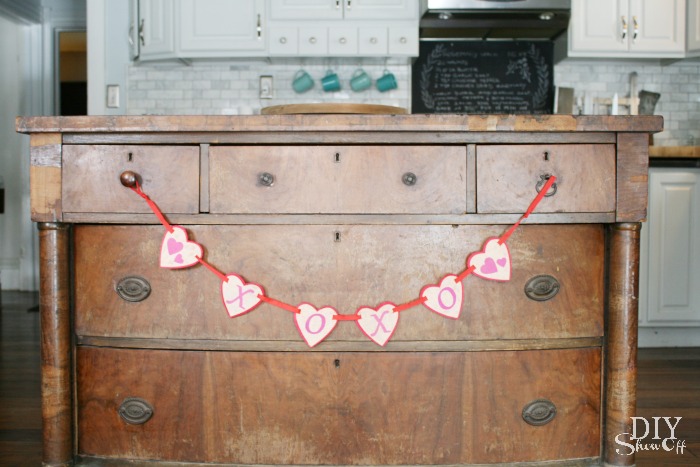
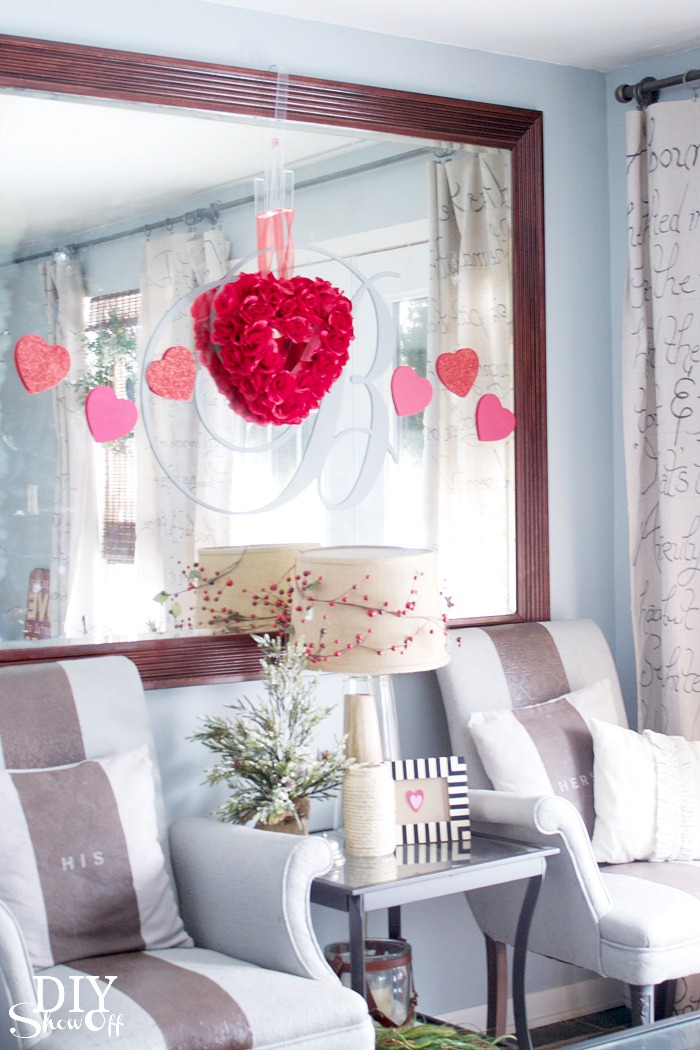
I’m not quite late in terms of sharing my Valentine decorating, am I? I don’t do much…just a little here and there, mostly in the dining room. 

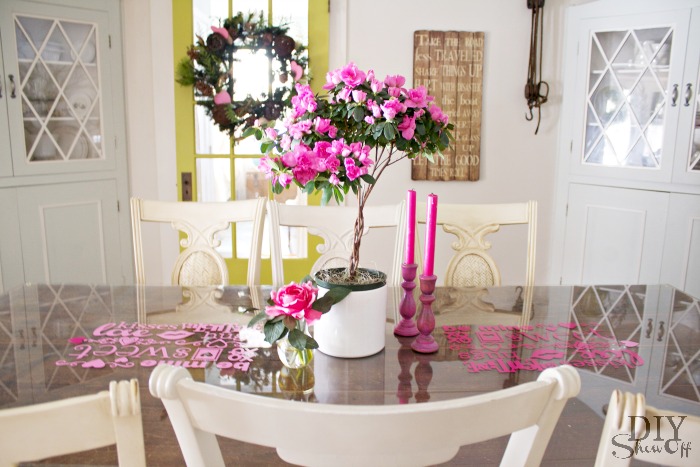
Valentine dining room decor

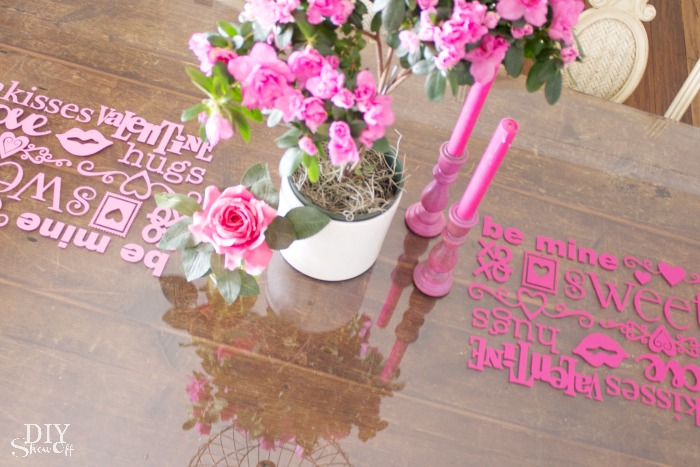
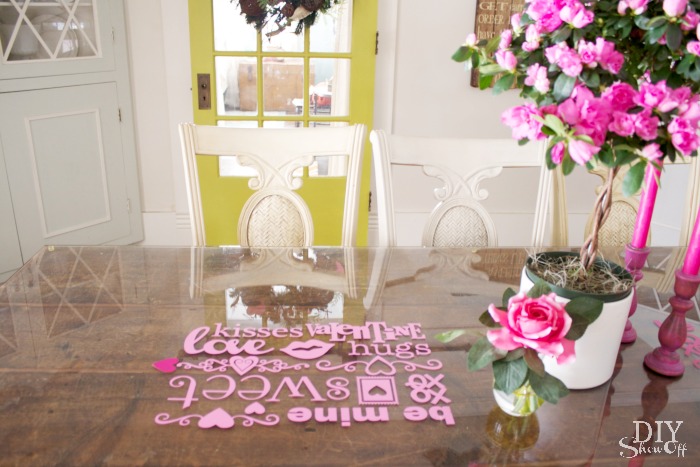
More pictures after a little vinyl tutorial: Having a vinyl cutting machine is GREAT for last minute decorating! Our reclaimed barn wood dining table is protected by a beveled glass top. And a glass top table is the perfect spot for an adhesive vinyl table runner just in time for Valentine’s day!

Valentine glass top table vinyl decals

You’ll need:

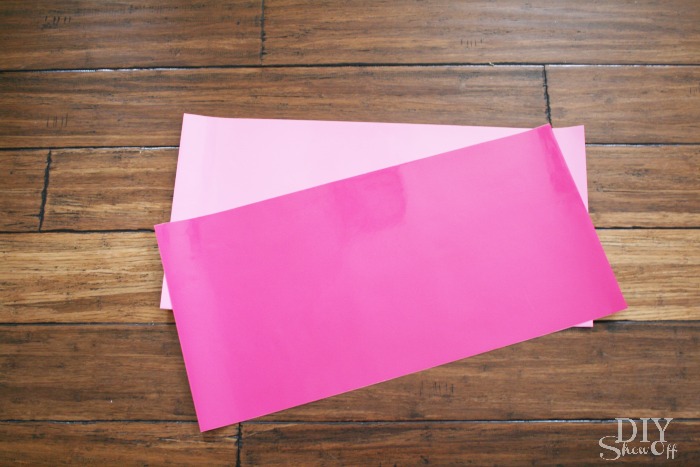
  • Adhesive vinyl from Happy Crafters in pink and soft pink
  • Transfer paper

Tools I used:

  • Silhouette Cameo
  • Silhouette Design Studio software
  • scissors
  • credit card/gift card

Happy Crafters Adhesive Vinyl

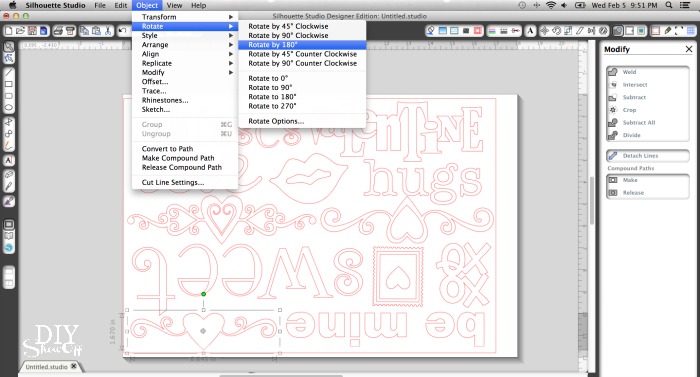
Using the Silhouette Design Studio software, I used different fonts to create Valentine text along with a few shapes from the online store.  Because I wanted to have the text reading different directions, I used the rotate tool to flip some of the text and shapes. 

Silhouette Design Studio software

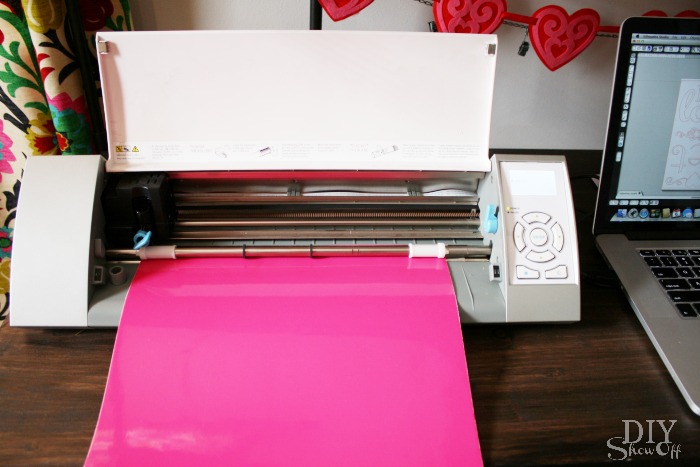
Before sending the design to cut, I uploaded the vinyl into my machine color side up then changed my setting to cut adhesive vinyl. 

When cutting was complete, I removed and trimmed my vinyl design. Then inserted another sheet of vinyl and cut the design again. I used two sets of vinyl decals to create my table runner. cutting adhesive vinyl

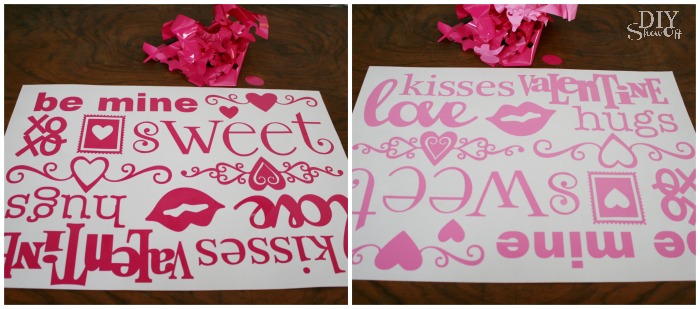
Next up is removing all of the negative part of the vinyl design. Simply remove all vinyl that’s not a letter or shape. 

weeding vinyl decals

Now it’s like a sheet of vinyl stickers. Not something you want to place letter by letter so apply a piece of transfer paper over top of the vinyl decals. 

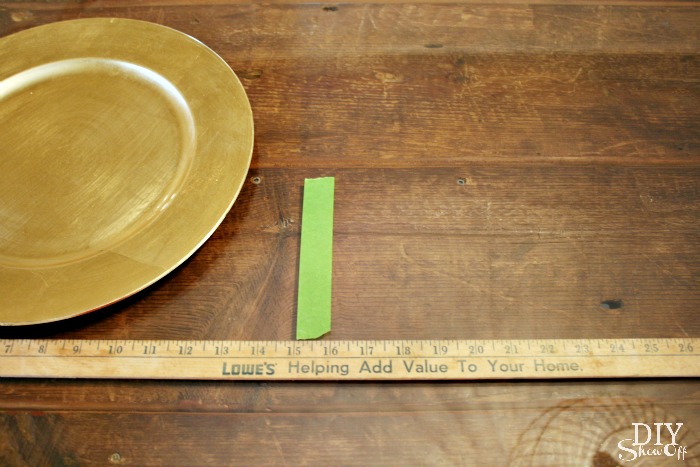
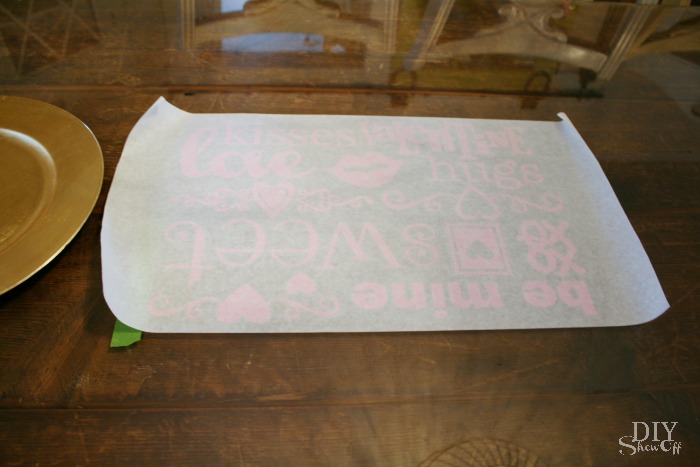
Measure placement and alignment of where the vinyl decal table runner will go onto your glass top table. 

vinyl decal placement

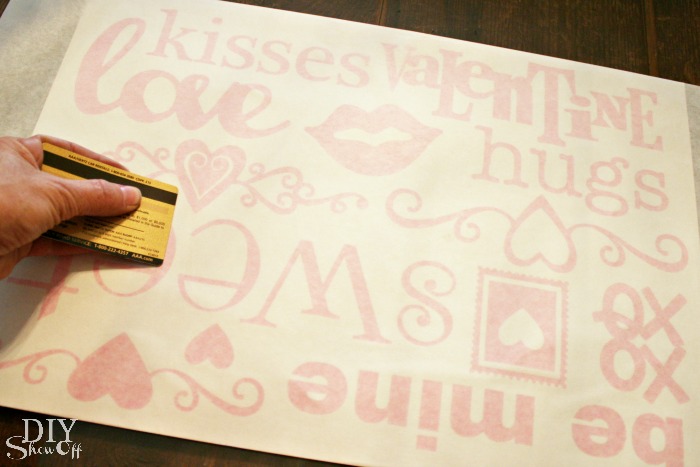
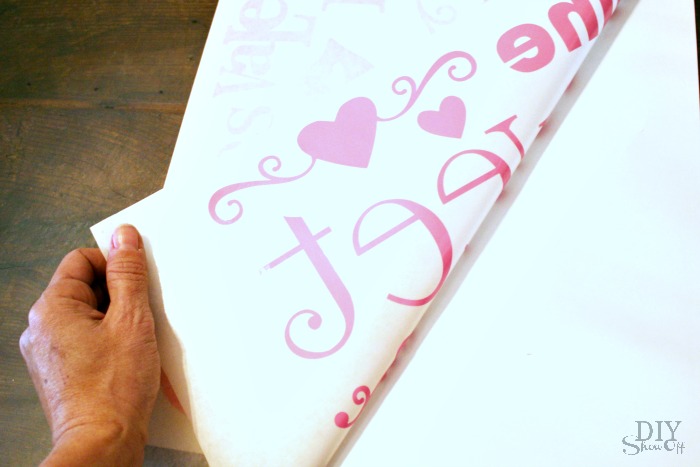
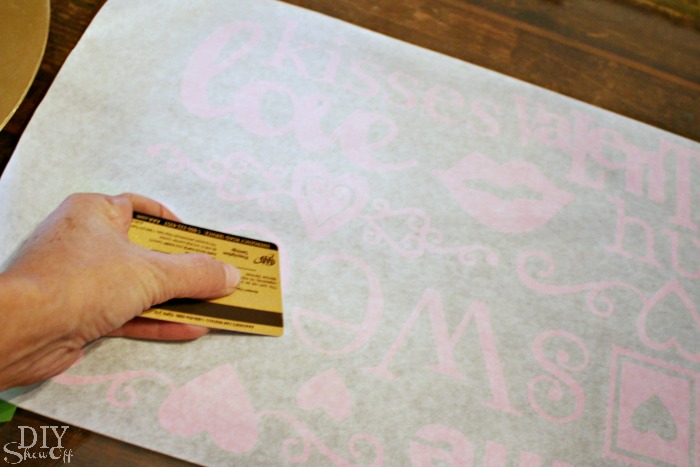
Rub the vinyl decals with a gift card so that the adhesive vinyl transfer from the wax paper backing to the transfer paper. 

transfer paper

Remove wax paper backing. Sometimes I have to use my fingernail or thumbnail to help along the transfer. 

adhesive vinyl decal tutorial

Carefully align and place the vinyl decal with transfer paper onto the glass. 

glass top table vinyl decal

Rub with a gift card so that the vinyl transfers from the paper to the glass. 

transferring vinyl decal

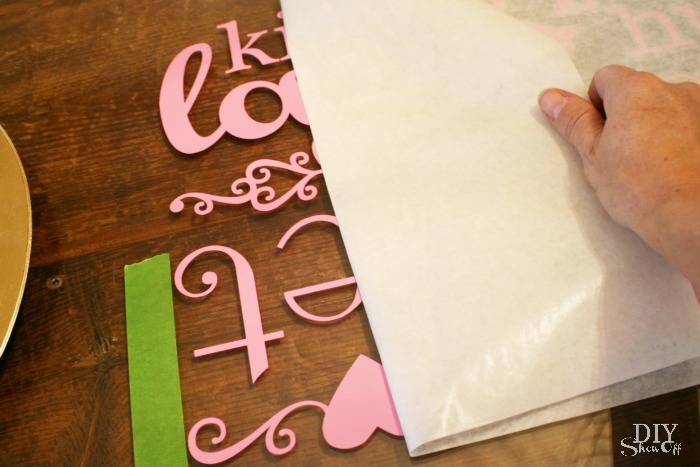
Remove transfer paper. 

transfer paper vinyl decal

That’s it! Now the glass table top sports a sweet Valentine’s message!

adhesive vinyl Valentine centerpiece

Simply peel away the vinyl for easy removal.

Valentine table decor

More decorating around the DIYShowOff house: 

Valentine centerpiece


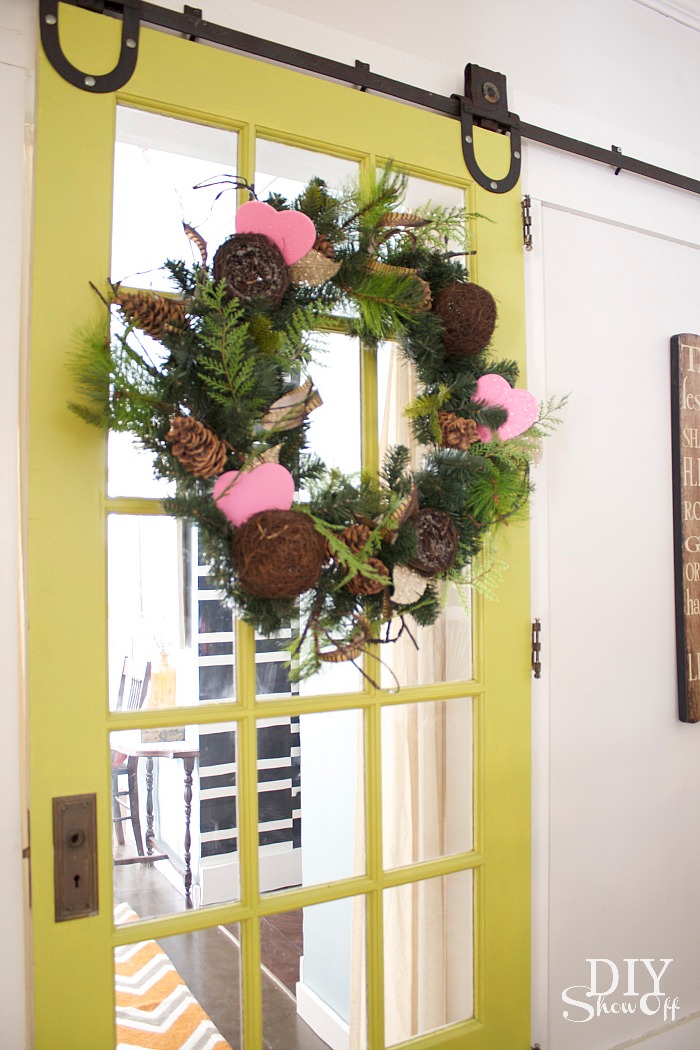
Valentine wreath

Valentine's day dining room decorating

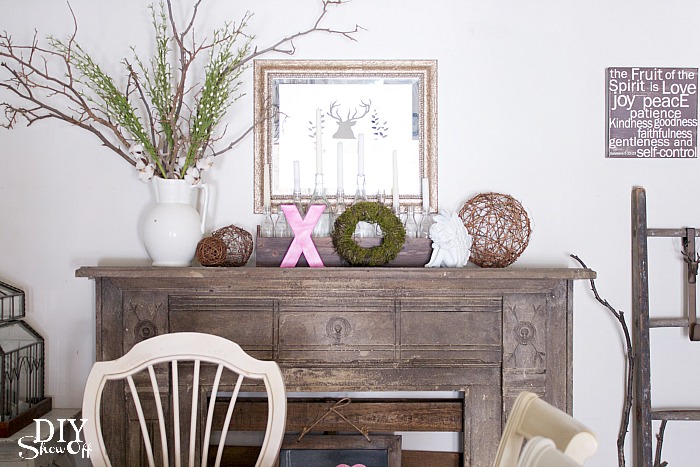
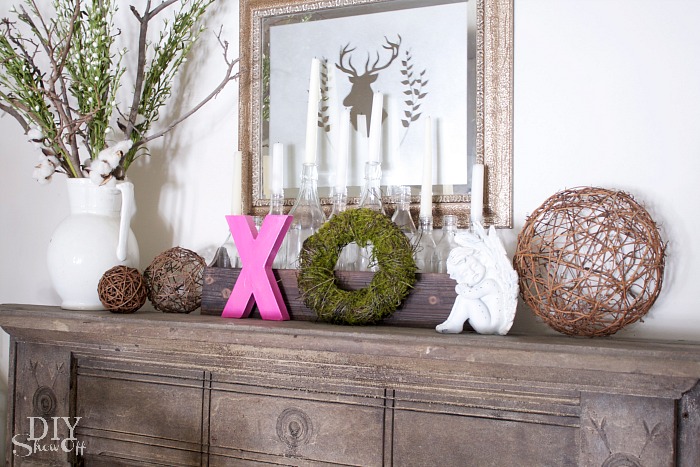
Valentine Mantel


DIYShowOff Valentine Mantel


Valentine dining room decor


Valentine dining room decor


Valentine decor


See more Valentine’s crafts in the DIYShowOff project gallery


Valentine kitchen


Valentine decorating

*This post is sponsored by Happy Crafters. Tutorial, experience and opinion is my own.  I really love working with this vinyl. Check out all the supplies at Happy Crafters for inspiration for your next project. 

HClogopngsmall

Kitchen Island Makeover

We’re starting to furnish the apartment – on a very tight budget. An old inexpensive portable kitchen bar/island with bar stools is something we’ve had sitting around and the perfect size for creating a dining area in a tiny apartment.
But the old top was in bad condition. Pictures don’t show the pink stains (Kool-Aid, maybe or magic marker) and scratches…

kitchen island before

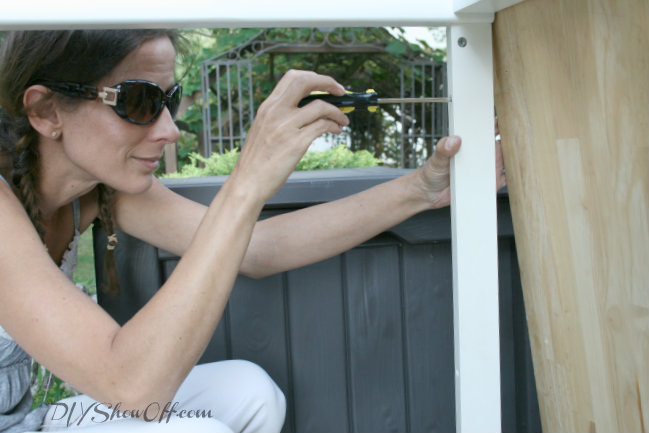
I removed the top.

removing table top

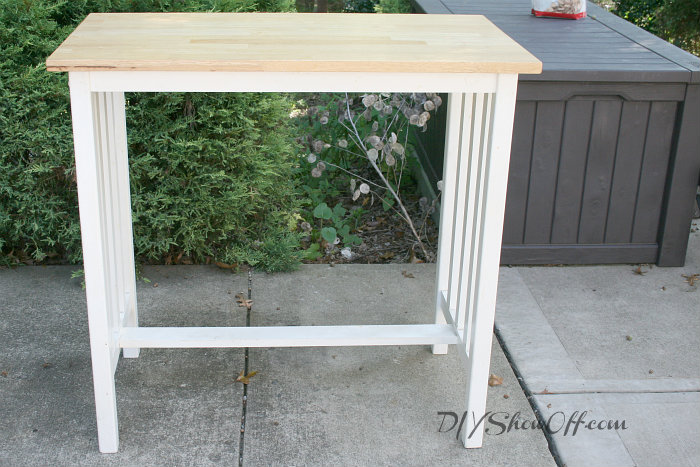
The frame was spraypainted white to freshen up an old scratched finish.

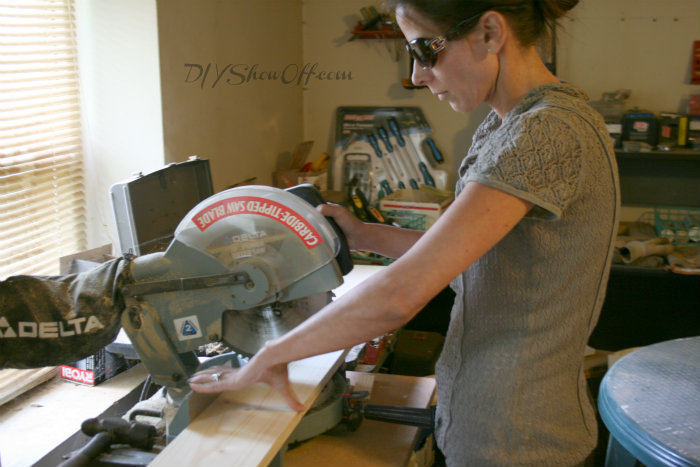
New top was made using alternating sizes of 1×3 and 1×5 pine planks cut to 40″ in length…a little bigger than the previous table top.

cutting wood planks

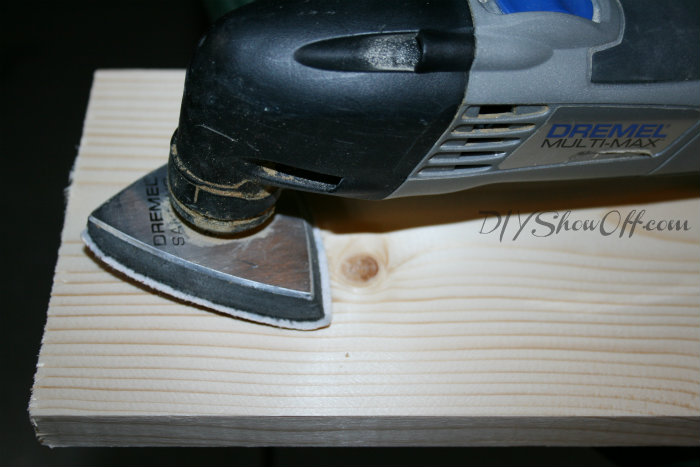
Boards were sanded.

sanding plank table top

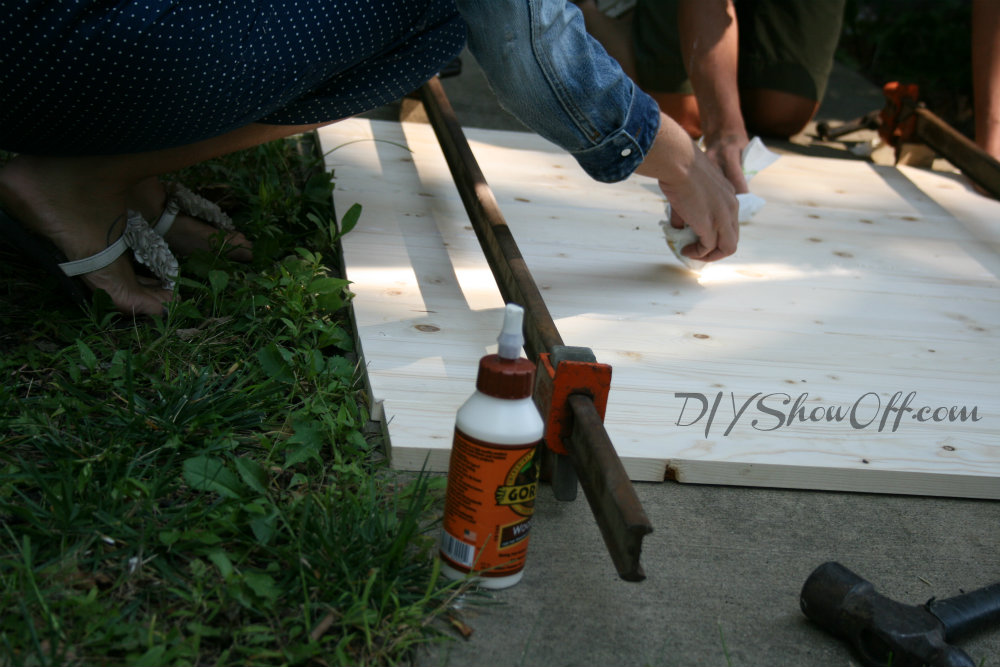
I used wood glue to assemble the planks together…

Gorilla wood glue

Then clamped until the glue dried, wiping away excess wet glue.

clamping wood planks

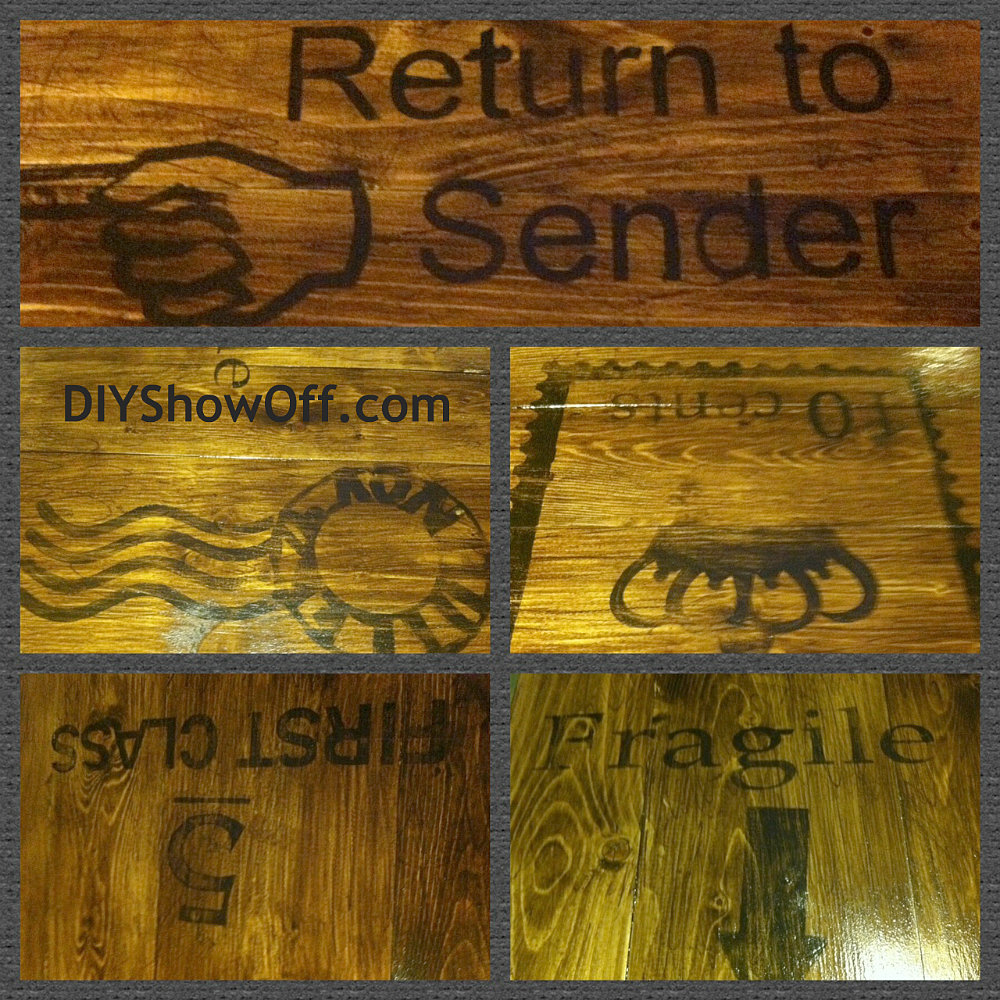
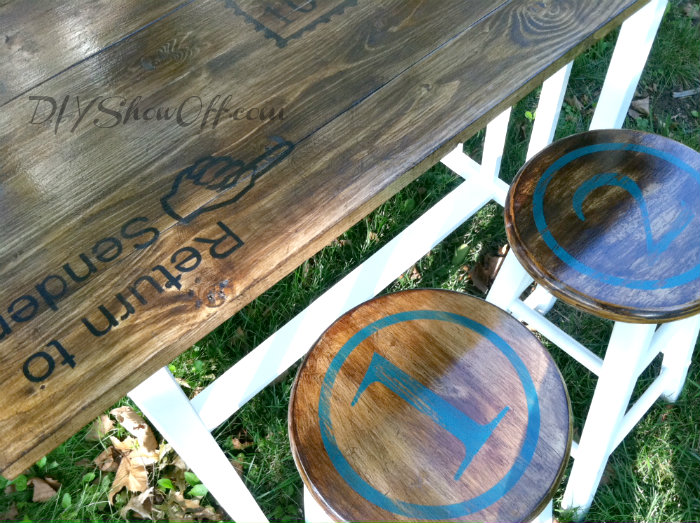
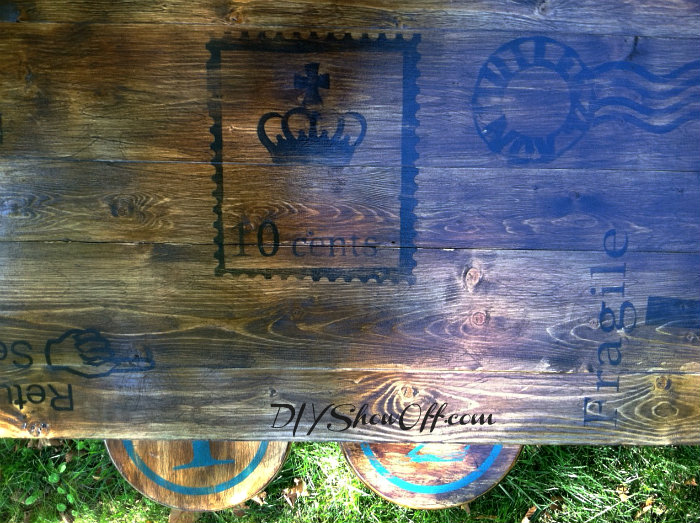
I didn’t take pictures but I stained and used my Silhouette Cameo to make some ‘postage’ themed stencils at Ali’s request. Then sealed the top with about four coats of polyurethane and let dry.

stained stenciled table top

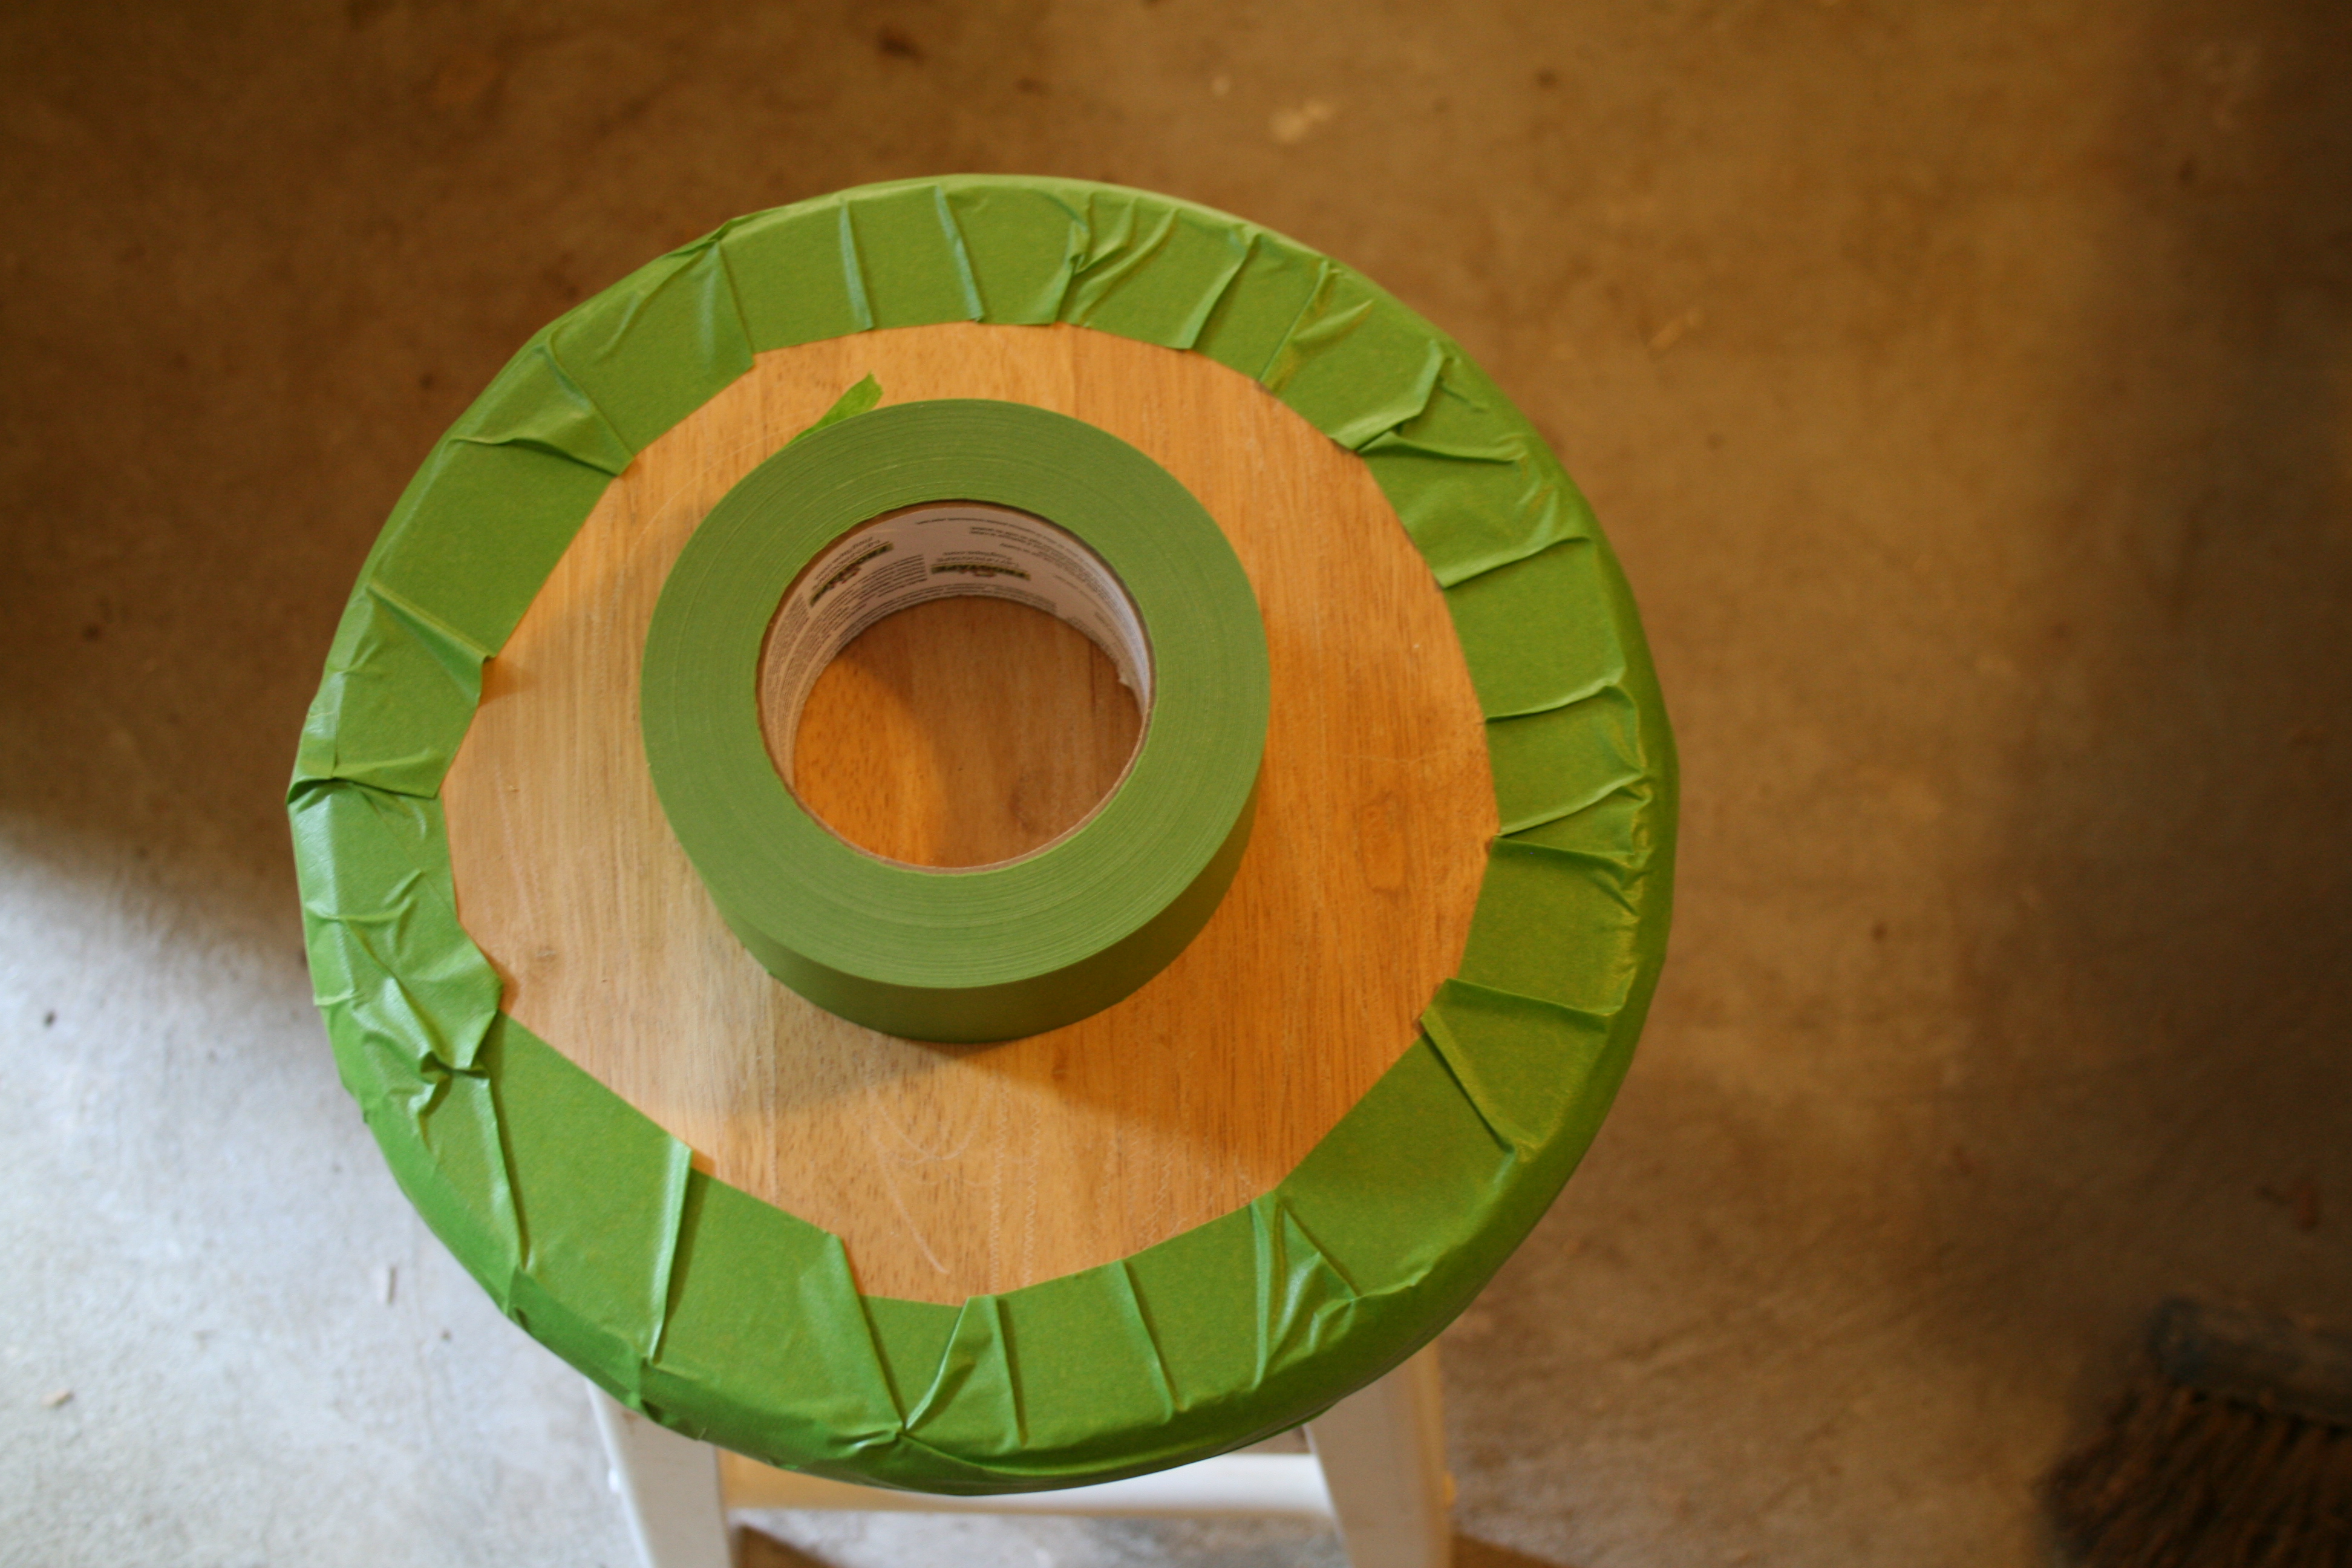
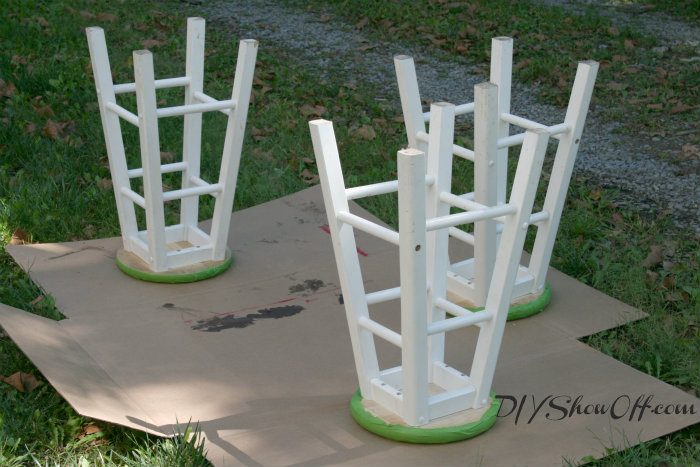
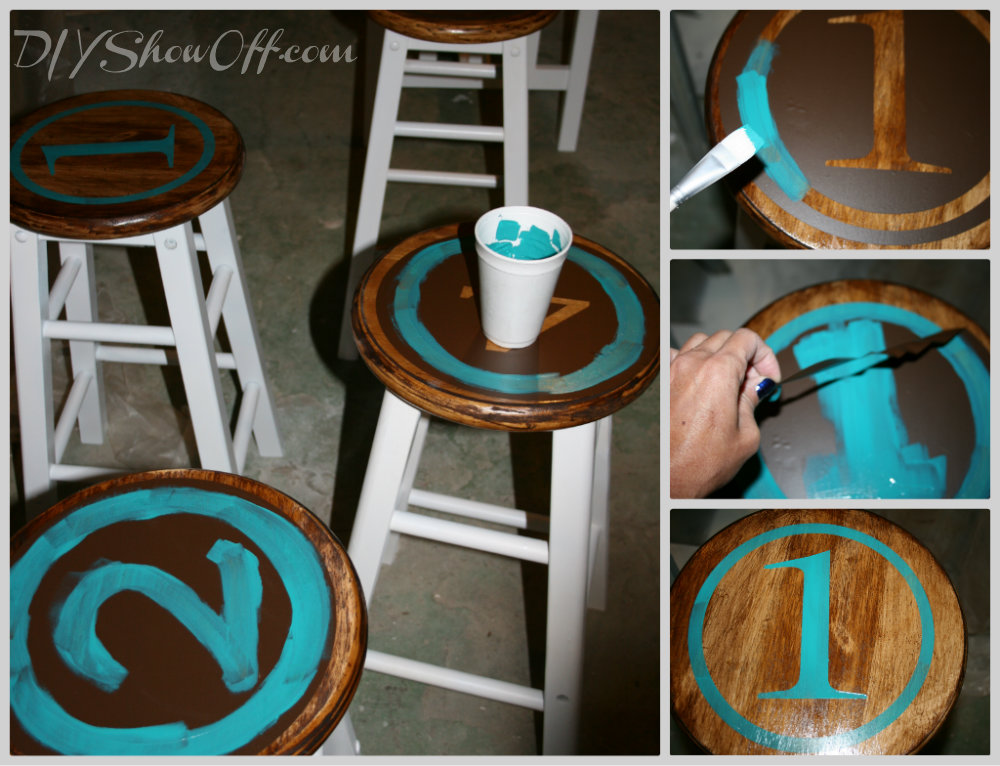
The bar stool tops were sanded and taped off using FrogTape while frames were spray painted a fresh new coat of white.

FrogTape

spray painting bar stools

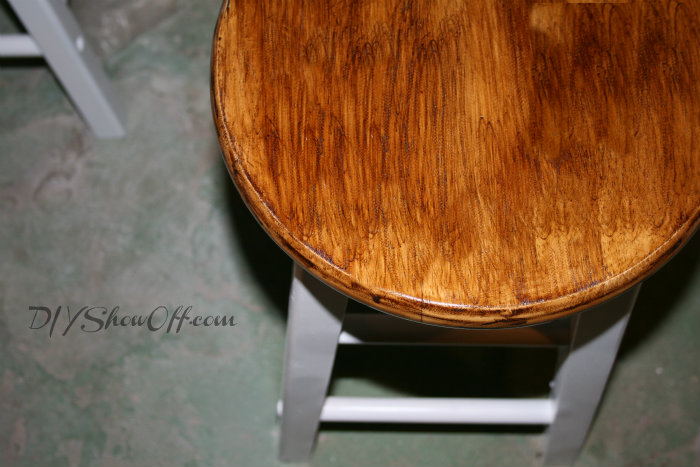
I applied a coat of stain to the top of the barstools…

staining barstools

When that was dry, I used my Silhouette Cameo to create number stencils with a circle border. Using transfer paper, I applied the stencils to the top of the stools. (They didn’t stick to the shiny finish of the stain very well and took a little work to remove the transfer paper, but I managed to do it! I’d recommend staining after the numbers have been painted…although it will change the color of your paint unless you’re using a clear coat. Removing the vinyl also pulled off some of the finish…but that just added to the distressed character of the top of the stools.)

applying Silhouette vinyl

I painted in my stencils using acrylic craft paint and immediately removed the vinyl stencil.

painting stenciled barstools

I let the numbers dry over night and then applied several protective coats of Polycrylic, allowing it to dry between each coat (also lightly sand using a fine grit between coats).

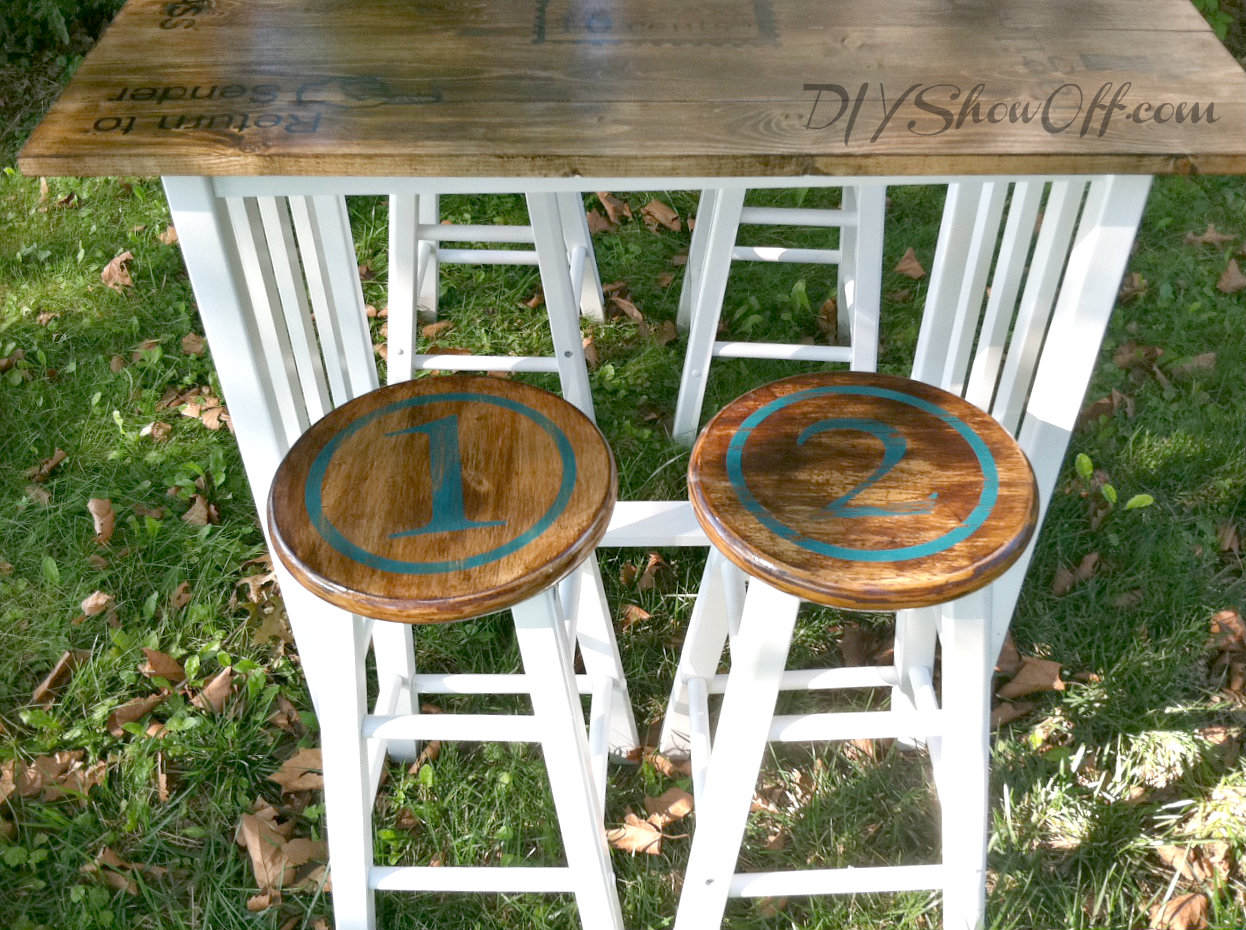
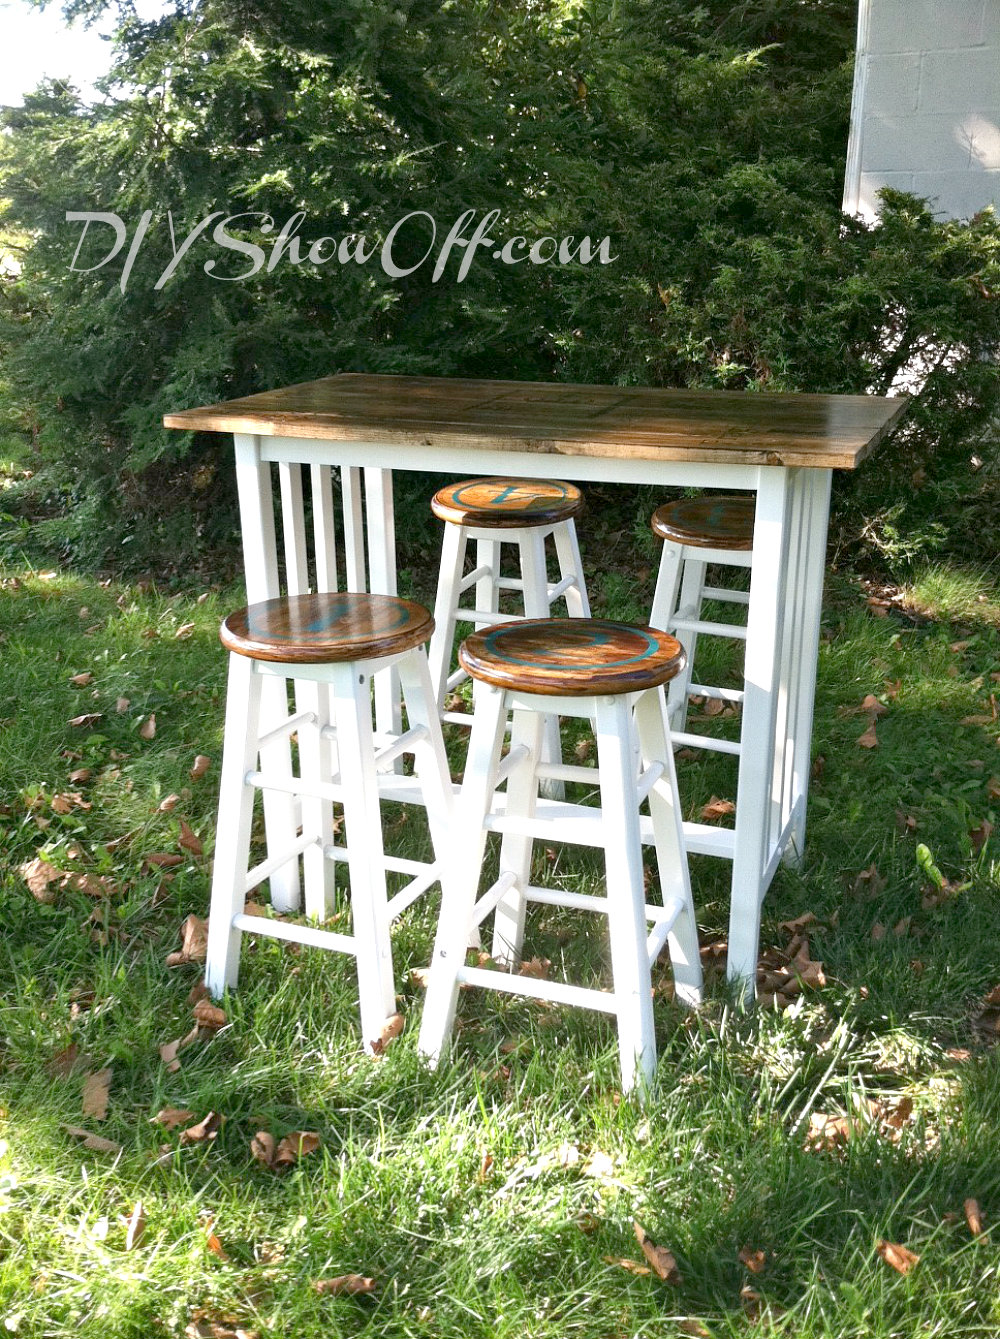
So cute, aren’t they? Better pictures coming up in the apartment reveal. That’s where this kitchen bar set will be living. VERY SOON! Hurray!

kitchen island after

kitchen island finished

kitchen island makeover

stenciled stained plank table top

Sharing over at Beth’s this week:

Home Stories A2Z

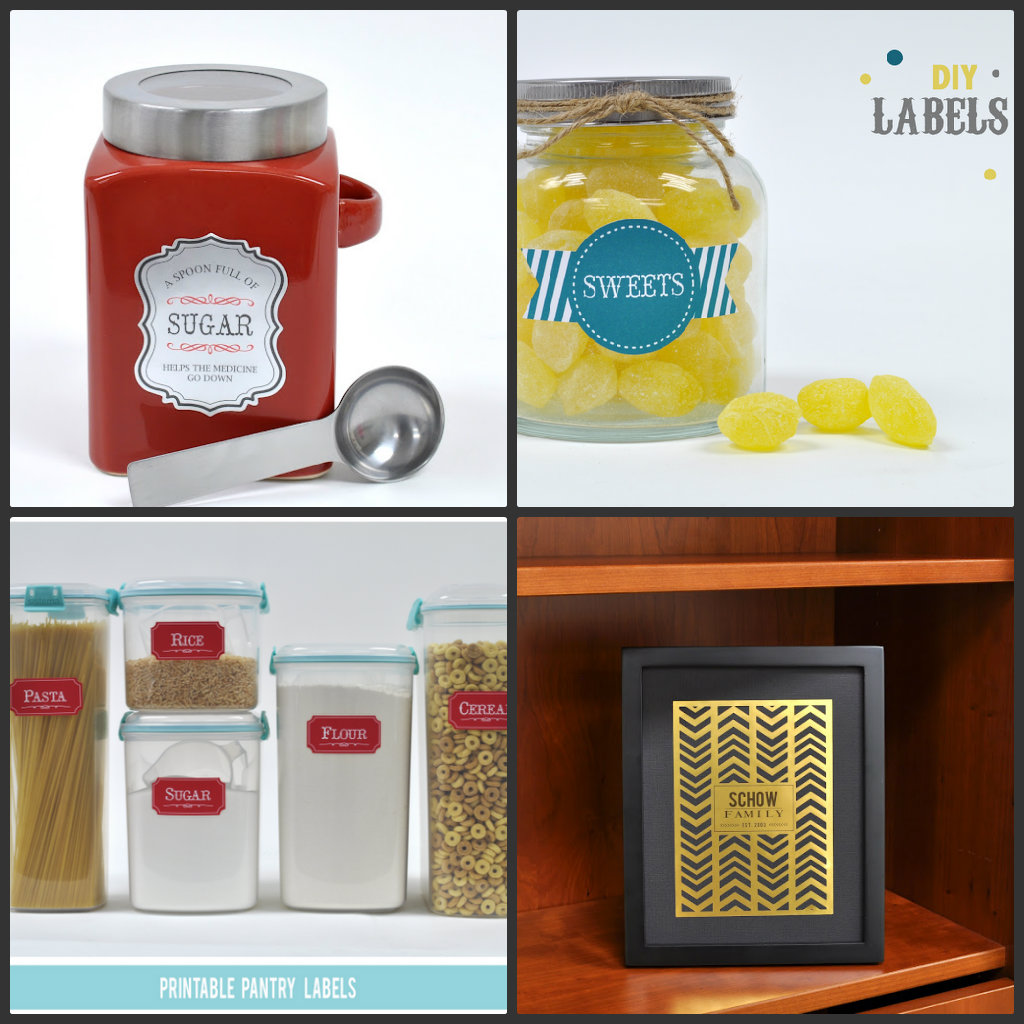
I LOVE my Silhouette Cameo – it’s my #1 way to create vinyl stencils. There’s also a special going on right now with the new Silhouette paper label kit! So cool – print and cut your own labels! There are so many fun ways to use this machine. LOVE that!

Silhouette sticker labels

Enter the unique promo code SHOWOFF to get 1 CAMEO, 1 package of printable gold foil, 1 package of printable silver foil, and 1 package of printable white sticker paper for $269.99. (Savings of almost $57!) These are brand new Silhouette products that just got back in stock after they sold out after release, so don’t wait too long!

Use the promo code “SHOWOFF” and click this link to get this sweet deal: http://www.silhouetteameria.com/blog-special-media-1.aspx. The discount will run through the 30th of September

~*~*~*~

The Silhouette America link is an affiliate link. I make a small percentage of sales. I share about my experience with my Silhouette Cameo in my own words. 

This is a sponsored post brought to you by FrogTape. The opinions are completely my own based on my own experience. 

FrogTape Blog Squad