DIY Cart Rescue/Furniture Makeover

This is a Sponsored post written by me on behalf of Elmer’s ProBond Advanced for SocialSpark. All opinions are 100% mine.

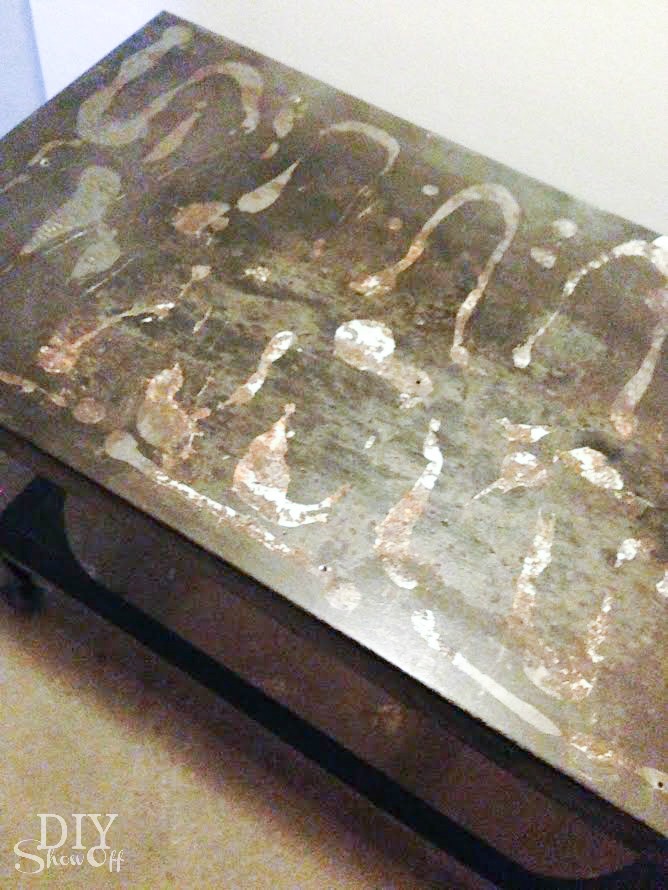
Do you have old furniture just taking up space in the basement, garage or attic? Or maybe with the start of yard sale season right around the corner, you’ll spy a fun furniture piece to flip…keep your eyes open! The other day I spied an old metal cart collecting dust so I decided to give it a purpose. It once belonged to my husband’s grandfather. Time to dust the cart off, give it life and make it useful.

cart makeover at diyshowoff.com

Materials:

  • Old metal cart
  • Pine planks (I purchased three 1x3s and one 1×4)
  • Wood stain and sealer
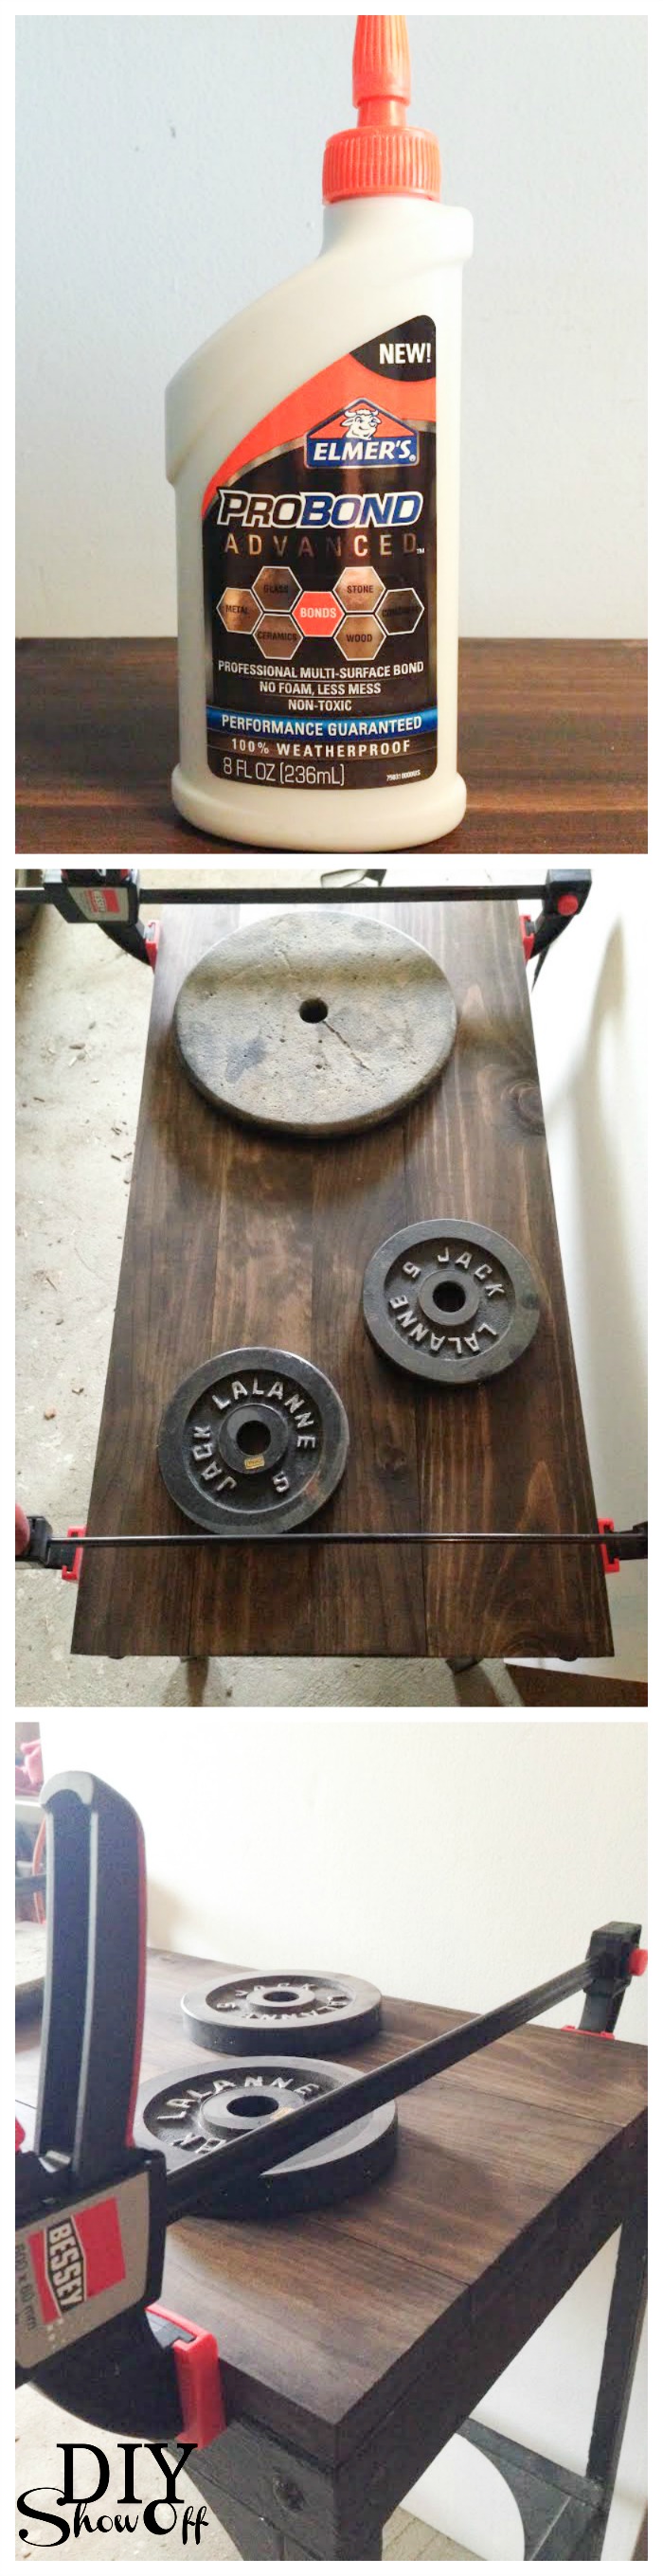
  • ProBond Advanced

What I did:

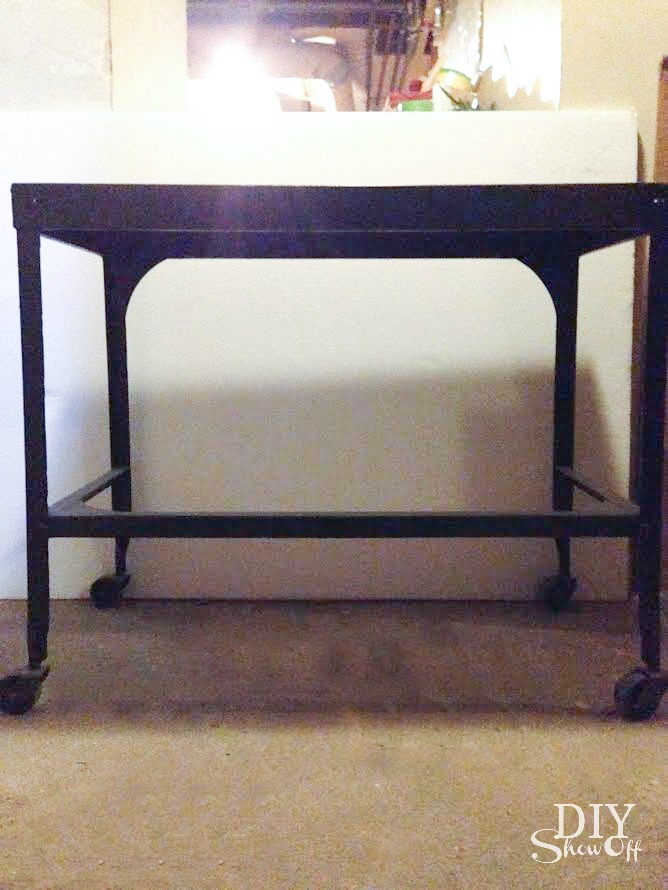
First I cleaned up the cart a bit. I was going to spray paint it but it really wasn’t in bad shape (finish wasn’t original – it had been spray painted in the past) and I sort of like the few scratches and scuffs, making it look old and not brand new. Sometimes imperfections are perfect, right?

before…

cart before

cart before

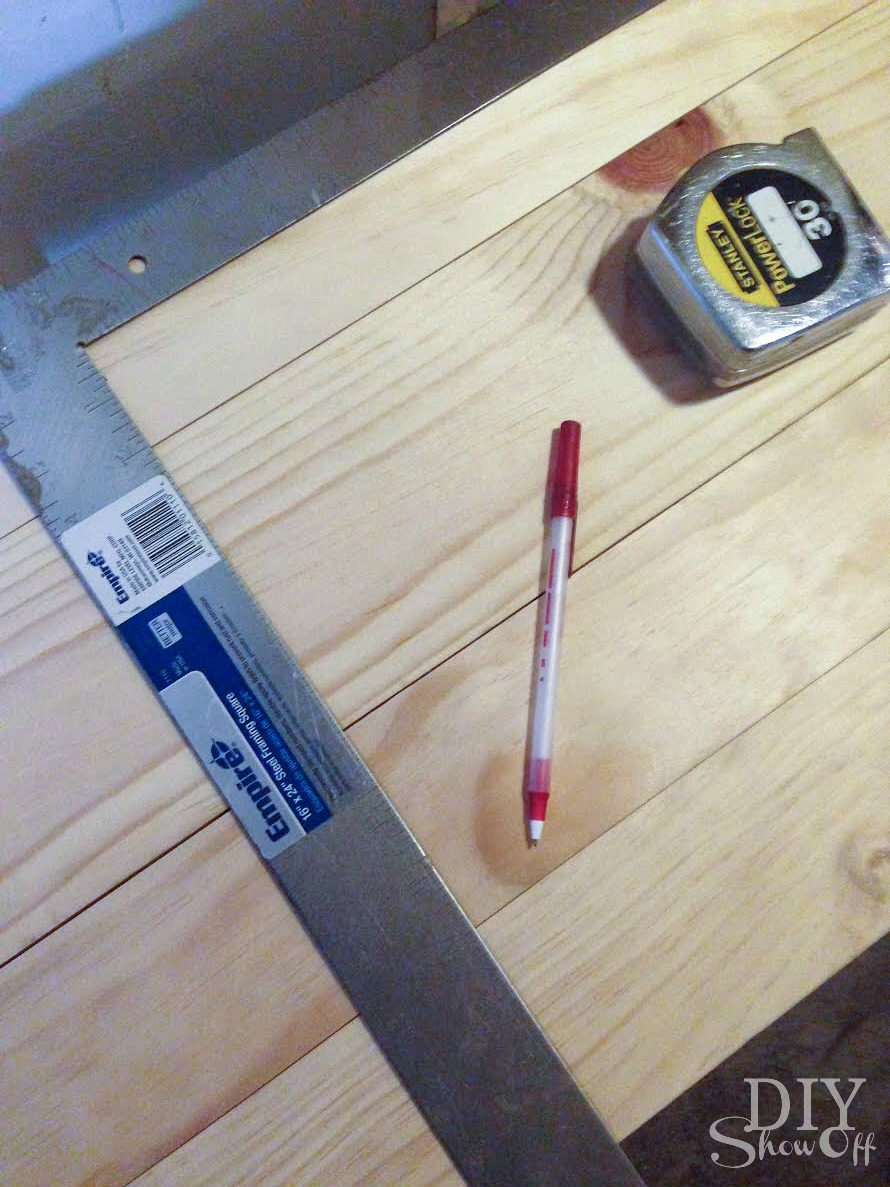
Then I set about measuring and cutting the wood planks to fit the top and what looks like support for a bottom shelf. 

measuring

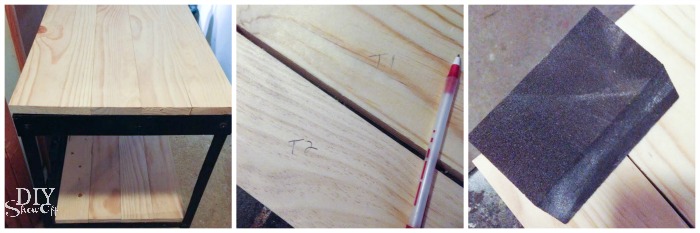
After deciding placement of the planks, I marked, sanded and cleaned each one. 

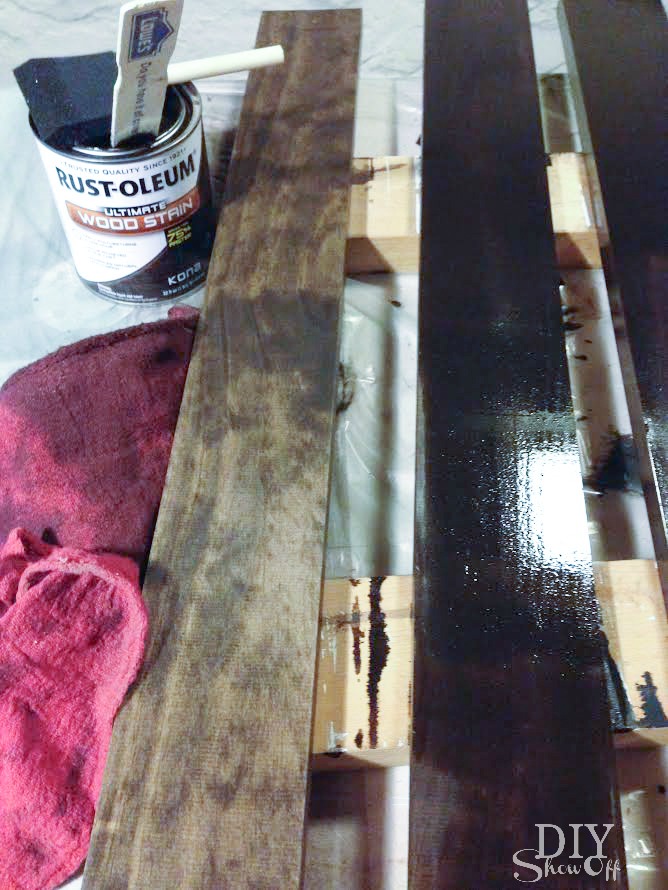
I stained each wood plank a rich beautful color. I brushed the stain onto all sides with a foam brush (in the same direction as the wood grain) and wiped away with a clean rag then let them dry for an hour or two.

Last step! Just glue and clamp the wood planks into place. Elmer’s ProBond Advanced is designed for gluing mixed materials like wood planks to the metal cart (porous to non-porous materials) without expanding, creating a foamy residue and making a mess. Awesome! Let the glue dry 24 hours. 

I applied a sealer to the wood to protect the finish and add a little shine.
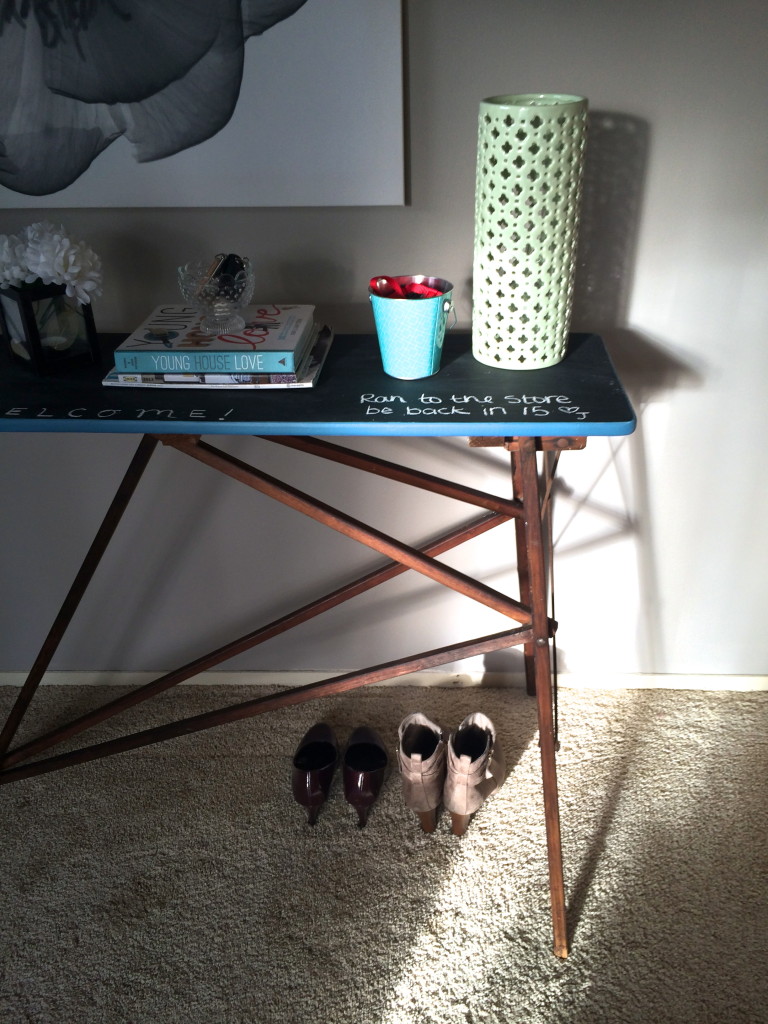
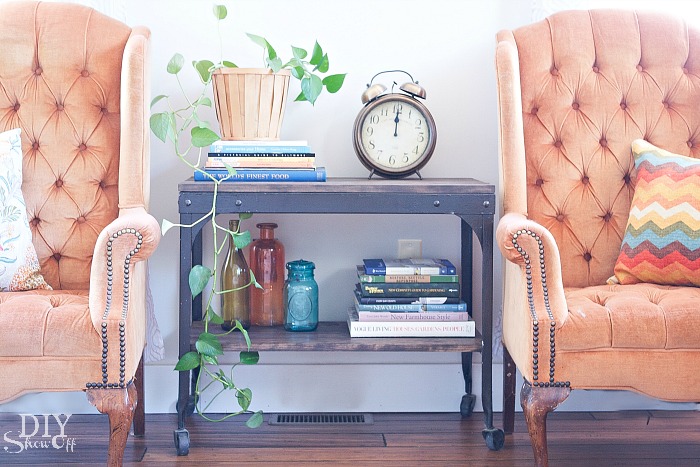
Loved once again…

flea market flip at diyshowoff.com

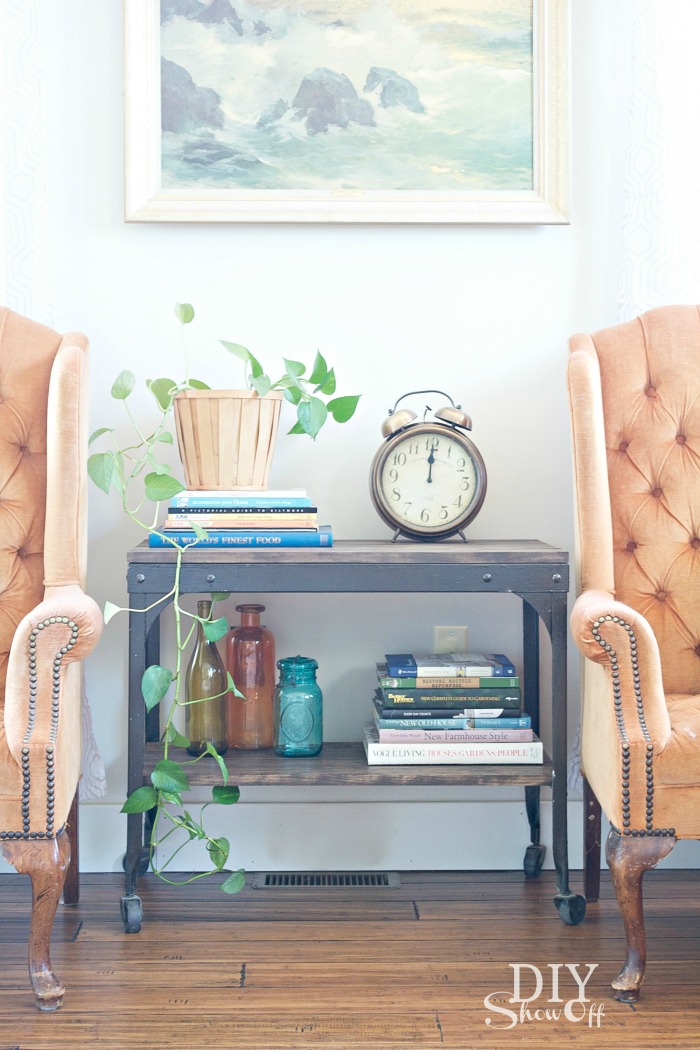
Beautiful new wood top and shelf:

wood plank cart makeover at diyshowoff.com

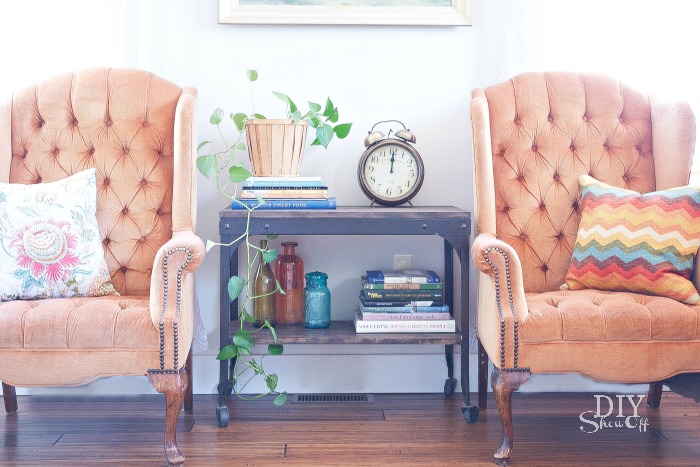
Now what was once just junk now serves as a side table (or would that be center table?) in our family room.

diy furniture makeover at diyshowoff.com

Sharing at Inspire Me Tuesday.

Are you a DIY’er? Find any recent ‘hidden treasure’? Find more DIY inspiration on Elmer’s Mixed Materials Pinterest board. 


Visit Sponsor's Site

That DIY Party Highlights – Creative Repurposing

Finding a new purpose for something old is so much fun, isn’t it? I looooove being creative. And that’s one of the things I love about the weekly That DIY Party – seeing your creative ideas. Check out these awesome repurposed projects from the past five week’s of That DIY Party:

creative repurposing ideas

Vintage spool window treatment at Plum Doodles

Tie-burlap-to-vintage-spools-for-unique-window-treatments at Plum Doodles

Toothbrush holder at Zefi’s Blog

toothbrush holder at Zefis Blog

Repurposed baking tins at Shabby Gals

repurposed baking pans at Shabby Gals

Vintage ironing board chalkboard table at Sypsie

vintage ironing board table at Sypsie

Upcycled bait basket pendant light at Lisa’s Creative Designs

upcycled-bait-cage-pendant-light at Lisa's Creative Designs 

Vintage jelly mold light at Vintage Prairie Style

vintage jelly mold light at Vintage Prairie Style

Funnel lights at Shabby Love

funnel lights at Shabby Love 

Wood scrap DIY at Painted Therapy

wood scrap DIY at Painted Therapy

Blanket ladder at Day 2 Day Super Mom

blanket ladder at Day 2 Day Supermom

See more DIY:

thatdiyparty.pinboard

It’s been so hectic around here and with visiting five week’s worth of projects, I did a lot of pinning and gathered some collections of features along with been pinning your inspiring projects to the above board. It didn’t leave much time for commenting so I want to say thanks to these talented ladies for linking up their inspiring creativity and hard work! 

DIY Recycled Brick Patio & Walkway Tutorial

What DIY project has taken us all summer long to complete? [Not a valid template]Our DIY recycled brick patio and walkway under the grape arbor/gazebo is finally done! A true labor of DIY lovin’. ::high fives all around!::

Because of the large volume of pictures from start to finish (it took me days to organize and edit the MONTHS worth of photos), I put together a slide show of the progress from uncovering the brick on our property to putting it to good use by creating a walkway and patio under our grape arbor and gazebo. Now not only can we enjoy our backyard patio for dining al fresco, the covered barn patio for entertaining, we now this quiet beautiful private little space too. That’s where you’ll find me on pretty days. Just wait until next year when I can add some fun DIY decorative accents! 

I love the herringbone pattern and that we were able to use bricks we already had on hand. It’s such a good feeling and the fact that it’s old and not new? Loooove that the most! It looks as if it’s been here at least half a century and fits with the age of our old home. recycled brick patio and walkway tutorial

See the entire grape arbor gazebo before and after reveal here!

It may have taken all summer but Mr. DIY did an awesome job at repurposing all of that brick to create a gorgeous recycled brick patio and walkway, didn’t he? What do you think? Love it? Not your style? We’d love to know your thoughts.