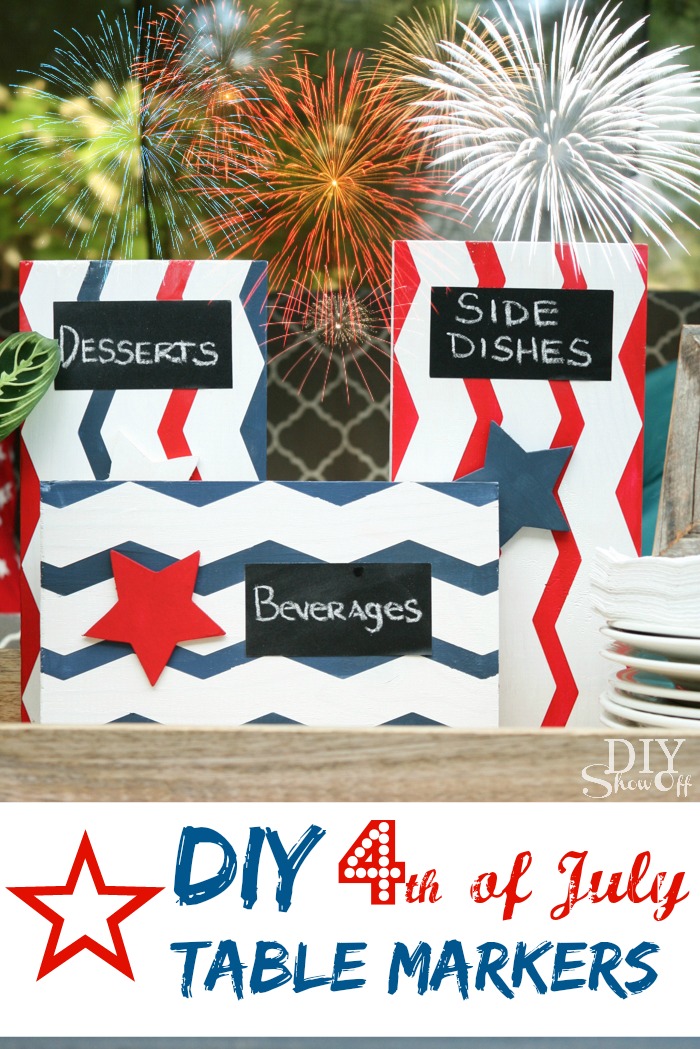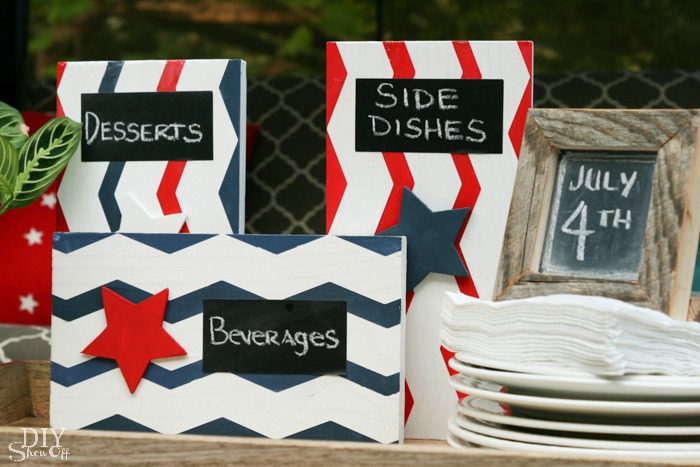
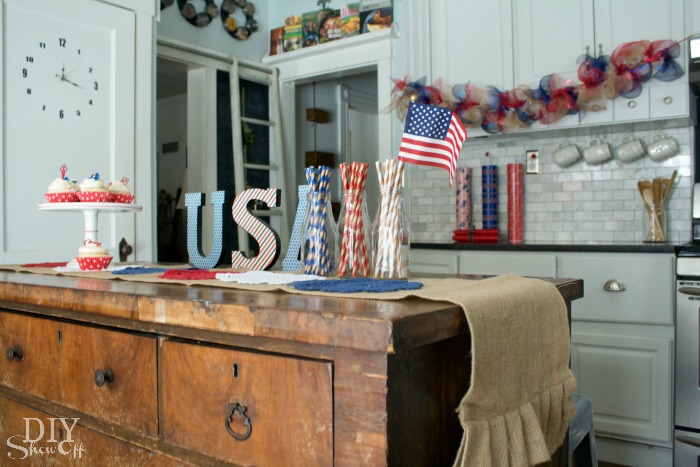
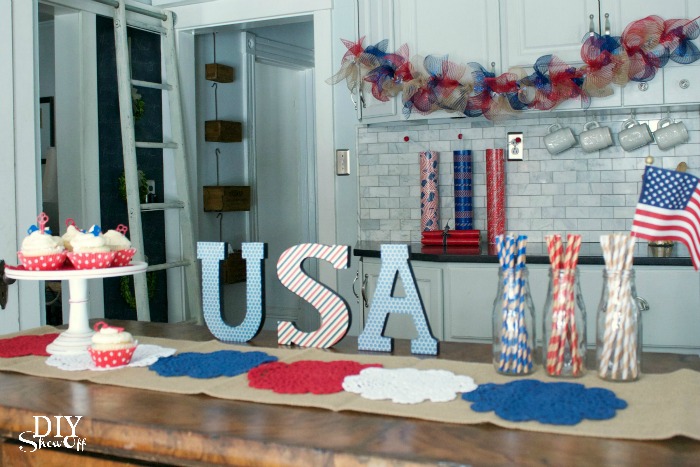
It’s not often I’m way ahead of the game but when I am, it’s by more than three months. haha! As a part of the Michael’s Makers team, my final assignment came with a “Celebrate America” theme from the Celebrations campaign. Due in April. Yes, quite a bit early and especially since photos were actually due in March while there was still snow on the patio but it wouldn’t be a “challenge” otherwise, right? I had a blast decorating our dresser turned kitchen island in red, white & blue for a festive party. And hey, I’m happy to celebrate America any time of the year.
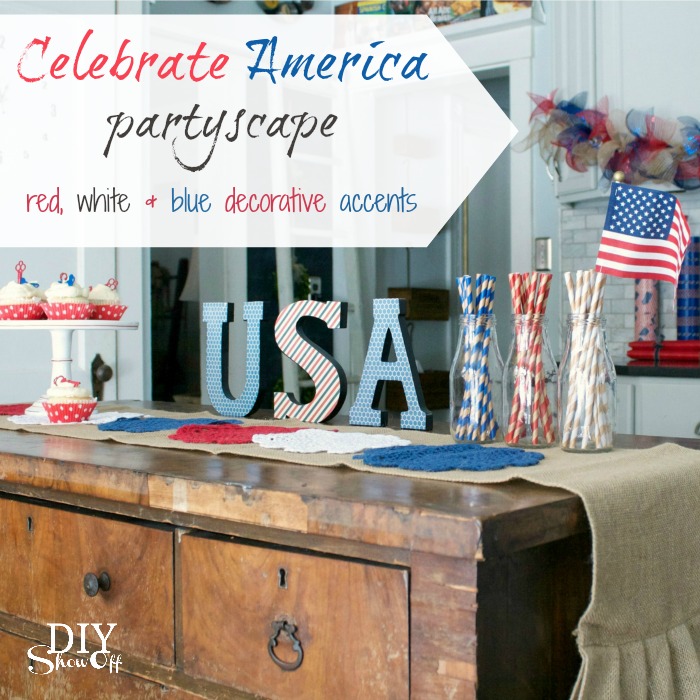
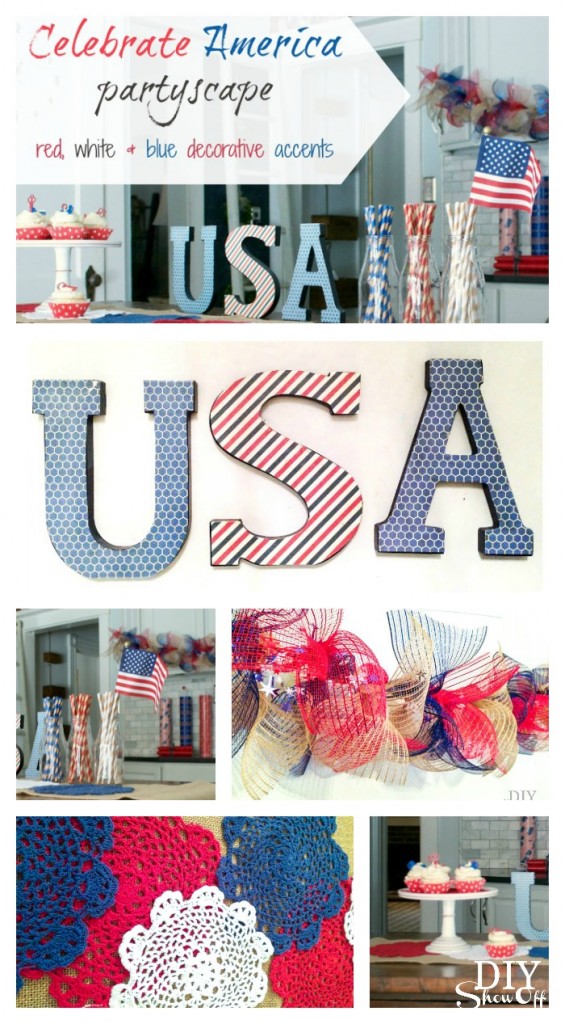
Decoupaged USA letters
Supplies: Shop Home Decor and Floral at Michaels
- wooden letters U, S, A
- decoupage
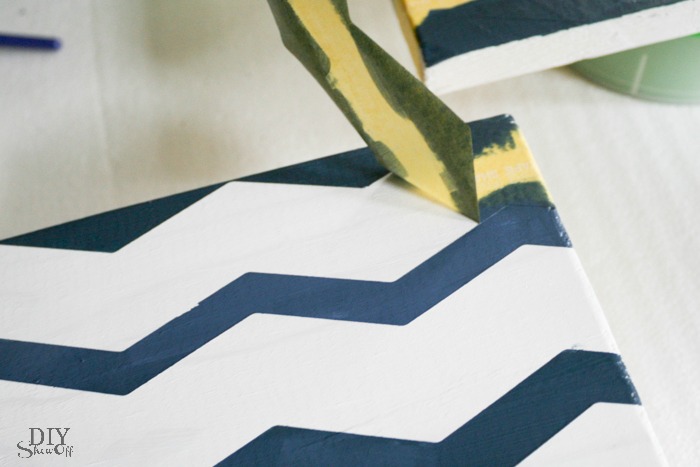
- red, white, blue designed scrapbook paper
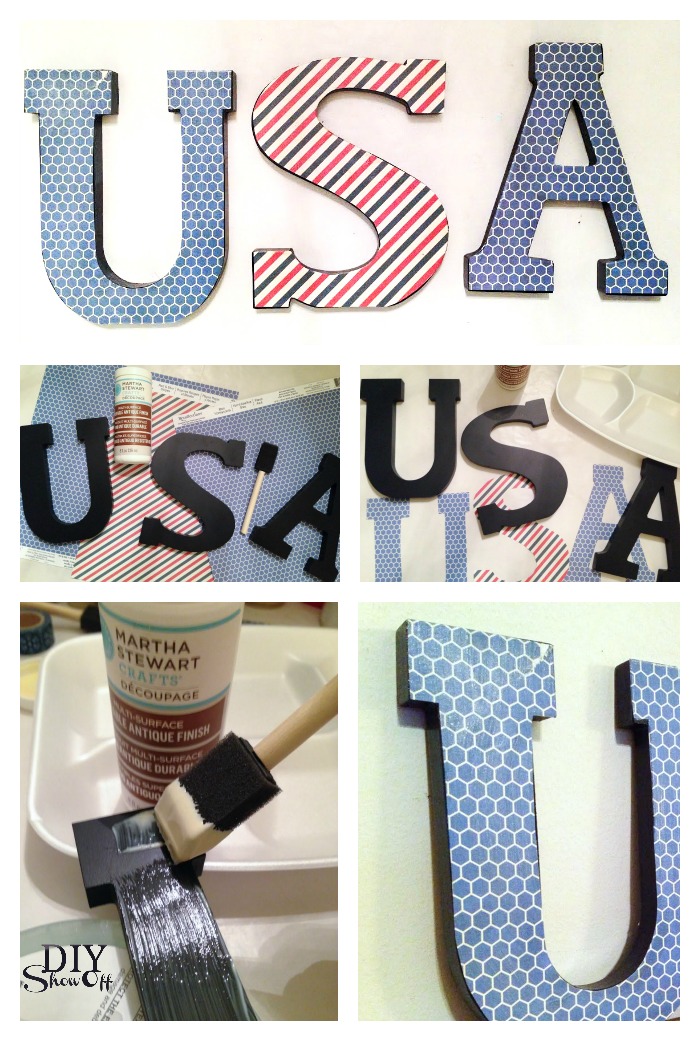
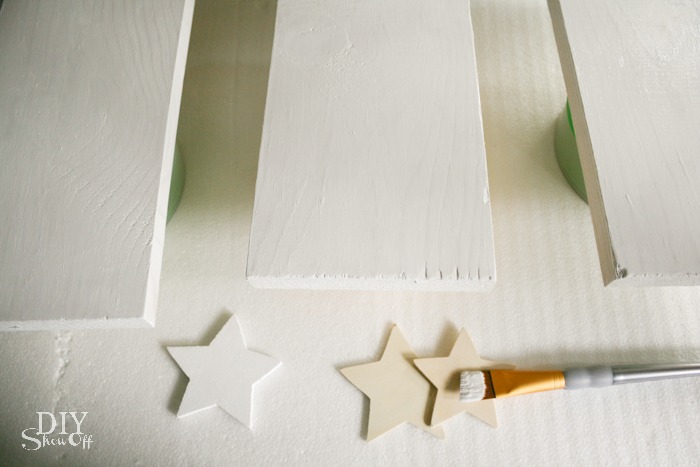
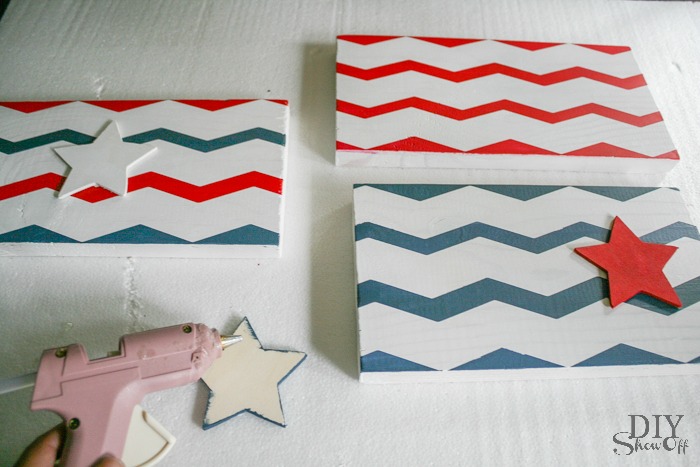
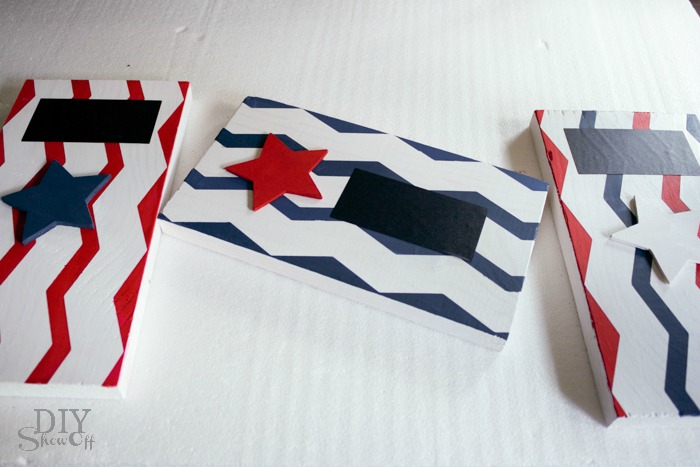
What I did: Trace letters onto scrap book paper. Cut out scrap book paper shapes. Apply decoupage to wooden letter (works like a glue). Carefully line up scrapbook paper. Apply another layer of decoupage over top of the scrapbook paper to seal. Let dry and display.

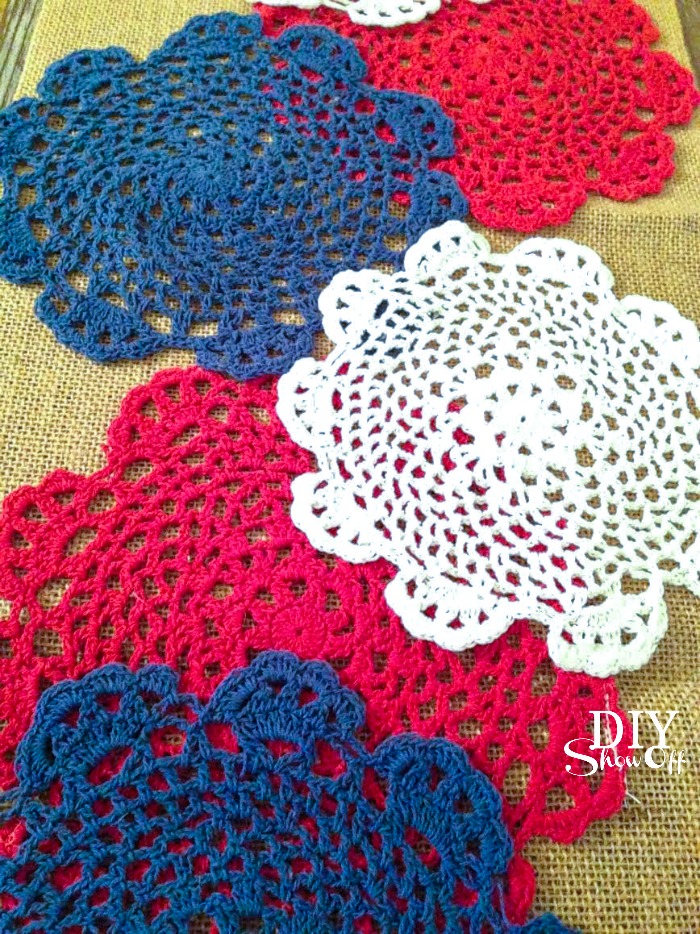
Add a few red, white and blue doilies to a burlap table runner for an inspired ‘firework’s look.
Red, white and blue straws and red and white polka dot cupcake liners add to the patriotic color theme. There are little American flags near the cash register. Add a red/blue topper to the cupcakes (I found red and blue keys).
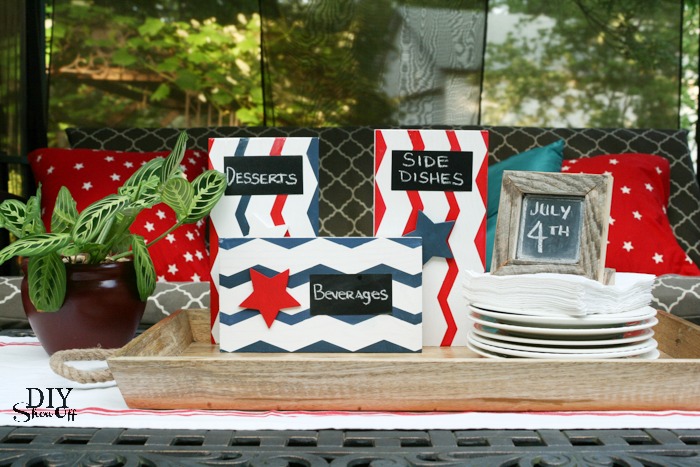
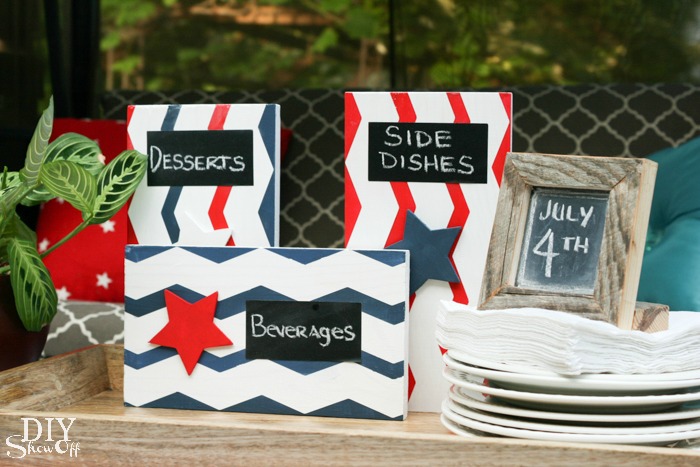
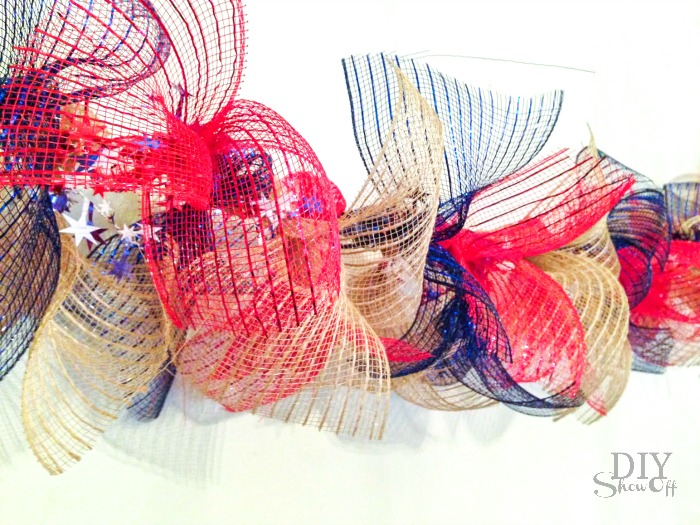
Red, white and blue star & mesh banner
Supplies:
- red, burlap, blue wide mesh ribbon
- star wire garland
- twine or yarn
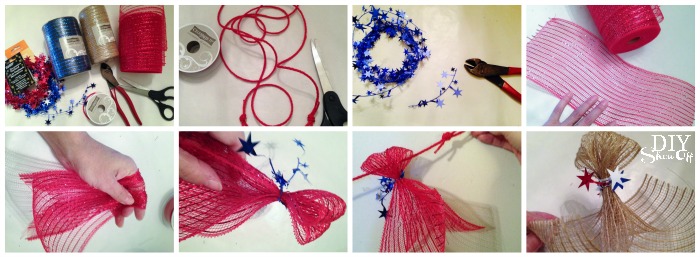
Tutorial:
- Cut a piece of twine the length you’d like your banner to be. Tie loops on the ends for hanging.
- Cut pieces of mesh to tie onto the twine.
- Secure mesh with snips of star wire garland.
- Thread onto twine.
- Repeat until your banner is full. Fluff and display.
Time to Celebrate!
See more Celebrations posts from these Michaels Maker’s friends starting today at 11 a.m. EST:
 Loading InLinkz ...
Michaels is celebrating every occasion this summer with gifts for Moms, Dads and teachers, and parties to celebrate birthdays, graduation, and the 4th of July!
· As a toast to the last Michaels Makers post of the season, we created gifts, baked treats and threw parties for each of the six holidays this summer.
· It’s never too early to get started on your next party or celebration – Michaels.com has more project ideas and instructions for you and your kids to make this year – check out projects for Mother’s Day , Father’s Day, graduation, birthday and even summer. Let’s celebrate!
Disclaimer: As a member of the Michael’s Makers blog team, I received a Michael’s gift card to complete this craft challenge.