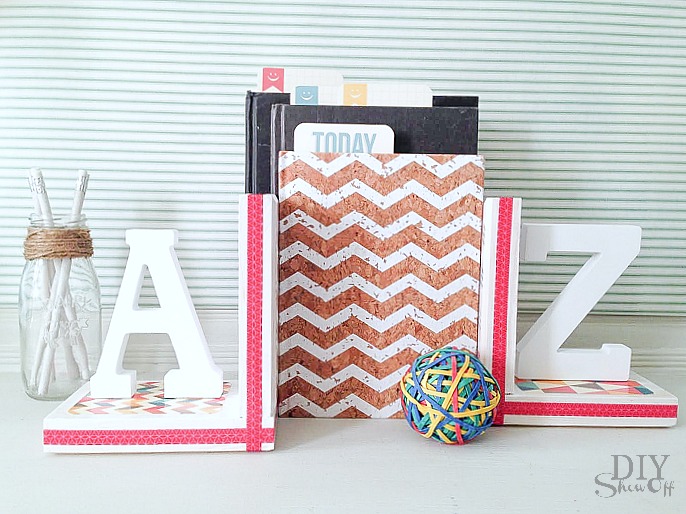
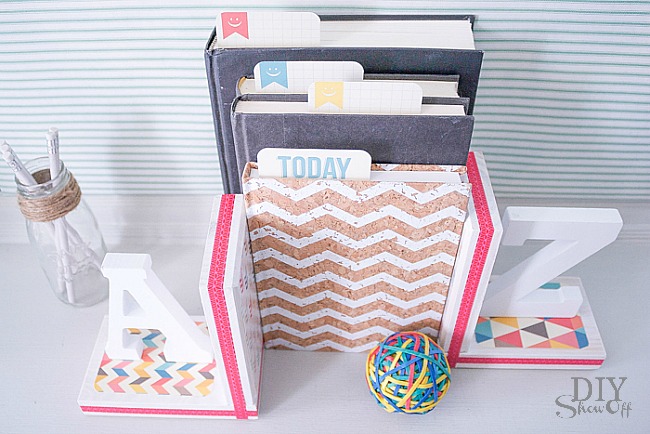
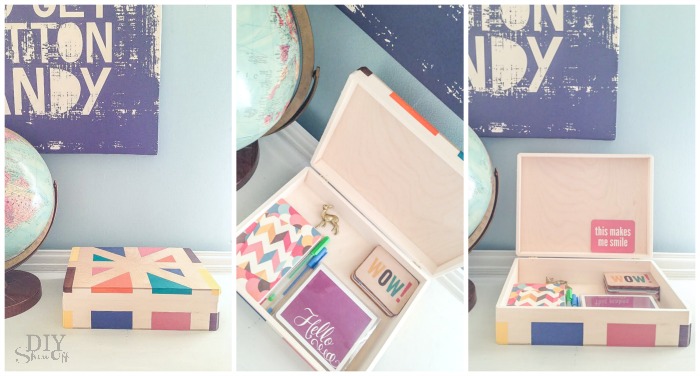
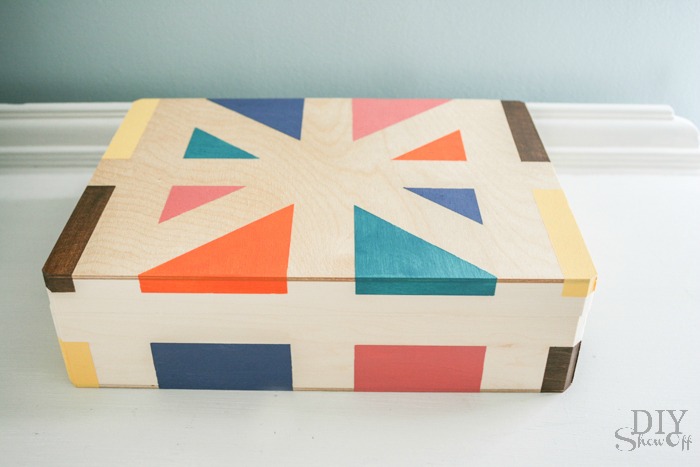
Organizing the desk top / homework station for the back-to-school season? A small storage box keeps school and homework accessories within easy reach but not on display.
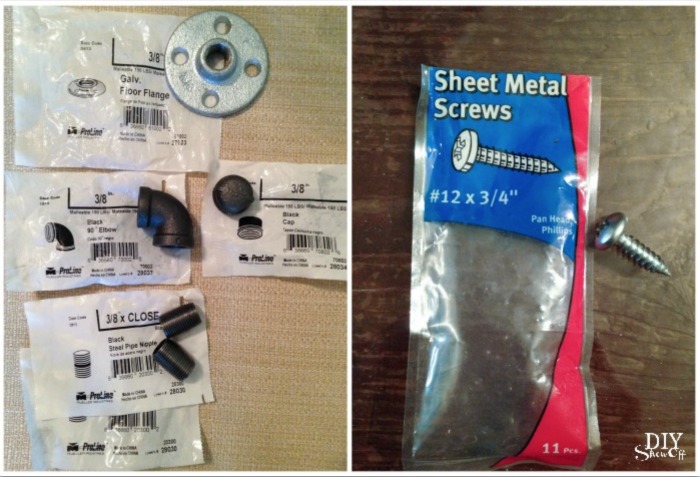
Materials:
- FrogTape® Multi-Surface
- acrylic craft paints and foam paint brushes
- spray laquer
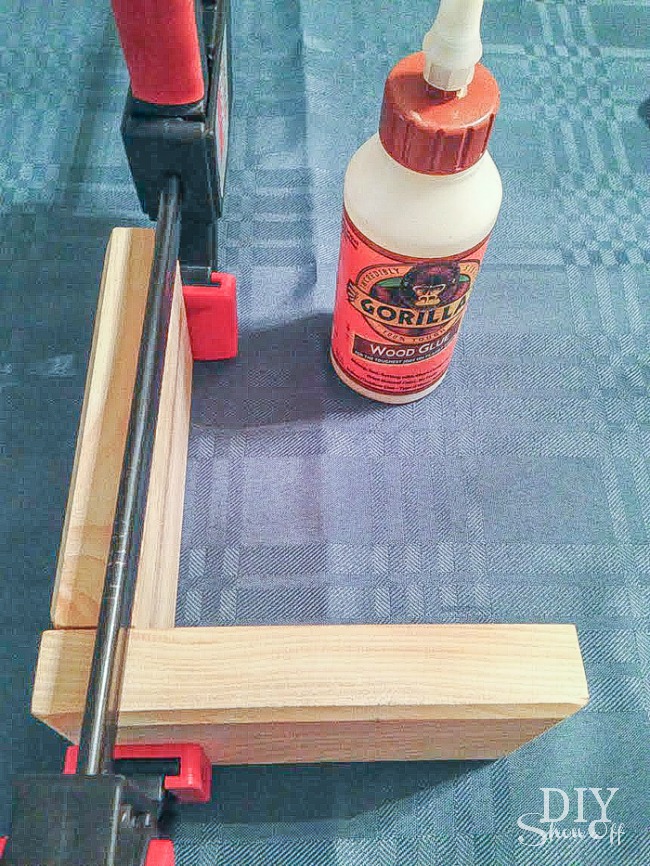
- wooden box from craft store (or DIY)
What to do:
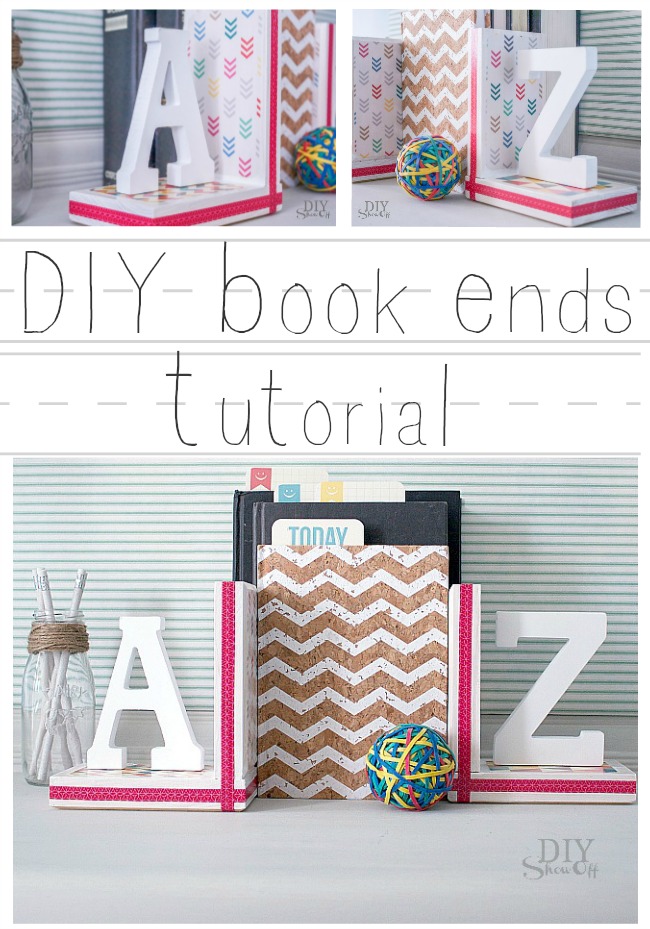
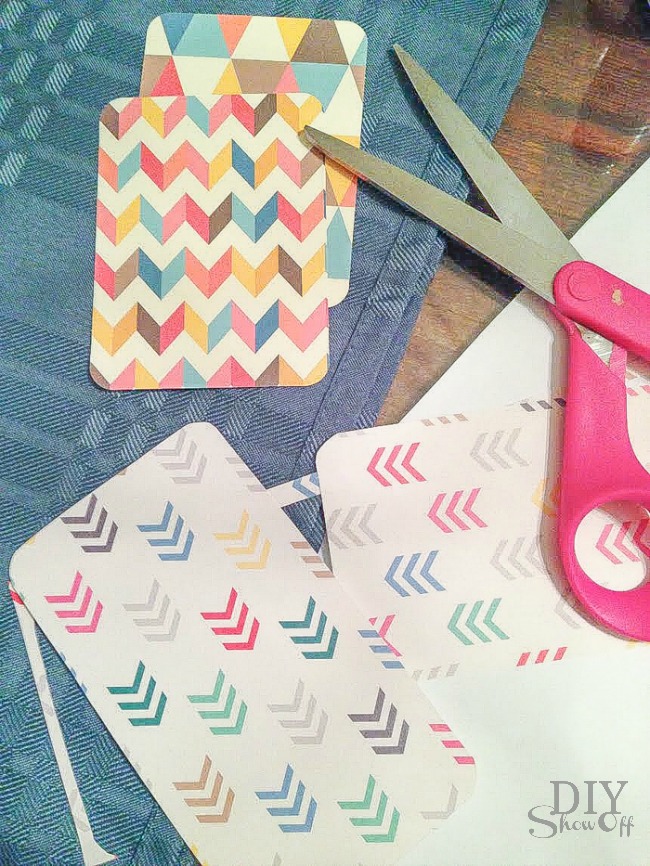
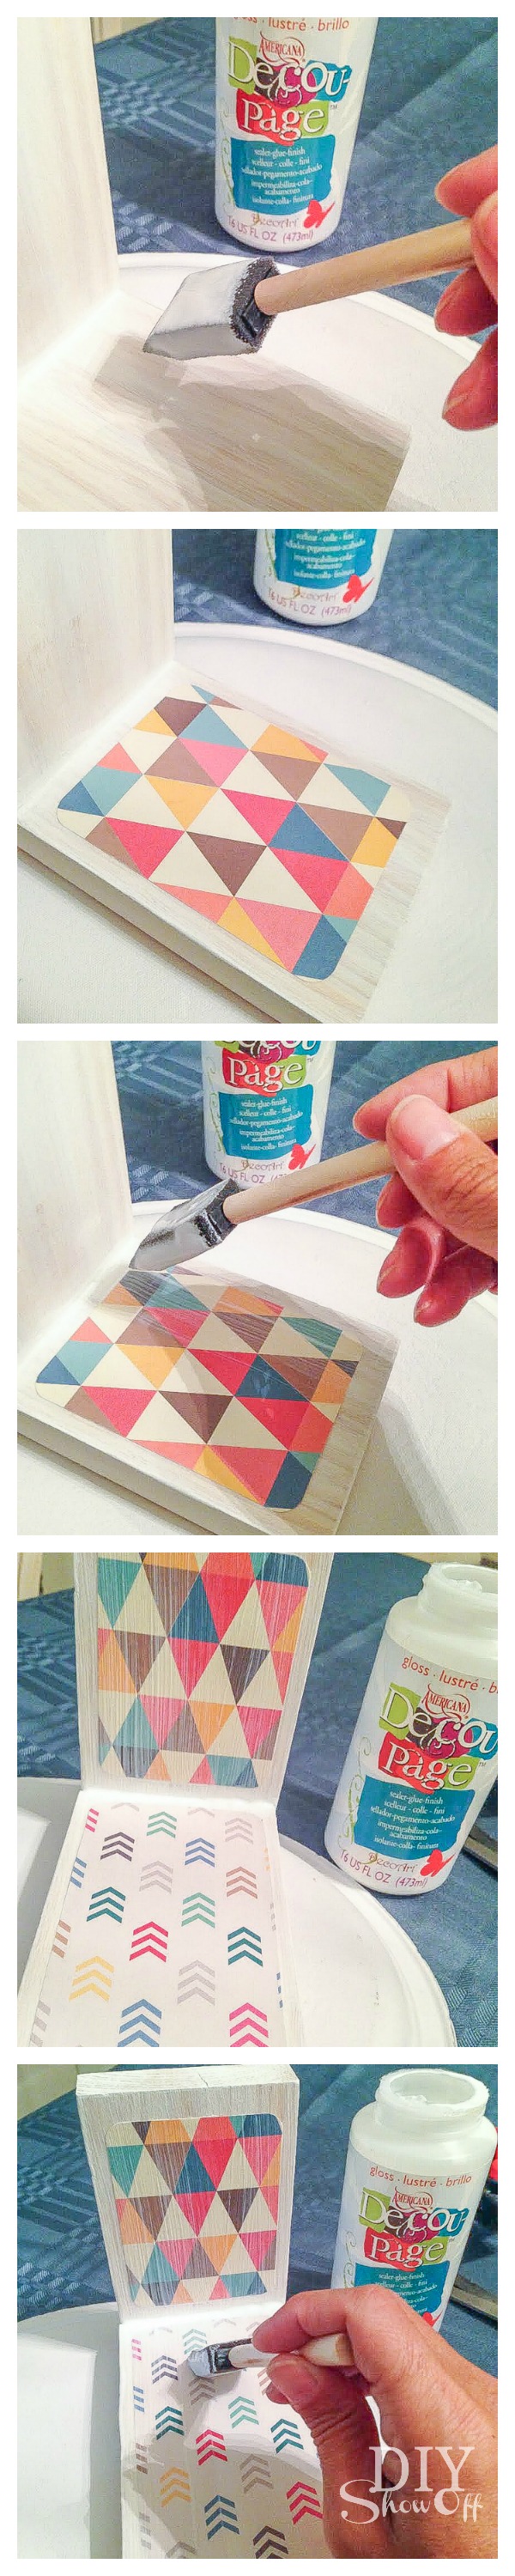
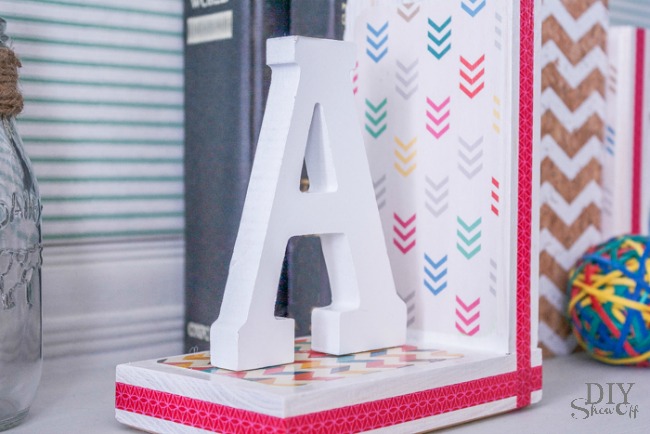
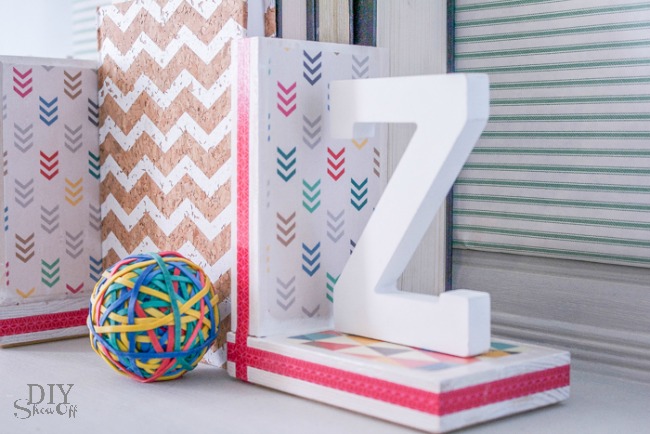
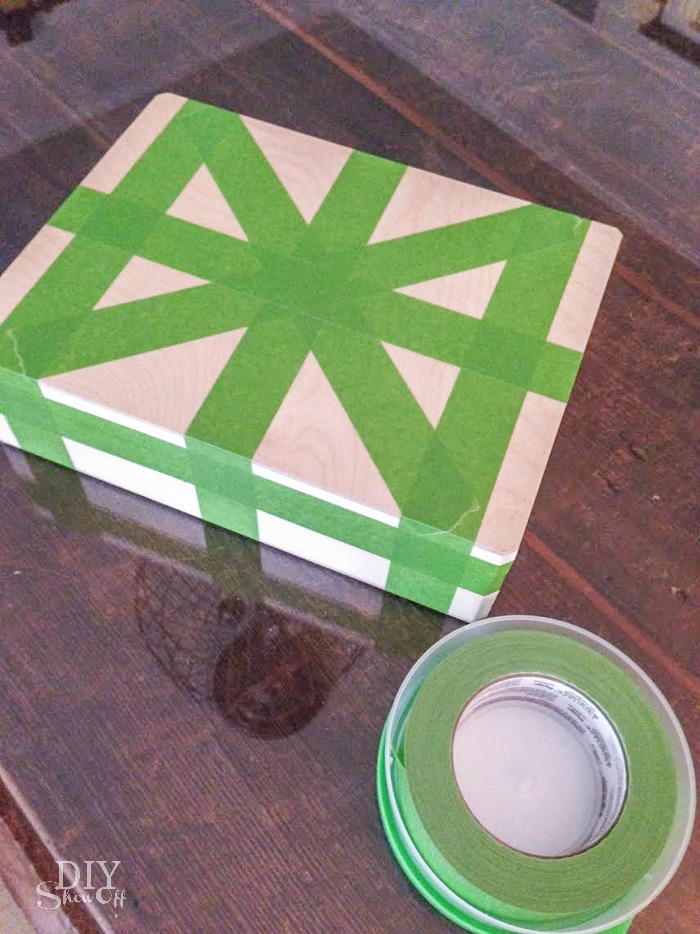
Tape off a design using your FrogTape. Stripes, checkers, plaid, triangles. So many options!
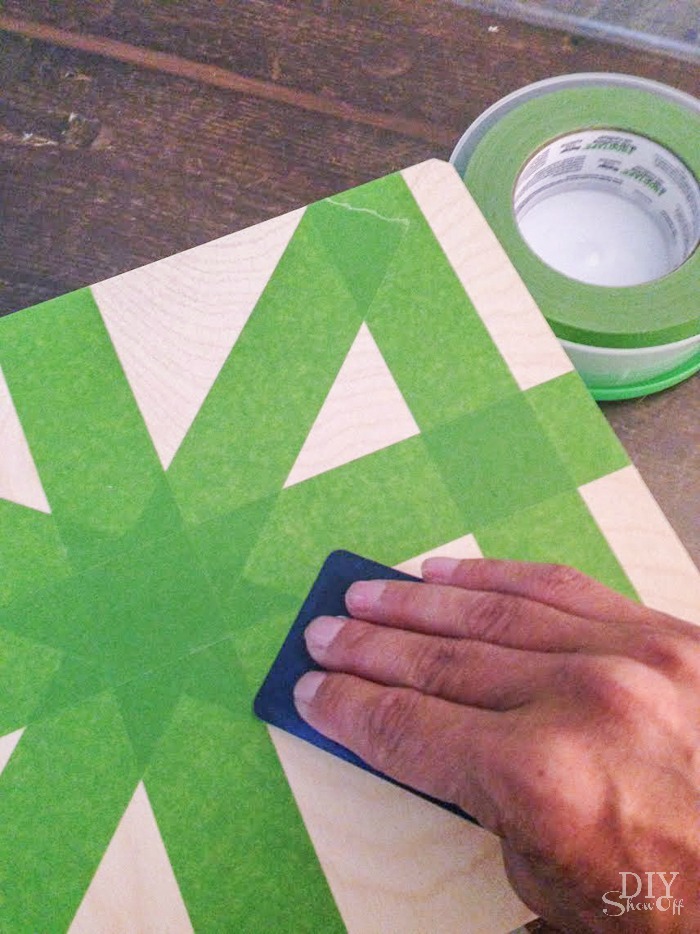
Using a credit card, gift card or just your own thumbnail, burnish the edges of the tape. Meaning: make sure the edges of FrogTape are good and stuck down with no gaps.
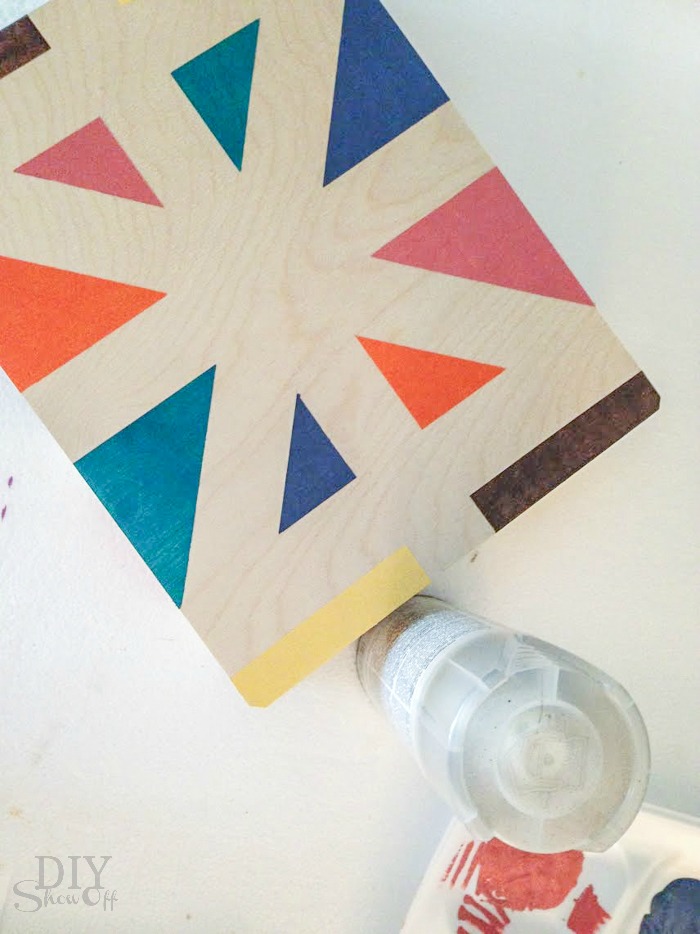
Now the fun part: paint each section. YOU customize colors to coordinate with decor or season.
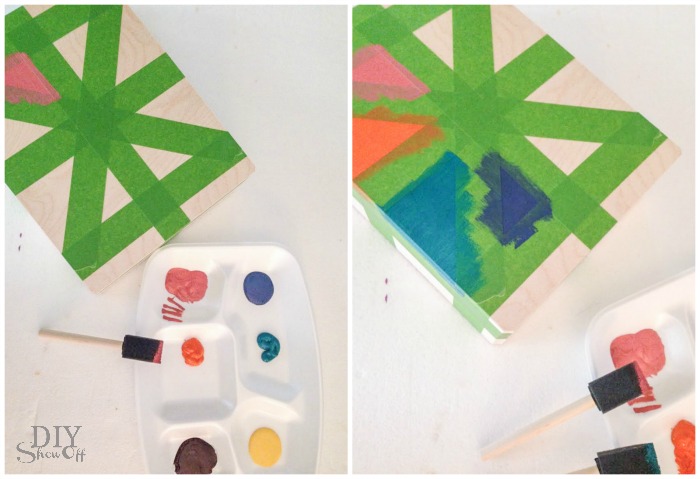
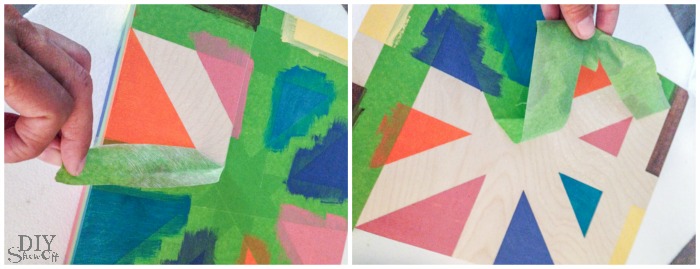
While paint is still wet, carefully remove FrogTape. Then let the paint dry.
Give it a quick light spray of lacquer and let dry.
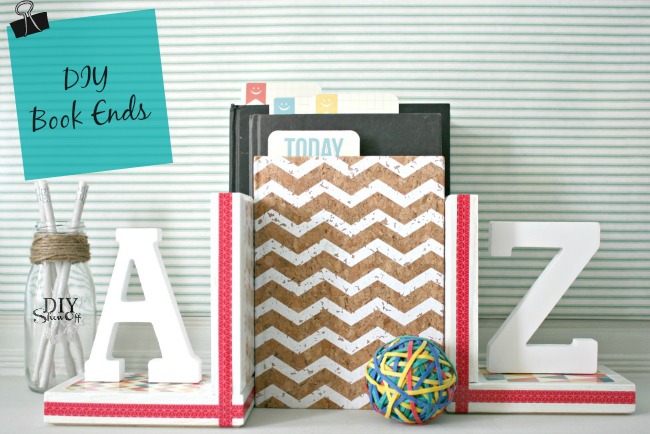
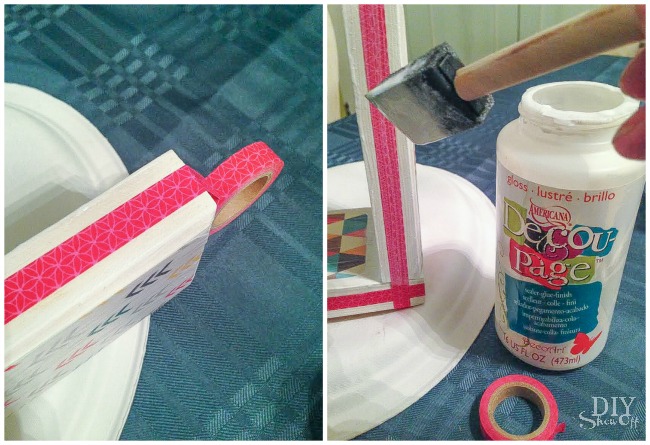
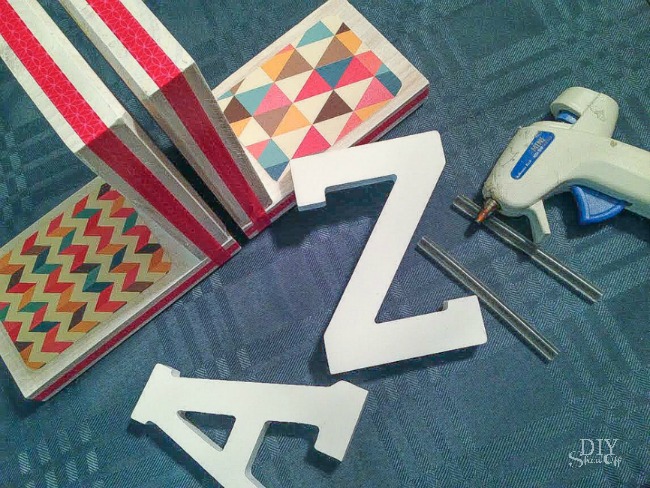
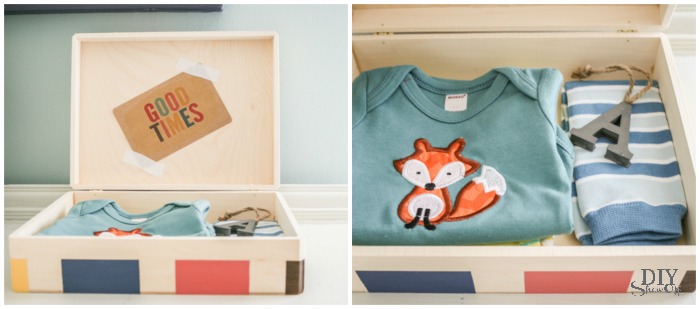
*Optional: embellish with washi-tape and decoupage, add a drawer knob, drawer pull or leather handle, adhere something from the junk drawer or little plastic animal using hot glue, add vinyl decals or stickers. Get creative! 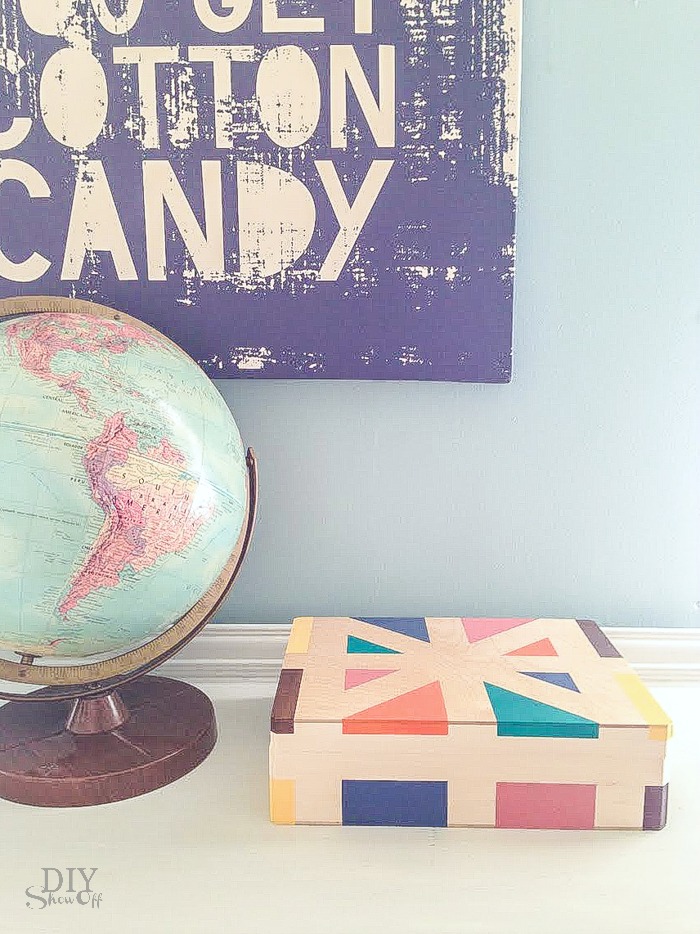
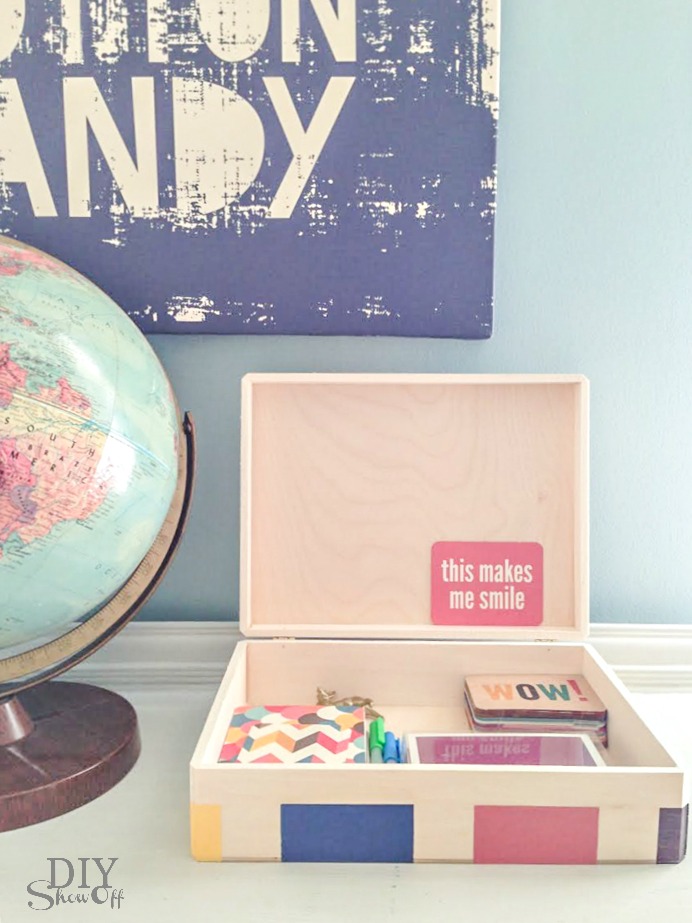
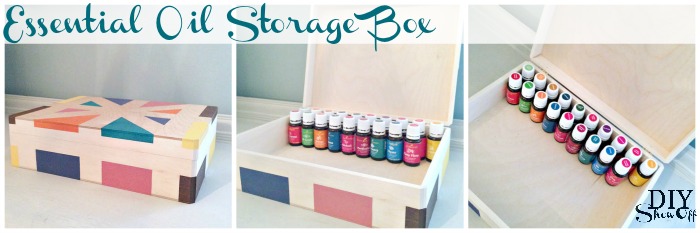
Use as a pencil box, for keepsake treasures, to store note or recipe cards, for organizing an essential oils collection, to tuck on a bookcase filled with bookmakers and highlighters, to keep cords handy or for a unique way of wrapping gifts.
It’s perfect for storing 70 15ml Young Living essential oils (more if you’re mixing in 5 ml sizes). Great idea for incentives, prizes or gifts – and YOU customize it to coordinate with your home.
![]()
Disclaimer: I received compensation to complete this project for using FrogTape® products. All opinions, projects and ideas are based on my own experience.