


Anthropologie inspired golden wishbone
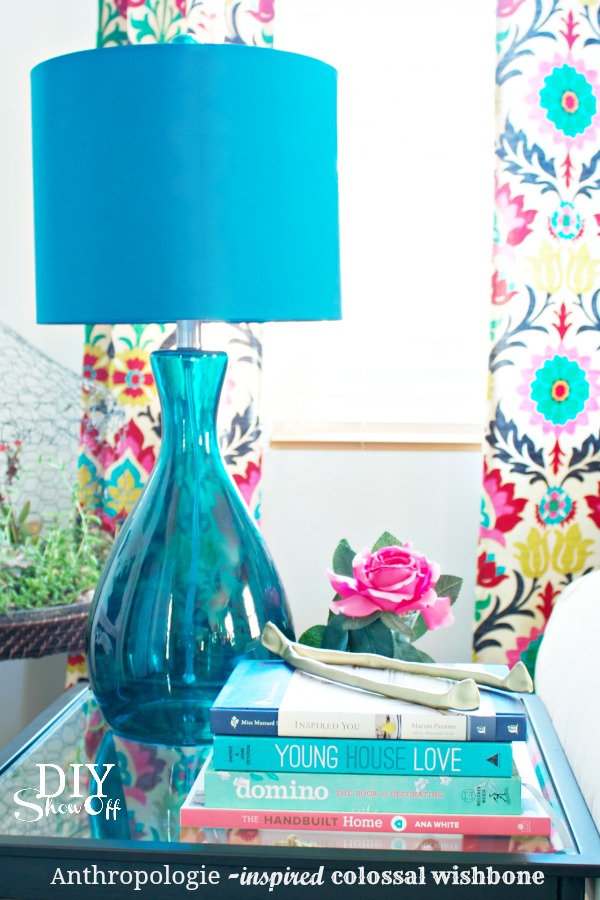
I love Anthropologie and always find their catalog filled with inspiration and beautiful products. The Anthro Colossal Golden WishBone has been on my wish list.
Knocktoberfest hosted by our talented friend Lindsay from Makely Home this week was the perfect opportunity and motivation to create my own DIY version for less than $58 and in different sizes.
If you’re popping over from visiting the amazing Karianne at Thistlewood Farms, welcome! I’m so happy you’re here today and look forward to getting to know you if we’re not already acquainted. 🙂
What I used:
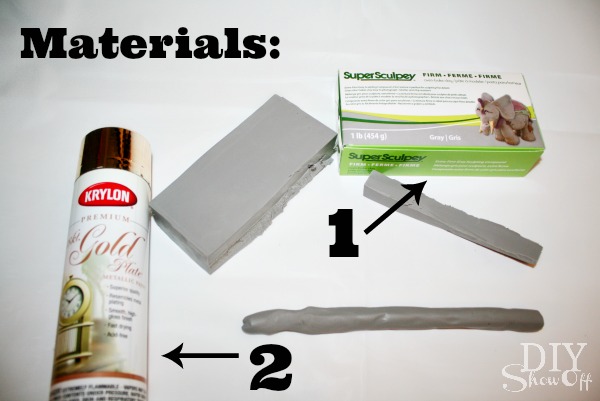
- Super Sculpey polymer clay
- Krylon 18 kt. Premium Gold Plate
I found purchased both of materials from Michaels Craft Store.
Tutorial:
The Anthro version is 13 x 6 inches. I tried to stay around that measurement by rolling two pieces of clay to about 13″ in length and “pinched” the end pieces of each together, then pressed each individual end with my thumb. Play with re-shaping. I also created two smaller versions by rolling a piece of clay to about 1/2 inch thickness. Fold in half. Pinch/thumb-press ends.
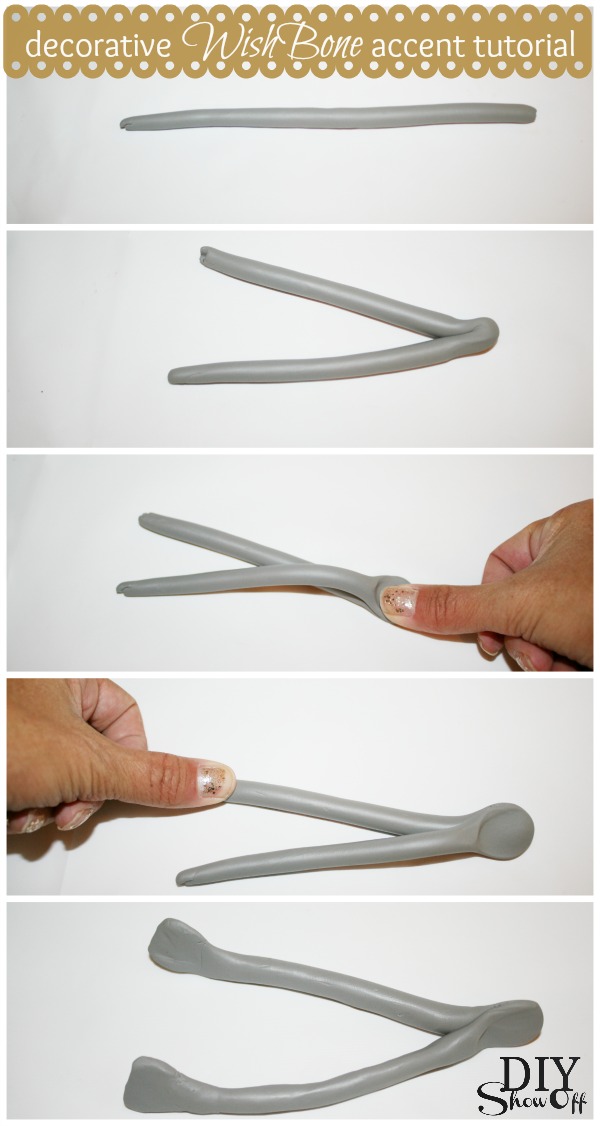
Move to a cookie sheet and perfect the wishbone shape a little more while the clay is still pliable. 
I baked mine for about 35 minutes at 275 degrees. (Be sure to follow package instructions for your project.) Let them cool. Now the wishbones are firm and hold their shape. 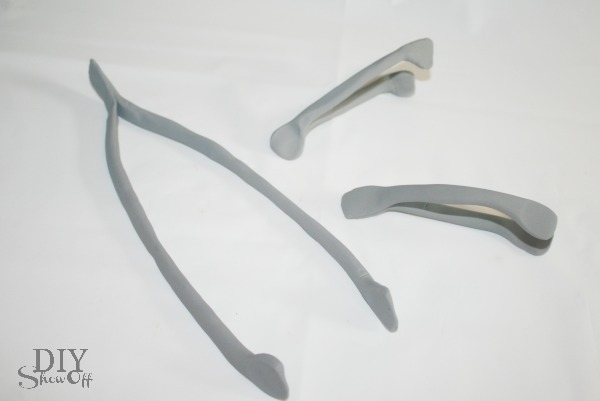
Paint and let dry. 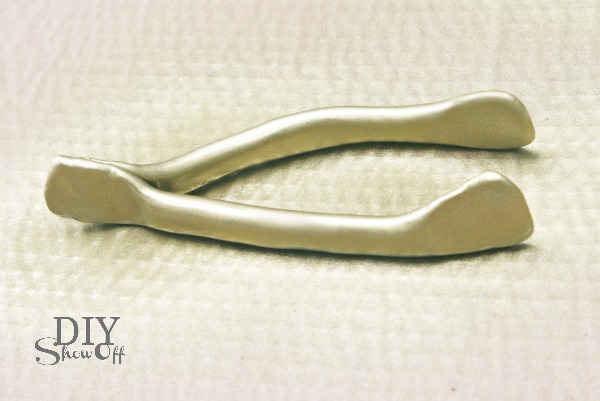
Simple!
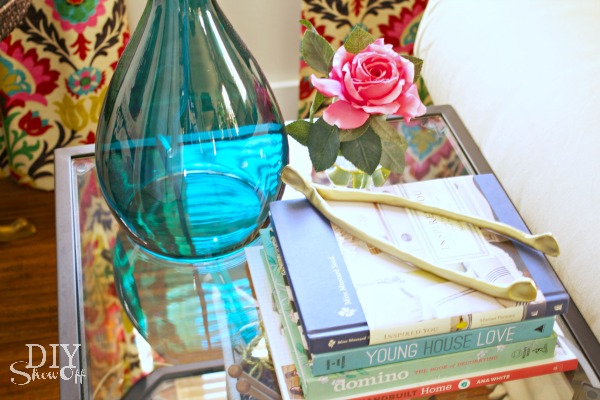
This is my first time working with clay so I have a feeling I can do a better job with more practice. I have a lot of clay and spray paint leftover to perfect my technique to create more wishbones.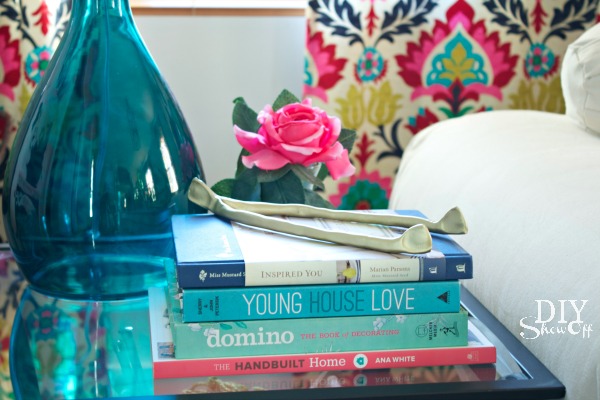
They’re going to be a sweet holiday gift idea/package toppers too.
Next up on the Knocktoberfest tour is my fun & talented friend, Sandra from Sawdust Girl. Head over to see her creative knock off project that’ll knock your socks off!
Ready to see more knock off inspiration and DIY? Follow along the entire series from Makely Home. 25+ designer inspired DIY projects? Woo hoo! What fun! A BIG thanks to our lovely host, Lindsay and genius behind Knocktoberfest.
Follow the entire Knocktoberfest series:
Day 1
|
1. Lindsay – Makely School for Girls
|
|
2. Beth – Home Stories A to Z
|
|
3. Gina – Shabby Creek Cottage
|
|
4. Beckie – Infarrantly Creative
|
|
5. Emily – Decorchick!
|
|
6. Wendy – The Shabby Nest
|
|
Day 2
1. Donna – Funky Junk Interiors
|
|
2. Jess and Monica – East Coast Creative
|
|
3. Jackie – Teal and Lime
|
|
4. Jen – Tatertots and Jello
|
|
5. Carmel – Our Fifth House
|
|
Day 3
1. Chris – Just a Girl
|
|
2. Lindsay – The White Buffalo Styling Company
|
|
3. Melissa – The Inspired Room
|
|
4. Ana – Ana White
|
|
5. Marianne – Songbird
|
|
6. Karianne – Thistlewood Farms
|
|
Day 4
1. Roeshel – DIY Show Off
|
|
2. Sandra – Sawdust Girl
|
|
3. Jamie – C.R.A.F.T.
|
|
4. Cassity – Remodelaholic
|
|
5. Melissa – 320 Sycamore
|
|
6. Mandi – Vintage Revivals
Day 5
1. Ashley – The Handmade Home
|
|
2. Stacy – Not JUST a Housewife
|
|
3. Traci – Beneath My Heart
|
|
4. Brooke – All Things Thrifty
|
|
5. Laura – Finding Home
|
|
6. Sarah – Sarah M Dorsey Designs
*Linking up to Home Stories A to Z |


