DIY Nursery Wall Decor

I’ve been giving our guest room a bit of a makeover to include a little nursery space for my very first grand child who is scheduled to arrive next month. I can’t wait! You guys, a sweet baby boy will be here soon! I’m so excited, I can’t stand it! 

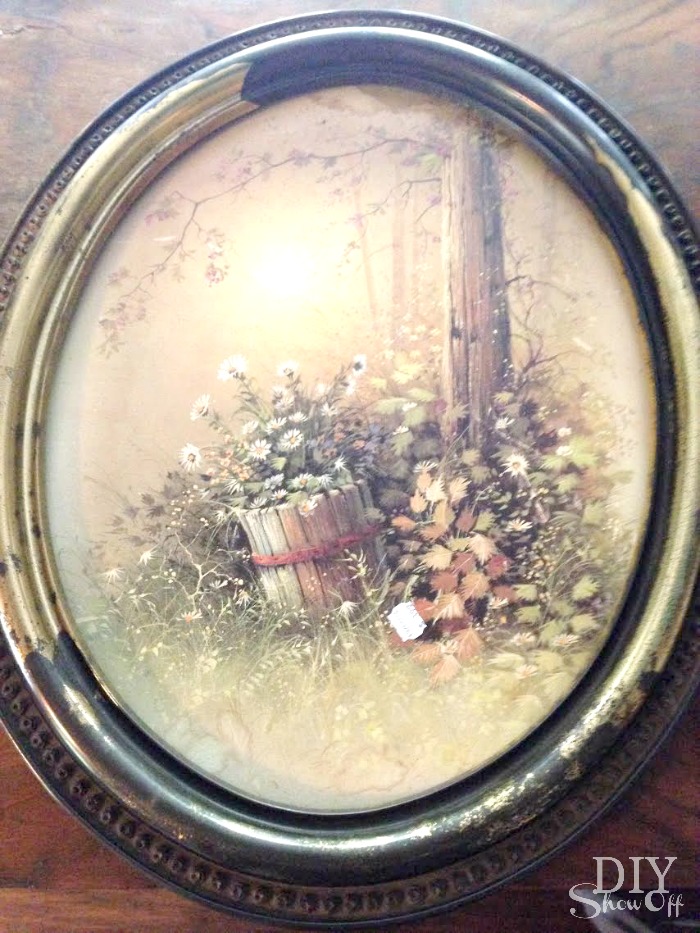
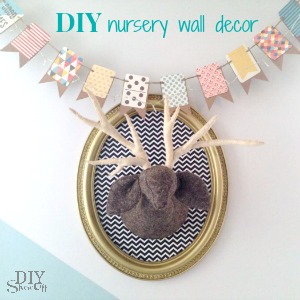
Materials: I found this old oval wall art at the thrift store for 3.99.

DIY nursery wall art  tutorial

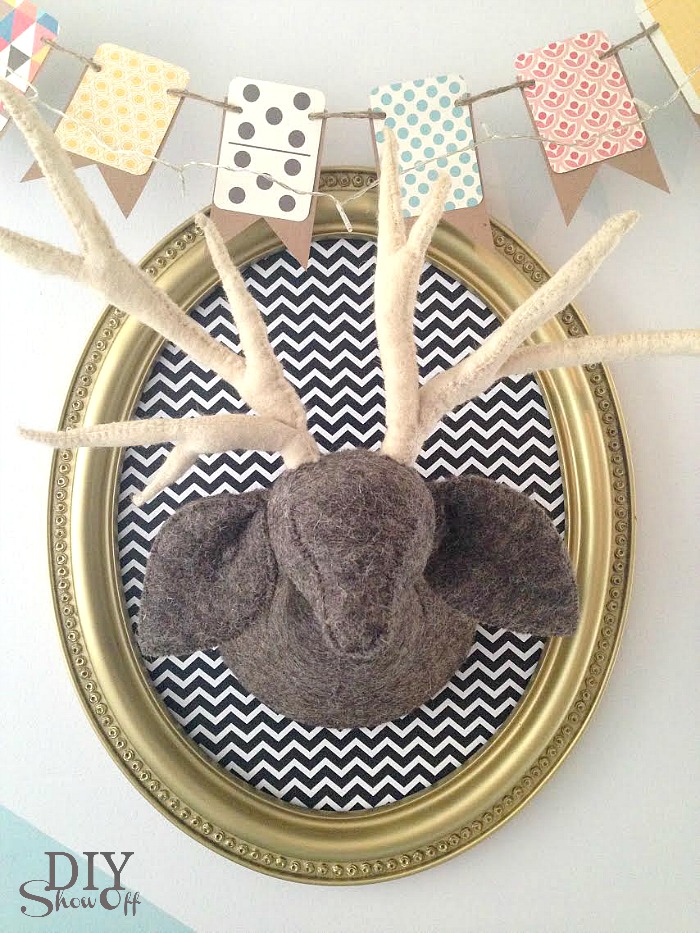
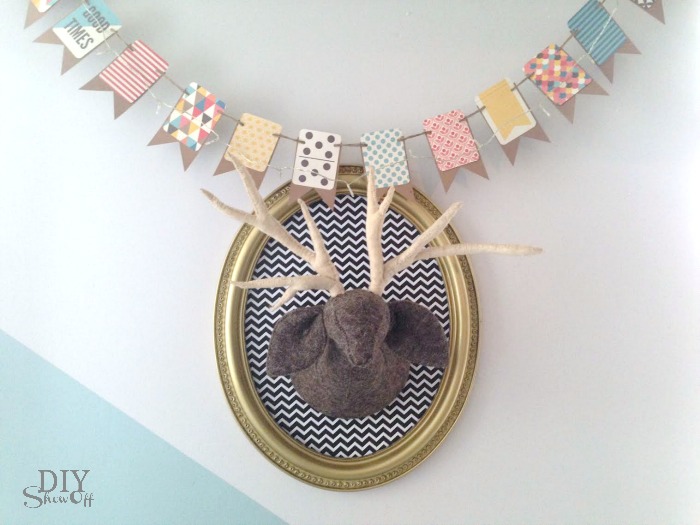
I had the wrapping paper and felted deer head (used in our stairwell/landing makeover originally. I looked and it’s no longer for sale…sorry but I did see awesome paper mache deer heads at Michaels that would work well too…plus you can paint/decoupage to coordinate with your room.). So this is a thrifty treasure for me…just $3.99 for the dusty framed print + shopping the house since I had the spray paint on hand already too. 

What I did: Gave everything a good cleaning and removed the backing from the frame (set aside). 

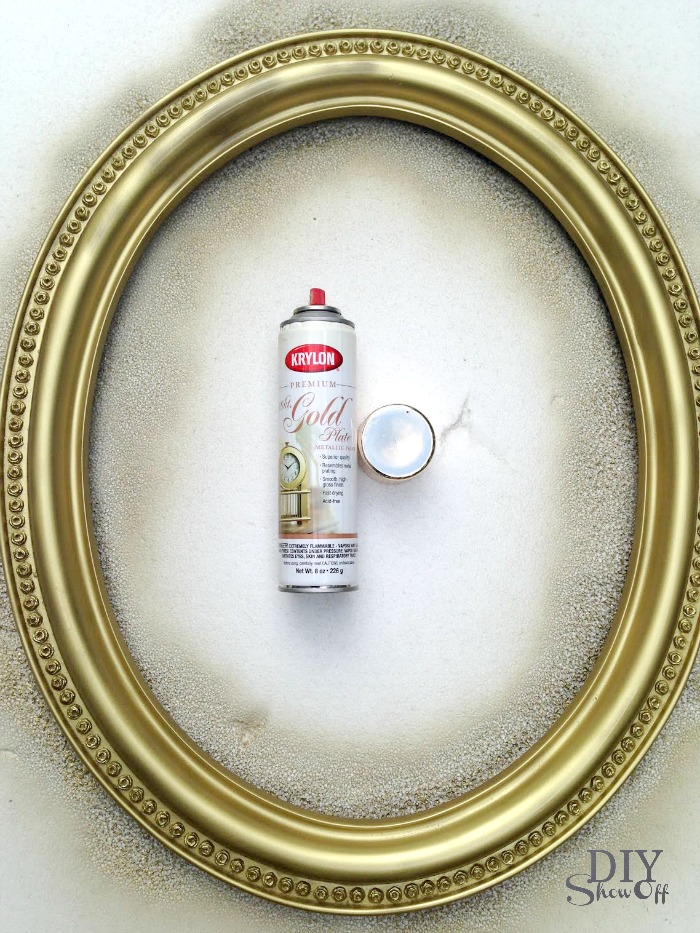
I spray painted the frame gold and let it dry. 

DIY nursery wall art  tutorial

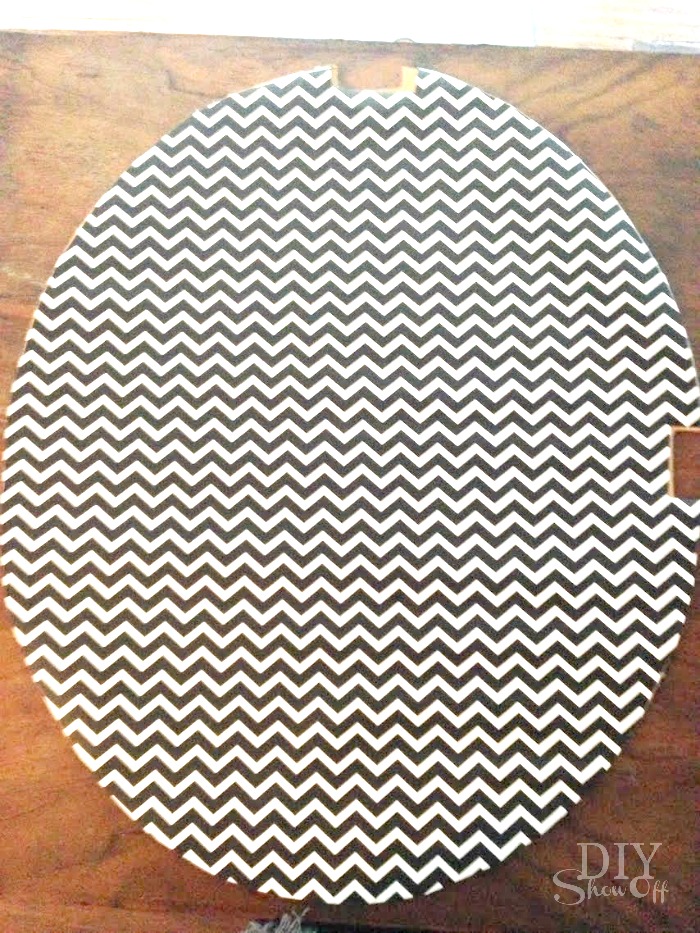
I traced the oval backing onto chevron wrapping paper. I did glue the wrapping paper over the print on the front. However, it’s not required if you’d like to preserve the print.  DIY nursery wall art  tutorial DIY nursery wall art  tutorialDIY nursery wall art  tutorial
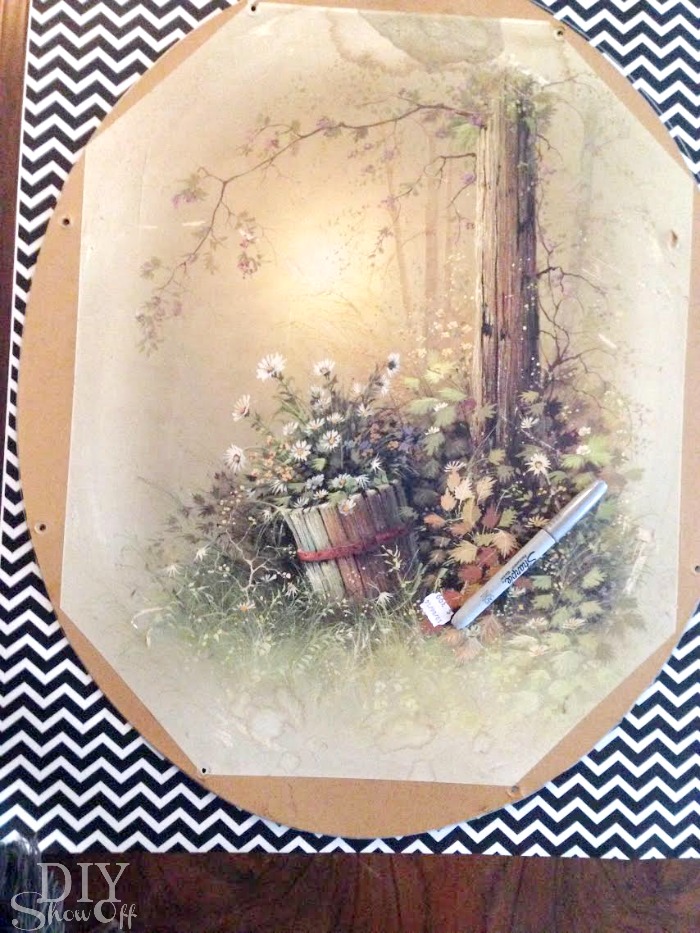
Then just reattached the backing to the frame. 

DIY nursery wall art  tutorial

I hung it on the wall and hammered a nail in the center to hang the felted deer head and added a DIY banner…just card stock, Project Life cards (scrapbook section at Michaels) and twine. I added a string of mini LED fairy lights too. 

nursery wall decor tutorial @diyshowoffnursery wall decor tutorial @diyshowoff

See my guest room nursery space for more nursery ideas:

combined guest room nursery reveal @diyshowoffDIY nursery wall decor at diyshowoff.comeasy diagonal wall paint design tutorial @diyshowoffpainted craft box DIY at diyshowoffDIYShowOff Michaels Makers back to school book ends feature

*This post is sponsored by Happy Crafters. Tutorial, experience and opinion is my own.  Check out all the supplies at Happy Crafters for inspiration for your next project. 

And yes…it’s crazy here. From Halloween to baby shower to some Christmas decorating, a guest room/nursery makeover, an entire home before/after in progress (family members), always Young Living recipes, events and sharing my story, and another small apartment nursery nook. There’s a LOT going on and DIYShowOff is ALL over the place! You may want to subscribe to get reminders to check back often! 😉 

Have a great week!

DIY Customizable Monogrammed Mirror Tutorial

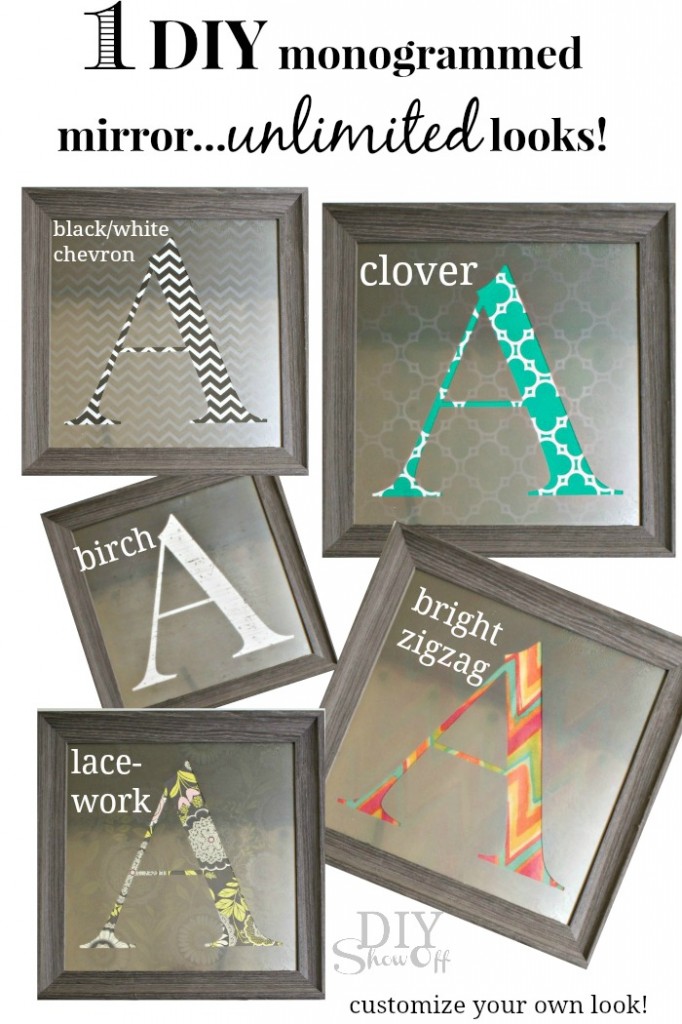
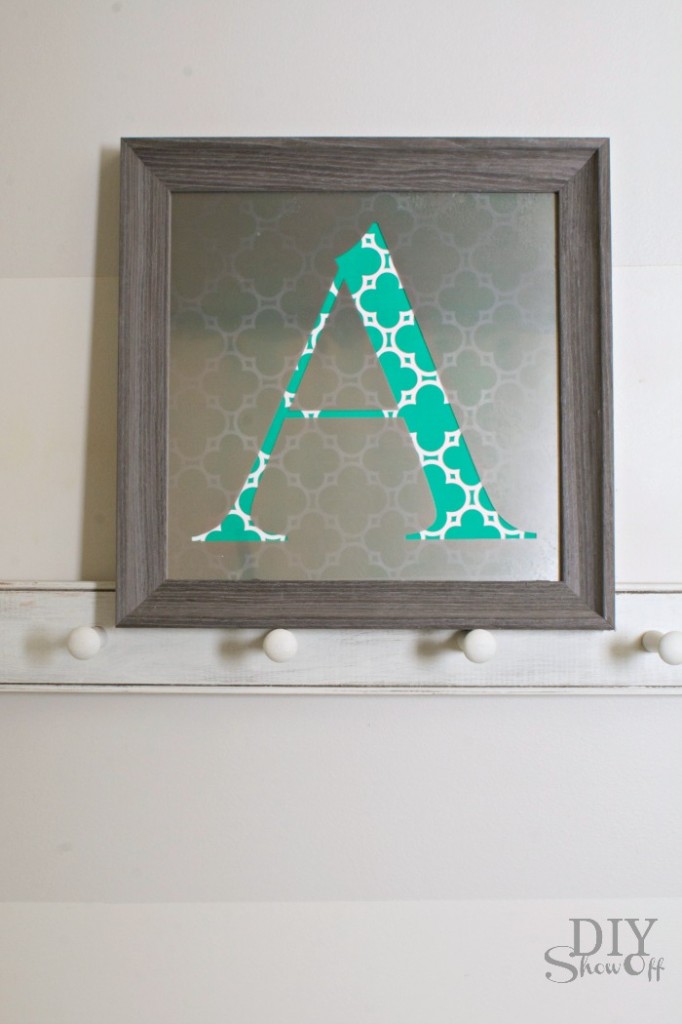
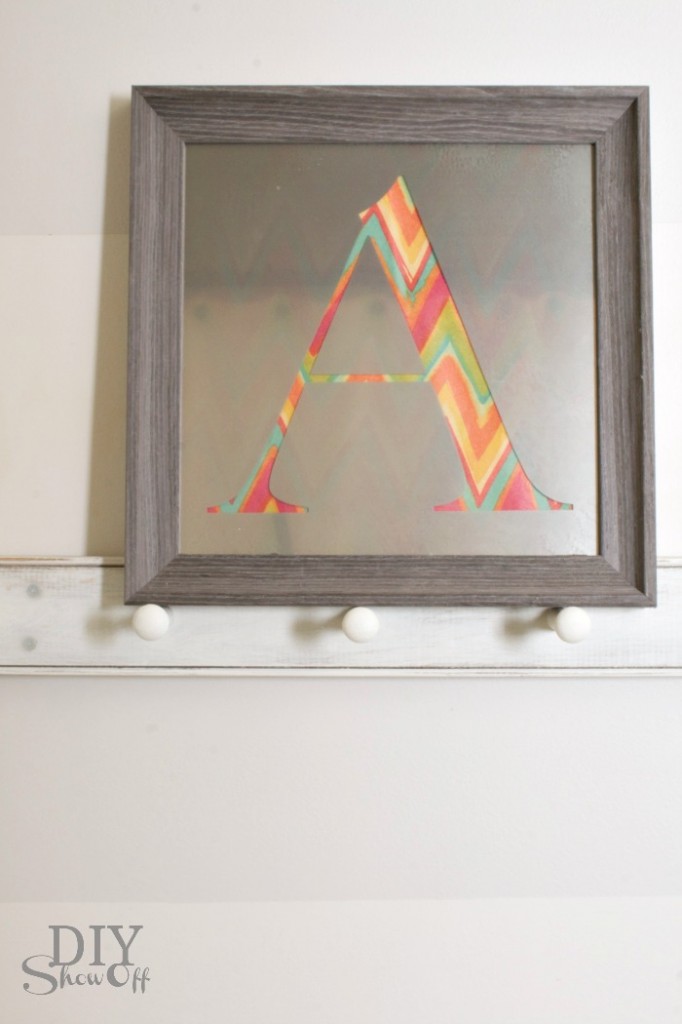
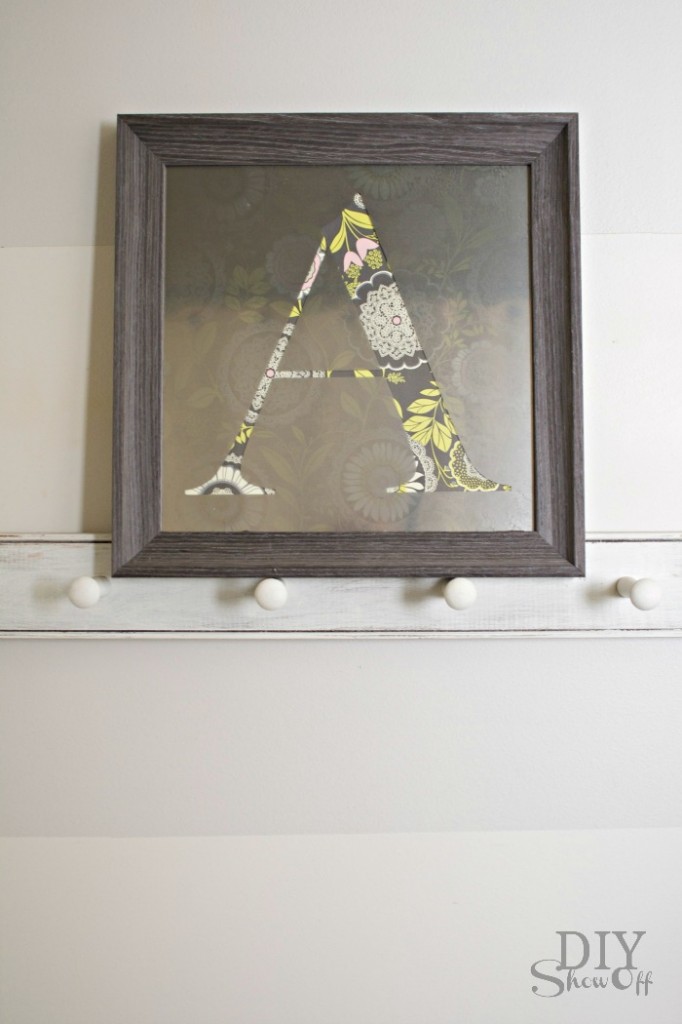
Looking for a great gift DIY gift idea? Or some easy DIY wall art? Look no further! This framed monogrammed mirror is easy to do and easily customizable for swapping out colors and patterns. It’s perfect for those who love to decorate and easily changes to match any decor. One decorative accent, UNLIMITED looks! So fun!
One decorative accent - UNLIMITED LOOKS: DIY Interchangeable/Custom Monogrammed Mirror Tutorial

Materials:

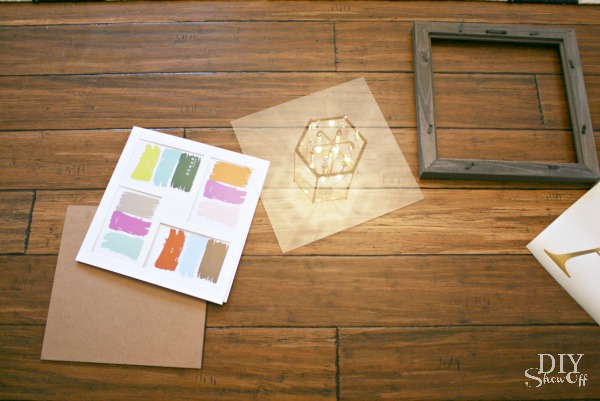
  • Picture frame with glass – I purchased mine at TJMaxx but shop the house or thrift stores for an even better deal!
  • Krylon Looking Glass – Mirror Like Spray Paint
  • Vinyl letter decal, shape or silhouette – don’t have a Silhouette Cameo to do your cutting? Use a stencil and contact paper to create your own. Remember to ‘mirror’/’flip’ the design so that it doesn’t show backwards.
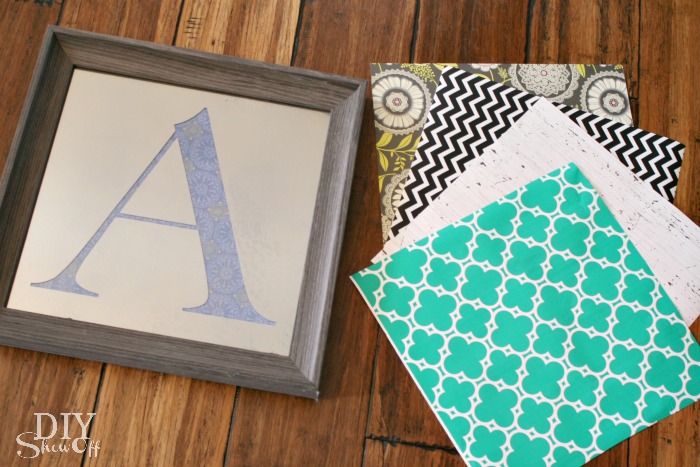
  • Scrapbook paper, wrapping paper {holiday/wedding/birthday paper for celebrating/gift giving would be cute too!}, book pages, maps, fabric…get creative! Cut to size to fit within the frame. 

Tutorial:

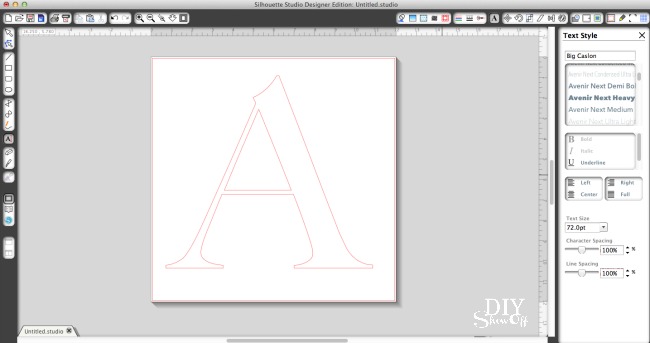
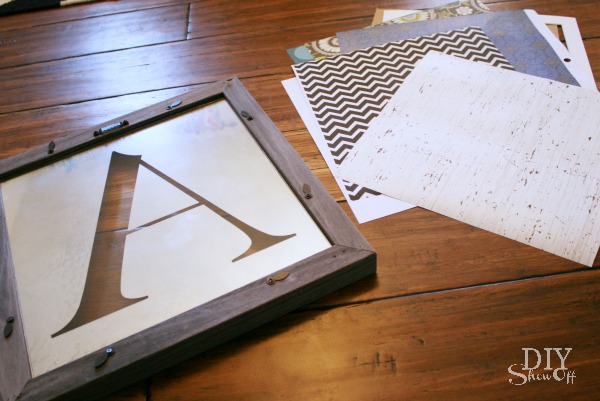
1. Create vinyl decal to fit inside of the dimensions of the picture frame/onto the glass. Remember to mirror/flip the design so that it doesn’t show backwards (vinyl will be applied to the backside of the glass). I used my Cameo to cut out a design on vinyl.Letter A for monogrammed mirror DIY

2. Disassemble glass from frame and clean the glass. DIY monogrammed mirror tutorial

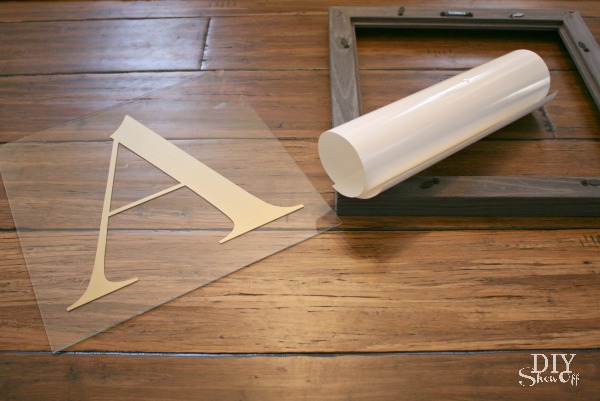
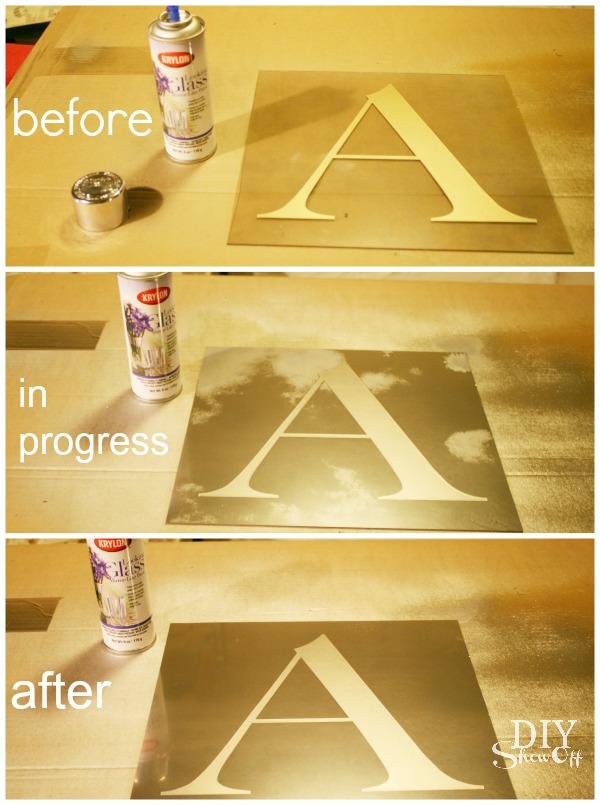
3. Apply vinyl decal to glass. I centered a letter “A”. You’ll be applying it to the backside of the mirror so you’ll want to “mirror” or flip the letter if needed so it doesn’t show up backwards. A shape or silhouette would be cute too! Example: monogram, dog, person, state, stag, word, etc.Monogrammed Mirror DIY tutorial

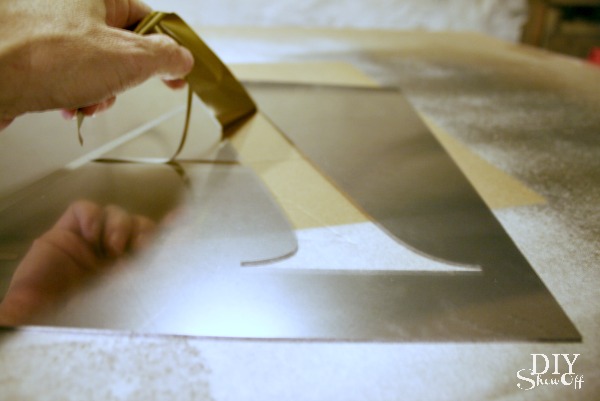
4. Follow instructions on Krylon Looking Glass can. Wear a respirator in poorly ventilated areas. Apply a light coat of the Krylon Looking Glass spray paint in a sweeping motion (starting off of the glass). Do this on the side of the glass with the vinyl decal. One decorative accent - UNLIMITED LOOKS: DIY Interchangeable/Custom Monogrammed Mirror Tutorial

{zero degrees outside, spray painting in the basement – pardon the poor lighting!}

5. According to the instructions, repeat the above step four more times (only waiting a minute between coats – this stuff dries fast!). Then let dry one hour before handling. I did five coats and my glass still has a semi-transparent look which I like. Try more coats for a more solid look. 

6. Once dry, carefully remove the vinyl decal by lifting an edge using your fingernail or thumbnail or a vinyl weeding tool if you have one. Be careful not to scratch the mirror-painted finish (although scratches add to an antiqued/aged look). One decorative accent - UNLIMITED LOOKS: DIY Interchangeable/Custom Monogrammed Mirror Tutorial

7. Cut scrapbook paper, book pages, fabric or wrapping paper to the same dimensions as the glass. Re-assemble glass and frame and insert scrapbook or wrapping paper in the same manner as framing a picture. One decorative accent - UNLIMITED LOOKS: DIY Interchangeable/Custom Monogrammed Mirror Tutorial

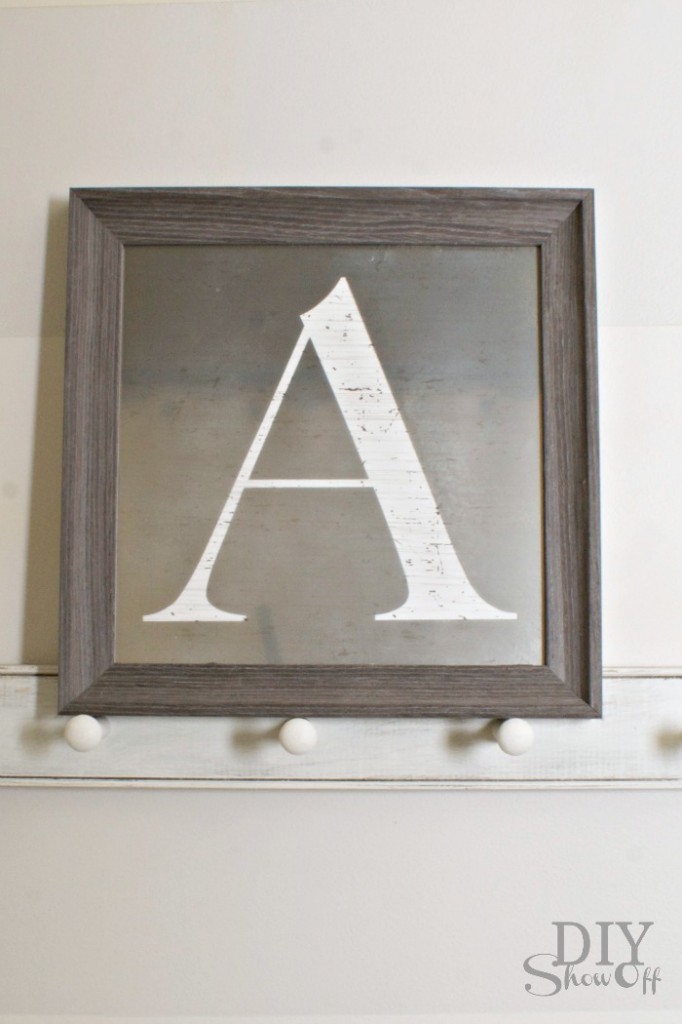
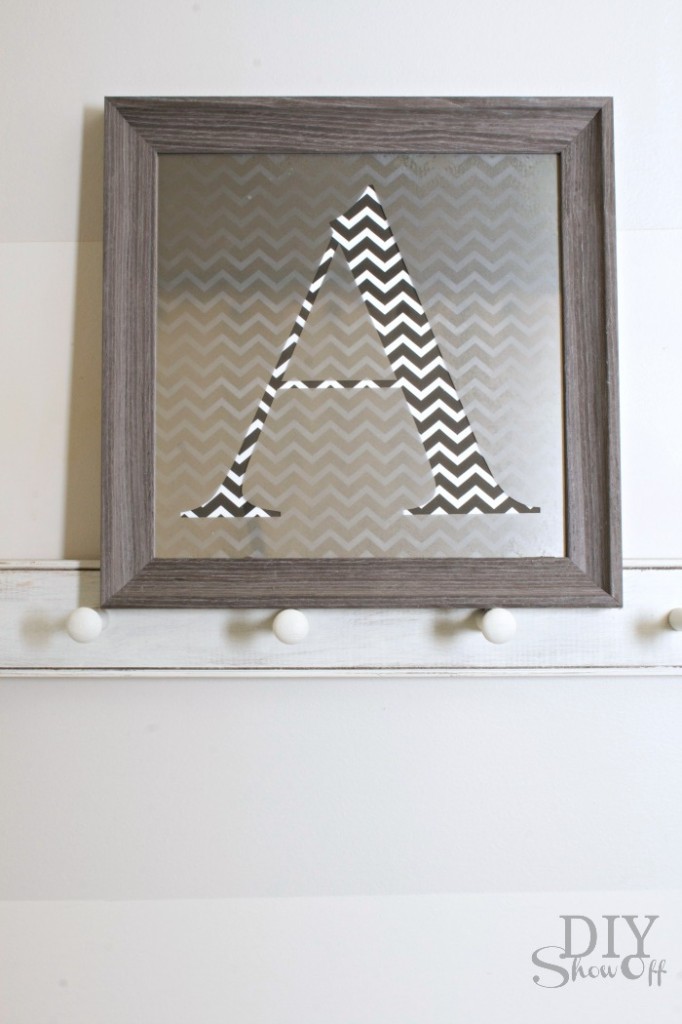
All done! Include several shades and patterns of paper with your gift and let the recipient choose their favorite look to coordinate with their home.

One decorative accent - UNLIMITED LOOKS: DIY Interchangeable/Custom Monogrammed Mirror Tutorial

Cool, right? They’re going to love it and you’re going to want one for yourself!

Monogrammed Mirror Tutorial DIY mirror DIY mirror DIY mirror DIY mirror

You can’t tell from my pictures but the mirrored surface is very reflective. I just took my photos at an angle where you weren’t seeing me and my camera’s reflection in the glass. The mirror finish also has a bit of a worn/antiqued look that I love. One decorative accent - UNLIMITED LOOKS: DIY Interchangeable/Custom Monogrammed Mirror Tutorial

Next up in the series is an awesome project from Amy at Positively Splendid!

For even more fun Krylon Looking Glass ideas, visit the entire series:

Friday –
http://www.infarrantlycreative.net
http://findinghomeonline.com
http://www.theshabbycreekcottage.com
http://sarahmdorseydesigns.blogspot.com
http://www.the36thavenue.com
http://www.eastcoastcreativeblog.com
http://lilluna.com
https://diyshowoff.com
http://www.positivelysplendid.com

Saturday –

http://tatertotsandjello.com
http://www.ourfifthhouse.com

Disclaimer: This is a post sponsored by Krylon. As always, all ideas, opinions and experience is my own. I first tried Krylon Looking Glass paint back in 2010 on an old window

Like what you see? Get reminders and updates delivered right to your inbox:

Enter your email address:

Delivered by FeedBurner

Valentine Mantel {and thrifty treasure DIY}

Yes! I’m decorating the mantel for Valentine’s Day after all but it’s still not too late…

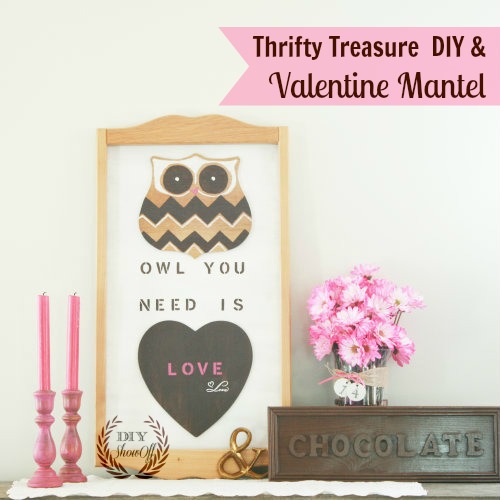
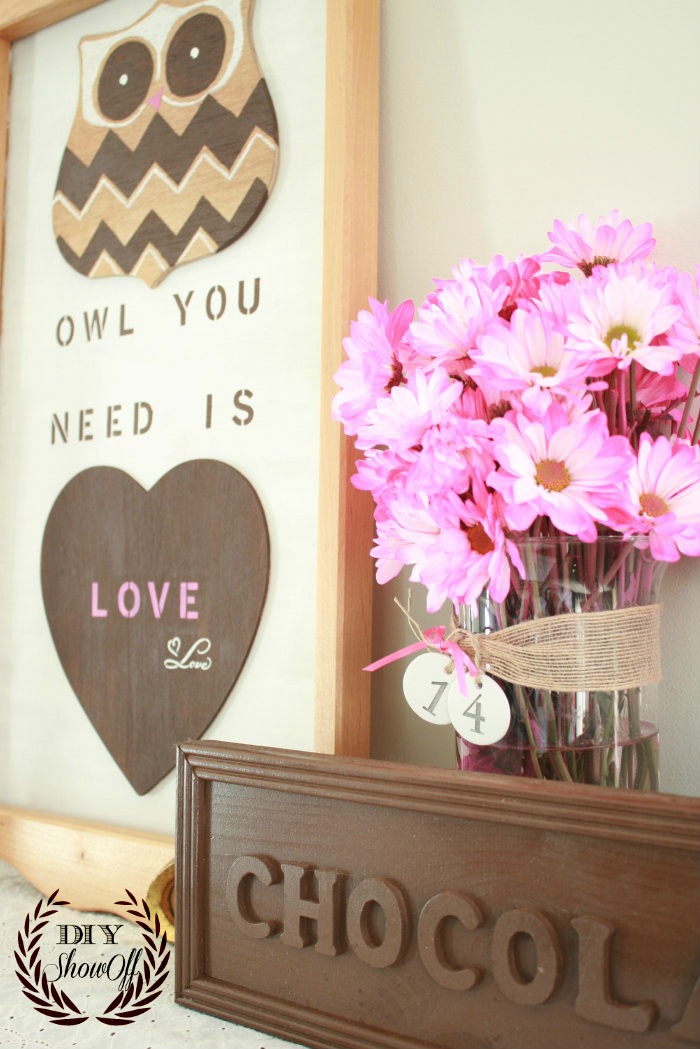
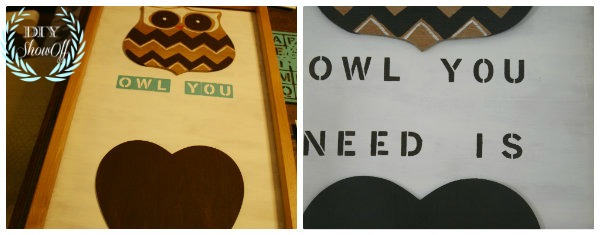
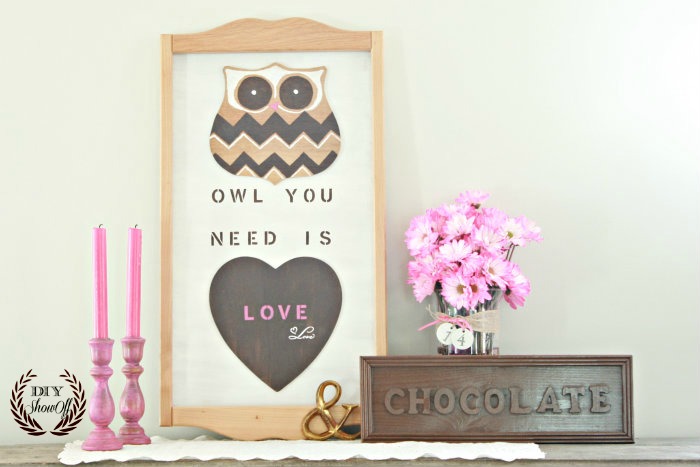
“Owl You Need is Love & Chocolate”

Valentine mantel

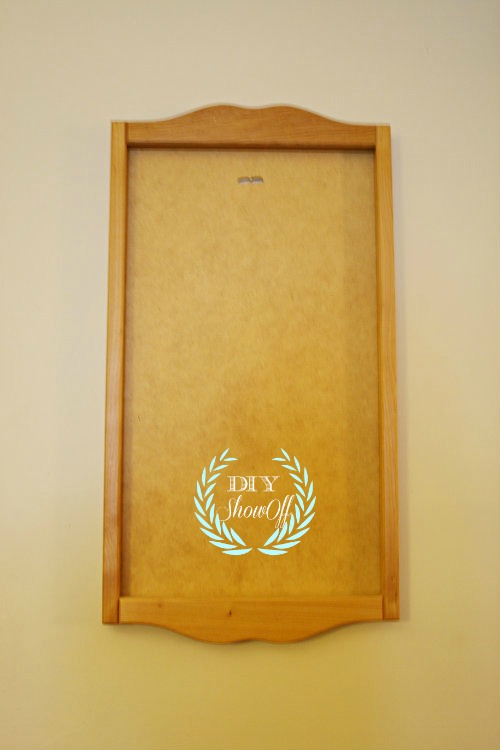
Owl-you-need-is-love-and-chocolate-valentine-mantel Back when I glanced at the thrift store junk stash, I saw two of these calendar displays. I can’t pass them up – wood, great DIY material. Ya know?

wooden-calendar-frame

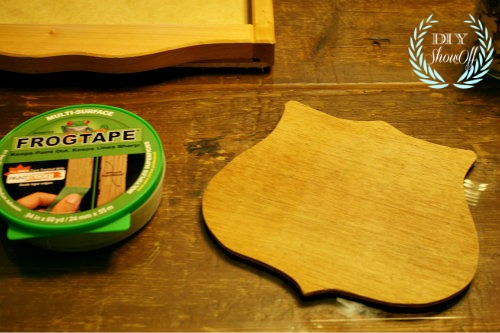
Bri had scored these fun wood cut out shapes. I snagged the ‘badge/crest’ looking one thinking it was a great owl-shape. {pardon the lighting in the dining room turned work station for the tutorial}

wooden-owl-shape

And a Valentine DIY craft and decorating idea was born.

owl-you-need-is-love-and-chocolate

Materials:

  • FrogTape
  • wooden calendar frame
  • badge-shaped wooden cut out
  • wooden heart shape
  • craft paints
  • wood glue

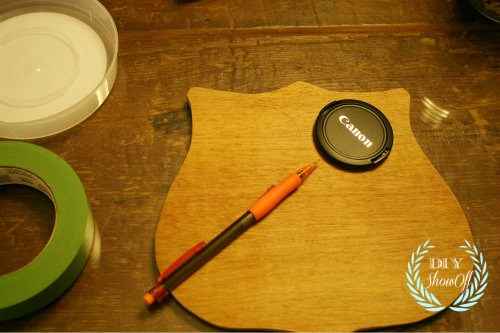
I started with tracing my camera lens cap for the owl’s eyes.drawing-owl

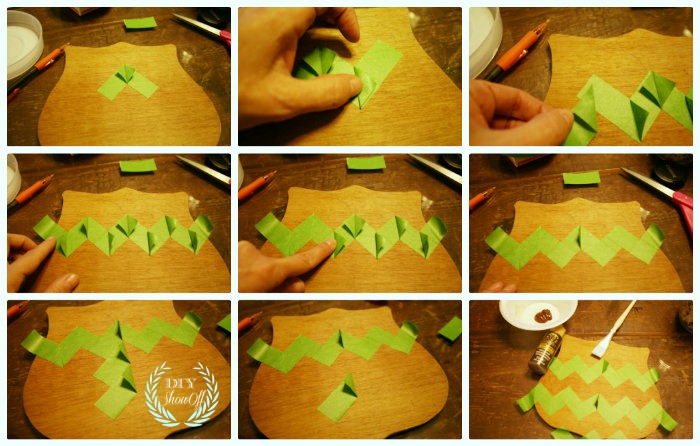
I drew a pencil line vertically down the center. Using 2 ” pieces of FrogTape, I created a chevron pattern on the owl’s body working from the center out…FrogTape-chevron-pattern

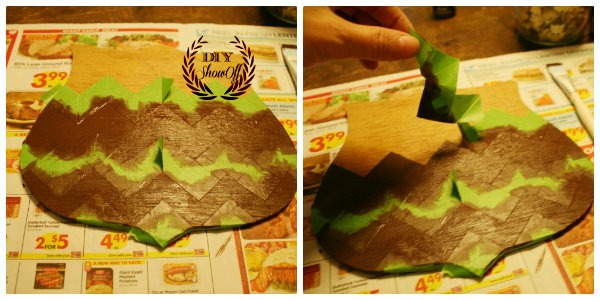
Once the tape was burnished (rub the edges of the tape with a credit card to activate the FrogTape’s paintblock), I painted my pattern. Then immediate removed the FrogTape…painting-with-frogtape

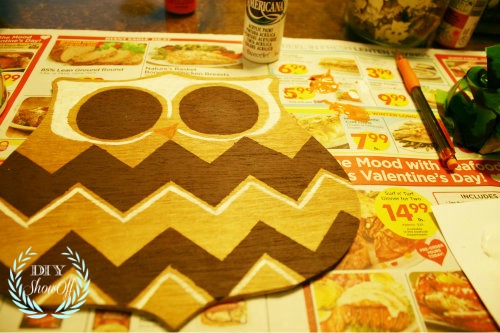
Once that was dry, I continued painting my badge to look like an owl.painting-owl

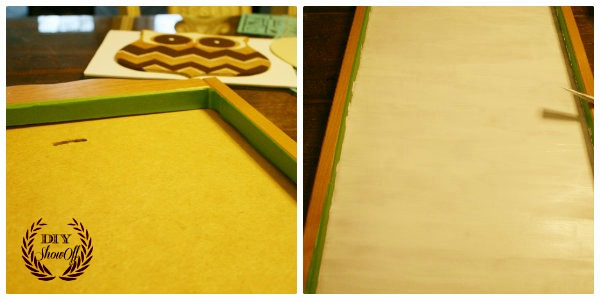
I used FrogTape to protect the frame and painted the background white and let it dry…painting-calendar-frame

My wooden heart was painted brown {FolkArt’s burnt umber}. Once everything was dry, I laid out the placement of the owl, heart and used adhesive stencils for my lettering…stenciling-sign

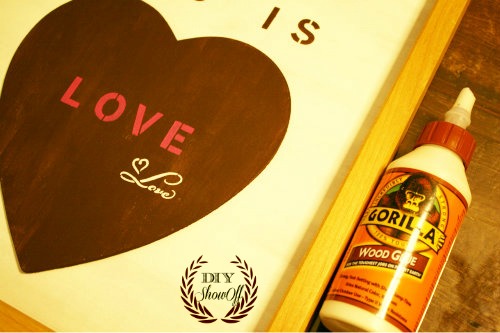
The owl and heart were attached using Gorilla wood glue. I let the glue dry for about an hour. gorilla-wood-glue

Then gathered some decorative accents…

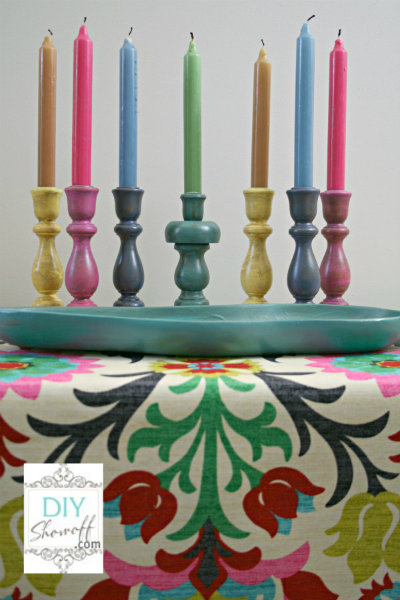
painted candlesticksEaster, decor, do it yourself, faux chocolate bar sign, wood sign, centerpiece

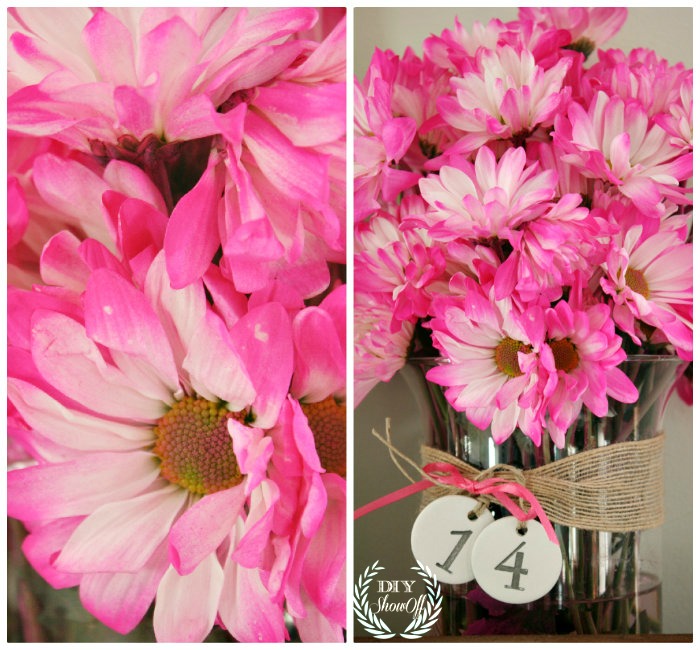
…and styled my mantel using thrift store candle sticks, an ampersand and a fun faux chocolate bar DIY from last Easter. valentine-mantel Of course I was still in my pajamas and I asked Mr. DIY to pick me up a bouquet of pink flowers for my photo shoot and boy, did he ever…they.are.VERY.pink…. pink-flowers They’re perfect. My vase is embellished with clay tags and ribbon.

Did I mention that just regular days are like Valentine’s Day around here? Not only did he pick out pretty flowers for my Valentine’s Day mantel decorating, but he came home with these…

cupcake

decadent chocolate cupcakes

He hadn’t even seen my “Owl You Need is Love & Chocolate” theme yet but he reads my mind. most of the time. 

I’m not so into lots of Valentine’s Day decorating but hey, I am a fan of “Owl you need is love & chocolate”! diy-owl-valentine-mantel Affiliate links for similar materials:

*This is a sponsored post brought to you by FrogTape. The opinions are completely my own based on my experience. Results may vary.  FrogTape Blog Squad