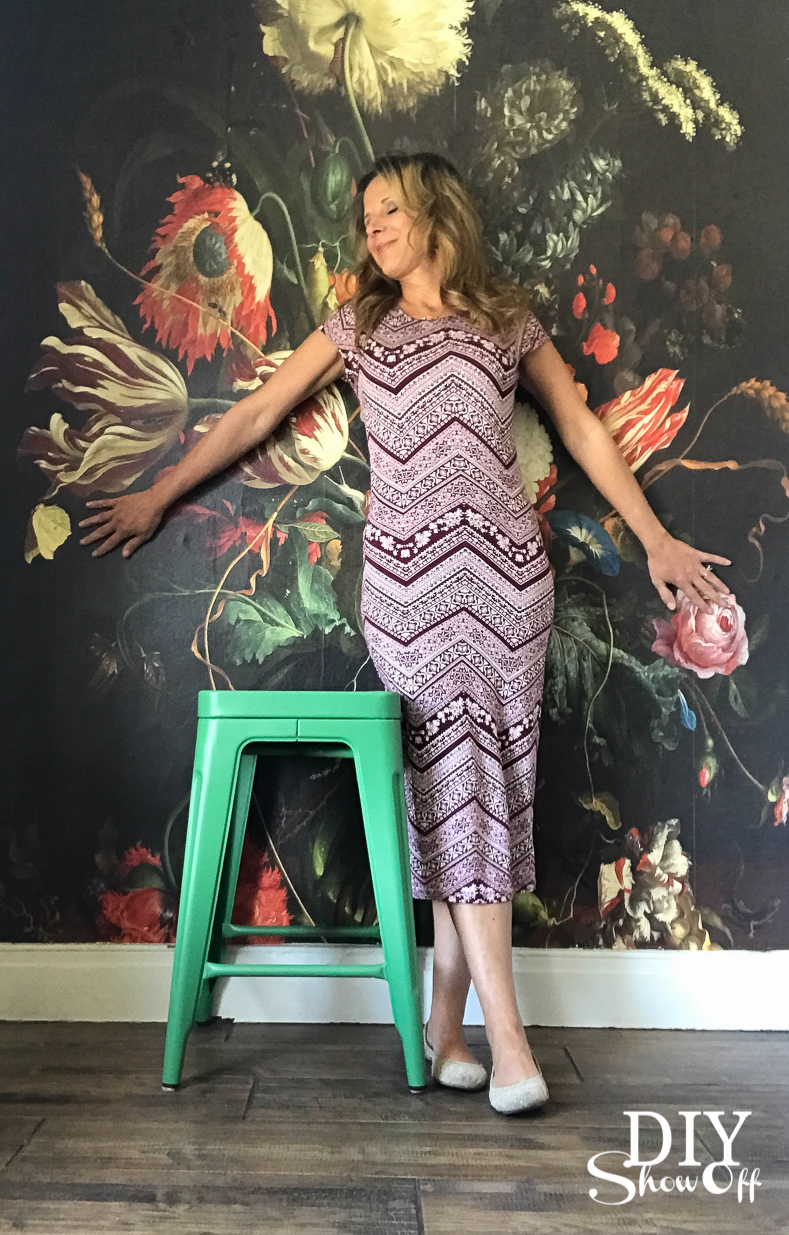
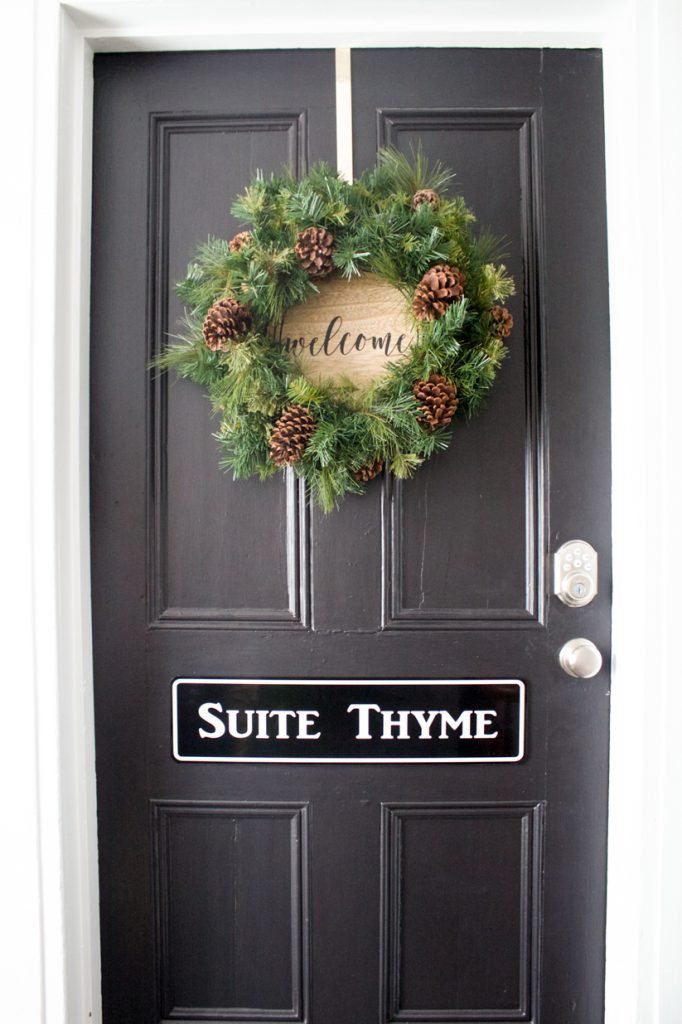
Ready for a ‘Suite Thyme’? There’s a new place to stay in downtown Butler, PA. Suite Thyme (AirBnB) is officially open for guests! ![]()
Welcome!
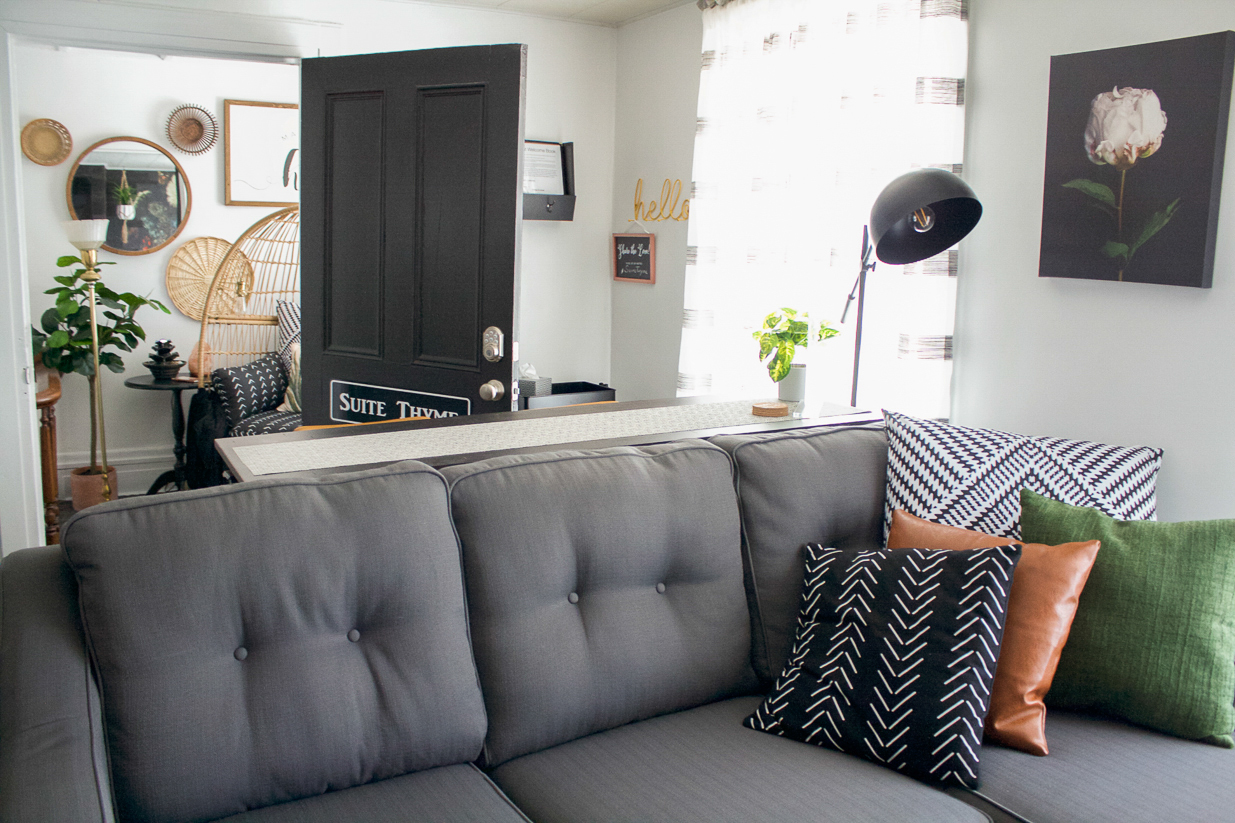
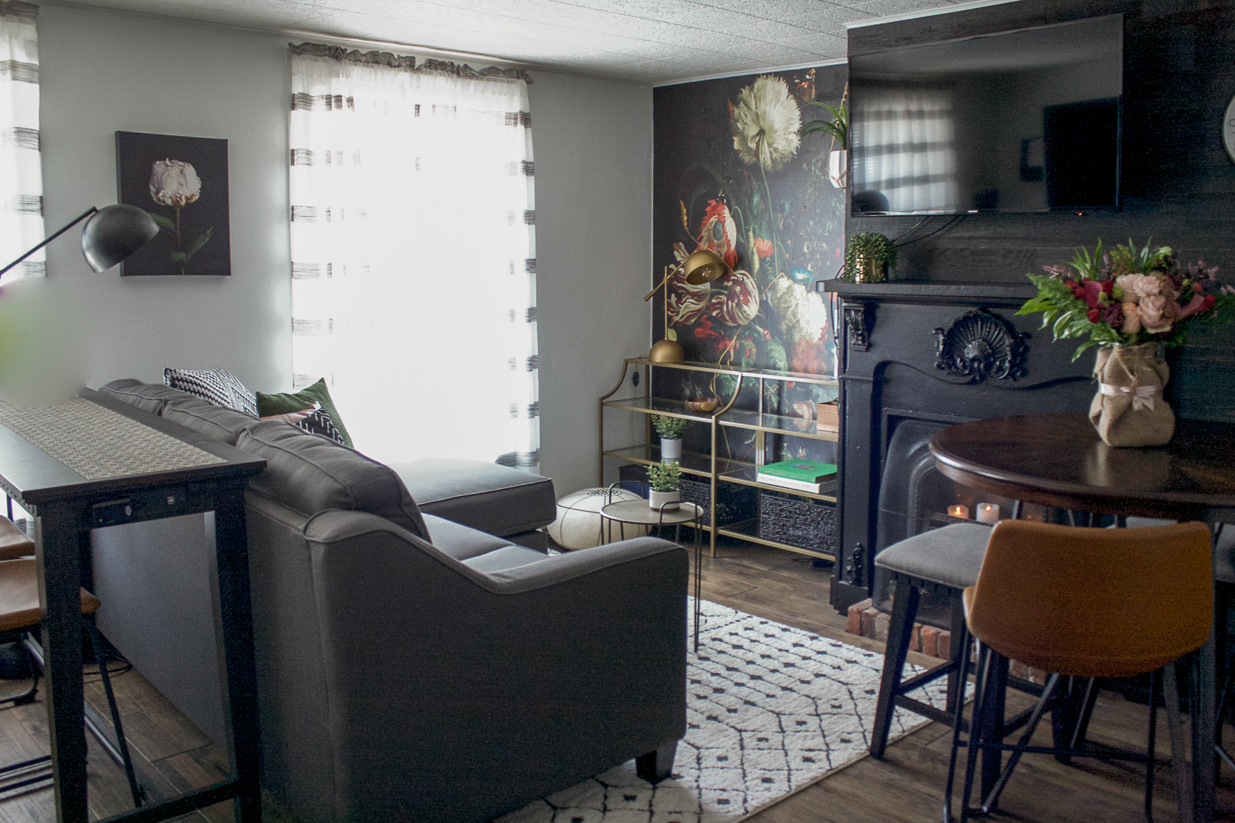
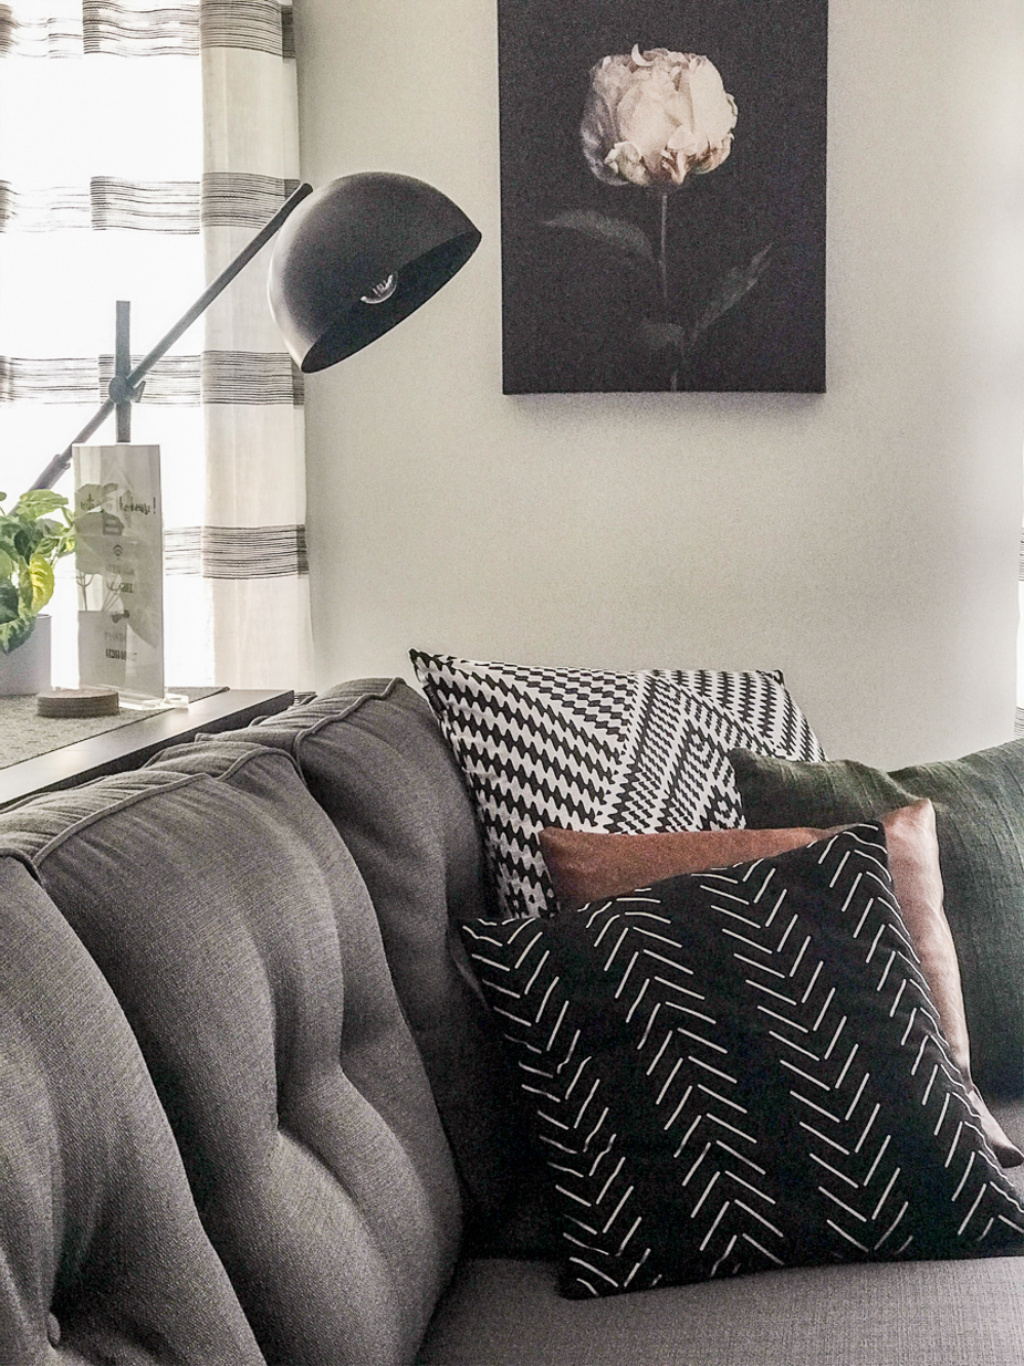
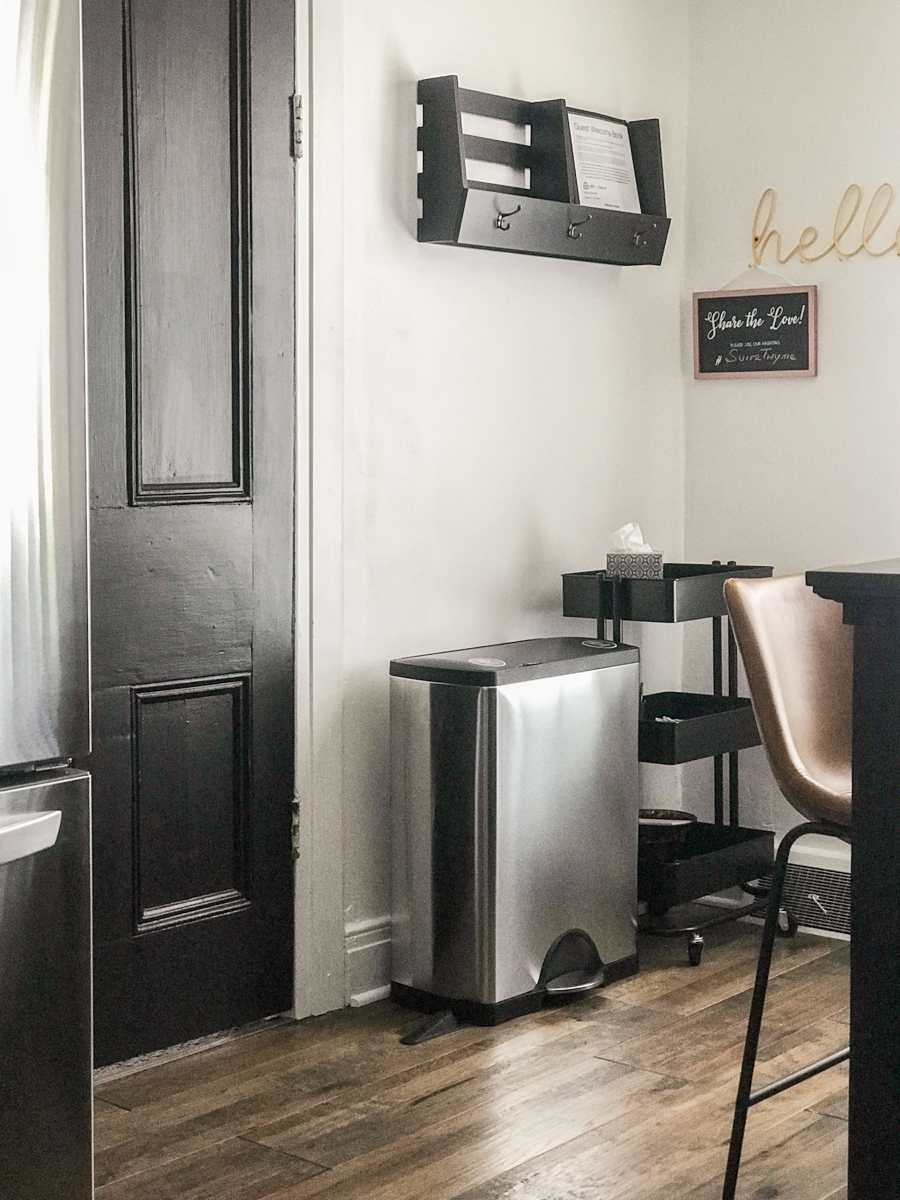
Suite Thyme
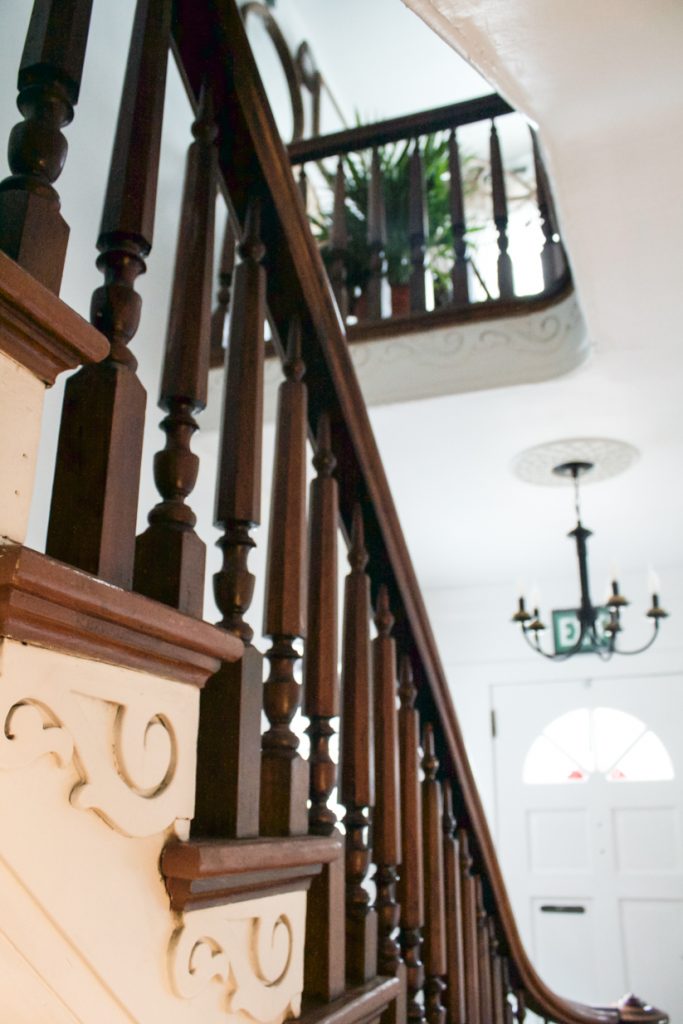
Created with the help DIYShowOff partnerships, the second story of this 1890s home boasts a trendy newly renovated efficiency apartment loaded with charm, located just steps from the main thoroughfare of downtown Butler’s best eateries, antique shops, breweries and more. Perfect for festival-goers and travelers looking to enjoy a small town vibe just approximately 30 miles north of Pittsburgh, PA. 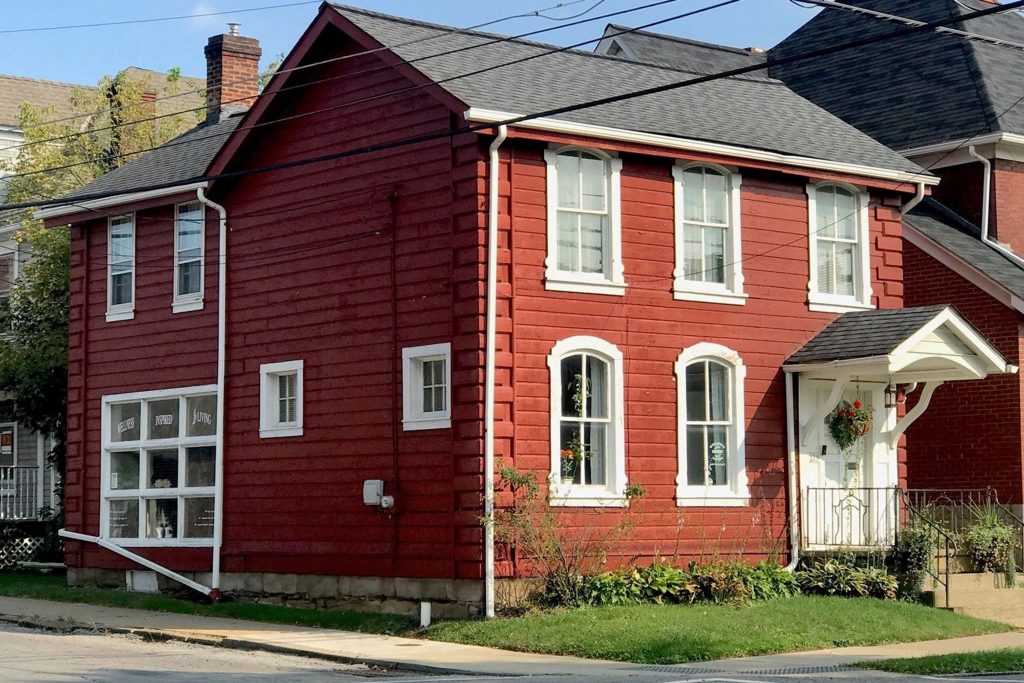
1st story…
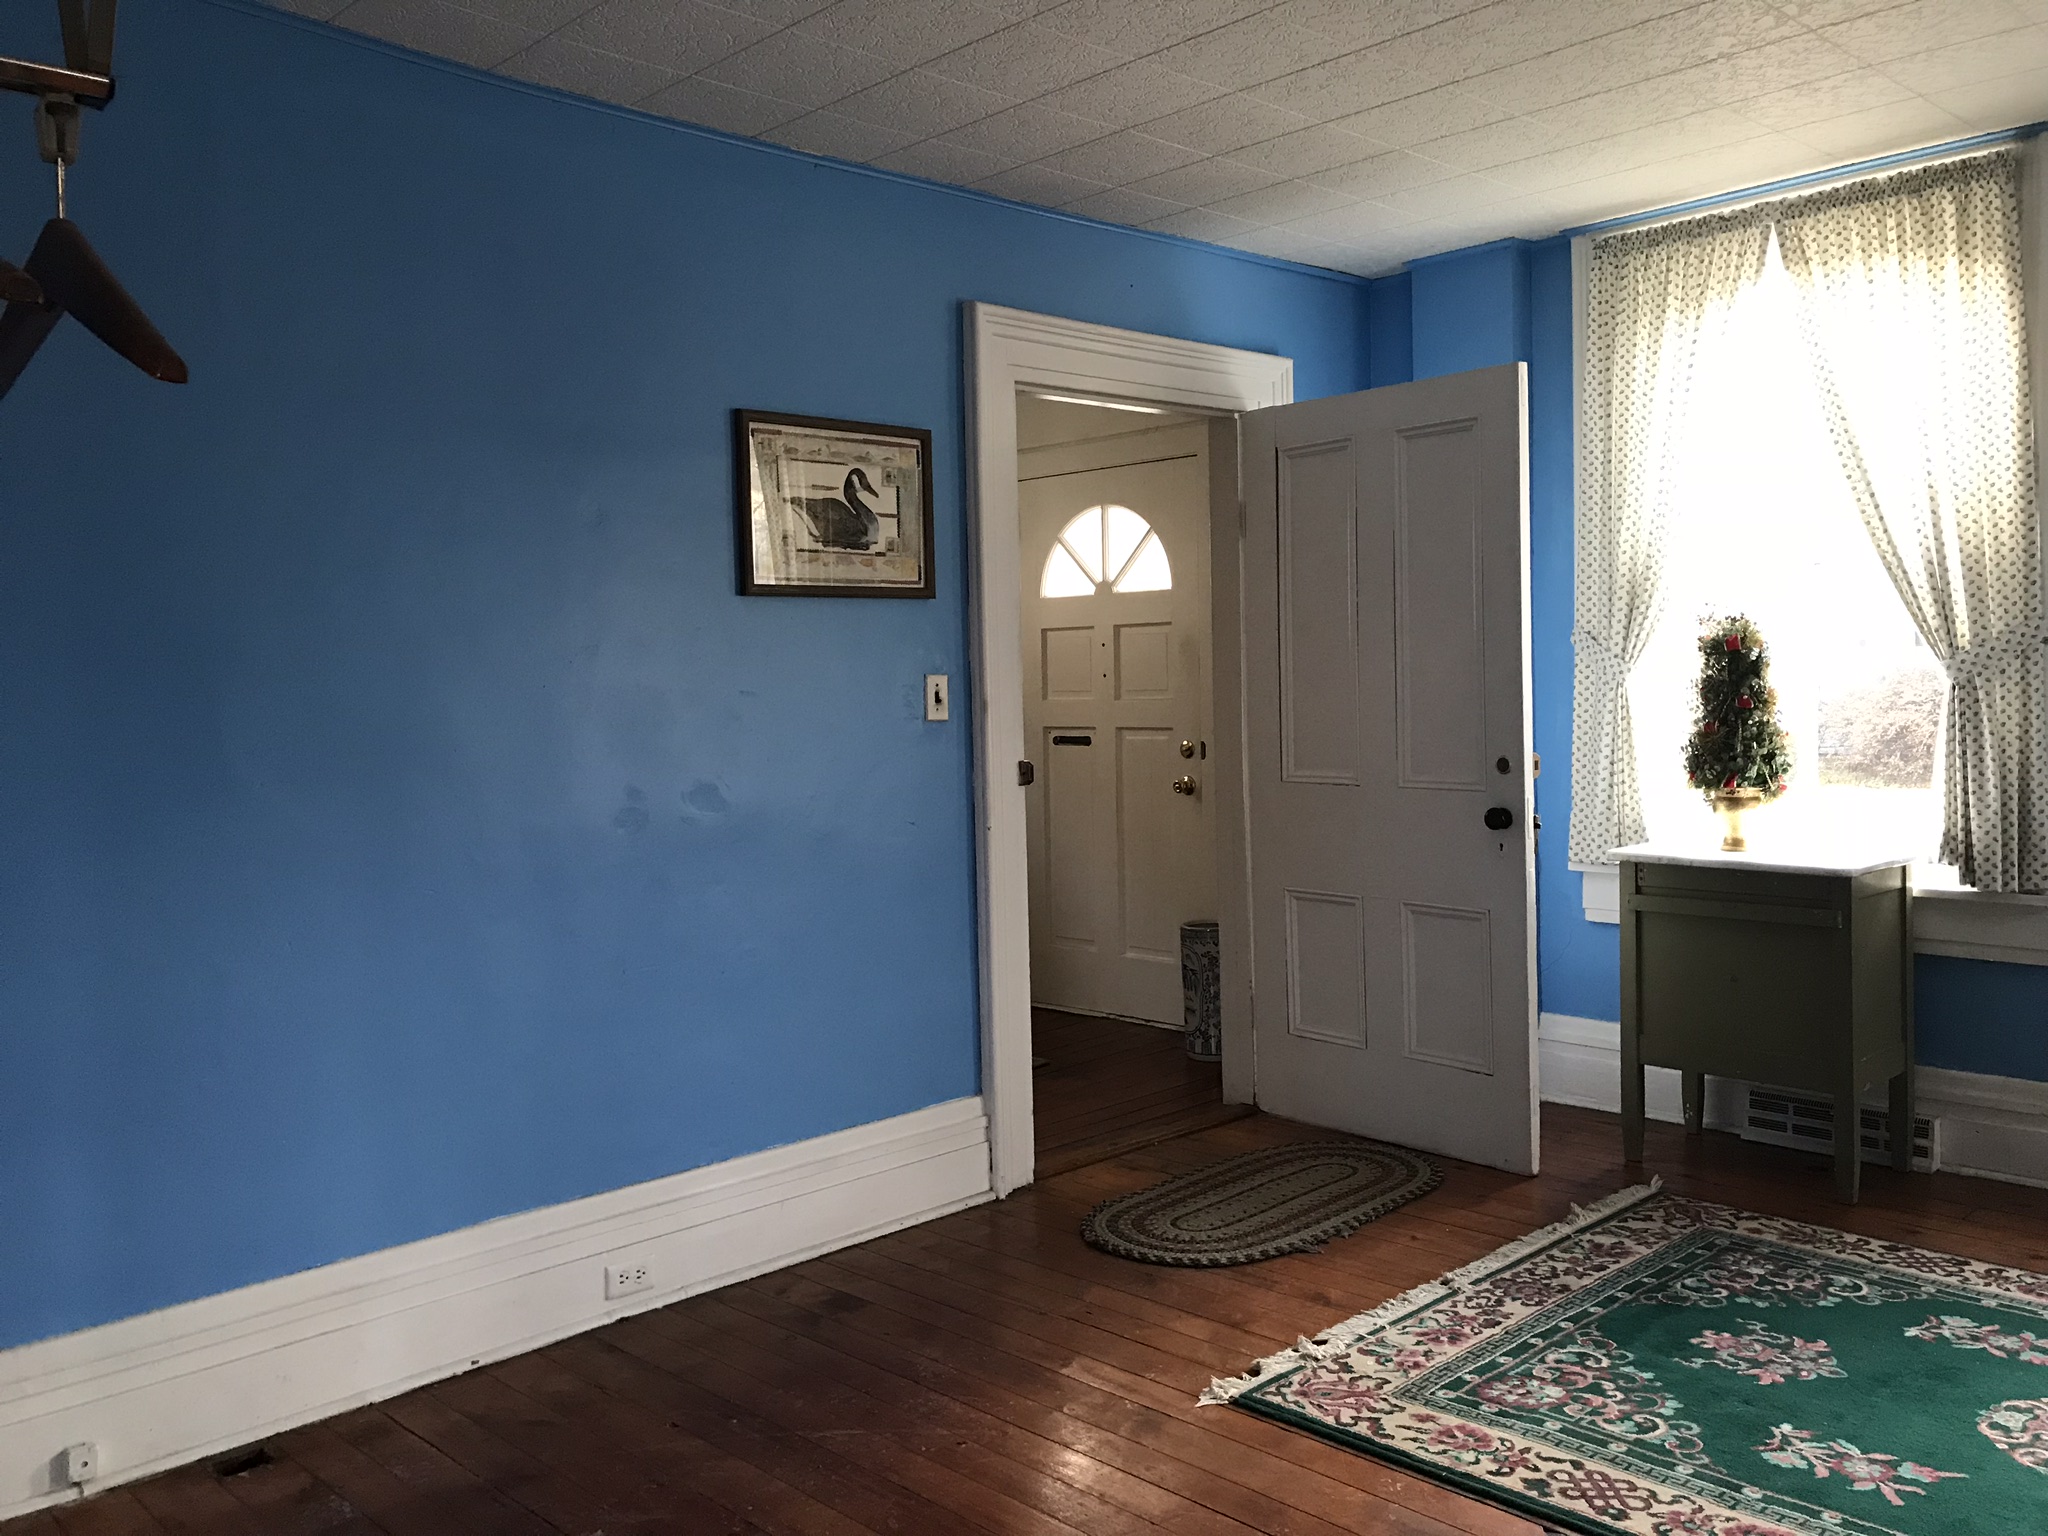
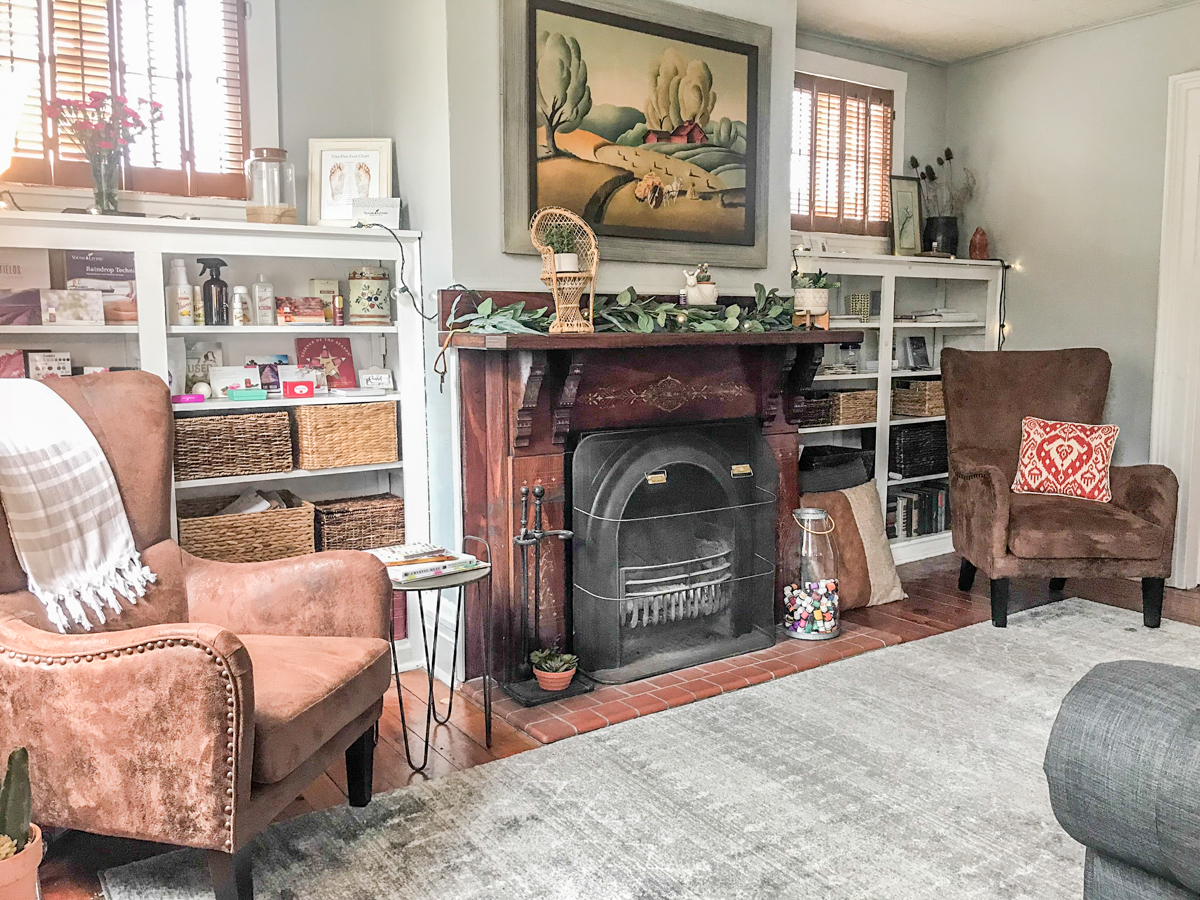
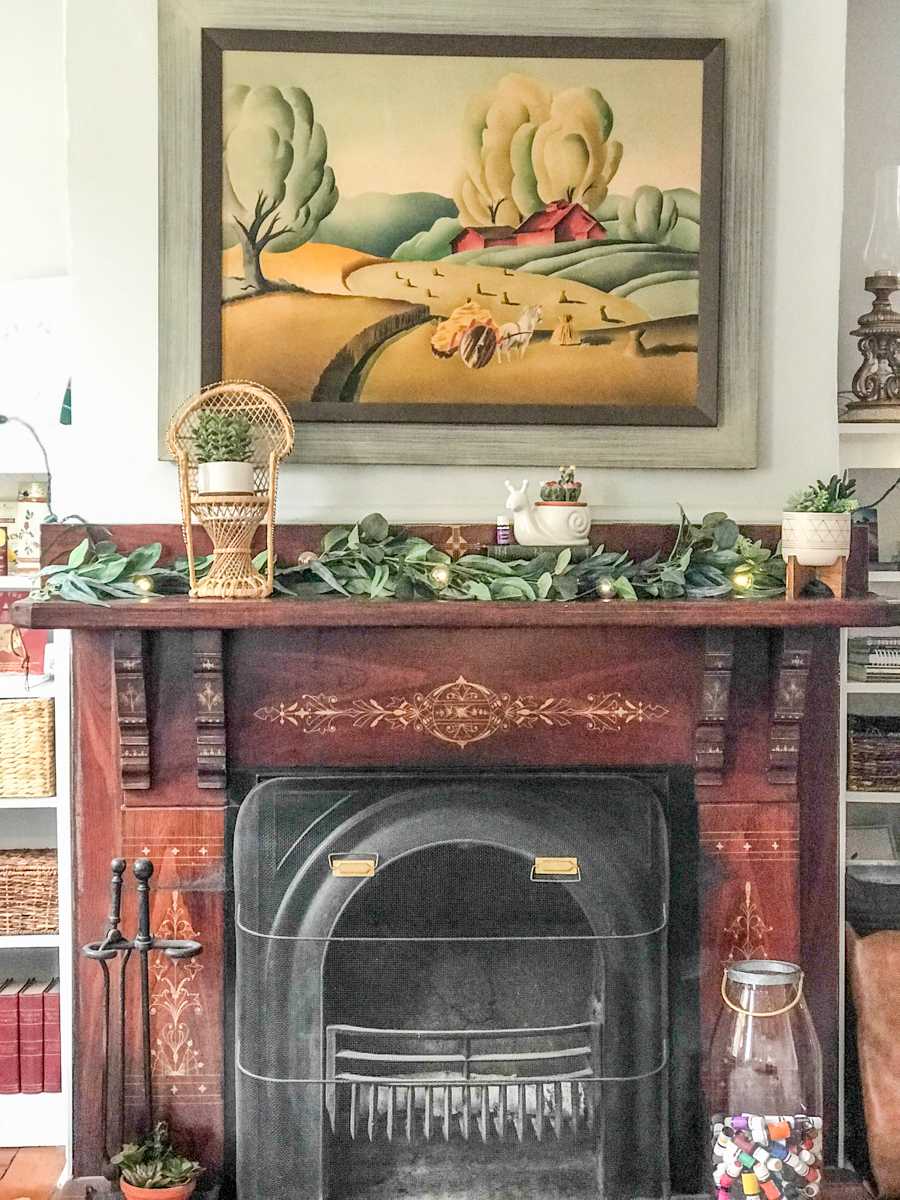
Located on the main floor, Wellness Inspired Living is a quiet, by-appointment-only wellness workshop providing Aroma Freedom Technique, small chemical free living/healthy lifestyle events, reiki, relaxation sessions, iTovic scans and more. We’ll always let you know if there’s something scheduled during your stay and you’re always welcome to join in, free of charge, if interested. 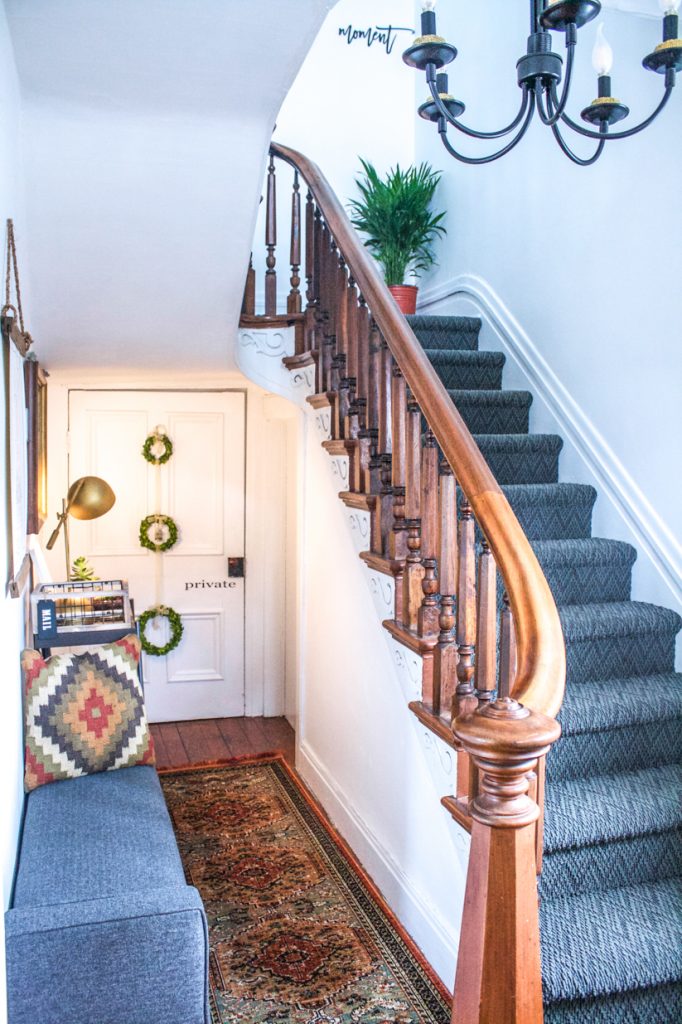
2nd story…
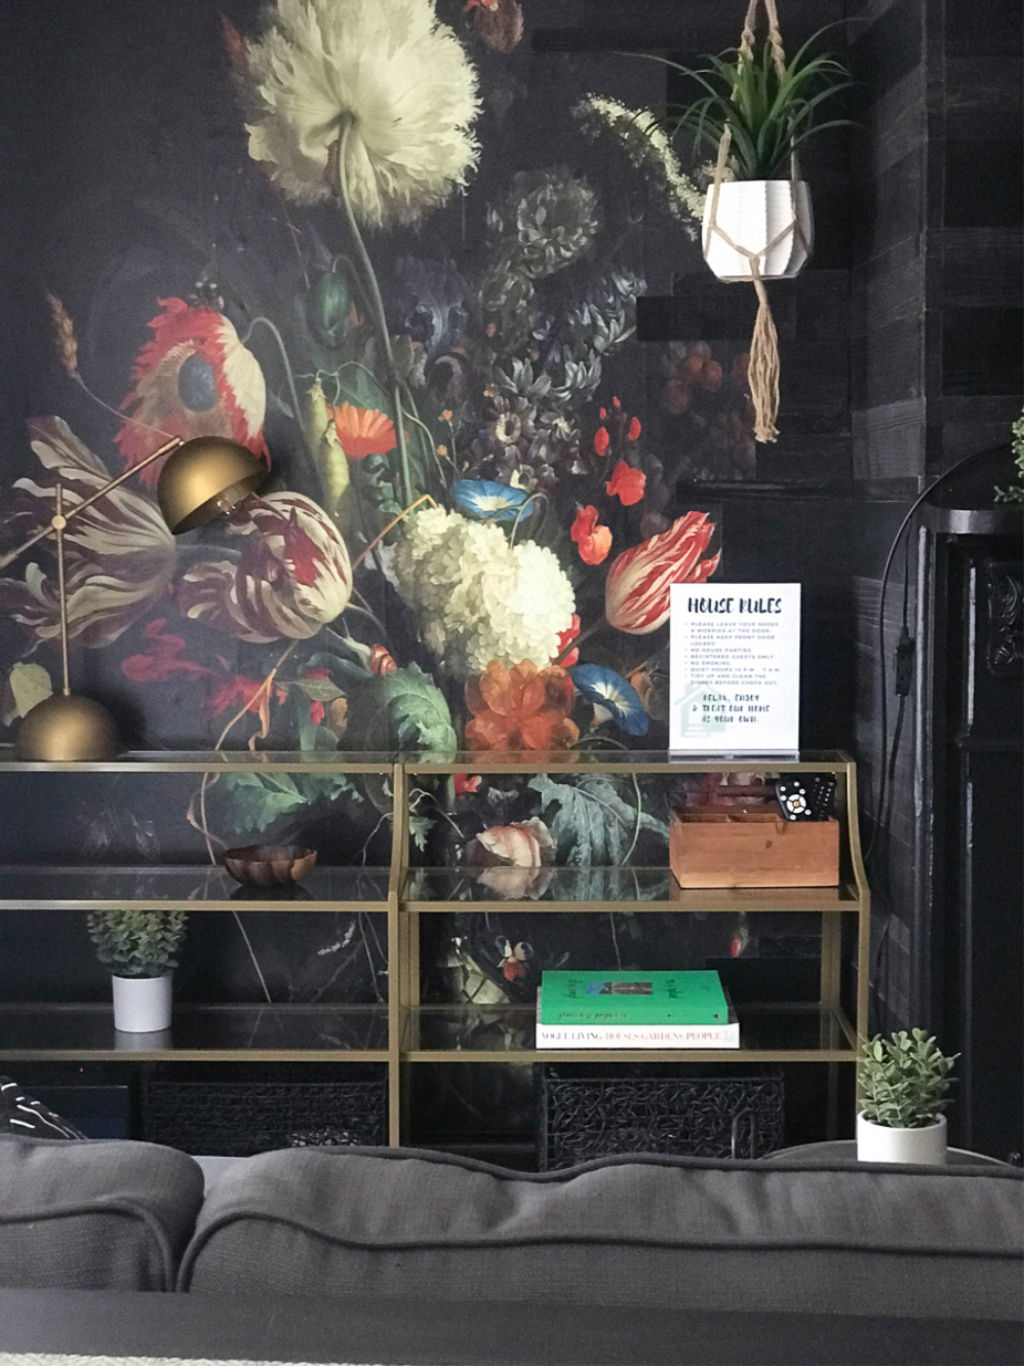
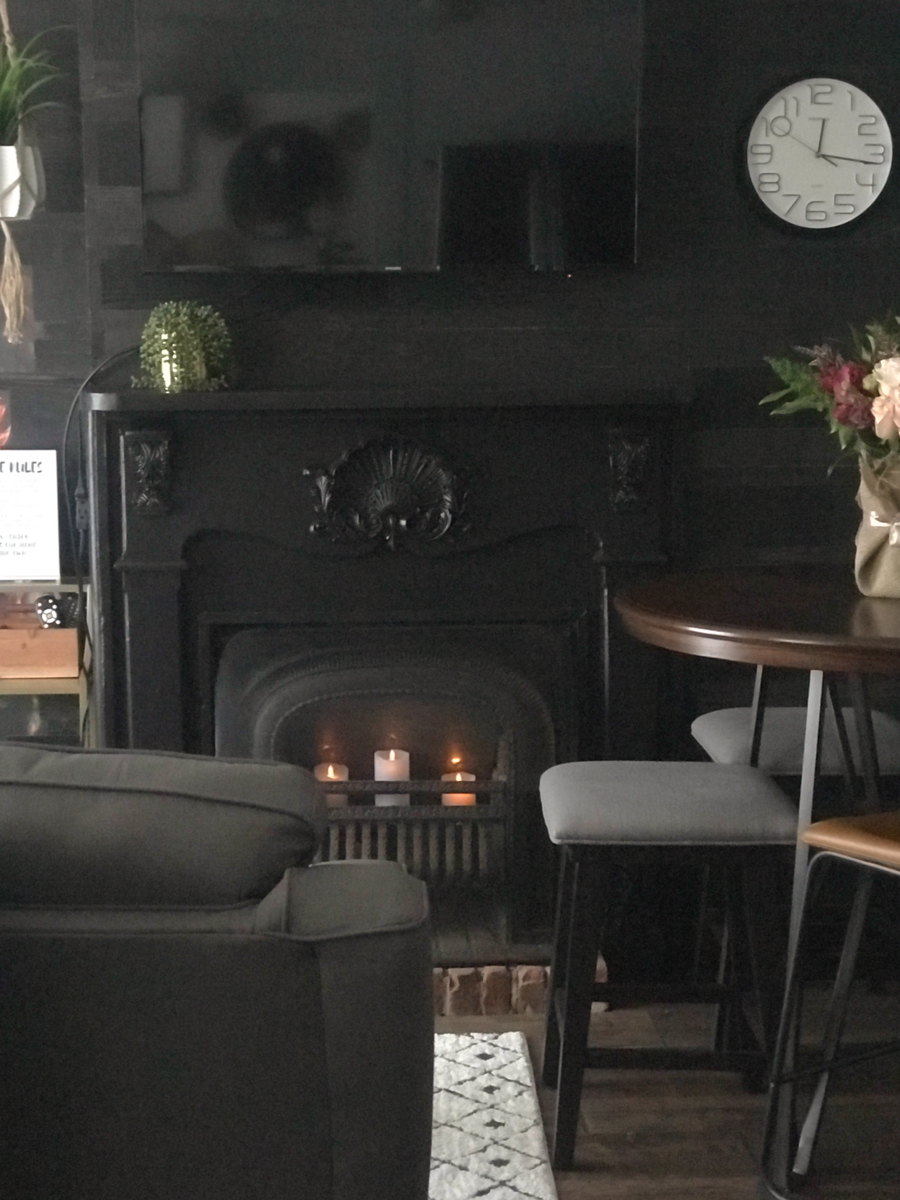
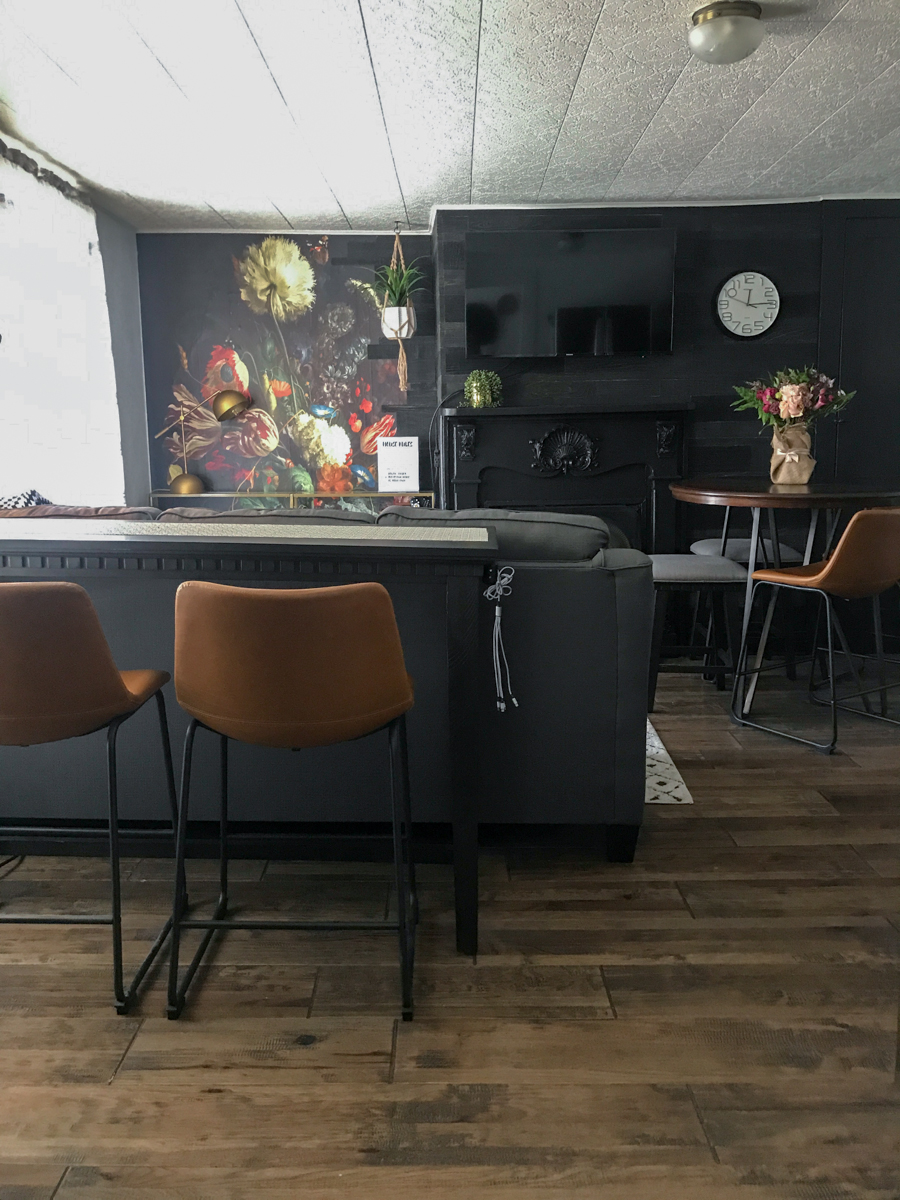
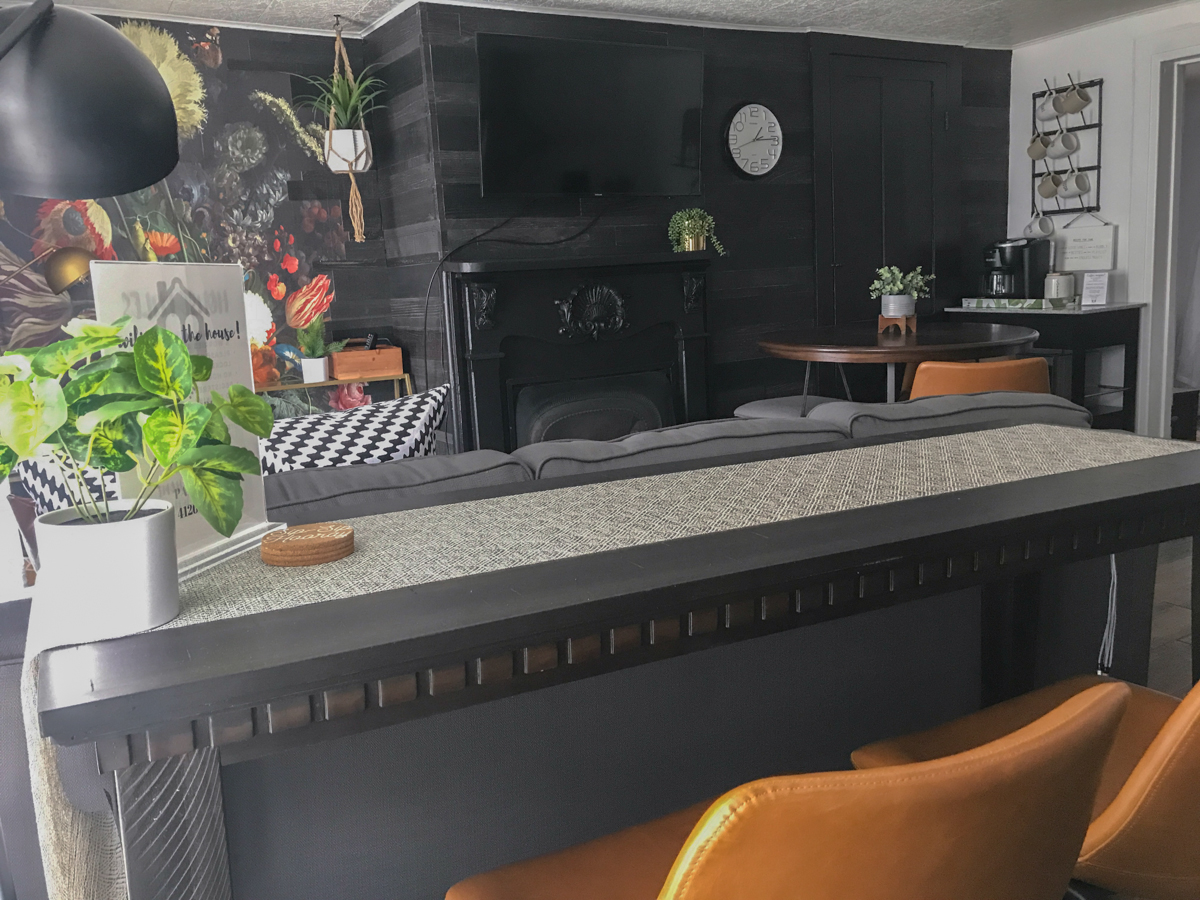
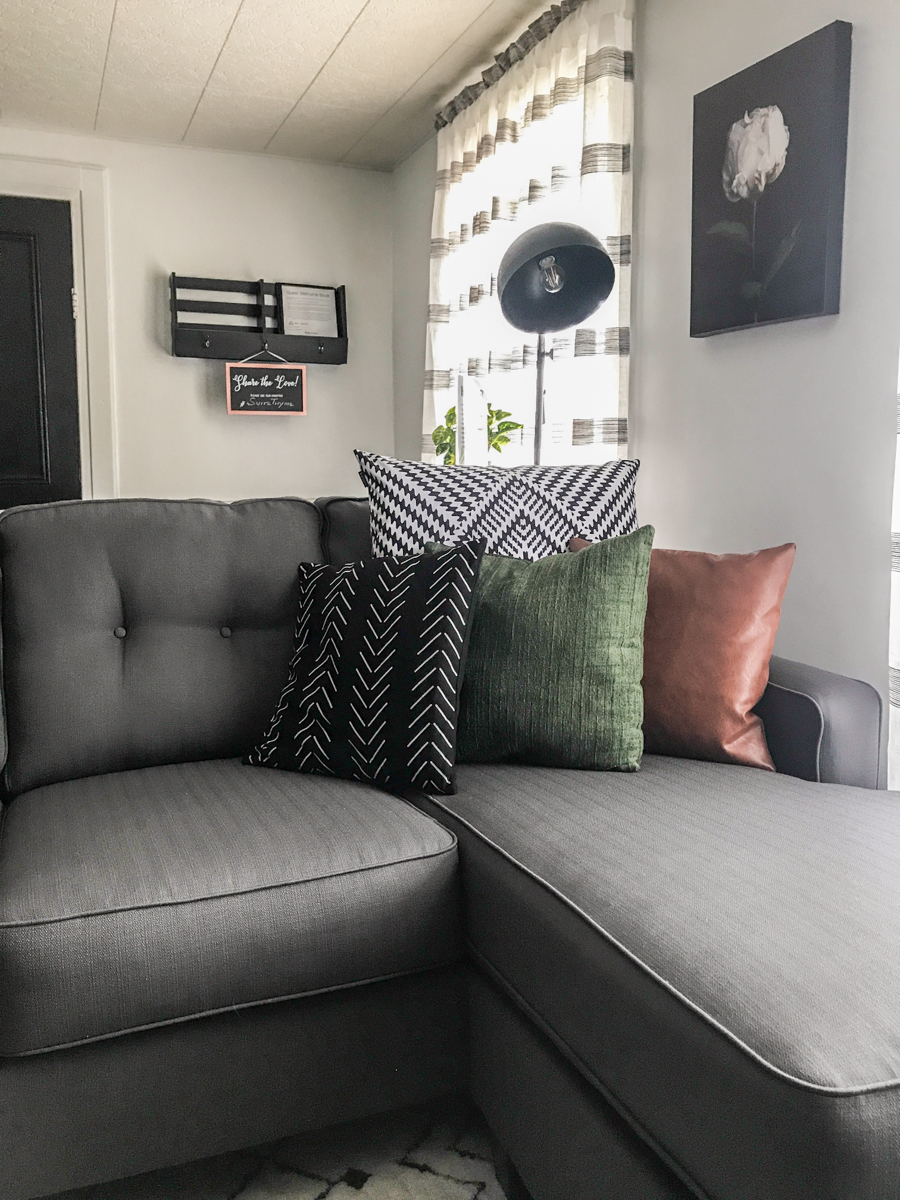
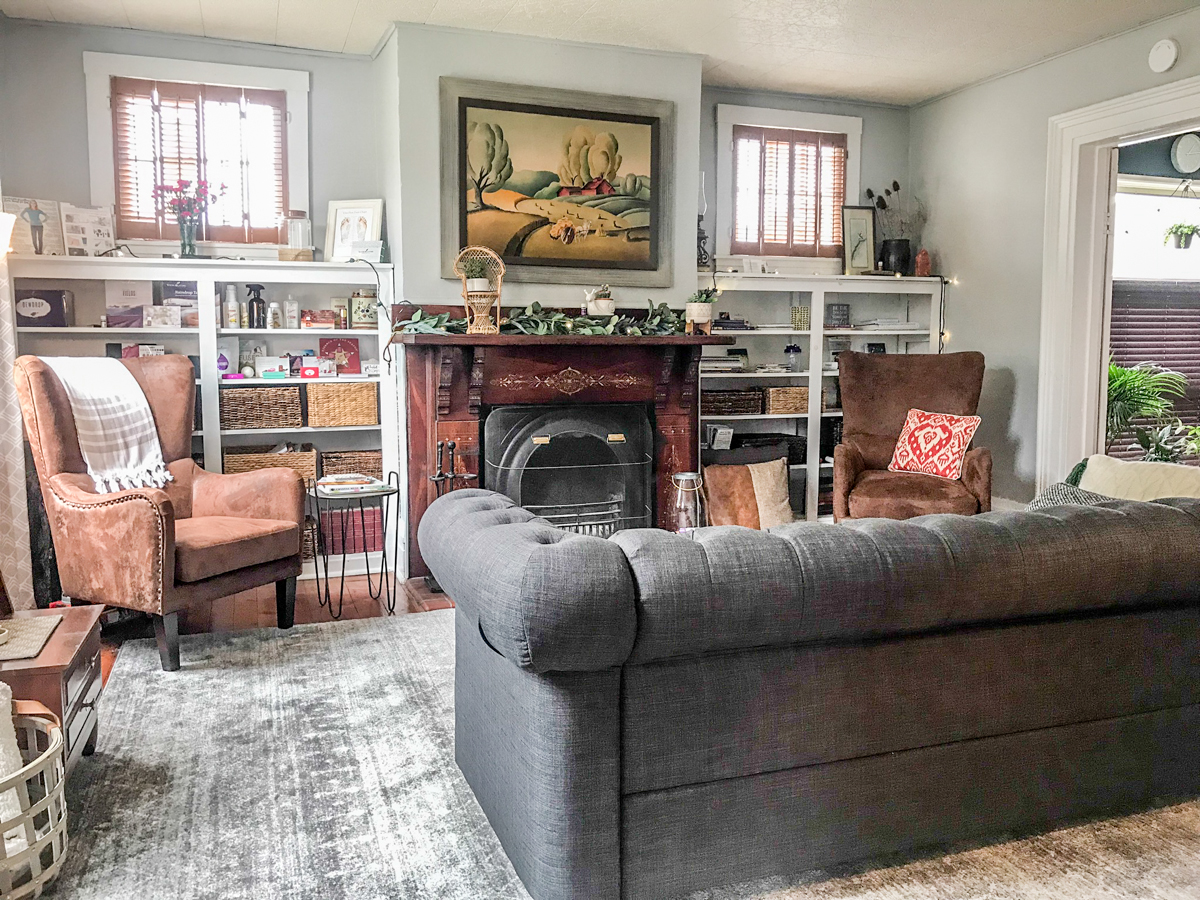
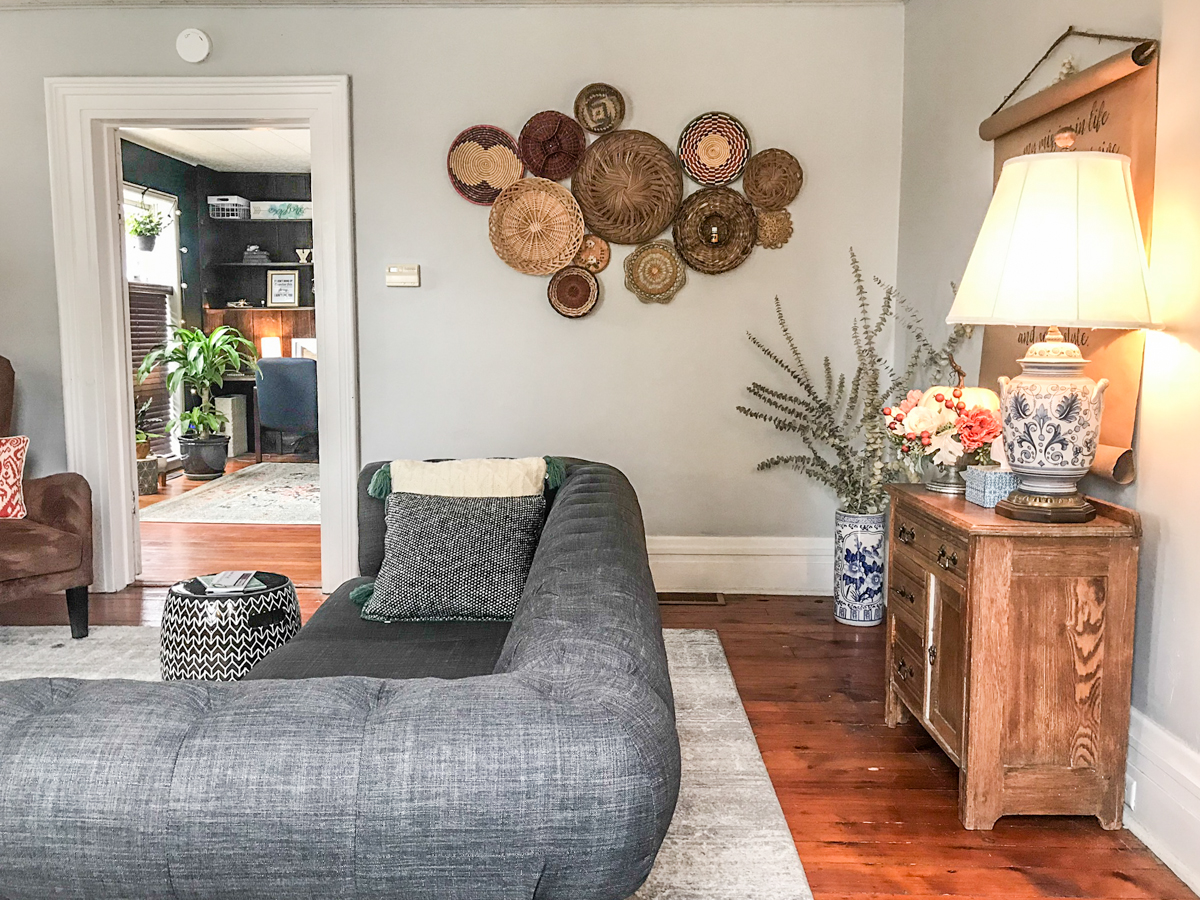
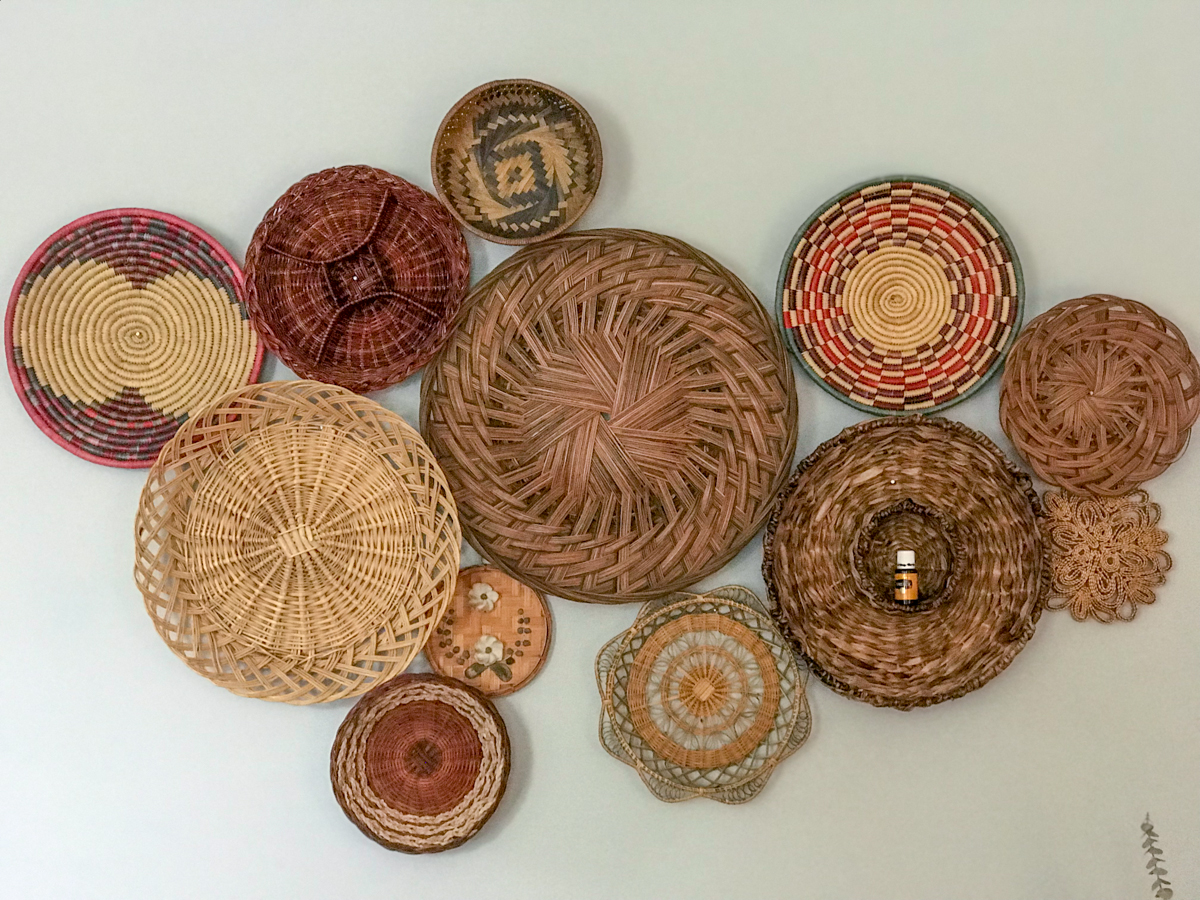
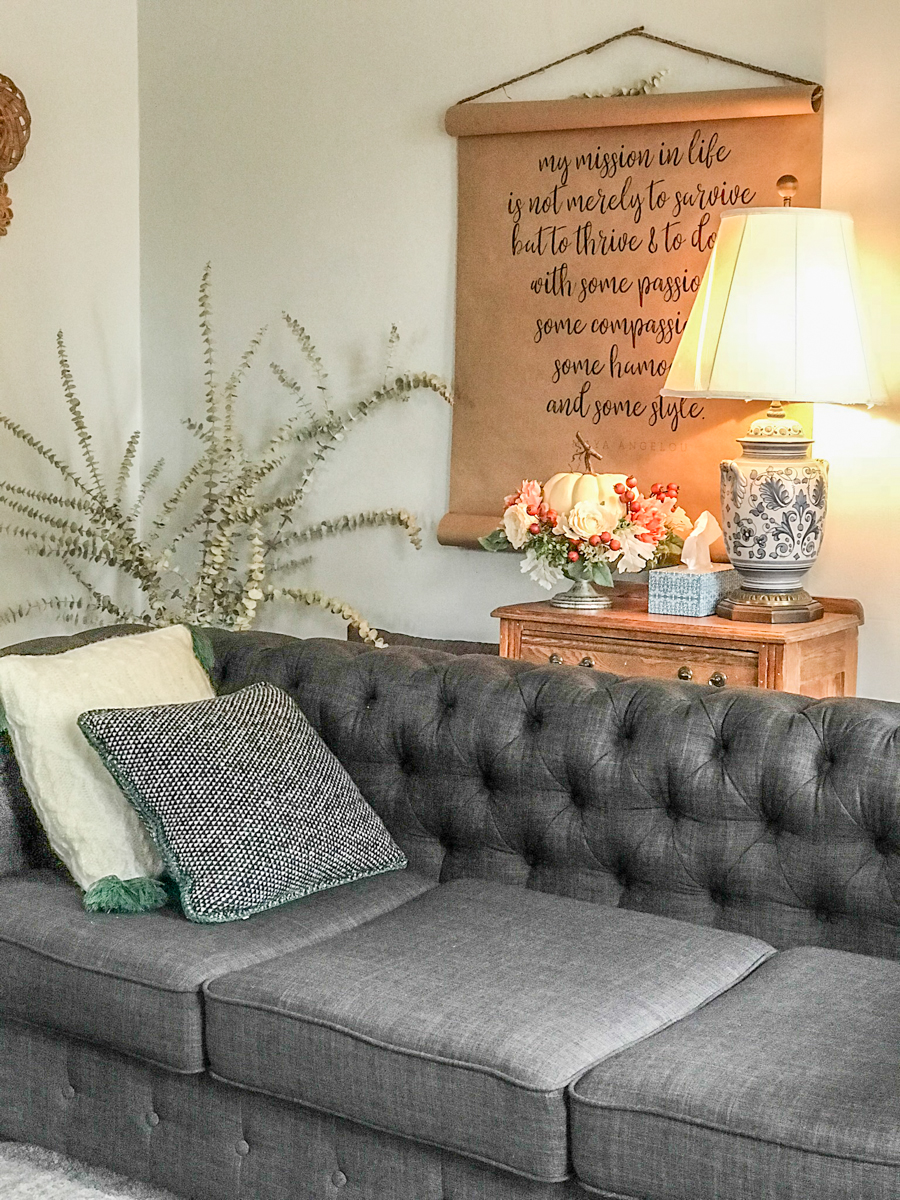
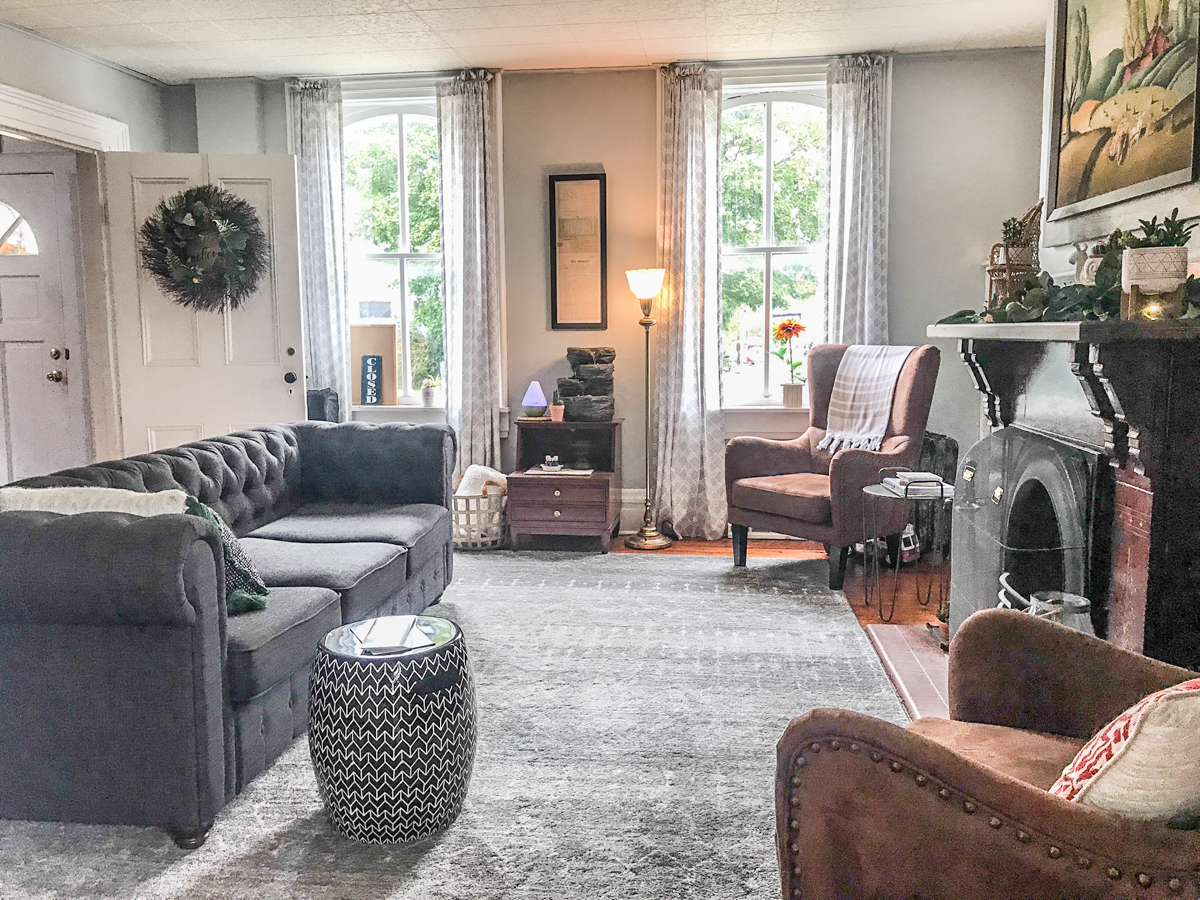
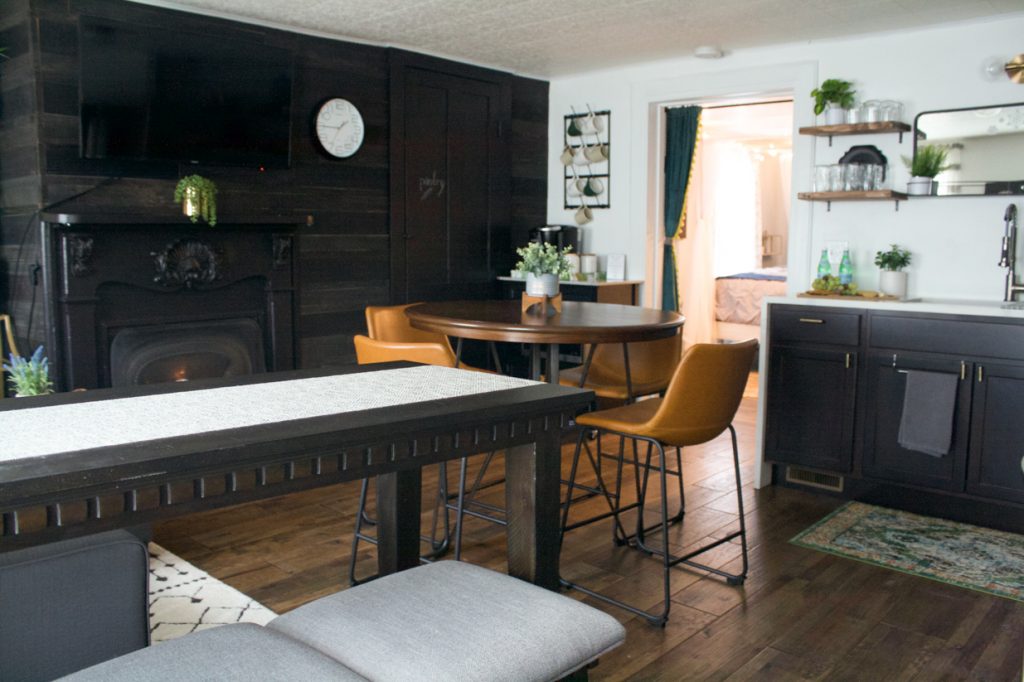
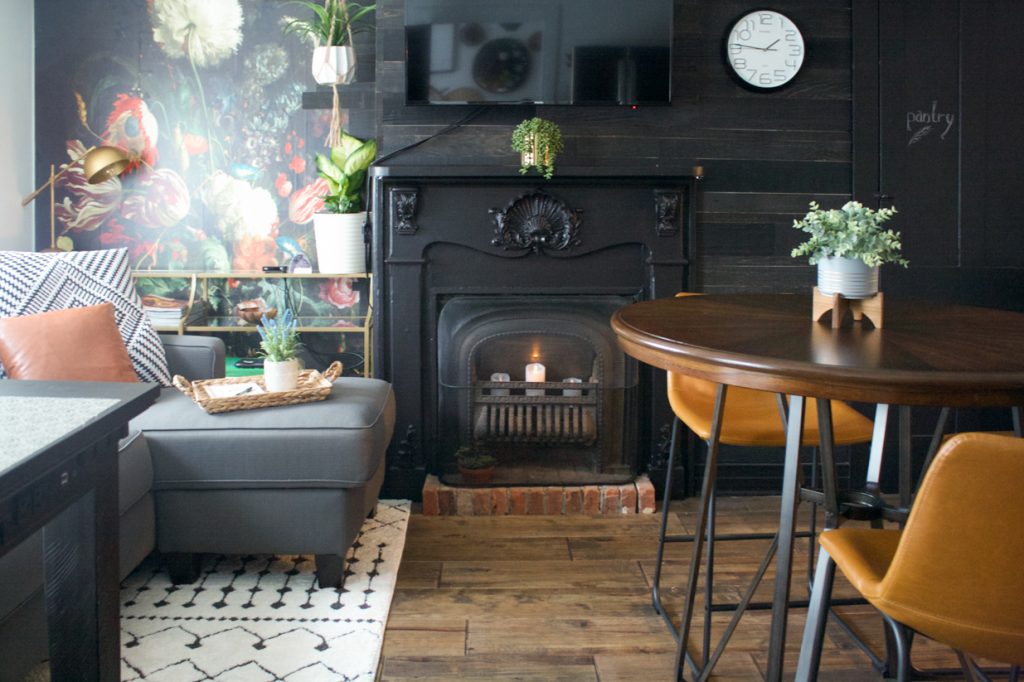
This 2nd floor eclectic space is the efficiency apartment “Suite Thyme”. It’s loaded with personality and beautiful style. Inviting, warm and welcoming, all ready for your next trip to Butler! 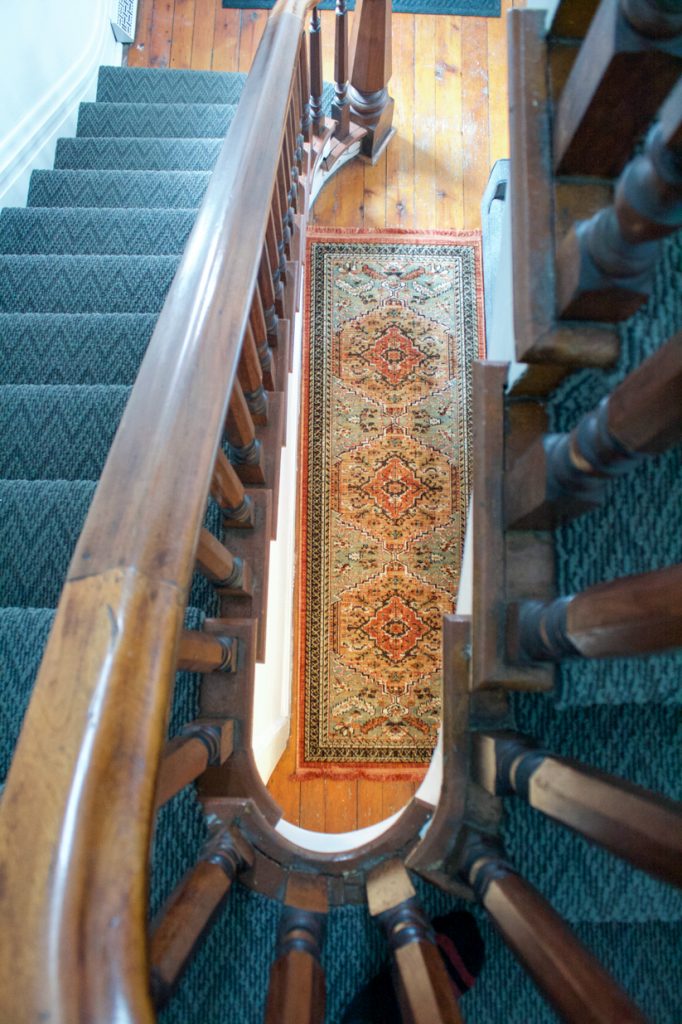
One bedroom, two beds!
Sleeping arrangements include 2 queen beds in the bedroom + a queen sleeper sofa (officially sleeps 6) in the living room for peaceful night’s rest and sweet dreams,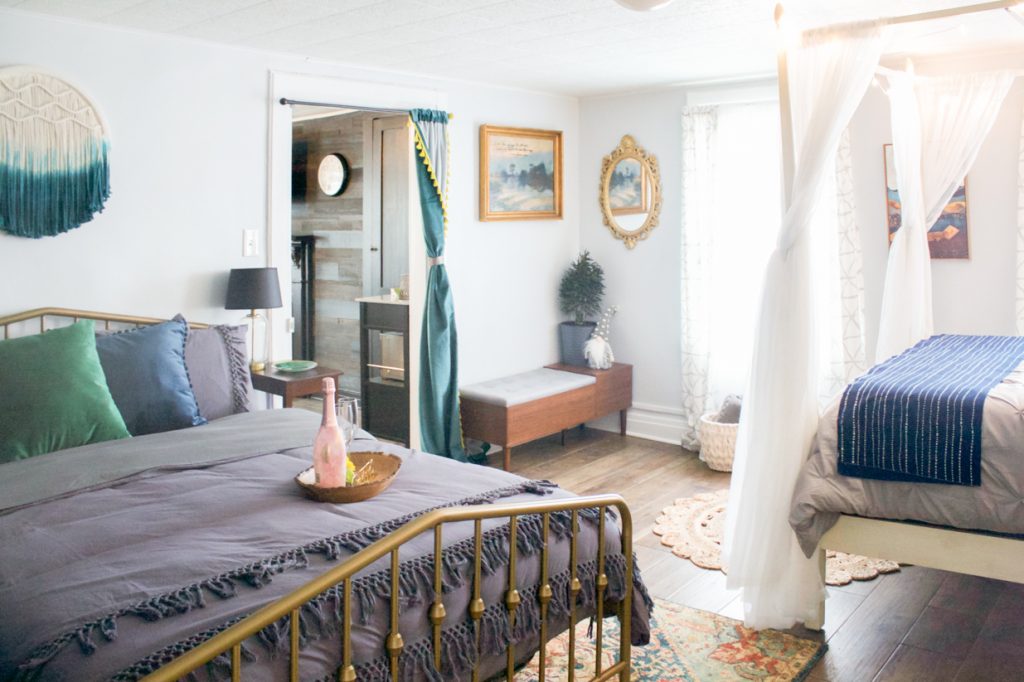
a lunar retreat…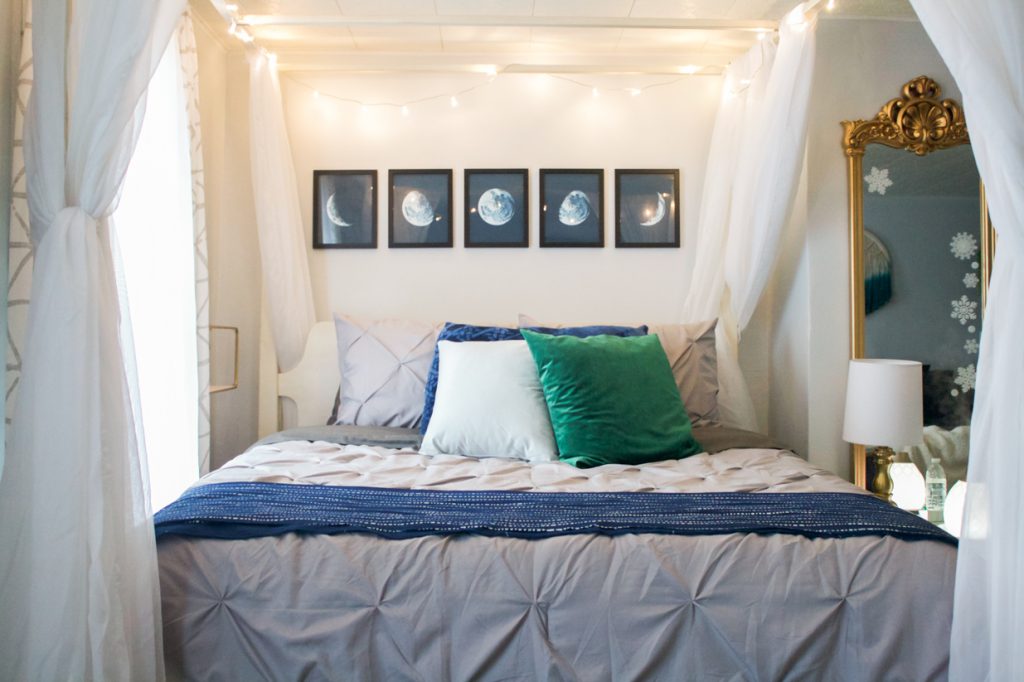
and a boho beauty…
Time to eat!
Cook up your favorite meal with local veggies from the farm market in a beautiful fully equipped modern kitchen area.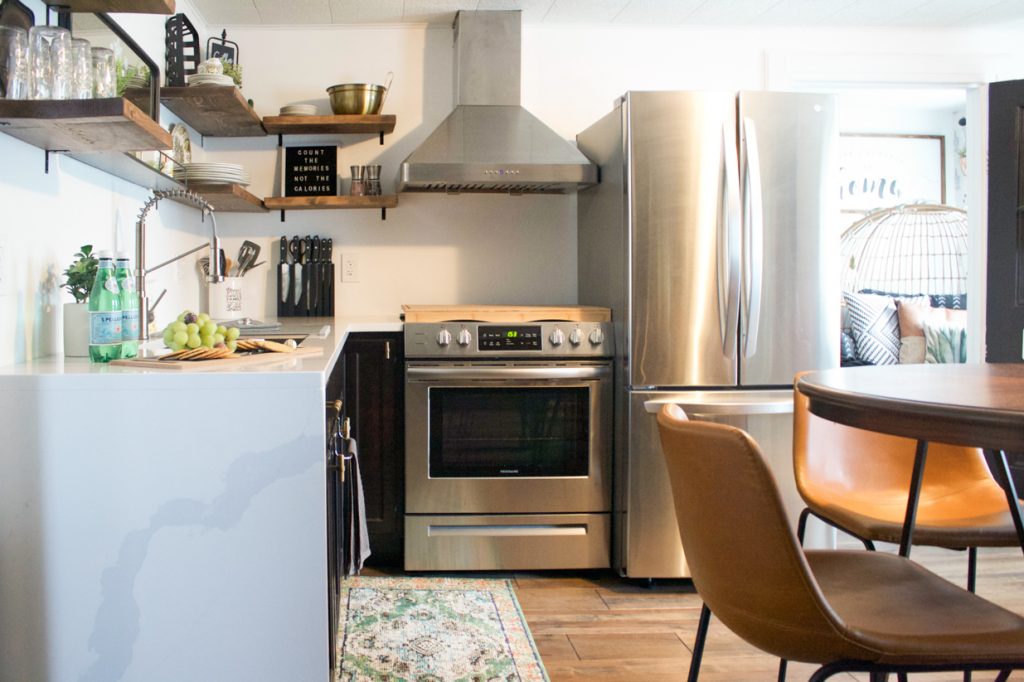
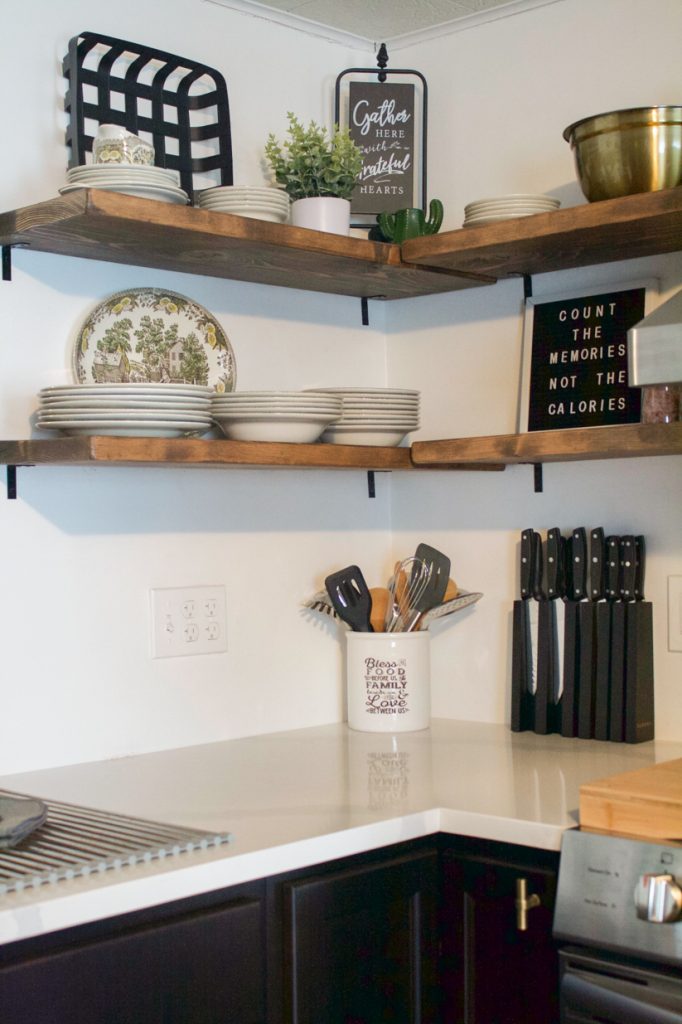
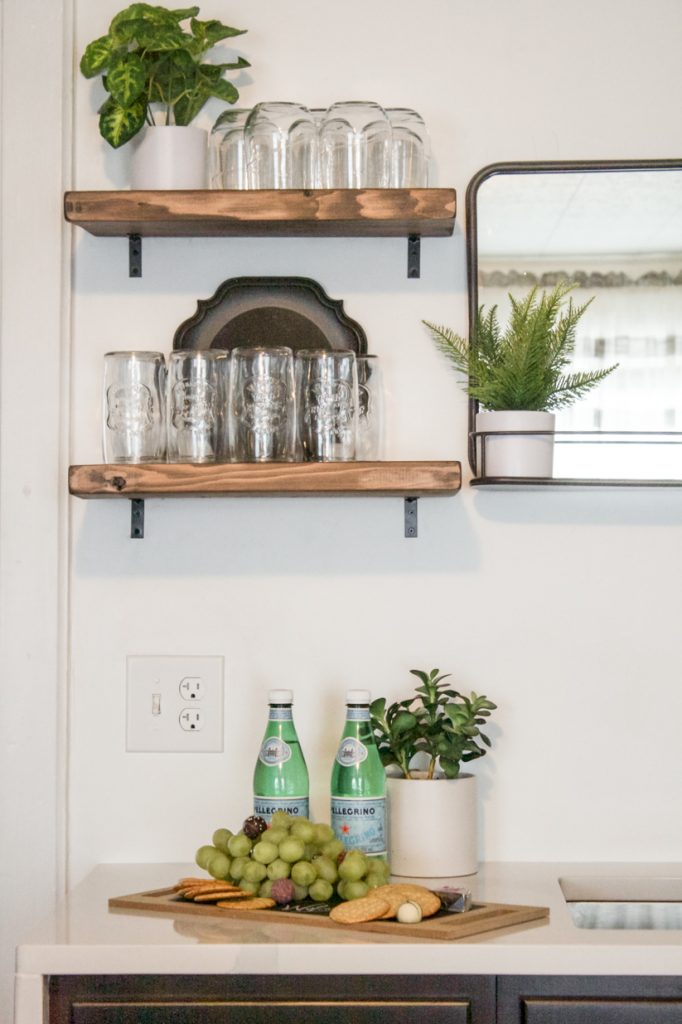
Coffee (tea, hot cocoa), anyone? Help yourself to the complimentary coffee bar. You may even find snacks in the pantry area. Open the cupboards. Get familiar. Make yourself at home! 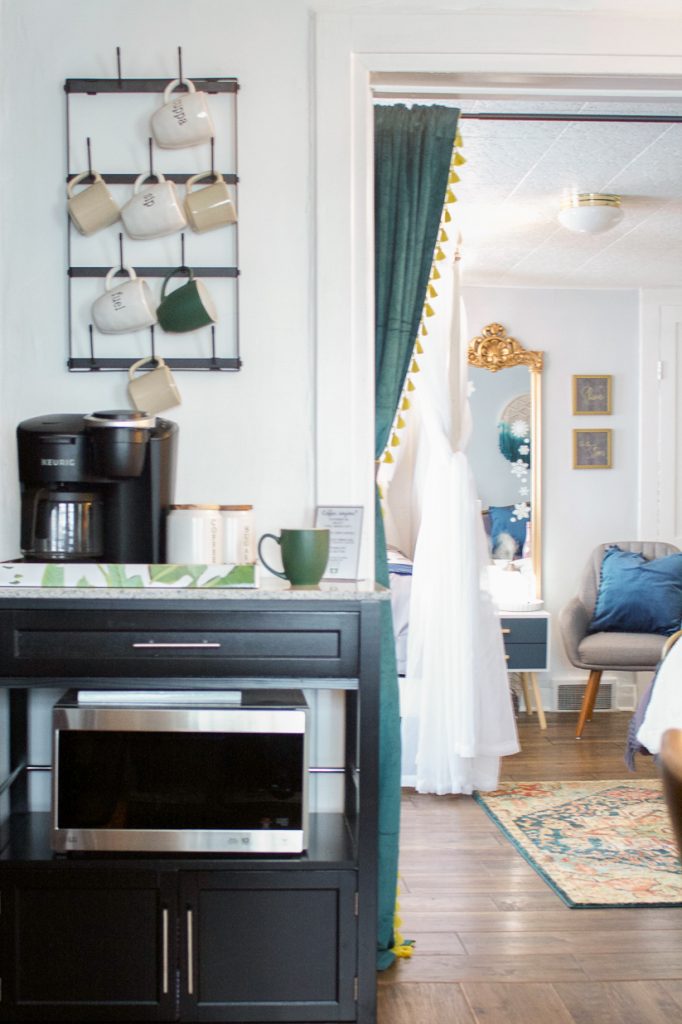
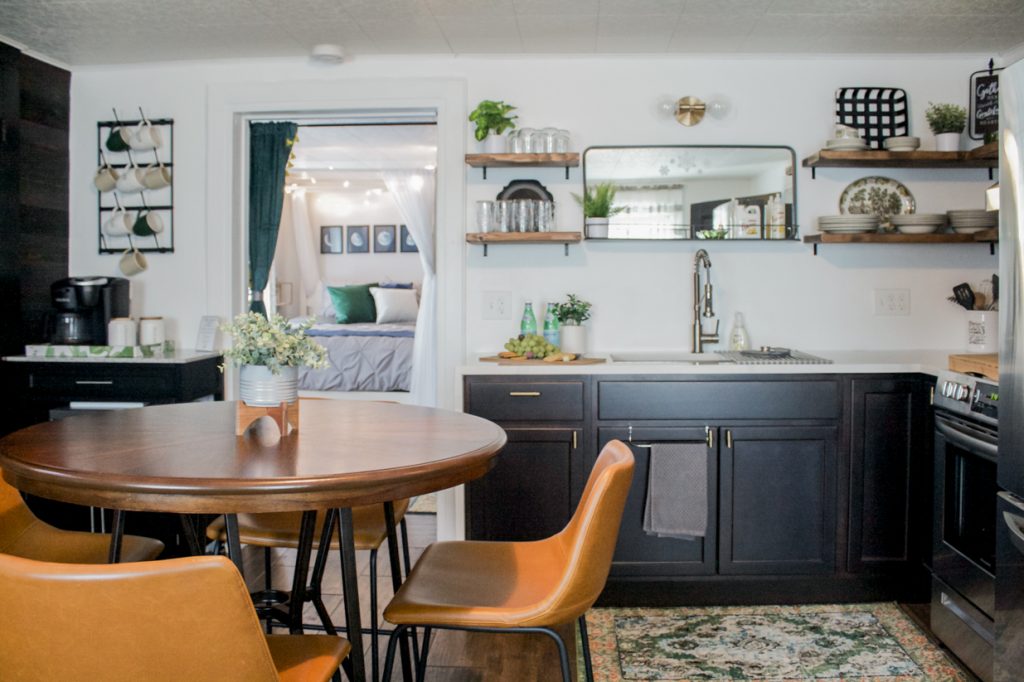
Dine…
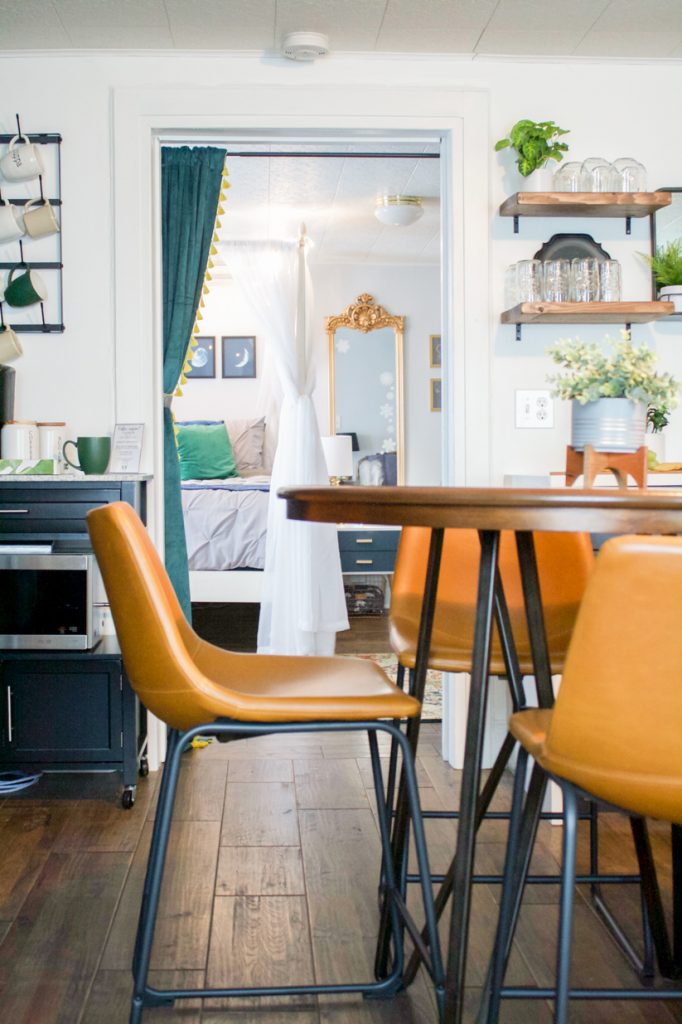
Downtown Butler is home to multiple restaurants with an eclectic menu ranging from your favorite comfort foods to gourmet dining. Ask about our favorites! But there’s room for 4 at the dining table, with additional seating for 3 at the breakfast bar if you’re staying in and whipping up a meal or ordering delivery. 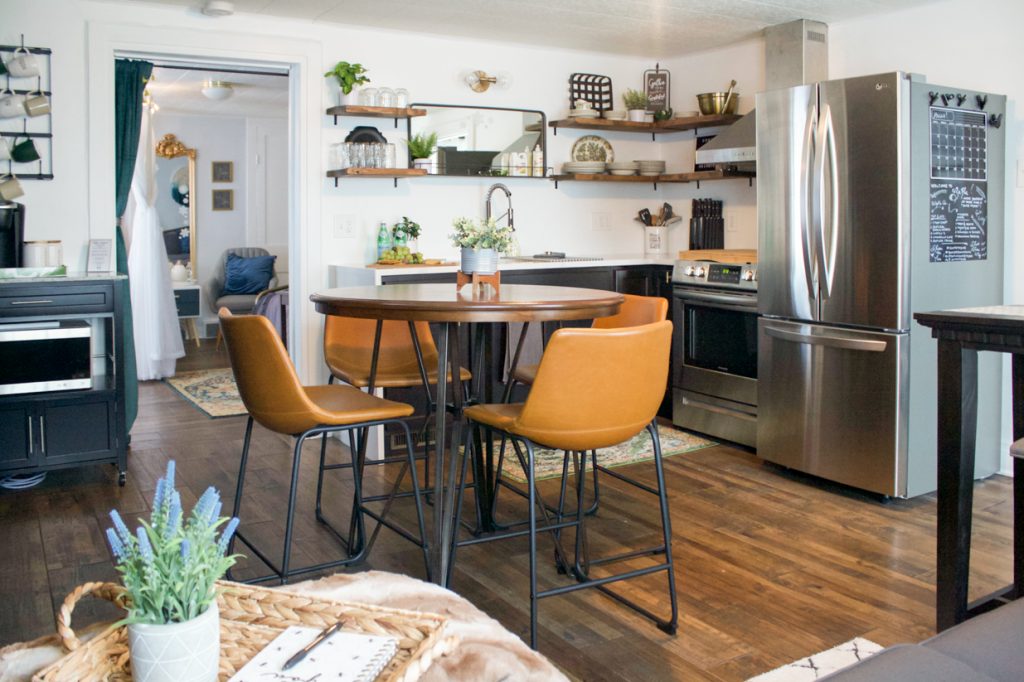
Unwind!
Kick back on the comfy sofa with the tv remote. Choose your subscription and favorite shows utilizing the Smart TV feature or browse the limited selection on a very basic cable package. Or connect your phone to the blue tooth speaker and pump up the volume! 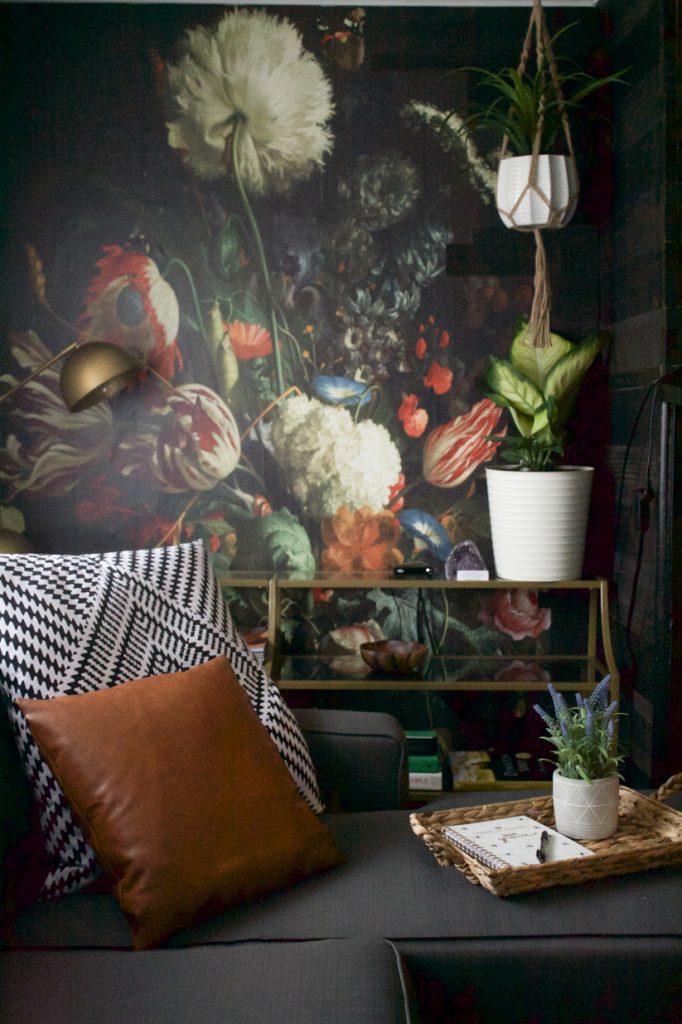
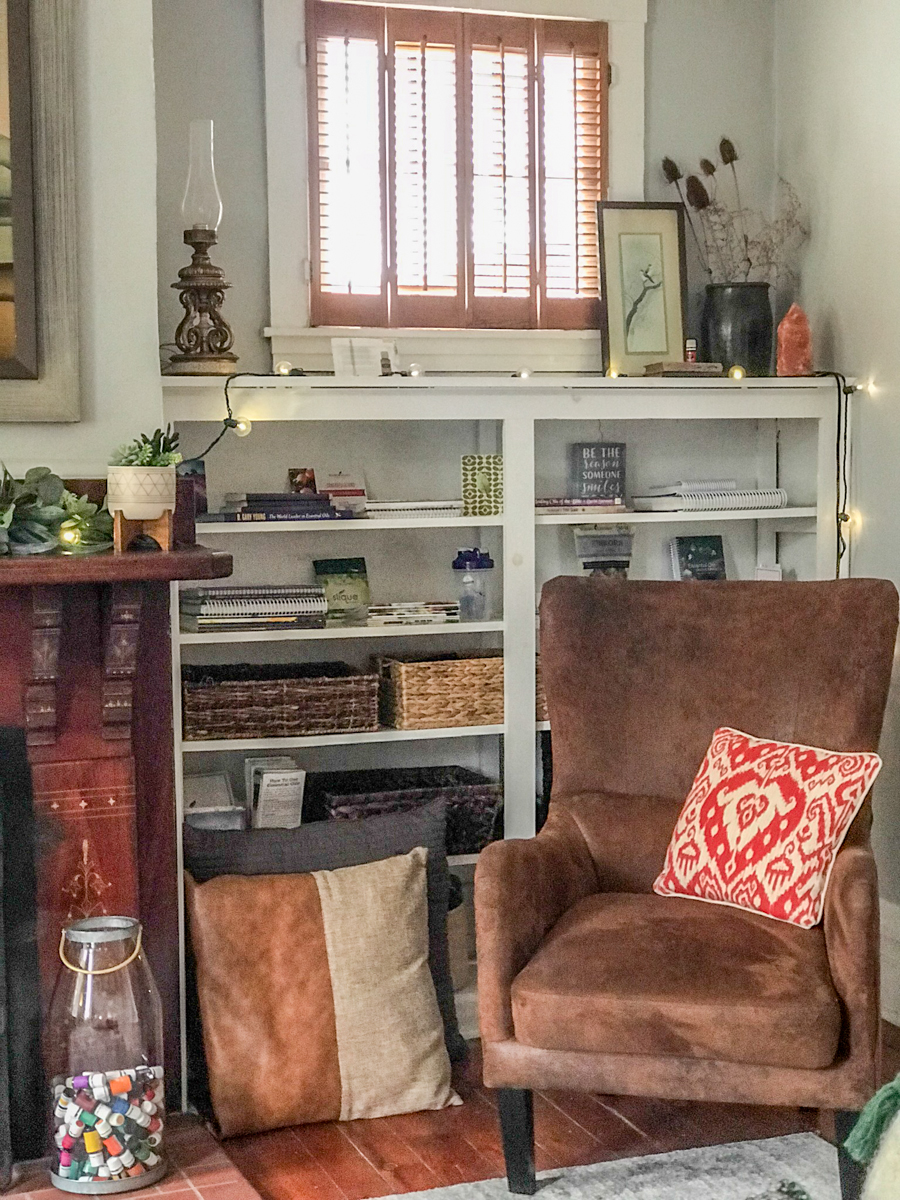
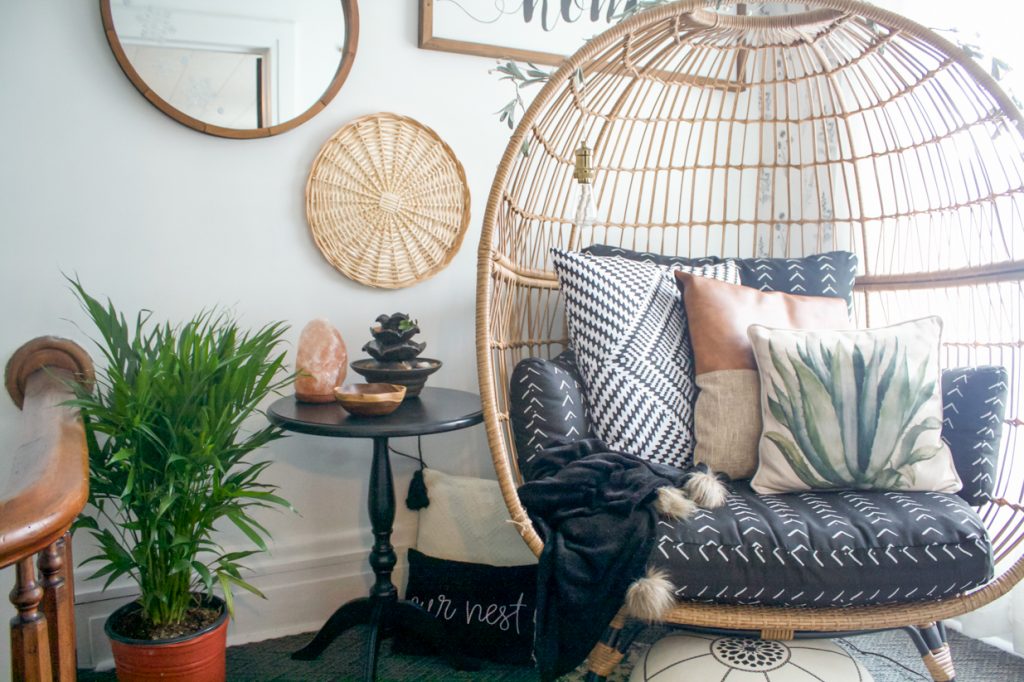
Quiet time!
Curl up in the cozy egg chair on the landing nook with a good book or your tablet and favorite game. 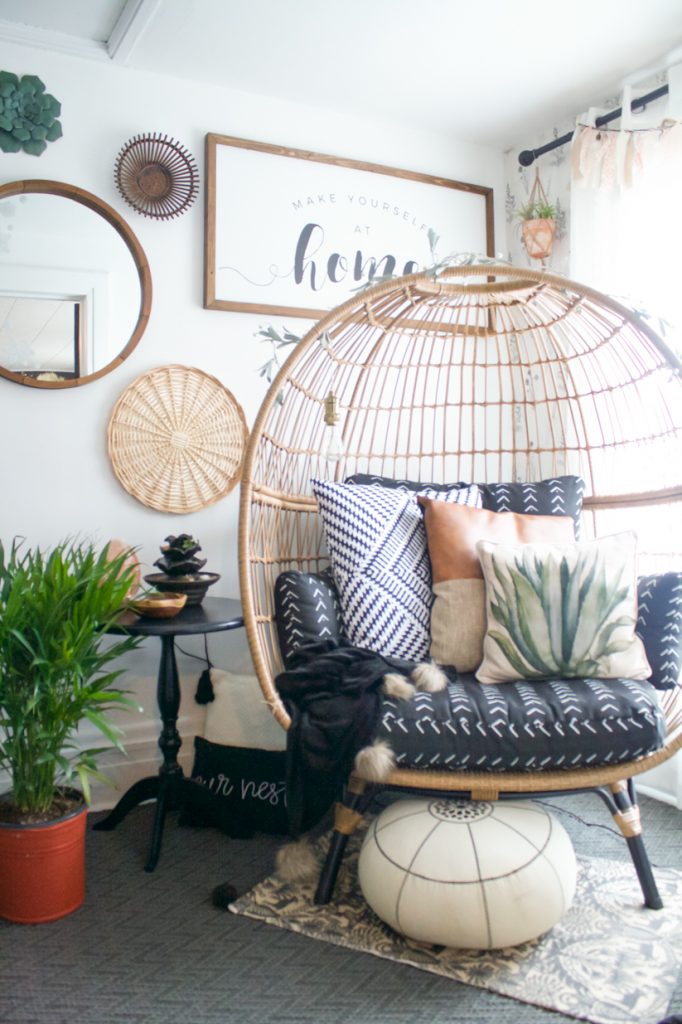
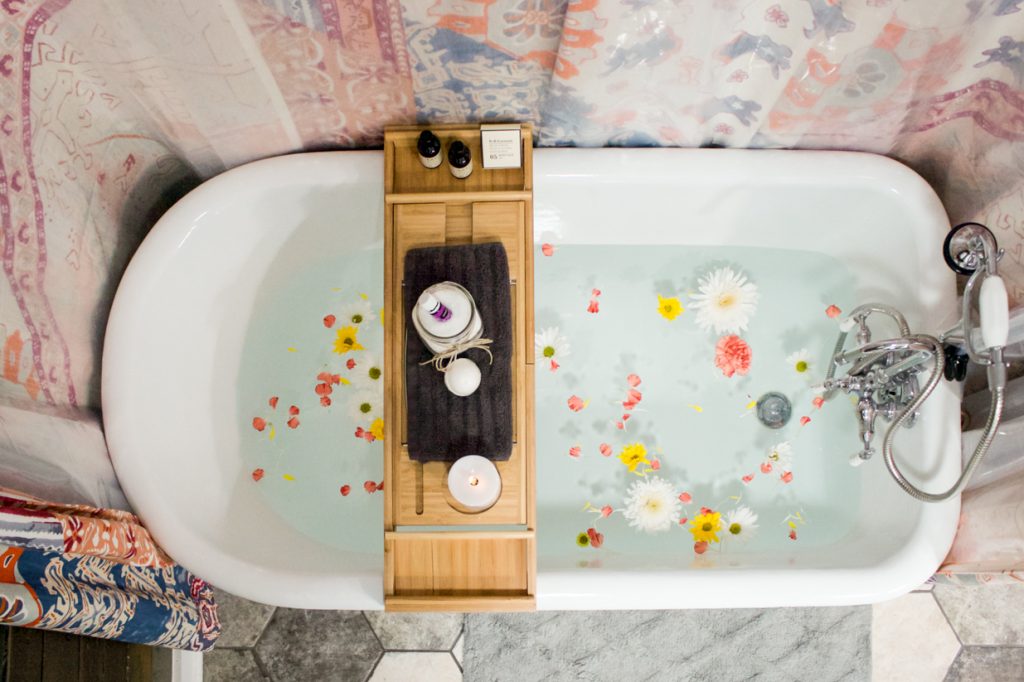
Soak your worries away!
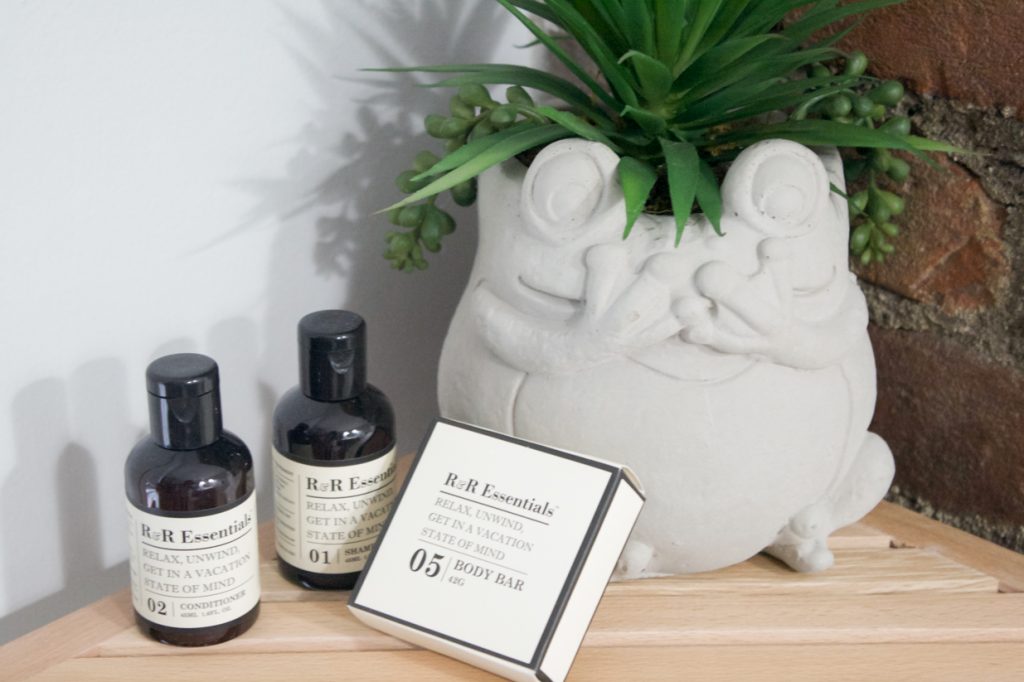
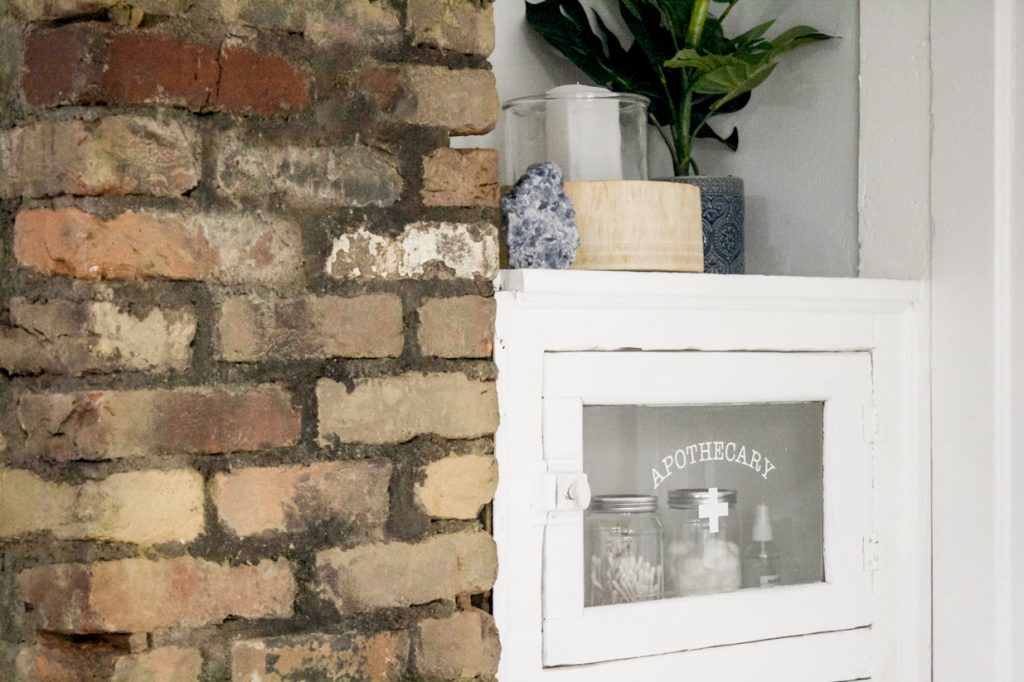
Bathroom updates include the original but refinished vintage clawfoot tub for soaking away the tension. Escape! When was the last time you had a relaxing bath? It also offers up the traditional or handheld shower option. Bath bomb, fresh fluffy towels and bath essentials provided. PLUS! Suite Thyme has a la carte options including several ritual baths – baths with intention, herbs and essential oils. Coming soon! 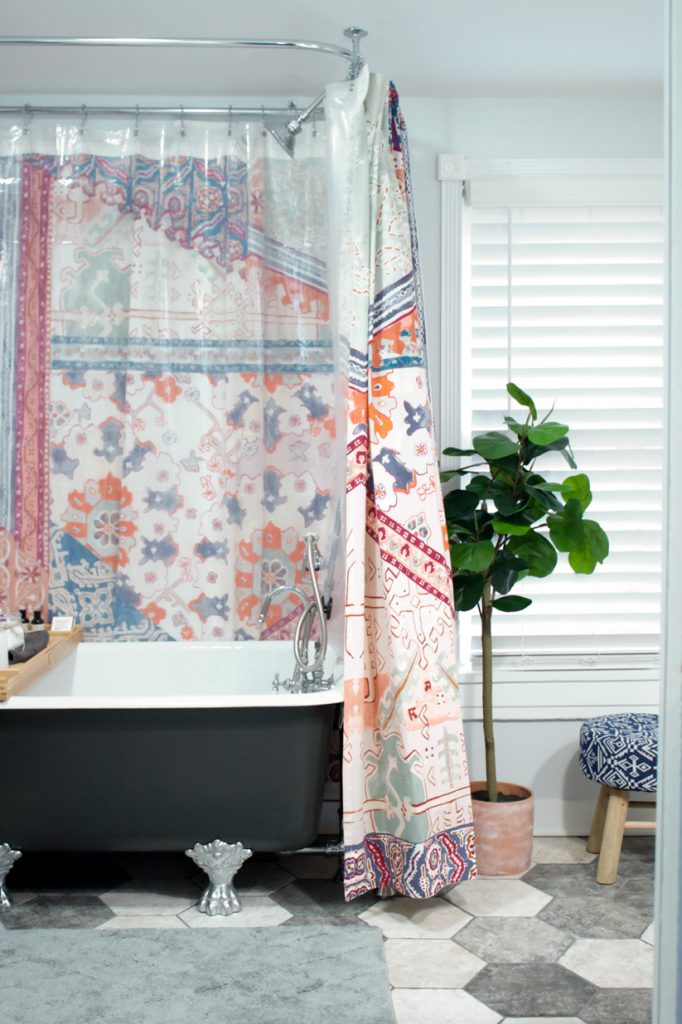

Get to work!
Traveling to Butler for business? Connect your laptop at the USB charging station at the breakfast bar aka workstation and catch up on your work. 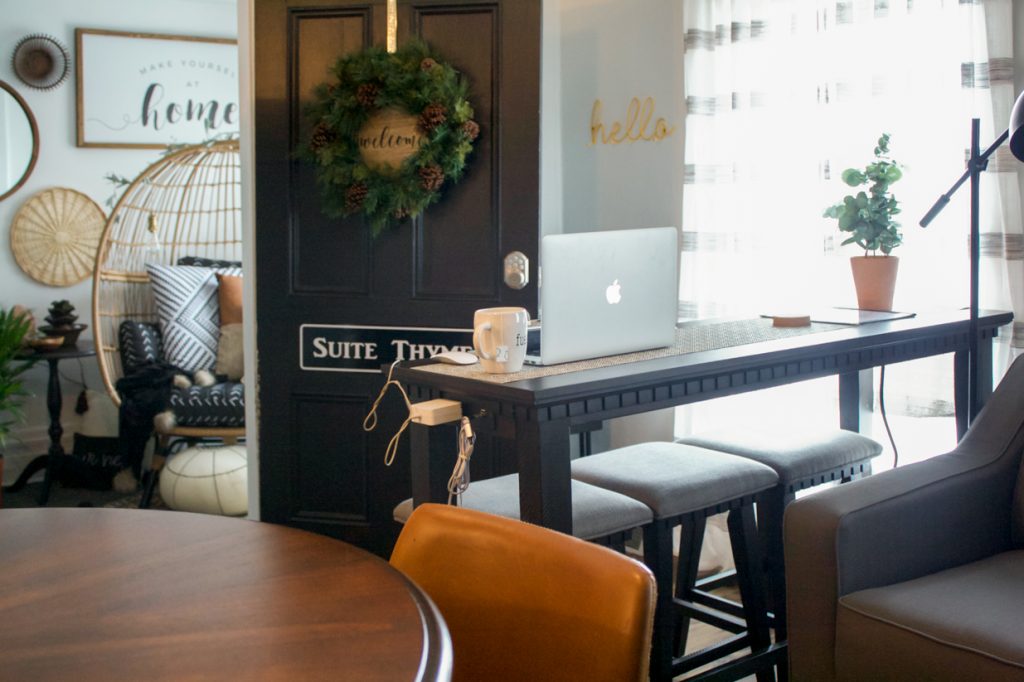
Seasonal:
…just a little gazebo/outdoor seating area.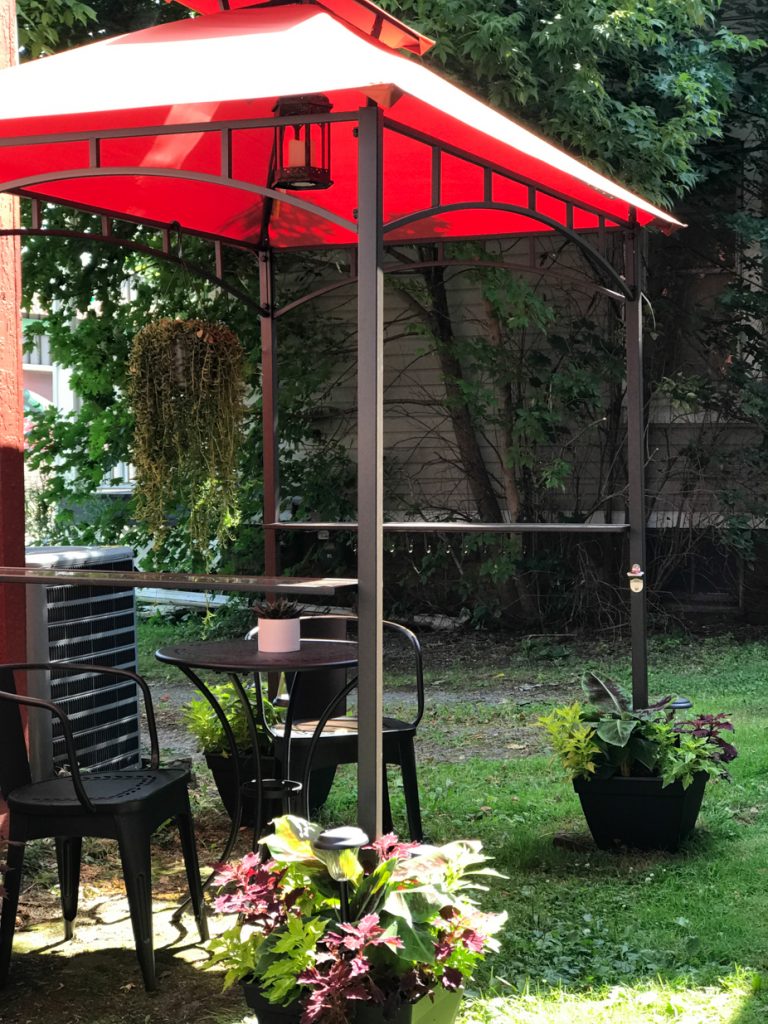
Local Favorites:
Plus, it’s just a short stroll to Butler’s charming Main Street district!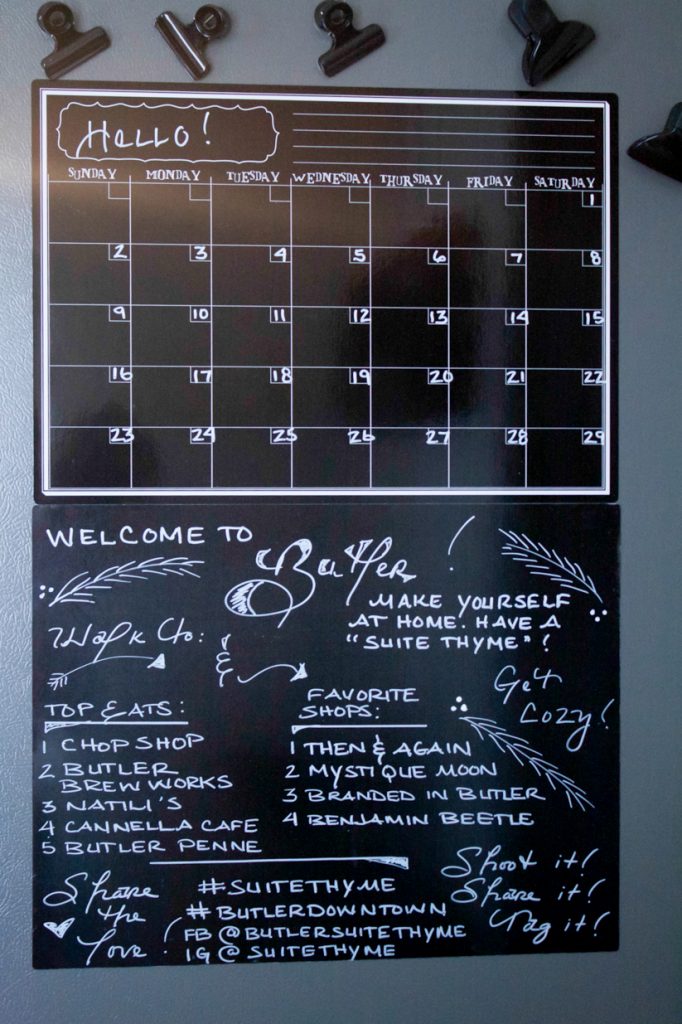
Social Media:
Follow us!
- Instagram: @SuiteThyme
- Facebook: @ButlerSuiteThyme
- #suitethyme
- #suitethymeinbutlerexperience
- #butlerdowntown #downtownbutler #butlercountypa
Suite Thyme amenities:
* Sleeping for up to 6 guests (2 queen beds, 1 queen sleeper sofa)
* Full kitchen: electric range, refrigerator, microwave, toaster, coffee maker
* Coffee, tea, sugar/sweetener, creamer
* Small outdoor patio area in back
* Free wi-fi
* Free parking for 1 (maybe 2 if vehicles are small)
* Smart TV
* Bluetooth speaker
* USB charging station
* Clawfoot tub/shower
* Heating // Central A/C
* Self check in//keyless entry
* Hair dyer
* Bathroom Essentials
* Iron
* Essential oils diffuser and oils
Discounts:
Suite Thyme offers 20% off a weekly stay. Yay!
Around the Area:
- 30 mi. north of Pittsburgh, PA
- Local breweries – walking distance
- Restaurants – walking distance
- Antique & boutique shops – walking distance
- Brushes & Barstools painting studio – walking distance
- Escape Room – walking distance
- YMCA, library – walking distance
- Talk of the Town Nail Salon – walking distance
- The Art Center – walking distance
- Maridon Museum- walking distance
- Moraine State Park – Butler County
- McConnell’s Mill – Butler County
- Trampoline Park – Clearview Mall
- Butler Freeport Trail – Butler County
- Festivals (Jeep Fest, Italian Festival, Fall Festival and more, holiday parades) – walking distance
- Butler Fair – Butler County
- Butler Farmshow – Butler County
- Saxonburg Carnival – Butler County
and more!
A la Carte Menu!
Coming soon! In an effort to familarize out of town guests with the downtown Butler, PA area, we’re partnering up with other local businesses by adding an a la carte menu with upgrades including a wedding weekend package, a romance bundle, photography sessions, reiki appointments, mani-pedi pampering, beer tasting, florist services and more – all from locally owned small businesses within walking distance to Suite Thyme.
Ready to make a reservation?
We are dedicated to ensuring you have a five star stay and look forward to hosting your “home away from home”.
What guests are saying:
Holiday stays:
Wedding weekend: