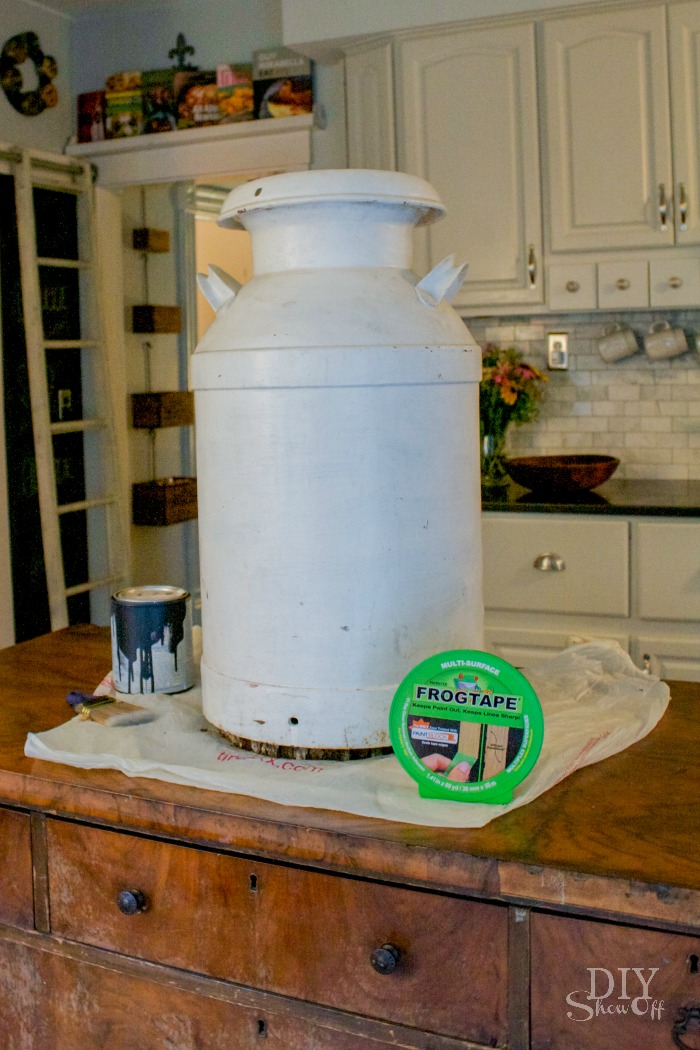
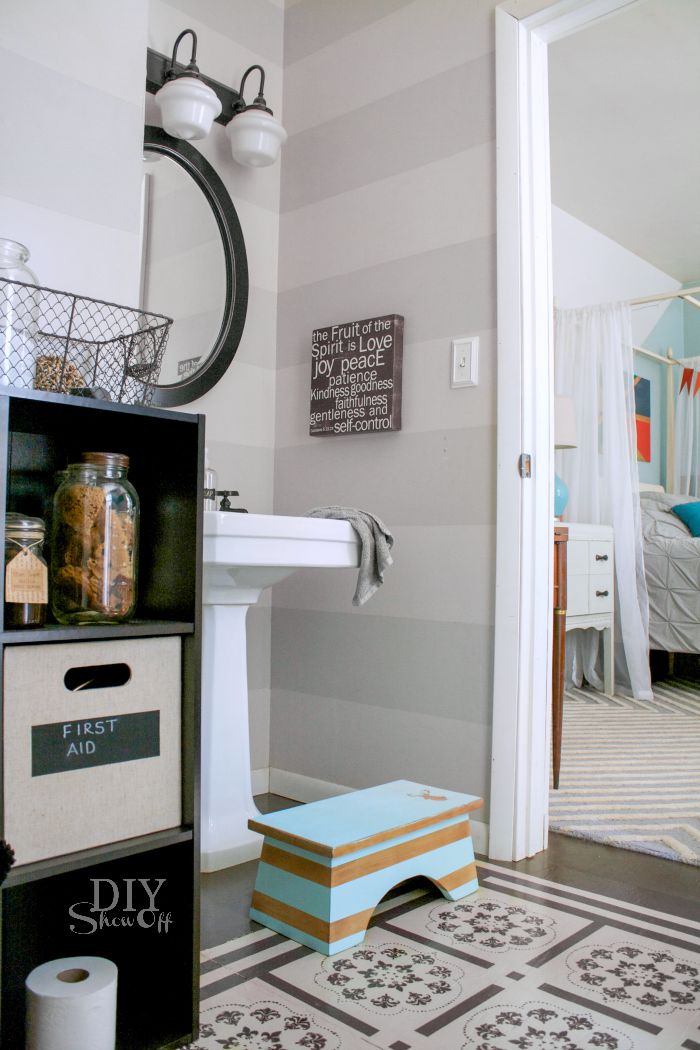
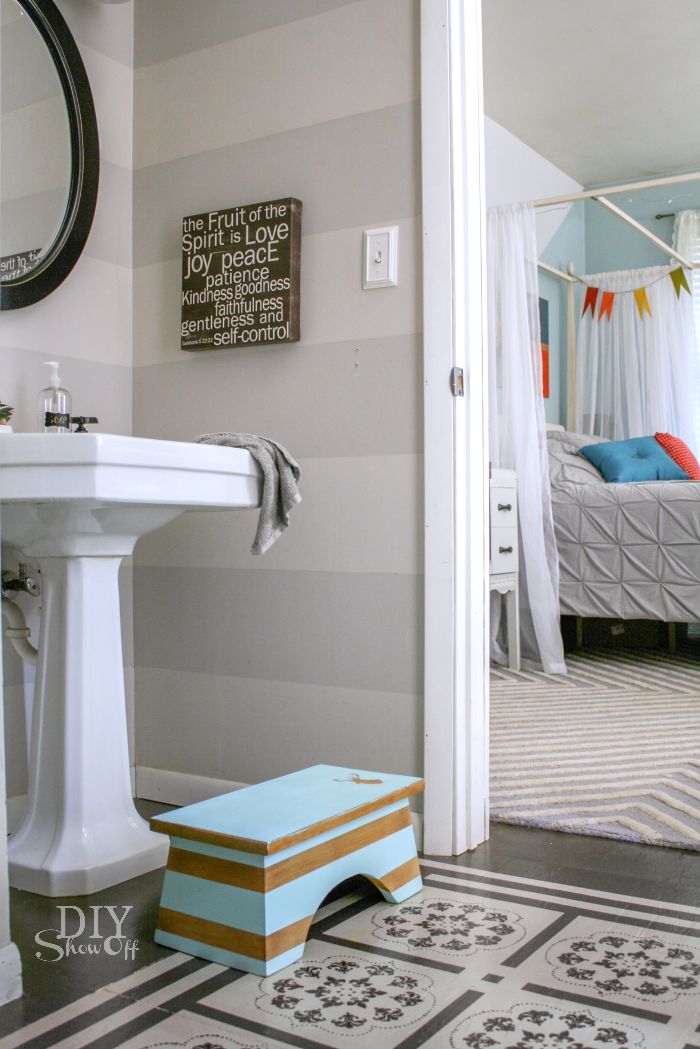
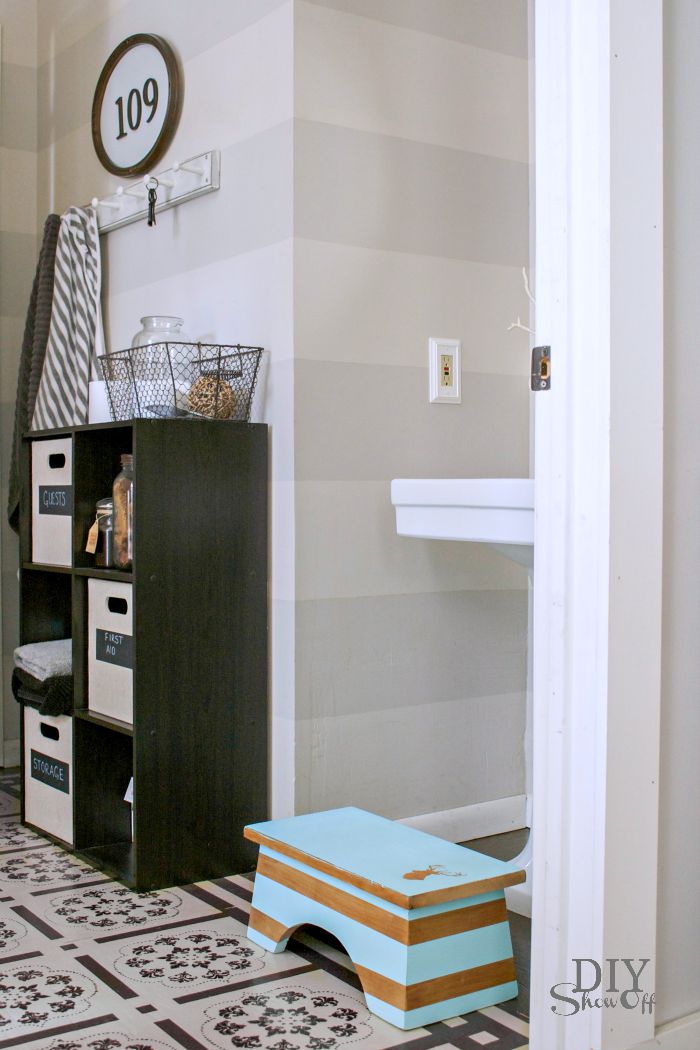
Scoop up a step stool at the flea market, yard sales or thrift stores and give it a makeover. Thinking ahead, sweet grand baby is going to need a step stool to reach the bathroom sink to wash his little hands. This wooden flea market treasure is perfect. And of course I can’t resist the opportunity to take it from blah to cute with a little paint and FrogTape®.
Materials I used:
- wooden foot stool (sanded and wiped clean)
- FrogTape and scissors
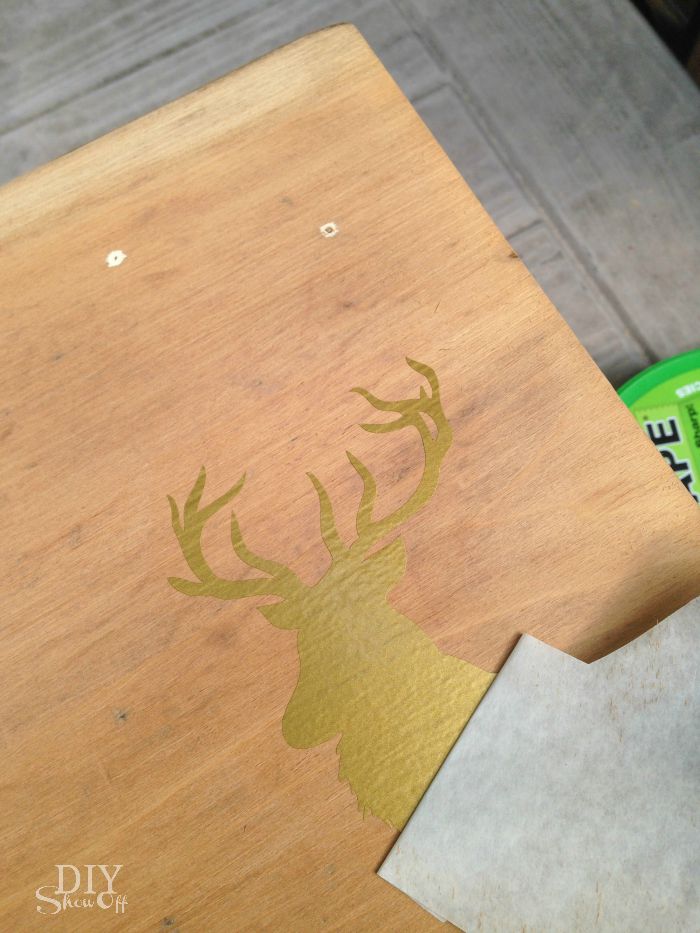
- vinyl decal
- paint (I used Valspar Sea Kiss in a satin finish) and paintbrush
- spray lacquer
What I did:
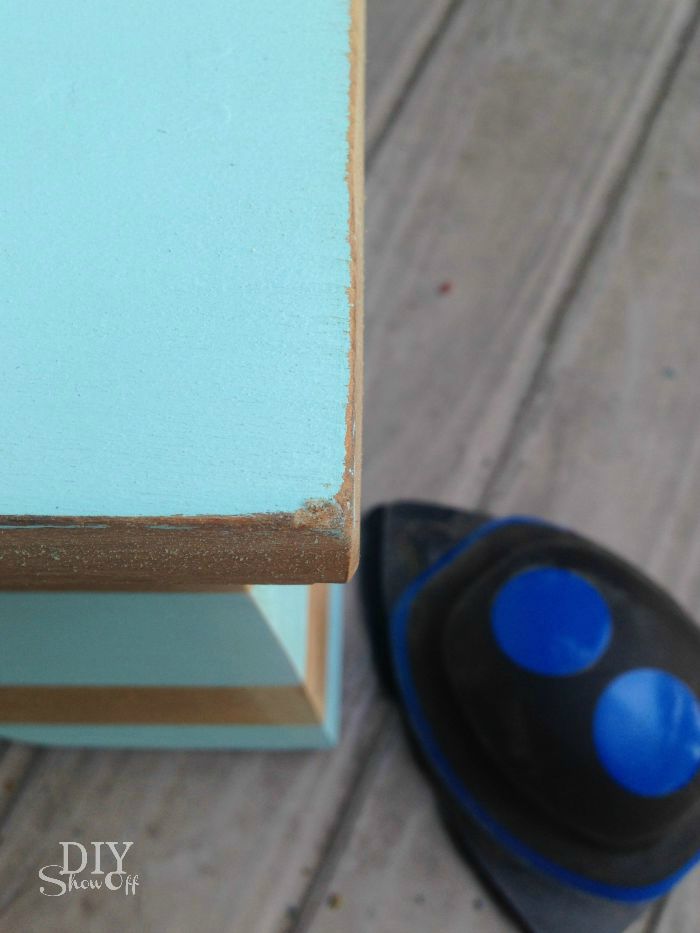
1. I convinced Mr. DIY to do the sanding for me. He’s much faster at that task than I. He simply sanded away the varnish leaving me a clean blank slate.
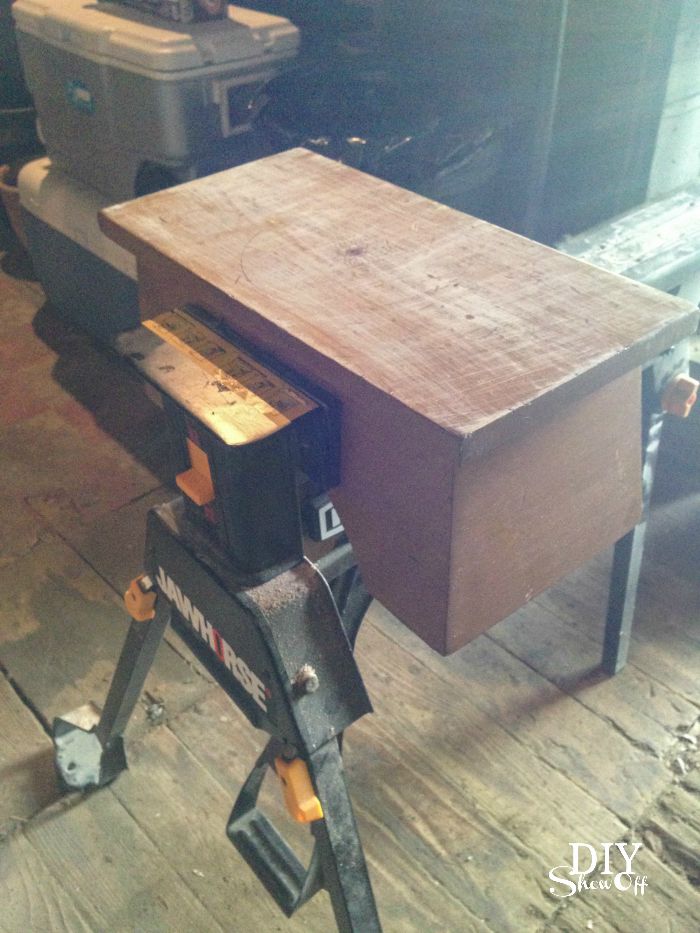

2. Then I wiped away the saw dust with a damp cloth.
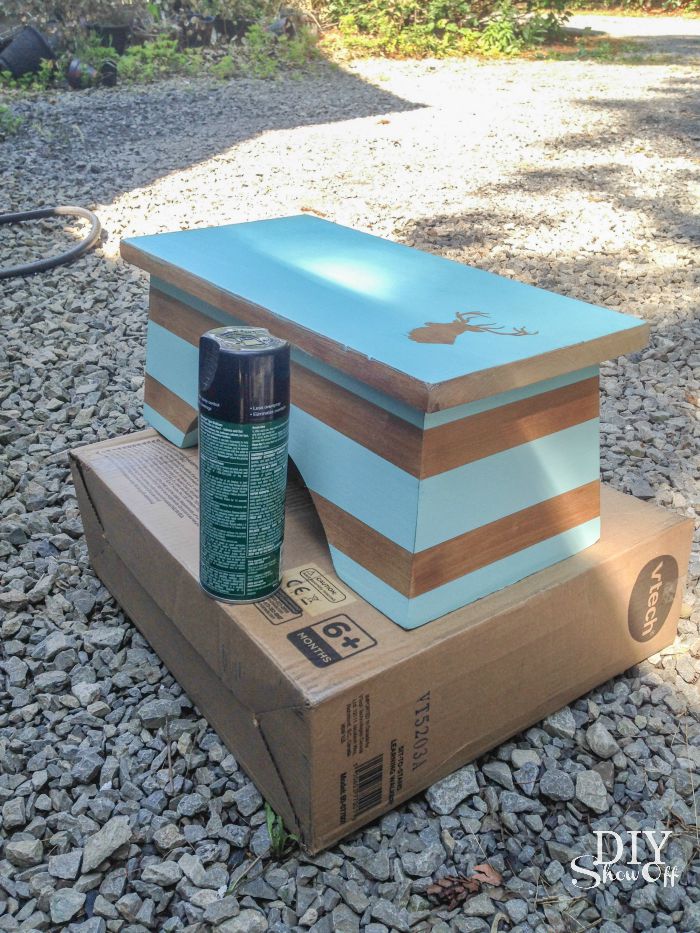
3. Next I applied my vinyl decal to the top, burnished it and pulled away the transfer paper.
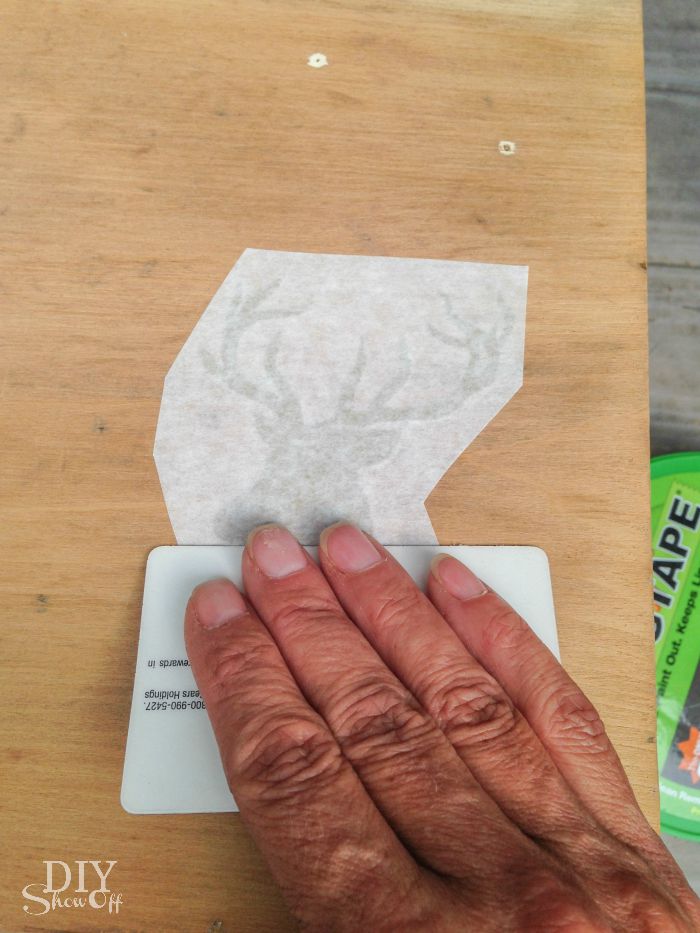
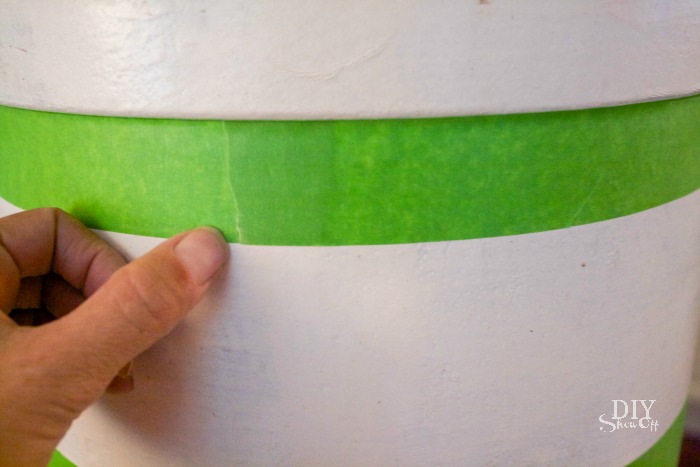
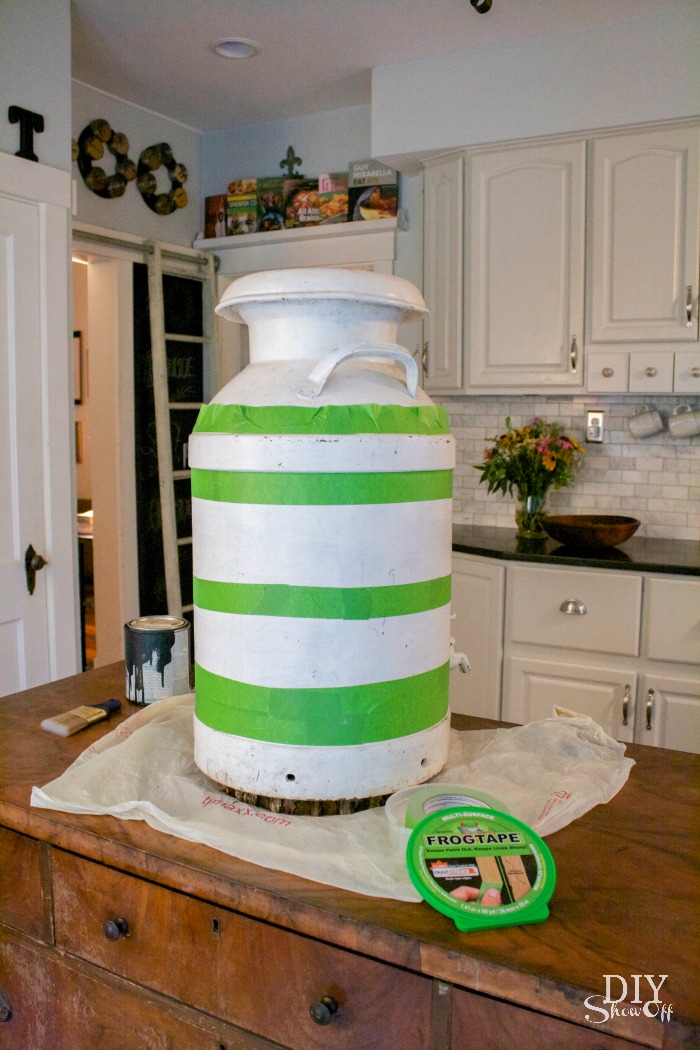
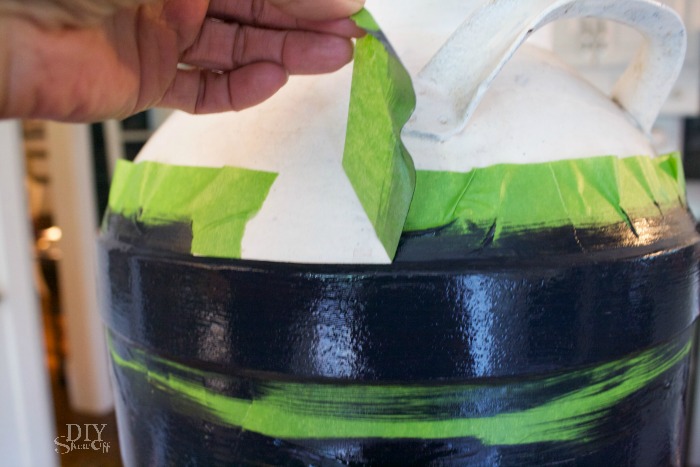
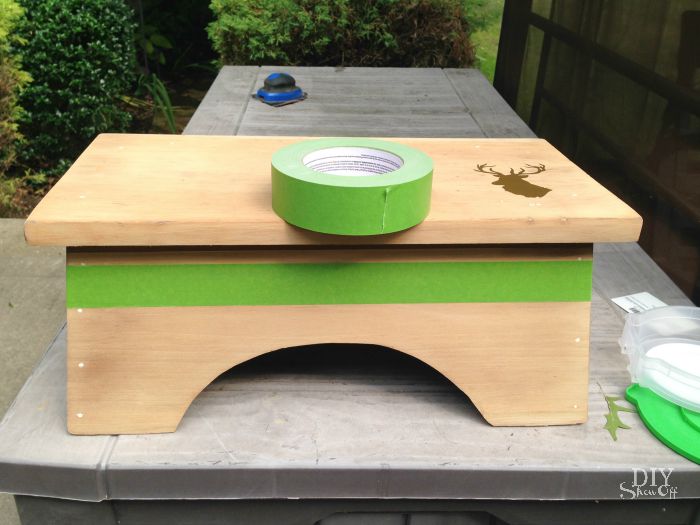
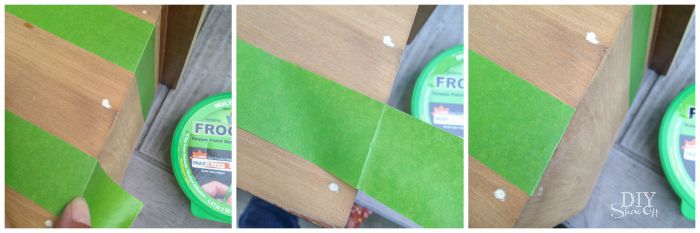
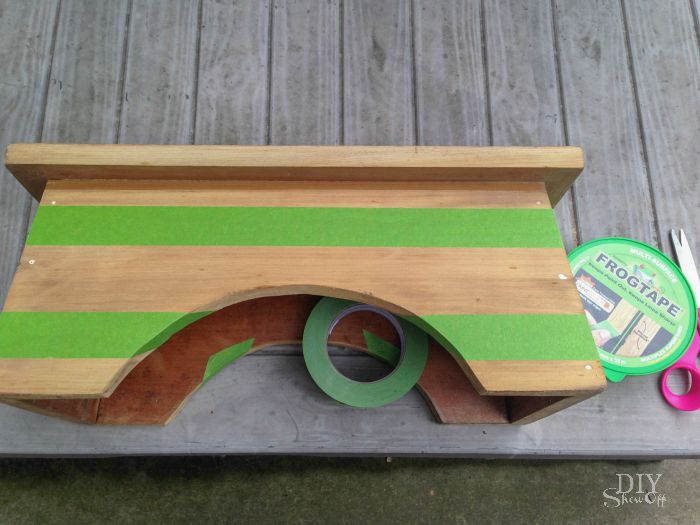
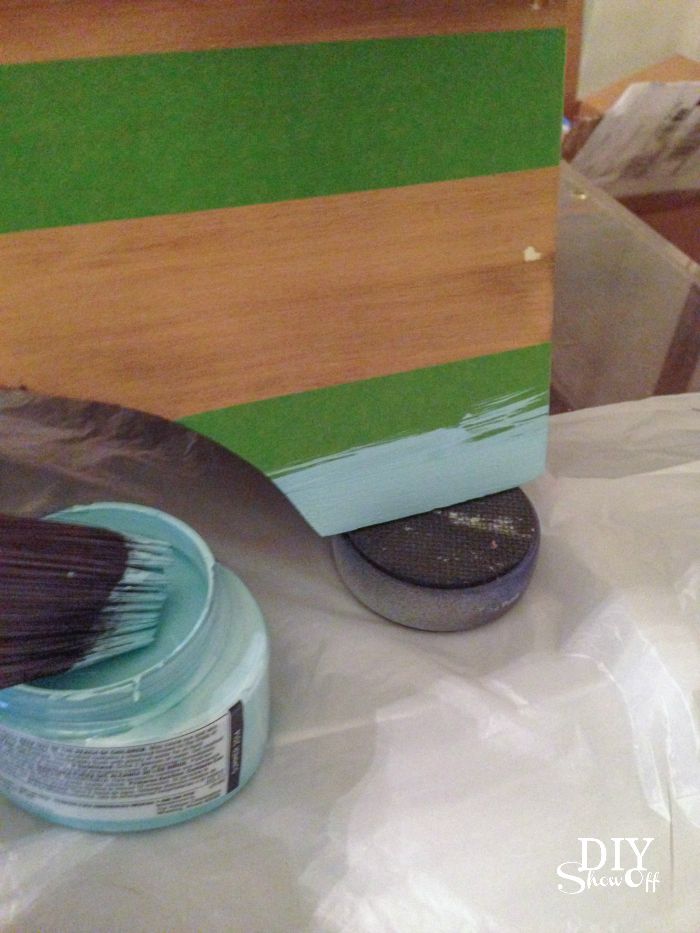
4. I taped off stripes using FrogTape Multi-Surface. Since the sides aren’t 90 degree angles, here is what I did: Tore off a piece of FrogTape longer than needed. I placed it in a straight line (I just eye-balled it) and folded the edges over on the ends. Using my thumbnail (or credit card), I rubbed the FrogTape on the corner. Then I gently lifted it up and using scissors, cut along the ‘white’ line. Replace and burnish tape. Repeat on each of the four sides, two rows of stripes.
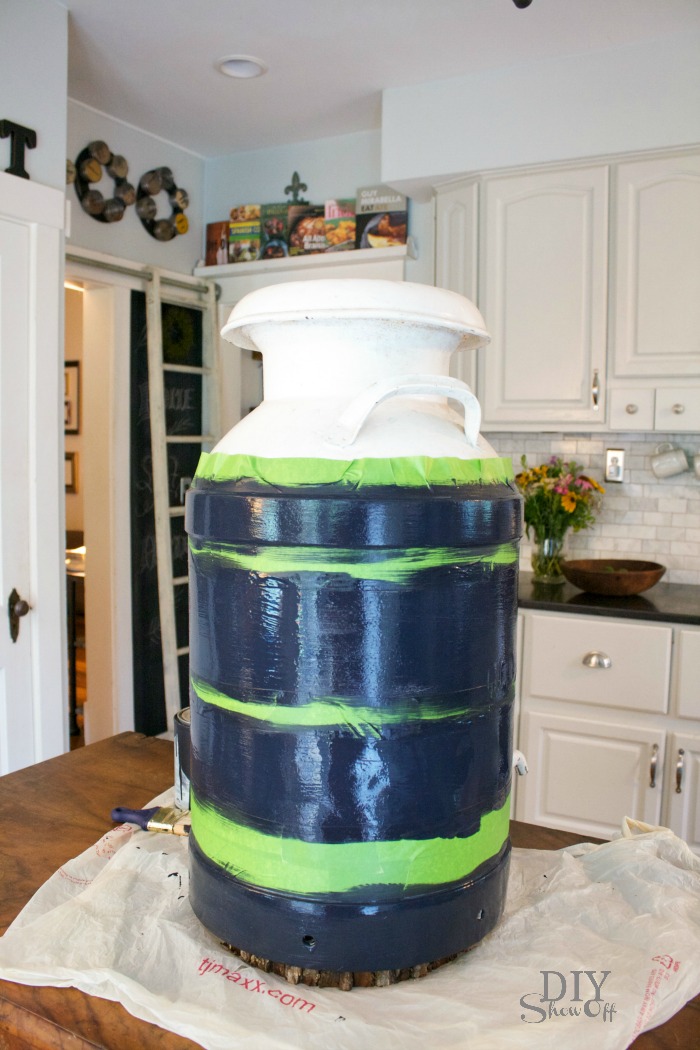
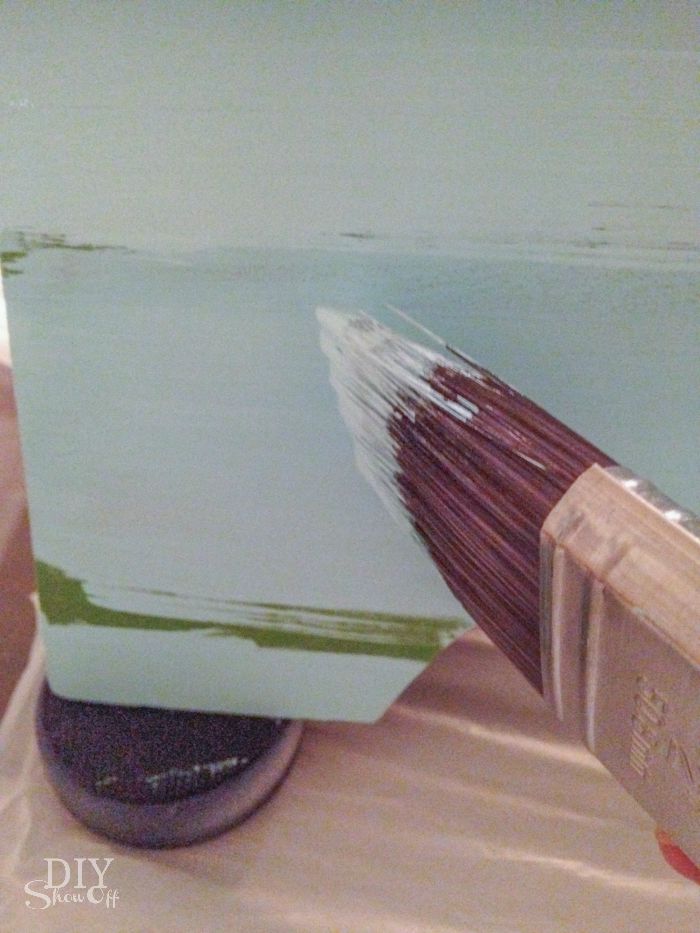
5. Paint a coat. Let dry. Paint a second coat.
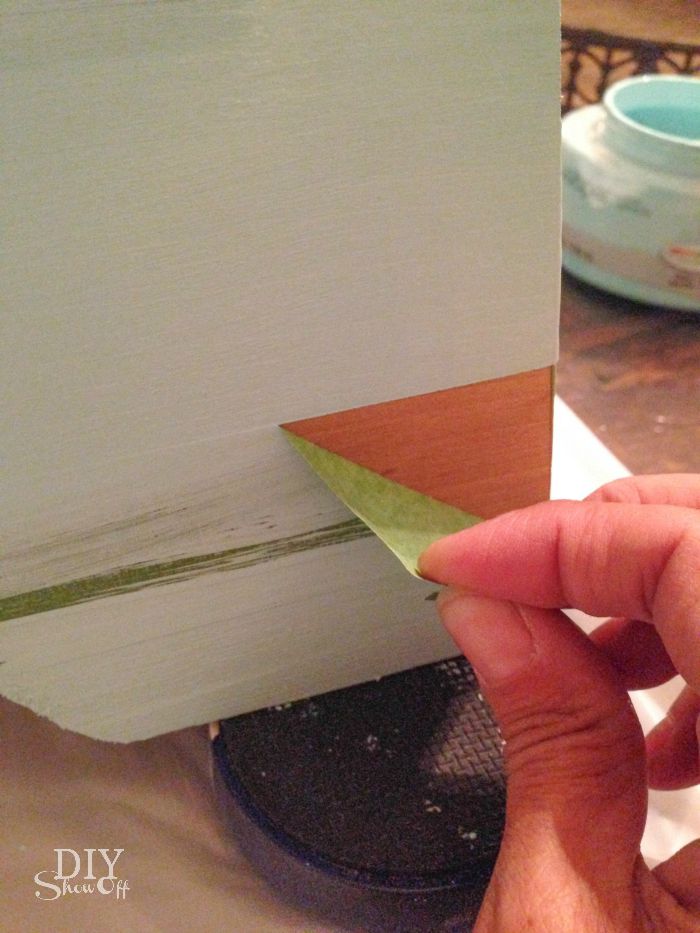
6. While paint is still wet, carefully remove FrogTape and vinyl decal. Then allow paint to dry over night.
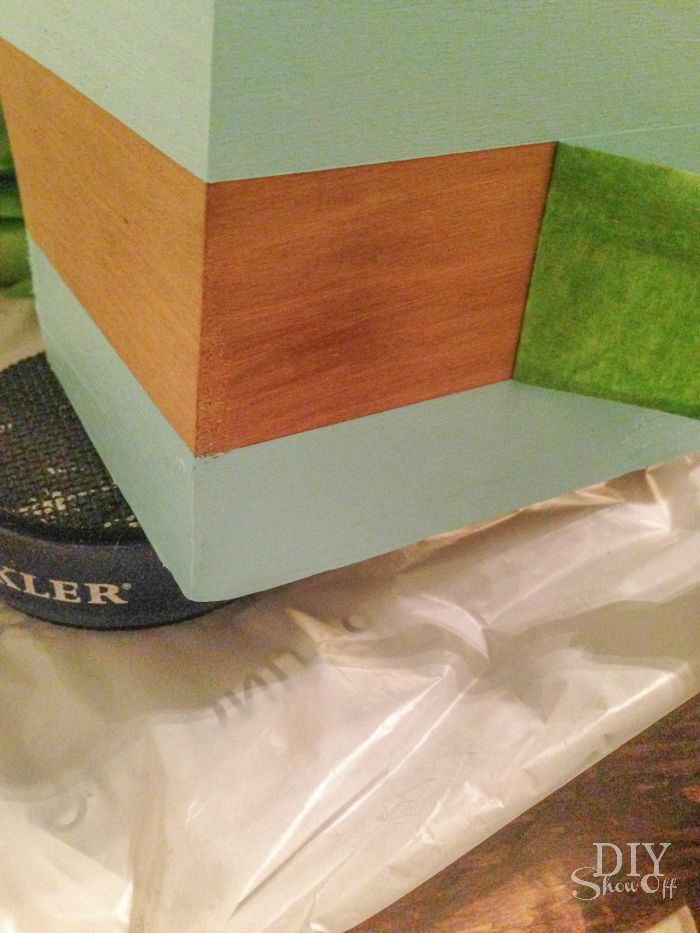
7. Optional: sand edges for a distressed look.
8. Apply two light even coats of spray lacquer, allowing dry time between each coat according to instructions on the can.
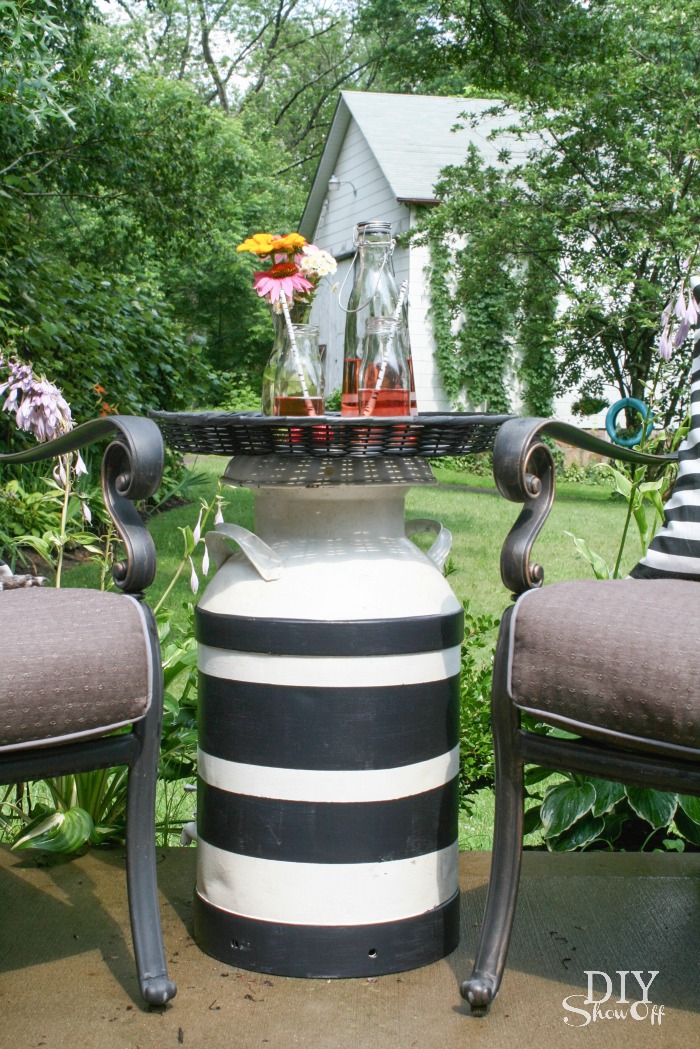
Ta-da! A cute addition to the bathroom sink for little ones.
*I received compensation to complete this project for using FrogTape® products. All opinions, projects and ideas are based on my own experience.
![]()