It’s that time of year, it’s time for creating special gifts for special women, gifts that inspire warmth and love. Here are some DIY and Young Living essential oil related gift ideas she is sure to love!
Incorporating essential oil products into your gifts will not only lift up the women in your life, but hundreds of families and small business owners will be supported as well. Let’s celebrate the women in your life with something special and let’s infuse it with Young Living essential oils to take your gift to the next level.
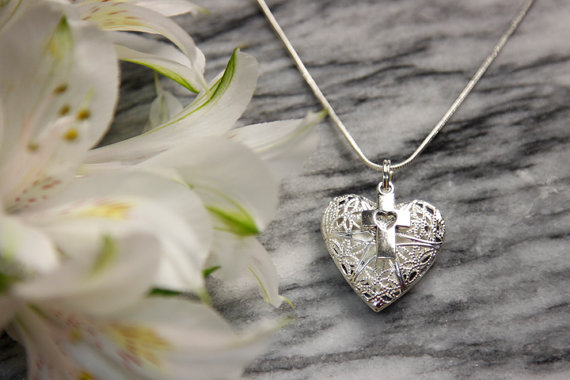
DIFFUSER JEWELRY
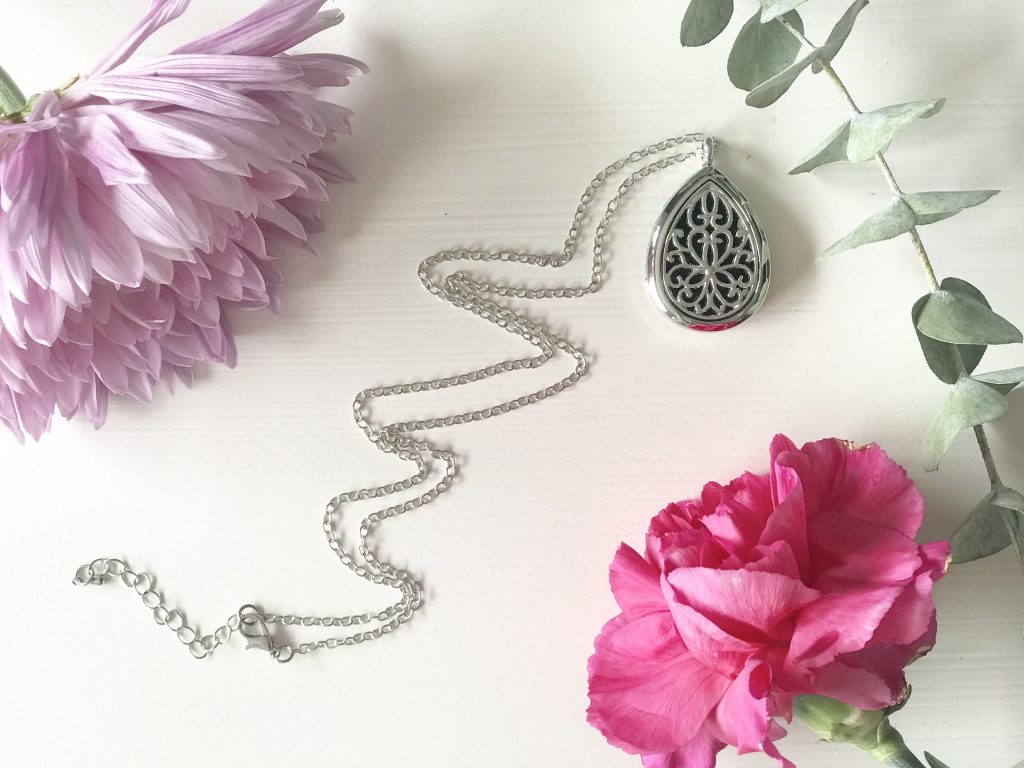
If you’re feeling a little stumped on what to get the special women in your life, jewelry is always a WIN. Diffuser jewelry, on the other hand, is a WinWin. Pair that diffuser jewelry with a bottle of essential oil and you have just STOLEN HER HEART!
Let’s break down why diffuser jewelry can be a perfect gift for any special occasion:
1) Diffuser Jewelry is a wearable item/gift that is also sentimental, especially when you can put on your FAVORITE scent.
2) Diffuser jewelry is timeless.
3) Diffuser Jewelry is appropriate for people of all ages.
4) Diffuser jewelry is suitable as a gift for any occasion.
5) Diffuser jewelry can suit any personality.
6) Diffuser jewelry is good for all body types and skin tones.
7) Diffuser jewelry is a great way to apply an oil and have it last for hours and even the entire day.
8) Diffuser jewelry makes it easy to wear oils that may make your skin sensitive to light when applied directly. For example, citrus oils, when applied topically, make your skin extra sensitive to sunlight and you should avoid exposing that area to the direct sun for 12-24 hours after application.
As you can see, it doesn’t matter who the person is, how well you know them, or what the special occasion is. Diffuser jewelry is an easy, yet perfect gift to give.
Now that we have covered that, I want to stress that giving diffuser jewelry takes your gift up about ten notches from just regular plain ol’ jewelry.
ADD AN OIL
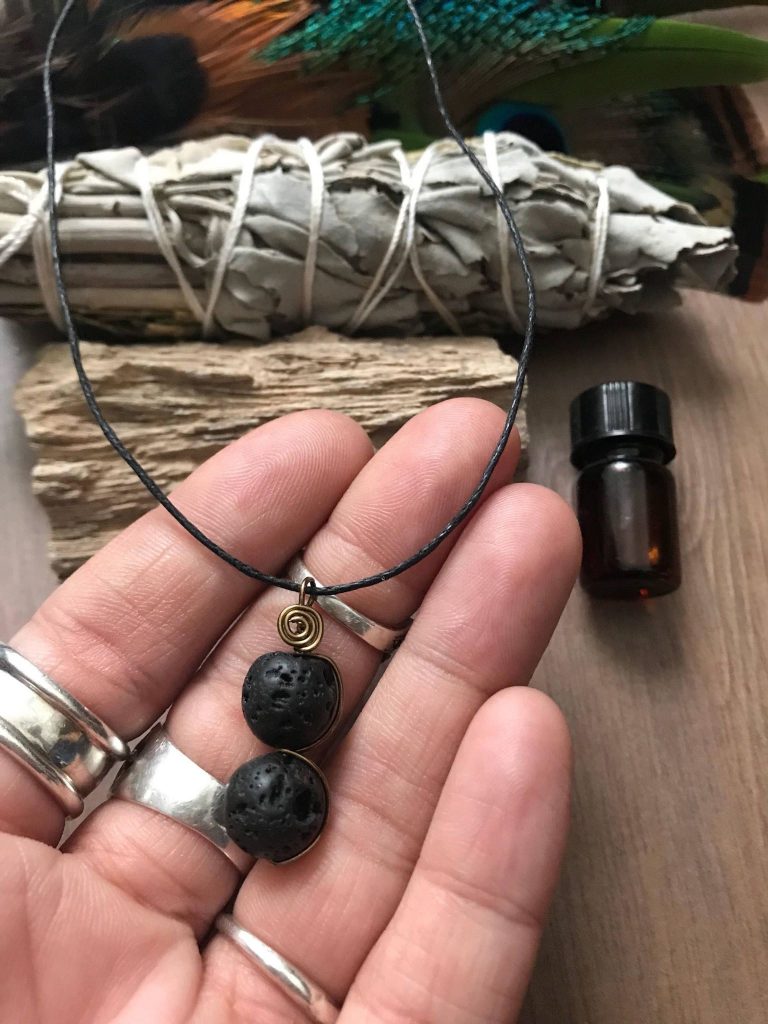
Gift her an entire bottle of her FAVORITE oil or a few samples that are perfect for her lifestyle. With one drop of oil on her jewelry she can stay uplifted, confident, energized, and happy all day long.
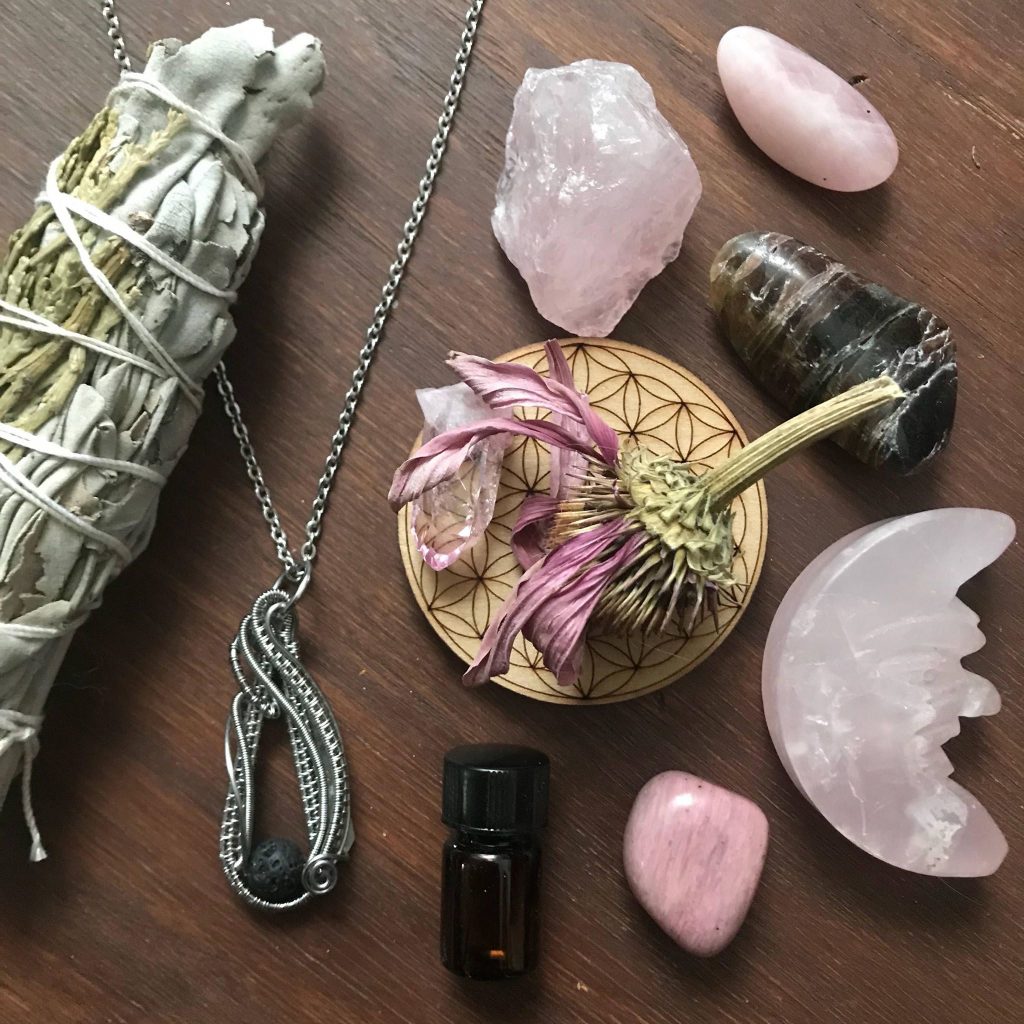
FAVORITE DIFFUSER JEWELRY SHOPS
One of my favorite shops for diffuser pendants is my daughter’s shop, The Lunar Fae. Evangeline’s wire wrapped gifts are beautiful and timeless. You can visit herEtsy shop website here: https://www.etsy.com/shop/TheLunarFae
And Sara from The Courageous Charm has some sweet options too. You can visit her Etsy shop here: https://www.etsy.com/shop/TheCourageousCharm
FAVORITE OIL SUGGESTIONS
Perfect all time favorite oils to gift to your special lady with her diffuser jewelry are:
Orange & Tangerine – Calming in nature with a beautiful citrus scent.
Grapefruit – Uplifting to the spirit.
Citrus Fresh – Brings joy to children.
Joy – This floral scent brings joy to the heart.
Christmas Spirit – Great any time of year and brings on feelings of happiness.
Bergamot – Turns grief to joy.
If you’re new to oiling and don’t have a favorite diffuser jewelry shop YET, share if you’re an earrings, necklace, or bracelet kind of gal.
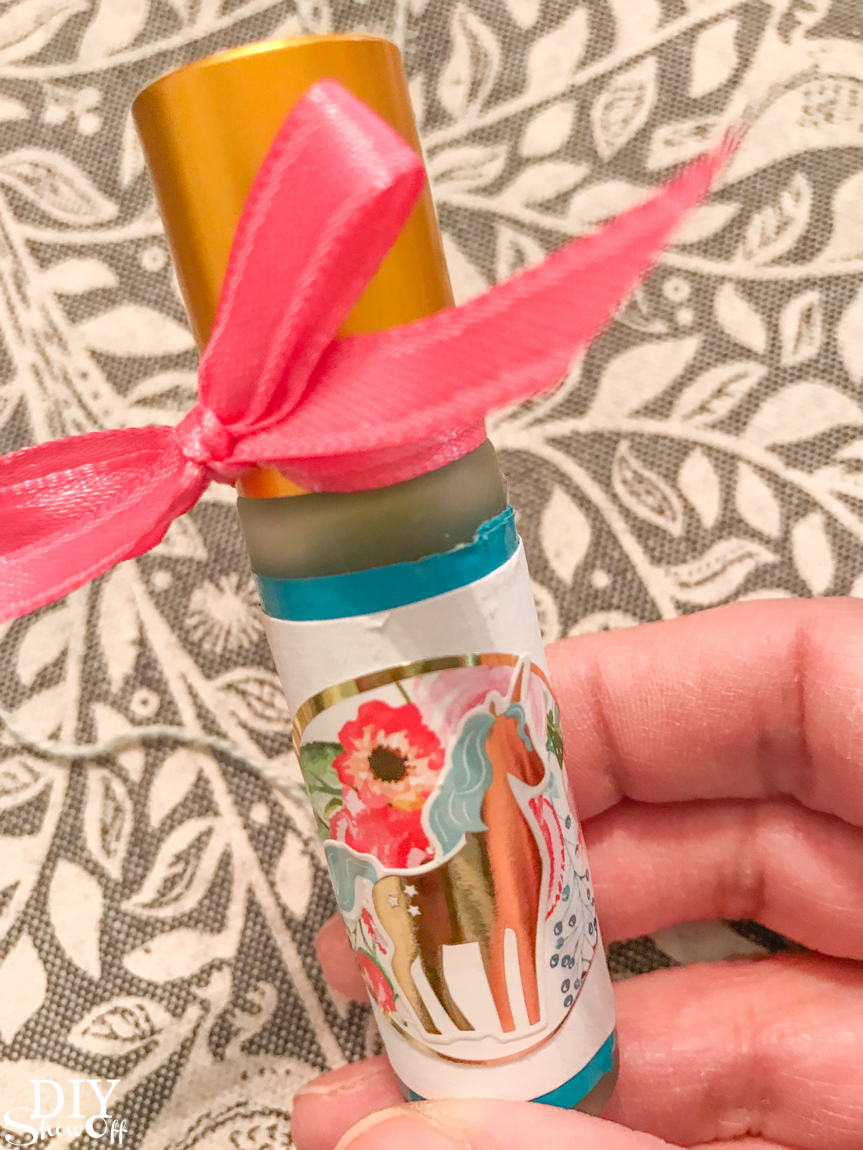
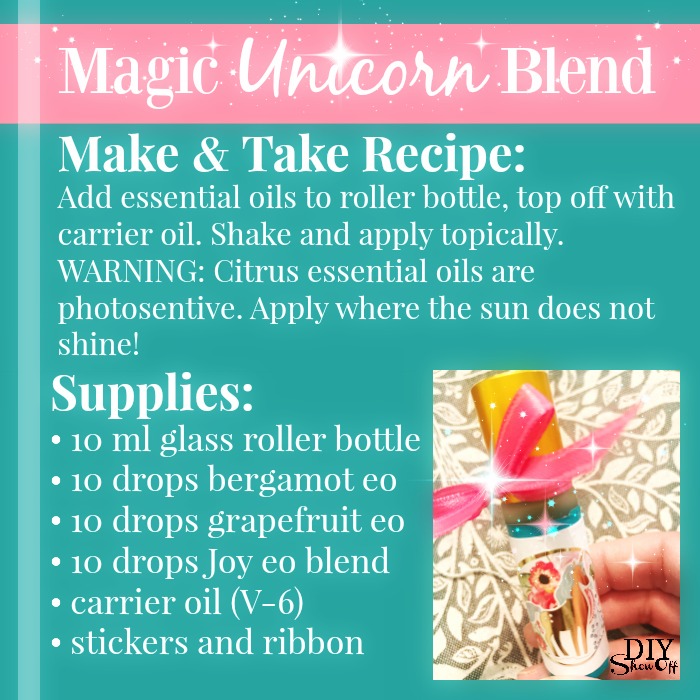
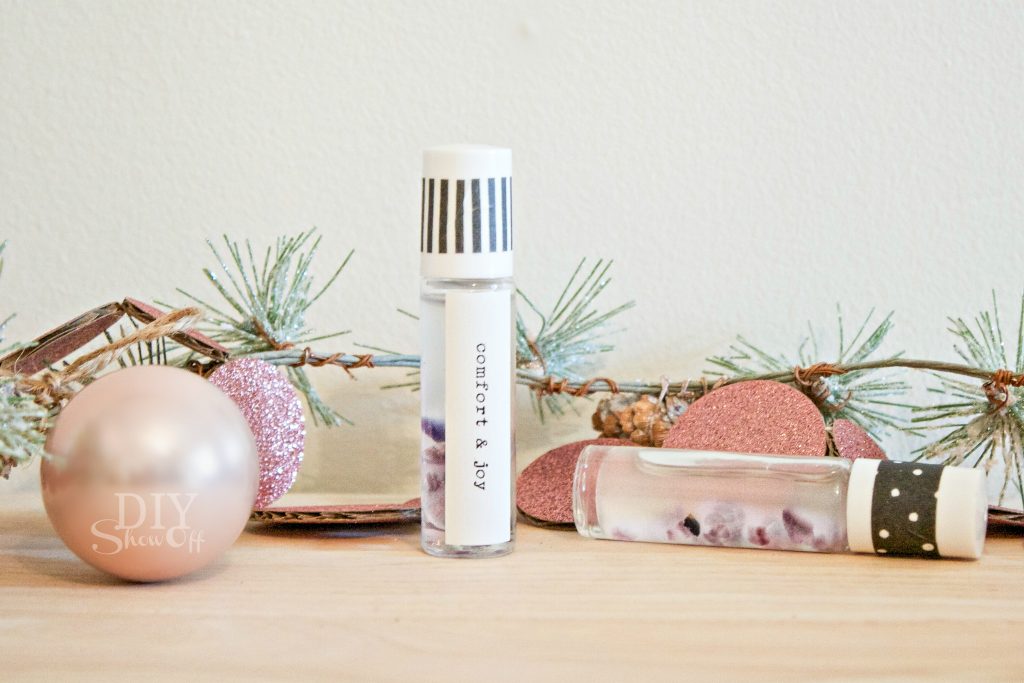
DIY PERFUME
Did you know perfume can be detrimental to your health? The term “fragrance” on labels can be a combination of over 300 harmful chemicals that the company doesn’t have to disclose. This is often why people get headaches when they smell synthetic perfume. It is better to play it safe and create your own perfume with natural and effective essential oils that you KNOW are safe.
Not only are these perfumes safe, but their aroma therapy can take you from feeling down and out to happy and confident in a matter of seconds.
Here are some of my favorite recipes.
Fill with alcohol when using a spray bottle. Fill with V6 carrier oil if using a roll-on bottle.
***** Here are some options to make your own perfume *****
Adjust amount of individual oils based on preferred scent.
*****
Bon Vivant – “Somebody who loves life.”
In a 10 ml bottle – 5 drops Joy, 5 Geranium, 10 Tangerine.
In a 10 ml bottle – 5 drops Joy, 15 drops Lemon.
In a 10 ml bottle – 5 Northern Lights Black Spruce, 5 Orange, 2 Rose.
In a 10 ml bottle – 10 drops Oola Fun, 10 drops White Angelica.
*****
Rilassante – “Relaxing”
In a 10 ml bottle – 10 drops Stress Away, 10 drops Orange
In a 10 ml bottle – 10 Drops Lavender, 5 drops Frankincense, 5 drops Orange
In a 10 ml bottle – 5 drops Lavender, 5 drops Stress Away, 10 drops Valor
*****
Amor – “Love”
In a 10 ml bottle – 12 drops Ylang Ylang & 8 drops Orange.
In a 10 ml bottle – 6 drops Grapefruit, 6 drops Sandalwood, 6 drops Jasmine
In a 10 ml bottle – 10 drops Ylang ylang, 10 drops Idaho Blue Spruce.
—-//—-
What is your favorite scent? Floral? Citrus? Spicy?
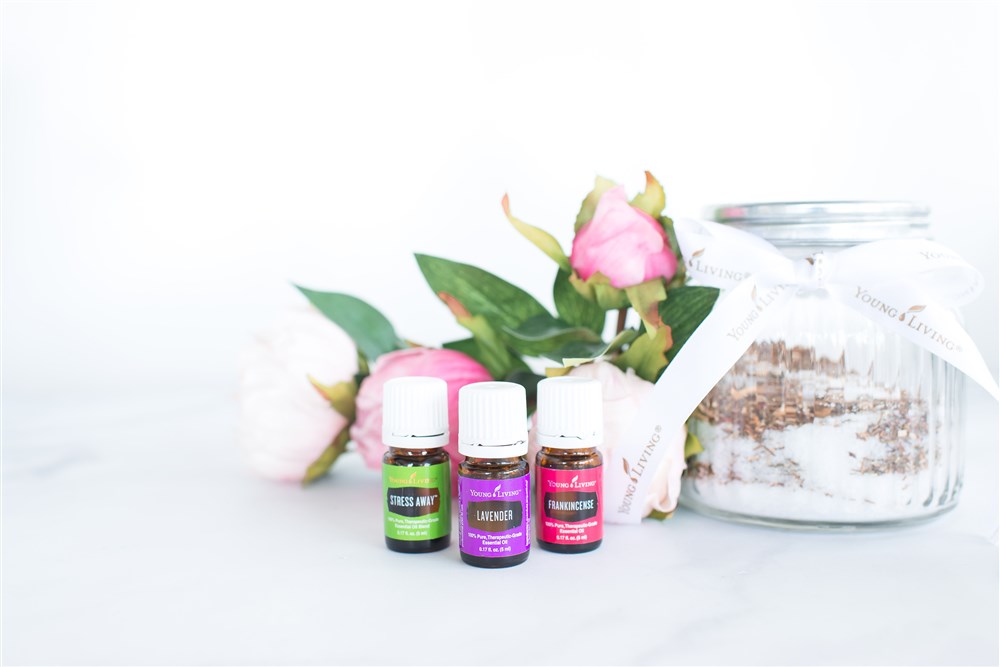
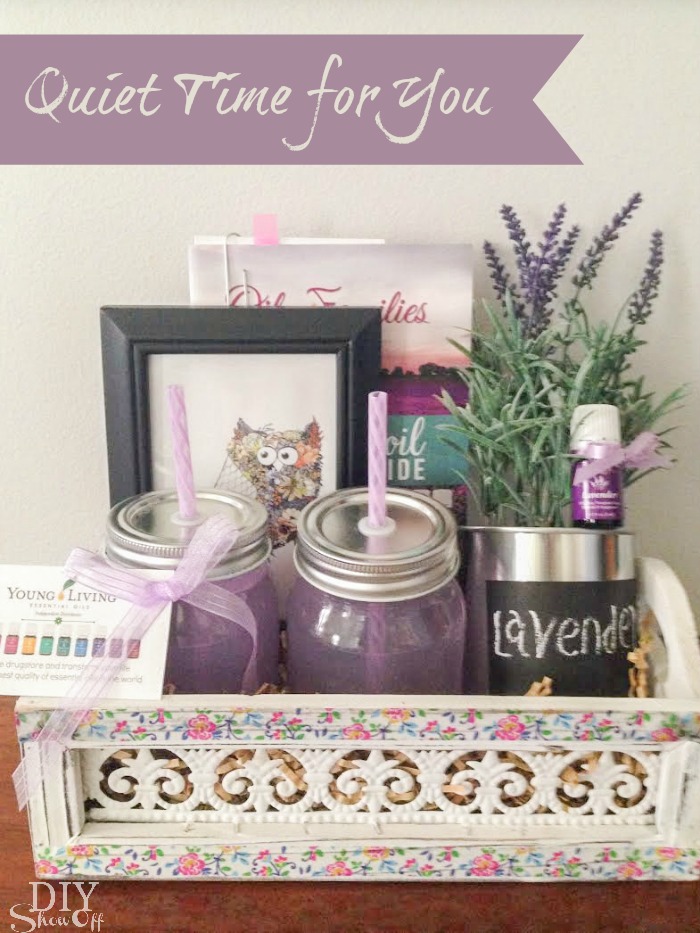
BATH SOAK
Bath soaks are an easy and useful gift. If someone doesn’t have a bathtub they can use this as a foot soak.
Women often spend more time caring for others than they do caring for themselves. A gift like this will go a long way because it gives them the opportunity to give some self love.
INGREDIENTS
2 bags Chamomile tea
1 c powdered milk
1/4 c cornstarch
1/4 c baking soda
10+ drops of your favorite essential oil {or to preference}
DIRECTIONS
Mix dry ingredients & whisk in essential oil until smooth.
Add mixture to jar & allow to “marinate” for 24 hours.
OIL SUGGESTIONS
RELAXING SOAK
– Lavender
– Stress Away
– Frankincense
– Bergamot
– Orange
CLEANSING & ENERGIZING SOAK
– Myrtle
– Juniper
– Thyme
– Lemon
– Peppermint
– Eucalyptus
—-//—-
What is your favorite way to relax?
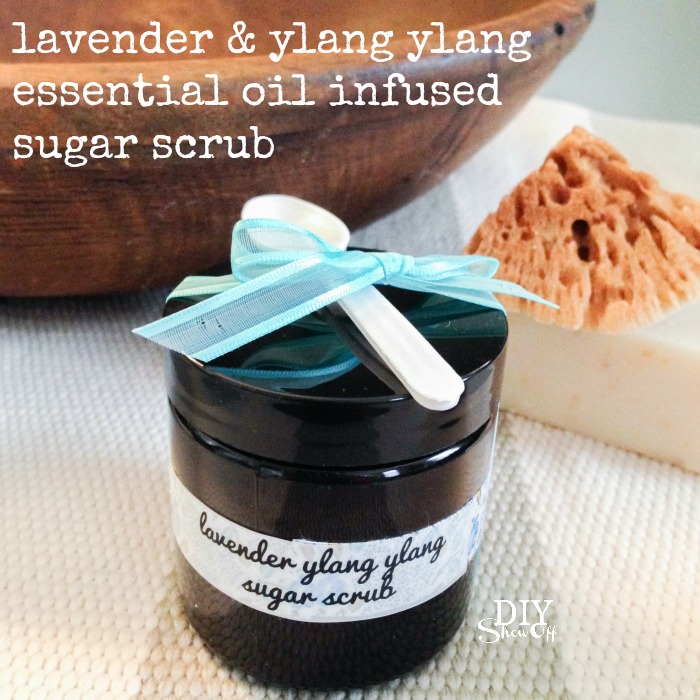
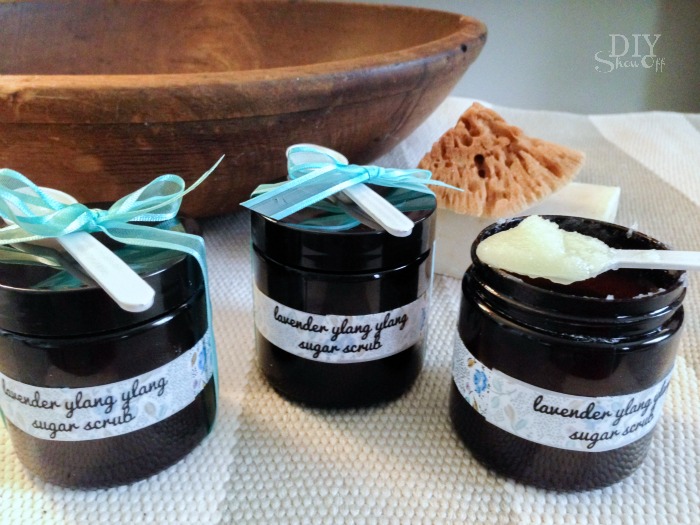
SOOTHING SCRUBS
I know you see this DIY all the time but that is because it’s SOOO good.
Body scrubs make your skin look refreshed and rejuvenated by removing dead skin cells. Exfoliation also helps moisturize as it allows for the easy absorption of a skin moisturizer into your now healthy skin. Be sure to avoid applying too much pressure when using your scrub. Use a body scrub a few times a week.
ENERGIZING BODY SCRUB
1 cup granulated sugar
1-2 Dry OOLA tea bags – “Energy: Peppermint Rush Organic Black Tea”
¼-½ cup Jojoba Oil Pure
15 drops Orange Essential Oil
3 drops Cypress (optional)
1/4 – 1 tsp beet juice (For pink coloring – optional)
Mix the ingredients in a cute mason jar, tie a ribbon around the top, print off a nice recipe note card and gift it to someone special.
OOLA tea can be found on Amazon or through the OOLA website (affiliate link) https://amzn.to/2IRgrJV
One thing I love about OOLA is that for every bag of tea that is purchased, the company GIVES one meal to a child in need.
Organic Passion Black Tea – https://amzn.to/2ELlcSZ
DIY Lavender Ylang Ylang Sugar Scrub
PICTURE + GOODIE

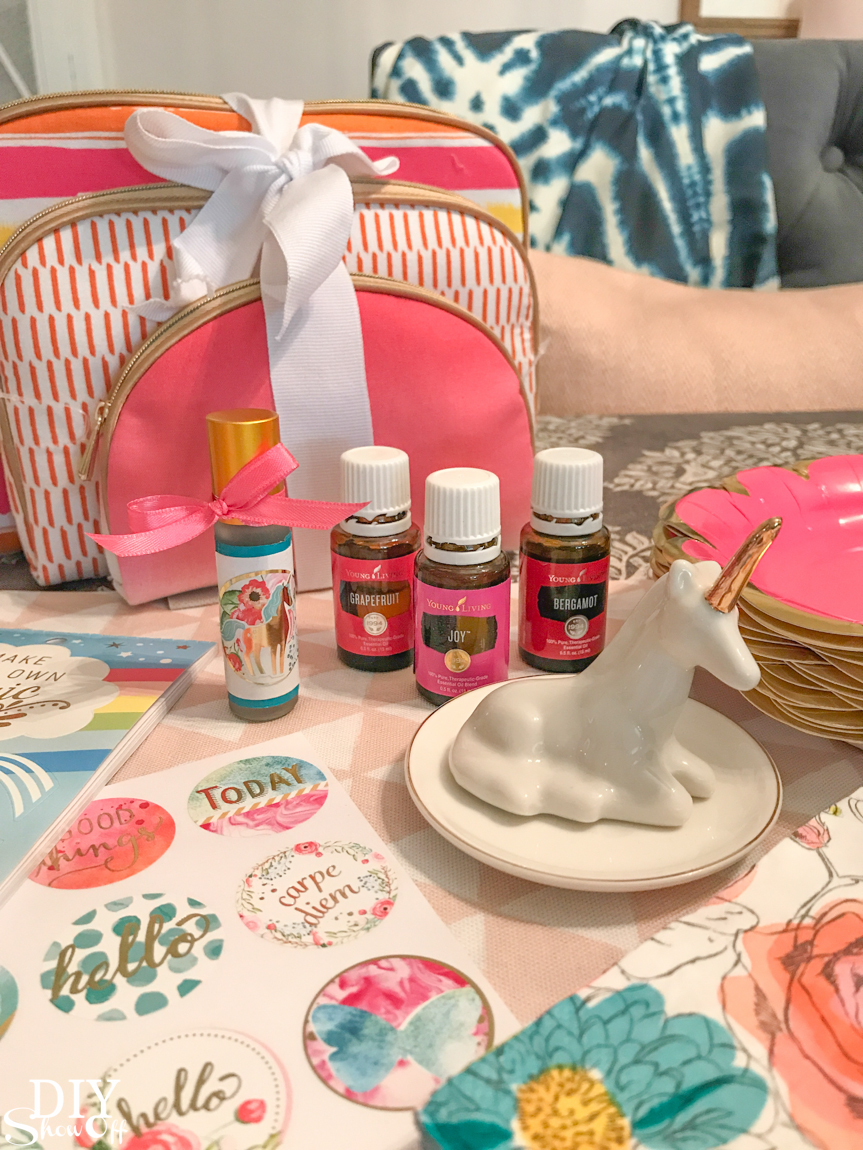
One of the best ways to celebrate a woman for her hard work is by taking advantage of this advanced technology to capture a precious moment and give her a memento she can cherish for a lifetime.
Print out her favorite photo or one that will melt her heart. She won’t forget this gift because it will keep reminding her of the love she has in her life. Pair the photo with an essential oil or a lip gloss. She will remember how thoughtful you were every time she smells that scent or puts on her glossy lips.
Favorite oils for her:
– Clary Sage 15 ml (#3521) – Creates a calm and relaxing environment.
– Dragon Time 15 ml (#3327) – Can help promote feelings of stability and calm during cycles of moodiness.
– Lavender 15 ml (#3575) – Lavender has as a scent that’s a wonderful blend of fresh, floral, clean, and calm. Perfect for a calming scent in the diffuser or in your daily moisturizer.
***************
Don’t forget to order these products on your very own YL account. Don’t have one yet? Shop HERE and I’ll hook you up!
GIFTING A PSK
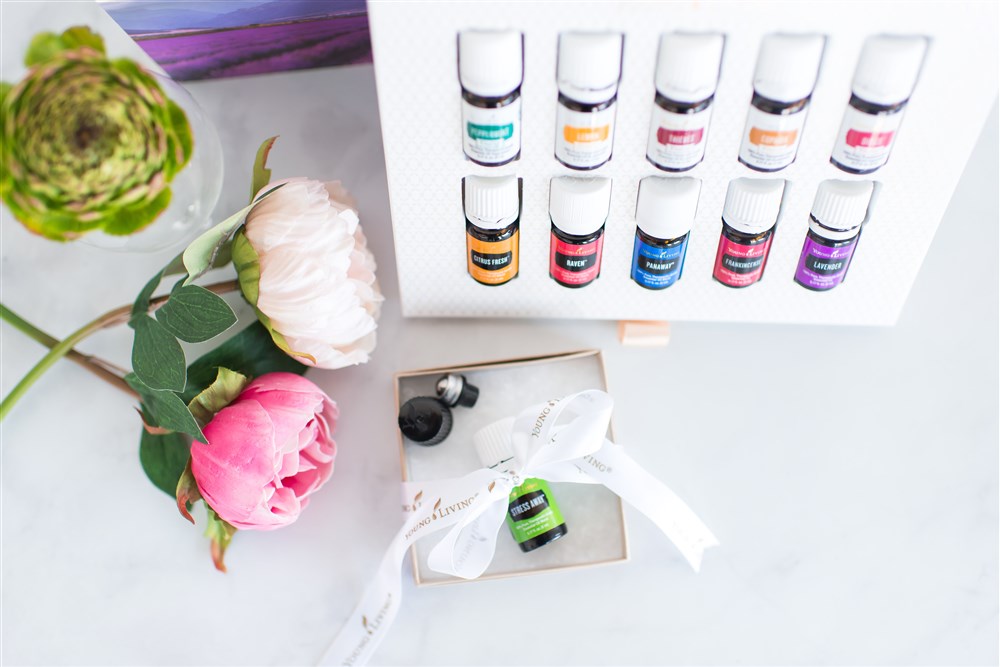
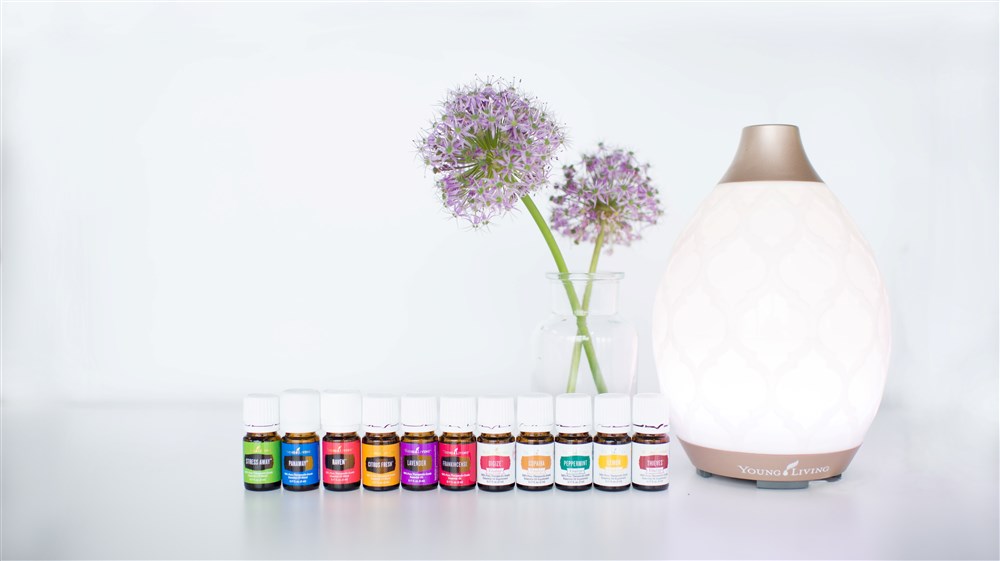
We have some great ideas on how you can maximize a Premium Starter Kit (PSK) for this special occasion.
OPTION ONE
Purchase a PSK and use it as 13 individual gifts.
The PSK comes with 11 essential oils, a diffuser, and a few great samples of other products.
Let me give you some ideas about who you might choose to receive these gifts.
1. Diffuser & Citrus Fresh – A friend or caregiver with active children. Gift the diffuser separate if needed.
2. Lavender – Your friend who needs a restful night sleep.
3. Lemon Vitality – Someone who loves social gatherings or detox challenges. #Lemonade #GentleDetox
4. Frankincense – Your favorite Yogi. #mindfulness
5. Peppermint Vitality – Your bestie who bakes. #PeppermintBrownies
6. Copaiba Vitality – Your supplement junkie friend who loves all things wellness.
7. Thieves Vitality – Your child’s teacher, Sunday school teacher, or coach. #ImmuneSupport
8. DiGize Vitality – Your girlfriend who loves to travel. #DigestiveSupport
9. Raven – Your girlfriend who runs marathons #ApplyOverLungs
10. PanAway – Your girlfriend who hits the gym. #ApplyToMusclesAndJoints
11. Roll on top & Stress Away – Any living breathing human being. =)
12. Add the Thieves Cleaning sample to water in a cute spray bottle and gift it to your friend who loves all things clean and tidy.
13. Two NingXia Red packets – The one person you have left. Everyone can use this dietary supplement.
OPTION TWO
2) Give the entire Premium Starter Kit as a gift for a special woman in your life. As you can see from the list above, Premium Start Kit has it all, 13 wonderful gifting opportunities. This is the most effective, affordable, and diverse set of essential oils you can find.
—-//—-
Raise your hand if you want one of these kits for yourself!? Get it here —> http://bit.ly/2pQWvOG
YOUNG LIVING MEMBERSHIP
If you are not yet a Young Living member, you can easily join with any starter kit. I highly recommend the Premium Starter Kit with essential oils. With your no-strings-attached membership, you will be able to purchase YL products at 24% off! You also get special perks through the Rewards program and the ability to share and get your products for FREE! Yup, I said it. It’s not weird. It’s amazing and I have actually get paid to share Young Living products. All of my friends and family are healthier because of sharing, which makes me one happy girl.
*******
Order a premium starter kit for yourself using the personal sign up link from the person who invited you. I promise she’ll love getting a message from you asking how to get the kit!
Then add on any other products you would like for yourself or to give as gifts. Young Living has hundreds of products from essential oils to skin care, makeup, baby and kid products, a pet line, and food and even cookware. If you didn’t see something highlighted in this class that you are hoping Young Living carries, ASK! We are super passionate about YL and their products!
I have navigated my way through the website enough times ordering for myself that I could probably make a suggestion. If I don’t know, I will ask my helpful community. Someone will be able to get the answers to your questions. #GroupEffort.
Once you order, we will introduce you to the community and send you a welcome pack with everything you need to get started, including informative reference materials.
***********
Premium Starter Kit (PSK) around $160-260 depending on which diffuser or kit you select.
PSK includes:
Diffuser – Multiple options with different features and price points.
Lavender – Good for rest, relaxation, skin and more.
Raven – Apply to lungs pre/post exercise.
PanAway – Perfect for soothing muscles and joints.
Citrus Fresh – Calming when diffused or applied.
Stress Away – Calming when diffused or applied.
Peppermint Vitality – Supports the digestive system. Food flavorant.
Lemon Vitality – Supports the lymphatic system. Food flavorant.
DiGize Vitality – Supports the digestive system.
Copaiba Vitality – Supports full body wellness.
Thieves Vitality – Supports the immune system.
1 oz Sample of All Purpose Thieves Cleaner – Toxin-Free cleaner for EVERYTHING!
Two 2 oz samples of NingXia Red – an antioxidant nutritional supplement.
———-
If you want to order any other products right away, I highly recommend ordering through the Essential Rewards (ER) program so you can get ER points back and free gifts. If you would like more information on this valuable program, let me know. It is really the most cost effective way to order and you can cancel ER anytime with no penalty or fee.
SAVVY MINERALS MAKEUP KIT

Savvy Minerals now comes in a starter kit! So exciting! Start your journey with Young Living by putting your freshest face forward. Choose a Savvy Minerals by Young Living® Premium Starter Kit with a makeup set that has everything you need to create effortless, versatile looks without ever compromising on quality. Our makeup kit lets you choose from four options, with shades selected to complement a range of skin tones and premium products, including our pure mineral foundation, super-pigmented eyeshadows, and universally flattering lip gloss. Create a radiant new look with Savvy Minerals by Young Living today!
Premium Starter Kit includes:
1 Foundation
1 Blush
3 Eyeshadows
1 Lip Gloss
Misting Spray
Foundation Brush
5-ml Lavender essential oil
Savvy Minerals by Young Living Booklet
Introduction to Young Living Booklet
BATH BOMBS
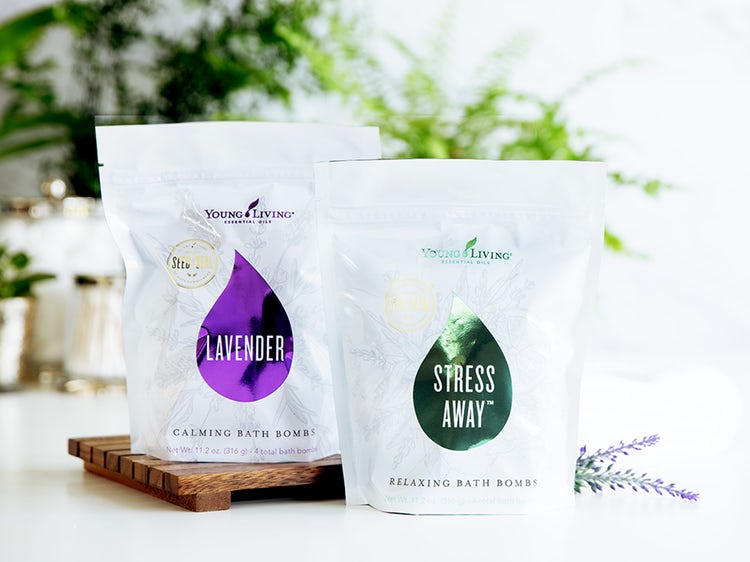
Made with Lavender oil and Stress Away essential oil, our new essential oil bath bombs are a fun, fizzy way to unwind. We’ve used two of our most popular calming essential oils to create these relaxing bath bombs and filled them with nourishing ingredients and no unwanted additives.
Lavender essential oil—renowned for its soothing and calming aroma—makes the Lavender Calming Bath Bomb perfect for unwinding after a long day, while the Stress Relaxing Bath Bomb is a special treat thanks to the inviting, vanilla-lime scent of Stress Away oil.
These natural bath bombs are made without colorants, synthetic preservatives, parabens, or animal-derived ingredients, making them some of the best bath bombs you can get your hands on! Instead of artificial ingredients and harsh chemicals, we’ve made these vegan bath bombs with a mineral-rich formula and skin-loving ingredients, such as coconut oil and sweet almond oil. That means they’re not only fun and relaxing—they also leave skin soft, smooth, and moisturized.
Curious about the essential oils in these products? Check out the Lavender® and Stress-Away® product pages for more information on Lavender essential oil uses and Stress Away essential oil uses.
SAVVY MINERALS SPRING COLLECTION
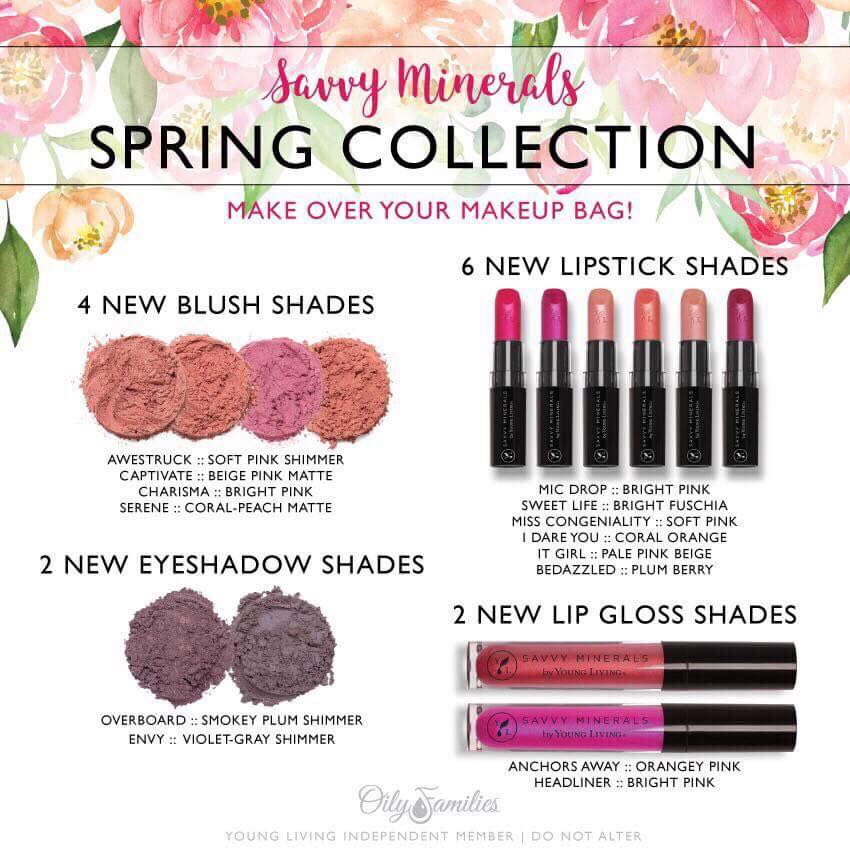
For a limited time only! Young Living has released some new beautiful colors in the Savvy Minerals makeup collection! SO pretty! https://issuu.com/youngliving/docs/savvyminerals.by.yl_catalog.docx?e=2440491/59448880
MORE ESSENTIAL OIL INFUSED DIY GIFT IDEAS
Visit the links below for more DIY gift ideas, share your own essential-oil infused ideas and favorites!
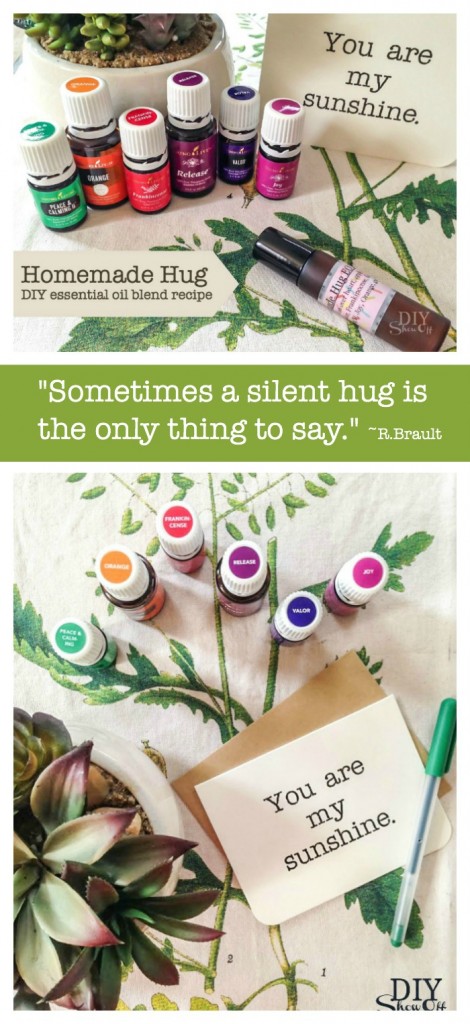
Homemade Hug Essential Oil Roller Blend
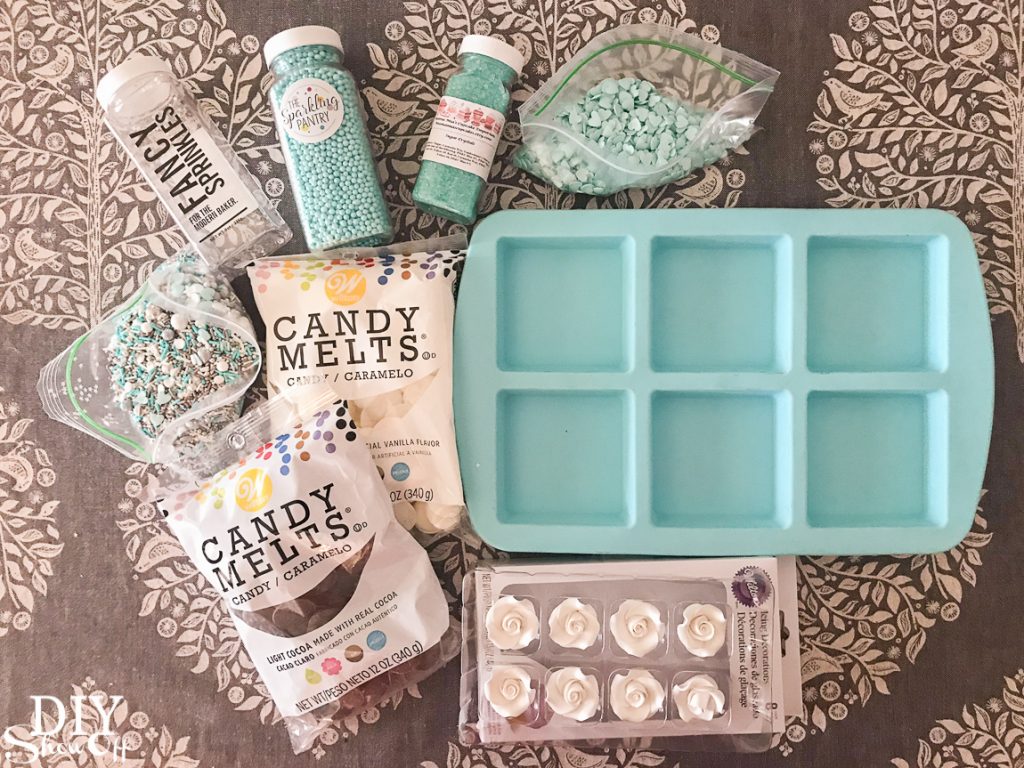
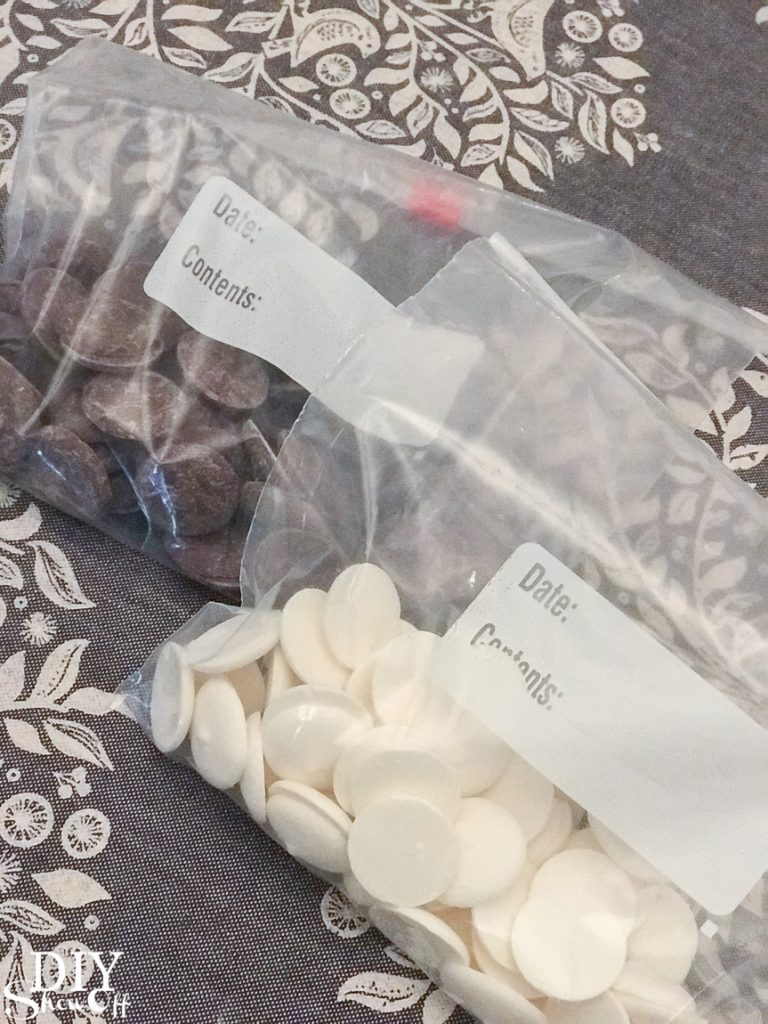
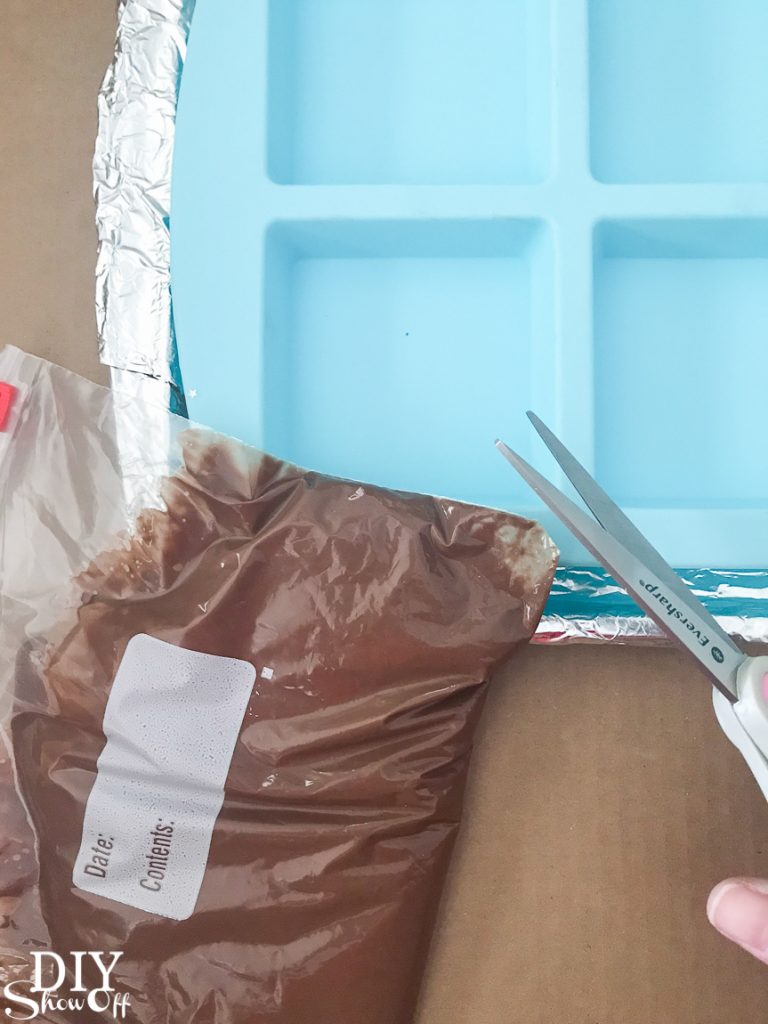
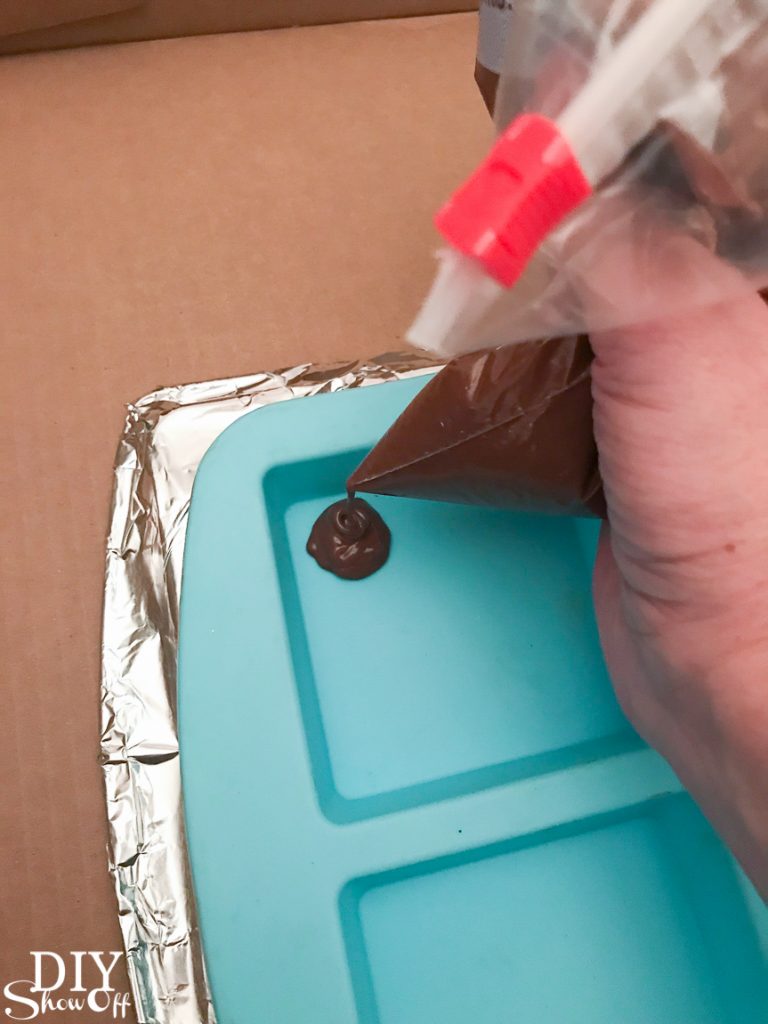

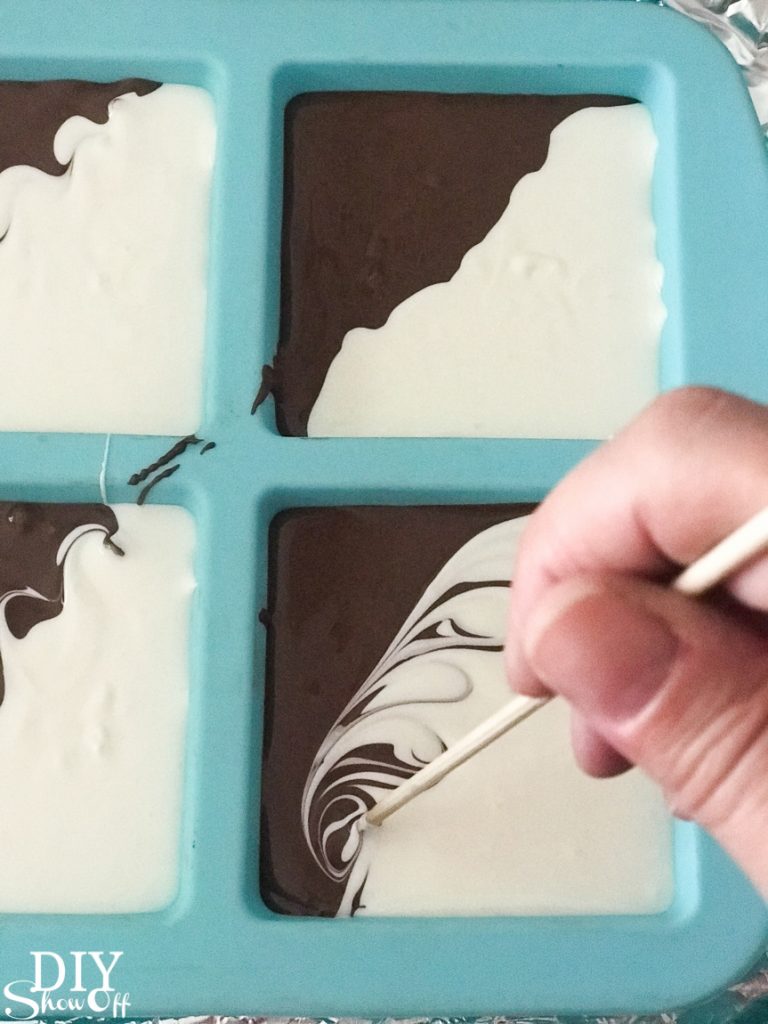

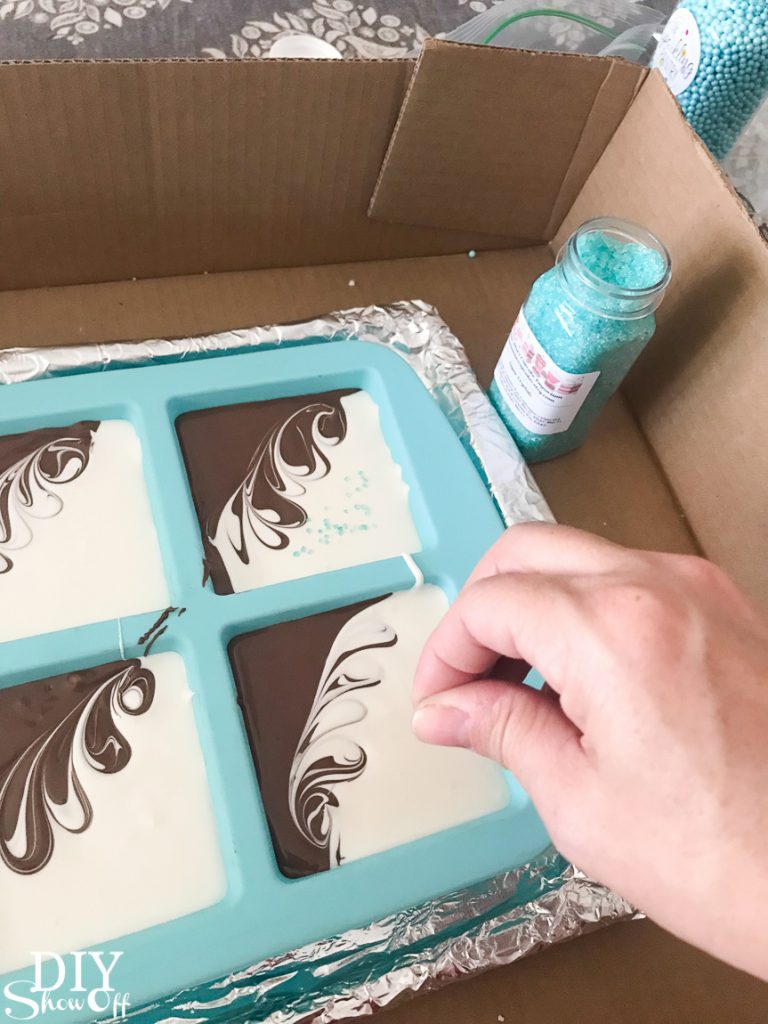
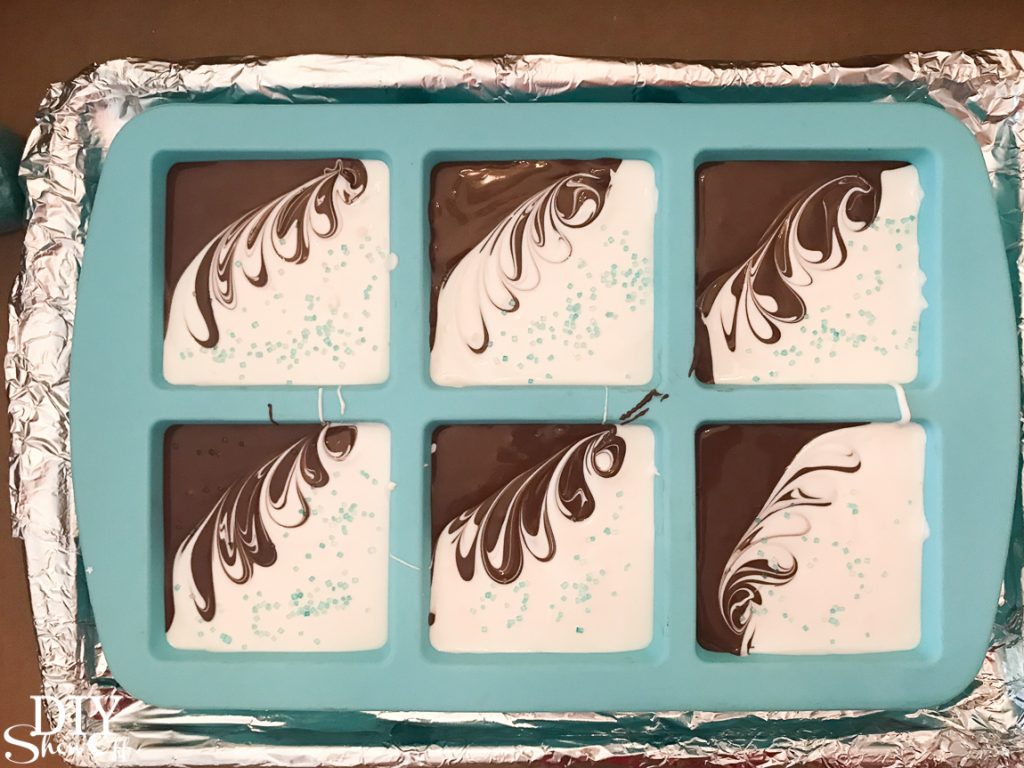
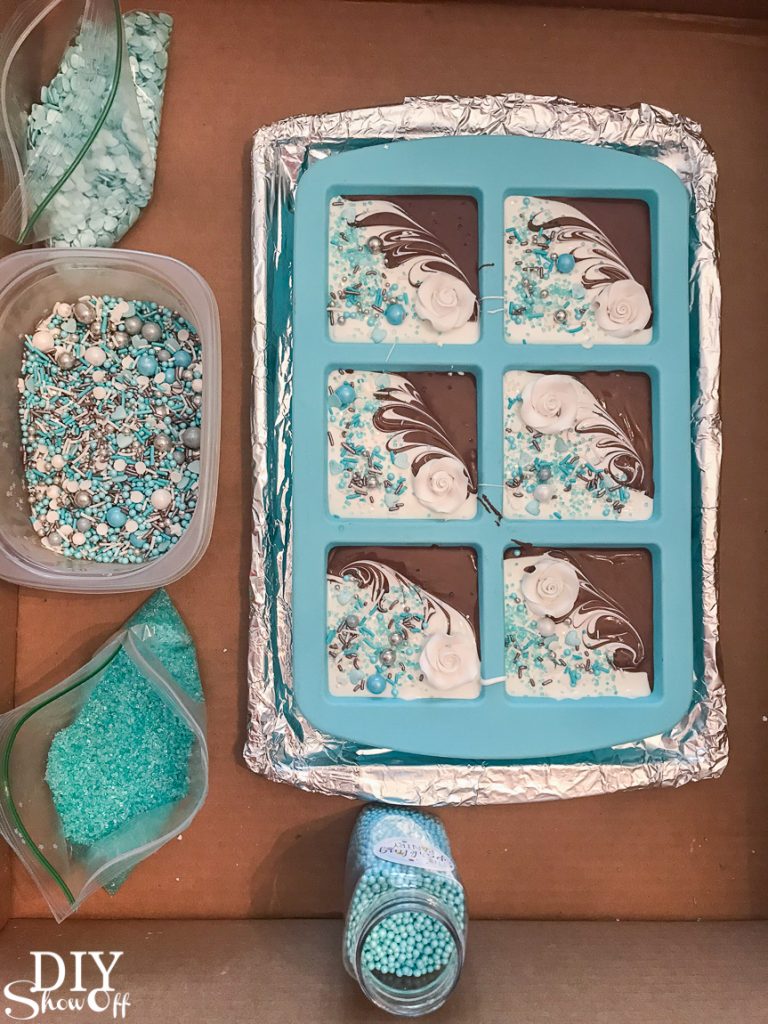
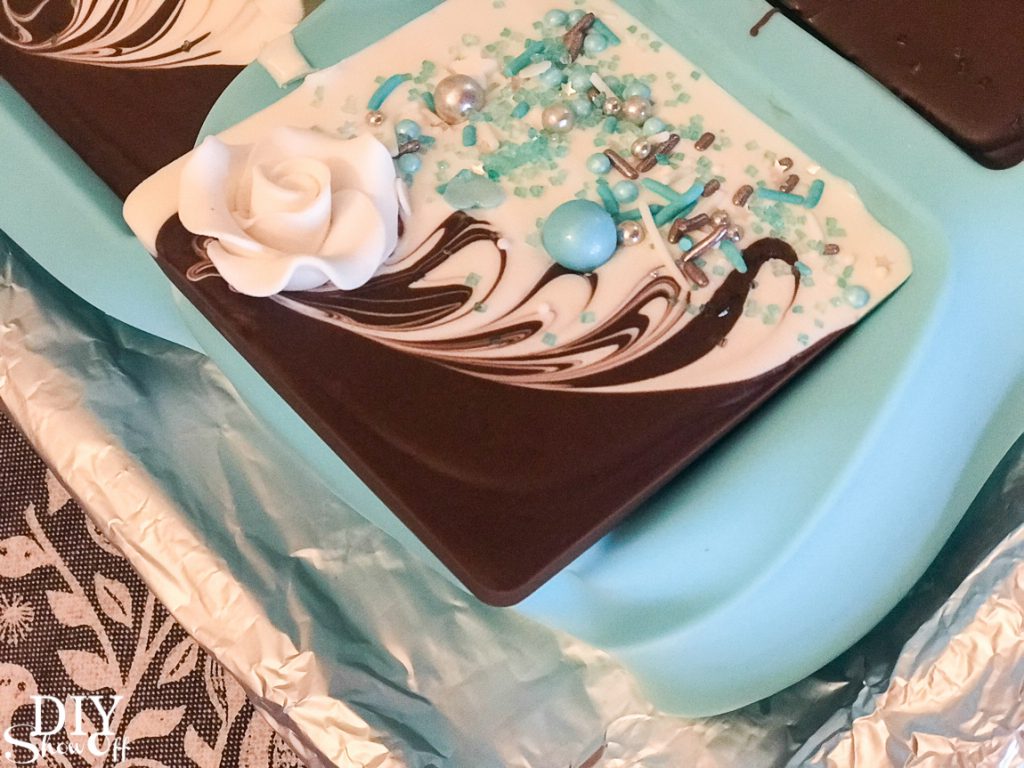
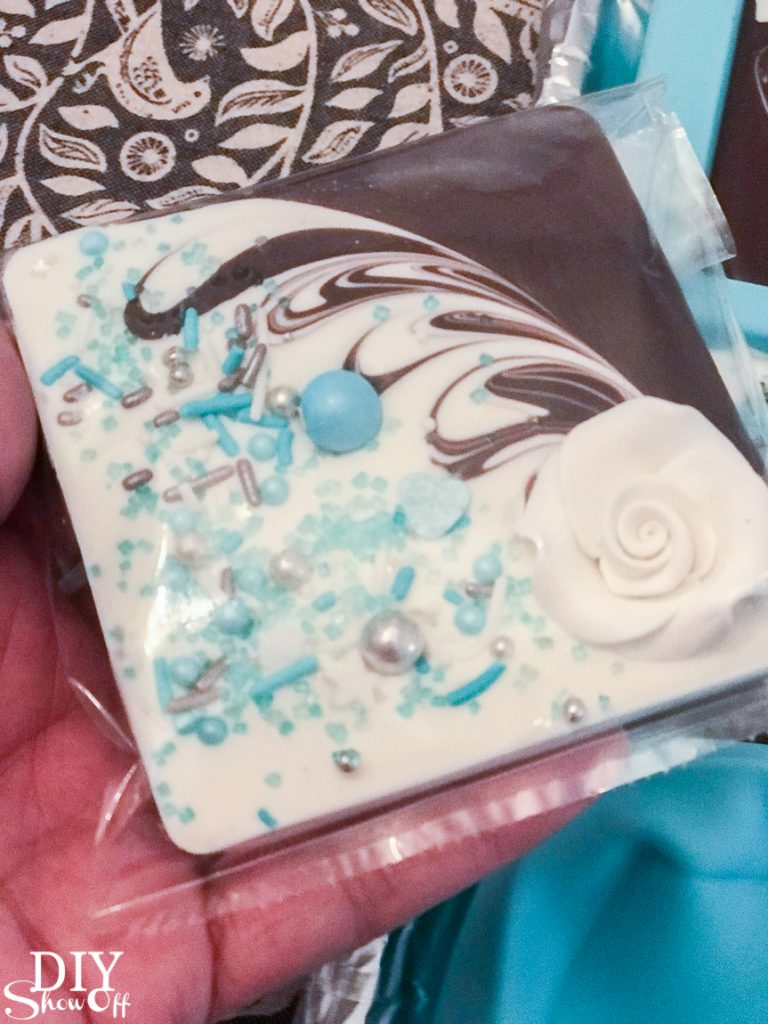
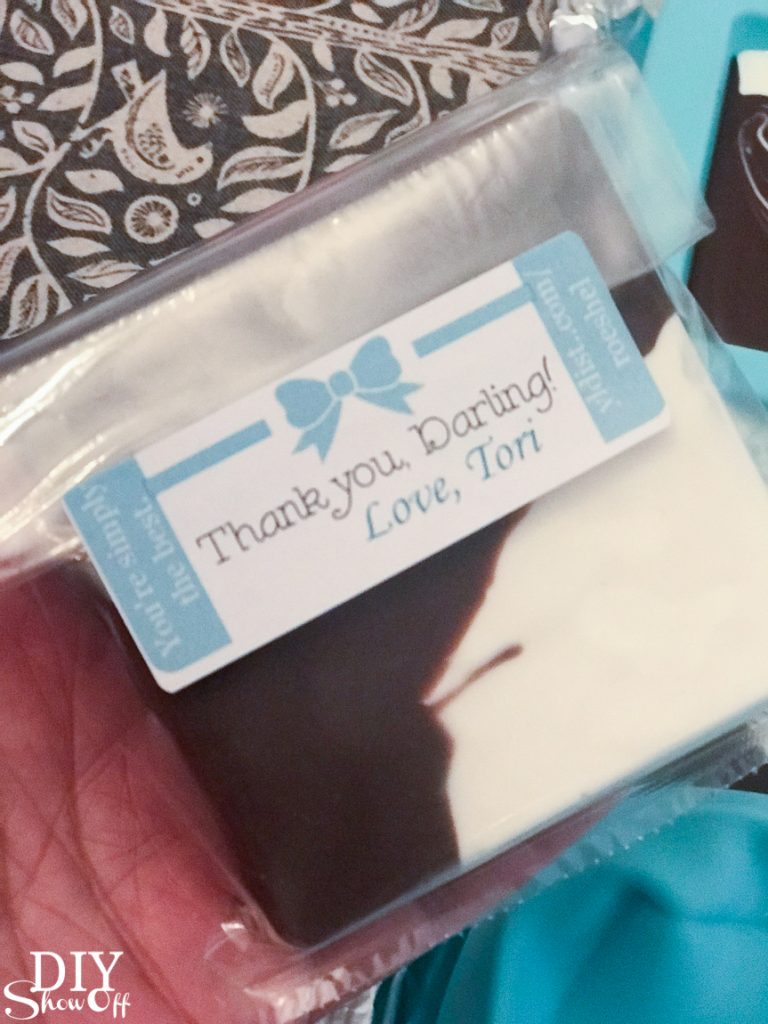

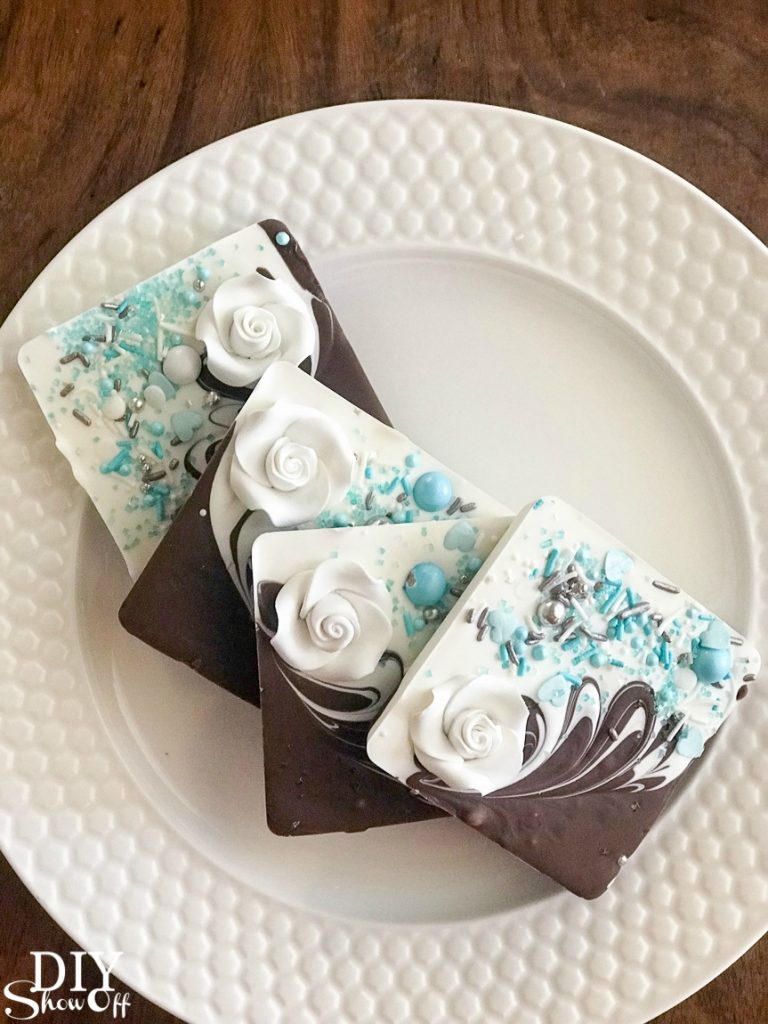
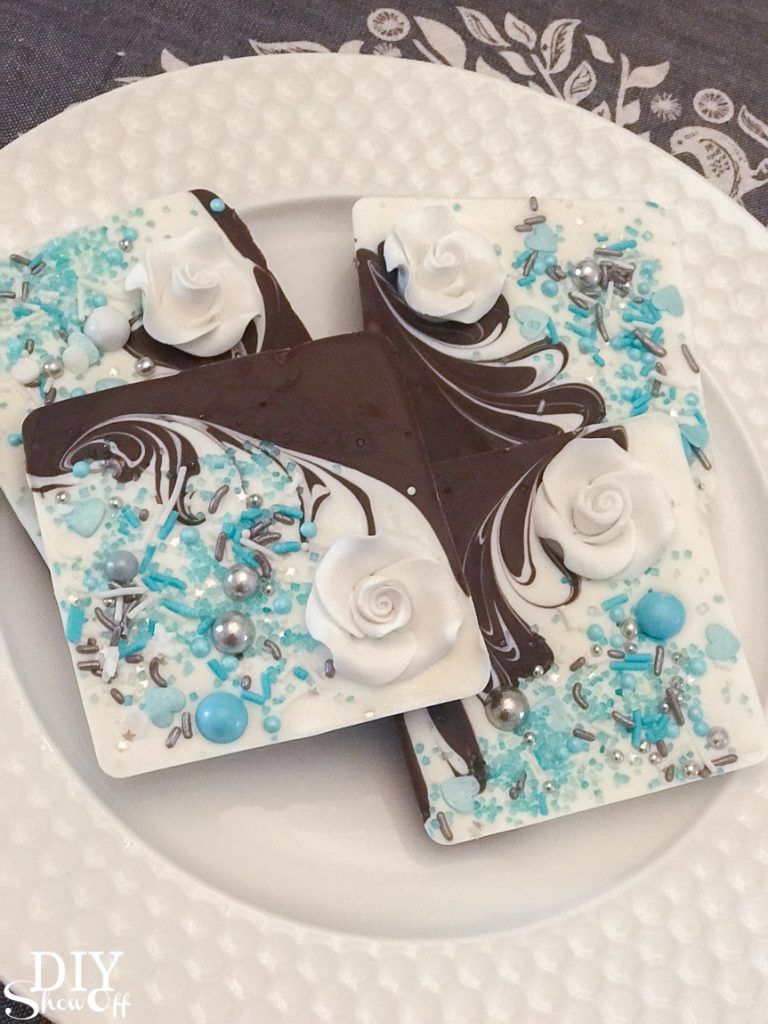
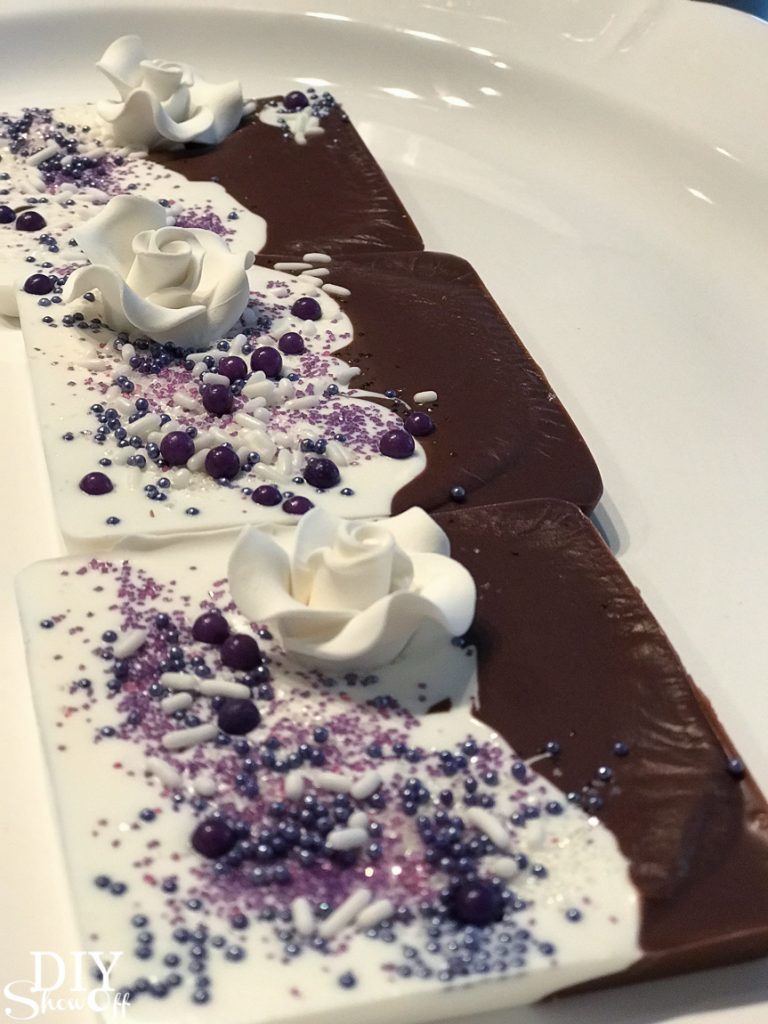
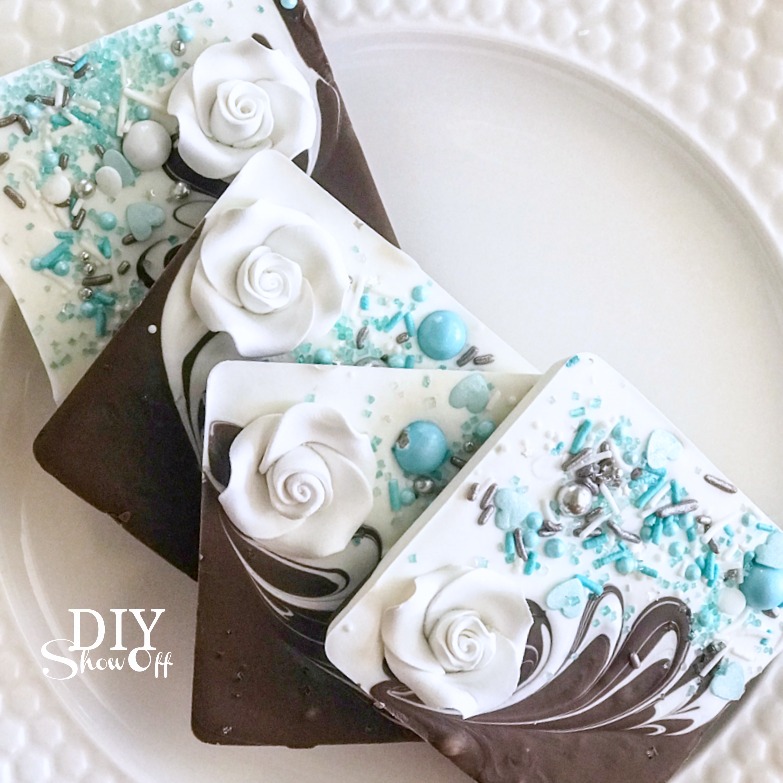
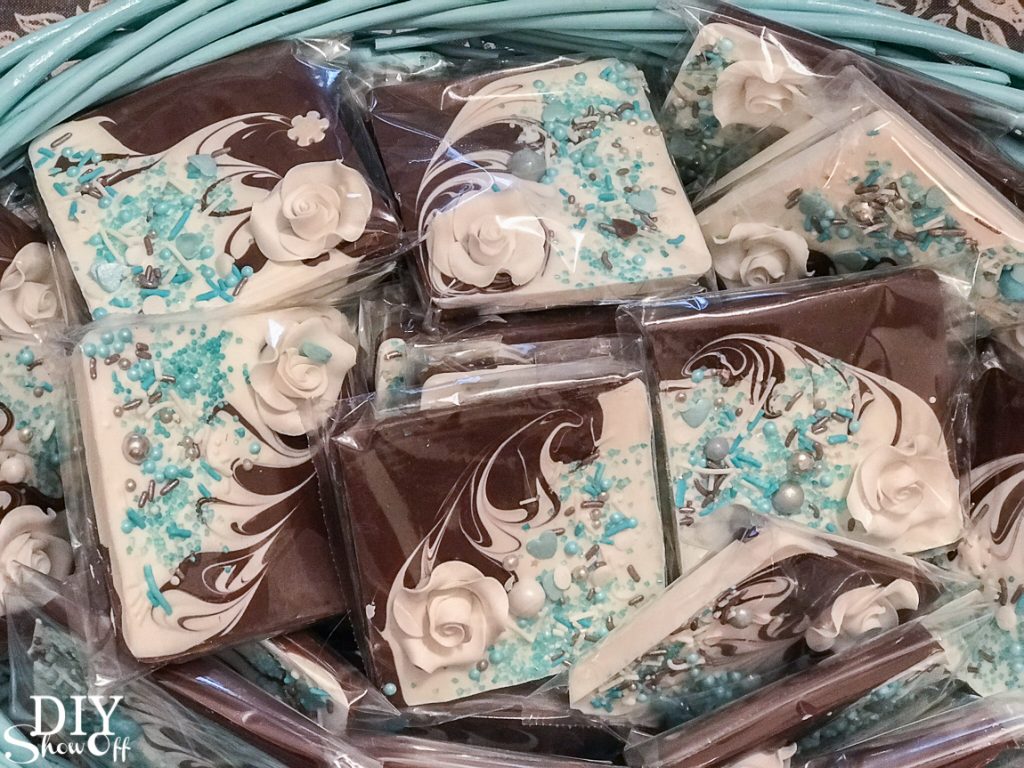 I whipped up 60-70 of these for a bridal shower but since you can personalize them with any candy melts (so many colors!) and any deco ratings (so many colors and shapes and ideas!), they’d work for not only bridal showers but for Mother’s Day, baby showers, wedding favors, party favors, hostess and teacher gifts, prizes, etc. I made a few every evening over a couple of weeks’ time. I gave a few out as essential oil infused door prizes and at Easter to my family too. I even had my grandson helping me decorate a few!
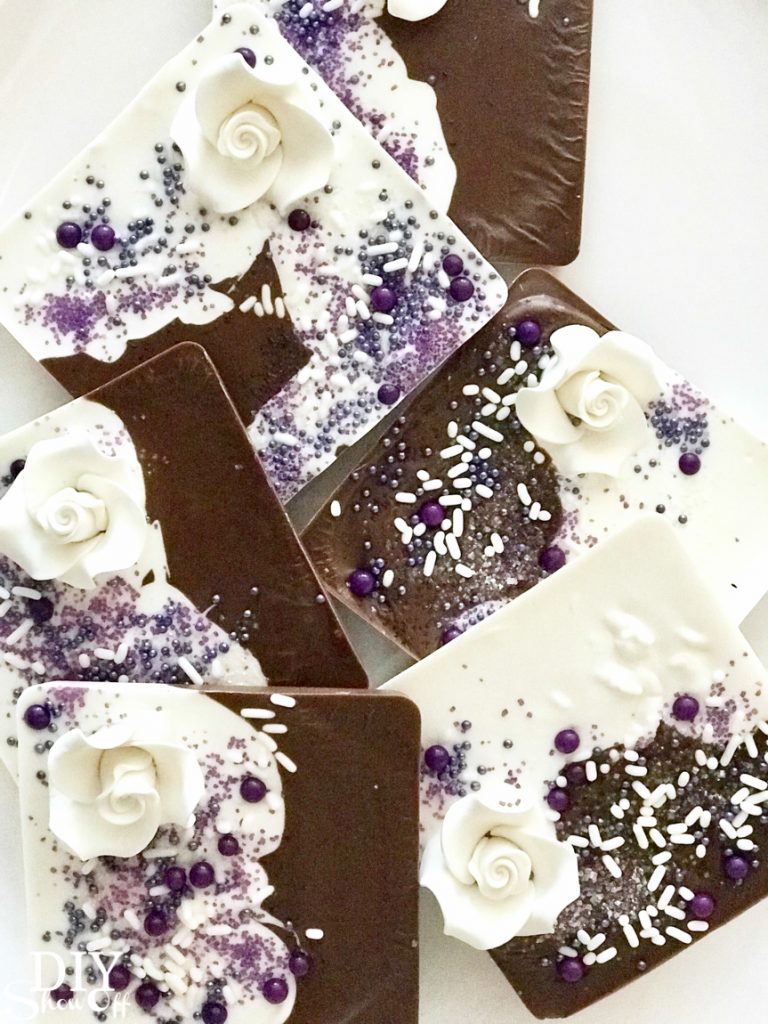
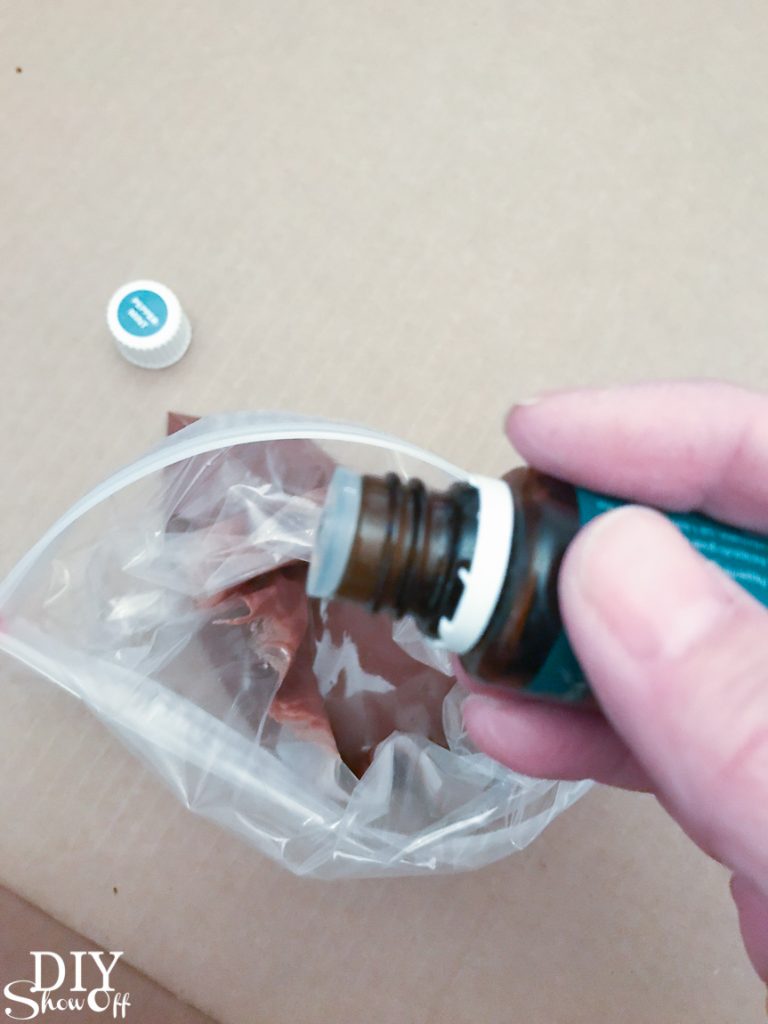
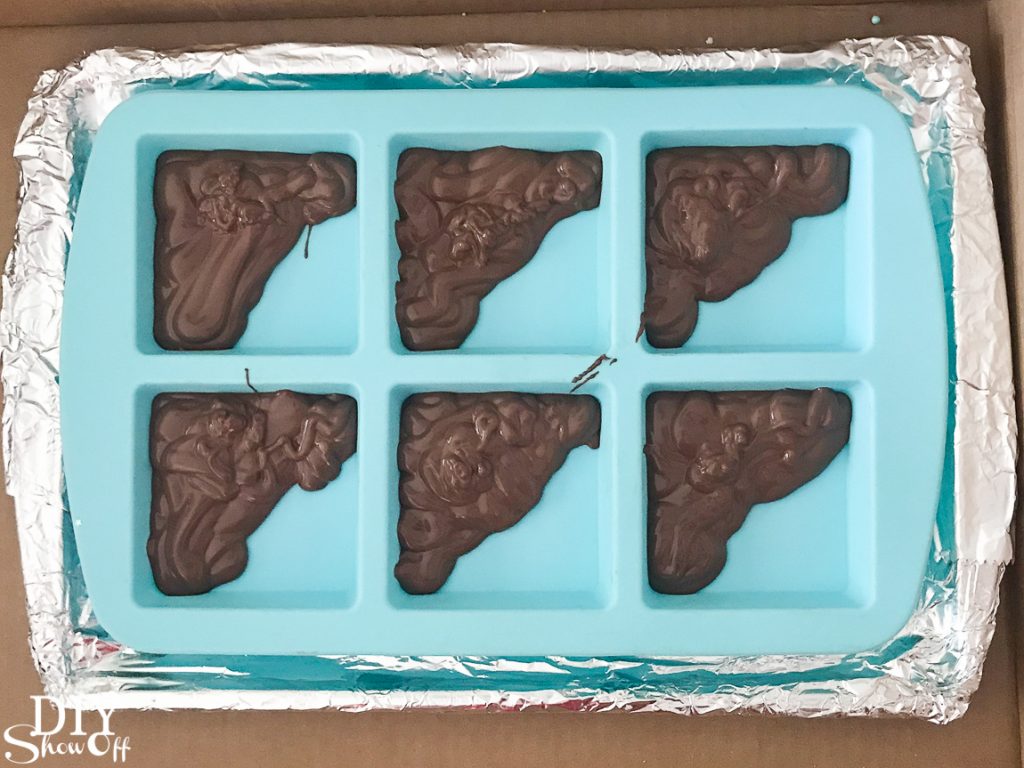
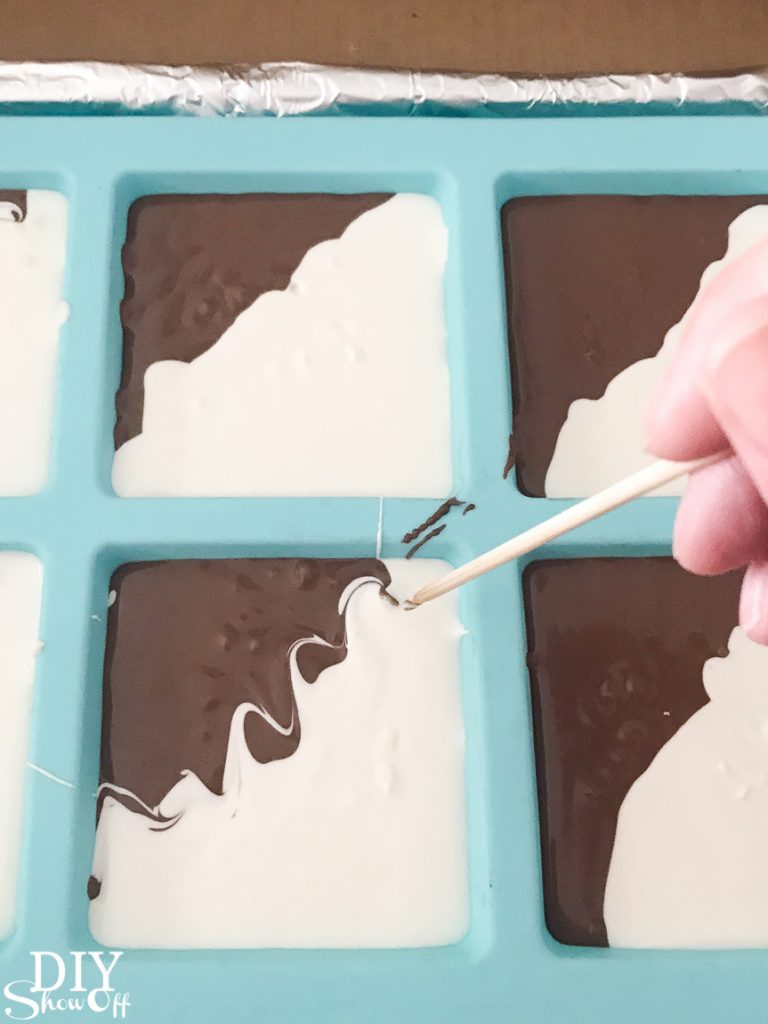
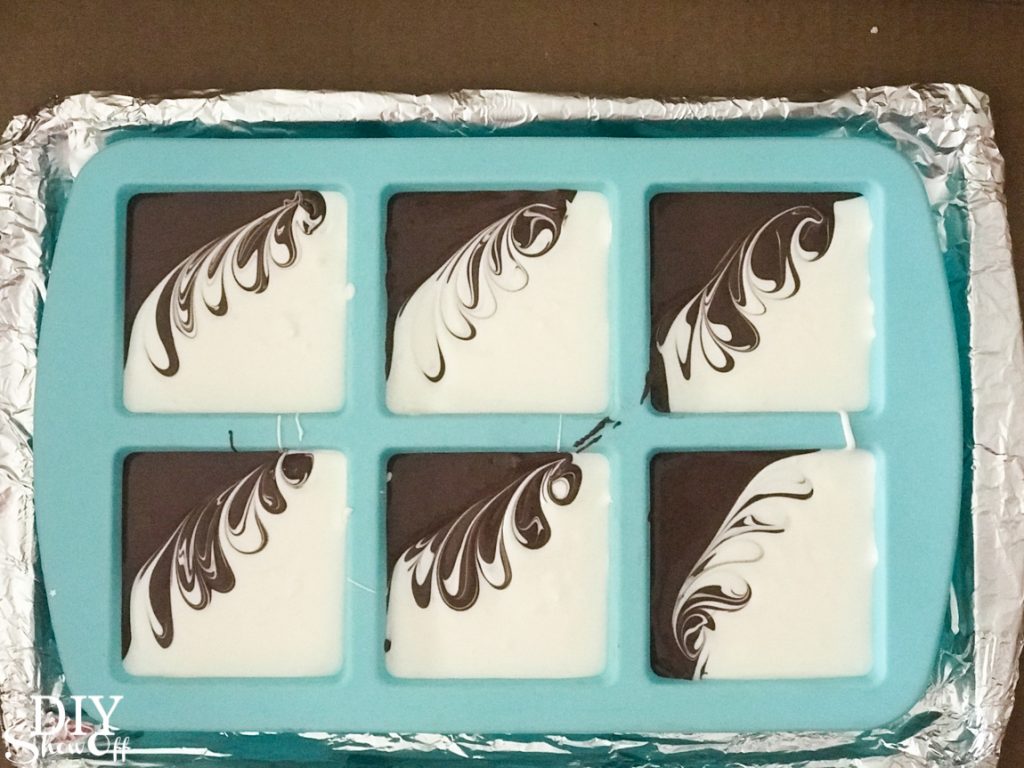
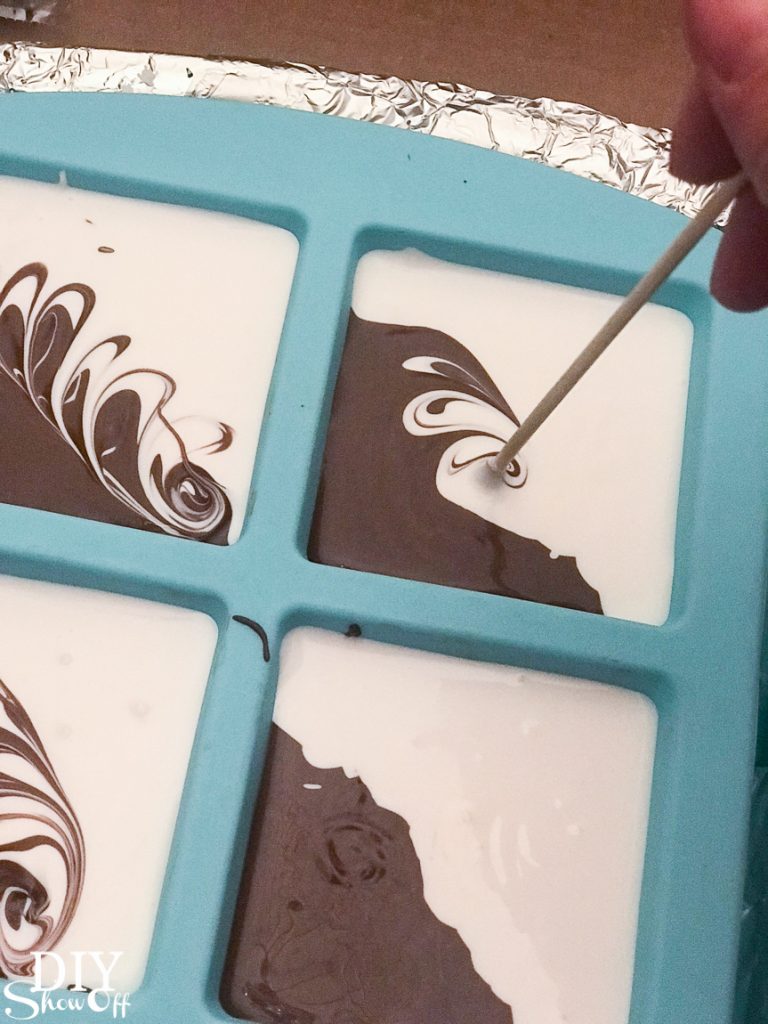
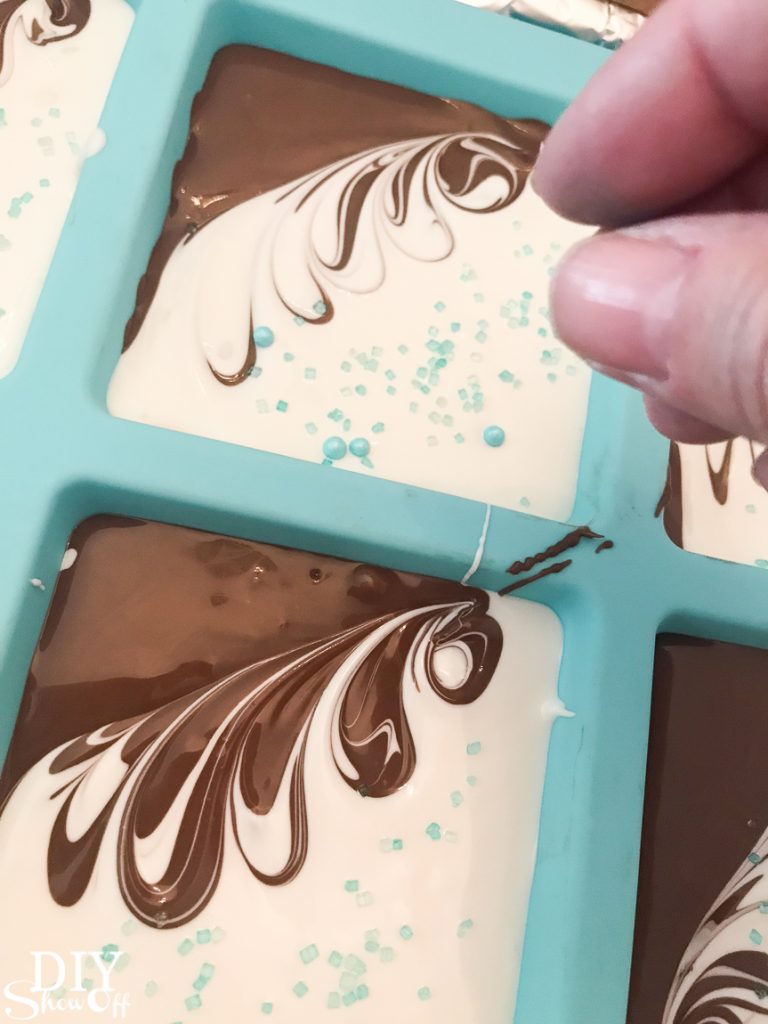
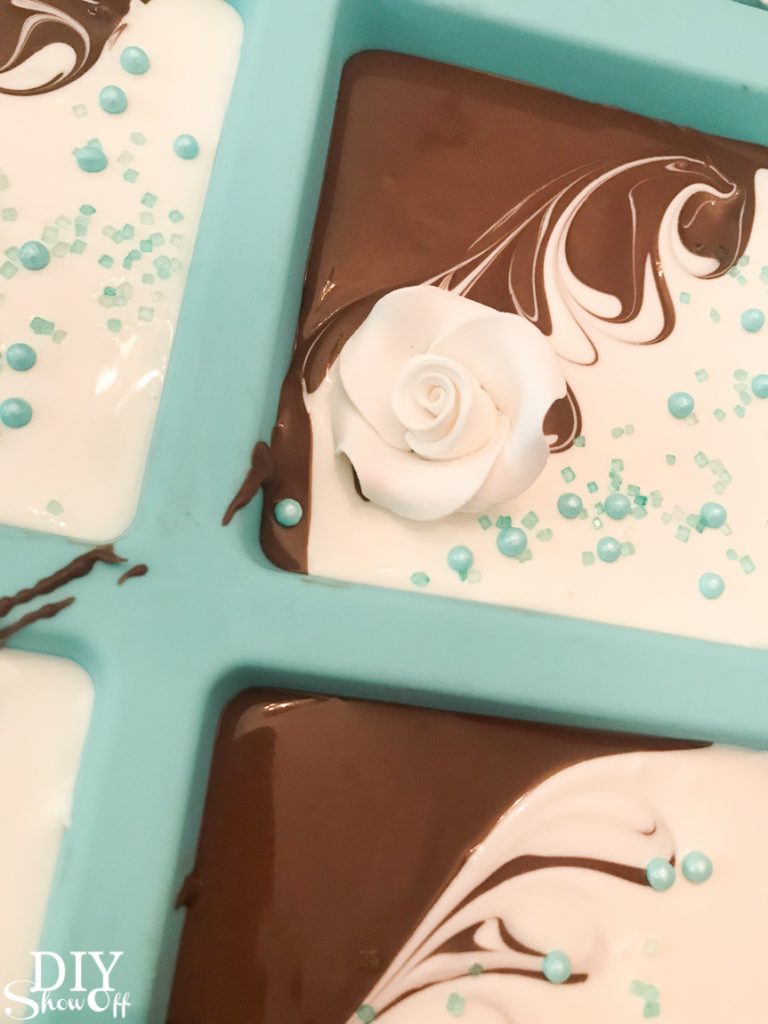
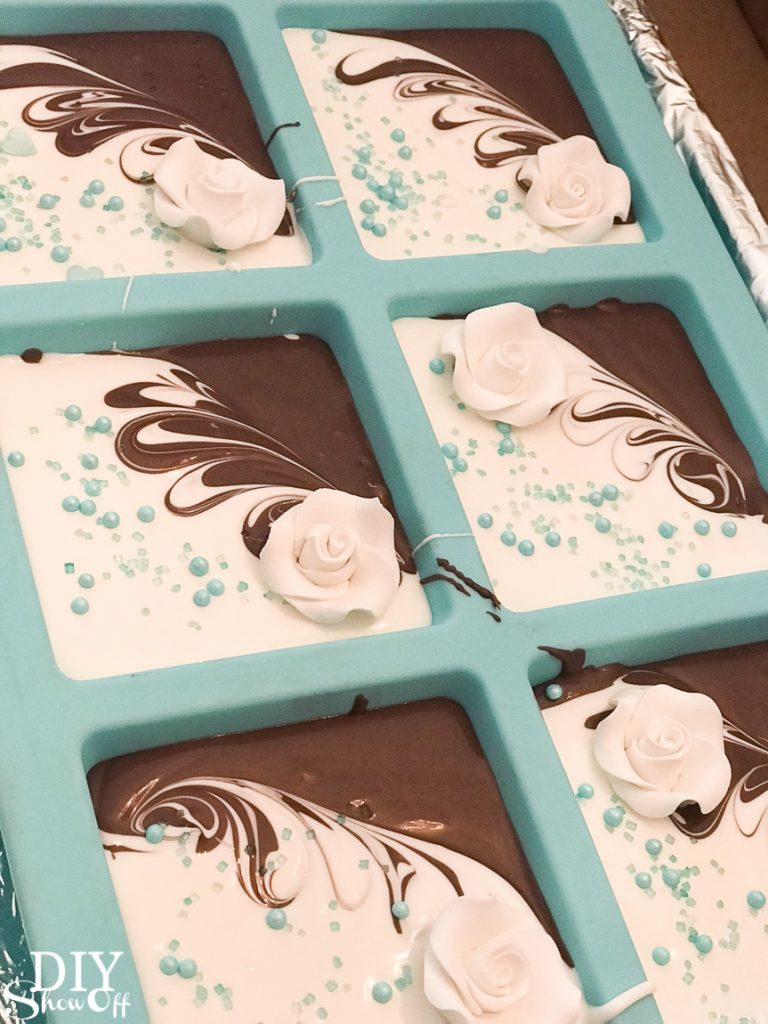
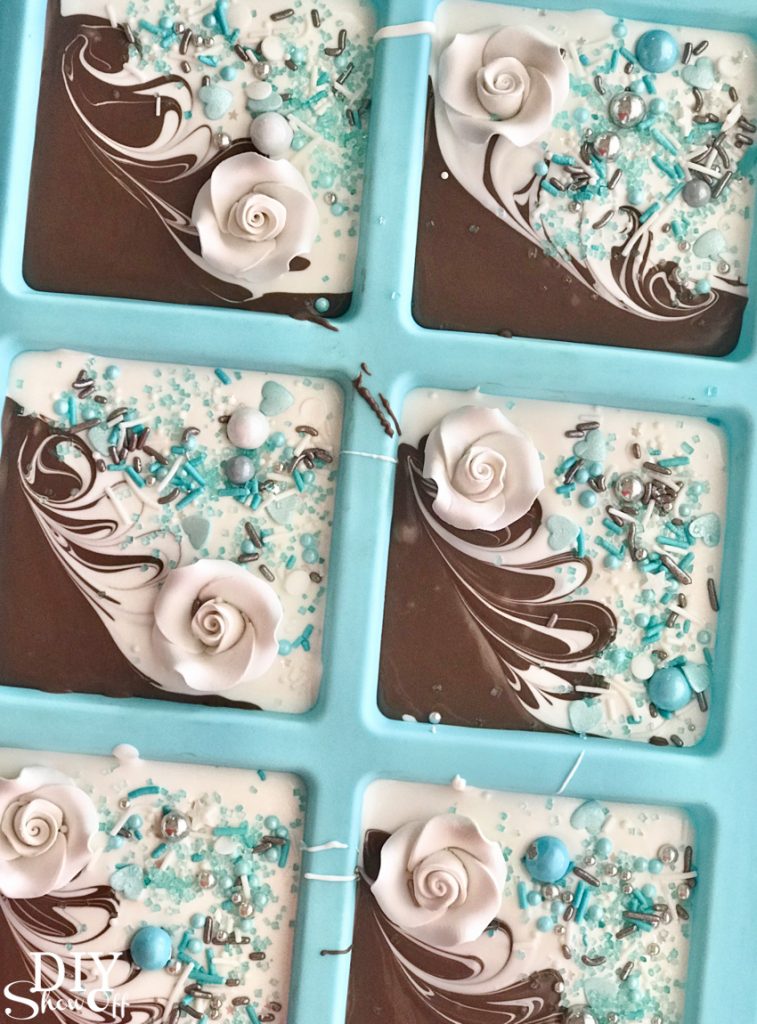
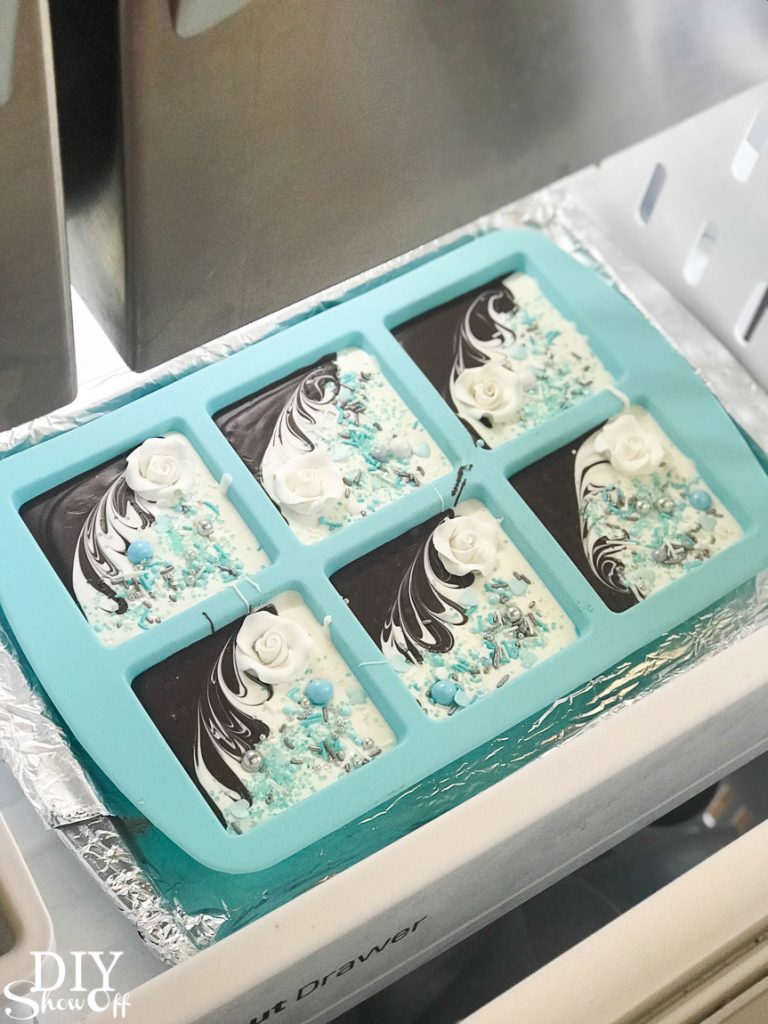
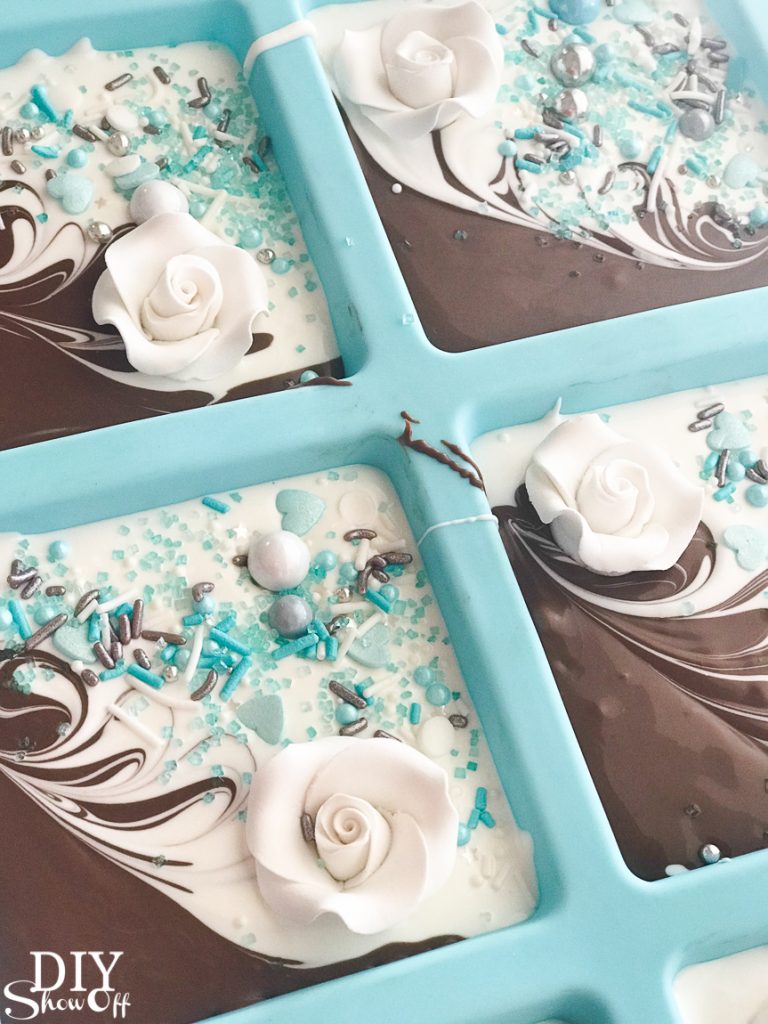
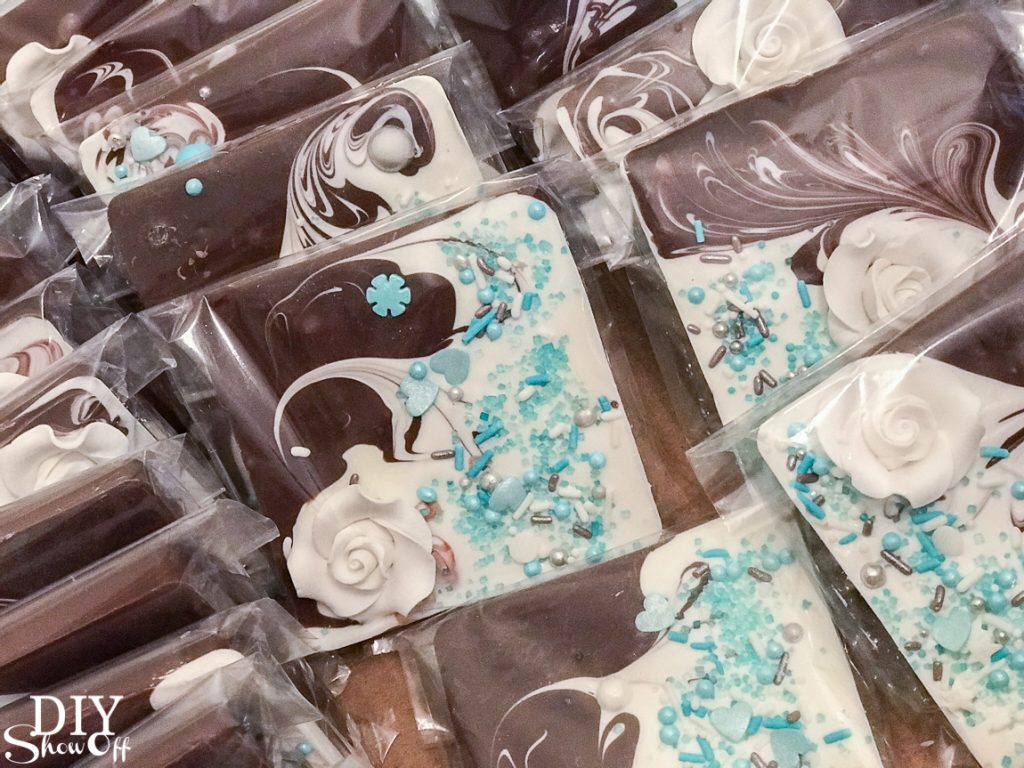
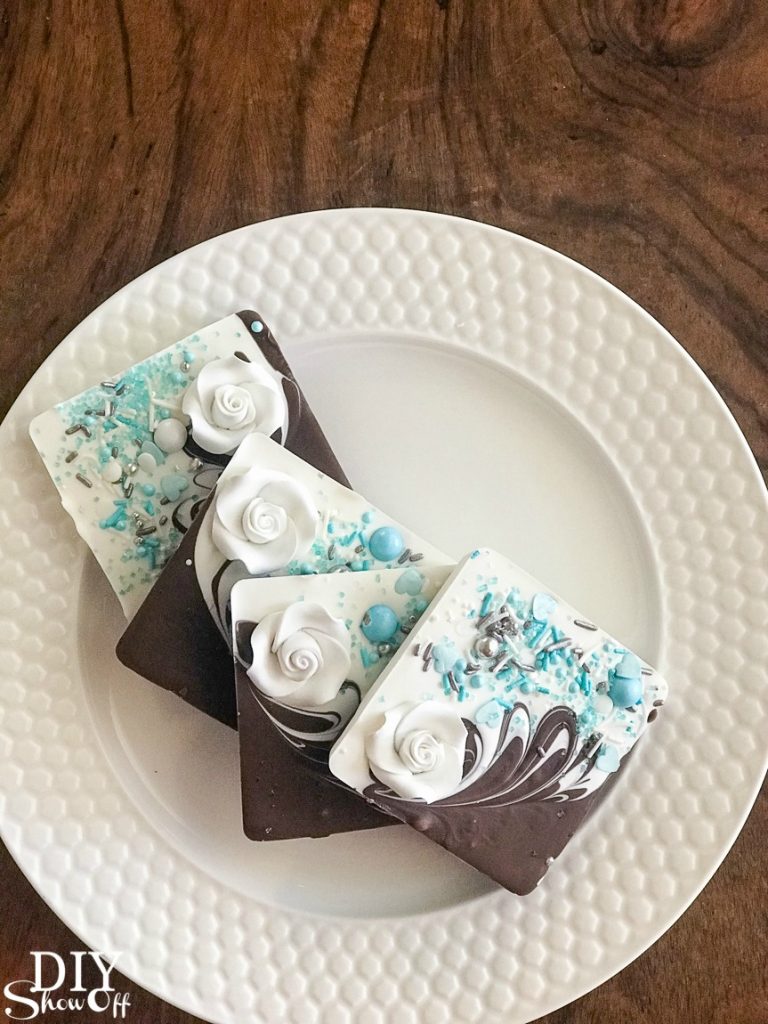
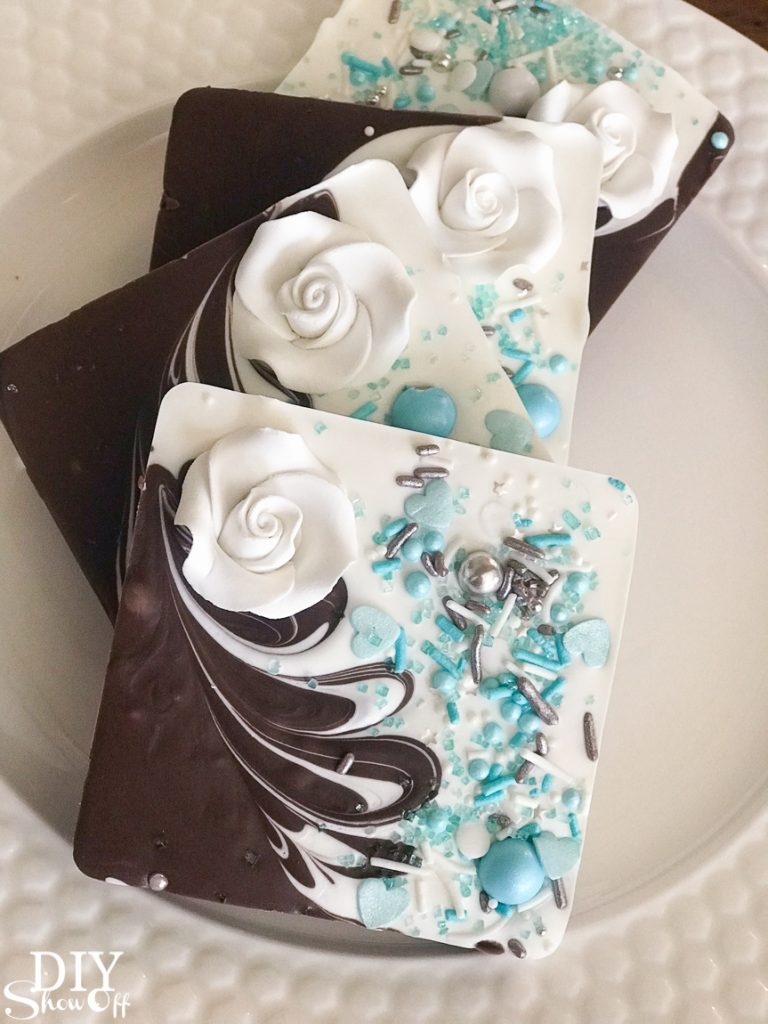
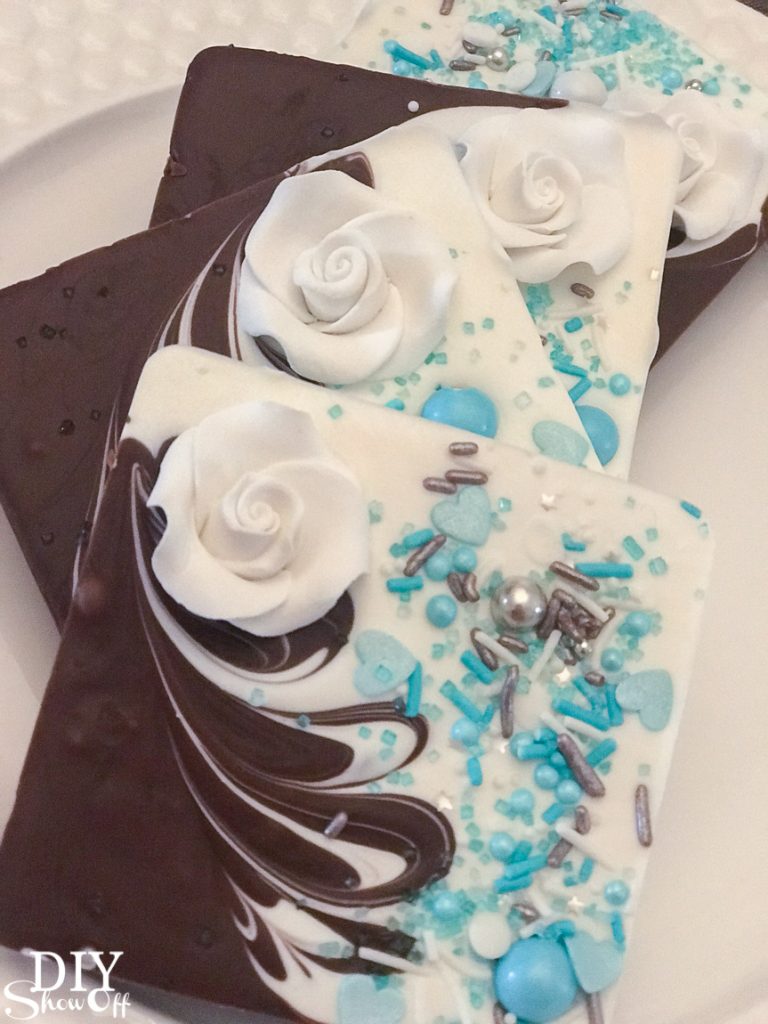
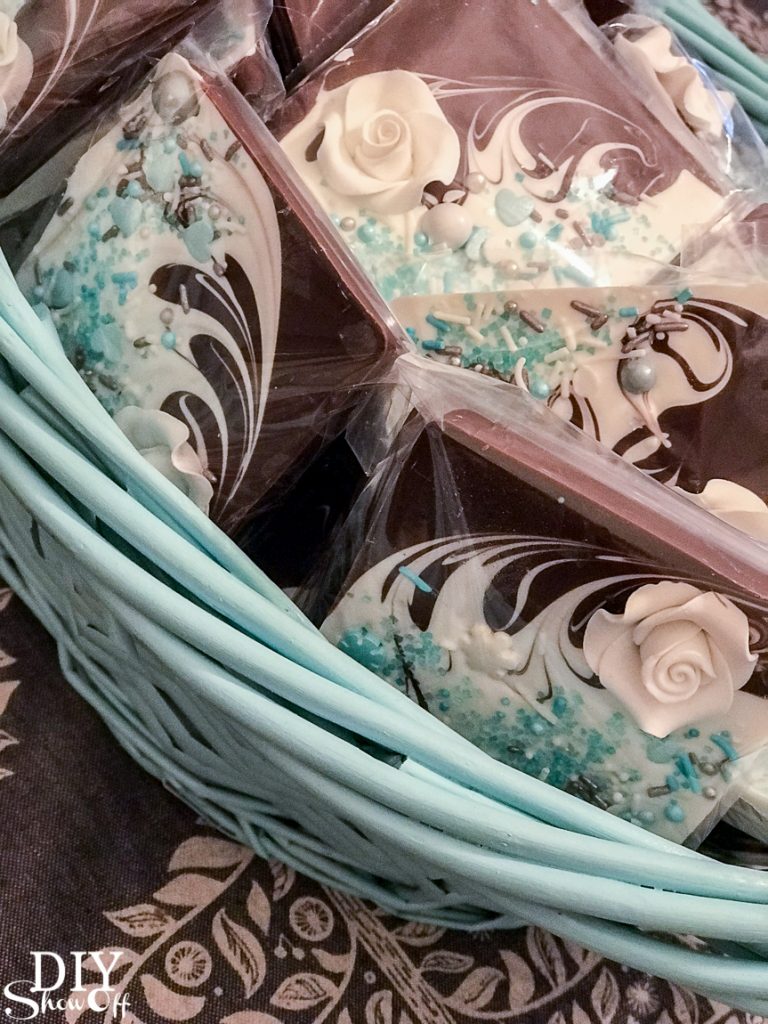 Warning – not only are they a beautiful sweet treat, they’re so addicting to create! Here is the very first batch that started my madness (without the swirl technique)…