It’s Christmas as the studio! Since we can’t put life on hold, let’s ignore the unfinished projects and enjoy a festive look at the holiday cheer in a mostly finished space. A place where we share DIY home ideas and creating a beautiful home begins with a healthy environment. 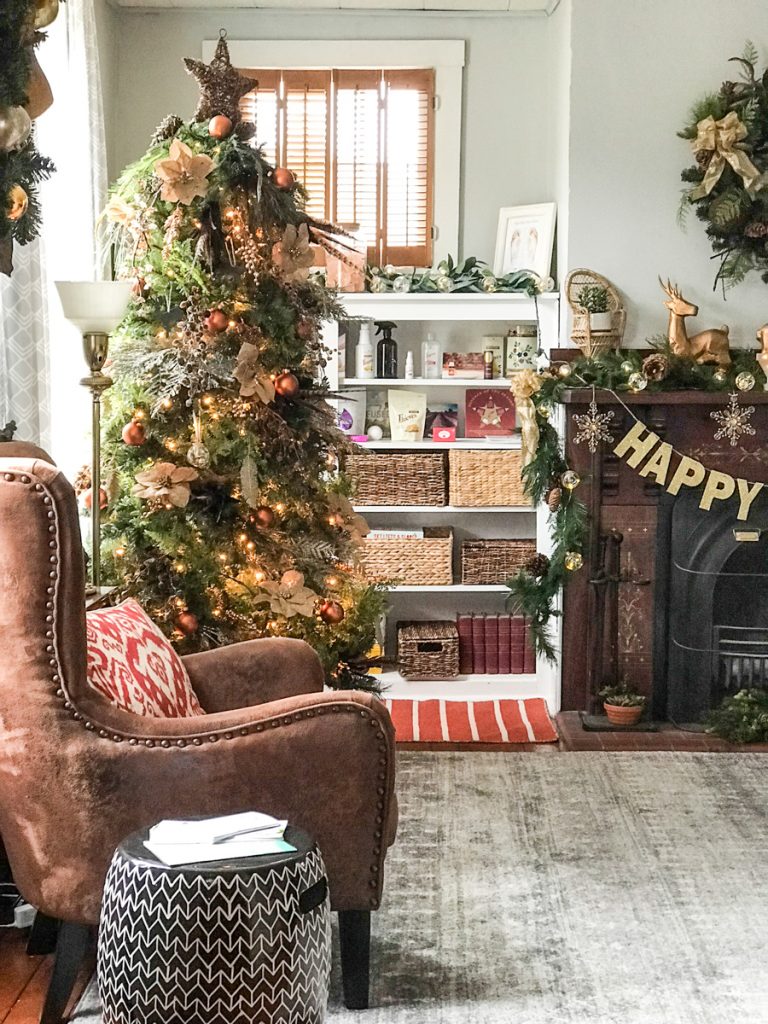
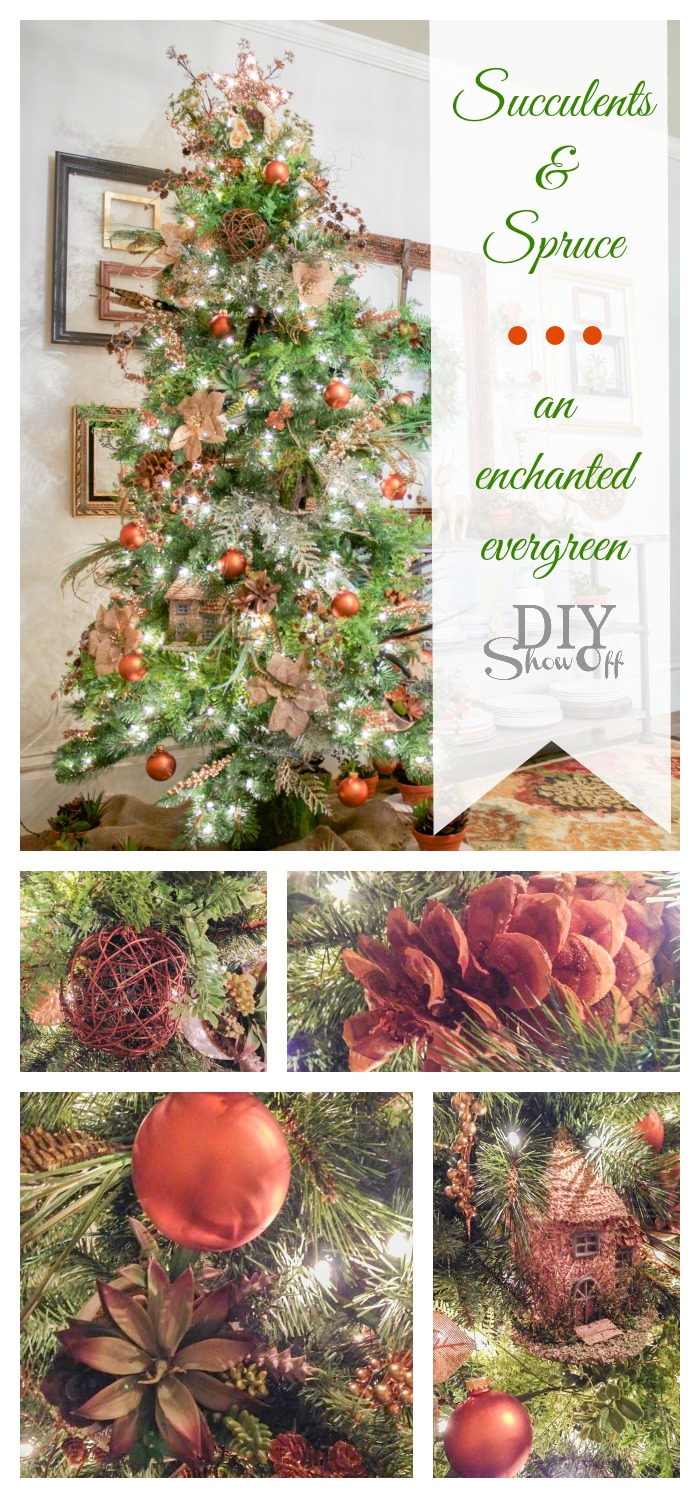
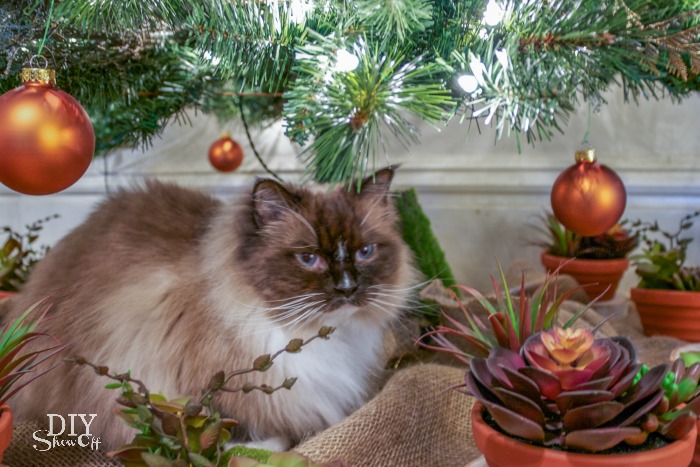
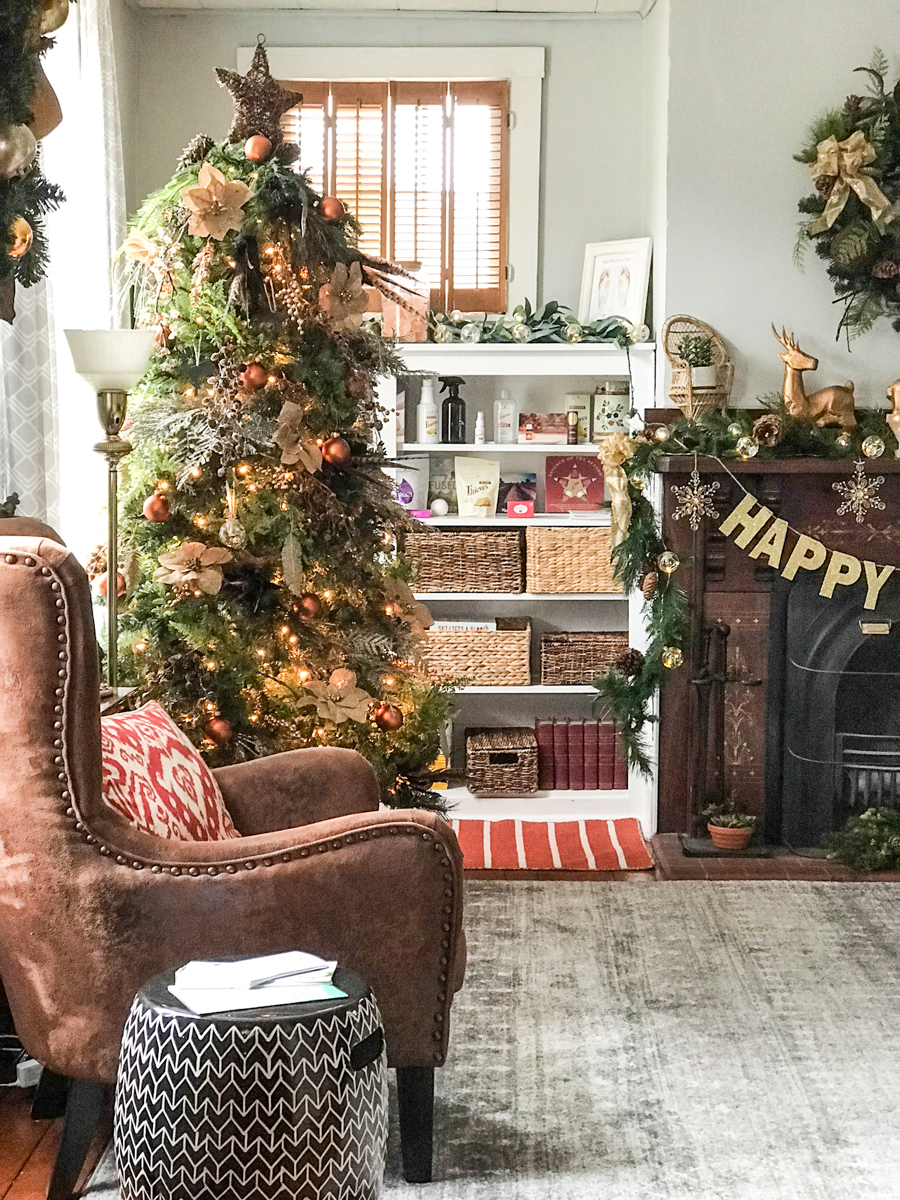
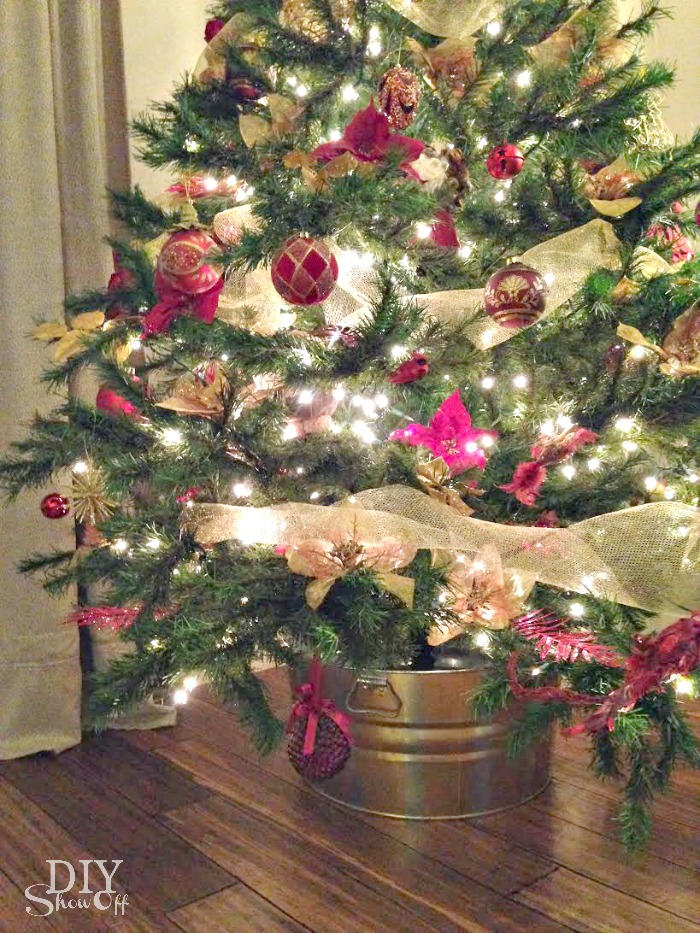
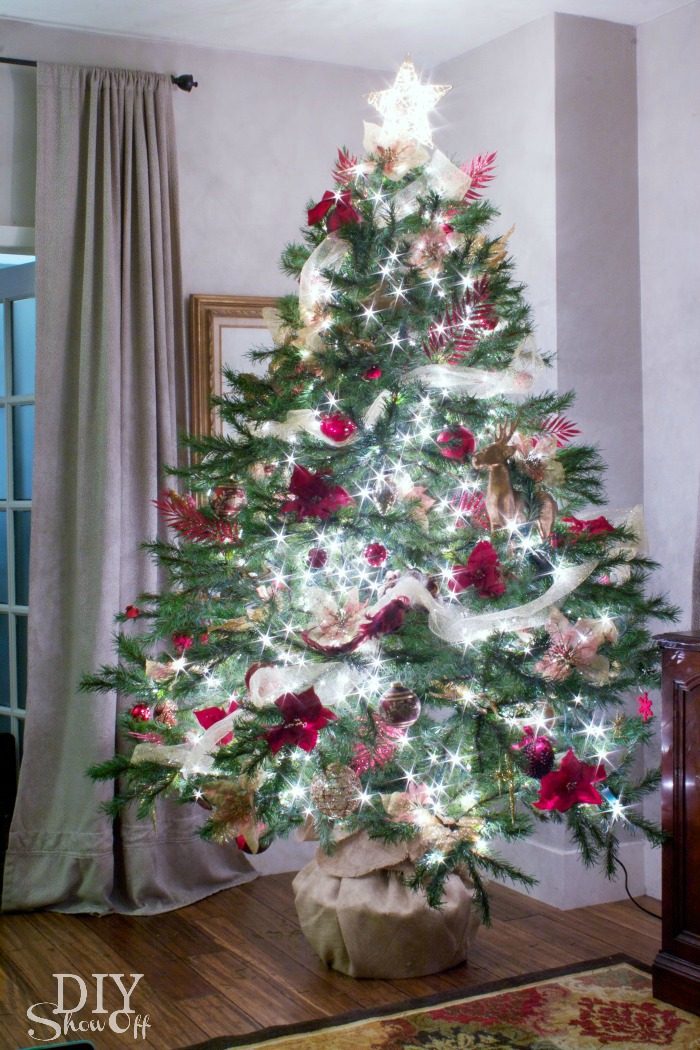
Remember that Succulents & Spruce Christmas tree? It’s a beautiful focal point to the studio living room area. I love the colors and rustic nature vibe in this space. 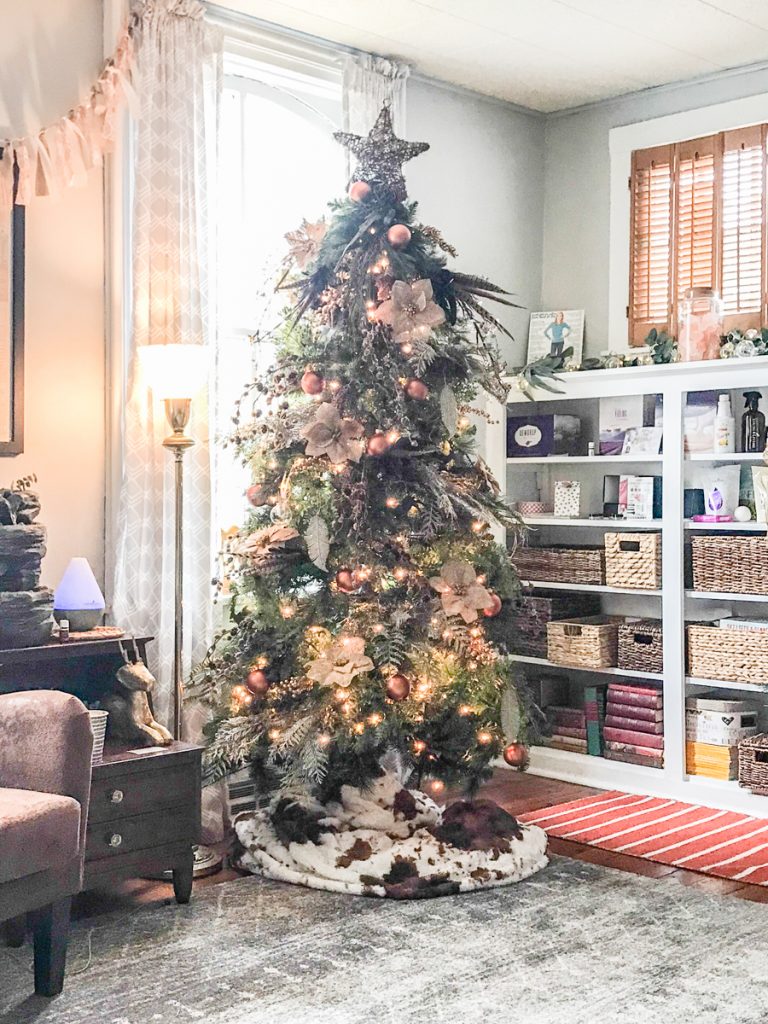 A grapevine star against a window in the daytime is hard to photograph but trust me, it makes for a perfect topper!
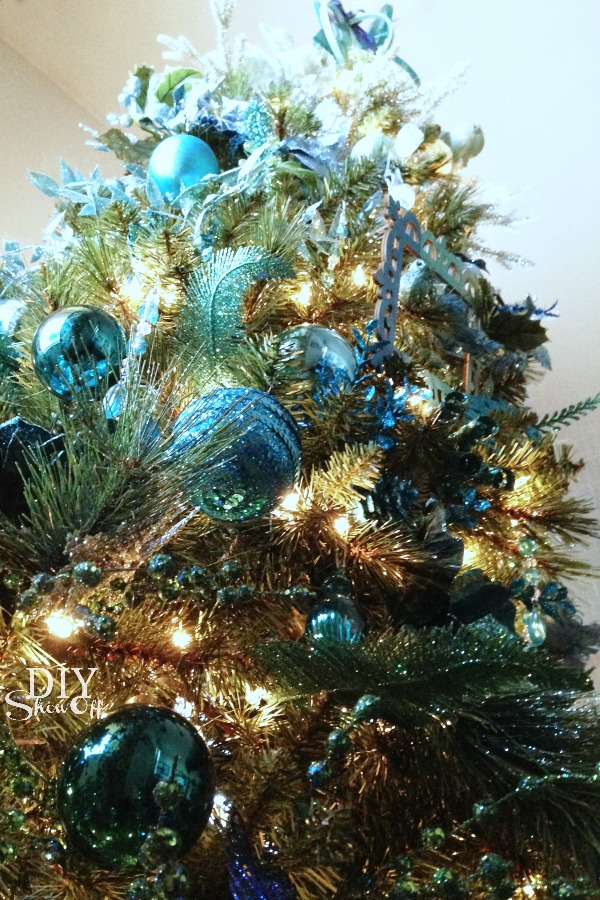
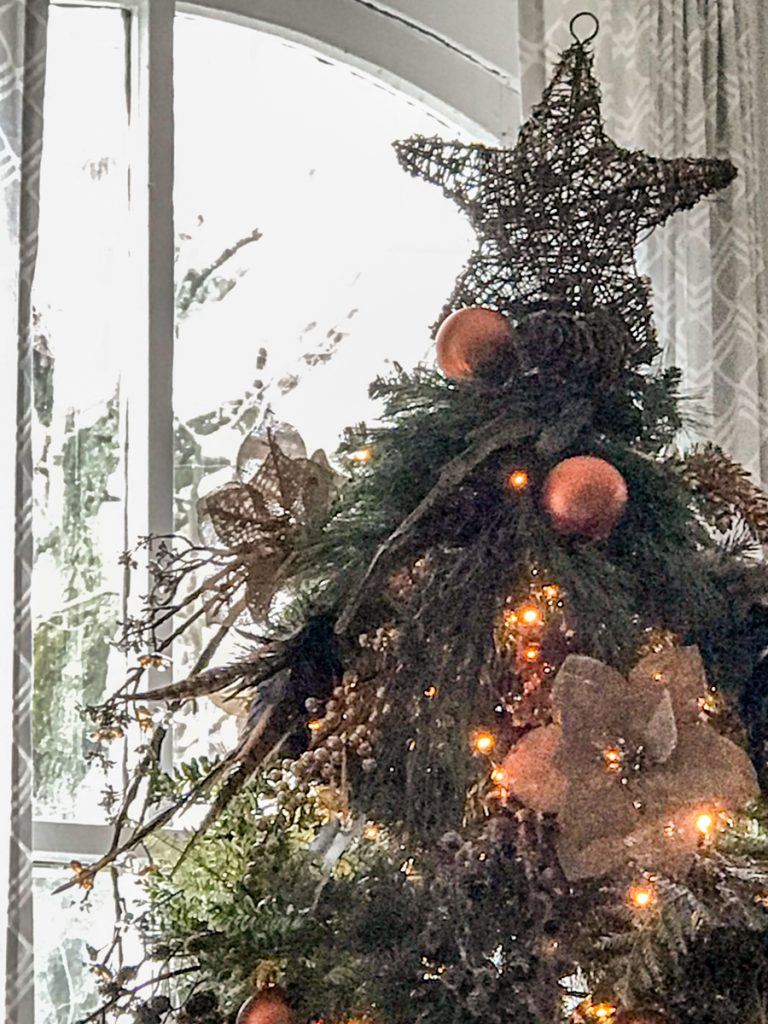 And I love the pop of color from these coppery-orange ornaments.
  Gold glitter feathers! My favorite sparkle accent for this nature themed tree.
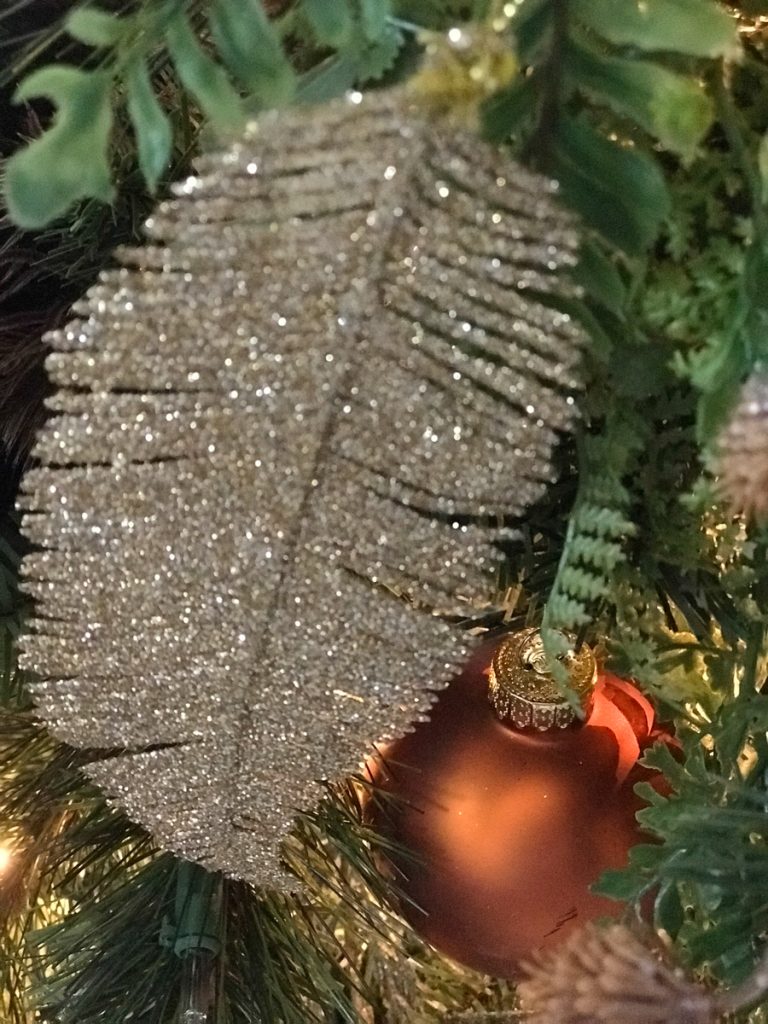 There’s lots of extra leafy garlands to give it a fuller look too. Did you notice?
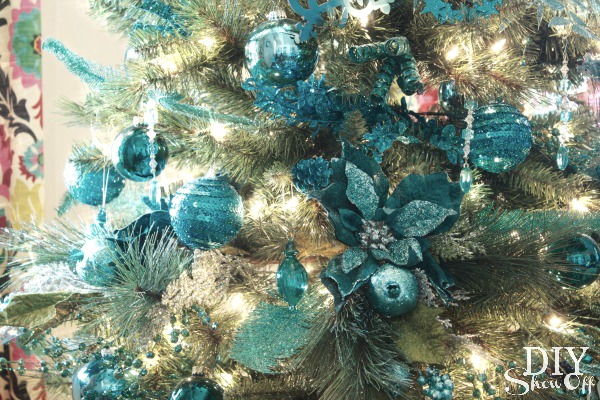
 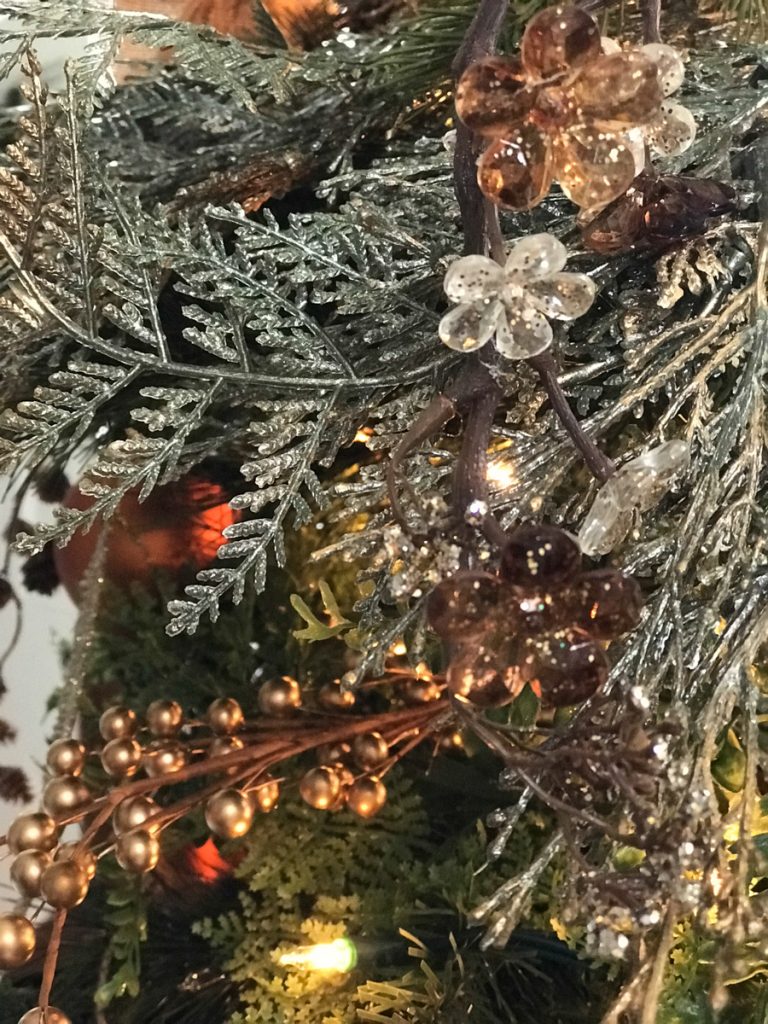 And there’s Northern Lights Black Spruce essential oil in the diffuser ornament giving it a beautiful pine scent! When you can’t have fresh pine, this is a great option! Smells amazing!
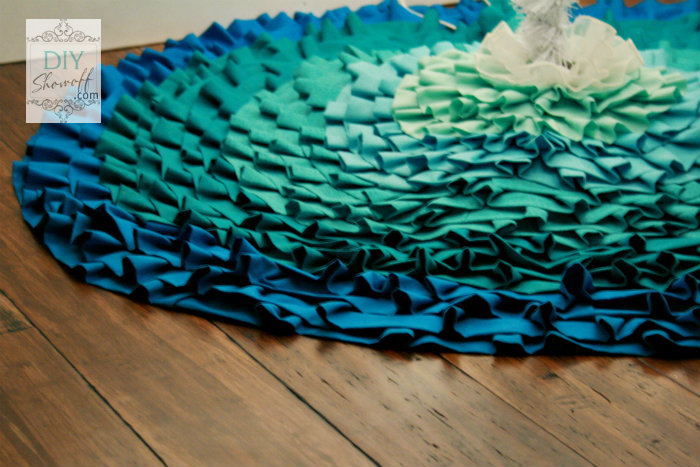
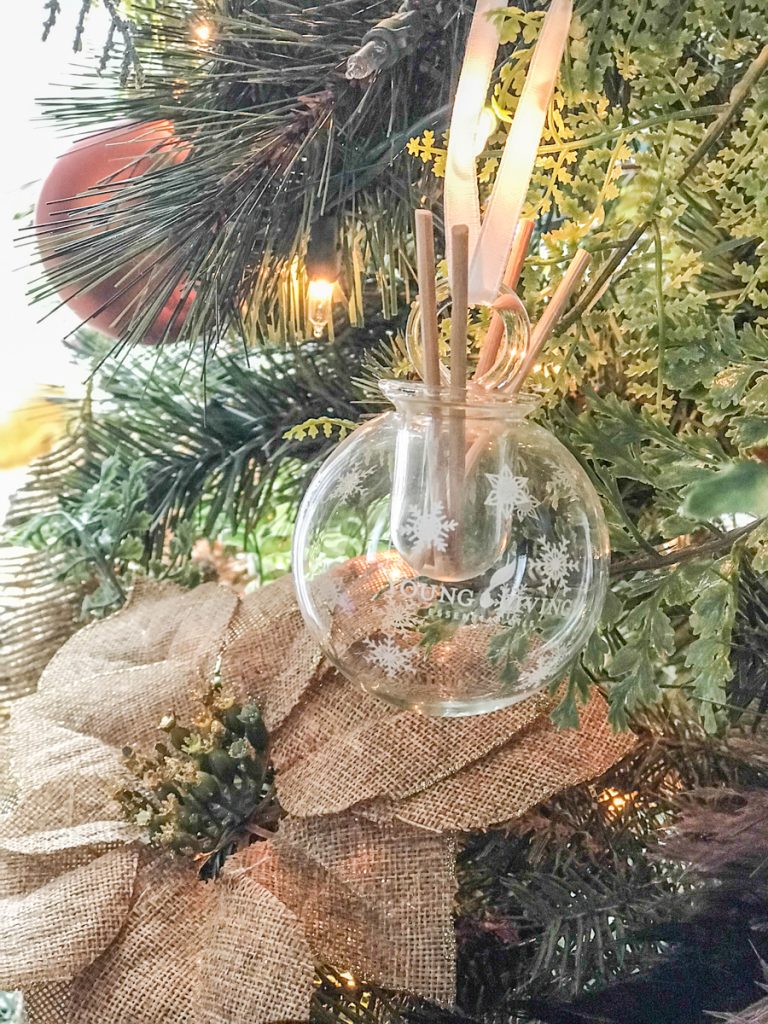 A fluffy comfy throw as a tree skirt makes me want to curl up under there to enjoy the starry-night glow!
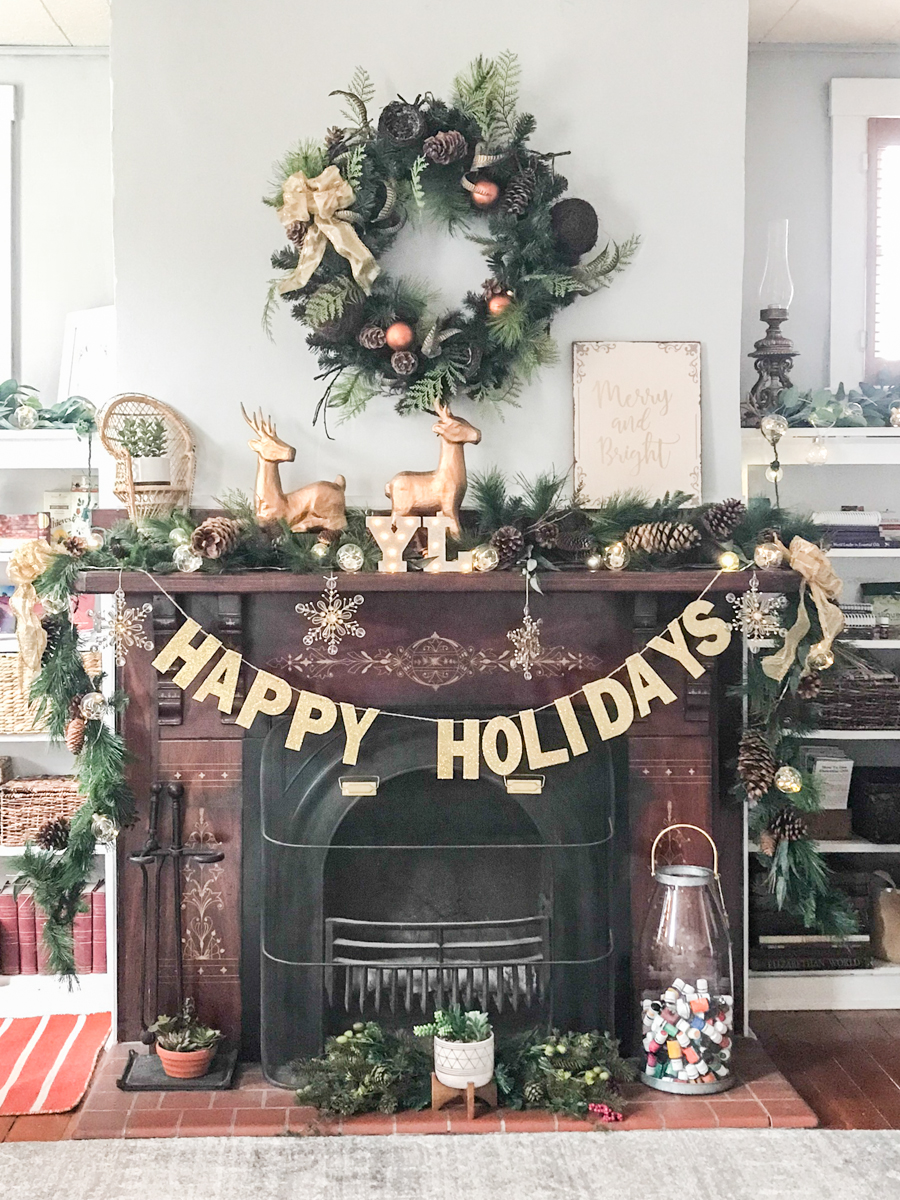
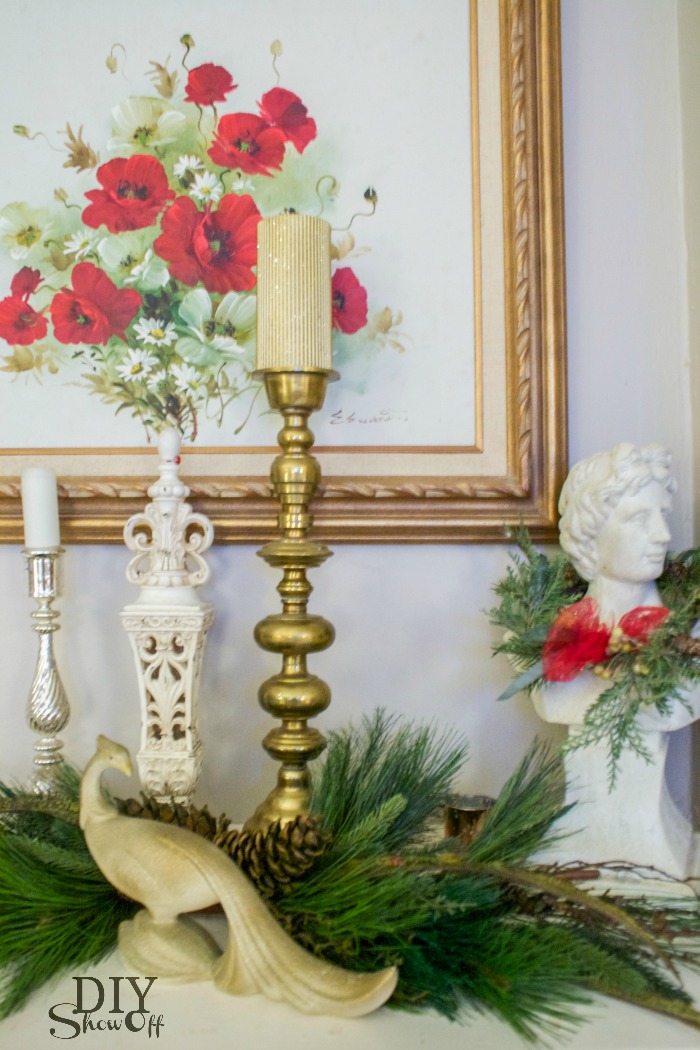
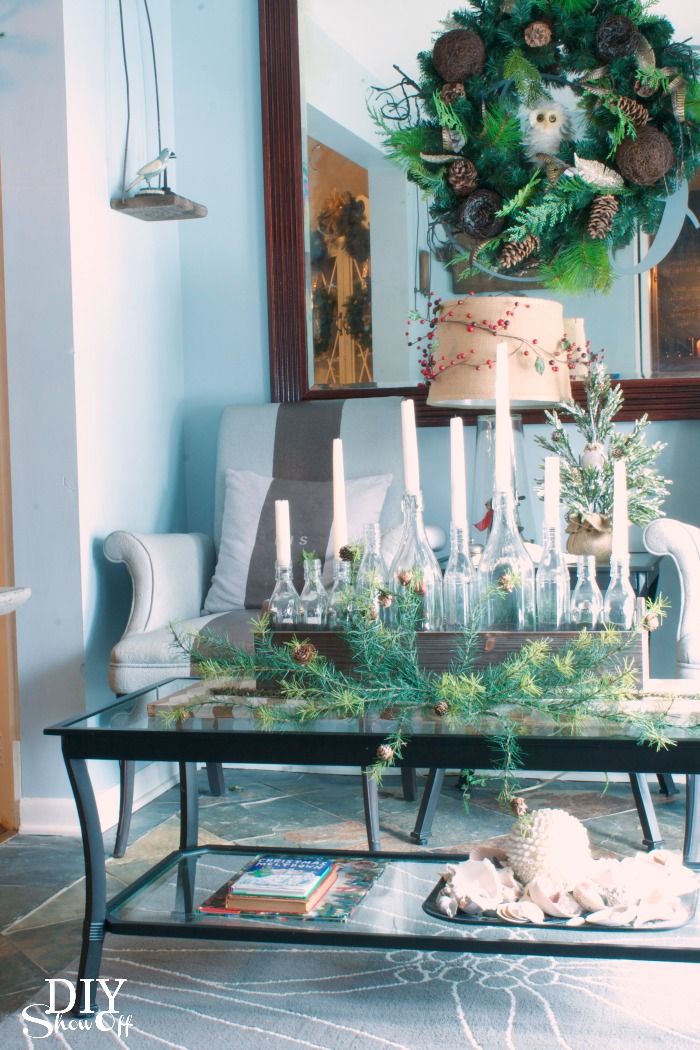
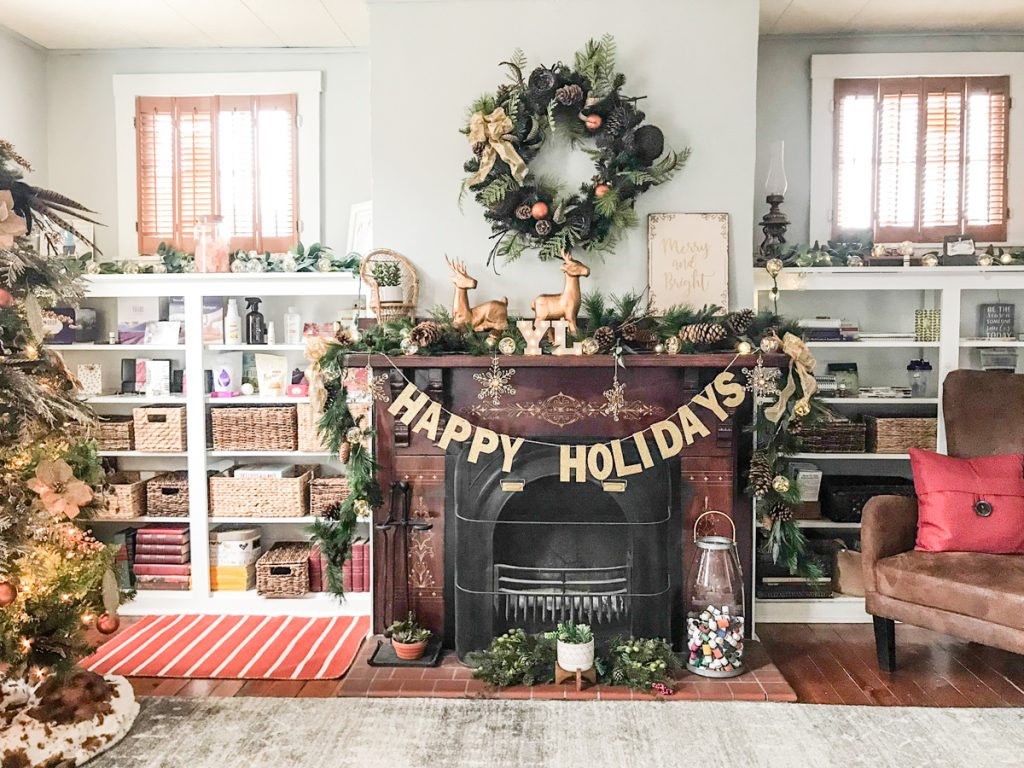 The mantel is all decorated for celebrating Happy Holidays!
  Isn’t it gorgeous? Those fairy lights in glass ornaments are my favorite tucked into lush pine forest garland is just so magical!
And the porch and stairs are on the ‘to-do’ list but a grapevine wreath with holly berries and red velvet bow with poinsettias greets our guests at the door.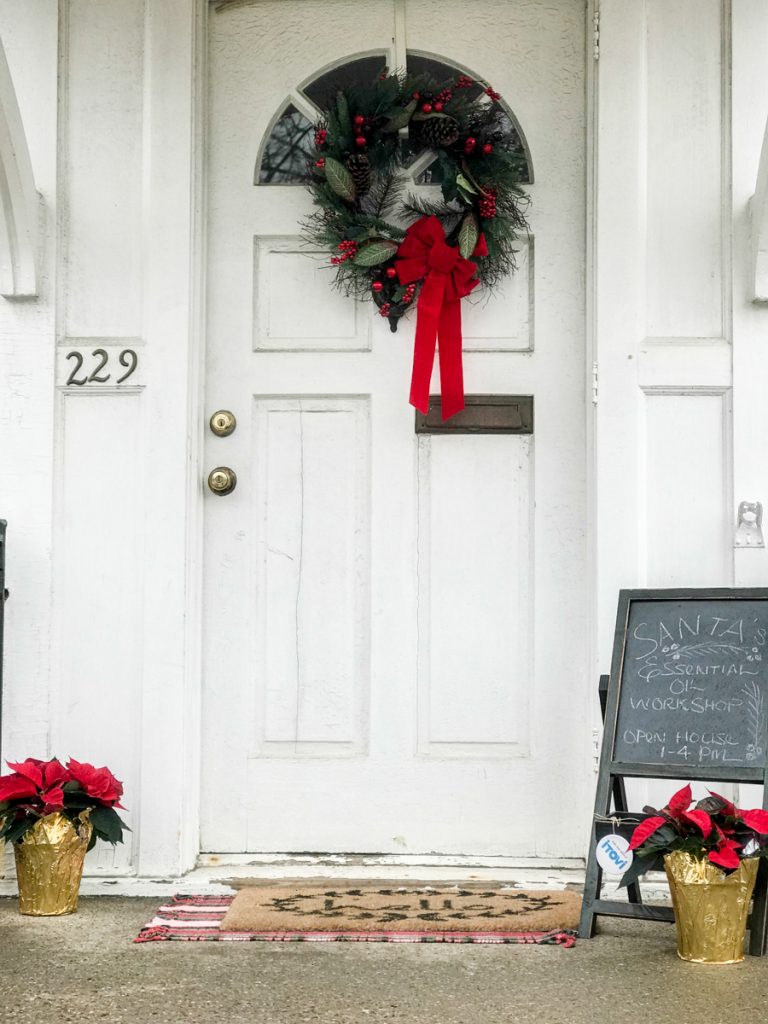
 Oh! The first sneak peek! There is now vinyl decal lettering on the windows to share with our community what’s going on! Wellness Inspired Living is what it’s all about, creating a home that promotes a better you and a healthy home environment for your family. Well-being. You can learn more about my story and what that means to me HERE.
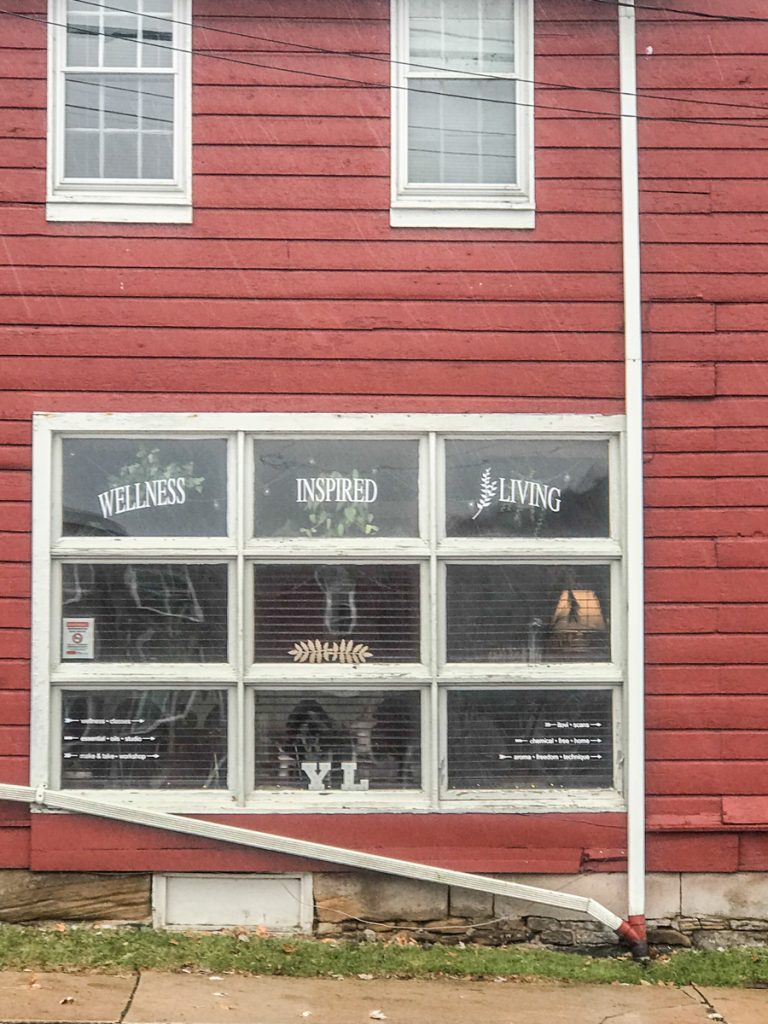
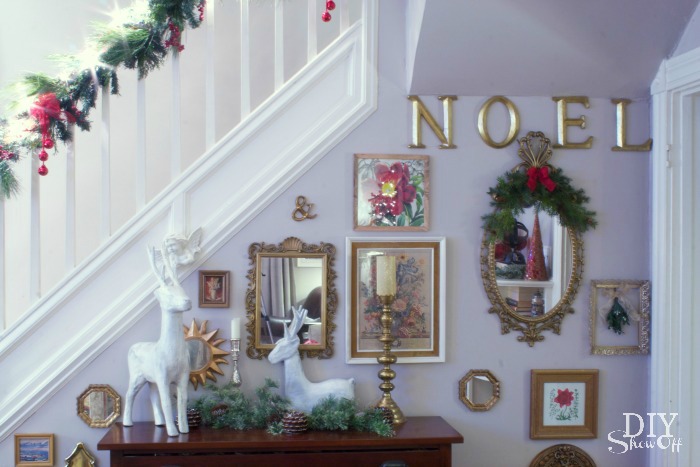
 The entryway still needs painted (or maybe even a pretty wallpaper accent wall with a bench and decor – so many ideas!) but I used what I have on hand to give it a welcoming atmosphere.
 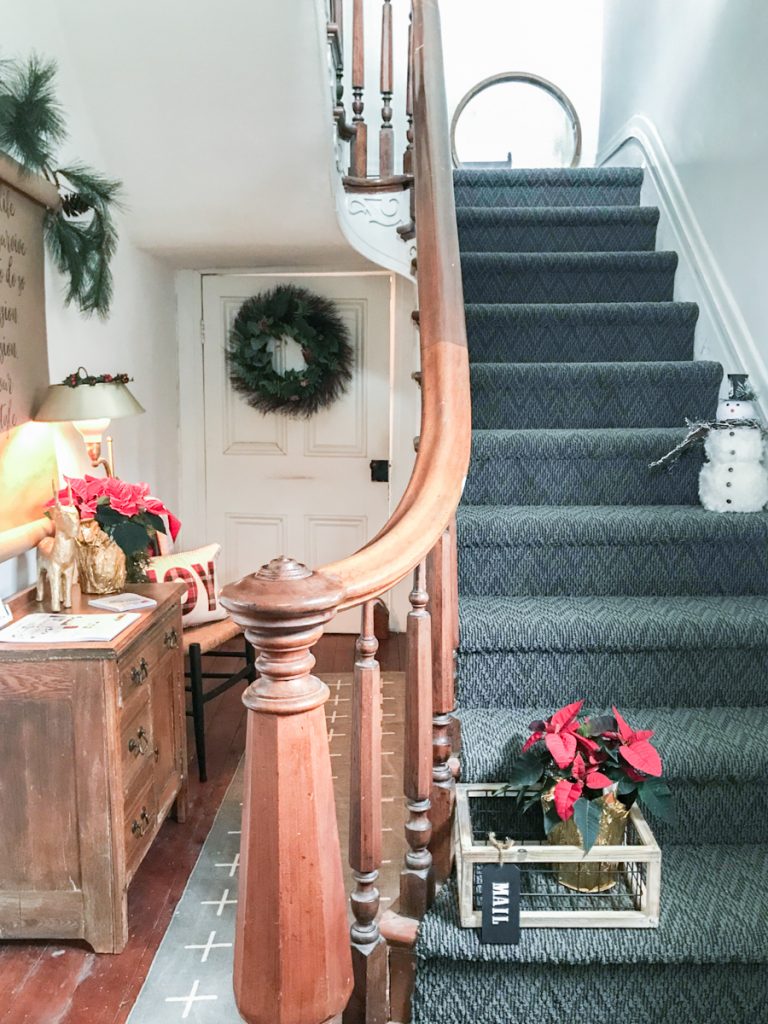 The studio is a place in our downtown where we gather for discussing living above the wellness line, to get together to support one another, for education and fun times. It’s also an available meeting space for small/home business//women in business.
 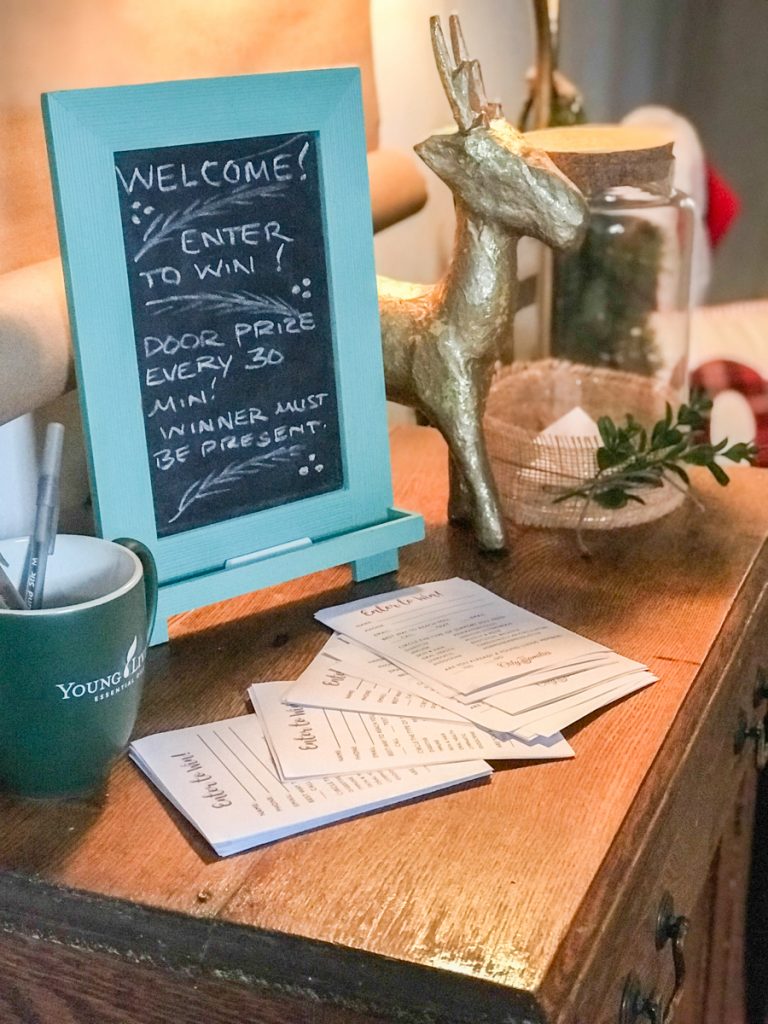 My 4-year-old grandson took this next photo. I think he did a pretty good job! I love the antique door knob from a little one’s perspective.
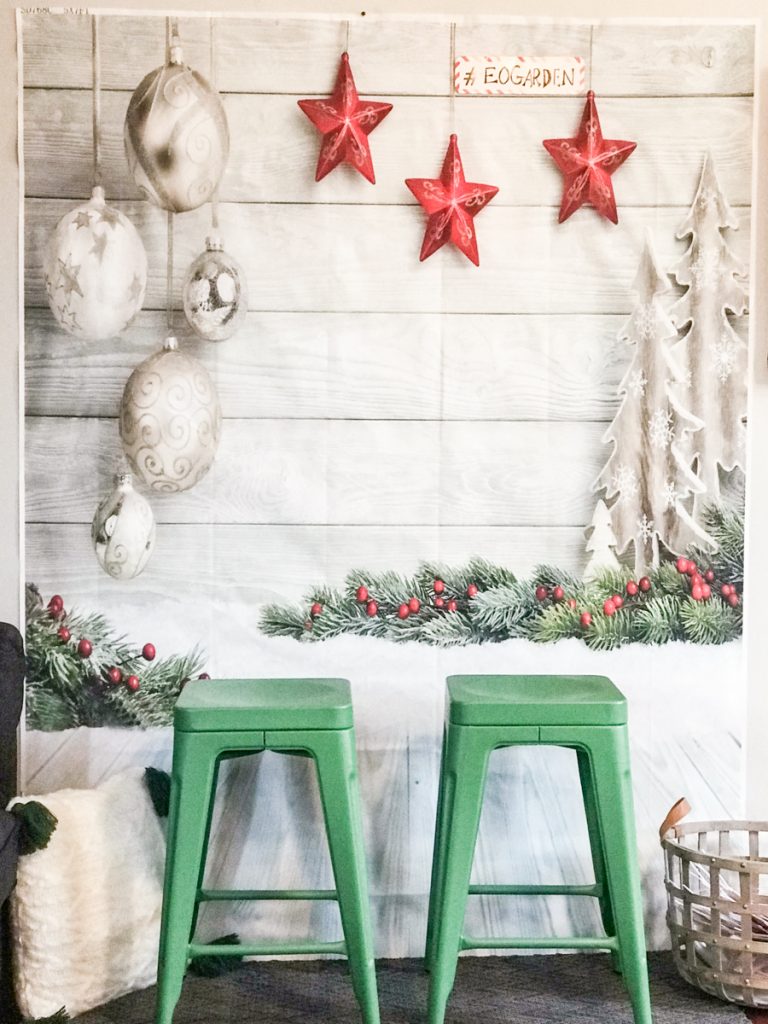
 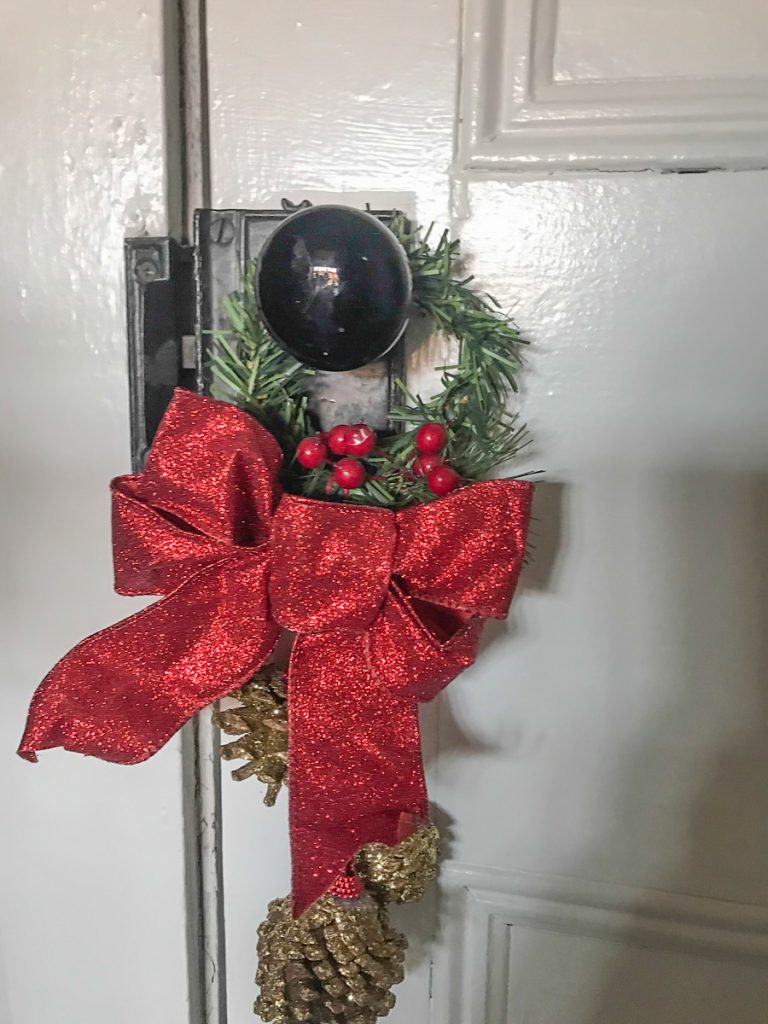 With lots of holiday events on the calendar, a “Selfies with Santa”//holiday photo backdrop and props is getting lots of use and laughs! So fun!
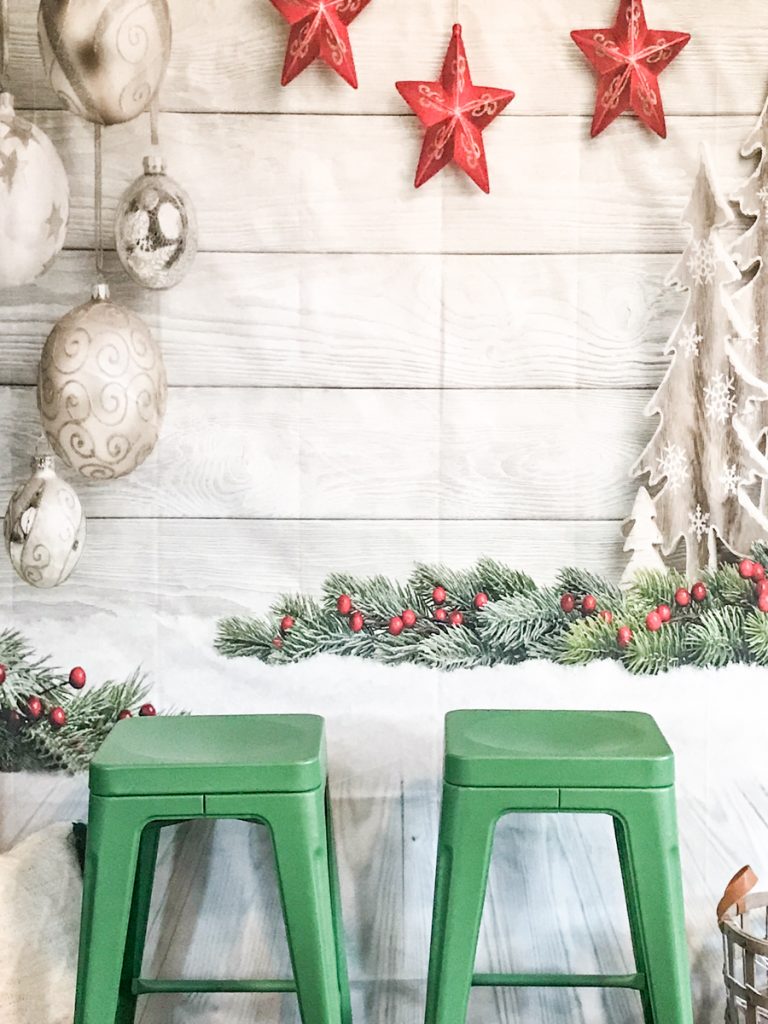
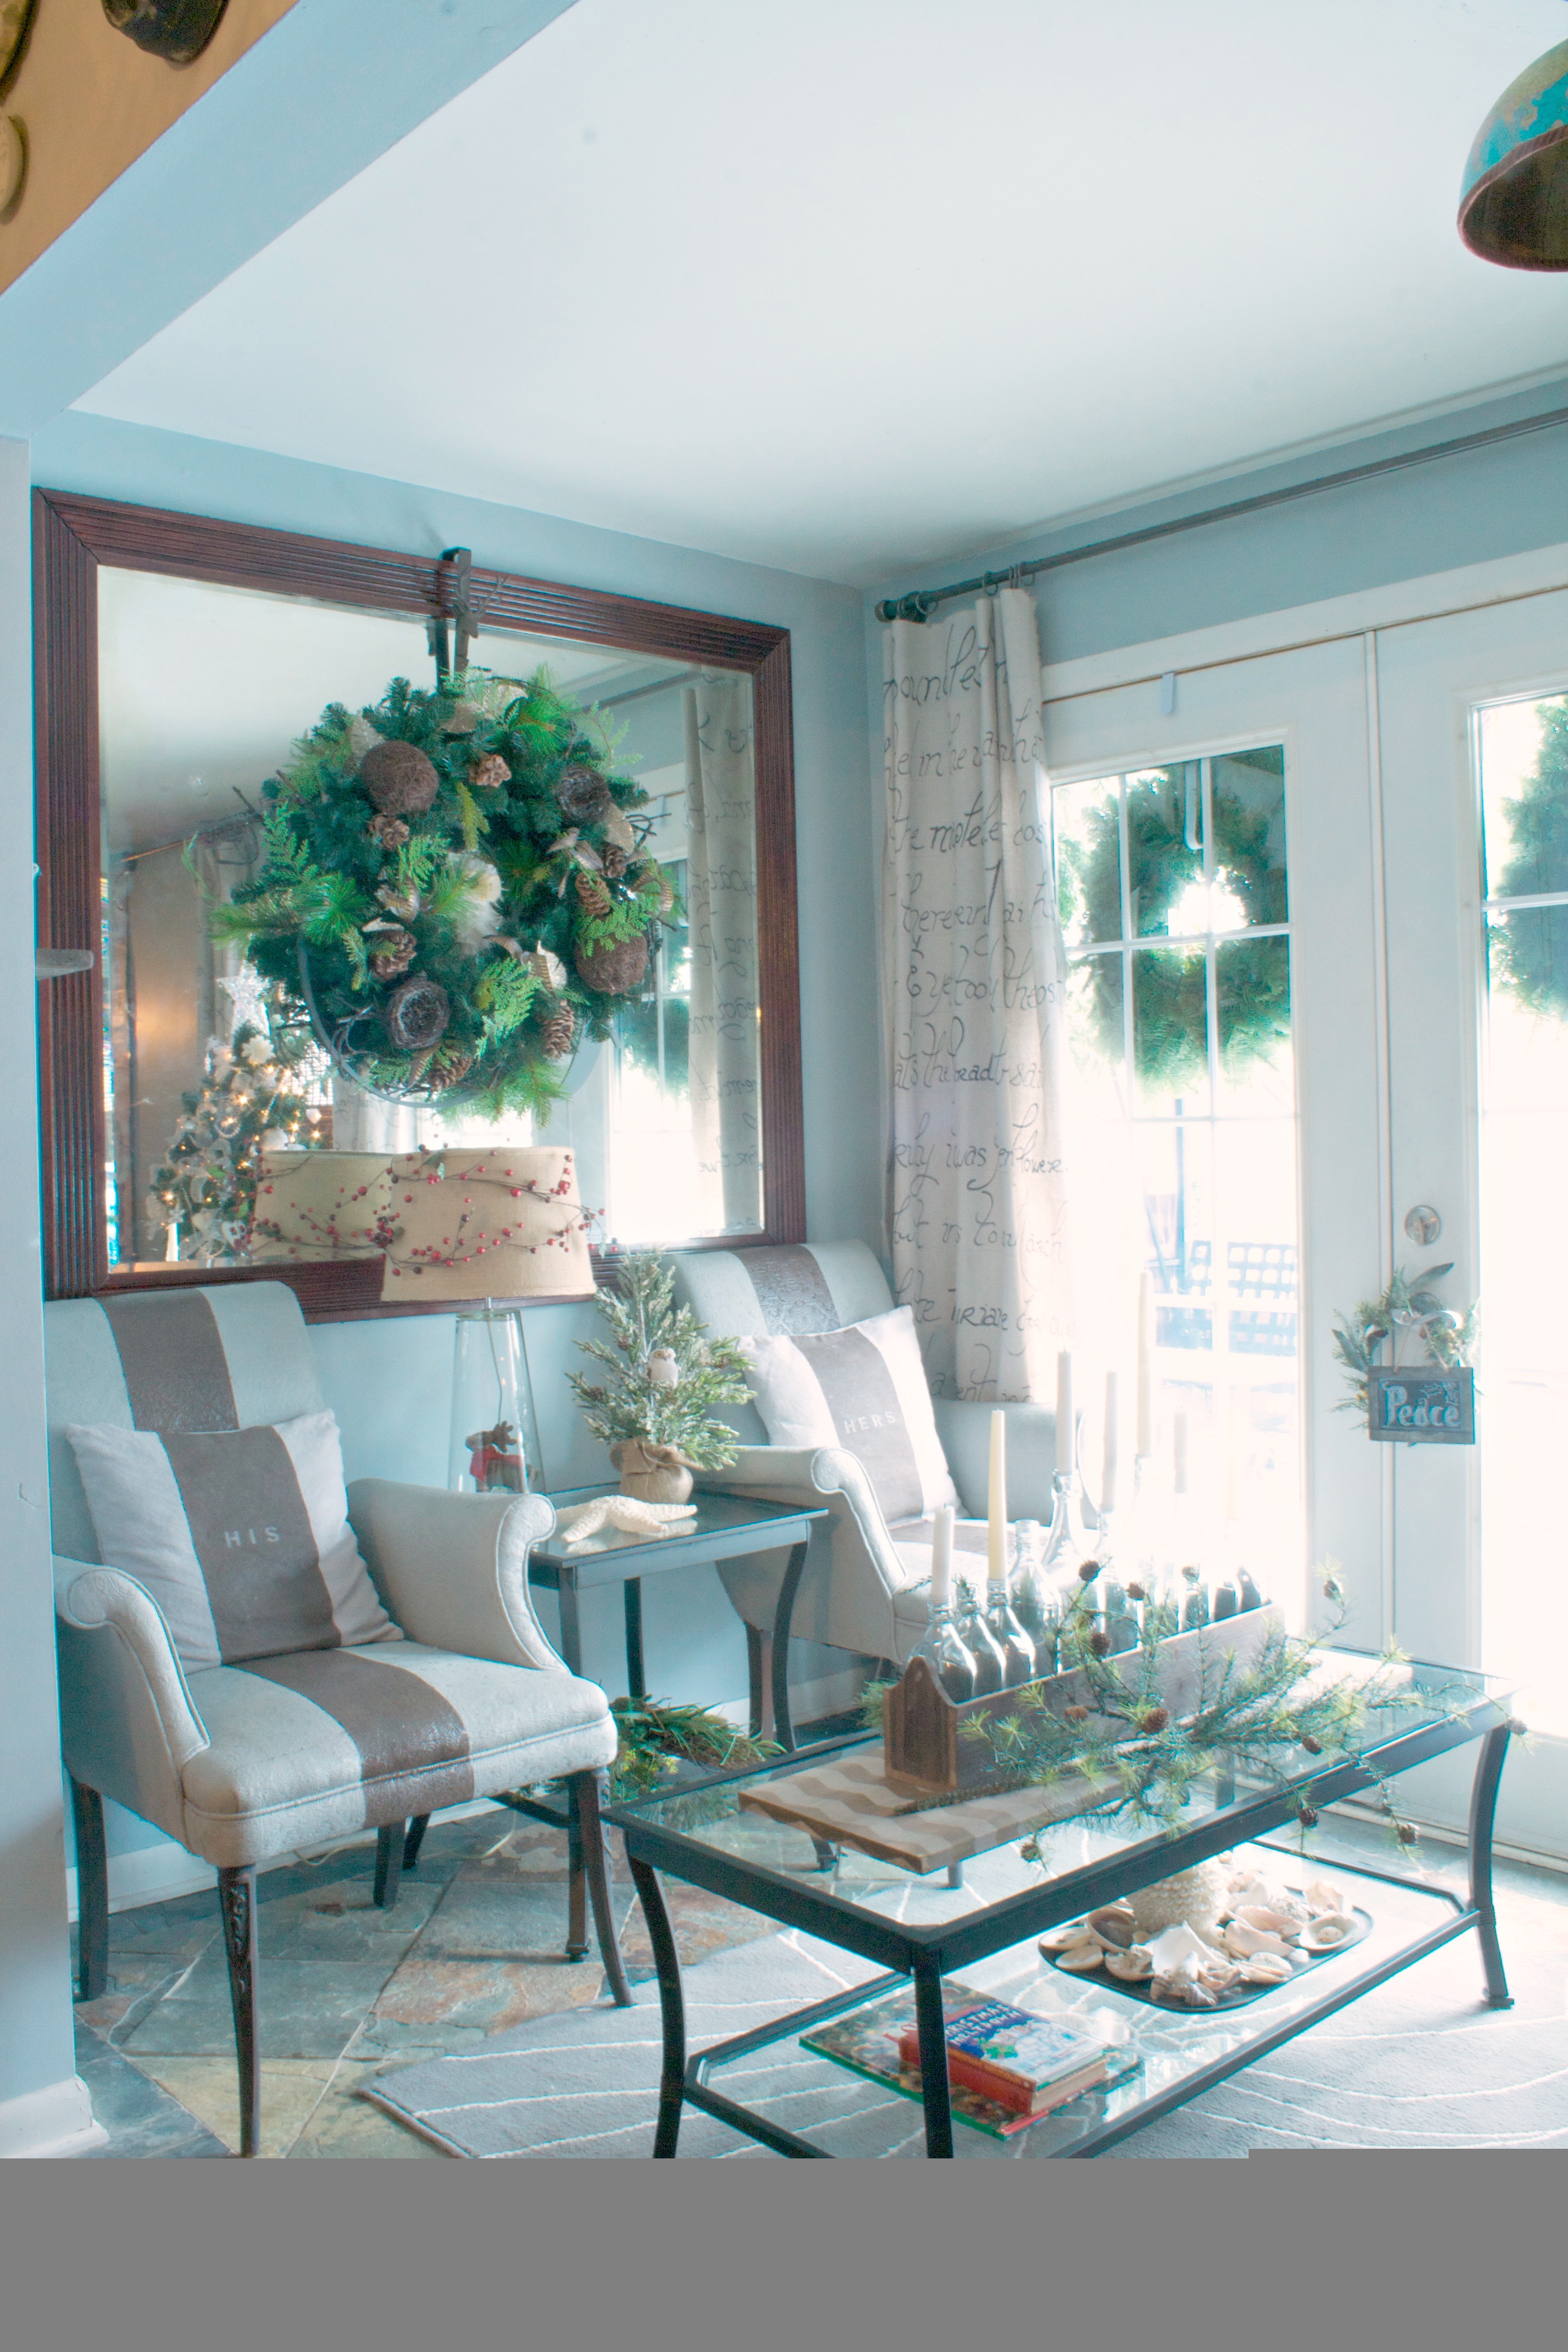
 Before the photo backdrop…this wall featured the quote scroll but was moved to the entryway. Aroma Freedom Technique happens in this room (although via video chat too) – achieve your goals! xo
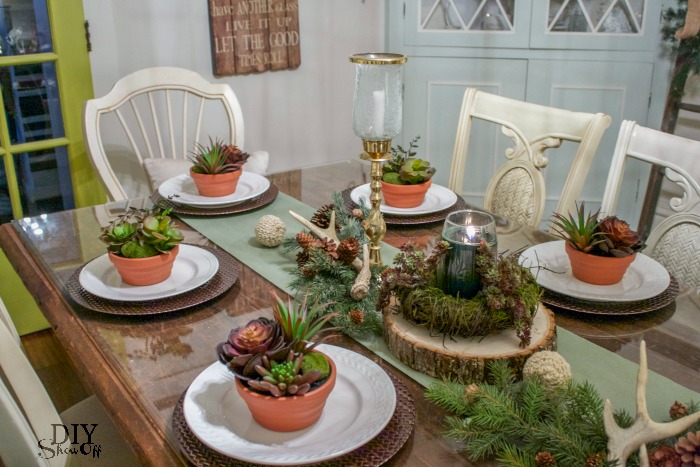
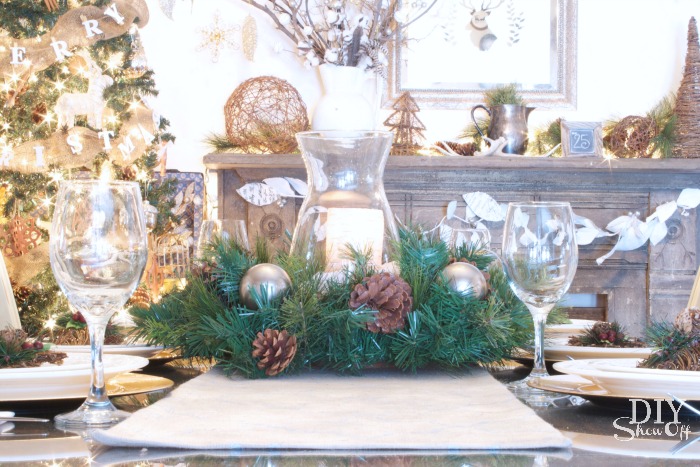
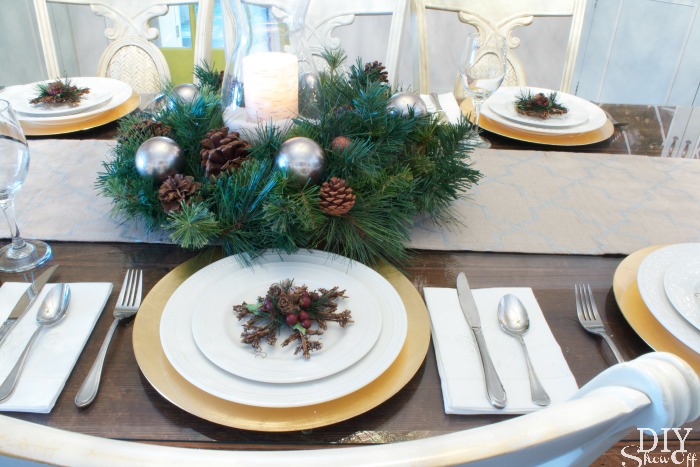
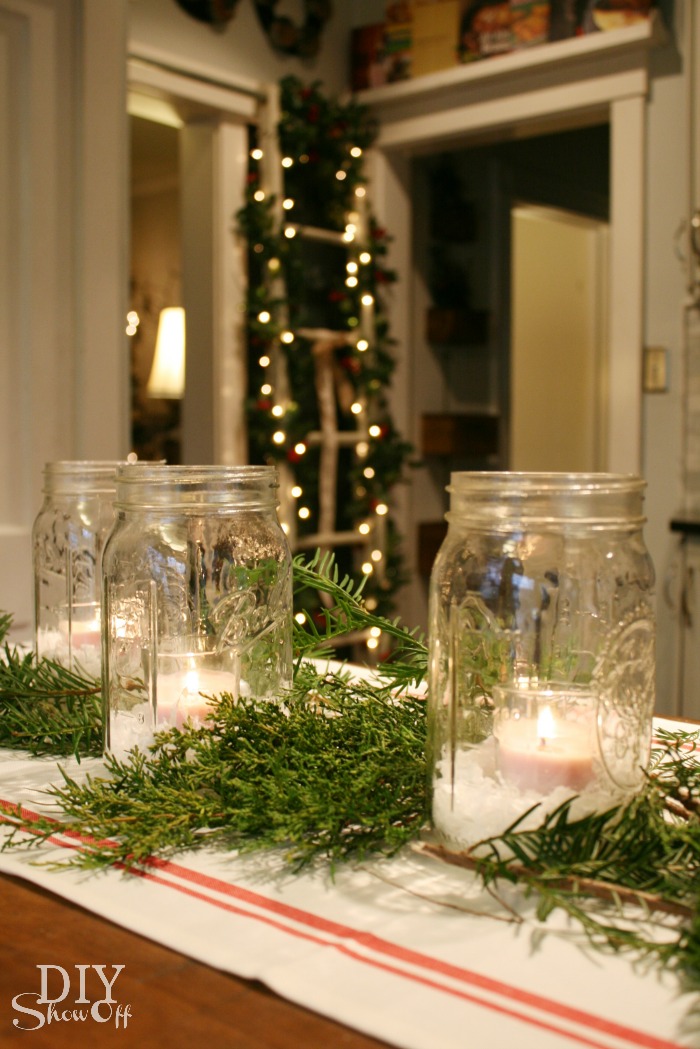
 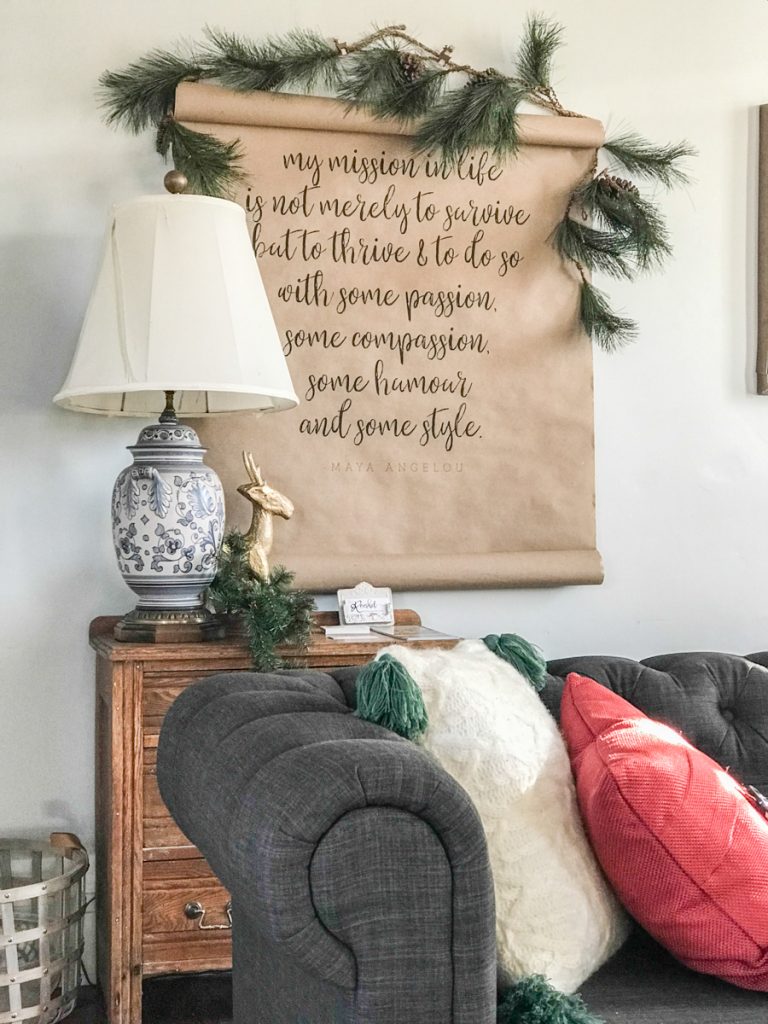 Time for entertaining my friends! Some photos, ideas and settings from some recent events: Wine and chocolate. This photo might represent entertaining AND for personal use as well. hahaha!
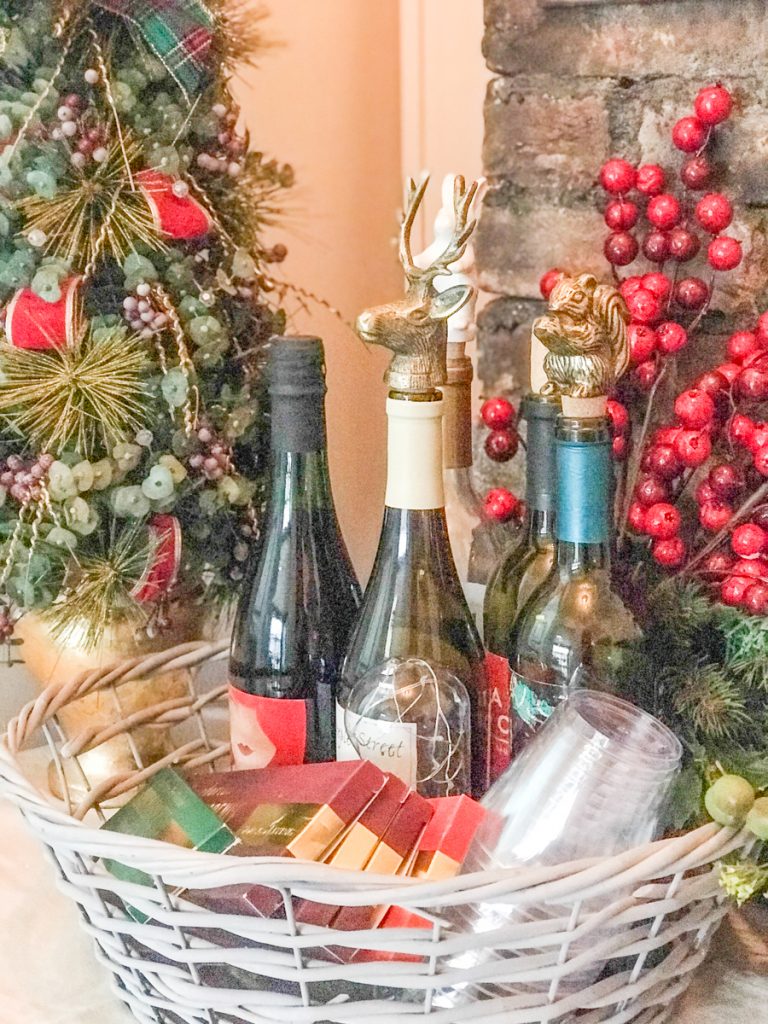
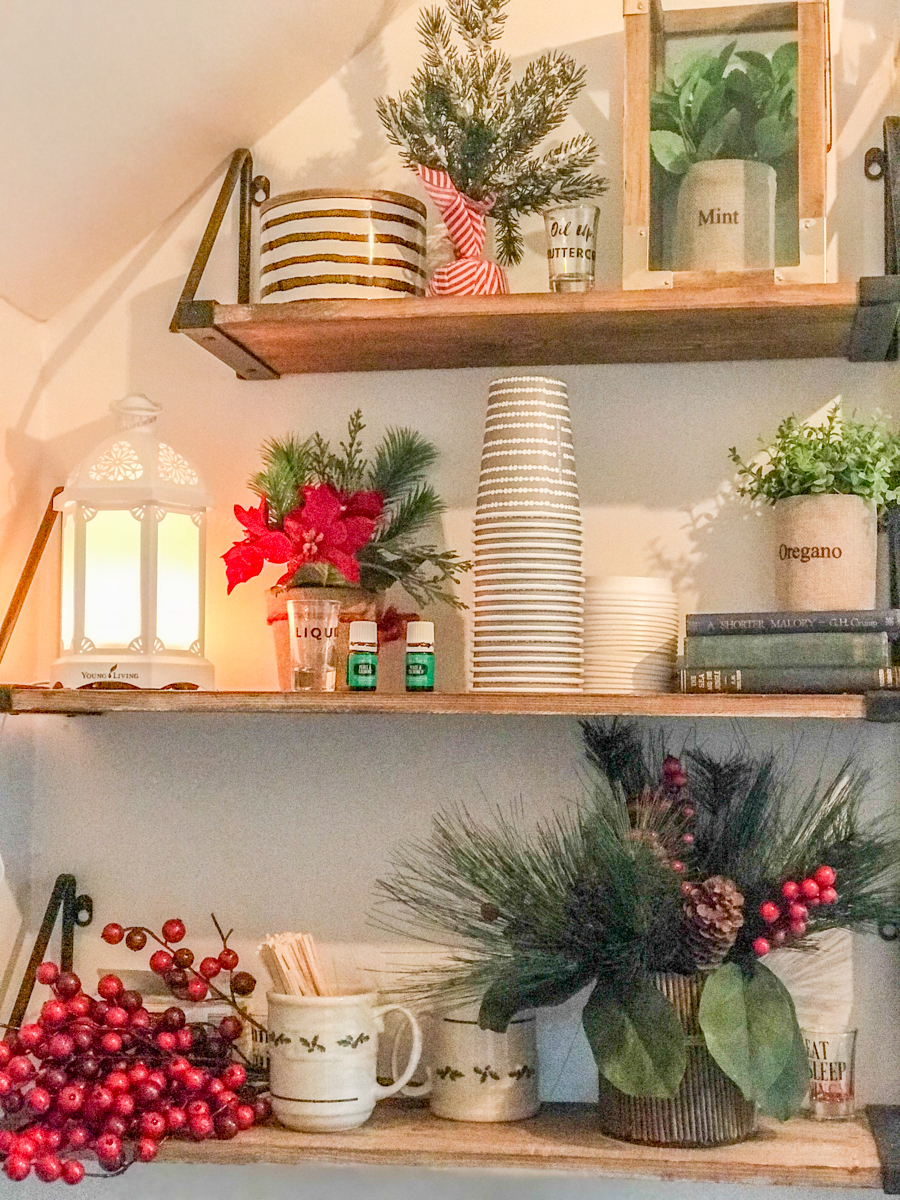
Yay! Another sneak peek. You saw them from the outside above and I haven’t revealed the workshop area yet but this grid of windows is amazing for it’s natural light!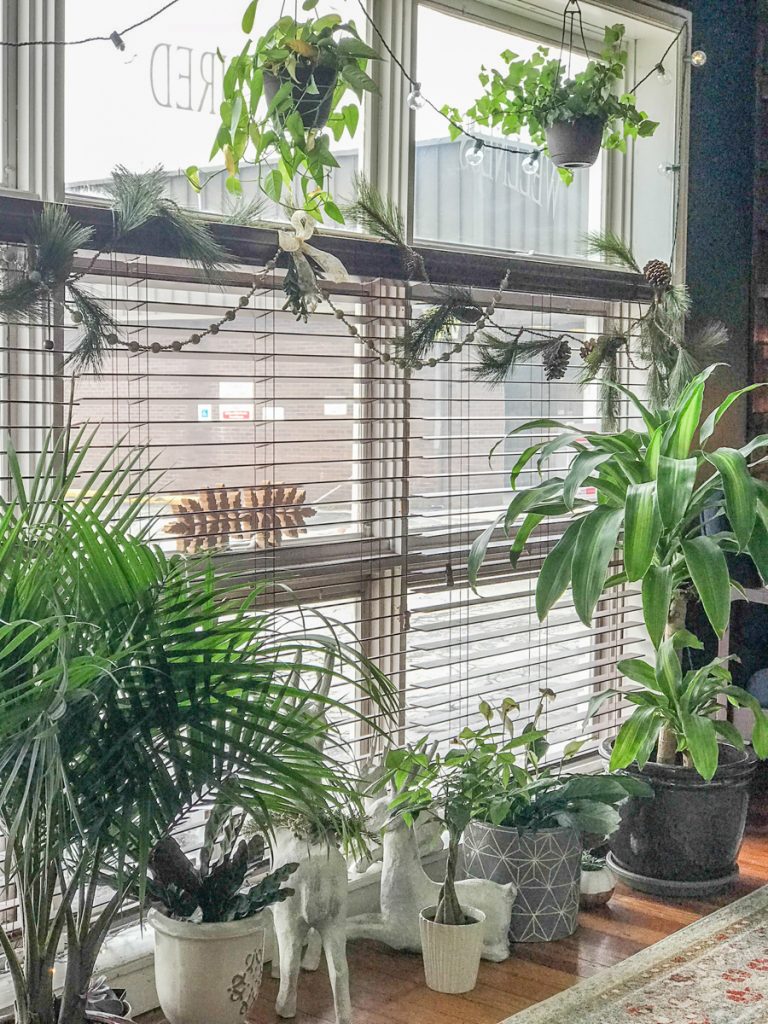 The shelving area above a hot beverage station…this room has no natural light but I love it’s function. Beverage center, back door, coat room, hallway.
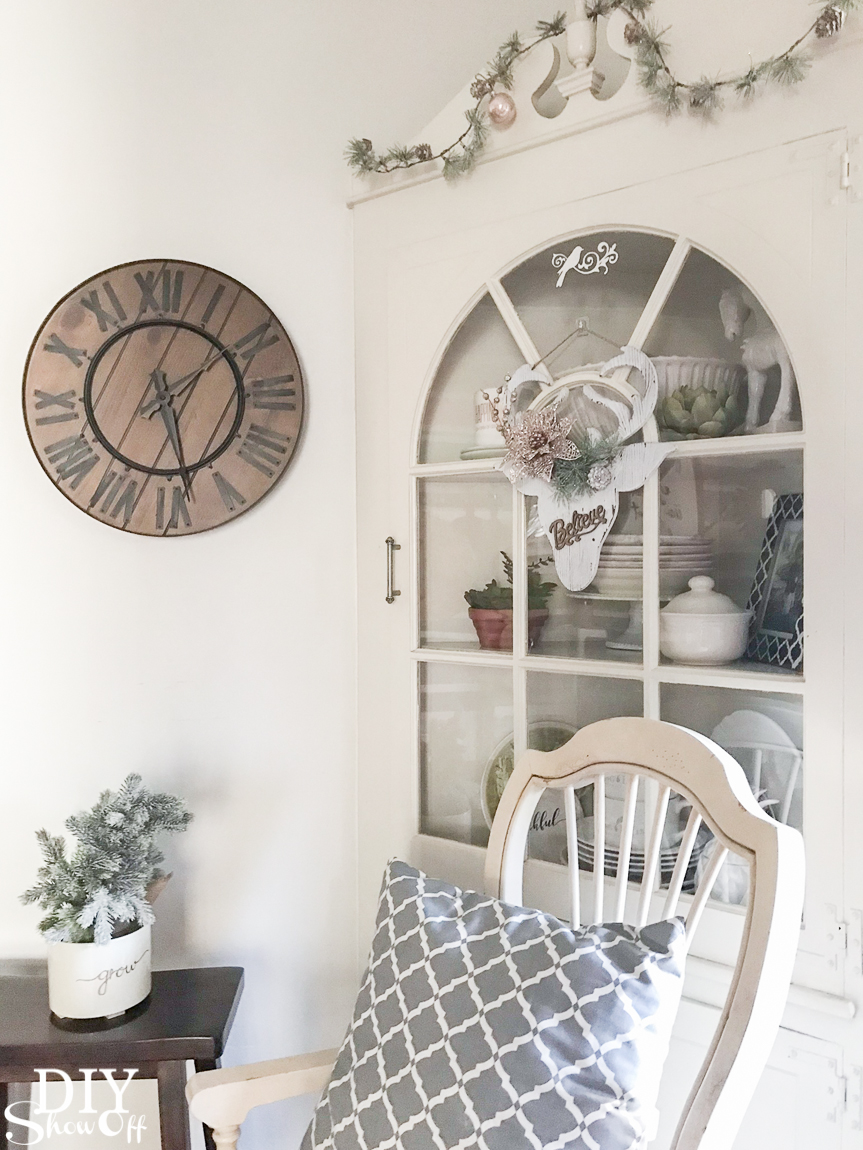
  Mantel deer…did I mention I can’t get enough of GOLD lately. How about you?
 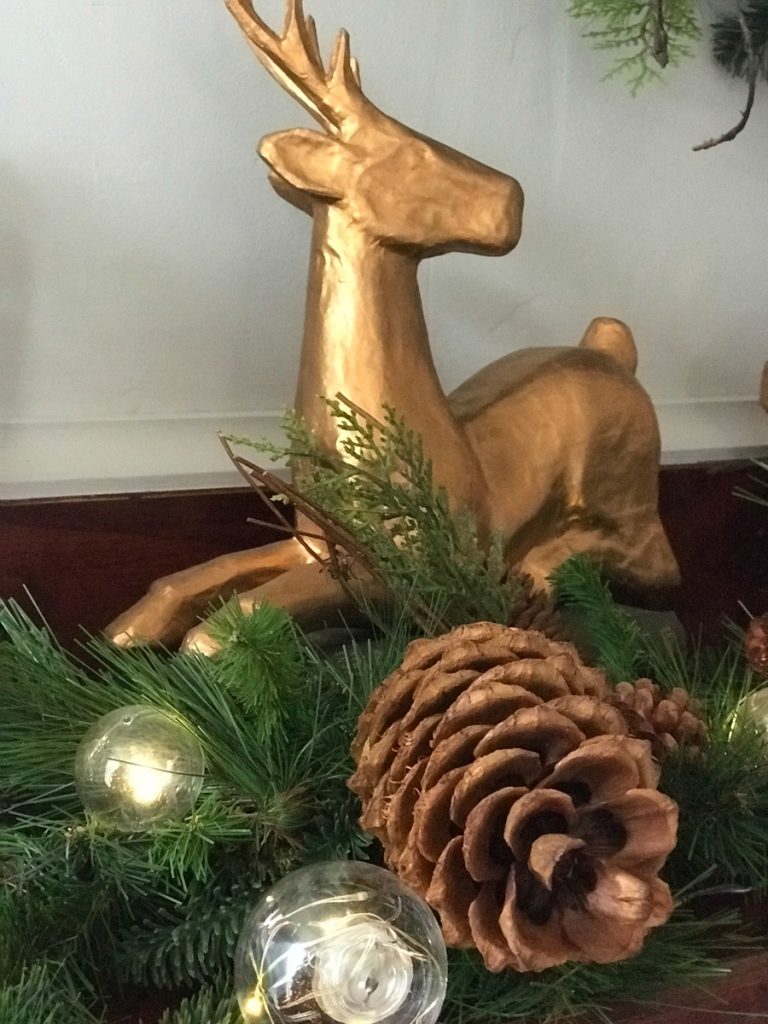 Okay, friends! THIS IS THE BEST SNEAK PEEK….I am in LOVE with how the workshop area is coming along. This table gathers friends for DIY craft time, make & takes, wellness education, iTOVI scans and small parties! Those dark moody walls paired with the barn wood walls (not shown below) and that grid of 9 beautiful windows that sold me on this studio and tempt me to want to LIVE in this room! I’ll share more specific details in the upcoming before/after reveal but wow, right? So so pretty! Or maybe you need to see the before to appreciate it like I do. You’ll have to stop back soon. ::wink wink::
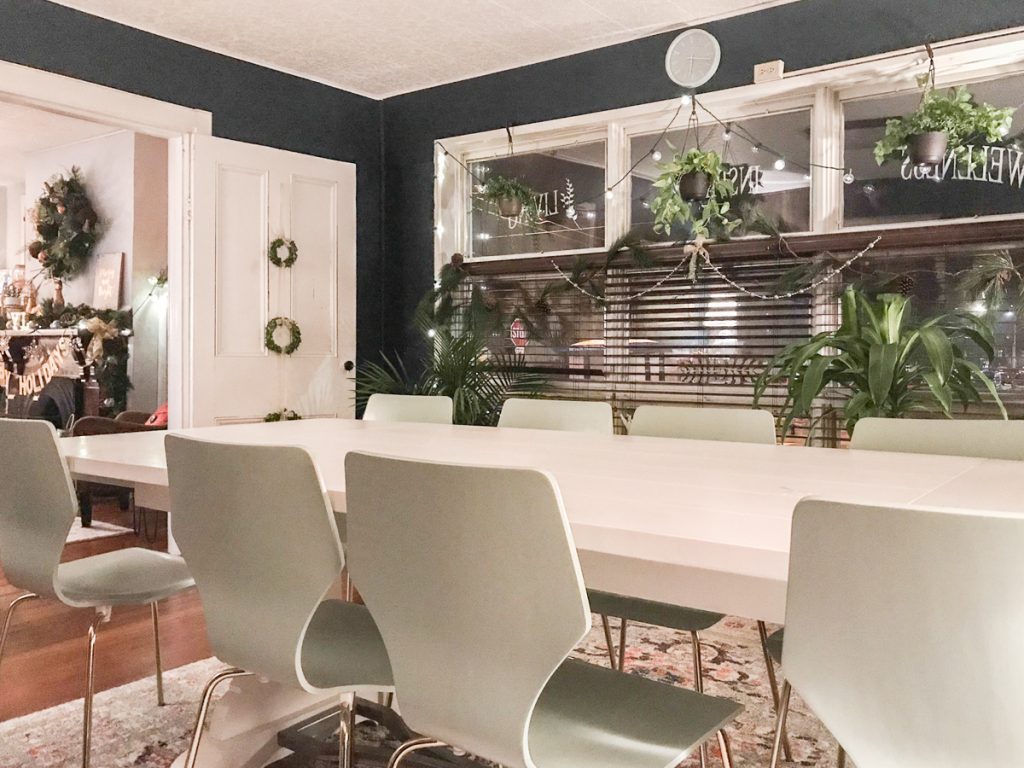 This Desert Mist diffuser is amazing! I absolutely love the candle flicker mode and diffusing settings. You can get it HERE. You need it! You’ll LOVE it! I don’t miss burning candles one bit. That’s saying a lot! I was a brand name candle junkie! I love that I can easily and frequently change up the scent, mood, health benefits…just take a look at more info. I’m so grateful a friend shared with me and feel compelled to pass it on. You control what you bring into your home and a diffuser and essential oils was that first baby step towards a healthier me, family and home.
 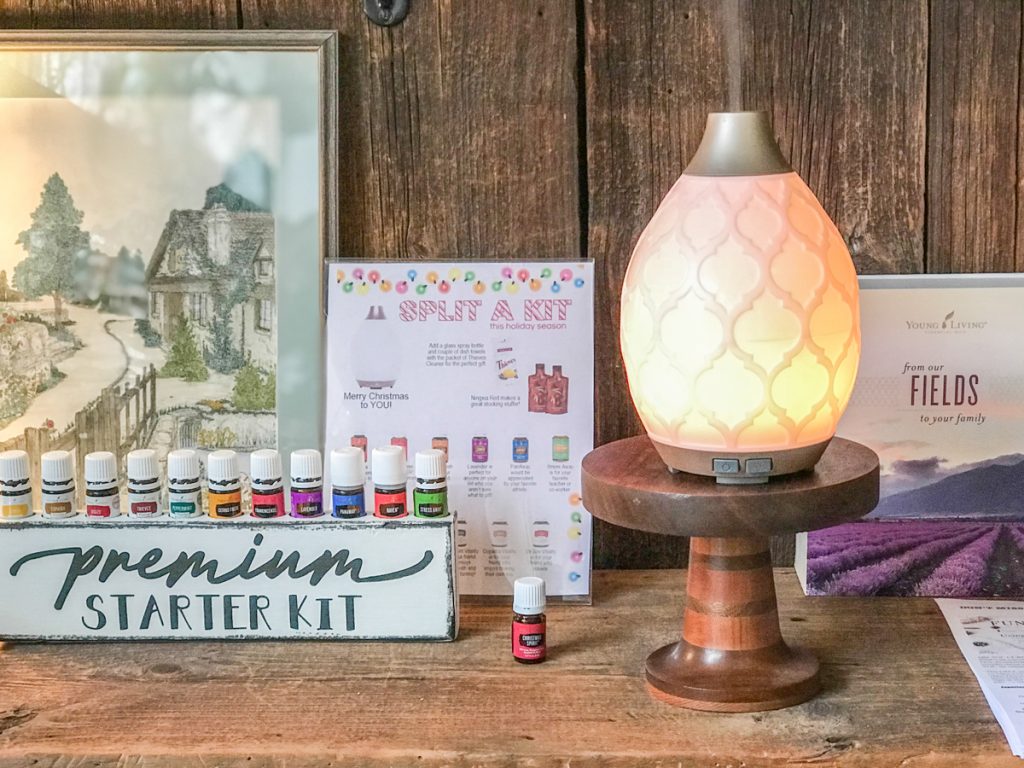 Another photo from a 4-year-old’s perspective. Setting up for an essential oil make & take party and there’s a glimpse of that gorgeous barn wood.
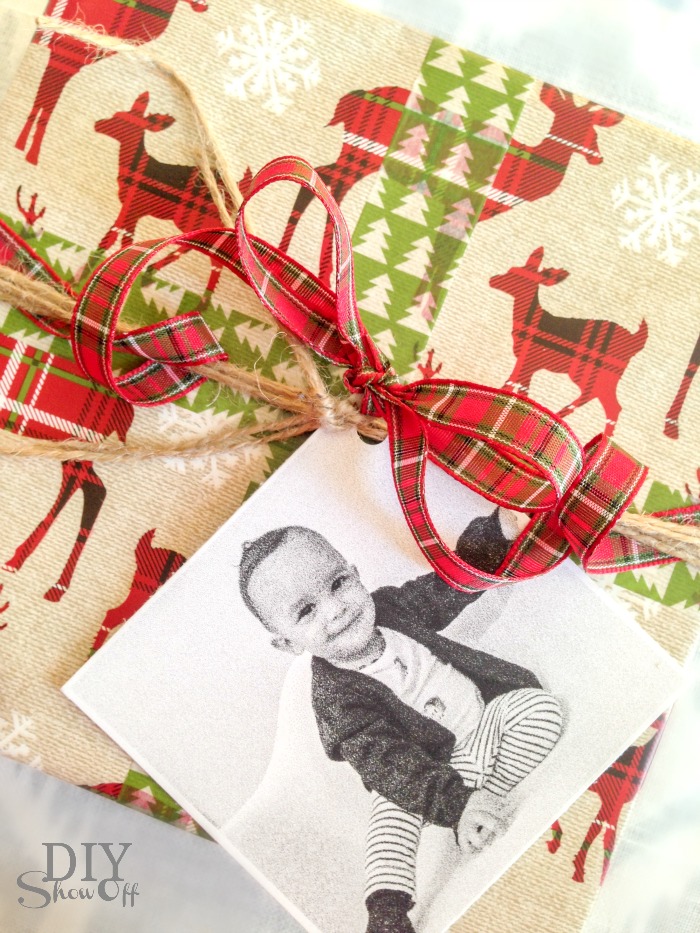
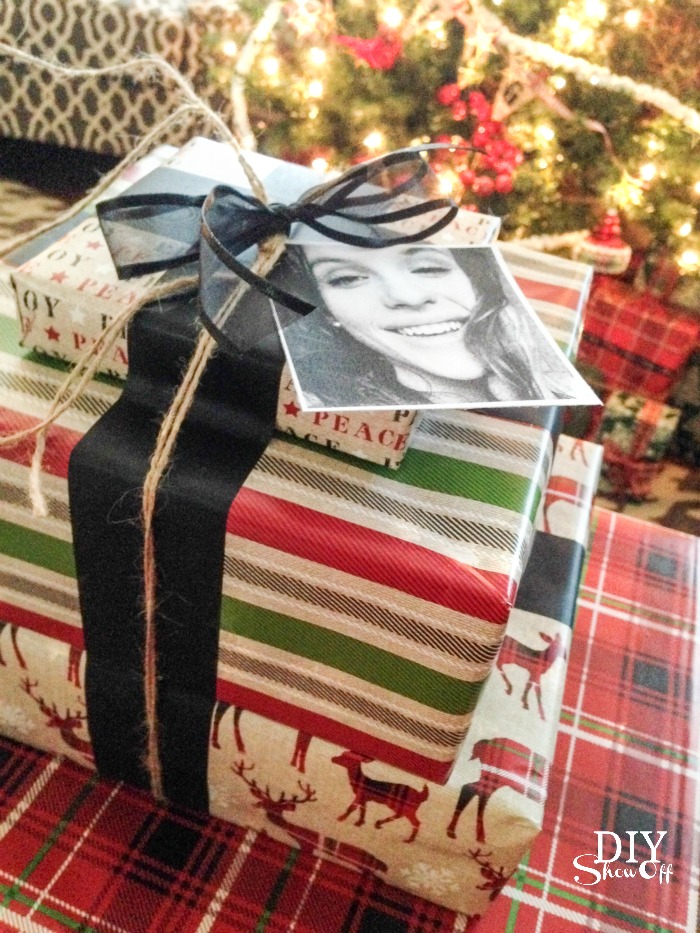
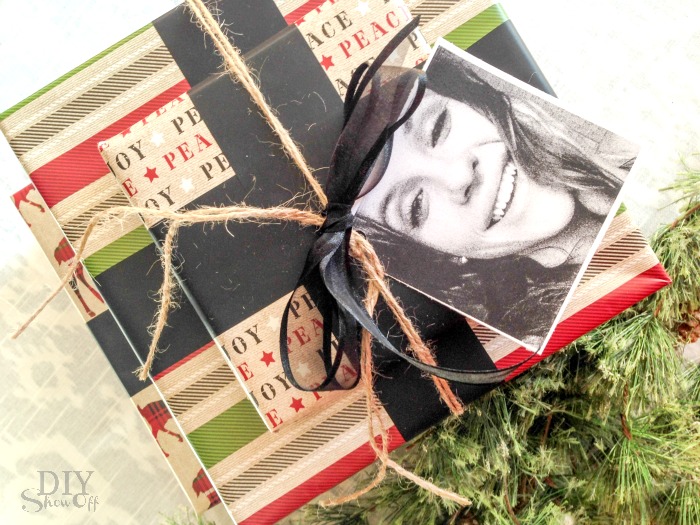
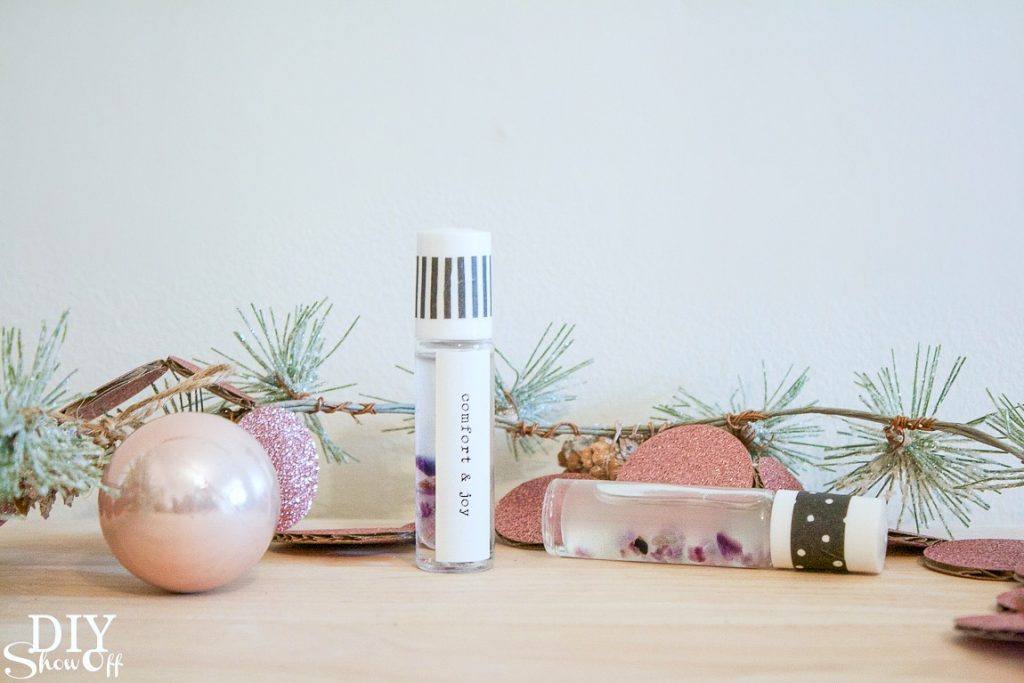
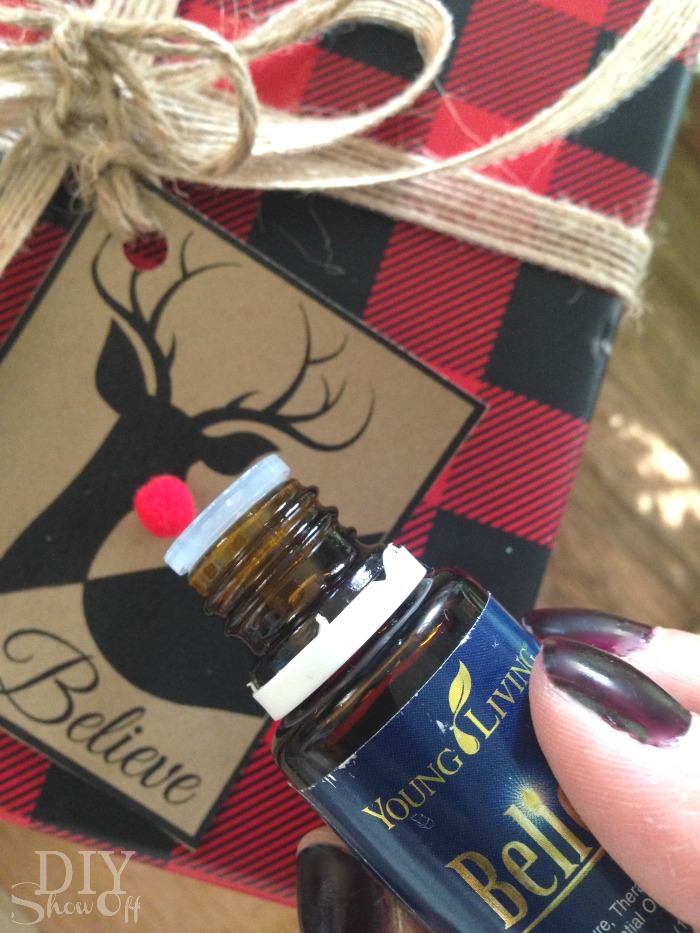
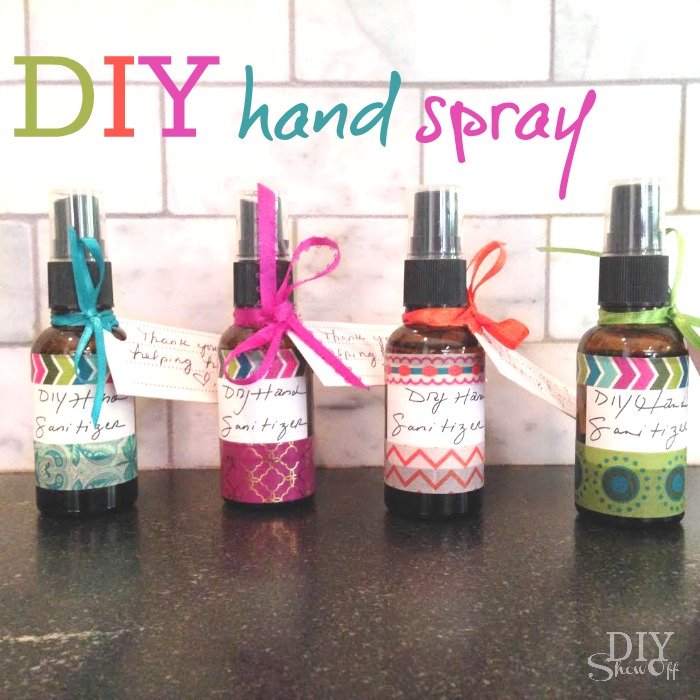
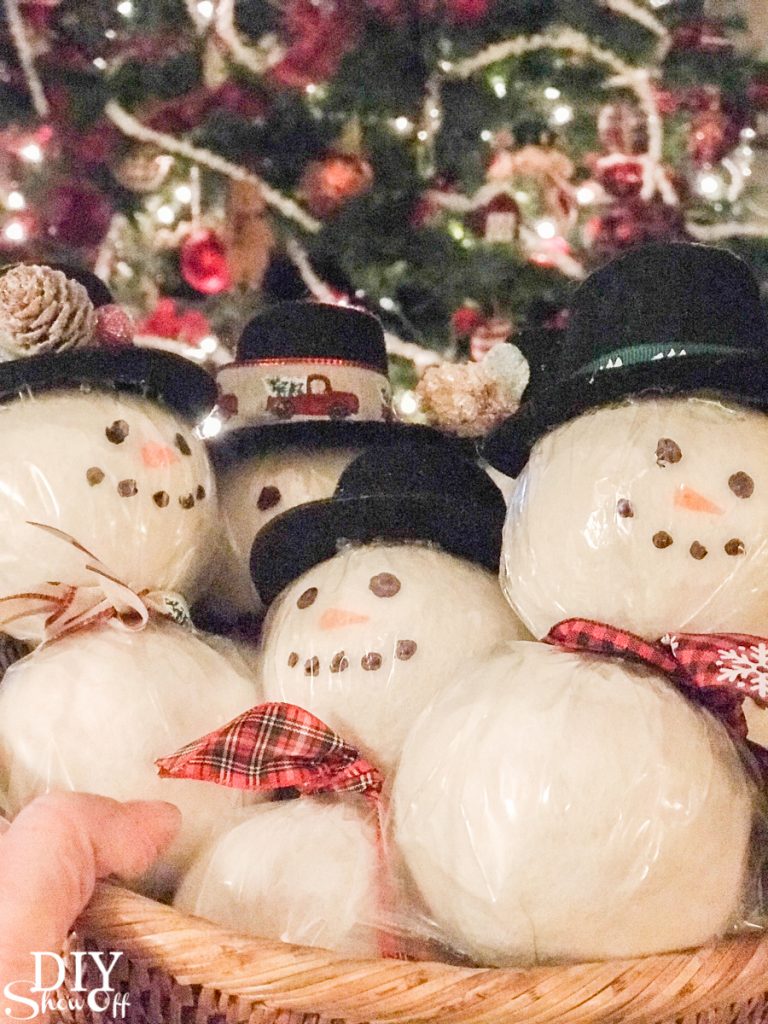
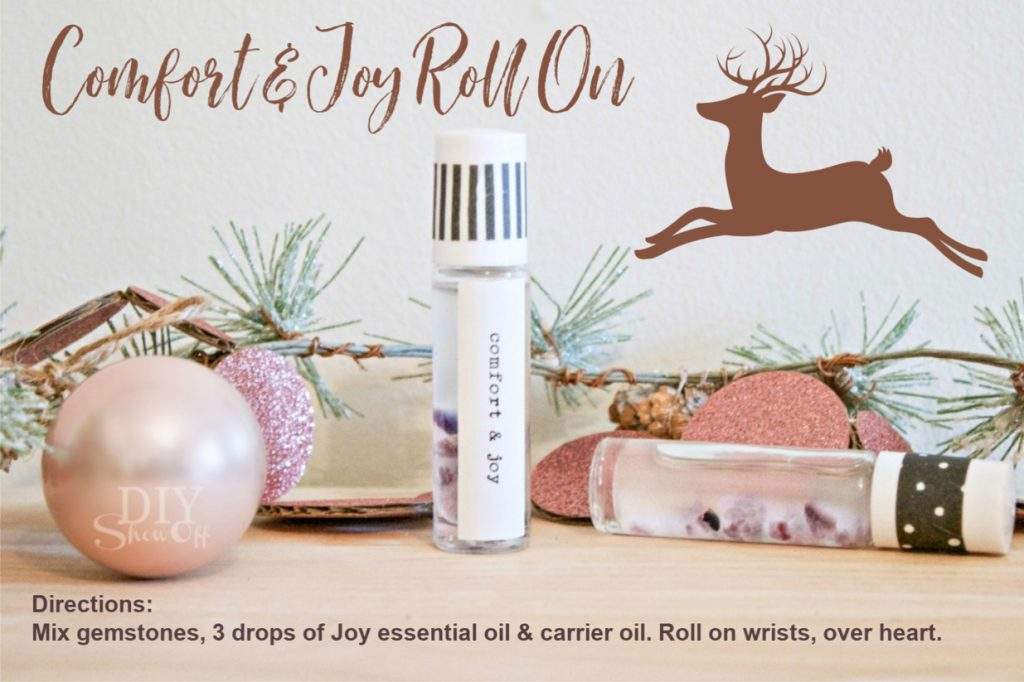
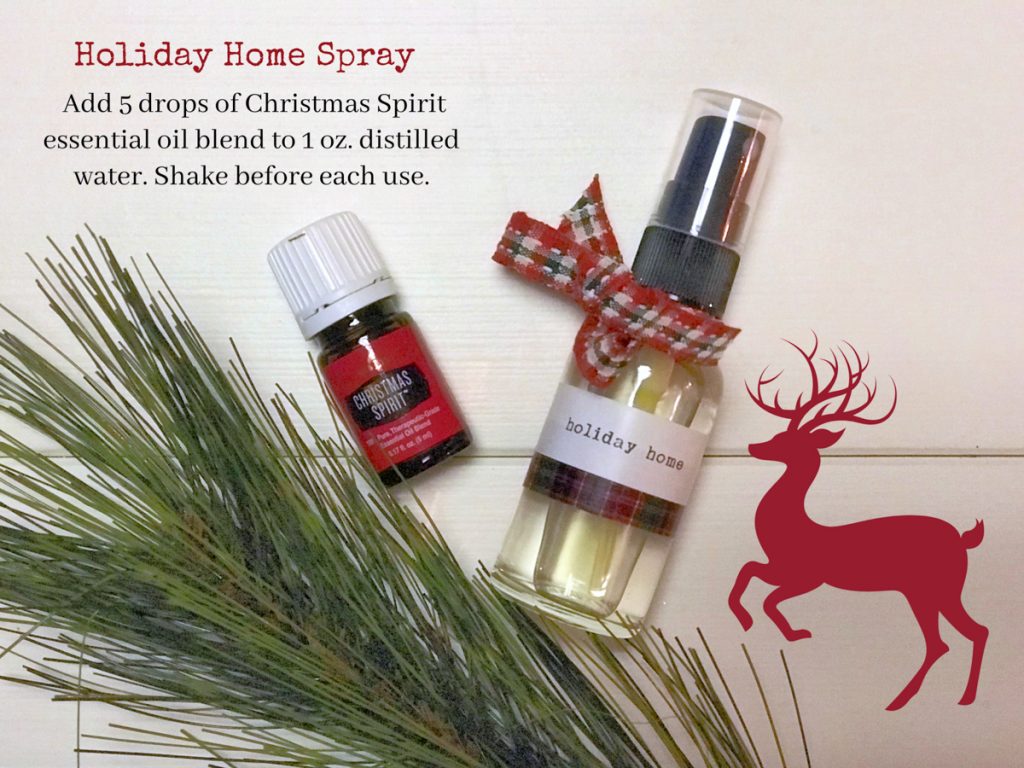
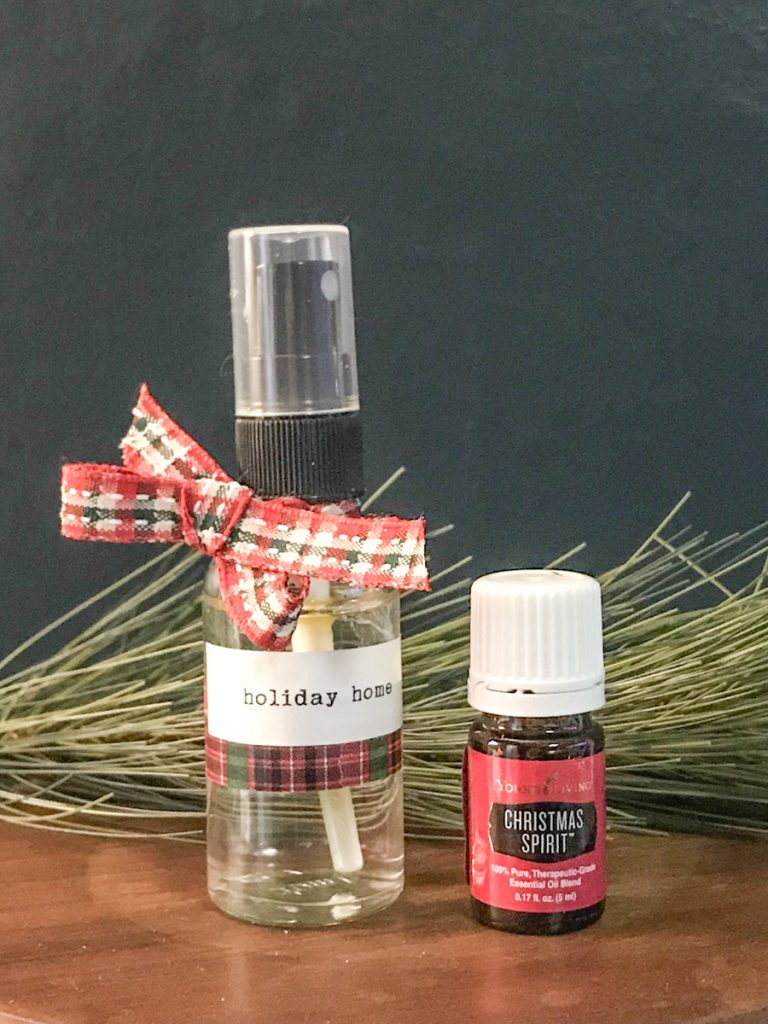
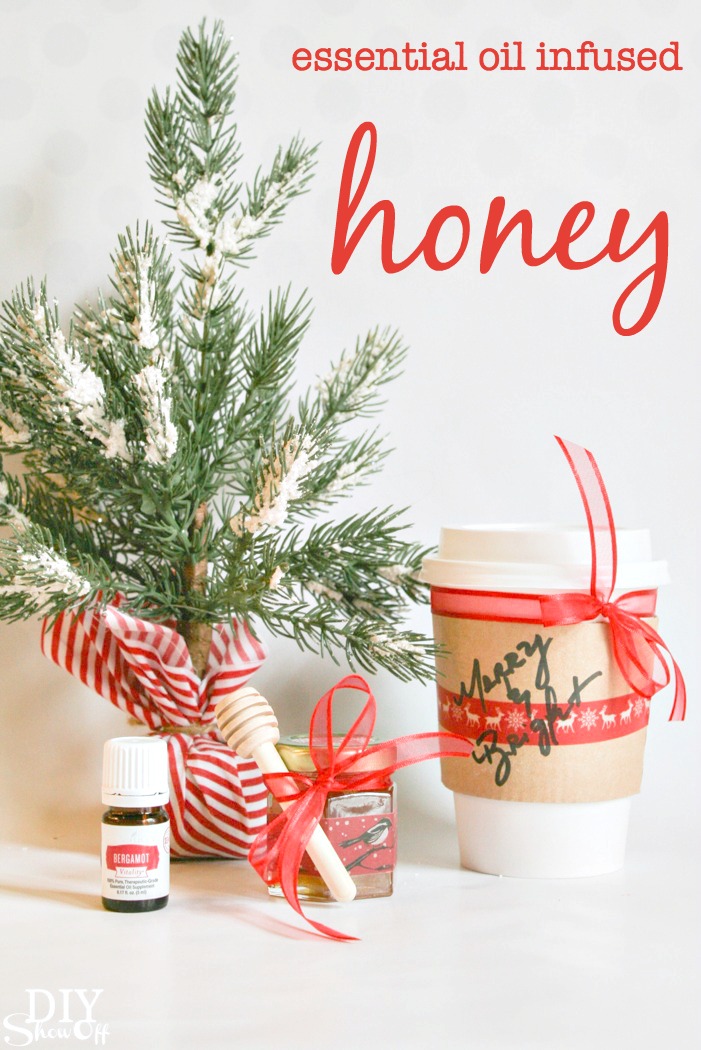
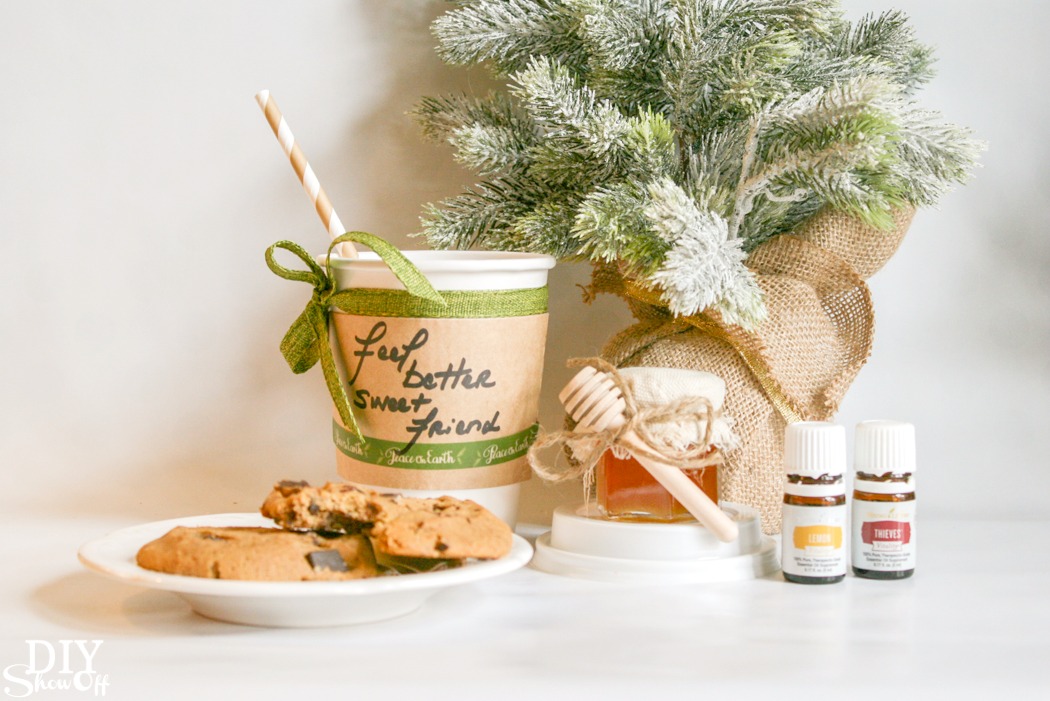
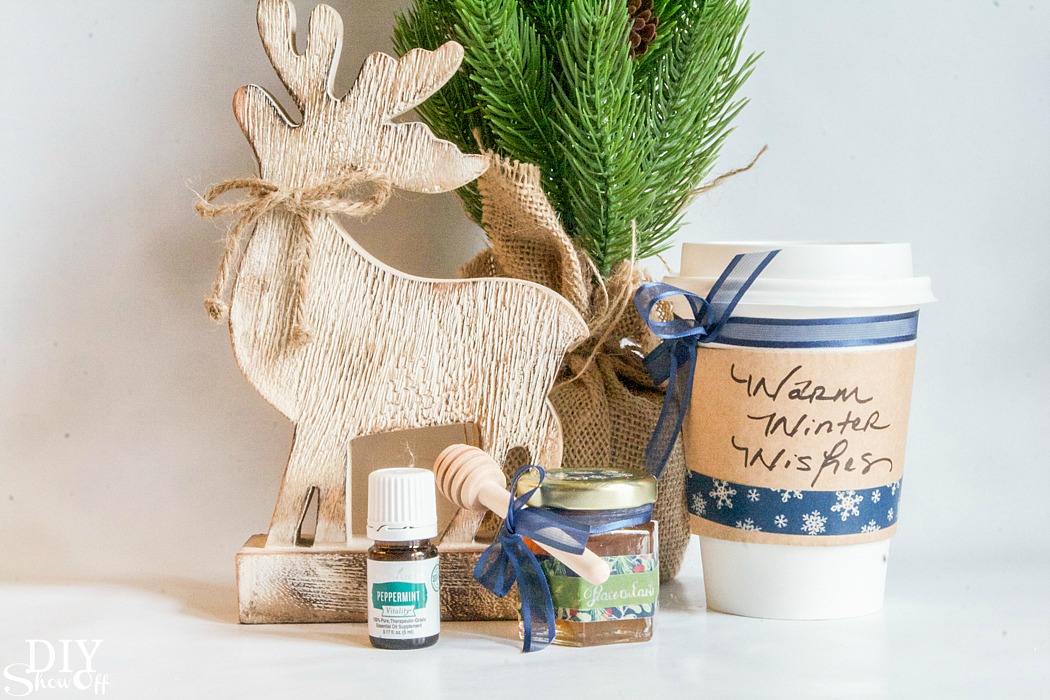
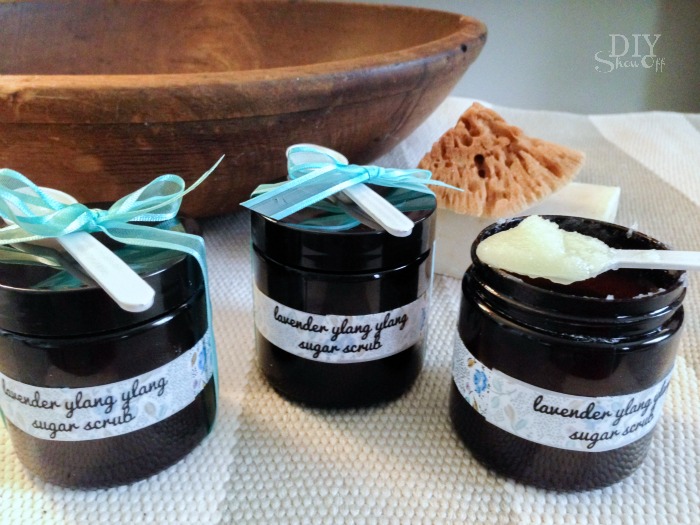
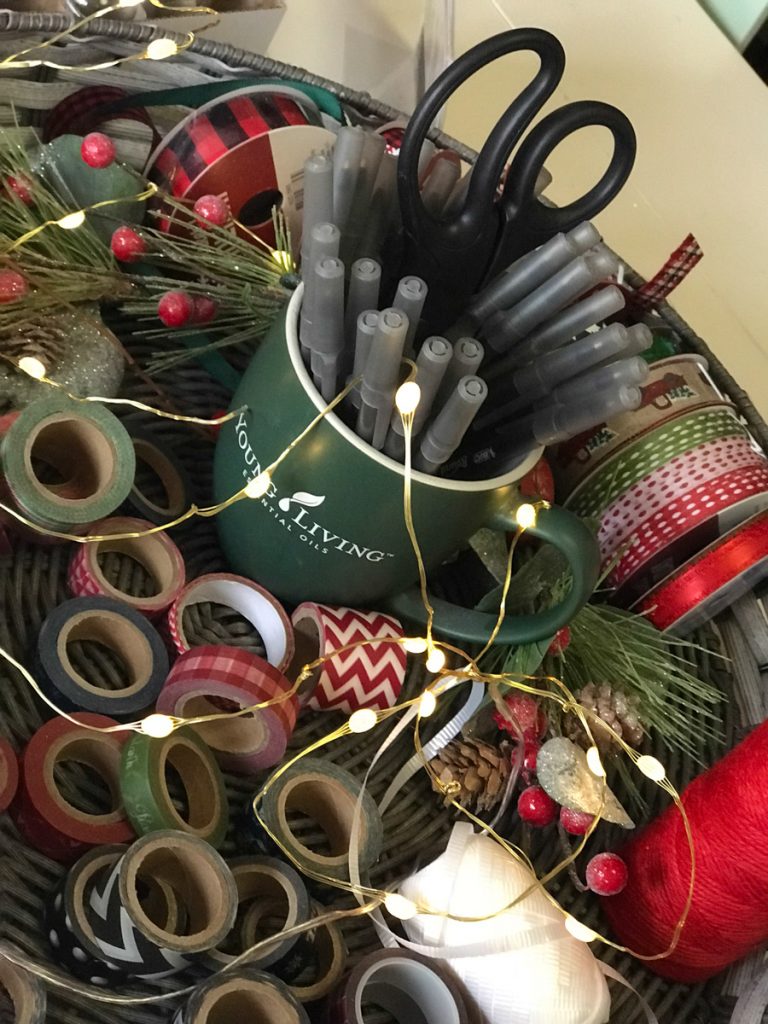
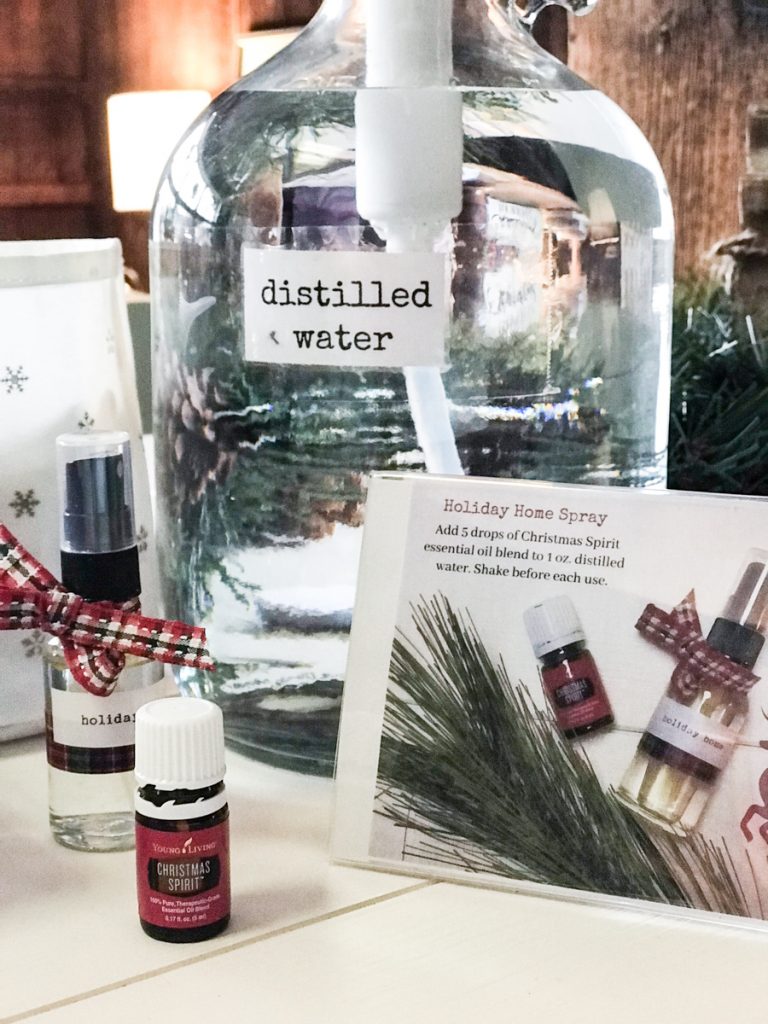
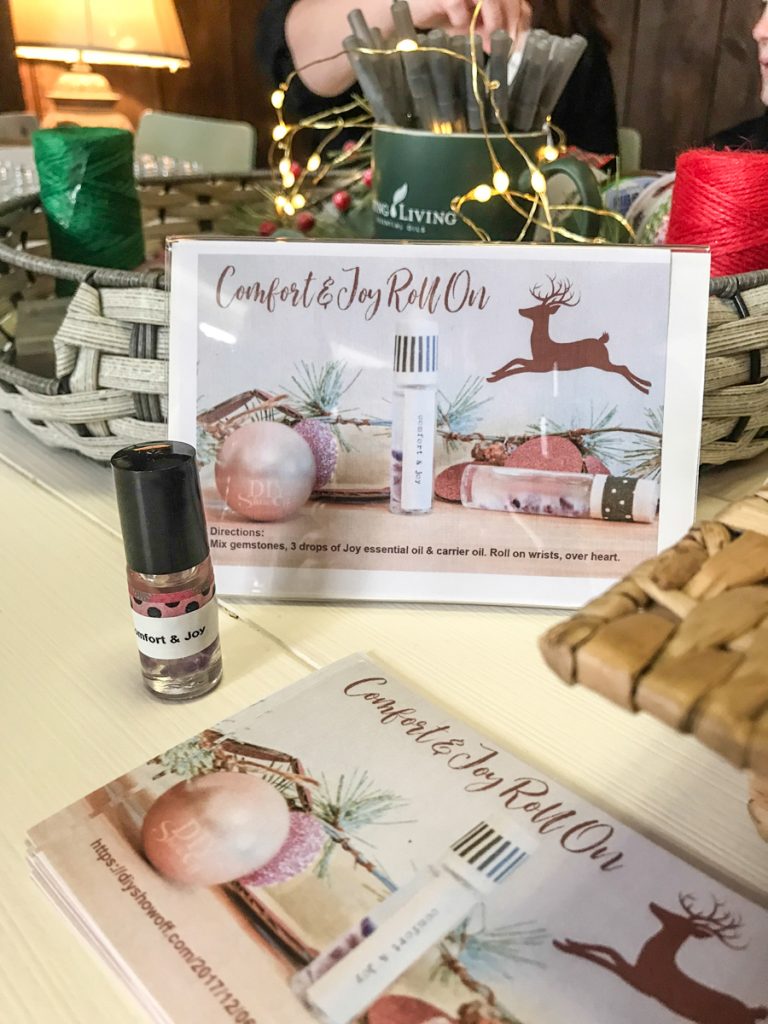
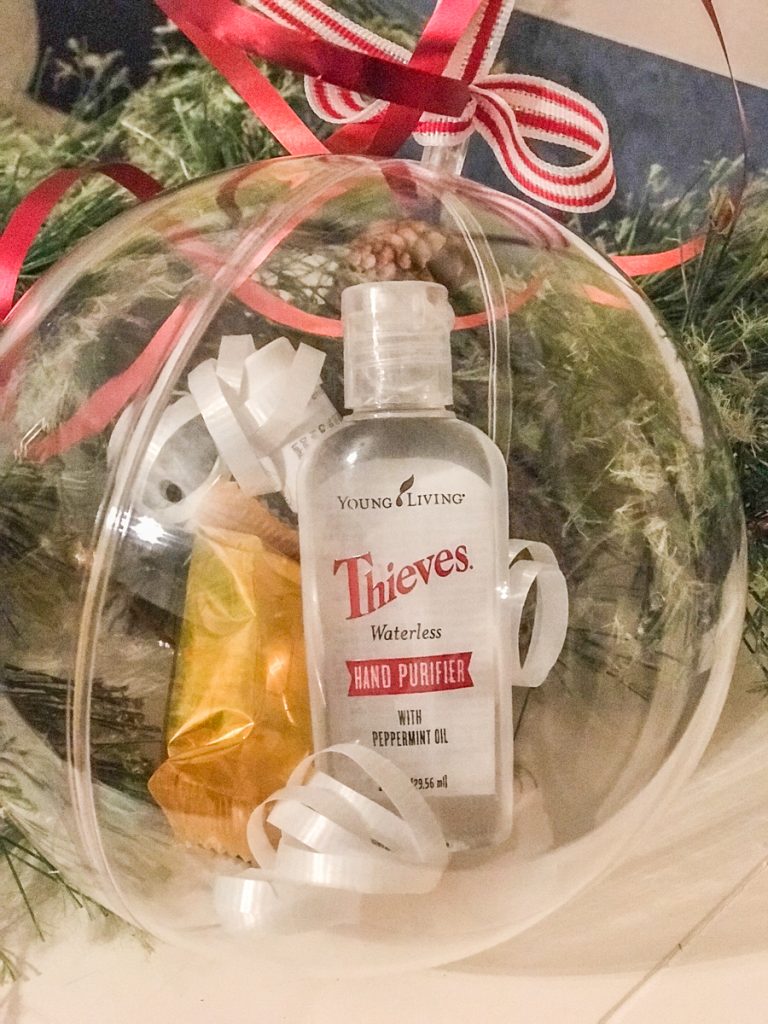
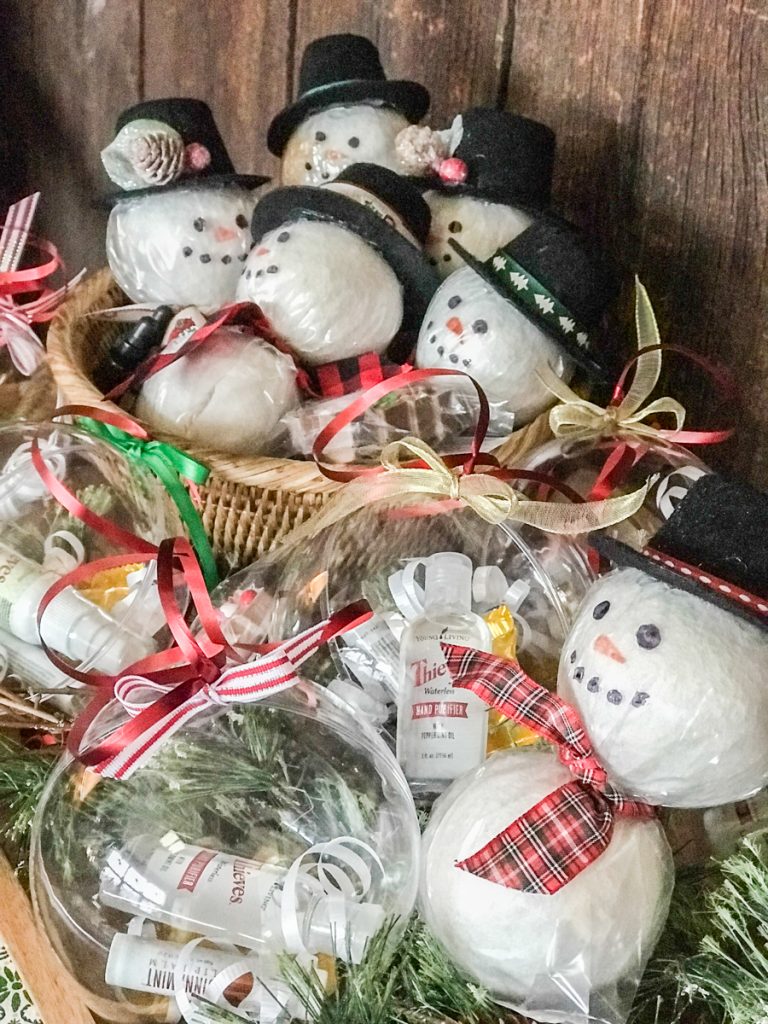
 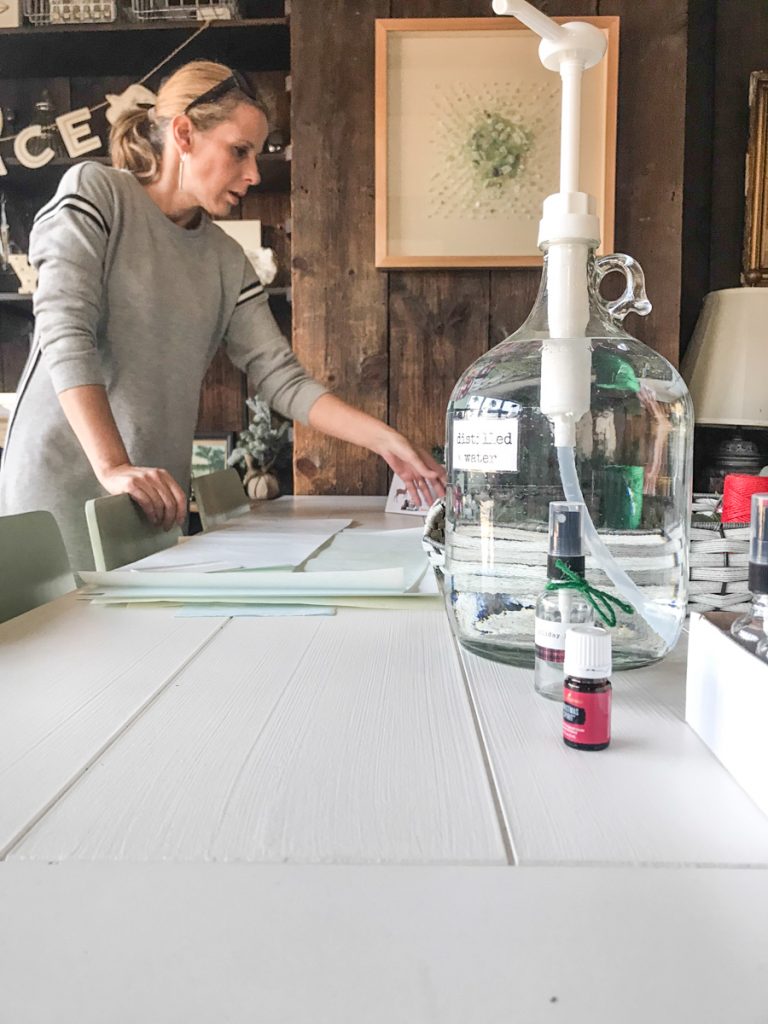 I love handmade gifts and making them so pretty and festive with all the trimmings. See more about essential oil infused gift ideas HERE.
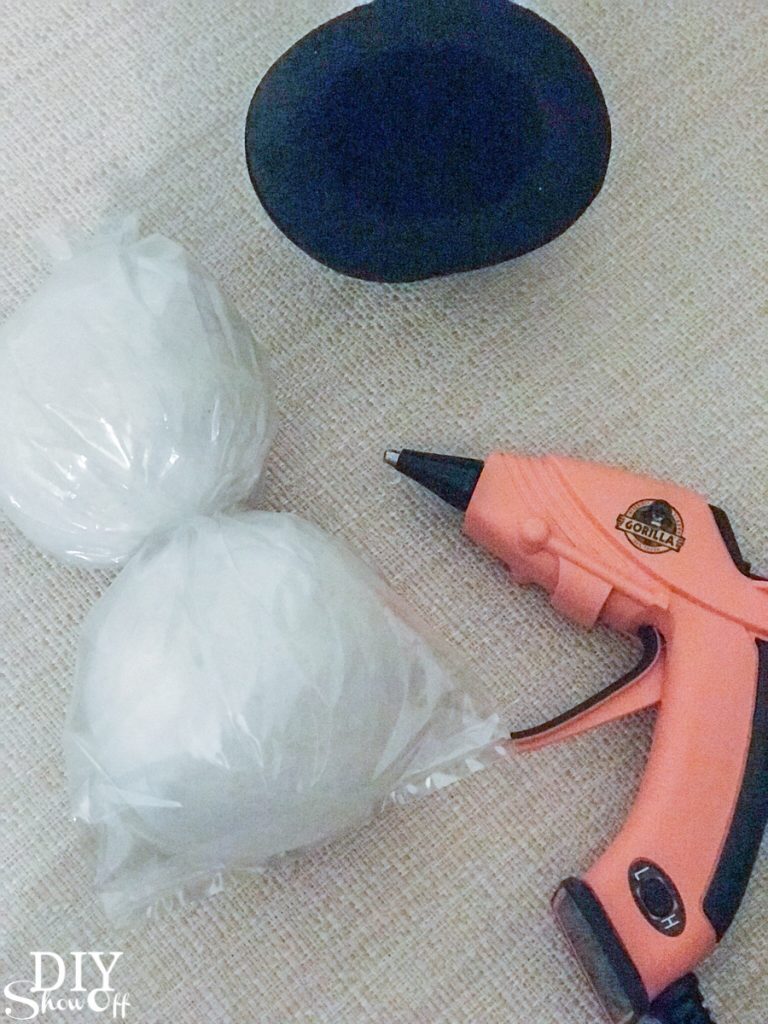
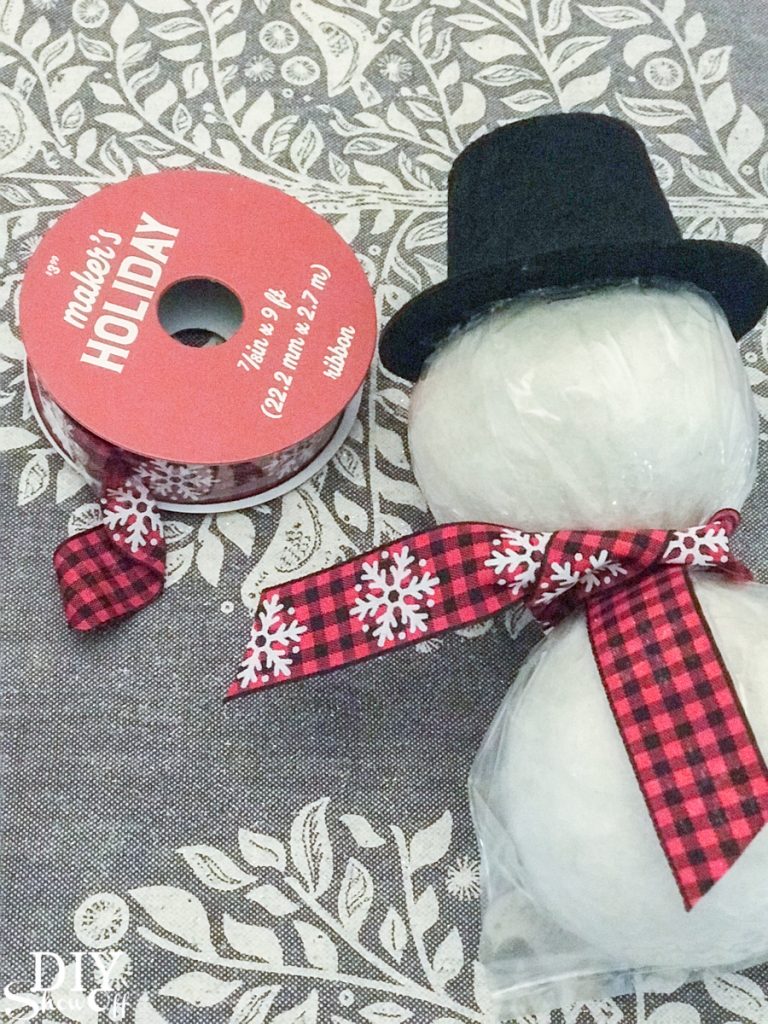
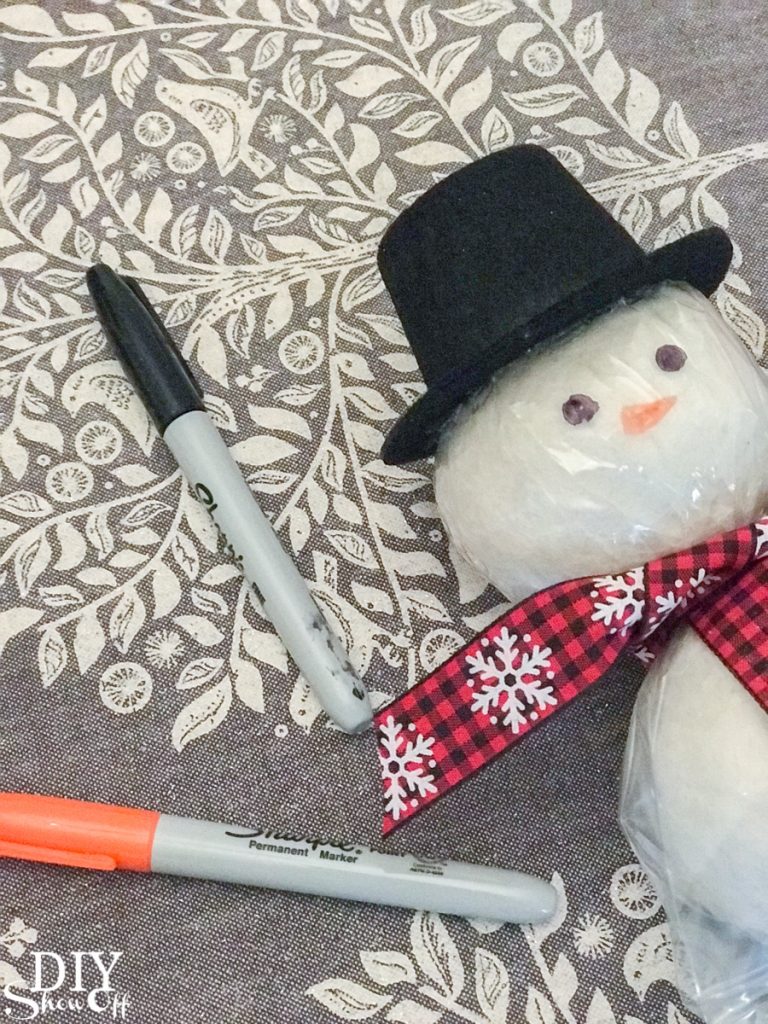
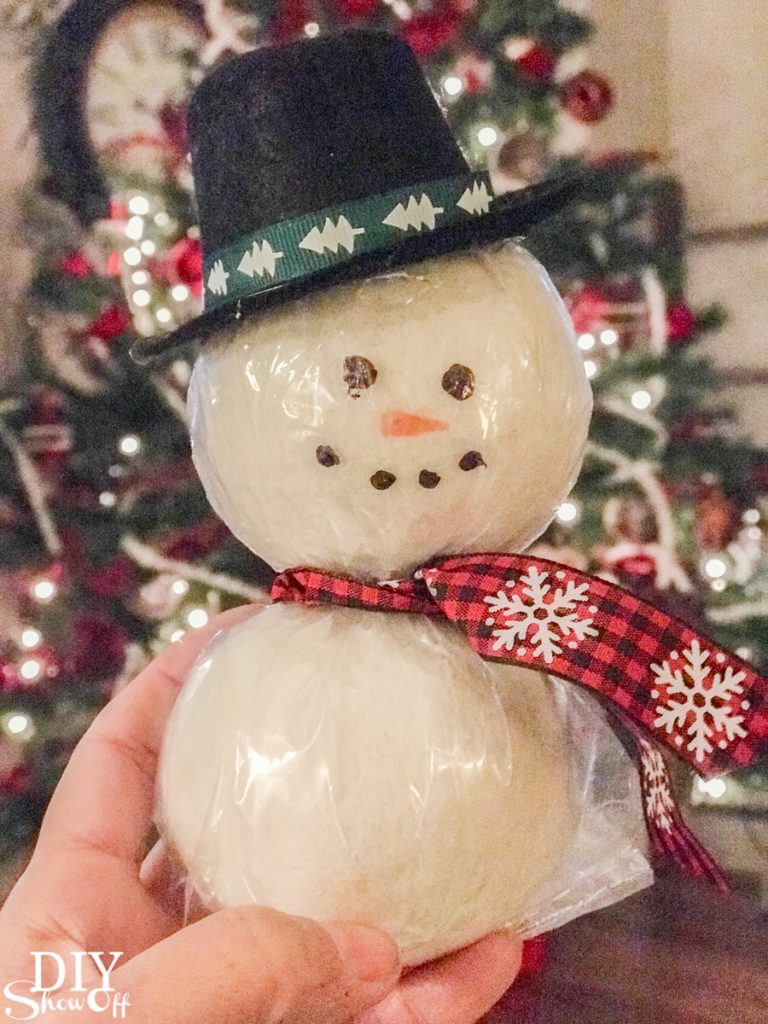
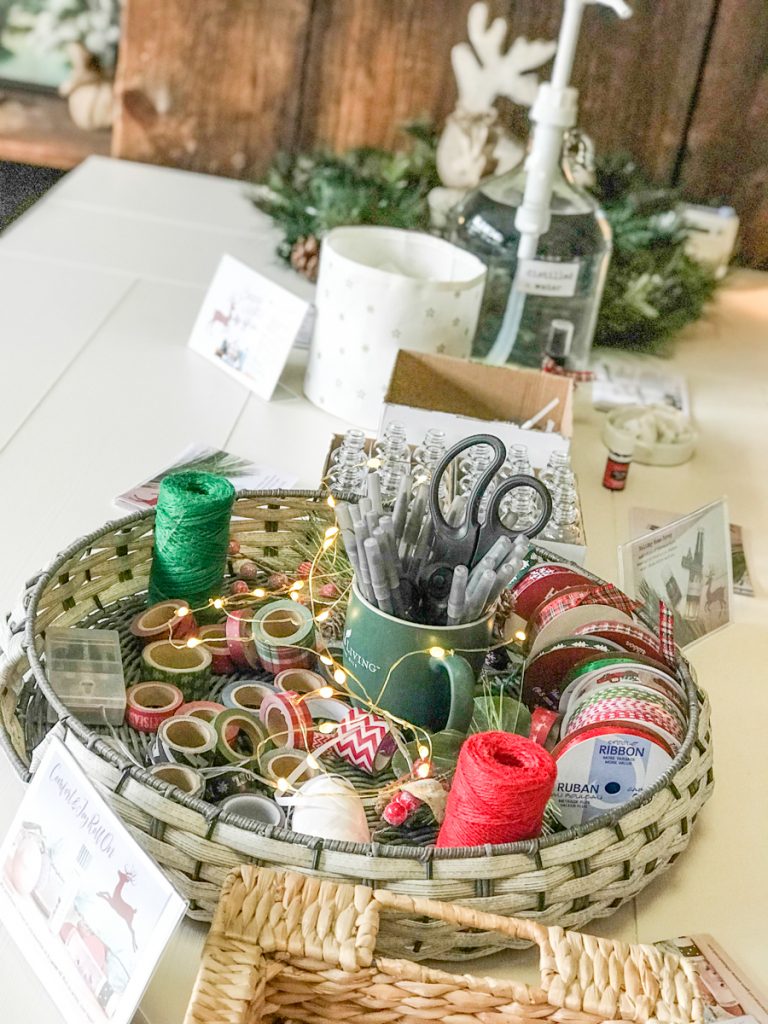
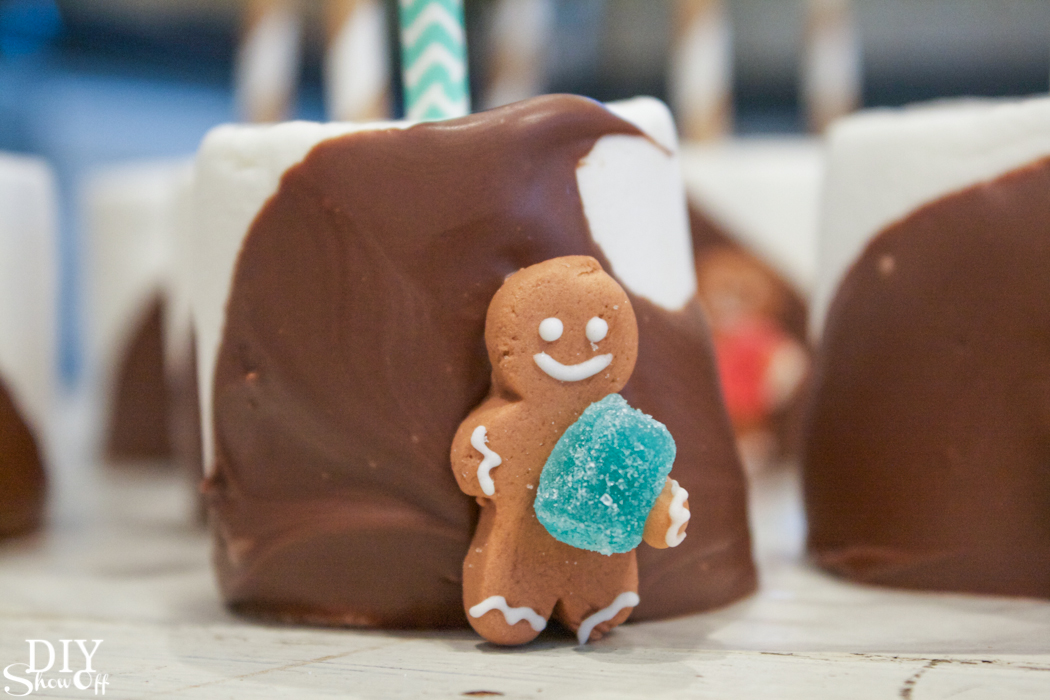
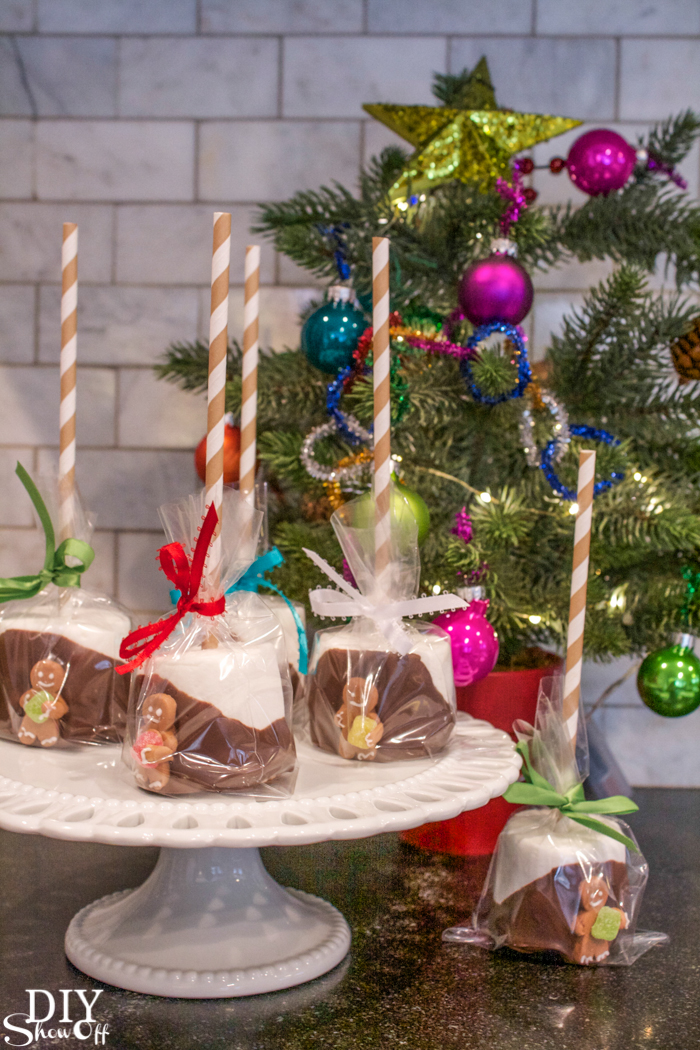
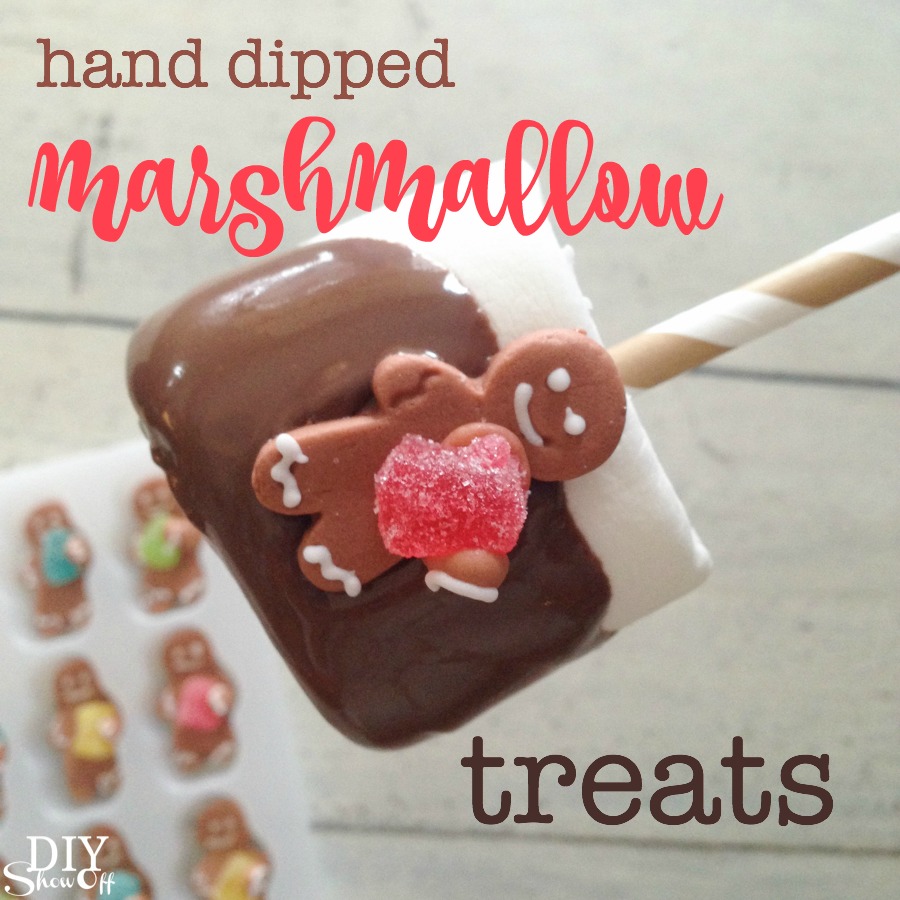
 What’s an event without some light refreshments? I love making up a tray with fresh fruit, cheese and crackers and some essential oil infused goodies.
 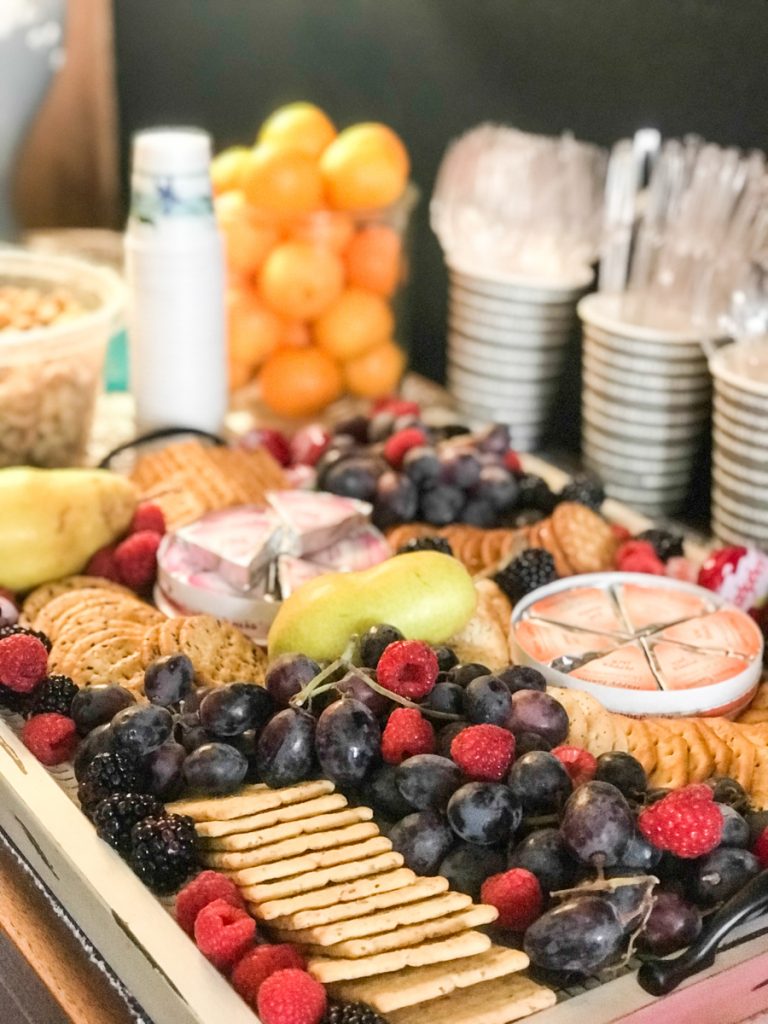 fresh fruits, crackers and cheese
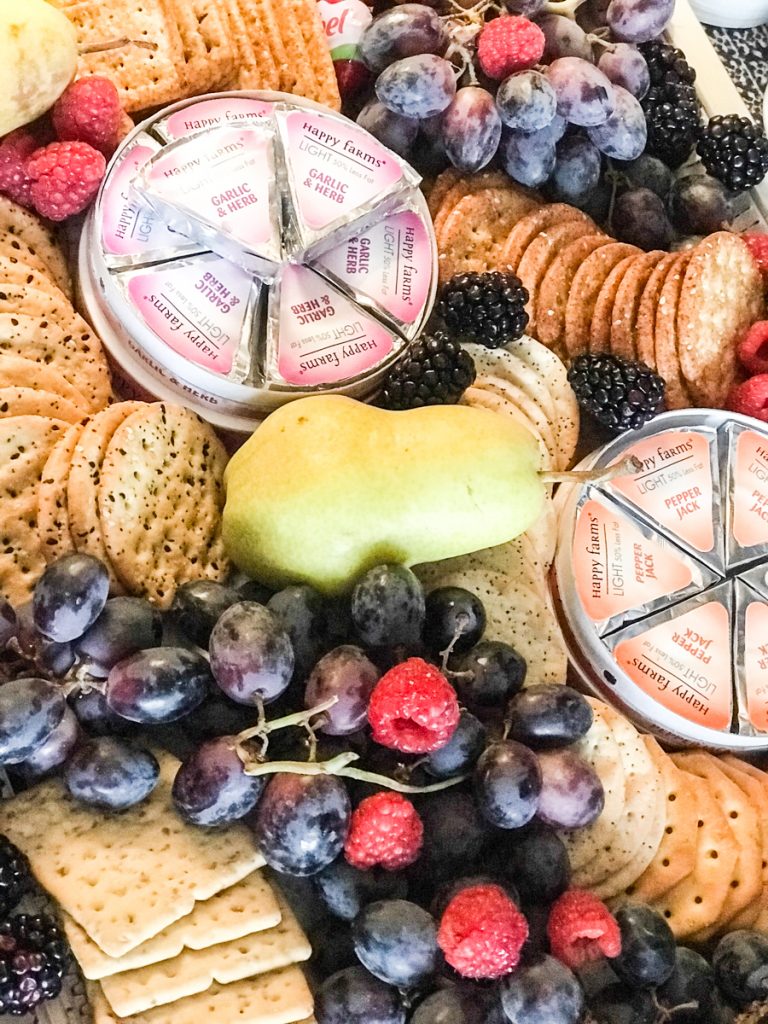 ketogenic pumpkin muffins with Cinnamon Bark Vitality infused cream cheese frosting
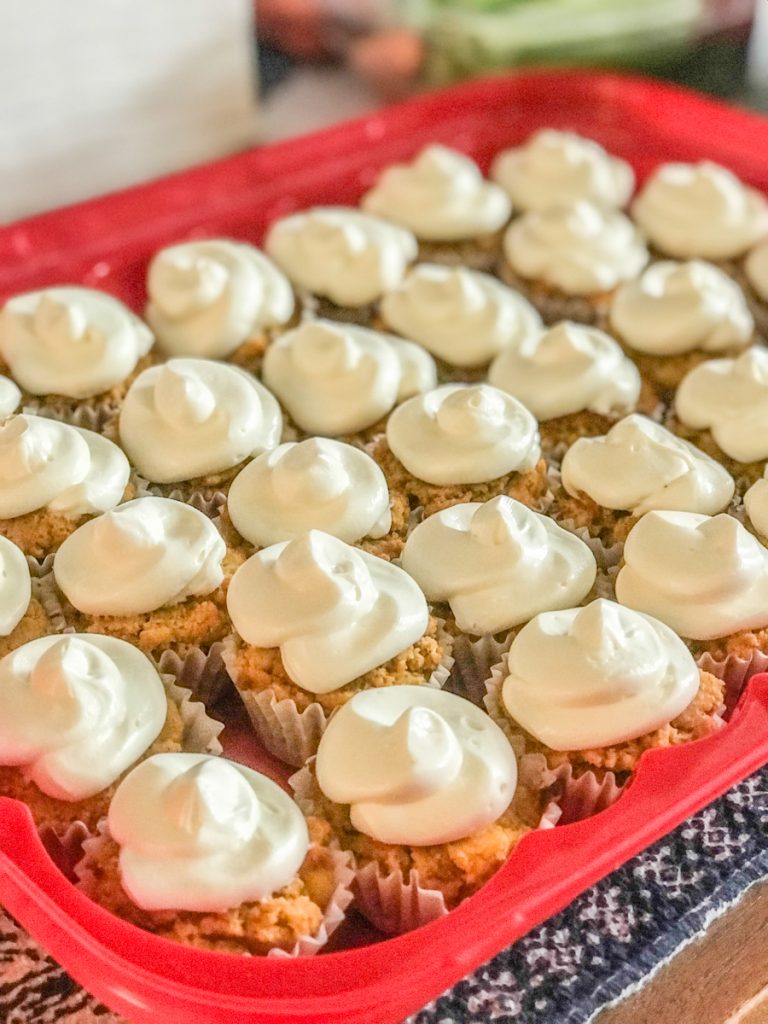 Rosemary Vitality and Lemon Vitality essential oil infused roasted cashews
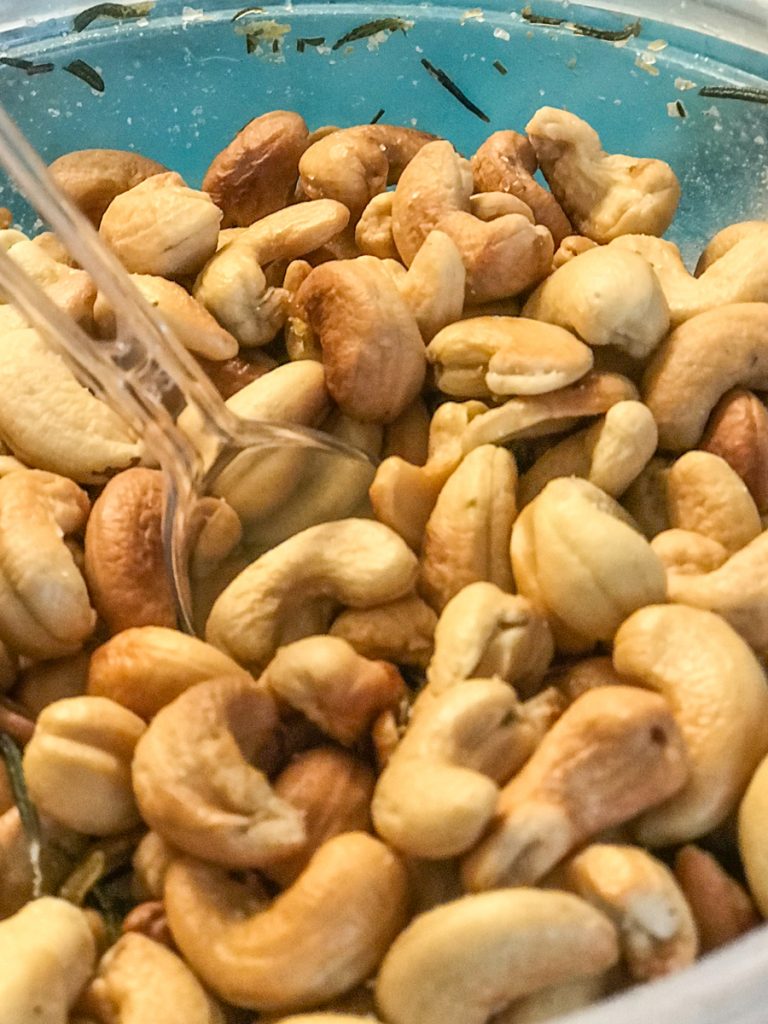
So, what do you think? Isn’t it cute? So cozy and comfy. C’mon over and we’ll catch up over a glass of hot cocoa or mulled wine! I’ll save a mini-muffin for you! love spending time here with friends!
Next up:
The workshop transformation. It’s my favorite!
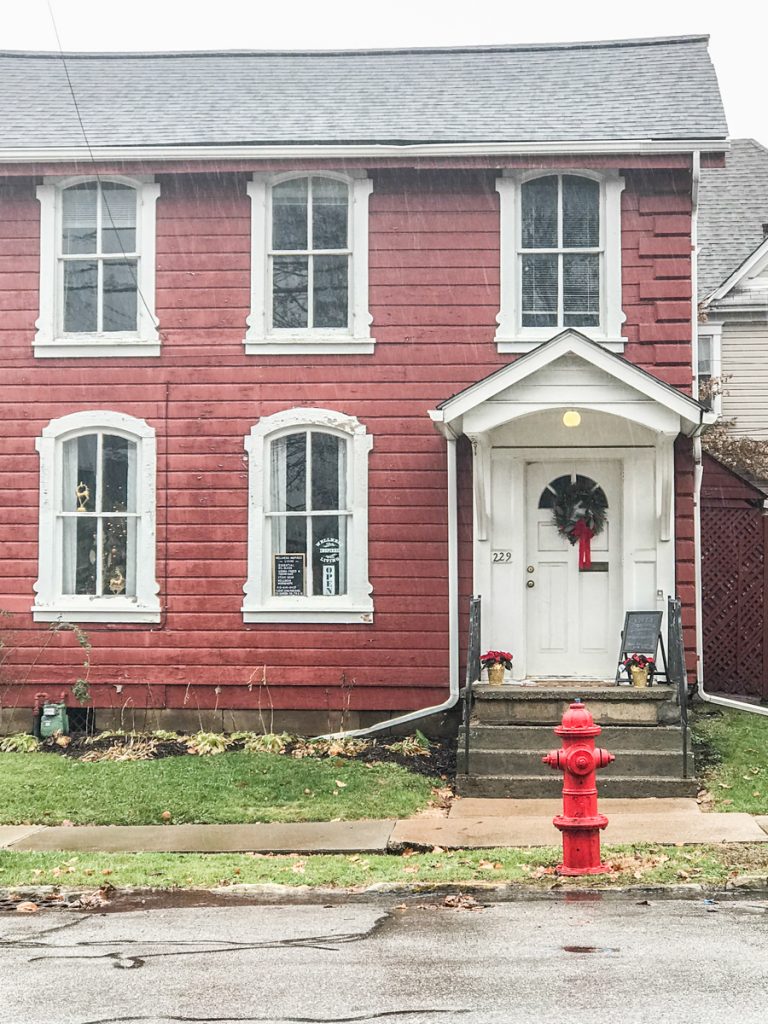
The building has so much historical charm. It’s about one block from our town’s Main Street. The bus stop is literally steps away. There’s a gorgeous Butler, PA Bed & Breakfast across the street called Suite Retreat (how cute is that?!) and an antique shop nearby. There are breweries, the YMCA, shops, restaurants, salons, florists, candy/coffee shop, holiday parades and festivals within walking distance. So fun! If renovation from blah to ahhhhh is your thing, stay tuned!
So subscribe and be reminded of updates as the renovations progress! I’ll share before and after photos, projects underway and updates, plans and design boards, sources and links as they relate as well as fun events going on in and around the downtown area. I’ll be using a specific hashtag on social media to keep things all neat and tidy and organized.
#helloredreno
I welcome your thoughts and ideas! And as always, thanks for your encouragement and support and for sharing in my joy and vision! Watch for #helloredreno!