African/Cameroon Juju hats have been around as home decor for a few years. They’re so beautiful, artisanal/handmade (symbolize prosperity, worn by ceremonial dancers). DIY decorative Juju hat inspired tutorial:
DIYShowOff Juju hat wall decor tutorial
When a friend of mine had to part ways with her African Juju hat wall decor (you don’t want to know), she was in the market for a replacement. It’s been a while since I’ve been crafty and what better time than the new year for a fresh start?! Perfect timing. A perfect opportunity to focus on the positive and to send some good juju to a friend.
What’s your first DIY project of the new year? Looking for and easy, fun and “GOOD” DIY to jumpstart 2022? This is the perfect little project for you to try! I felt empowered and inspired so I opened up my Amazon app and ordered these supplies:
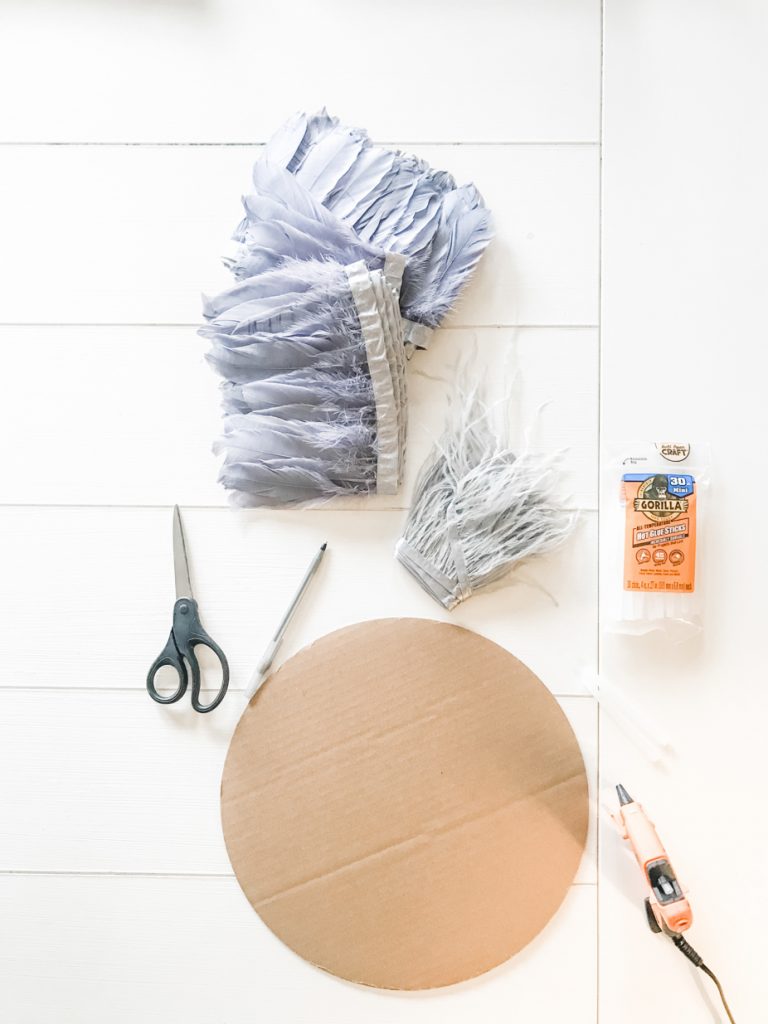
Materials I used (referral links):
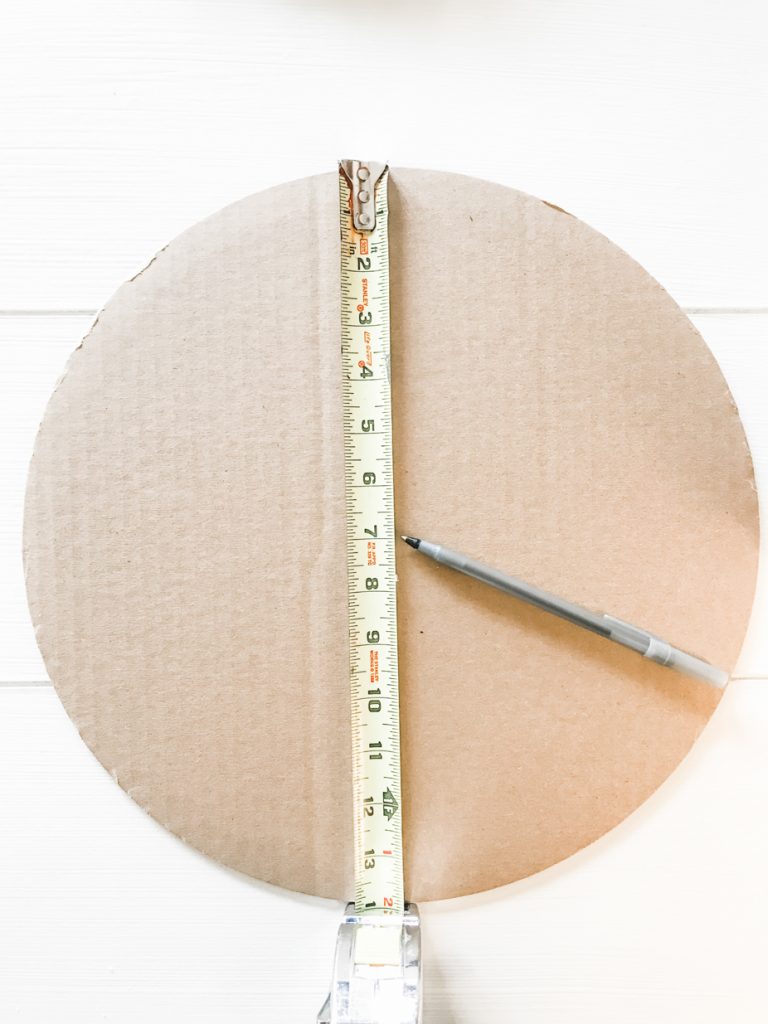
• cardboard circle (could easily make one from recycled cardboard too, especially if you’ve been procrastinating the holiday clean up!)
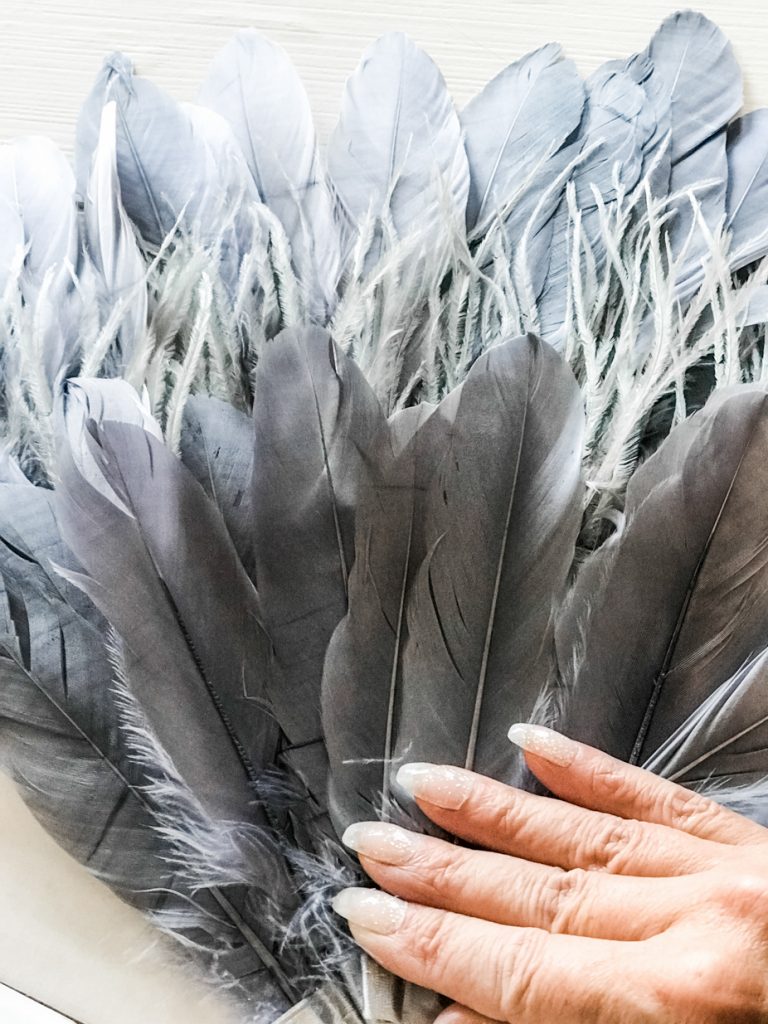
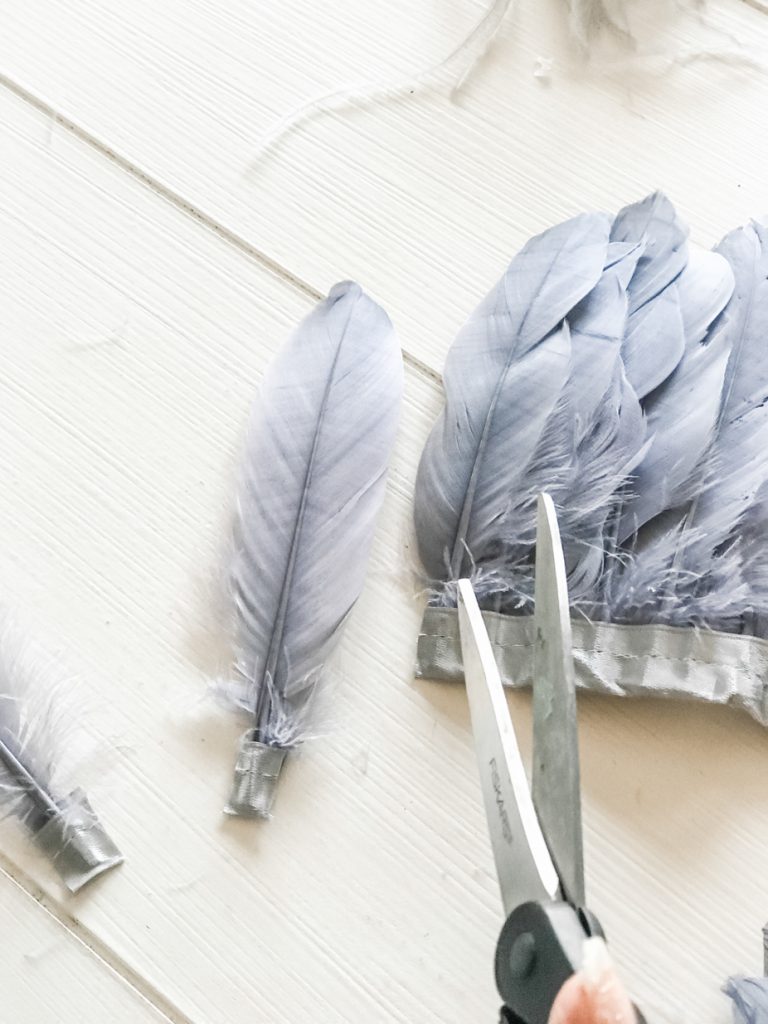
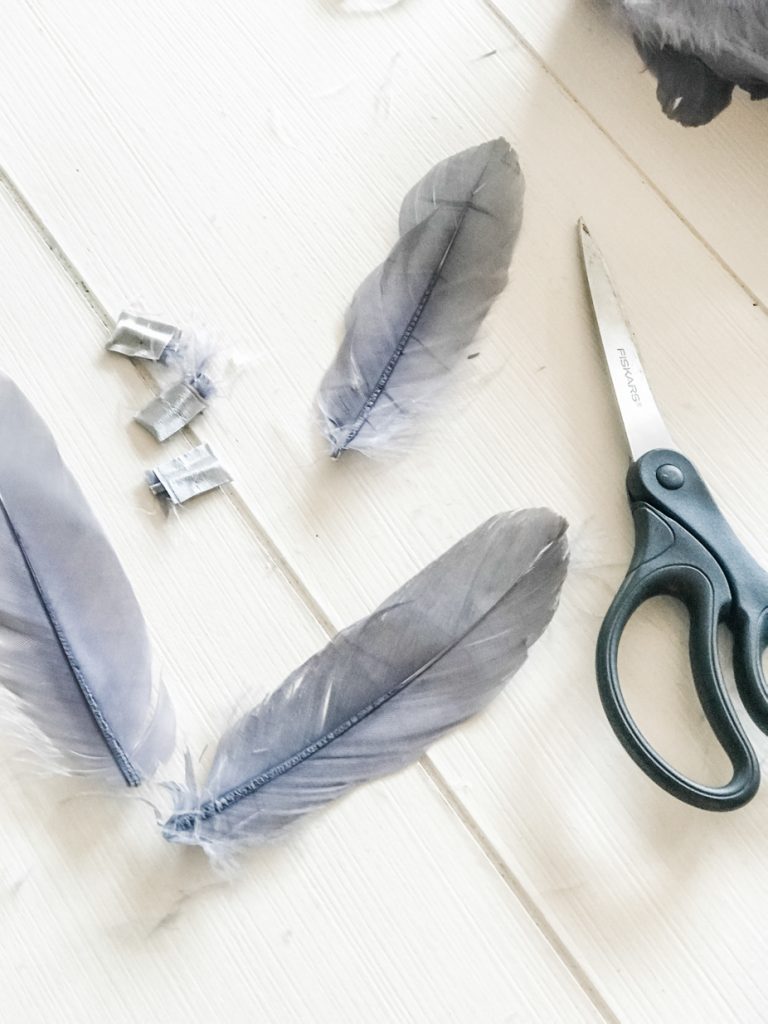
• feather trim ( purchased 2 of this feather trim and 1 of this feather fringe trim)
• aluminum pop top (removed from can) to hang (could also use string or hang with push pins)
Tools:
hot glue gun/sticks, scissors
What I did:
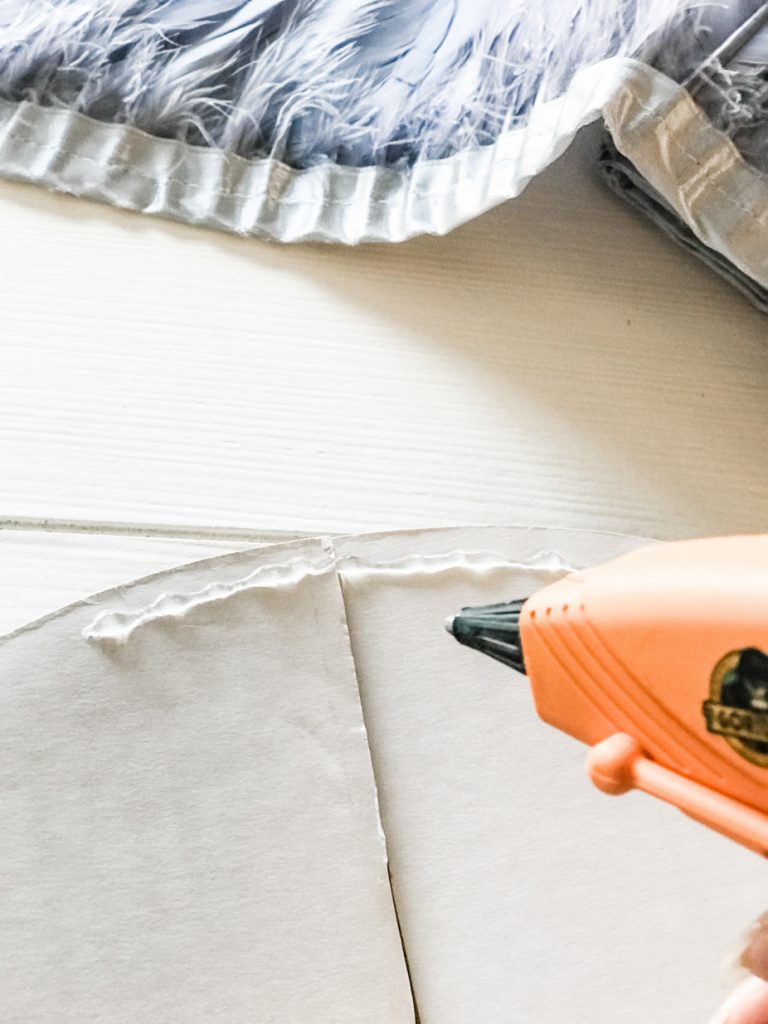
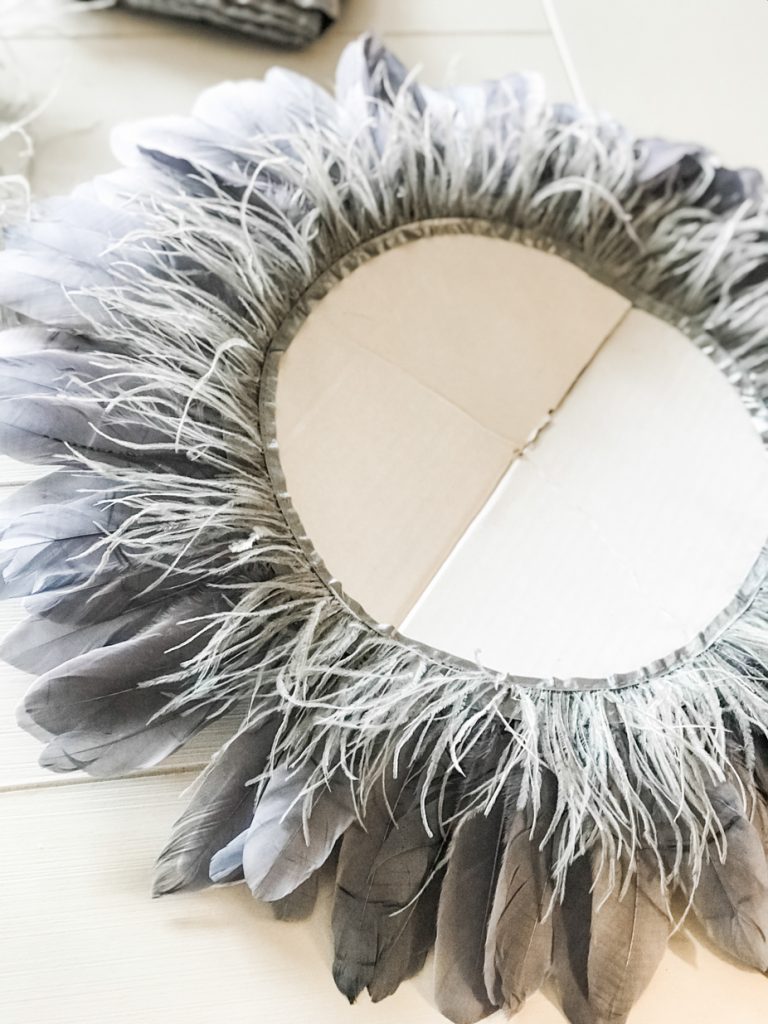
I found the center of my cardboard circle. From there, I drew a straight line to the outer edge.
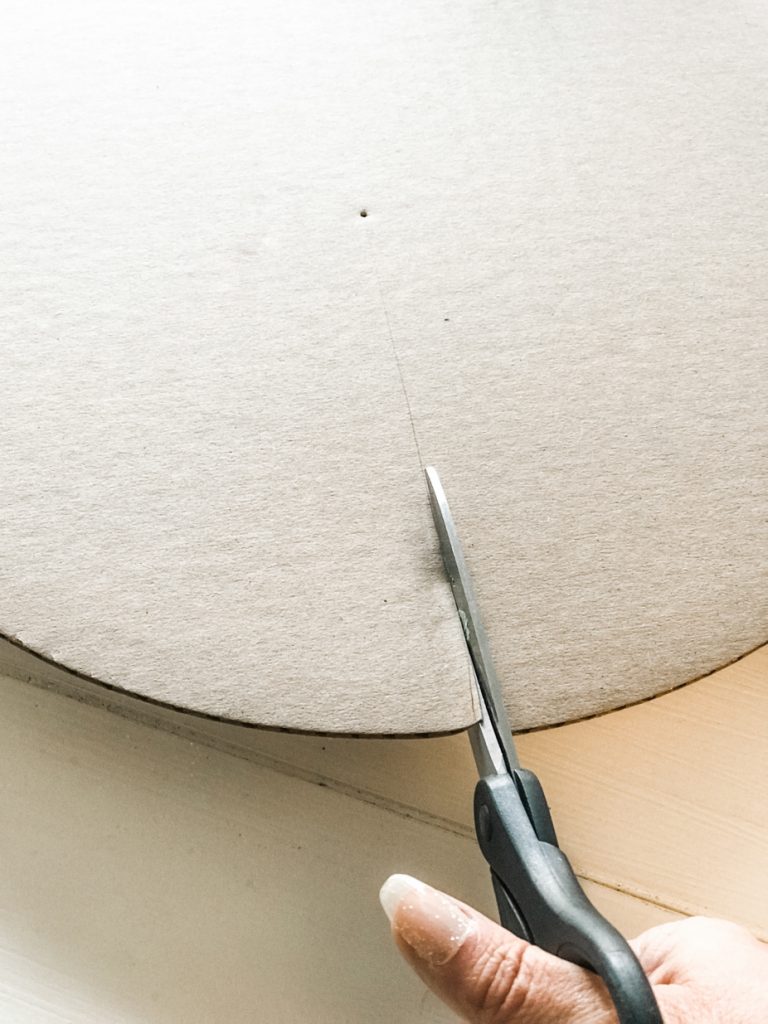
Using scissors, I cut along the line.
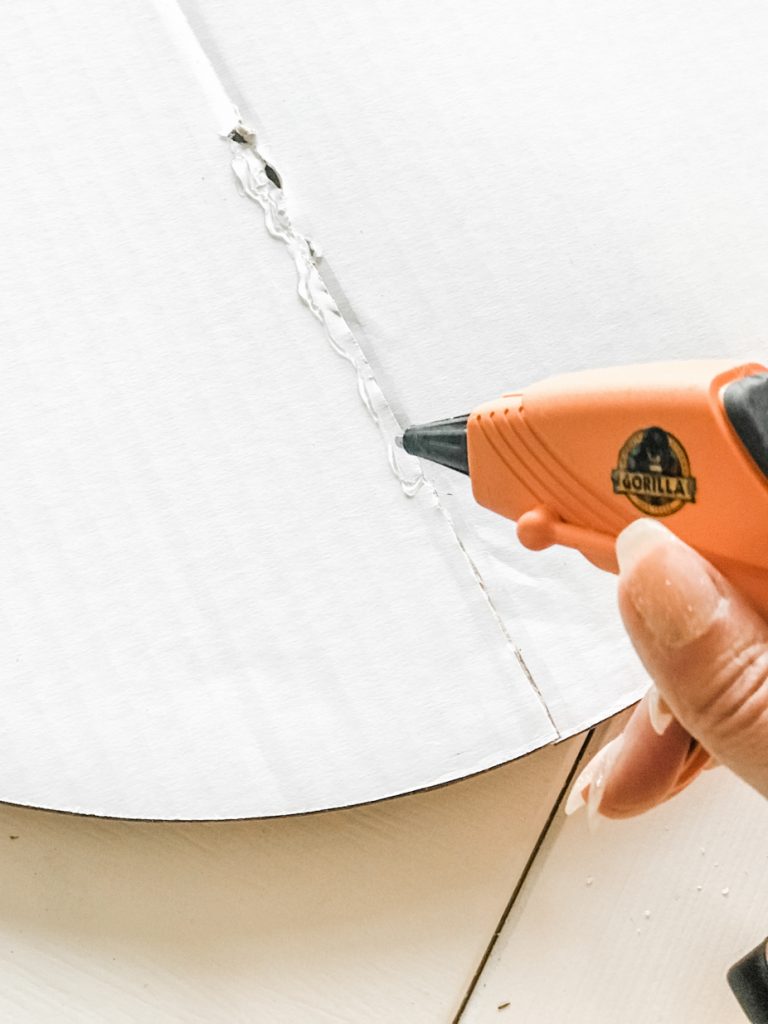
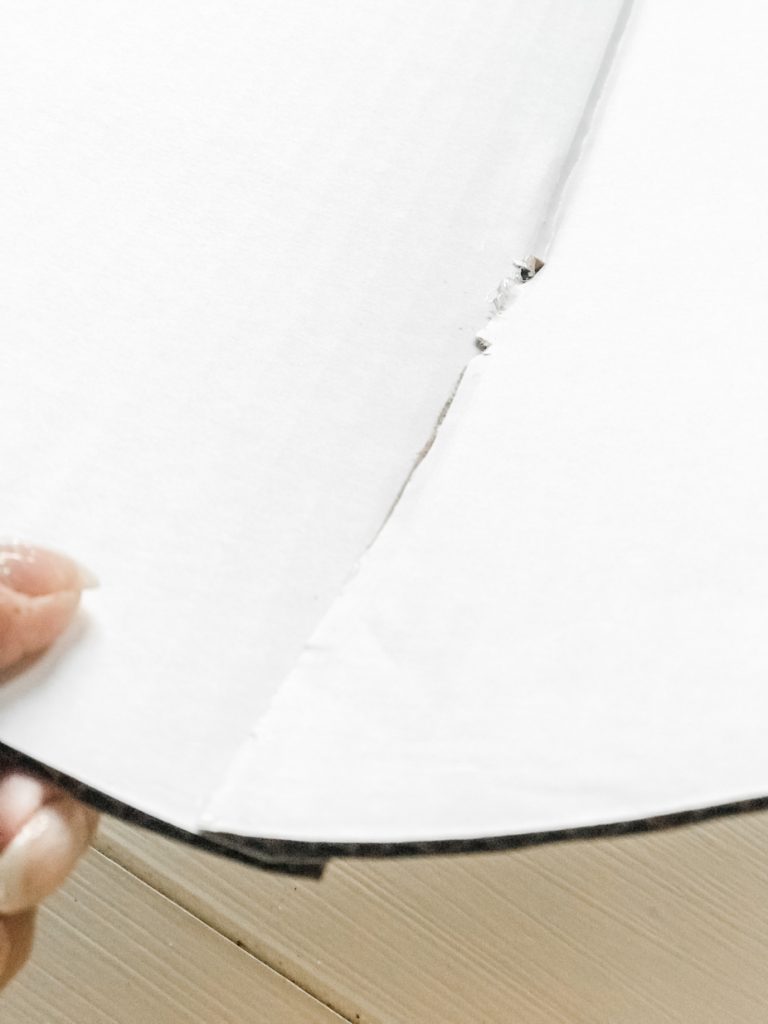
Next, using hot glue along one side of the cut, I glued the other side slightly on top to create a little bit of a ‘bowl’-shape. It’s very slight…just enough to give it a 3D look.
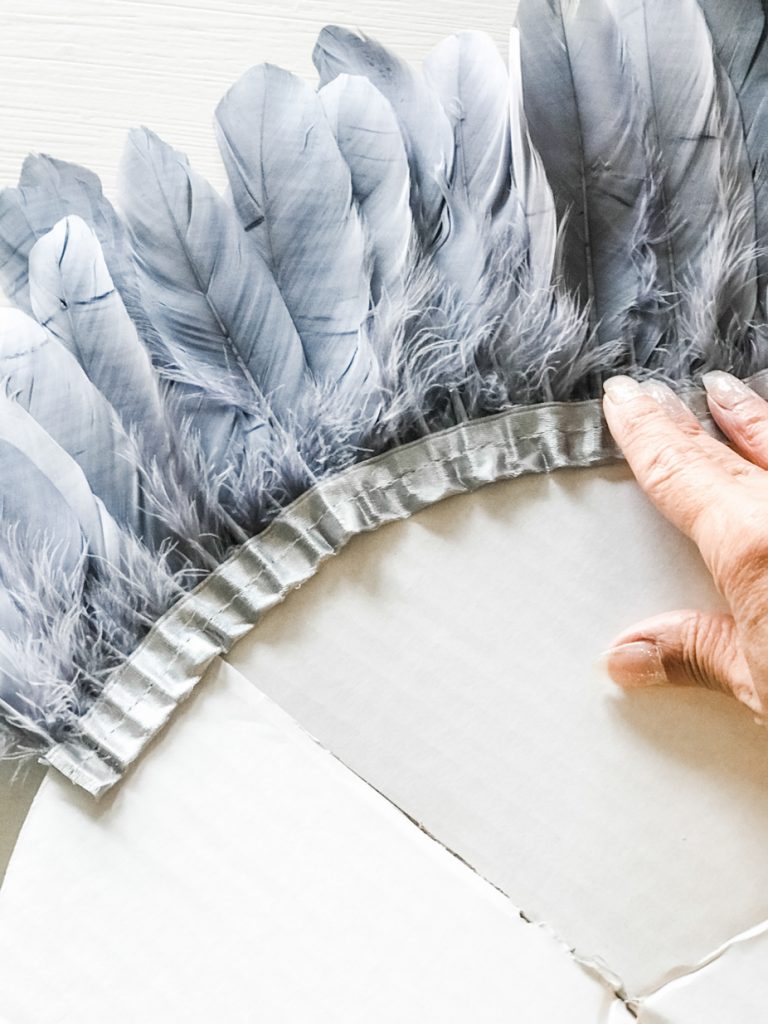
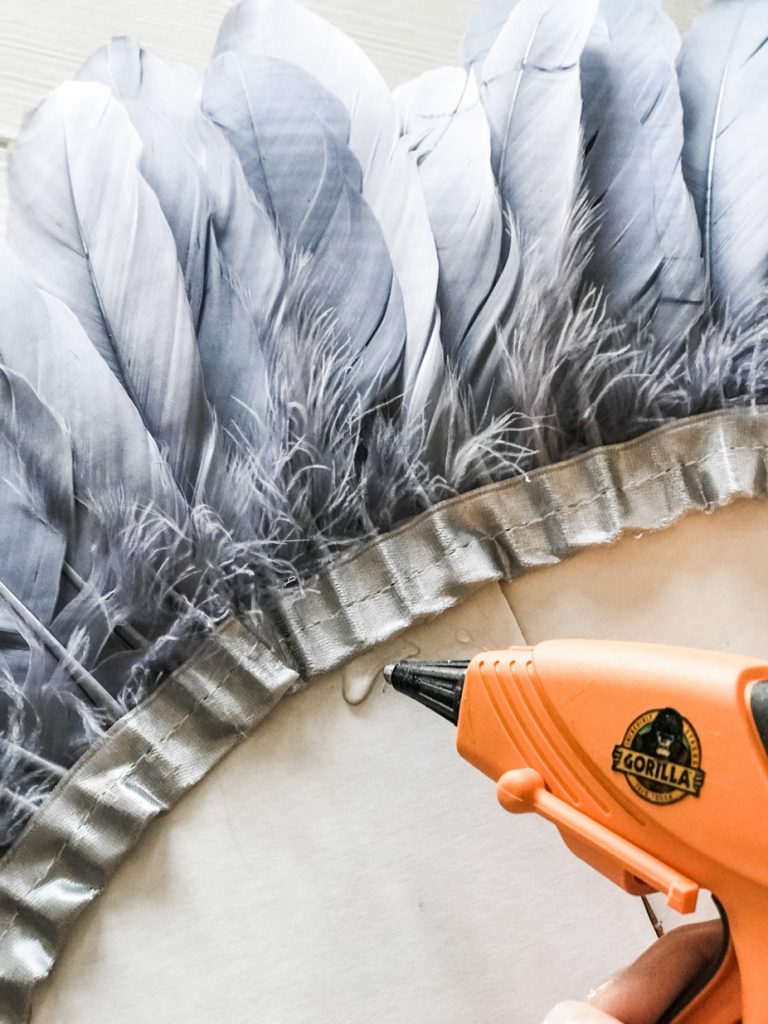
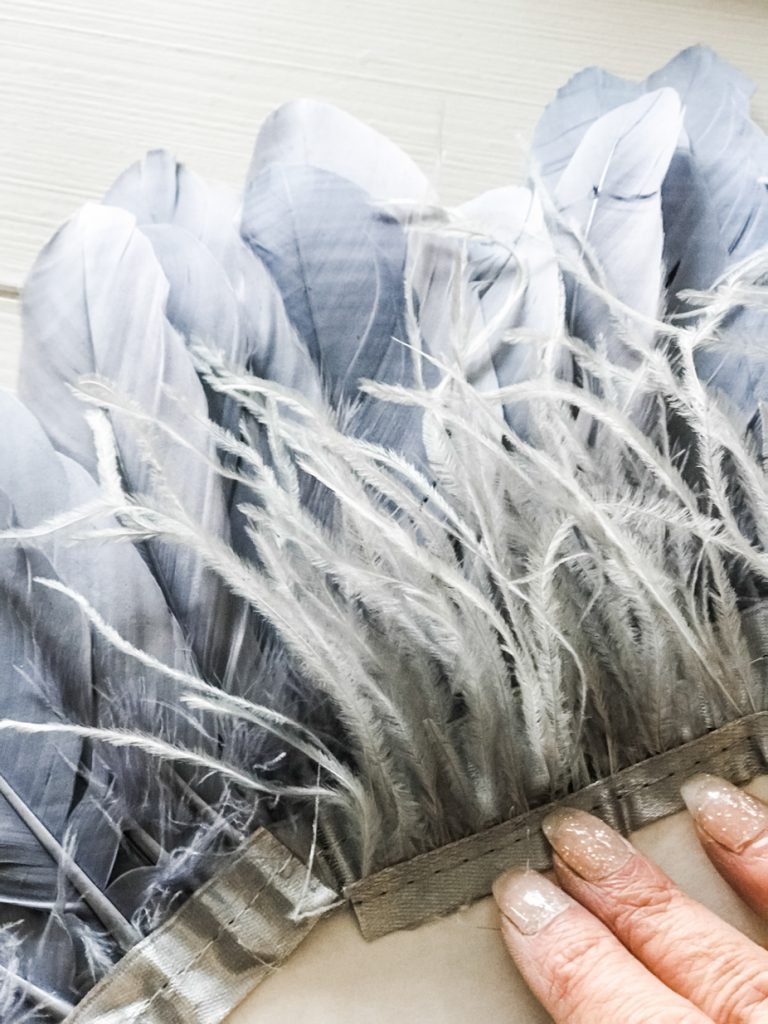
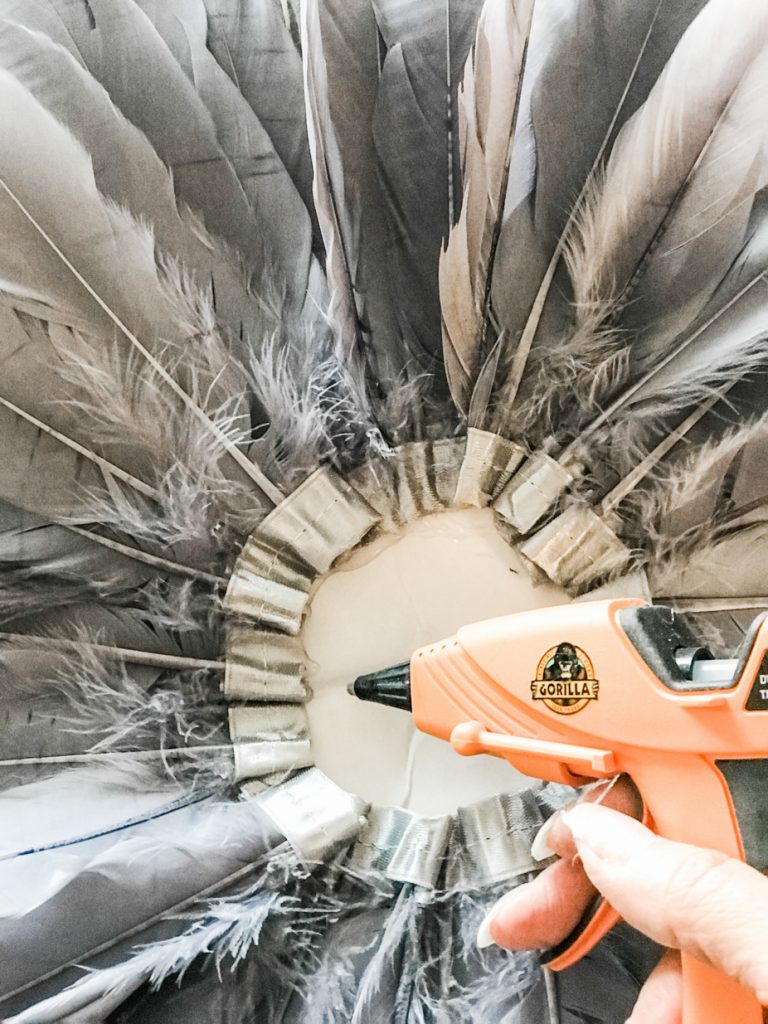
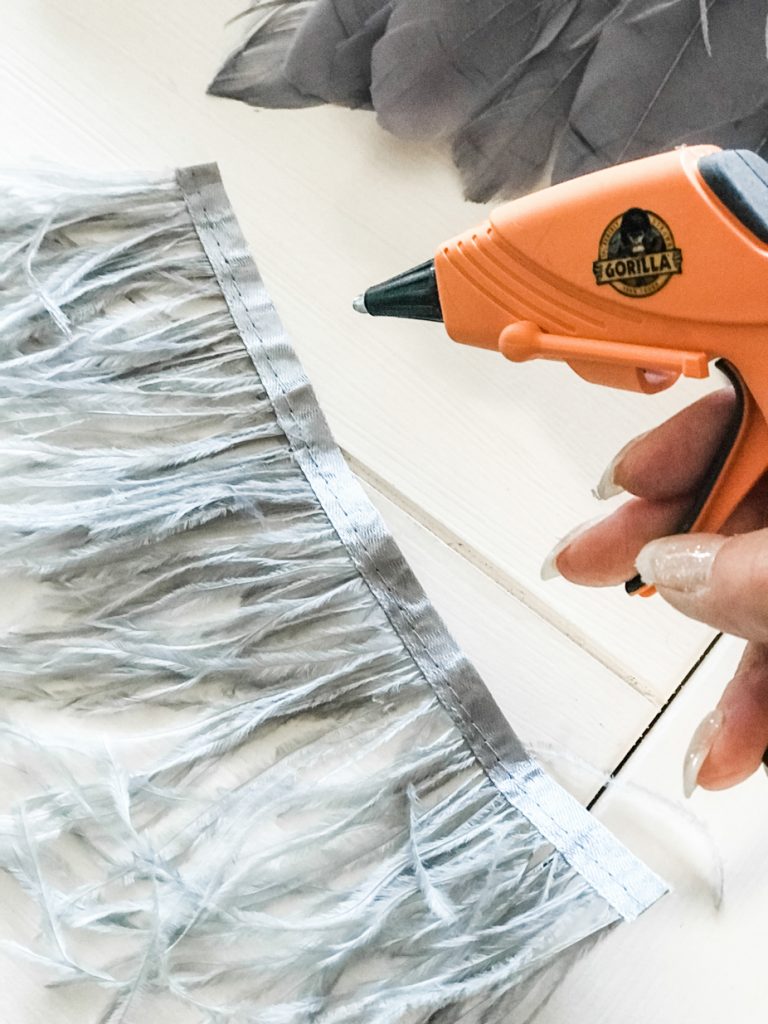
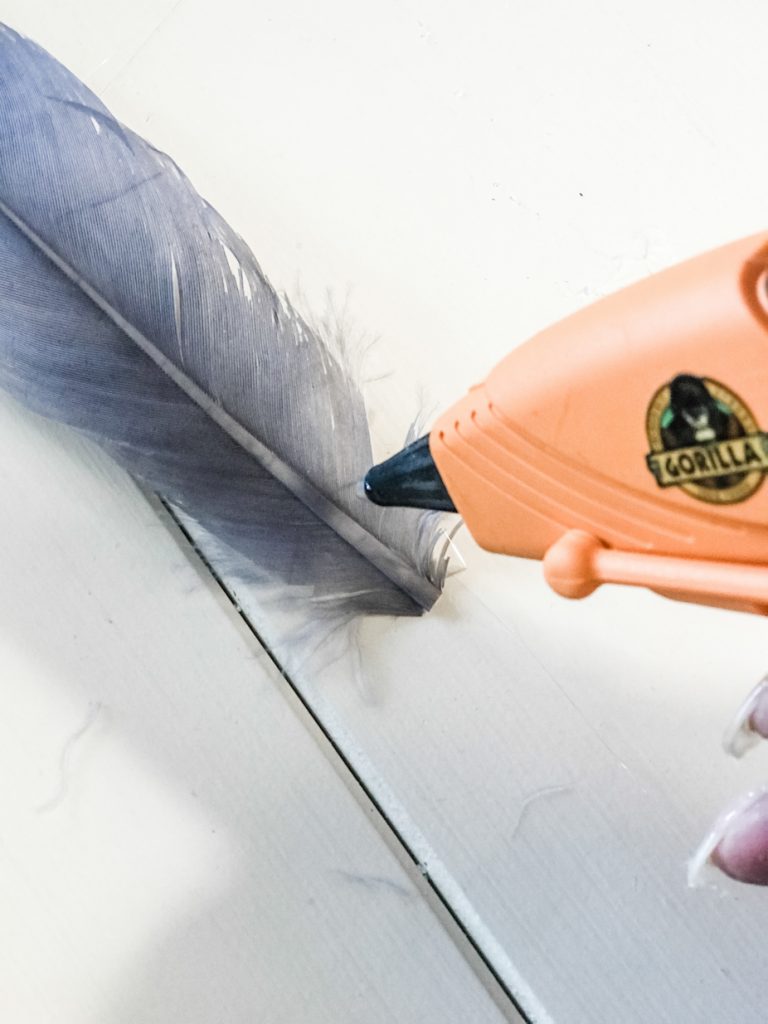
Then, protect your fingers ‘cuz that hot glue is HOT! Be careful! (I used a capped pen to hold down the ribbon as needed.) Determine placement and start attaching the bottom of the feather trip to the cardboard circle. I worked my way around the outer edge.
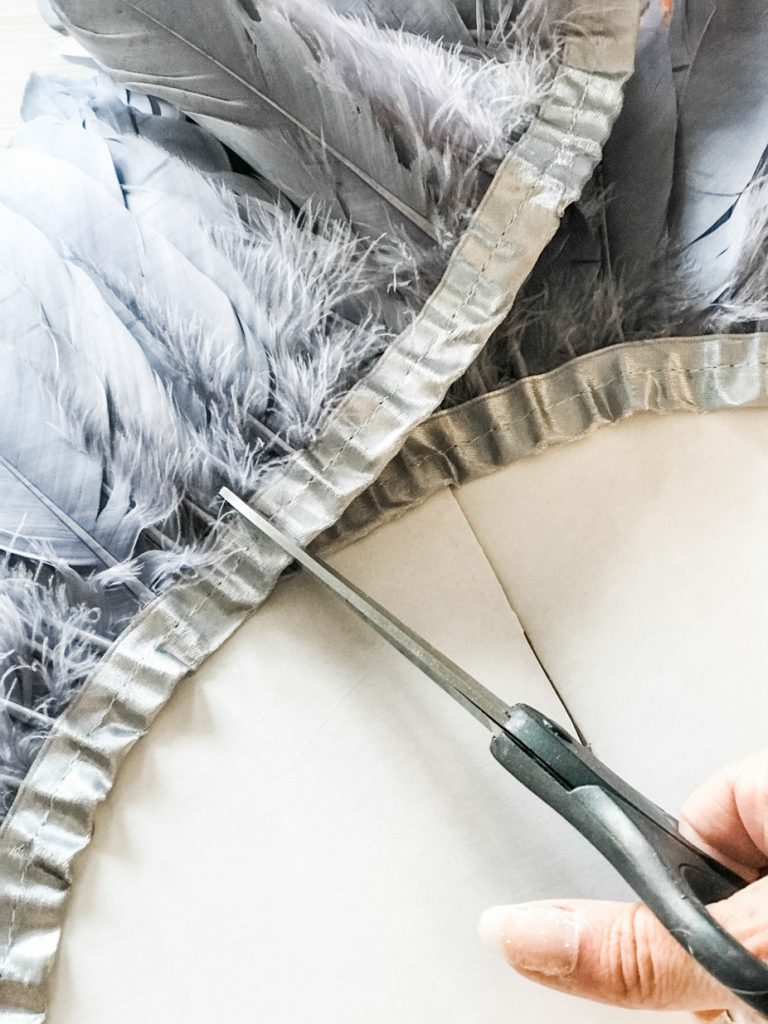

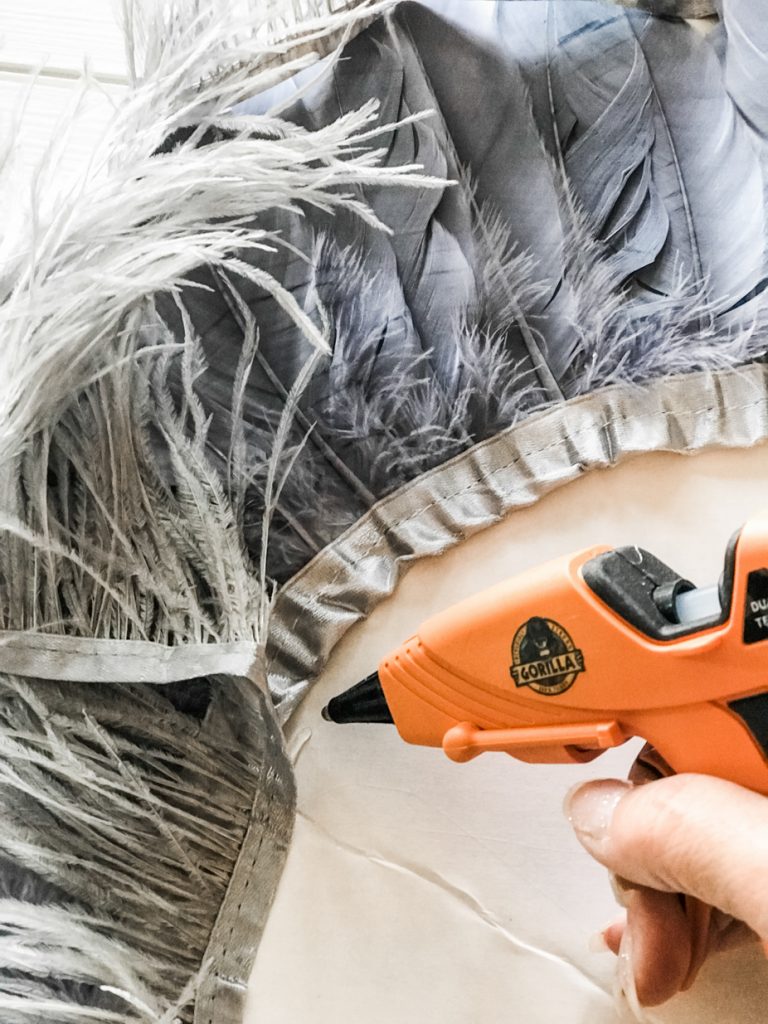
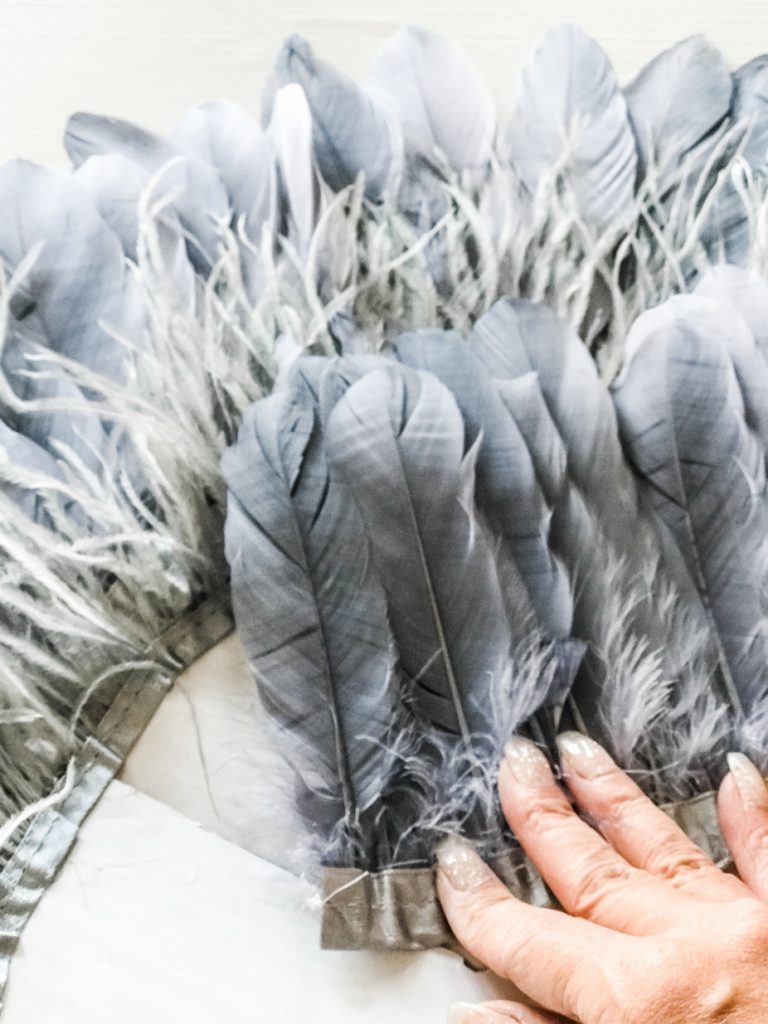
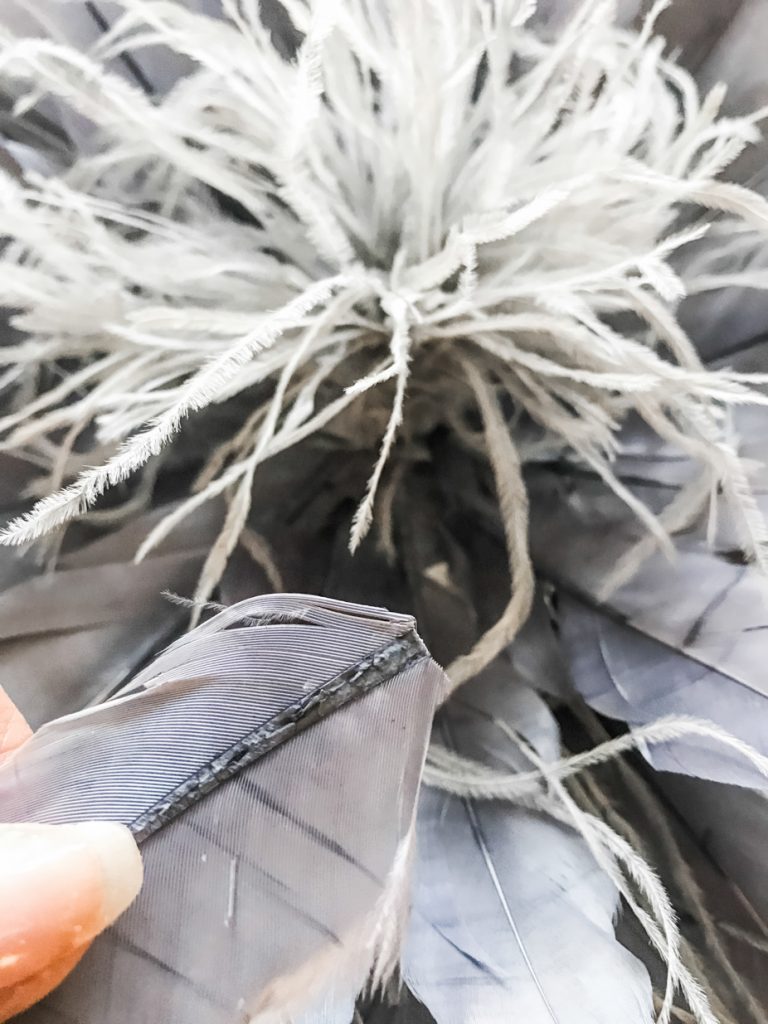
Repeat in circles for complete coverage. Based on your supplies, determine how close together to cover the cardboard. I alternated the 2 different feather trims.
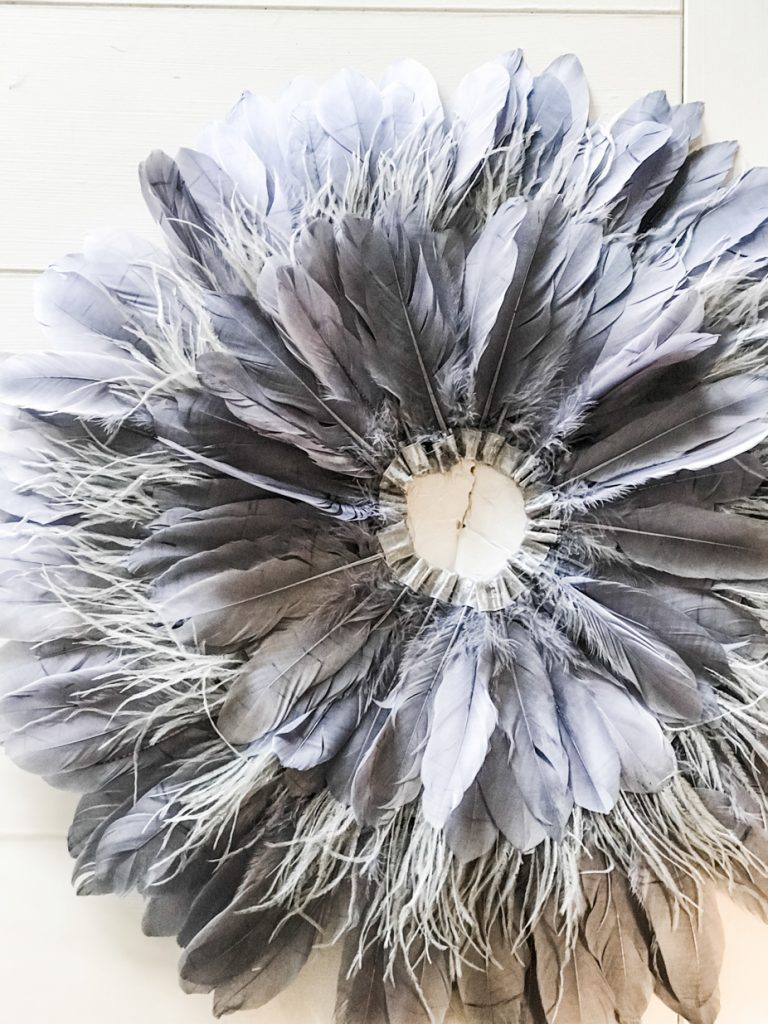
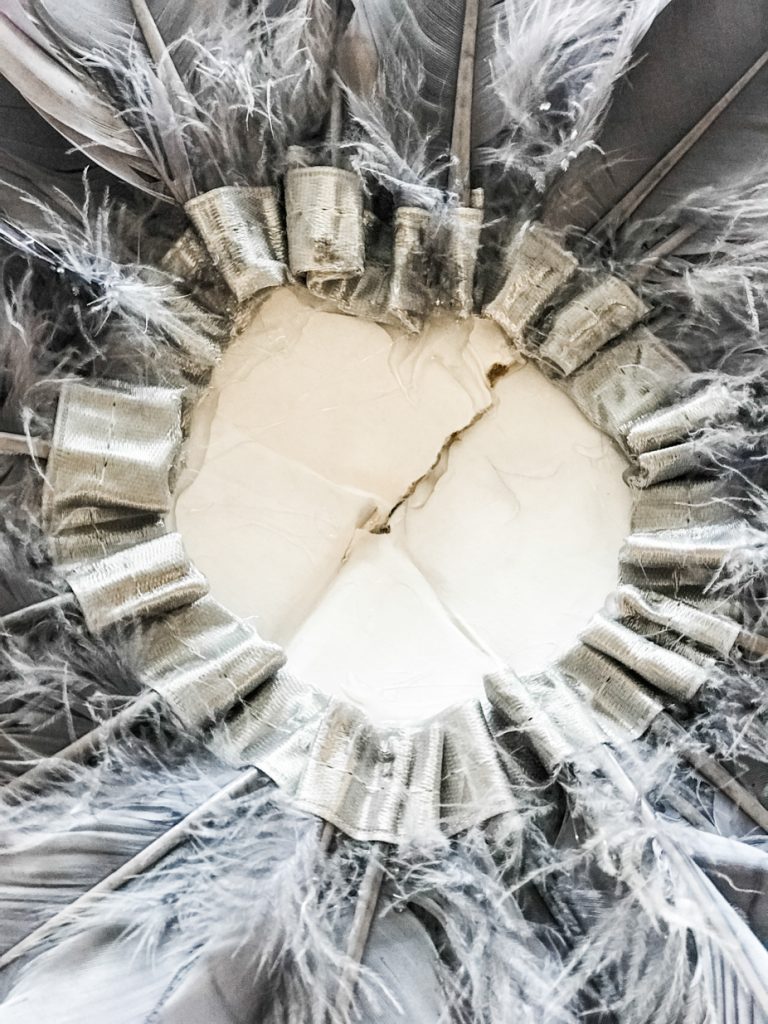
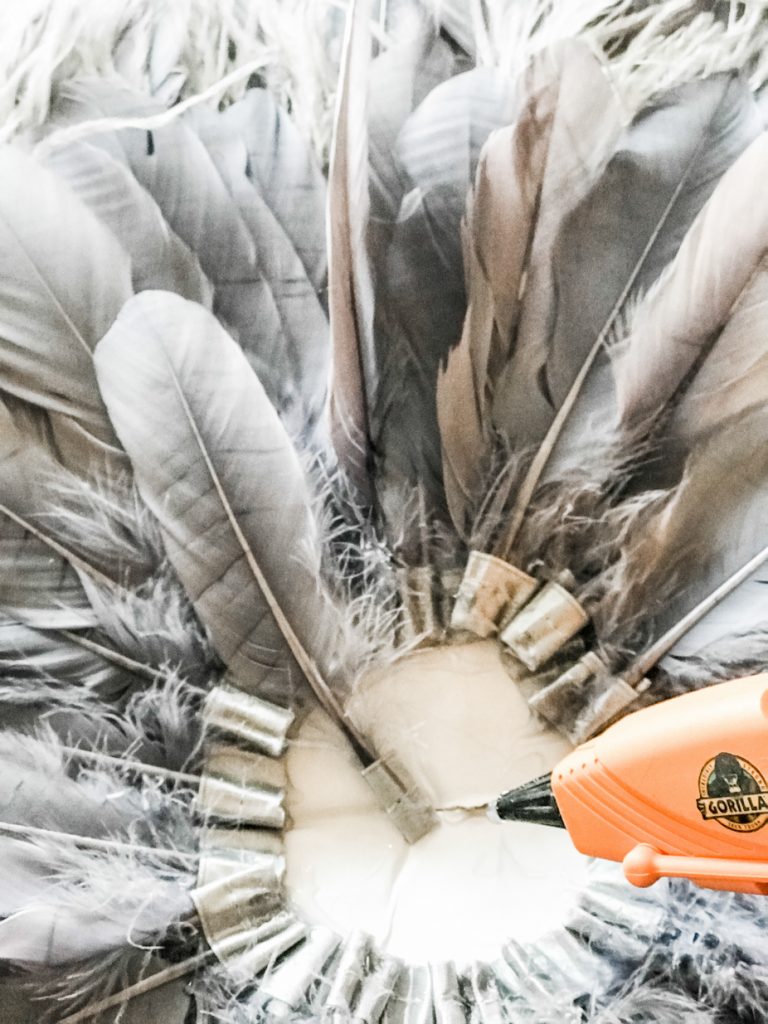
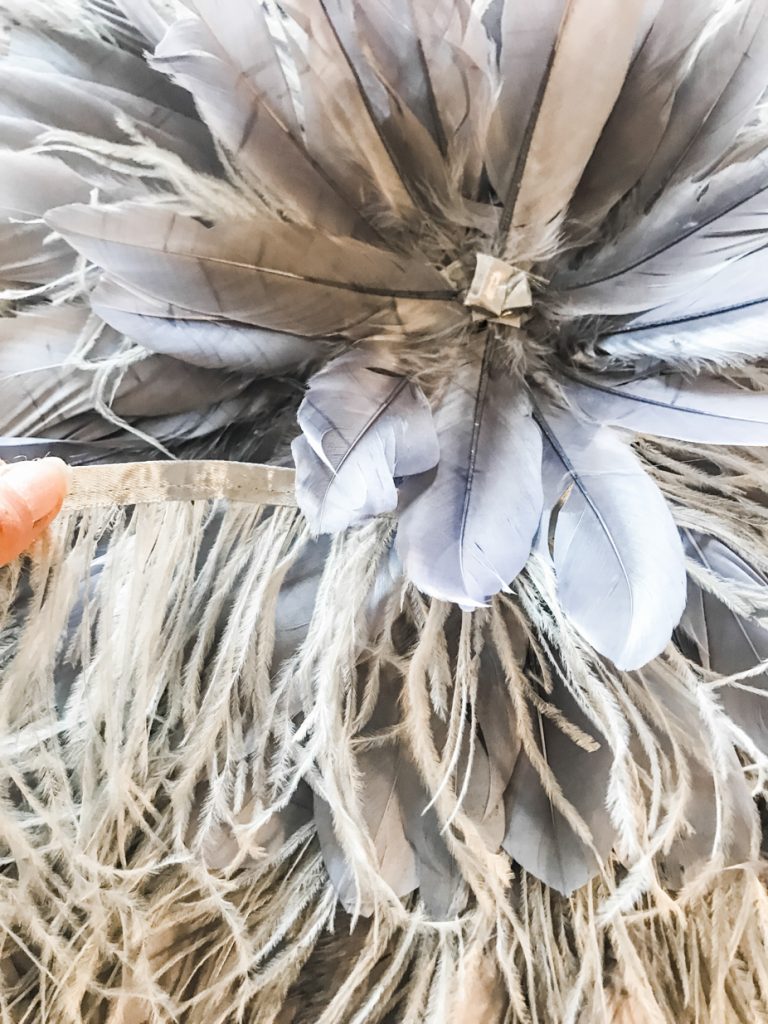


For the center, add a coordinating or same color silk flower. Or, like me, take a bit of leftover trim and roll to create a “center” piece. Attach with hot glue.

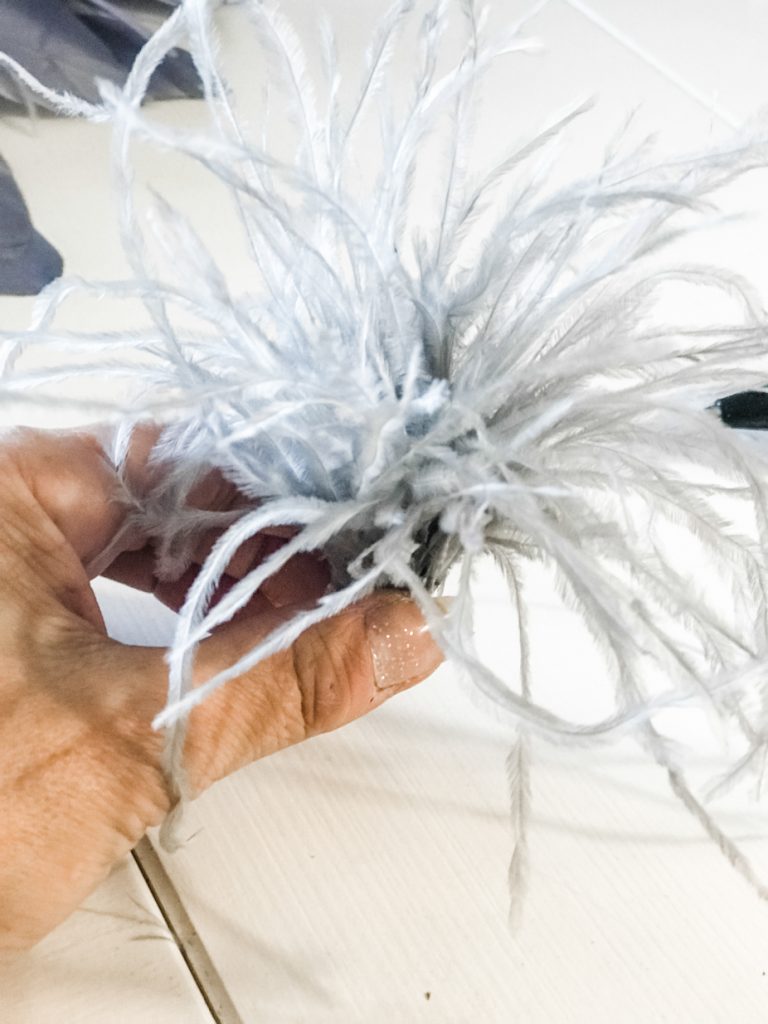
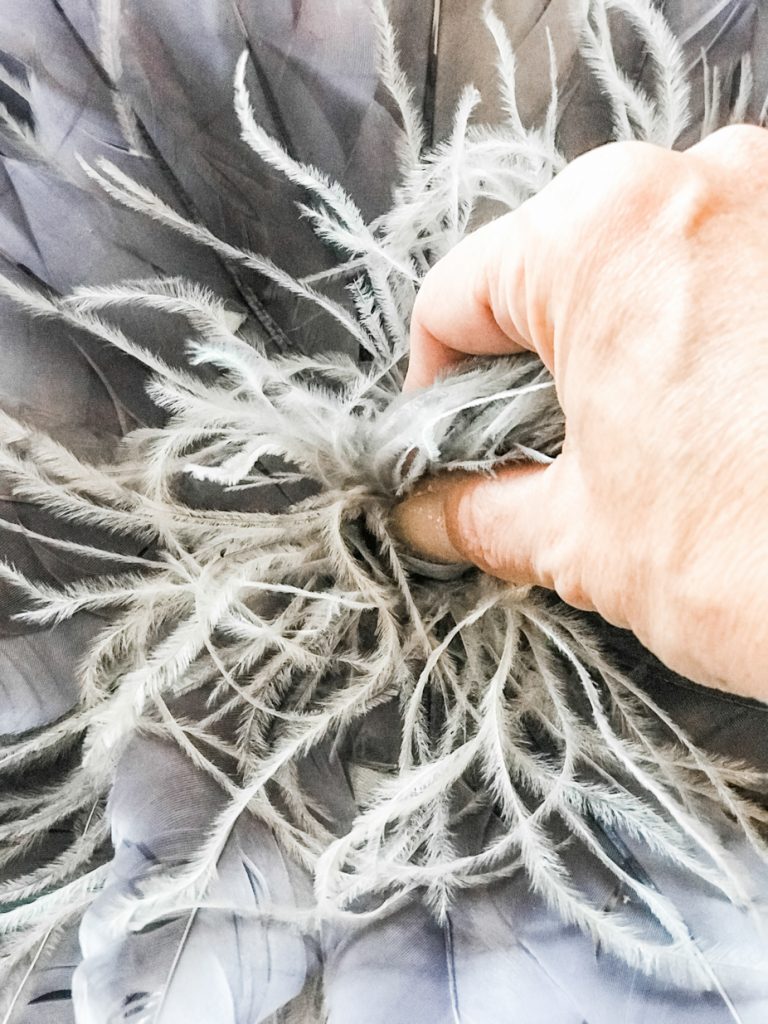
Fill in with individual feathers as needed.
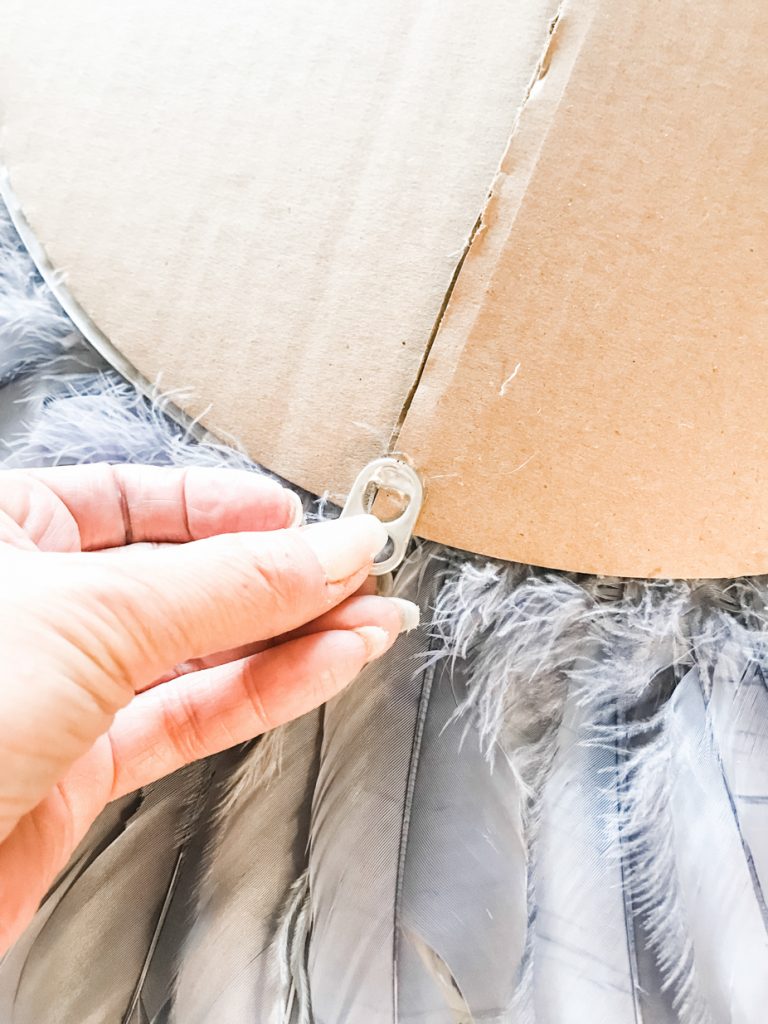
Attach hanging mechanism of choice to the back with hot glue.
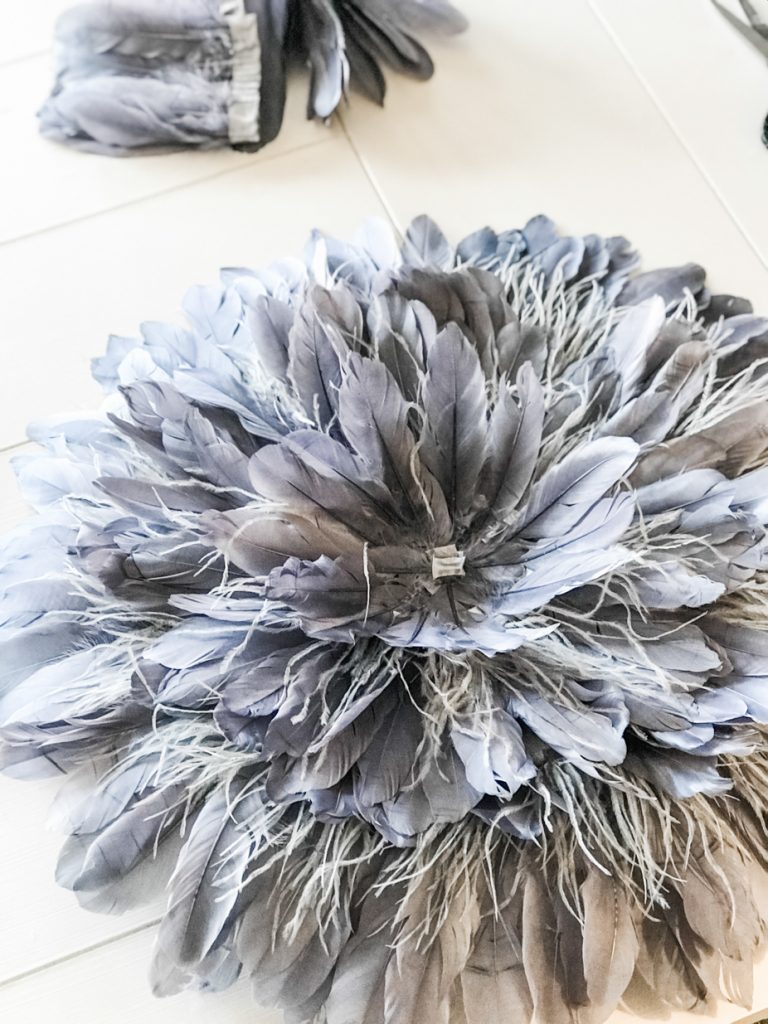
Easy peasy! Much lighter and not as detailed or heavy as the real thing but beautiful none-the-less and special because you made it yourself!
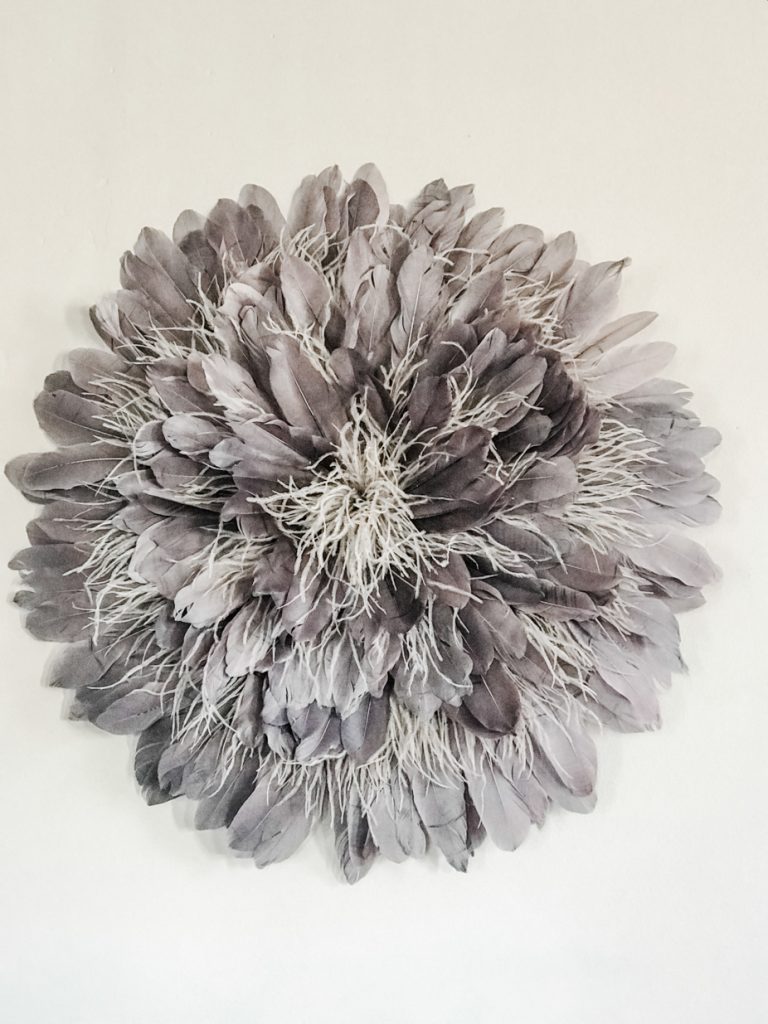
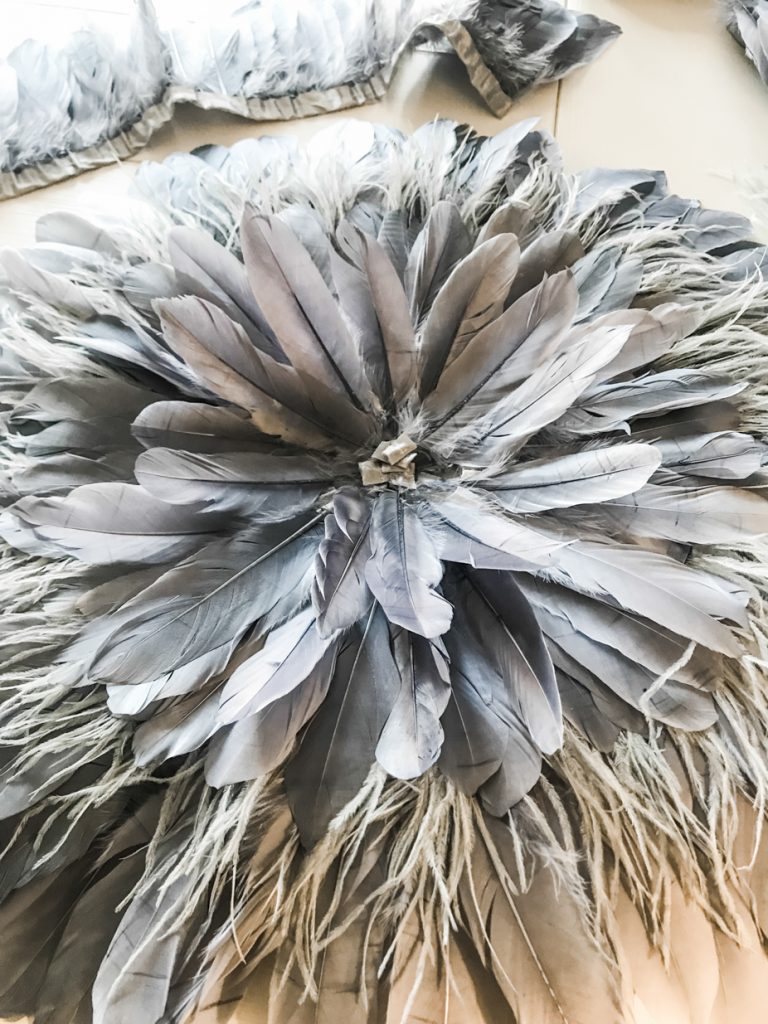
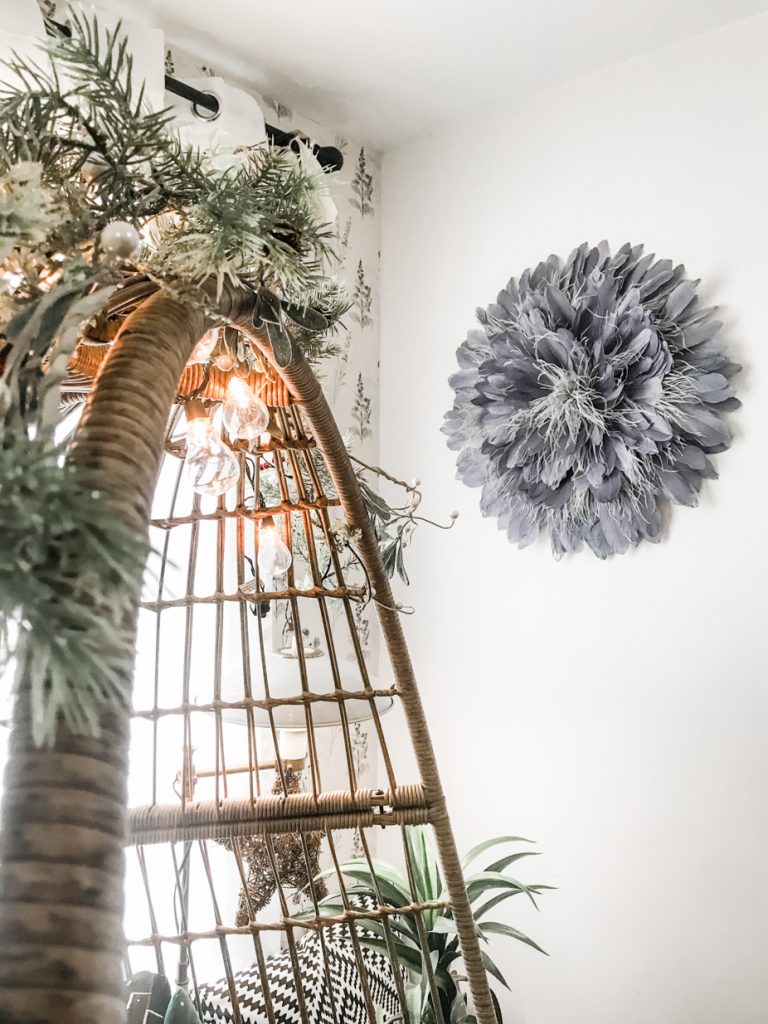
The result:
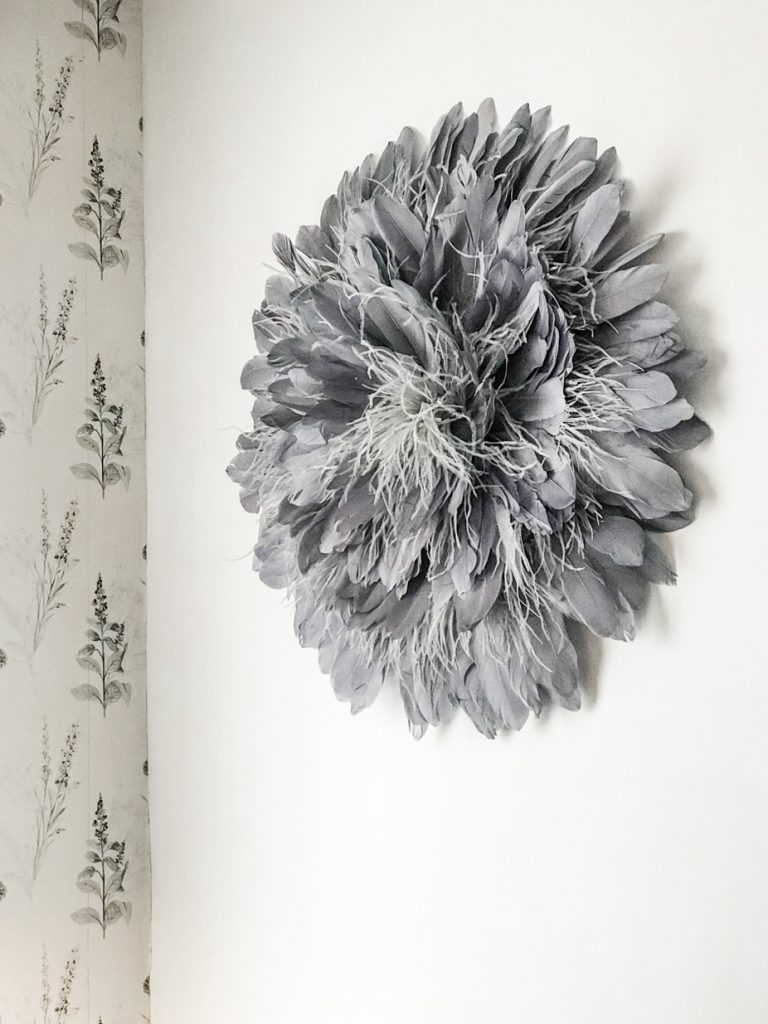
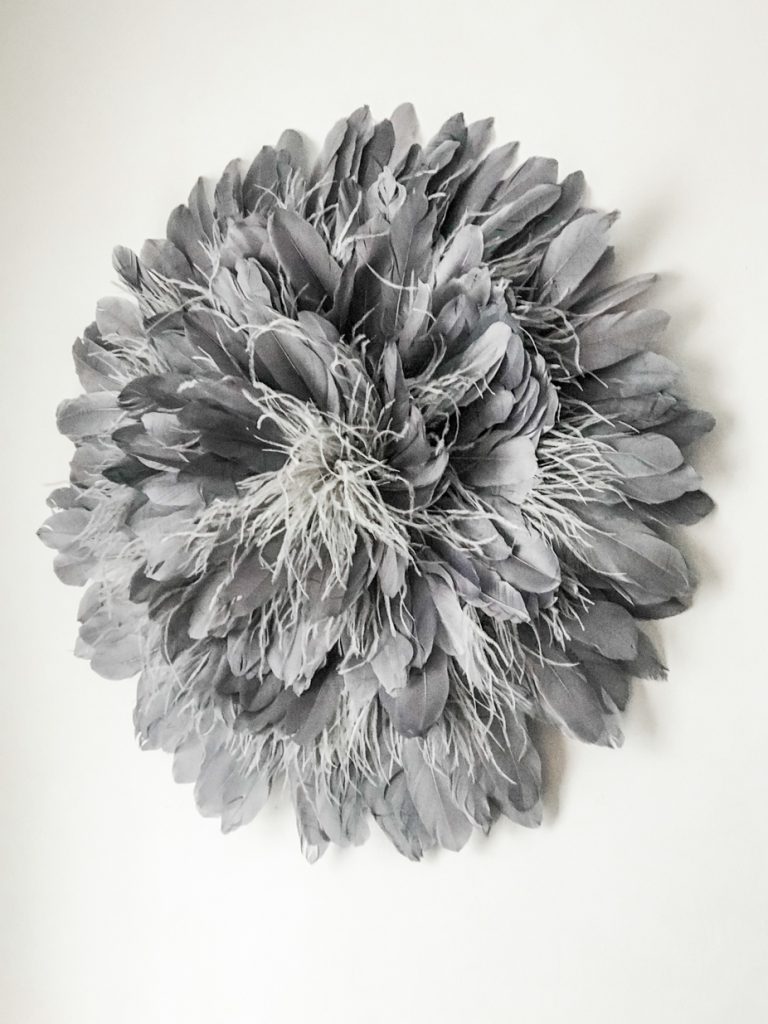
Texture! Softness. Beauty!
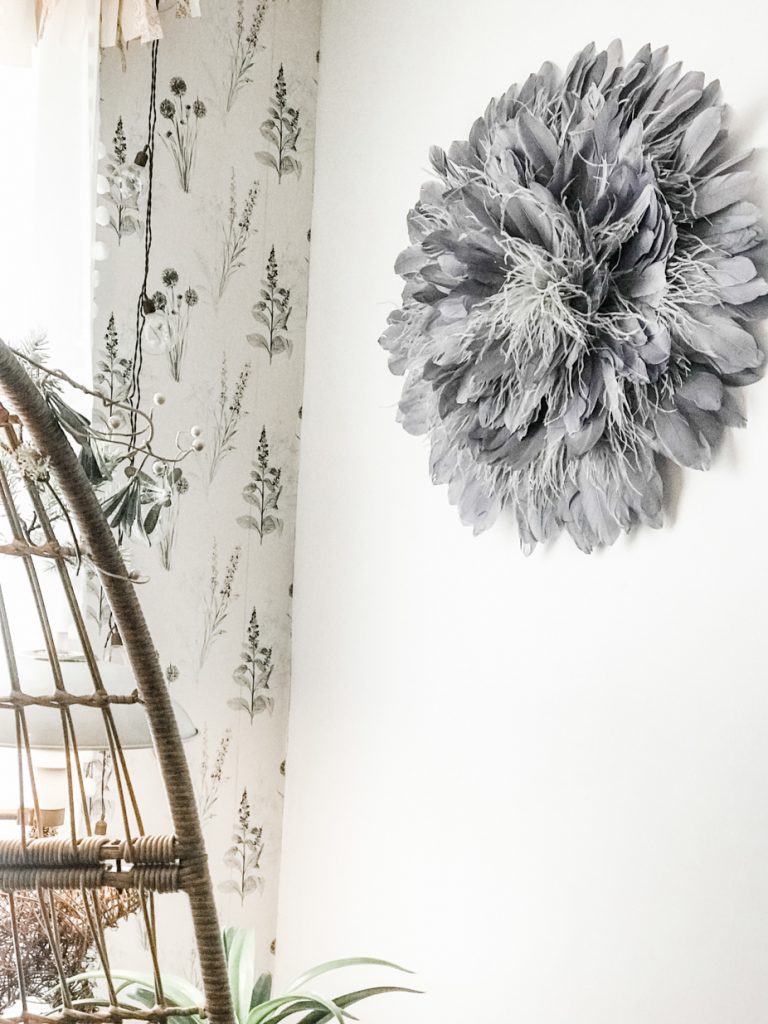
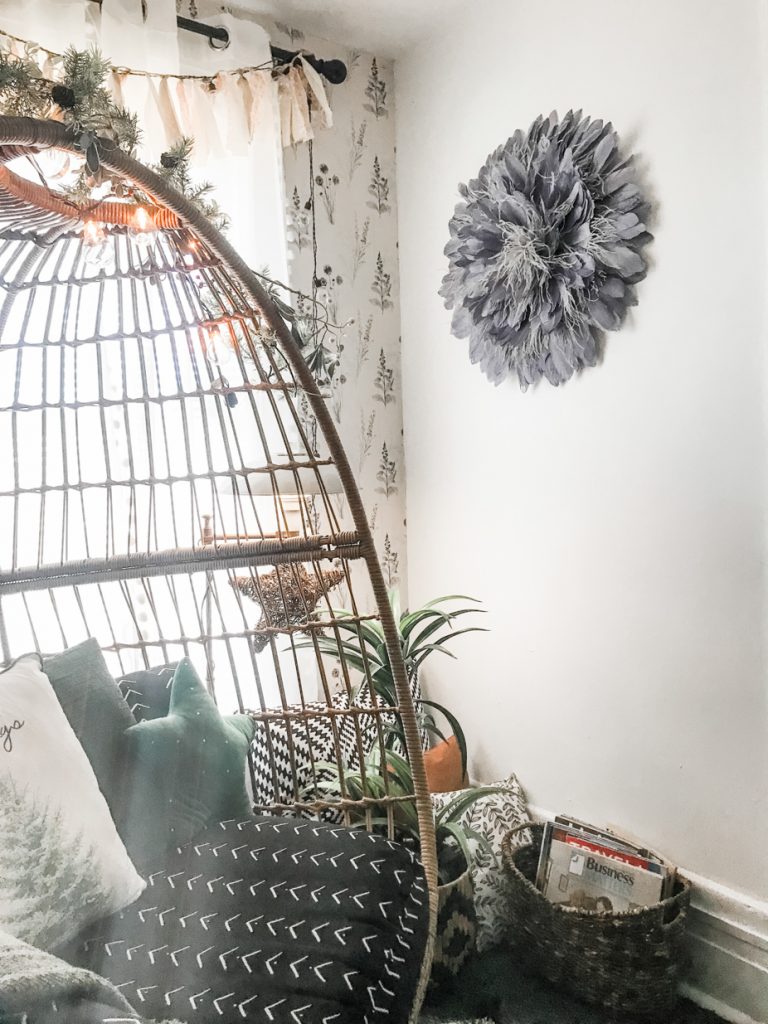 DIYShowOff Juju hat wall decor tutorial
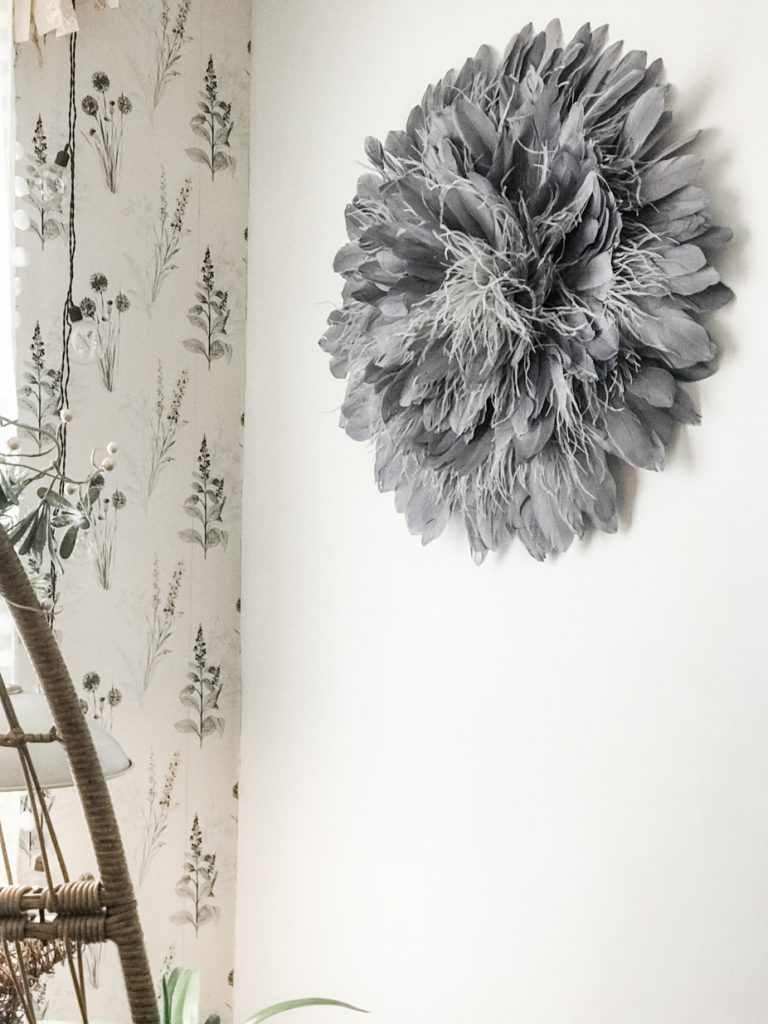
I’m hooked and plan to create several more! More feather trim as been ordered! I need a fluffier one! A feather boa would work as well (although a little messier)! Maybe some rattan coasters for the center or a coordinating silk peony would be beautiful too. I’ll come back and post more pictures. Interested in adding yours to the feature? Submit your juju hat photo to thediyshowoff at gmail.
How about you? Ready to get crafty, creative and inspired in 2022?